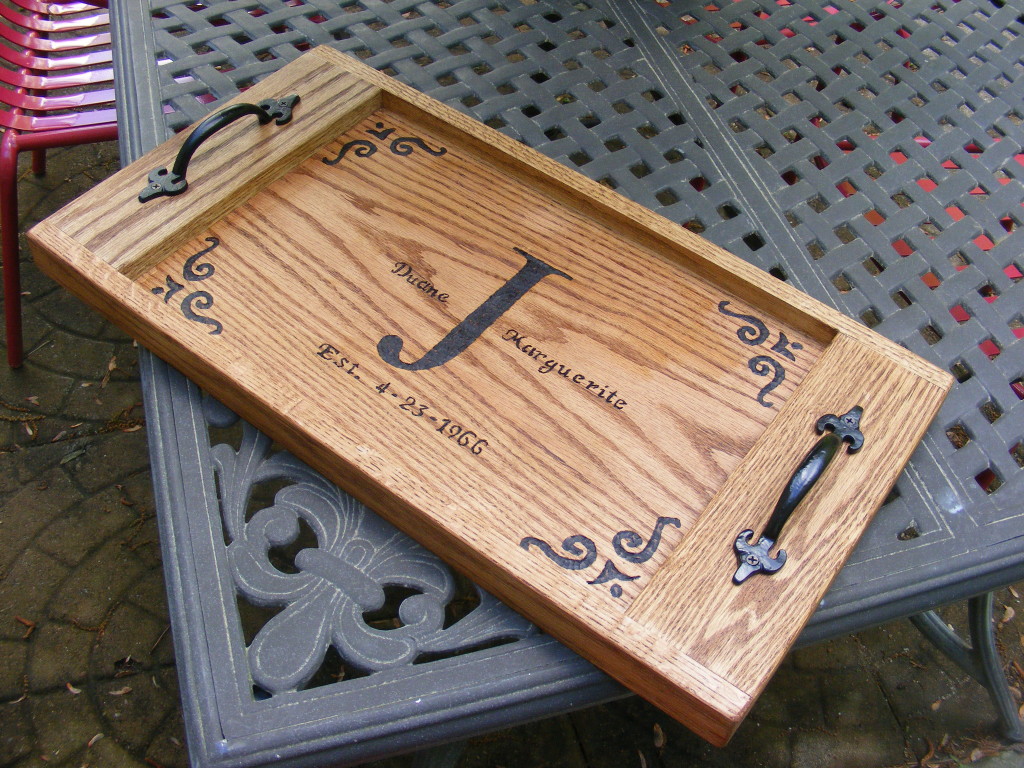
It’s amazing how and where inspiration strikes. My mom and dad recently celebrated their 50th wedding anniversary — a tremendous feat in this day and time. I had thought about making them a serving tray with a wood burned message and searched all over Pinterest for ideas. One day I was wandering through the wood section at Lowes and noticed several pre-cut red oak boards. They happened to be very close to the dimensions of a serving tray. So it didn’t take me much time to visualize the project I’m sharing with you. Follow along as I take you through a short tutorial on what I call the DIY Lowe’s serving tray.
Materials and tools needed:
- Power saw or hand saw
- Wood glue
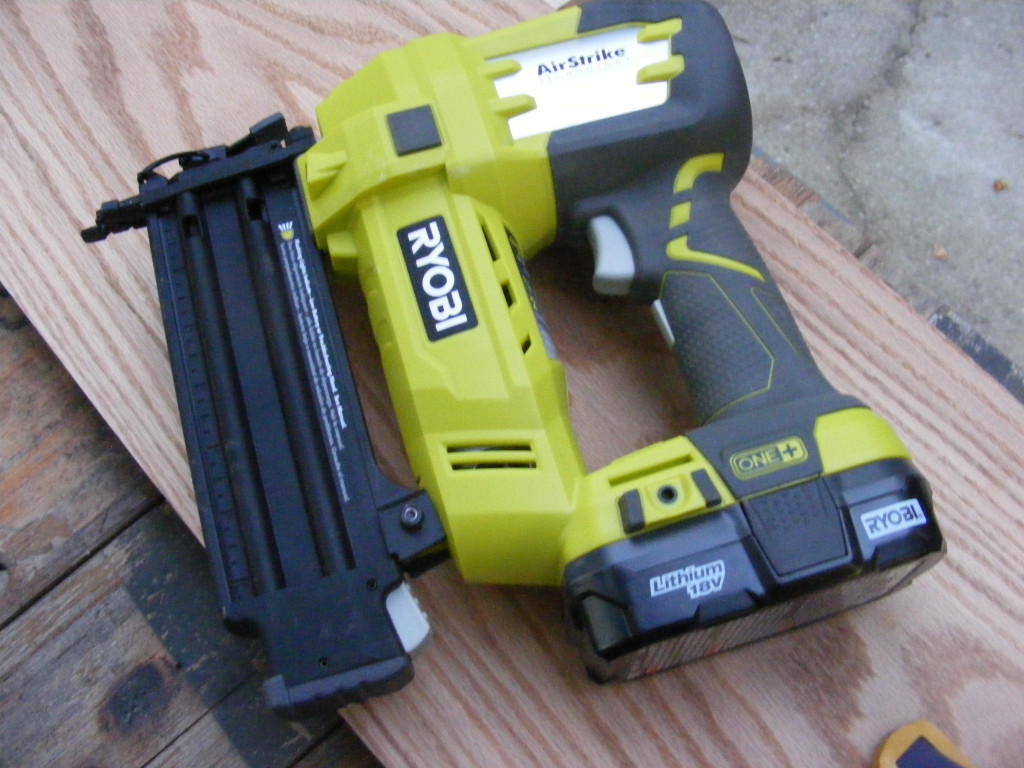
- Ryobi BRAD NAILER 18GA18V
- Clamps (C Clamps, QUICK-GRIP 2-Pack
, & Pipe clamps)
- Watco Pint Natural Danish Oil Wood Finish
- Red Oak Boards from Lowe’s
The boards cost me $35 and then the glue and Danish oil were about $15. Metal handles were $2 each. So total project costs on materials were about $54.
Skill level: EASY
All you need are a few basic woodworking skills. Make sure you understand how to safely operate your tools. A few power tools make this project easier, but are not absolutely required. Always do what you are comfortable doing.
Now on to the tutorial:
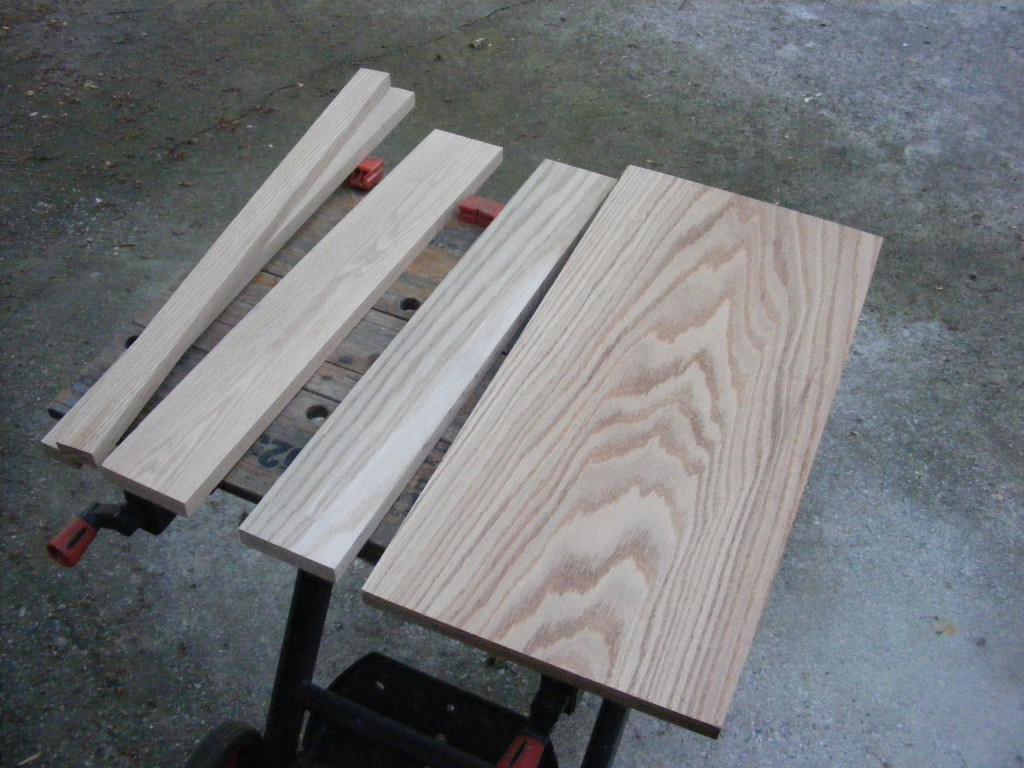
As I said, the boards were very close to what I considered serving tray dimensions. Pictured above are the boards I bought (pre-cut) from the store. It’s true that I probably paid a little more than if I cut the boards myself, but I was going for convenience. I have to remind myself that not everyone has power saws. Total cost of the boards ran about $35.
From left to right: 1.5 in X .75 in X 2 ft, 3.5 in X .75 in X 2 ft, 11.5 in X .75 in X 2 ft.
Pros of using oak: I loved the beauty of the wood grain, and you can’t beat oak for strength. To commemorate a 50th wedding anniversary, I thought it was important to convey strength and endurance.
Cons of using oak: The only downside is that the tray turned out to be somewhat heavy, and I hope my 79 year-old-mom won’t have troubles carrying it around. Lowes also offers poplar boards which are cut to the same dimensions. This is a lighter and softer wood. The grain pattern is nothing like the oak.
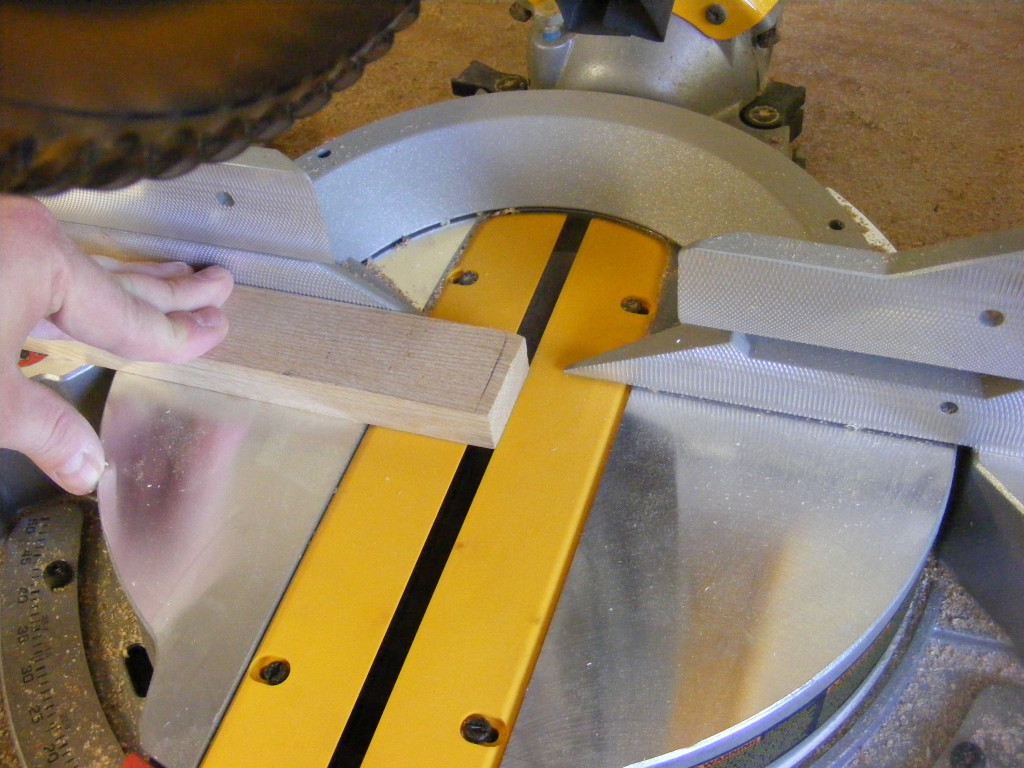
I cut and trimmed some of the boards, but these were all cross cuts, no ripping required. I used my miter saw to make all the cuts. The widest board I had to cut was 3.5 in.
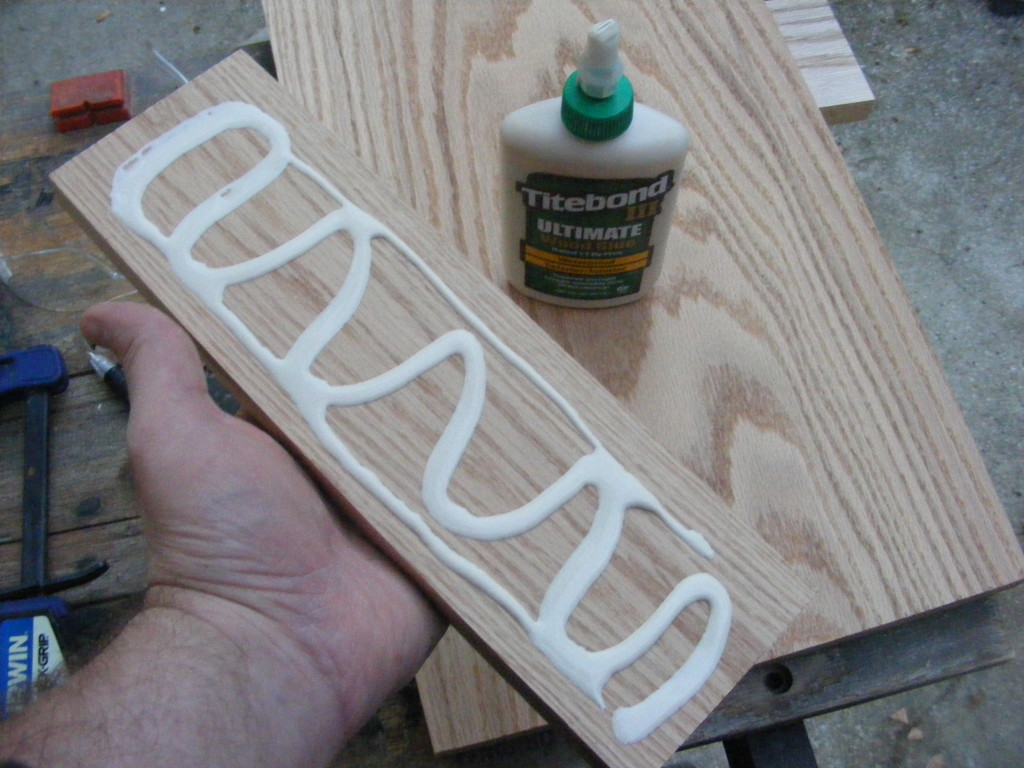
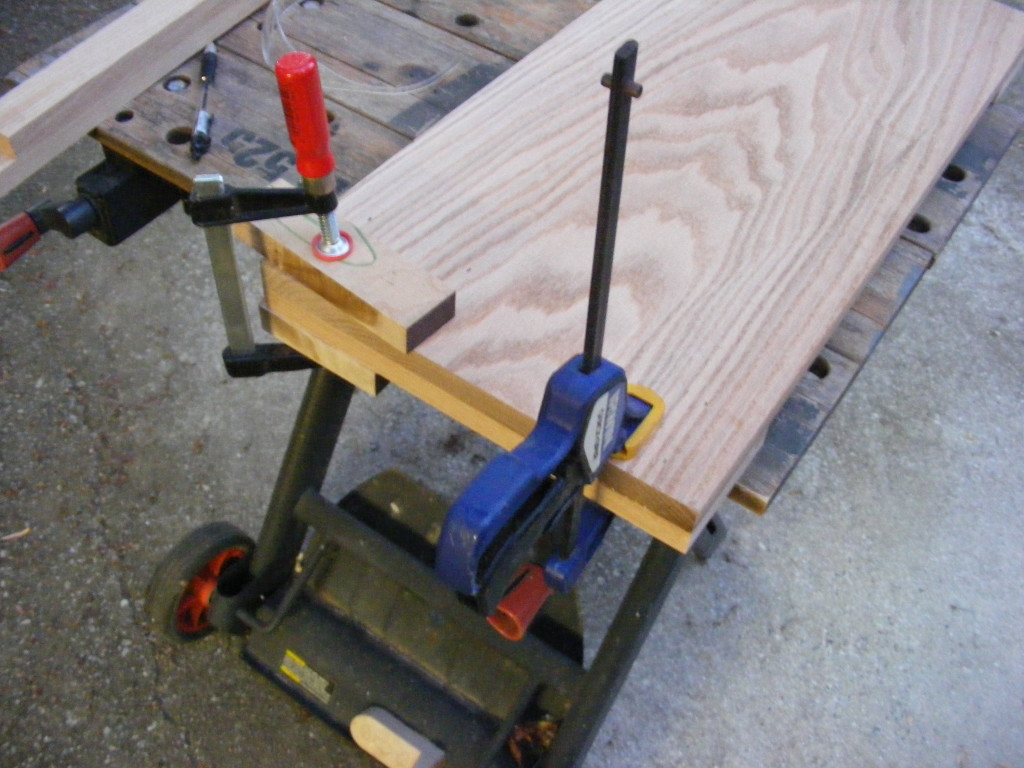
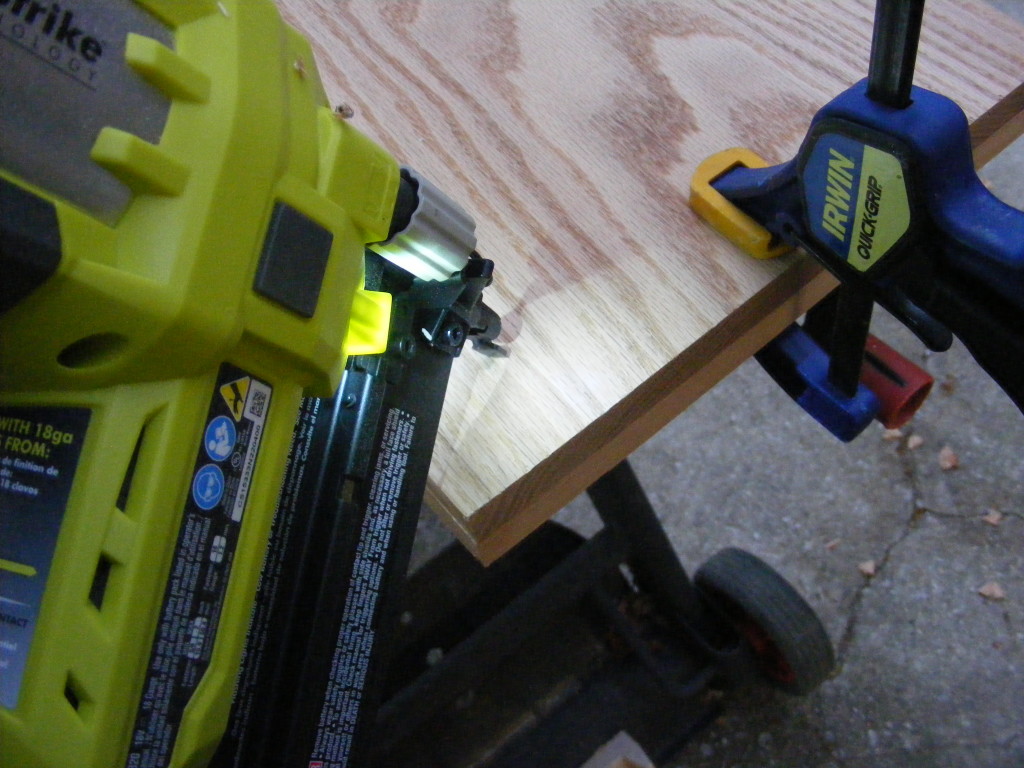
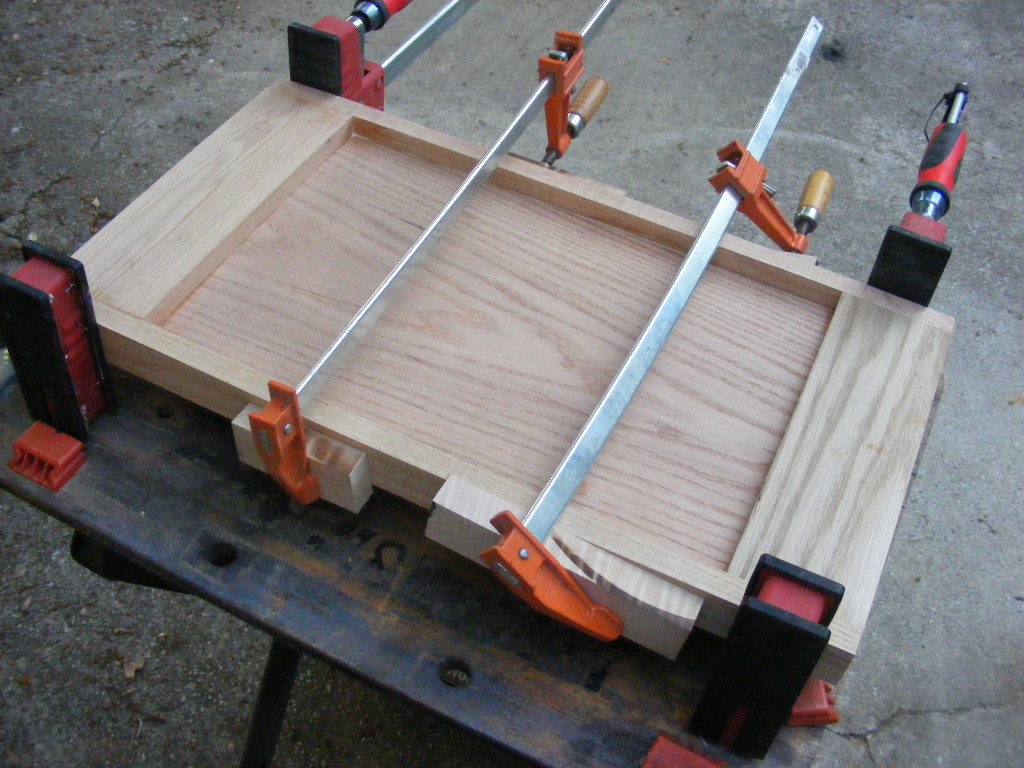
Next step was to glue the pieces together. For this step I used Titebond wood glue and my Irwin quick grip clamps. I spread the glue evenly and then clamped. Using a wet rag, I wiped off excess glue that oozed out. I also tacked in a few 18 gauge brad nails with my Ryobi nail gun This left a few small holes that I later filled with wood putty. You could probably make the nails optional as I’m sure the glue would hold everything together, much like a cutting board.
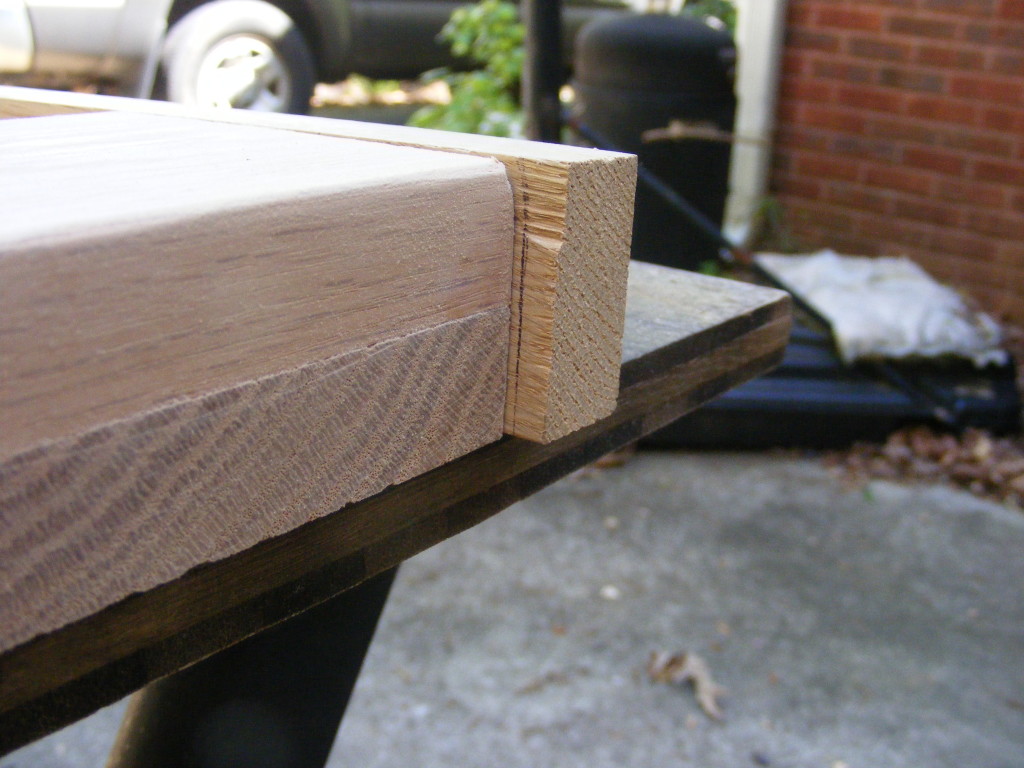
Added the sides of the tray. More glueing, clamping, and a few brad nails.
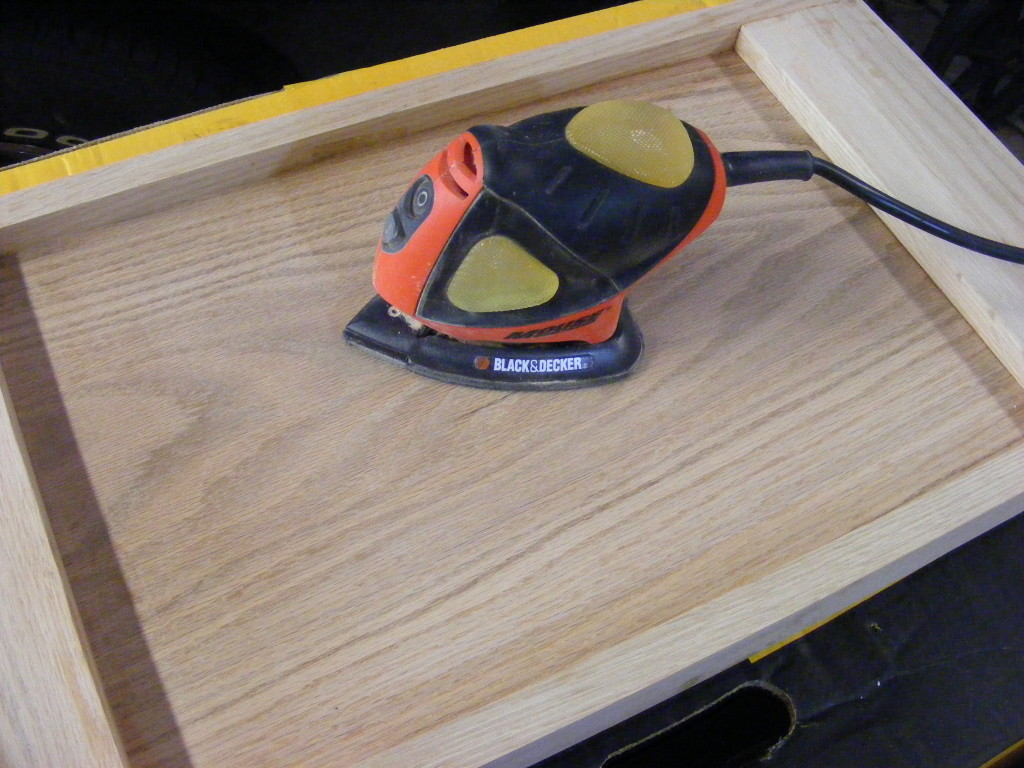
I allowed the glue to dry overnight and then sanded. I used my Black and Decker Mouse orbital sander and my Ryobi disc sander. From the store, the boards were already nicely sanded along the surfaces. This step helped me round the sharp edges and true up the butt joints.
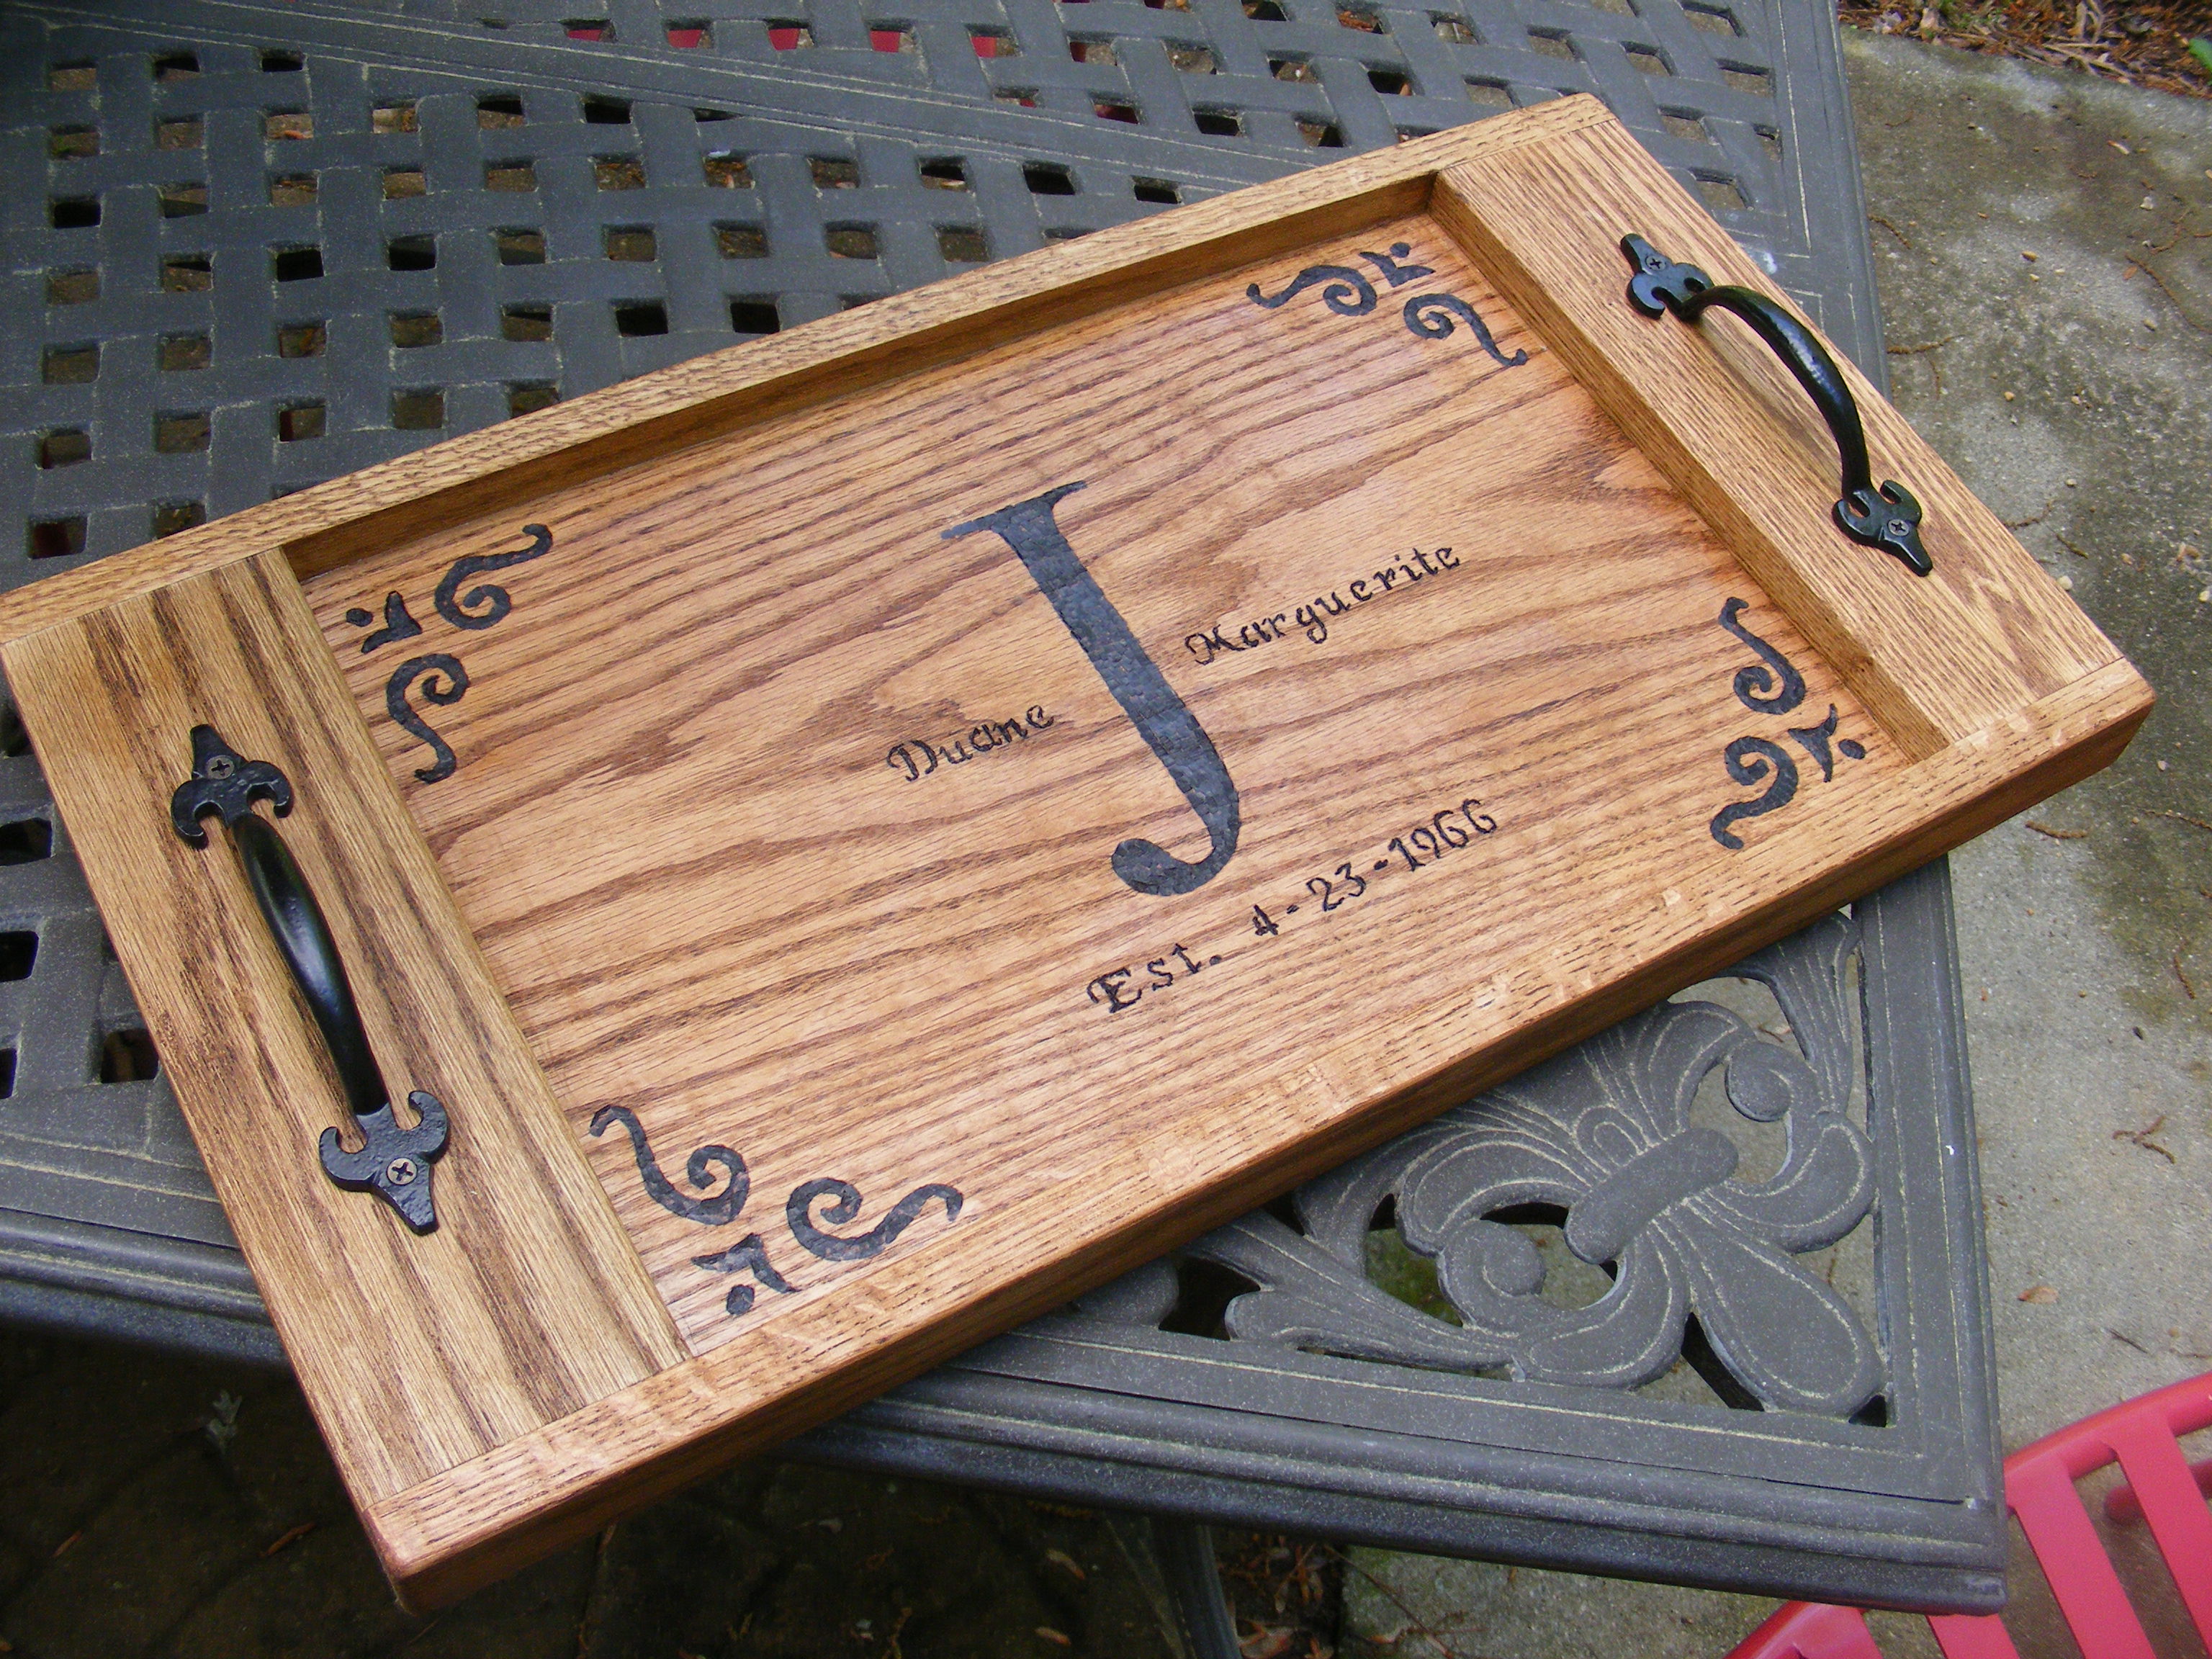
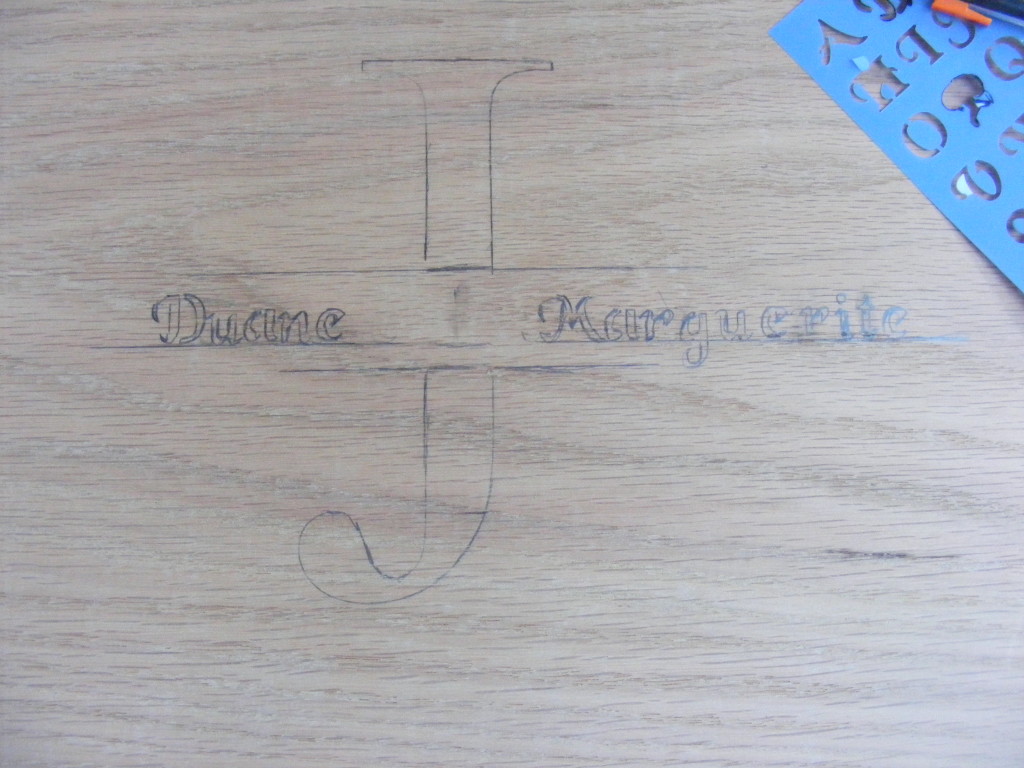
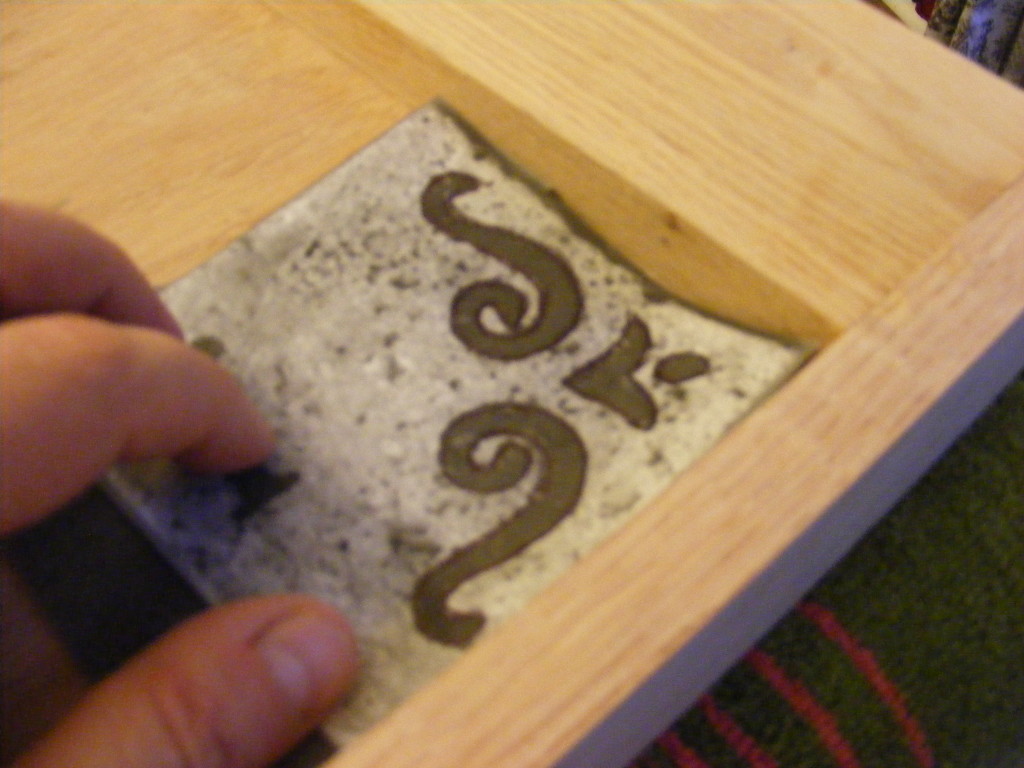
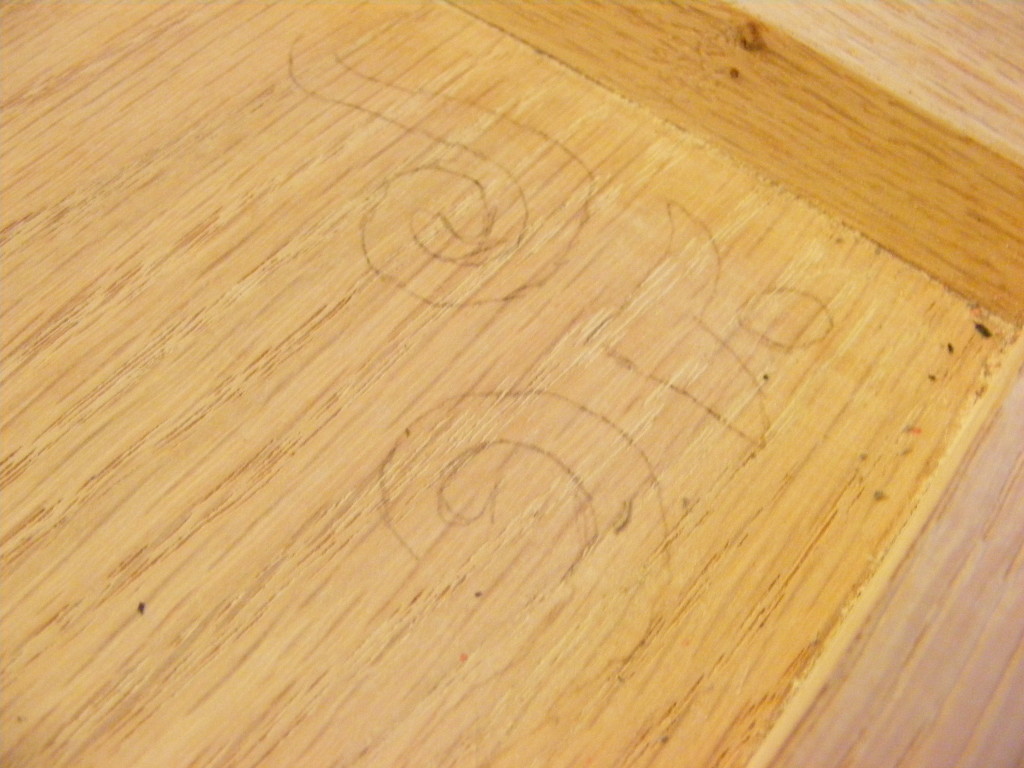
Next up, I used stencils (from Hobby Lobby) to trace out the letters, being careful to get everything centered and aligned. I used graphite tracing paper for the corner accents. As a best practice, I recommend using a pencil which makes it easier to correct mistakes.
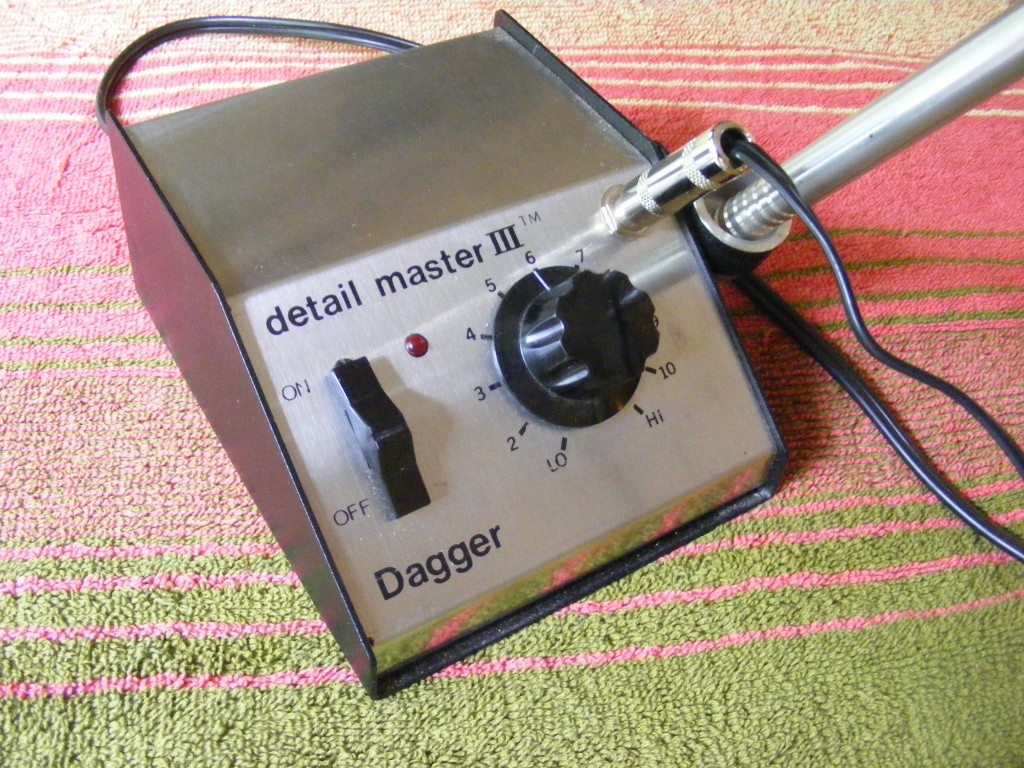
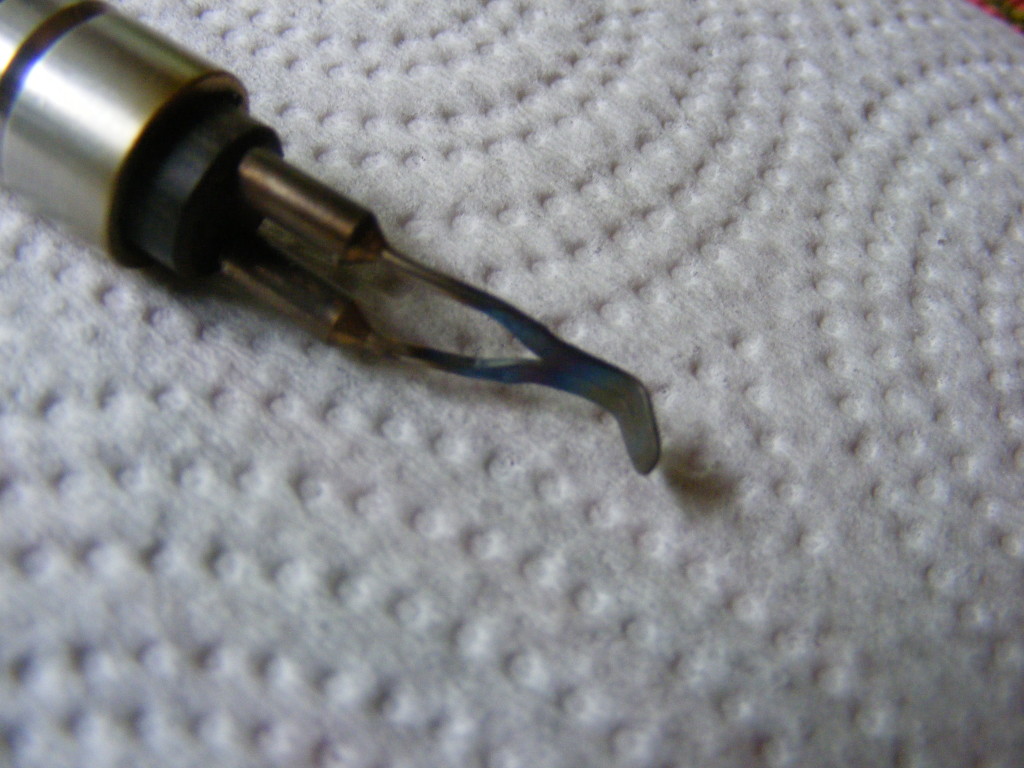
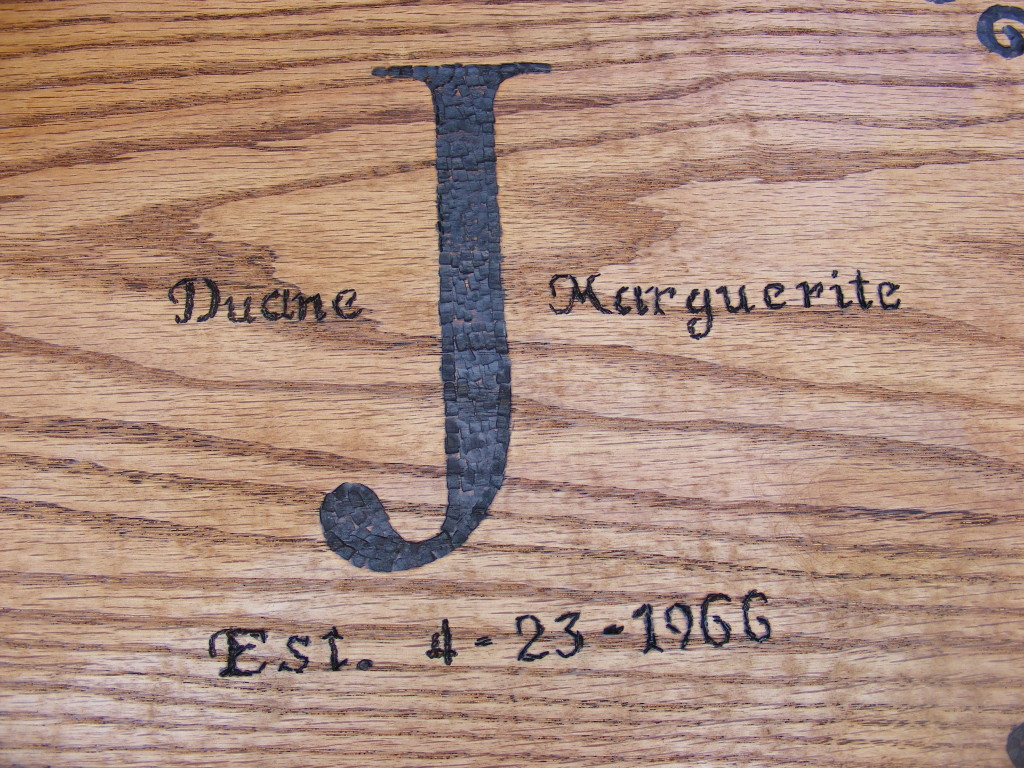
Now on to the wood burning. I used my Detail Master III wood burner with a fine tip. You can find a cheaper wood burner on Amazon for about $20. Use a fine tip for the letters and go slow around the edges of the pencil lines. I like to burn a little deep because a serving tray will see some wear and tear. I was also very careful about using my wood burner and never left it unattended.
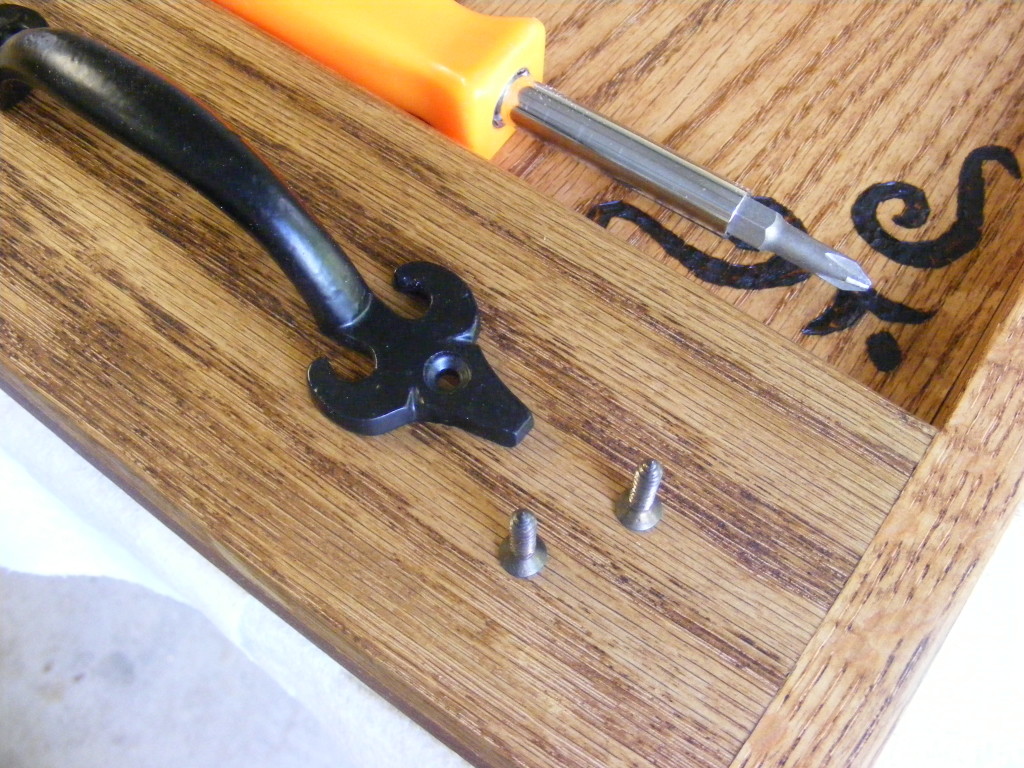
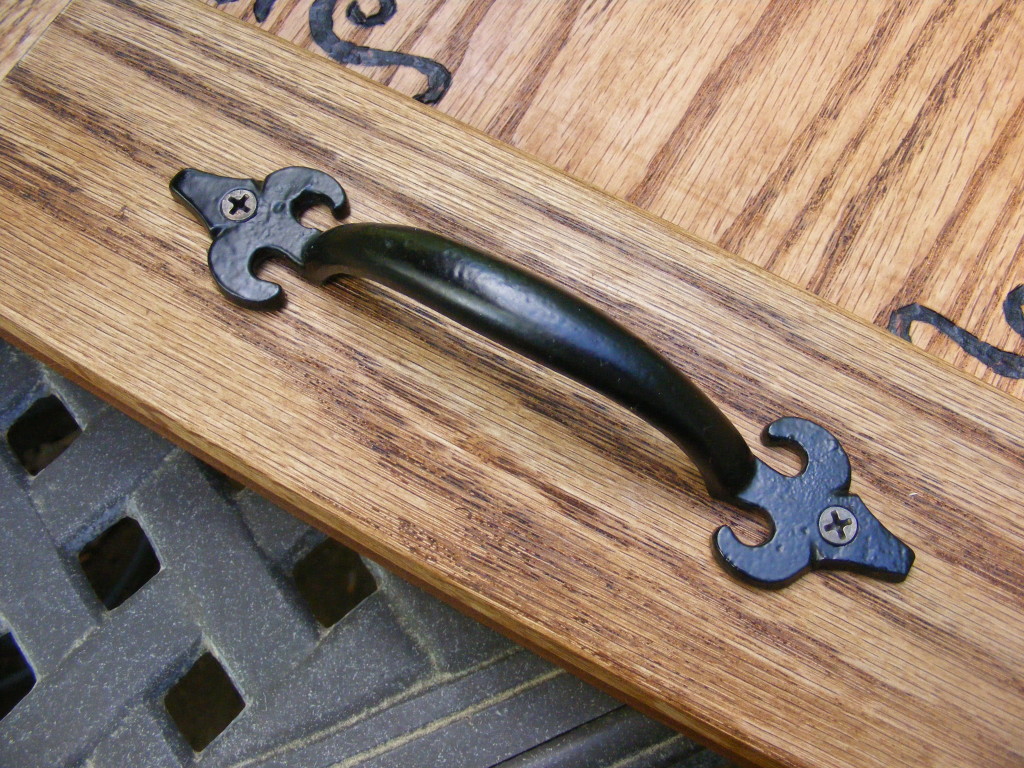
I added a couple of handles to the board and attached them with wood screws. I found these handles at Hobby Lobby for about $2 a piece. Hobby Lobby has a big selection of decorative handles. I picked this one for both the looks, and I could easily fit ALL my fingers under it. These were also on the light-weight side as the wood was already somewhat heavy. I didn’t want to make the tray any heavier.
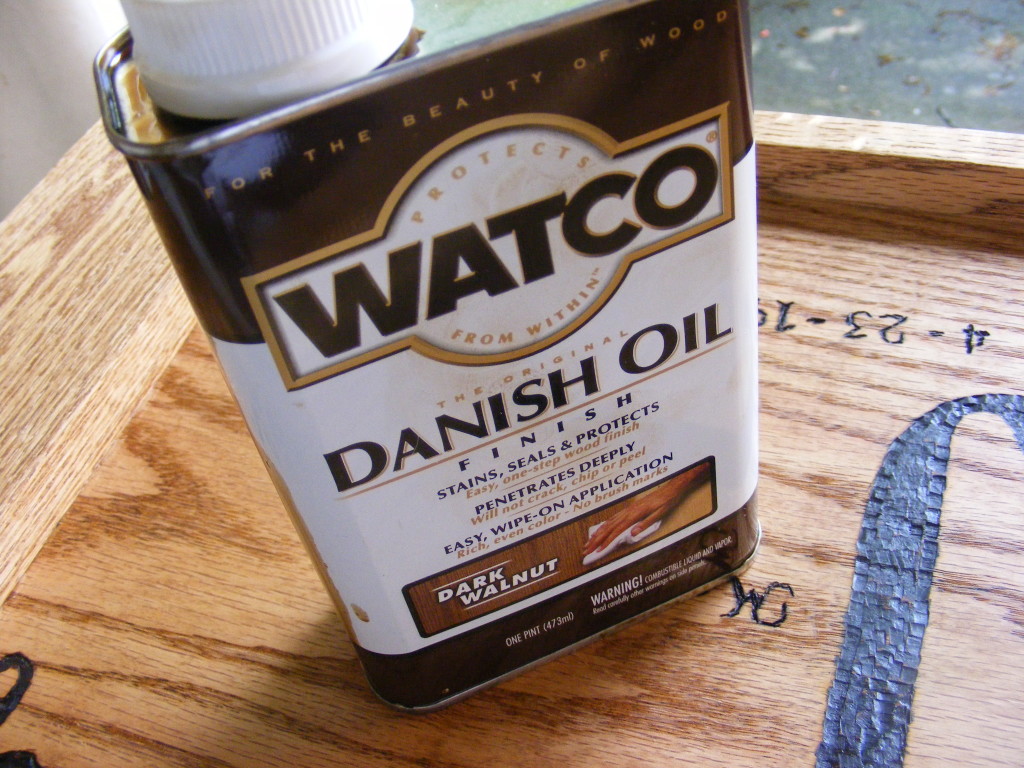
I decided to use Danish oil to finish the tray. You could use any finish of choice, preferably something that would be food safe. You could use some kind of wipe on poly. I used a dark walnut Danish oil because oak is somewhat light, and I wanted the grain to pop. Whatever you use, read the directions on the container for application methods and drying times.
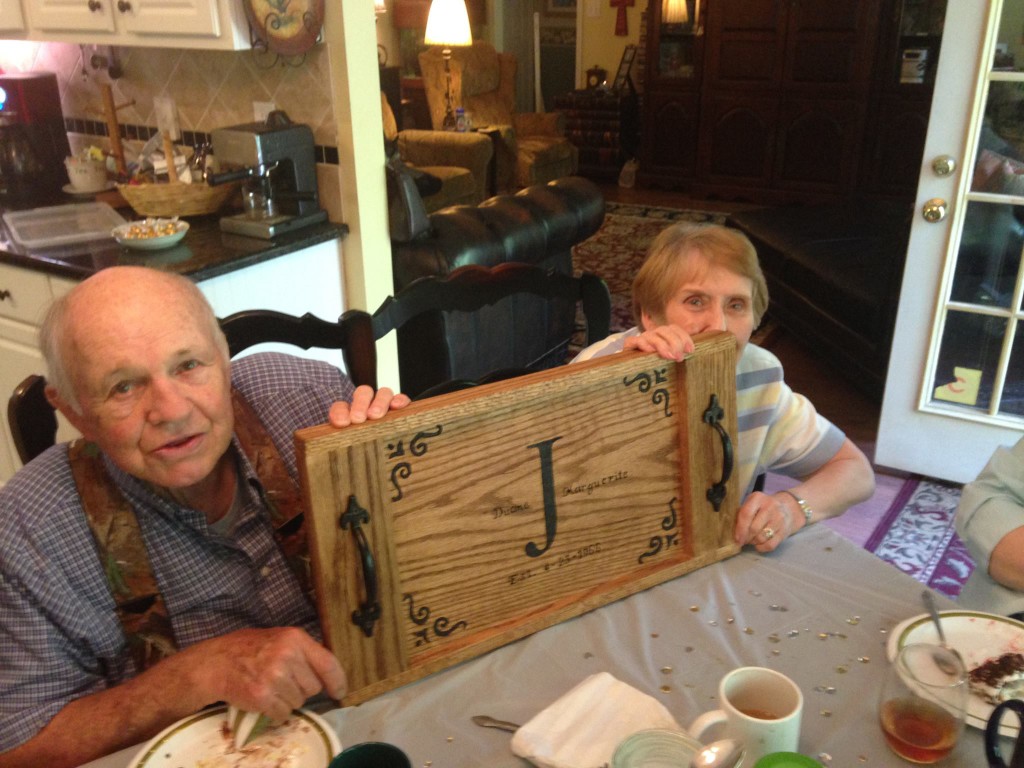
I presented this tray to my mom and dad last Saturday, and they loved it. I have another one in the works for another very special couple I know.
Hope you enjoyed learning how to make the DIY Lowes serving tray. It was a very easy and satisfying project to make for me. I think you will enjoy tackling it. Feel free to share any comments and let us know what you are working on this summer.
Happy woodworking!
Stephen



1 thought on “DIY Lowe’s Serving Tray”
Comments are closed.