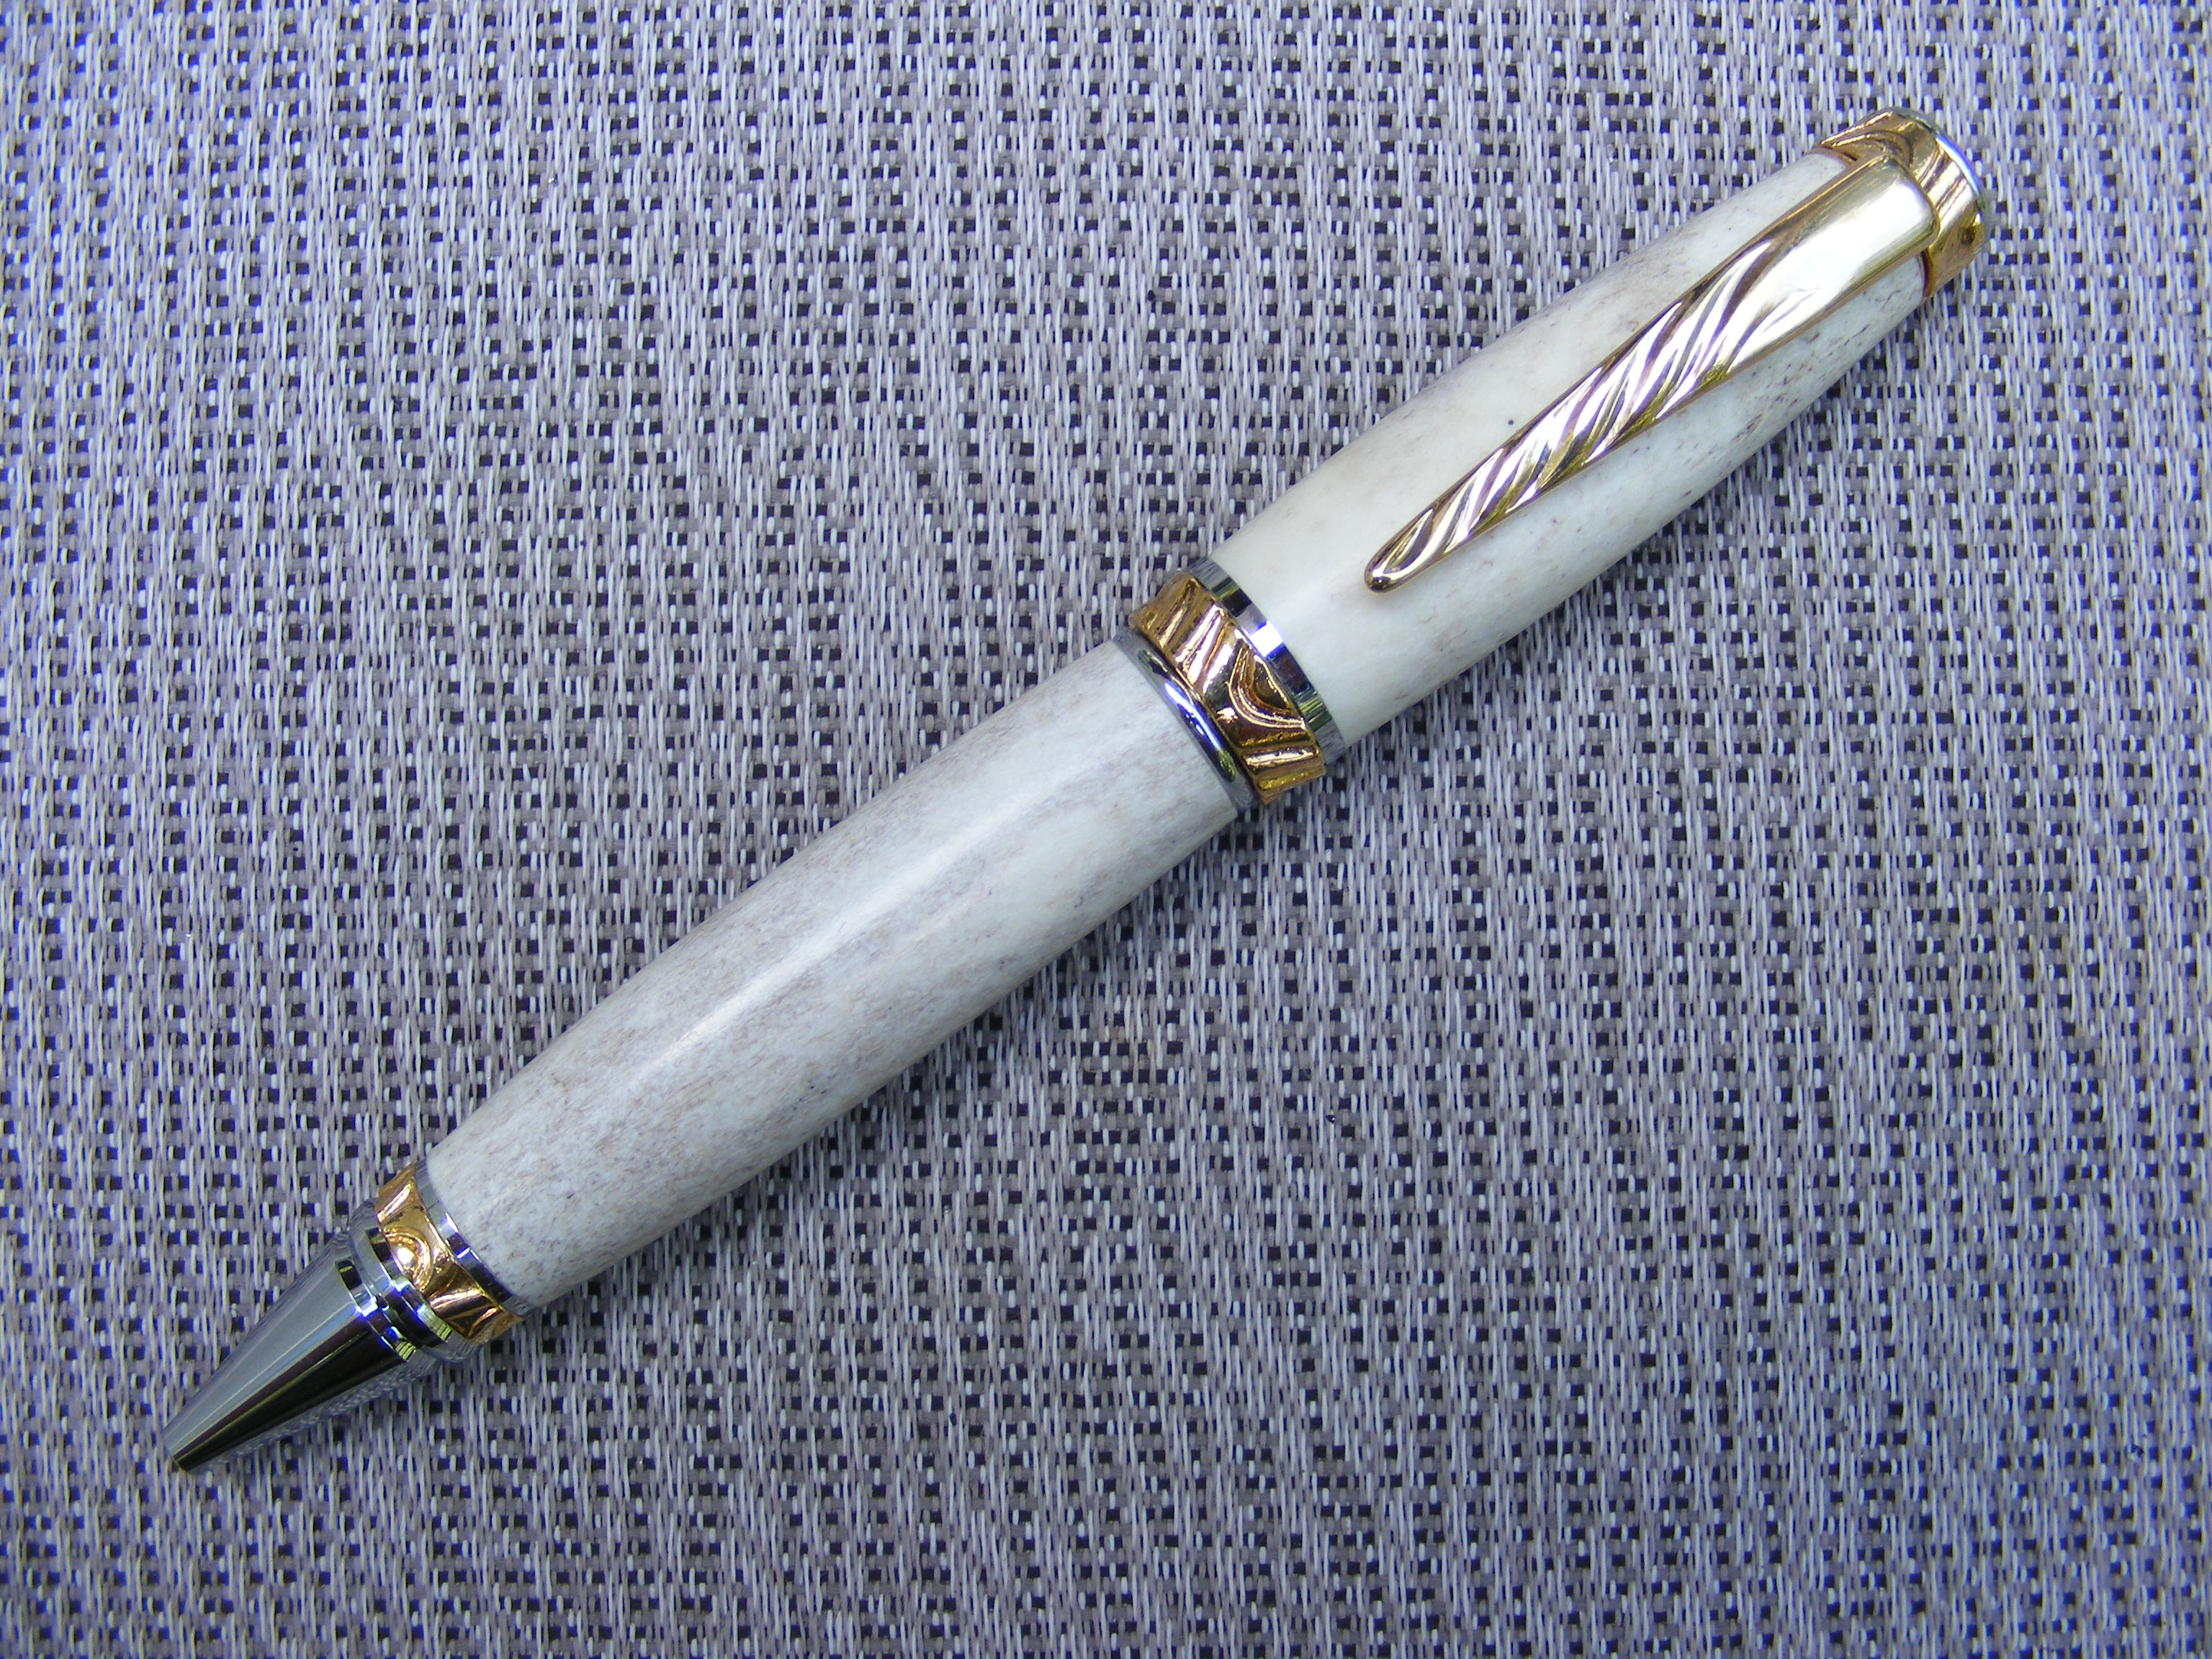
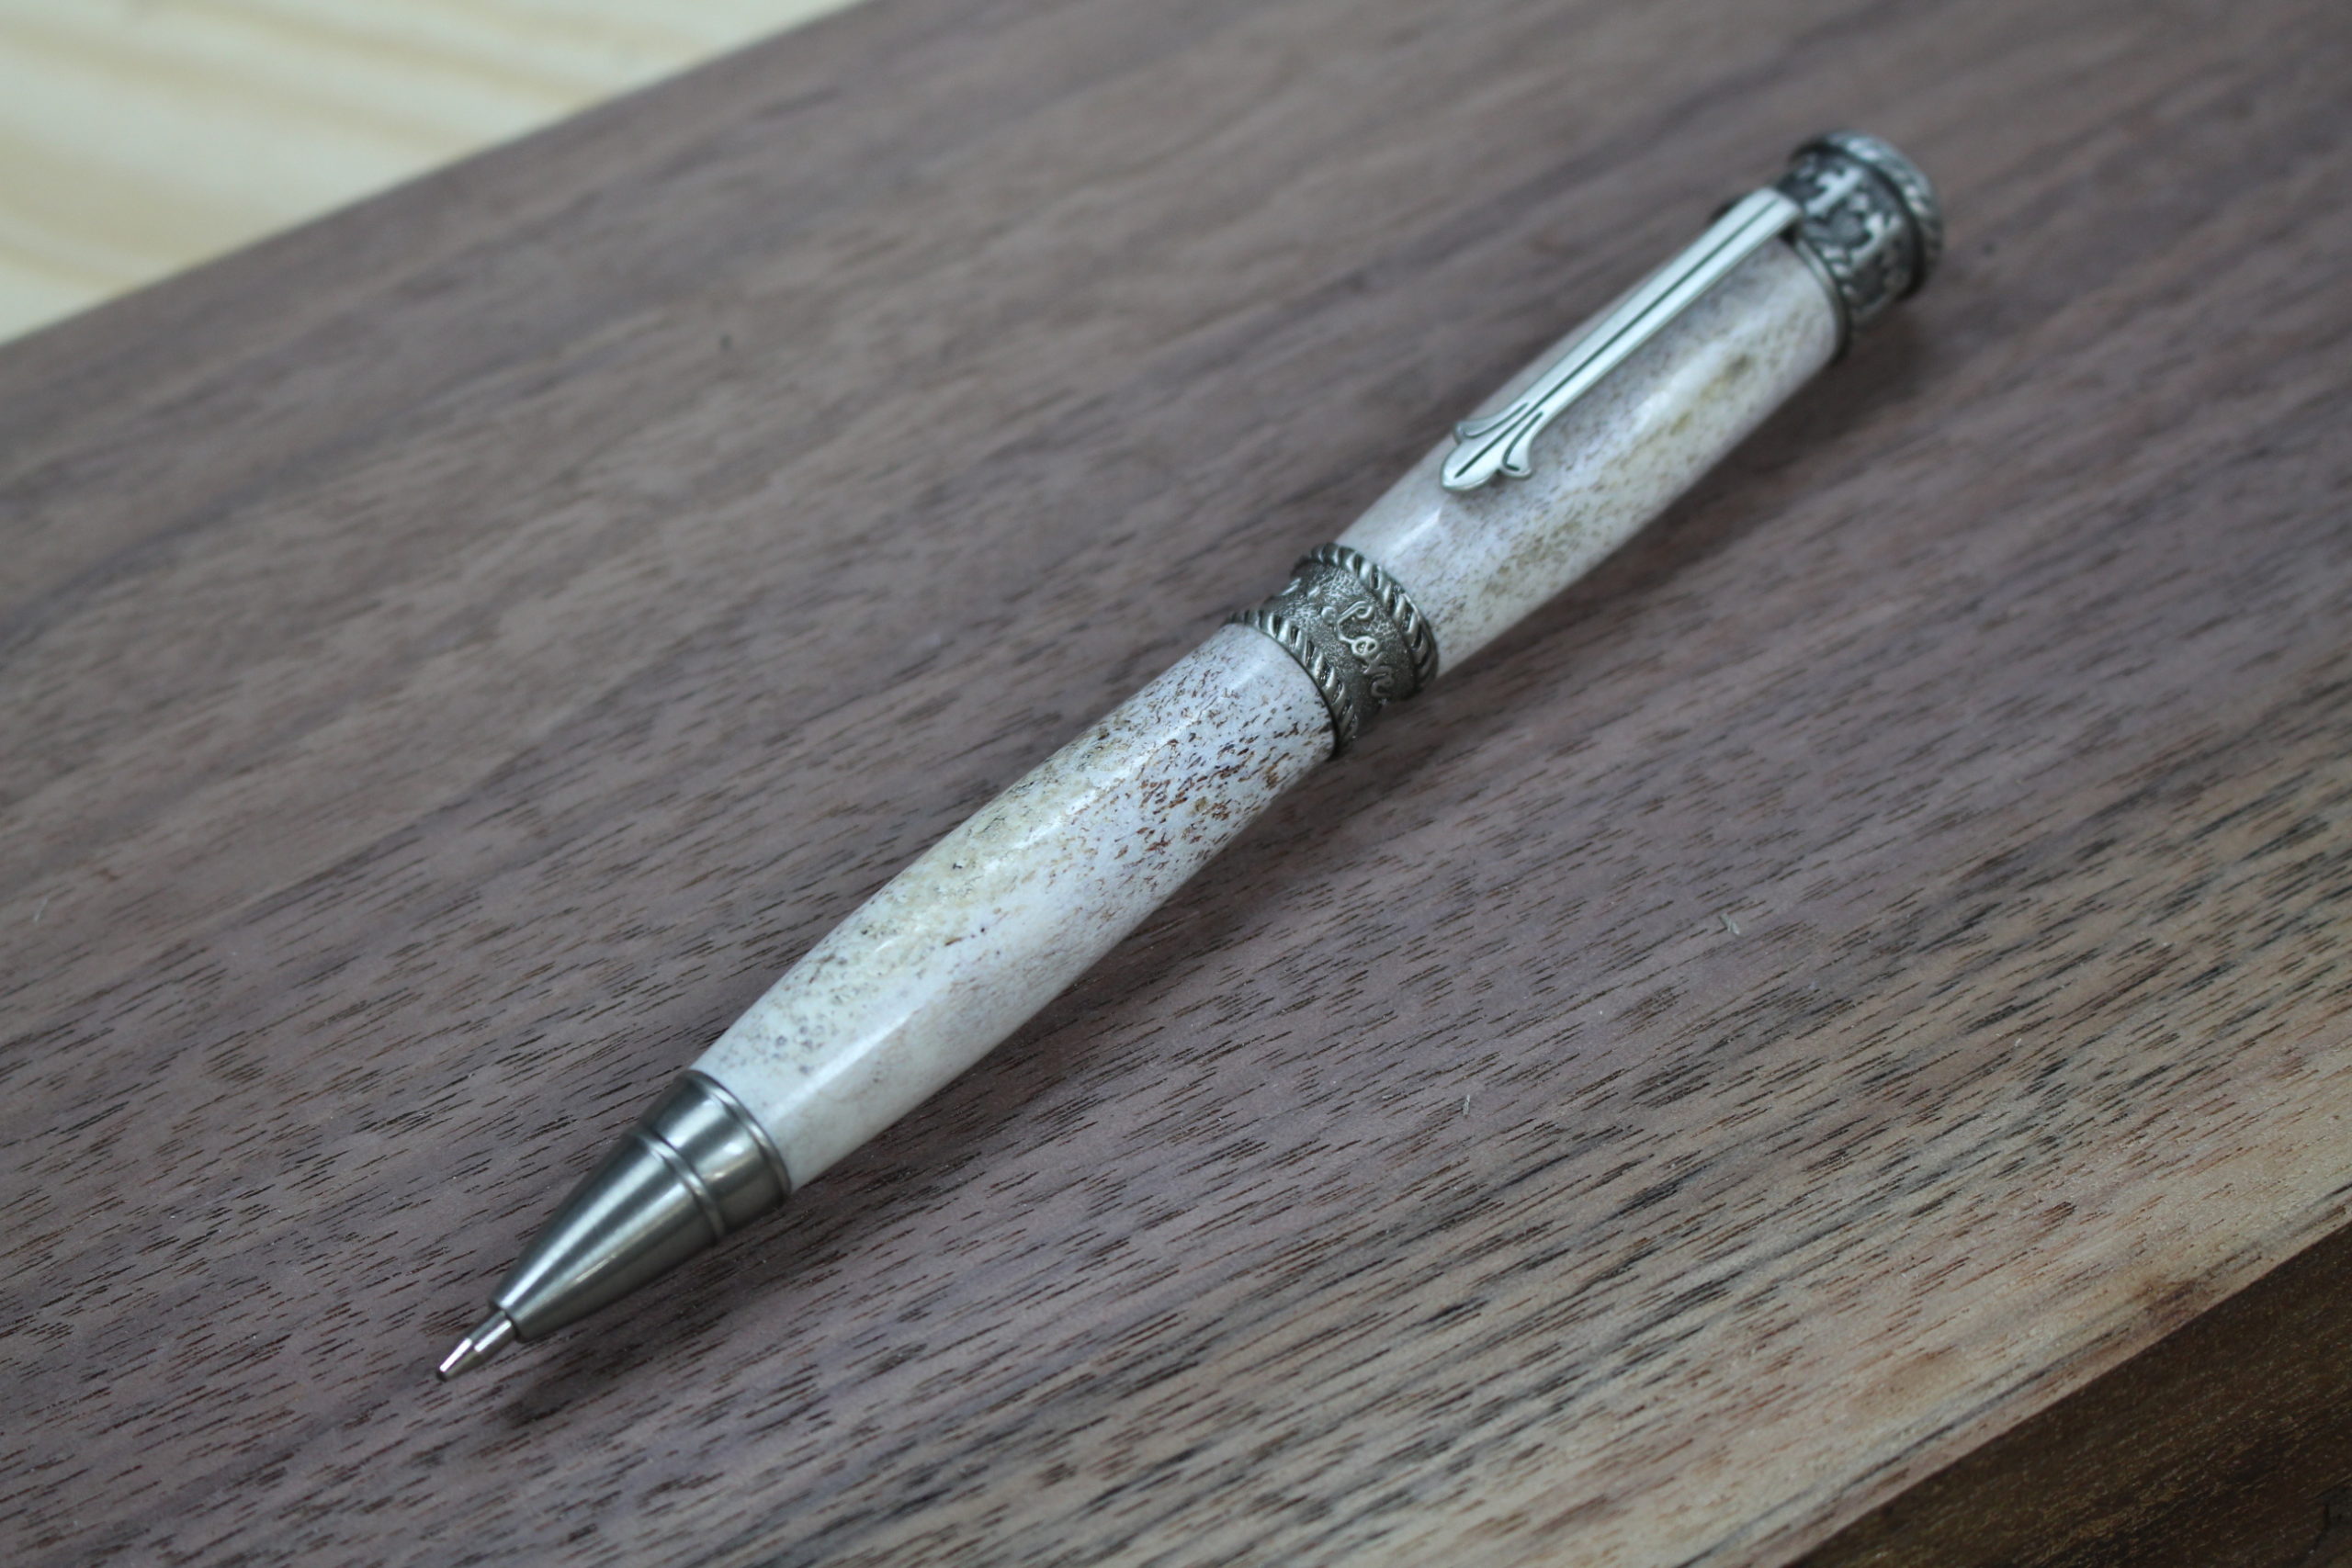
I have thoroughly enjoyed using deer antler for many of my pens. I don’t actively sell my pens, but I do when people request them. And antler pens have been a number one seller. They’re particularly popular with hunters and nature enthusiasts.
In this article, I will share a few practical tips for making deer antler pens. I think you will be pleased that you gave antler a try. And you’ll be amazed at the pens you can turn out.
And when you get a chance be sure to check out a new resource I created: Pen Turning: A Comprehensive Guide.
12 Tips for Making Deer Antler Pens
- Safety always comes first. Breathing antler dust is definitely not good for your lungs. Though I haven’t researched it thoroughly, I have read enough to learn that antler dust could lead to chronic lung problems. So wear a good quality dust mask, and better yet, a respirator. Also, be forewarned that when it’s cut and shaped antler can give off some unpleasant odors. However, I haven’t found this to be to unpleasant. Probably because I have the dust collector going most of the time.
- There are a variety of deer around the world which means there are many different antler types to choose from. Sambar is one that’s very popular for pen makers and knife makers. I use whitetail deer antler because it’s prevalent in my area. Every year the male whitetail will shed his antlers, and I will spend many hours hiking and looking for his lost crown. But you can also order other types of antler from different sources, which I will list at the end of this article.
- Antlers are by nature porous, and that porosity varies throughout the shed. The closer you go toward the base of the antler, the more porous they tend to be. Go further toward the points (tines) and the less porous they’ll be. I try to pick sections that are less porous, which means I often work with medium-sized diameter pieces. Cross-sectional-wise, antler tends to be more porous in the center and less towards the surface. However, having some porosity in the antler is not a complete loss, since you can use CA glue to fill those pores. More on that later.
- As you make pens with antler, you will also notice the color differences. I’ve made some pens that were as white as ivory. And some come out with gray and white variations. You never know what you’re going to get. And this can also vary according to the deer species. I’ve also seen where other people have dyed their antler different colors.
- Drilling antler can be one of the biggest challenges. Try to find a section that is straight as possible. This can be difficult as antler tends to have many curves. One trick I use is to first figure out where I want the pen tube to go within the piece I’ve cut out. (BTW, I use a bandsaw for cutting my antler) Once that’s decided, I’ll take it to my disc sander and put a few square edges on the side surfaces. That way I can fit the pen into my pen vise and the hole can be successfully drilled with my drill press. Well–most of the time it’s a success, but expect some failure when working with deer antler. Everyone has to learn from their mistakes—right?
- Most of the time I’m looking to place my pen tube in the center of the antler, but I sometimes will drill the hole slightly off center. By doing this, I end up with some natural looking surfaces on my pen that don’t even touch my turning tools. Some people like this effect with their pens. It gives the pen a unique look. You can also achieve this effect by turning and tapering your blanks toward the ends, staying away from the middle. But this usually results in some fat pen barrels.
- Rough up the pen tube and glue it in the drilled hole, using CA glue. Make sure your blank is about 1/4 inch longer than the pen tube. Do a dry fit first to make sure the pen tube will easily slide in the hole. For some reason I’ve found that the CA glue will set up faster in antler, so be prepared. You may want to experiment with using thick CA for antler. Once the pen tube has dried, you can use the barrel trimmer or disk sander to square up the ends for your bushings.
- Mount the antler blank and bushings on your lathe. Since antler tends to have an irregular shape, rotate it and make sure it will clear your tool rest.
- Sharp tools are imperative for turning antler. It is a very hard and dense material. But it tends to be more forgiving than acrylic. I usually don’t run into problems with it chipping or cracking. Don’t expect it to turn as easily as wood. Because of the irregular shape and hardness, you’ll need to use a light touch with your tools. You may have to go back and sharpen your tool a couple of times during the turning process.
- Using a roughing gouge, turn the antler down to a cylindrical shape and check your progress. Turn it some more until you’re fairly close to the sanding stage. At this point, I like to take some thin CA glue and thoroughly soak the blank. The thin CA seems to get sucked into the antler like it’s a sponge. Allow plenty of time for the glue to dry and harden. This step may not be necessary if the piece is already on the less porous side. But normally you will need to do this for thicker pieces with more marrow in the center. I also recommend taking the antler off the lathe for this step.
- Place the antler back on the lathe and continue turning the blank slightly more. At this stage, try using a very sharp skew. If the blank still seems porous, repeat step 10 one or two more times. Finally, add some medium or thick CA glue. Apply it kind of the same way you wood finish a wood pen. I like to apply a thin coat, and I use a small plastic bag as the applicator. Give it plenty of time to dry.
- You should now be able to move on to the sanding process. I use the same grit sandpaper that I do for wood, but usually start with a finer grit like 350 or 400. For antler, it can be effective to use wet sand paper. I move on to using micro mesh cloths, and I apply them wet. Some like to end the finishing process with a CA finish. As already stated, we’ve used the CA glue to “stabilize” the blank. Antler will normally develop its own polished, glossy look. You really don’t need to apply a final finish, but some like to buff it with wax. If you use the pen outside often or in moist conditions, then a CA finish is probably warranted.
I hope you found this article helpful. Feel free to comment and share your tips and experiences on working with deer antler. Here a few sources that sell antler:
And if you want a very interesting read about antlers, grab a copy of the book Antlers by Dennis Walrod.


Something I’ve found useful is to use your band saw and a disk sander to rough out the cylinder from the raw antler. This save lots of wear and tear on your lathe tools, and reduces the time required for the initial turning.
Thanks for the tip! That is some great advice.