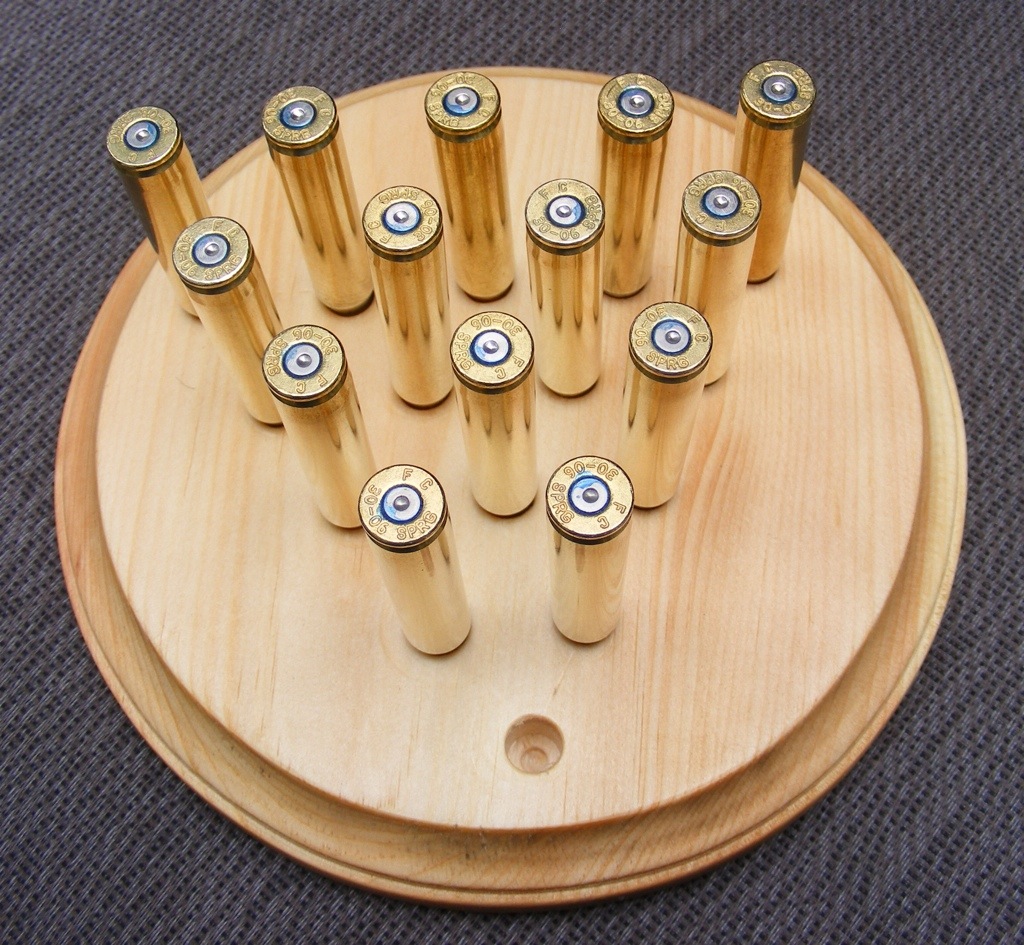
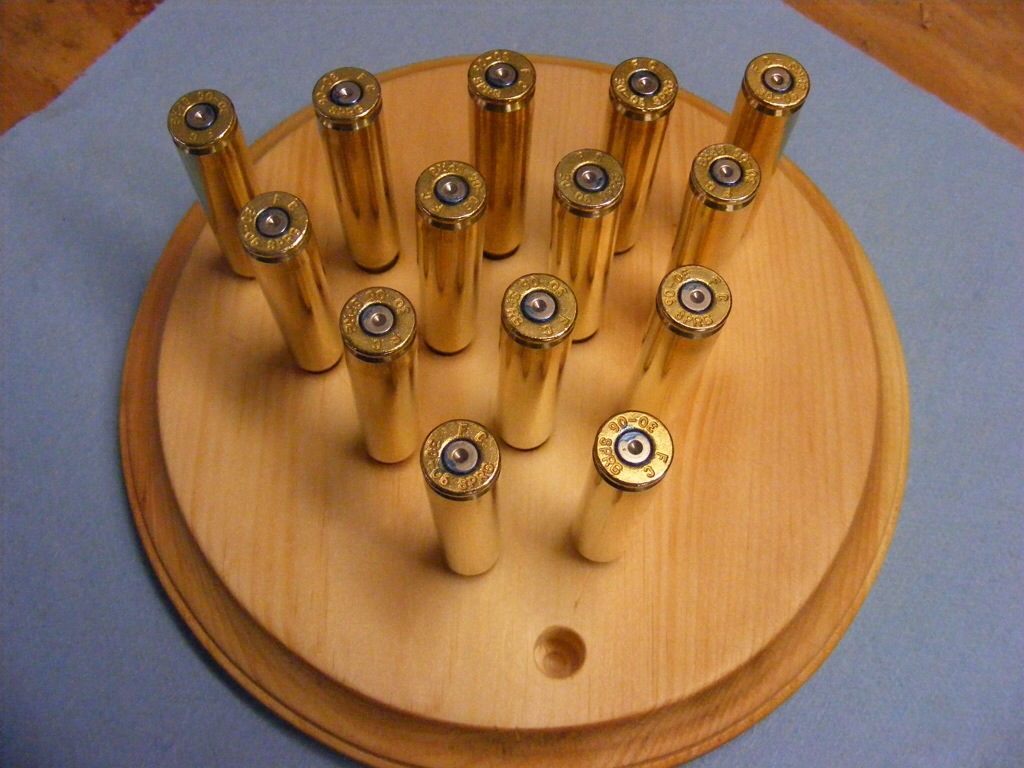
So my daughter and I were eating supper at Cracker Barrel, and Steph grabs the peg board game. We both became enraptured with solving the puzzle. And finally–in spite of our brain-dead state–she figured out the combination of moves that left one peg standing. Fortunately, enough brain cells were firing, and I had my vision of the 30-06 Board Game, pictured above.
This craft will make a great gift for those hunting or shooting enthusiasts in your life. What a great way to recycle some used 30-06 shell casings (unless you had planned to reload them). And, it’s so easy to make.
What you will need:
Wood of your choice (I used pine)
Drill – preferably a drill press, but that’s optional
Drill bit – 23/64
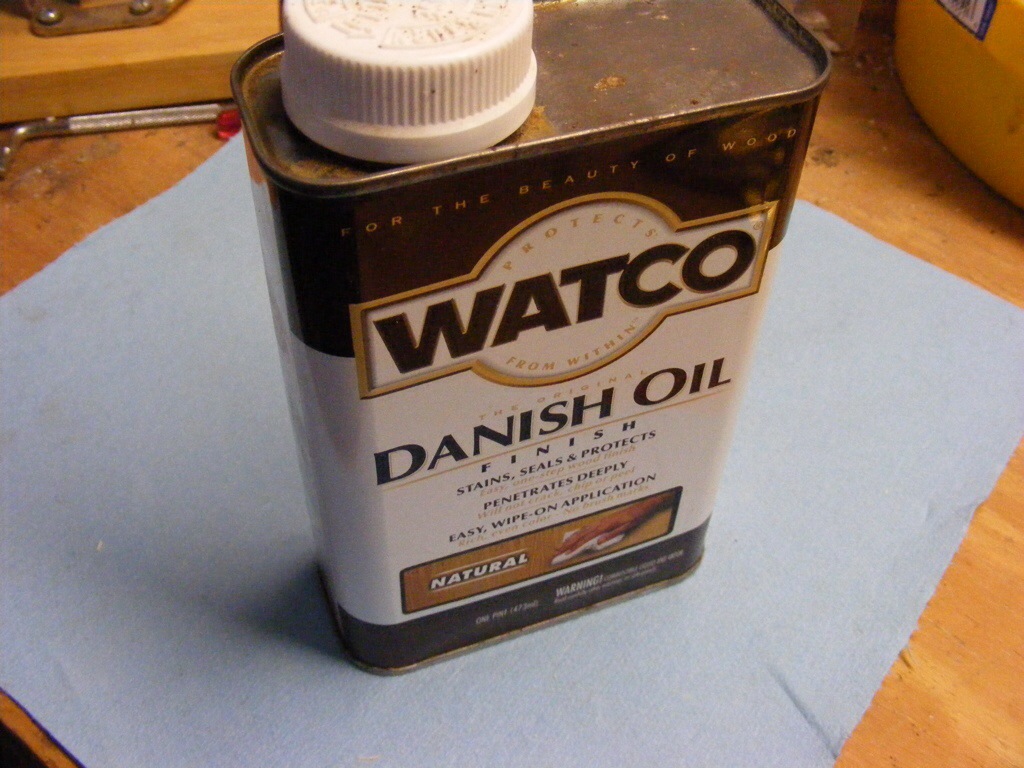
Danish Oil to finish the wood
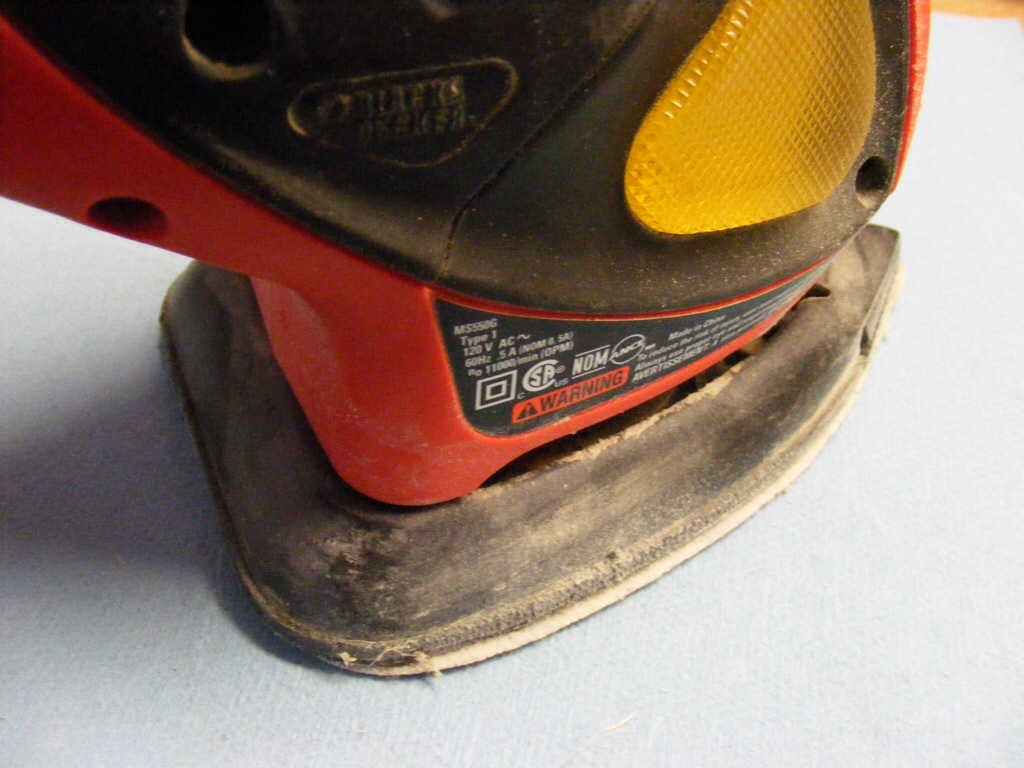
Sander and/or sandpaper
Clean cloth
Spent 30-06 shell casings
Wood Choice
Before I get into the steps for making the game board I wanted to talk about wood choice for the board. I had this round pine board already on hand. I either got this at a home improvement store or a craft store like Hobby Lobby — I just can’t remember.
Fortunately, this board already had the curved edging. If you wanted that same affect, you could use a router. But look in the craft stores and you might be able to find something similar to what I have.
If you don’t have a router, then don’t worry about the look or shape of your board. The main thing is getting a 1/2 inch to 3/4 inch thick board and wide enough for laying out the triangle as I’ll show you in step 2 below. So, you’ll at least need a board that’s 6″ by 6″.
Do an internet search and you’ll see other design ideas. I see others using hardwoods and a lot of them cut the board into a triangle shape. You can make the board any shape you want. Get creative — maybe it could be the shape of an animal.
Step 1 – Find Correct Hole Size
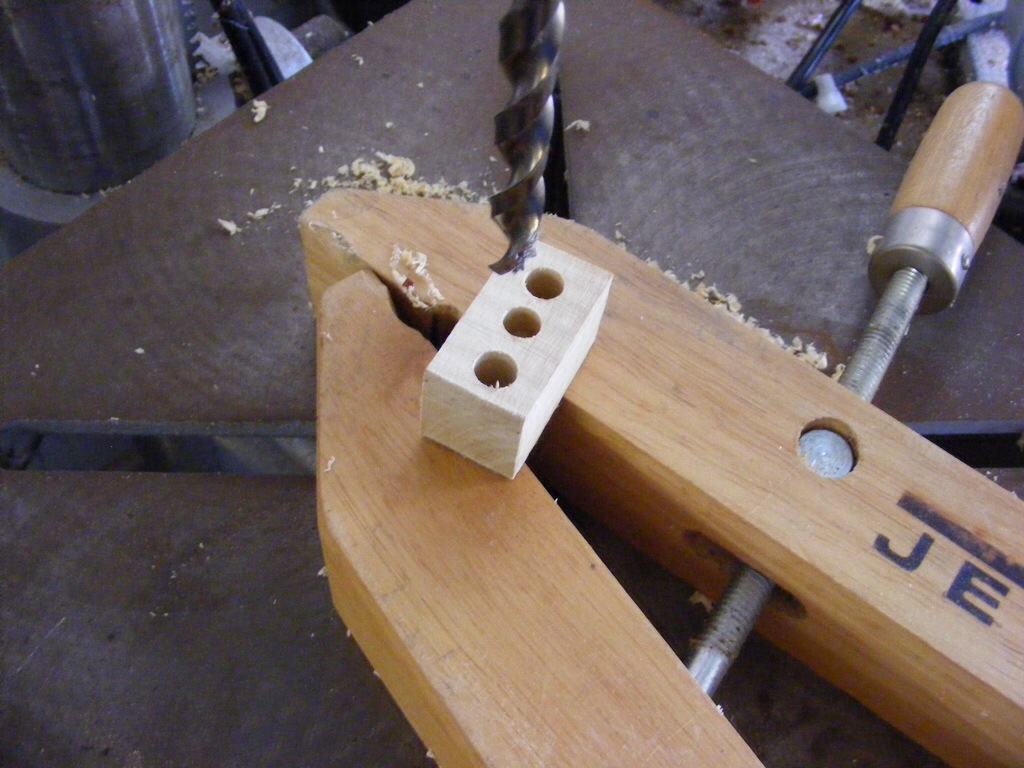
Find the right drill bit to make holes big enough (but not too big) to accept the neck portion of the 30-06 shell. Drill some test holes to discover the correct bit size. For the 30-06 shell I used a 23/64 size bit. Even if you use 30-06 shells, I still recommend drilling test holes in scrap wood. The goal is a hole that will accept the neck of the casing and fit snug enough so the casing stands up straight and doesn’t wiggle around.
You could use several caliper shells for this game, so drill bit sizes will vary. That’s why I put this hole test step in the tutorial. Use your favorite shell casing.
Step 2 – Lay Out Holes
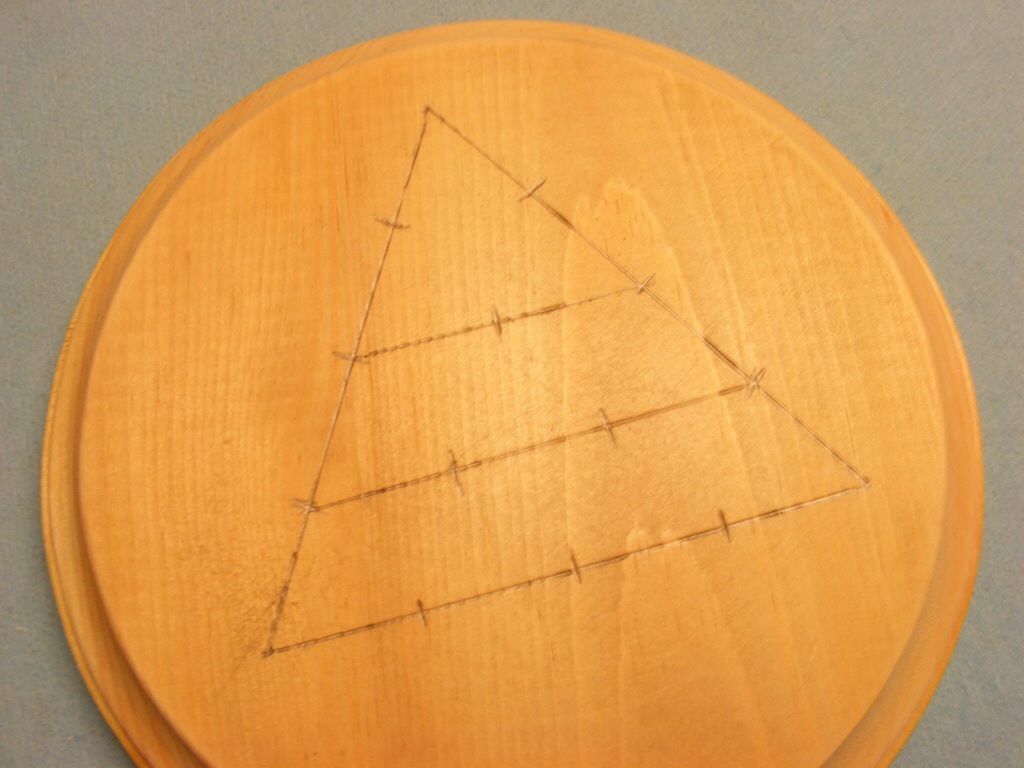
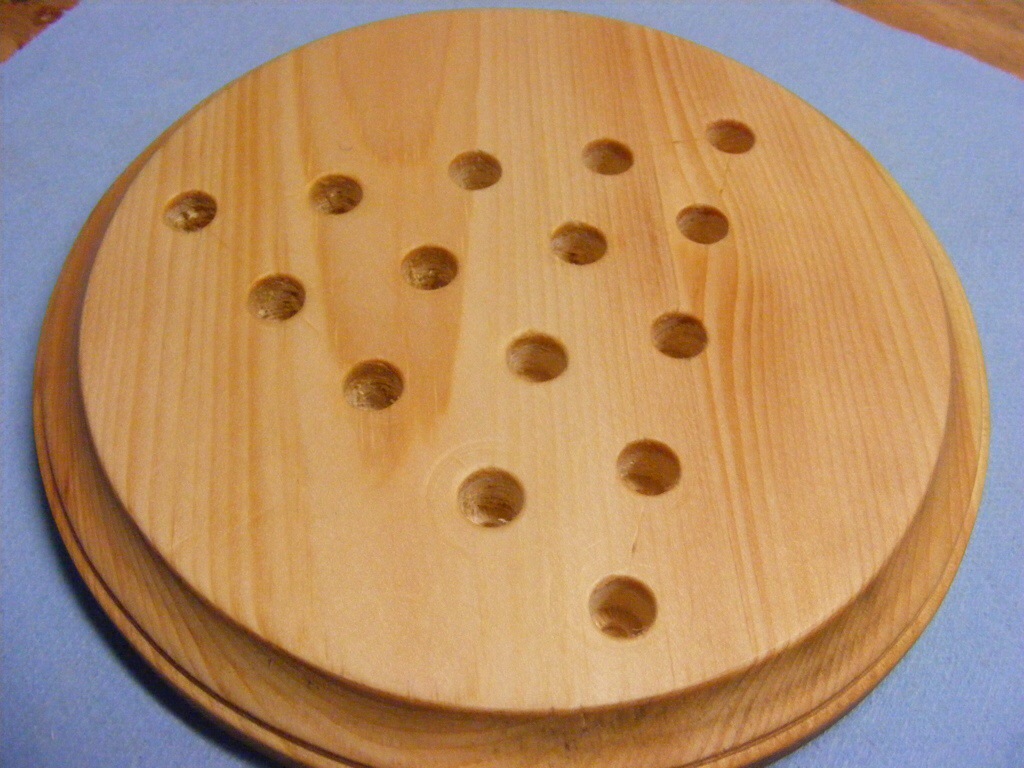
Lay out the triangular grid of holes, using a ruler and a pencil. For my puzzle, each hole is 1 inch center to center. This is so EASY to lay out and you can do it in minutes.
It’s an equal-sided triangle, 4 inches on each side. The first line down will be 2 inches across and the next line will be 3 inches. Just make the marks like I show below at each 1 inch mark. You should end up with a total of 15 holes.
Step 3 – Drill the Holes
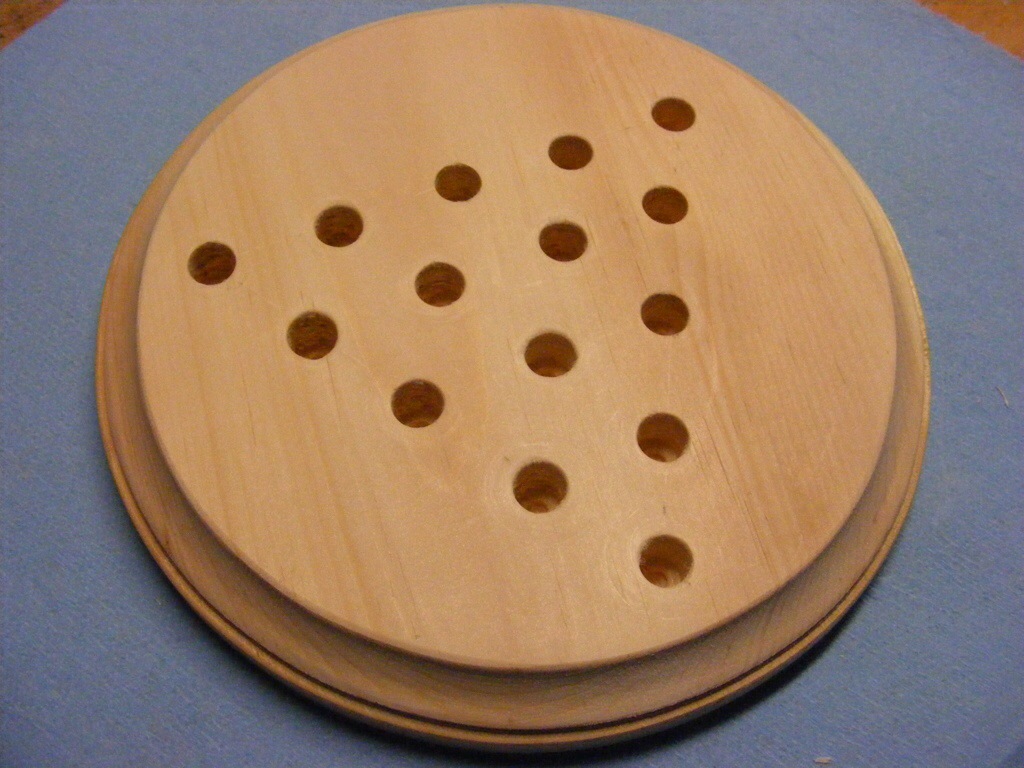
Using a piece of waste wood, experiment with the depth setting on the drill press. You don’t have to drill all the way through the wood. Drill a deep enough hole so that the shoulder of the shell casing will rest on top of the wood and fit’s relatively snug. Carefully, drill the 15 holes according to the markings.
Step 4 – Sanding
Use your electric sander or sand the wood by hand. Start with 120 grit sandpaper and go to 220 grit. Use an orbital sander on the flat surface and then sand curved parts by hand.
Step 5 – Finish the 30-06 Board Game
You can finish the wood with paint or stain. I went an easier route and used Danish Oil. Use some denatured alcohol and clean off the dust from the sanding. Then follow application directions on the back of the can. I made sure to wear nitrile gloves while applying the Danish oil.
Step 6 – Polish 30-06 Casings
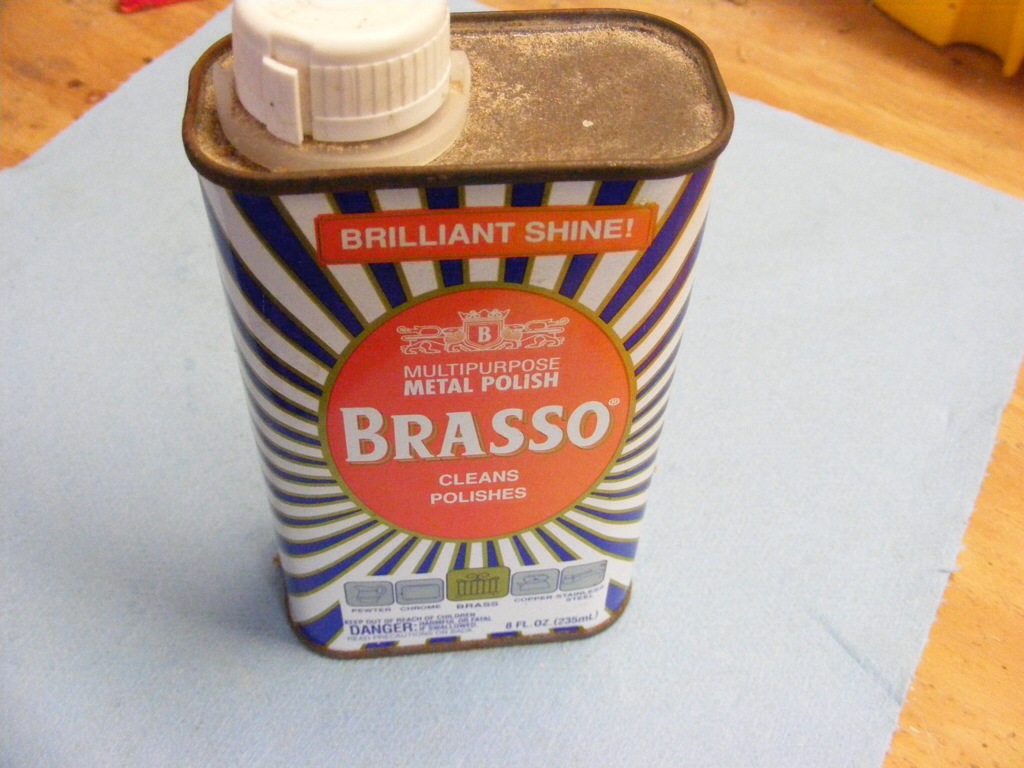
Take a clean cloth and polish your 30-06 casings. I had on hand some Brasso polishing compound for brass. This step is optional, but it will make the bullet casings look more polished. Overtime, the casings may lose there luster and you can reapply the Brasso.
Step 7 – Insert Shell Casings
Insert your clean shell casings into your new 30-06 Board Game. Have fun trying to figure out the solution. If you get desperate, you can click here to see how my daughter solved the puzzle.
I hope you enjoyed this tutorial. Feel free to share this tutorial with your friends and family. Be sure to subscribe to this website, if you want to be notified of new tutorials. Look for the signup form below.

Are you starting up a new shop? Want to work safer in your shop? To help you answer these questions I've put together a 2-part checklist -- Home Shop Safety & Tool Checklist.
I will also send you updates of my latest woodworking and DIY projects. You can get all this by subscribing to my free email newsletter.
