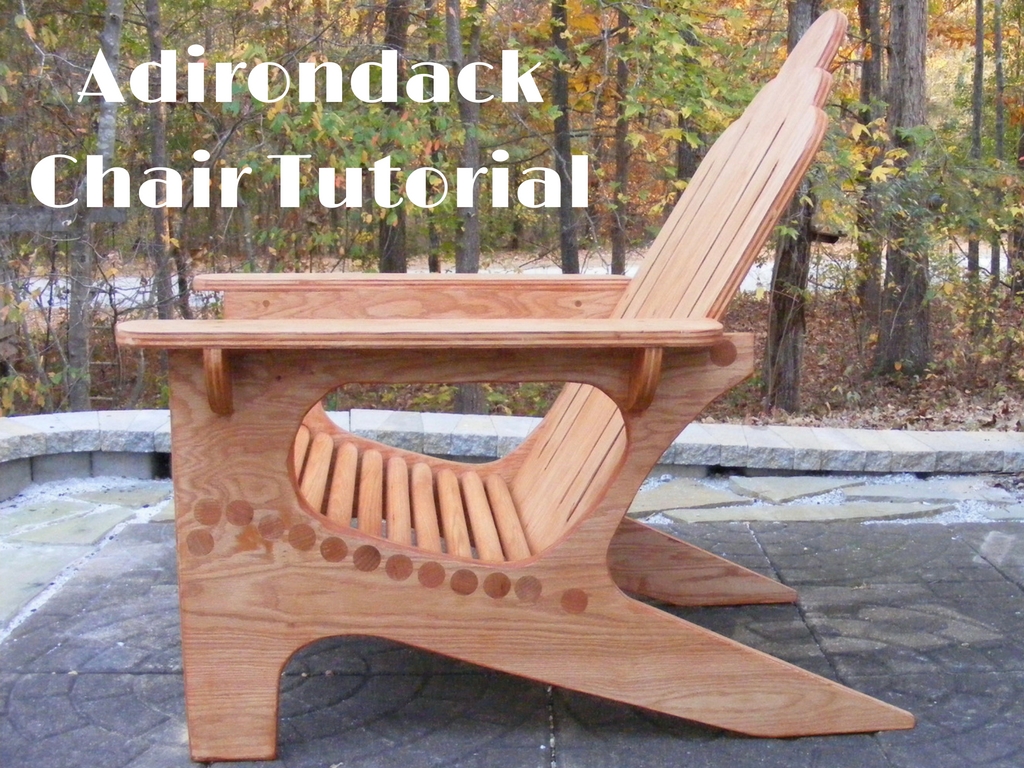
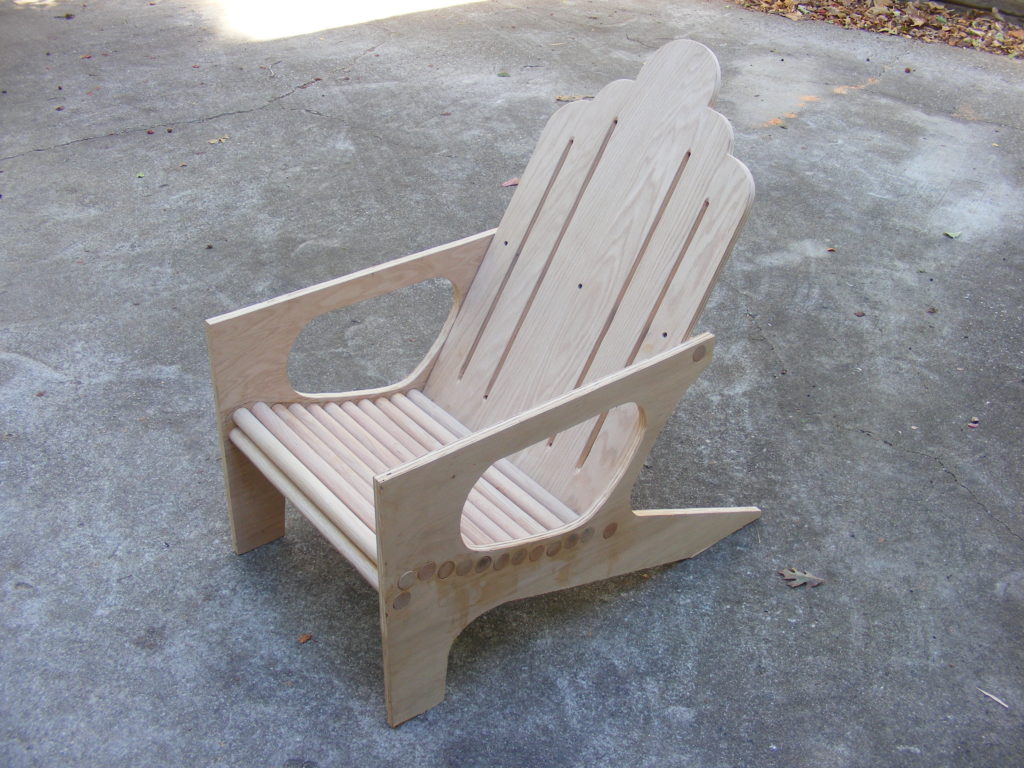
Okay — not another adirondack chair tutorial!! Don’t we have enough of those? But I promise this design is very different. In my humble opinion, this makes for an elegant design that will enhance your back yard or porch. Some parts of the design are extremely simple and some can be a little challenging. Overall, it’s an easy project you can build over the weekend, using a few tools.
So how is my design different? Keep reading.
My design uses oak plywood and 1.25 inch oak dowels. The dowel construction makes for a very strong chair. In fact, the glued dowels are what really hold the chair together. I used a few screws, but those were for attaching the back and arm rests. I also think the dowels give it a fine-woodworking quality, even though, I don’t consider myself a fine woodworker.
For your convenience, I put together a set Adirondack Chair Plans in a PDF.
Click here to Download the Adirondack Chair Plans
The plans show you the dimensions and boards you will need. Use the PDF plans together with the tutorial below. The tutorial will give you a more pictorial view of the steps.
Let’s get started.
Tools and Materials I Used (some affiliate links included):
DEWALT Jigsaw
Craftsmen Drill Press
DEWALT Orbit Sander
Bosch Portable Drill
DEWALT Sliding Compound Miter Saw
1.25 Inch Forstner Drill Bit
Kreg Jig K4 Pocket Hole System (Optional)
Sandpaper (80, 120, 220 grits)
Steel Wool (000)
Wood Glue
Finish of choice
1.25 inch exterior wood screws
DEWALT 8 Countersink with 11/64-Inch Drill Bit
3/8 inch oak plugs
Let me emphasize the importance of having some kind of drill press or Drill Guide Attachment for your hand drill. For the dowels to fit precisely and stay aligned, you will need a way to drill clean perpendicular holes through the sides of the chair. You’ll see what I mean later in the tutorial. You can also view the short video below that gives you a quick overview of the Adirondack Chair build. More details are found in the plans and the written tutorial below the video.
Safety First
I think you will need between a beginner to intermediate woodworking proficiency for this project. But probably more on the beginner side of the scale. Make sure you wear all the appropriate safety gear and identify the hazards in your work environment. Read the manuals that come with your power tools so you can operate them safely.
Now — On to the adirondack chair tutorial:
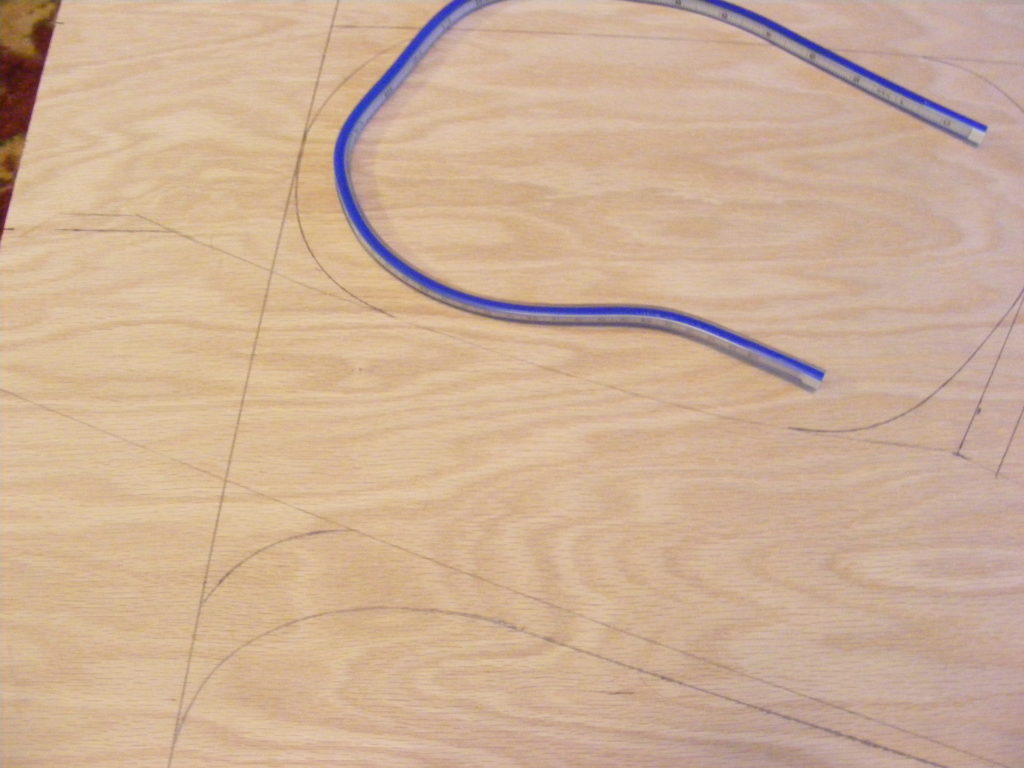
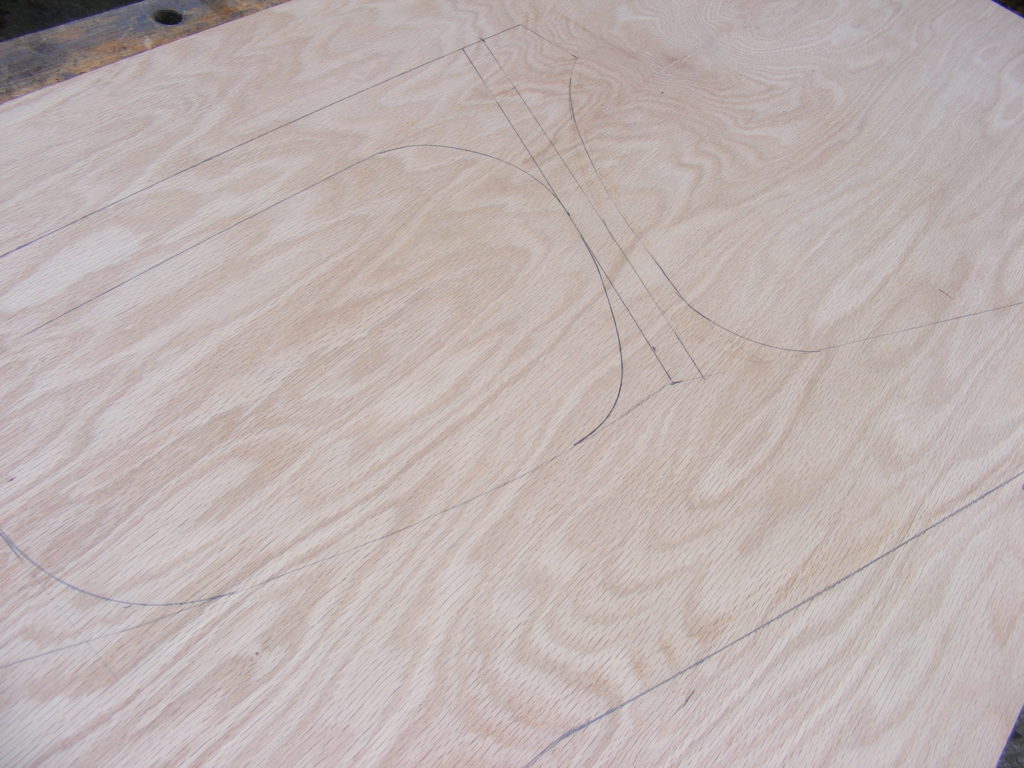
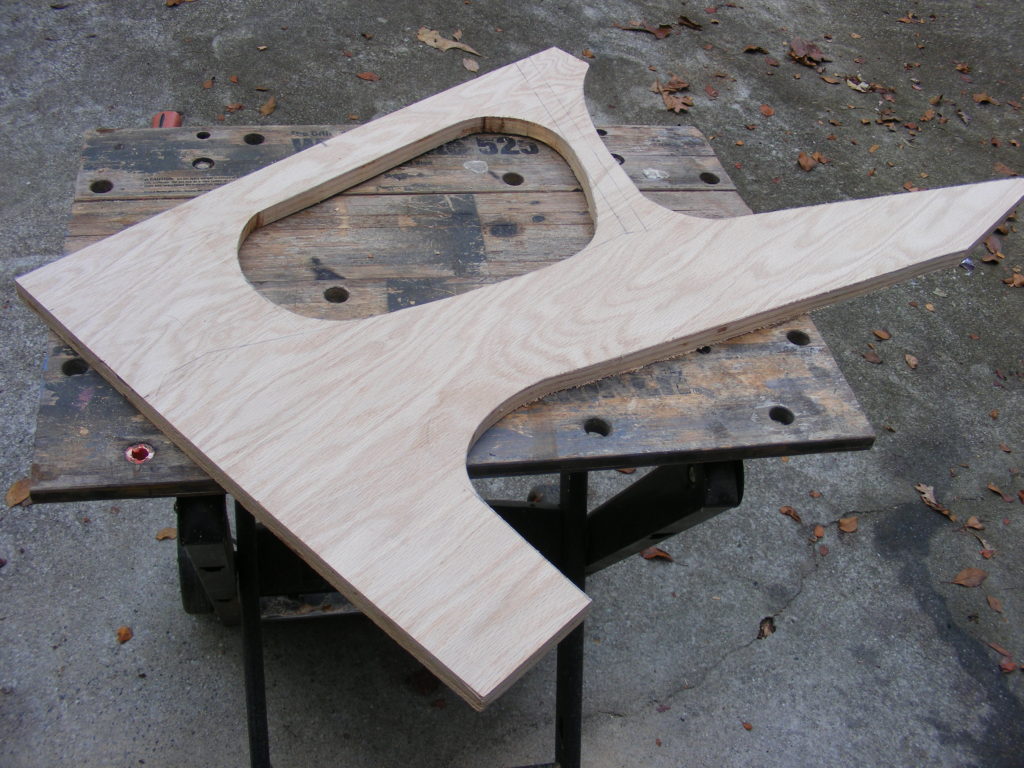
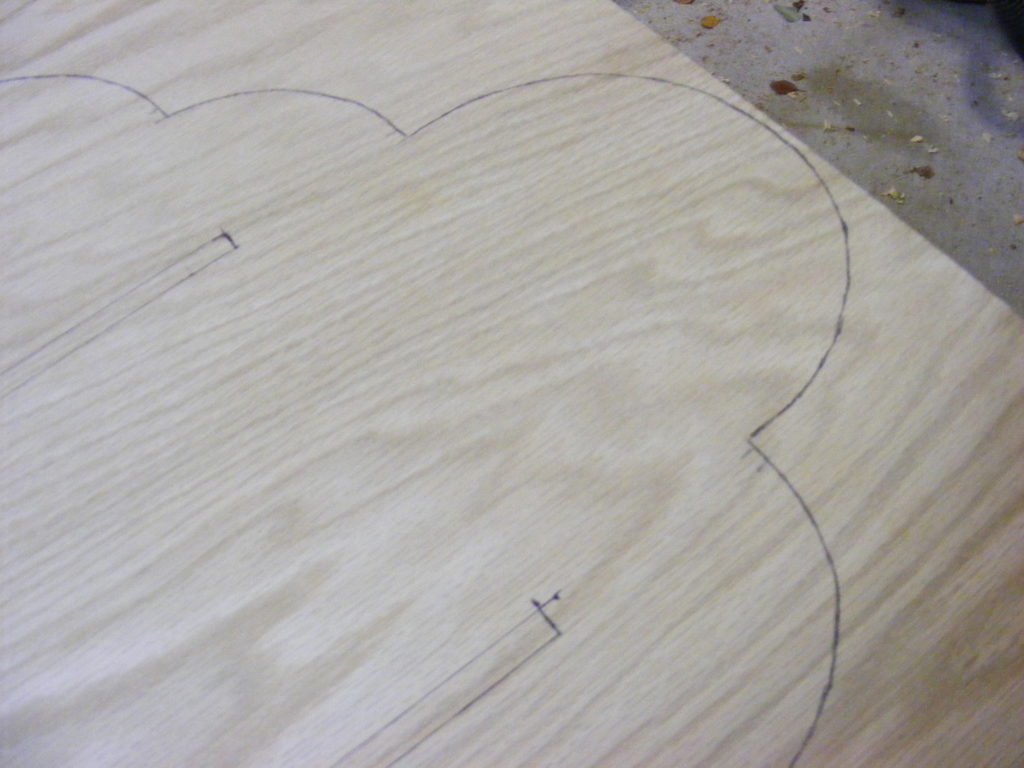
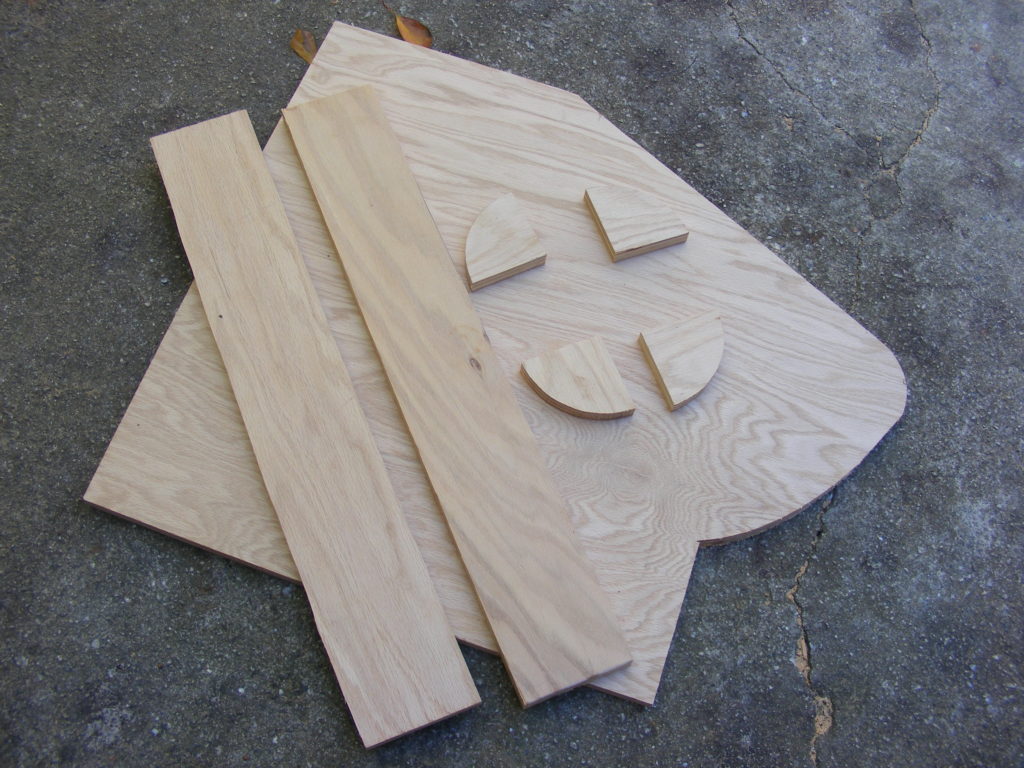
Step 1 – Layout the adirondack chair. I adapted my chair’s concept from an existing Adirondack Chair I had made a few years ago. In the photos above, you see me creating my layout of the chair. I veered from other Adirondack Chair designs and made my own design.
Click here to Download the Adirondack Chair Plans
Yes, the oak plywood is a little pricey. You could purchase cheaper plywood if you decide to paint over the chair. I wanted the beautiful oak to stand out, so I went a more expensive route. For this design, I used three 2 ft. by 4 ft. pieces of 3/4 inch oak plywood. Shop around and get a good deal.
UPDATE: I’ve been getting some questions about the plywood I used. The plywood I used is NOT an exterior plywood. However, I have put my chair under the porch covering, and it’s not directly exposed to rain. It’s holding up fine, probably because I put several layers of spar urethane on it and no direct exposure to rain. However, most people will probably want to leave their chair out around a fire pit where it’s in the elements all the time. In that case, go with an EXTERIOR plywood, and even then you probably want to consider sealing it or painting it.
I primarily went with the oak because the oak dowels matched the plywood, and I didn’t want to cover up the beauty of the grain. If you can’t find an exterior oak plywood to match the dowels, then I’d recommend painting the chair with an exterior paint.
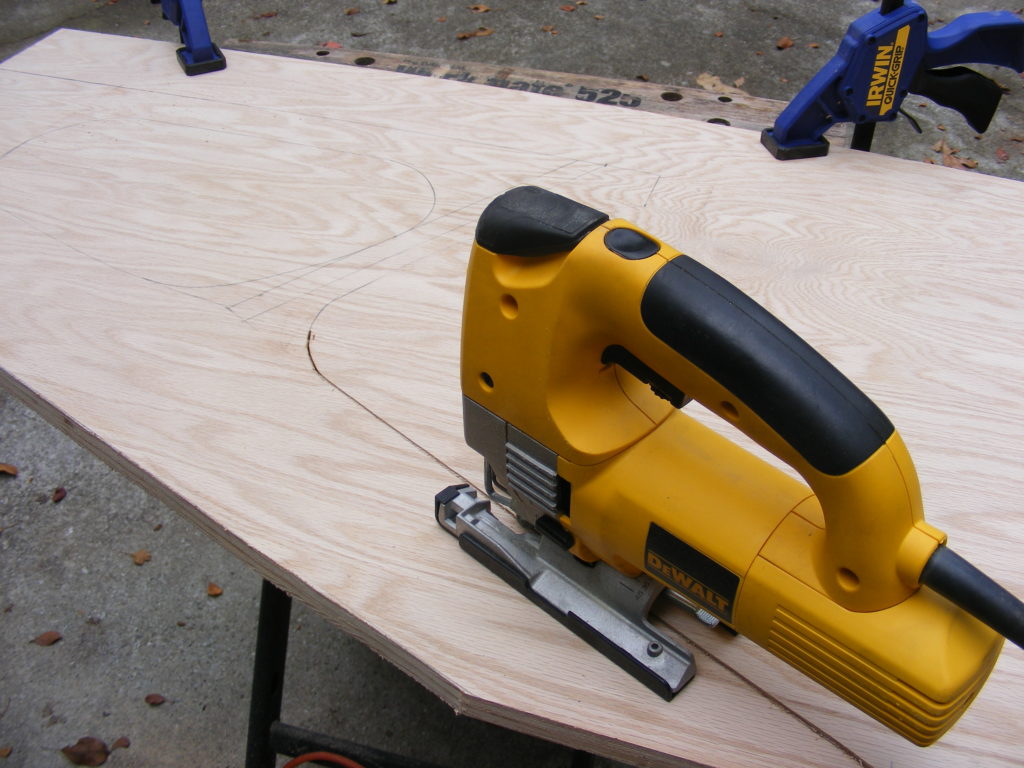
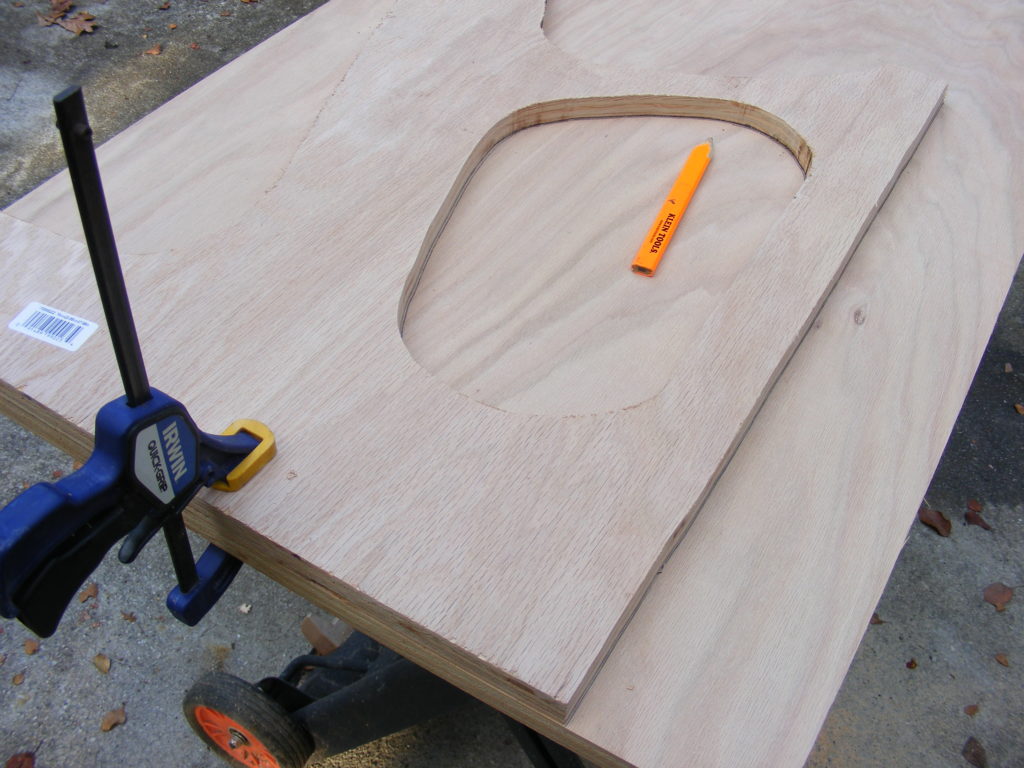
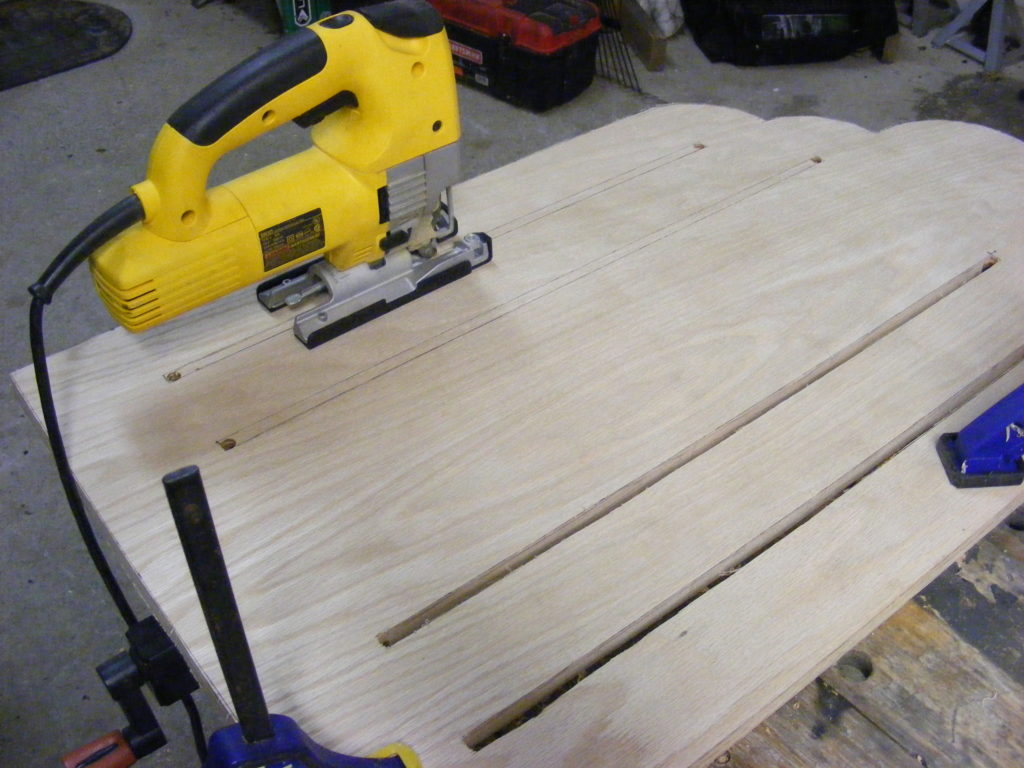
Step 2 – Making the cuts. I used a jig saw (also called saber saw) to make just about all the cuts. This worked nicely since I had added some curves to my design. I set the plywood on top of my Black & Decker Workmate and used 3 quick grip clamps to hold it down while I cut. With the jig saw, you want to go slow. I like to hold mine with both hands — one holding and the other guiding. But let the blade do its cutting. For any inside cuts, drill a hole first so you can get your jig saw blade in place.
For the oak dowels, I used my chop saw and cut to 21 inch lengths. You could also use your jig saw for this. If so, make sure you trim the dowels a hair longer than 21 inchs. You can sand off the excess later once glued into the chair’s sides. But a chop saw or table saw would be the preferred way to cut these.
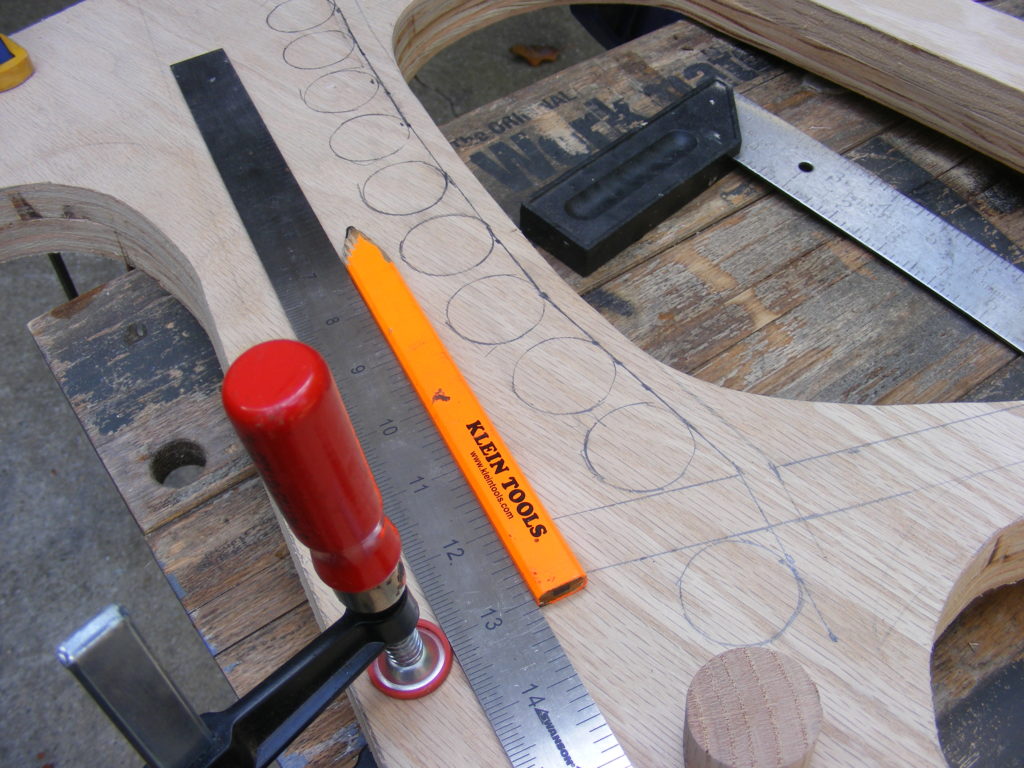
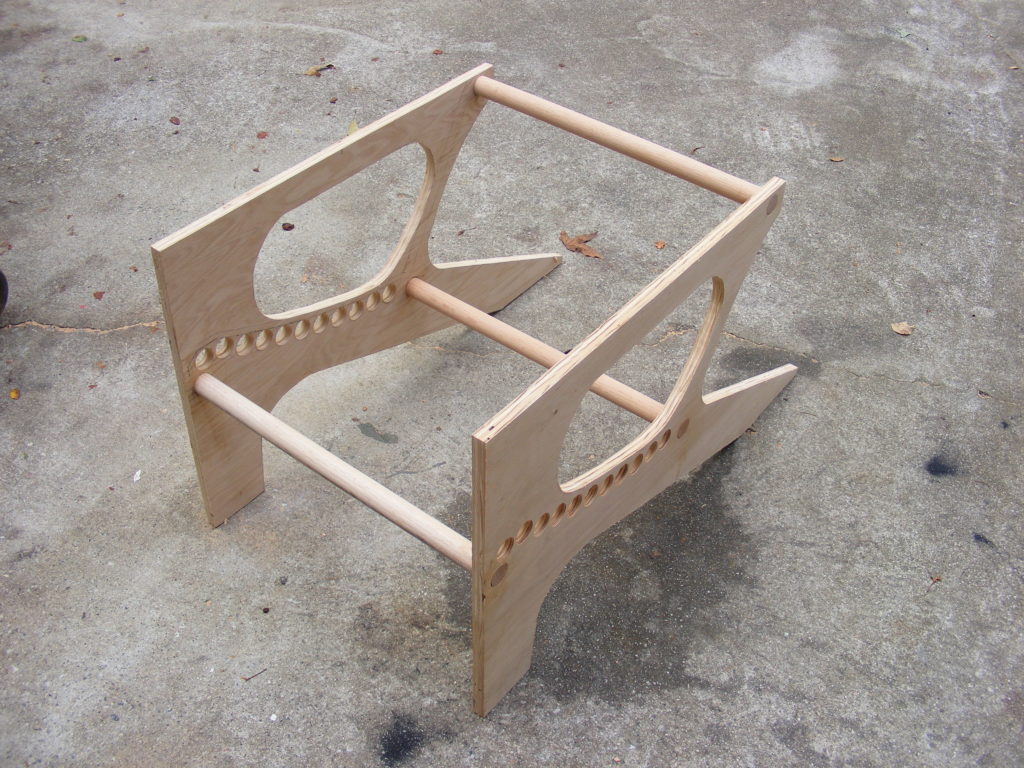
Step 3 – Drill holes for the oak dowels. I elected to use 1.25 inch oak wood dowels to make the seat for the adirondack chair. I cut off a piece of a dowel and laid out the holes. I spaced the holes 1/4 inch apart. I used 12 dowels for the seat and 2 to hold the chair’s back board. For that last dowel near the back, you’ll need to leave space for the back to attach. So the last 2 dowels have about a 1 inch space between them. All the others have about 1/4 inch spacing.
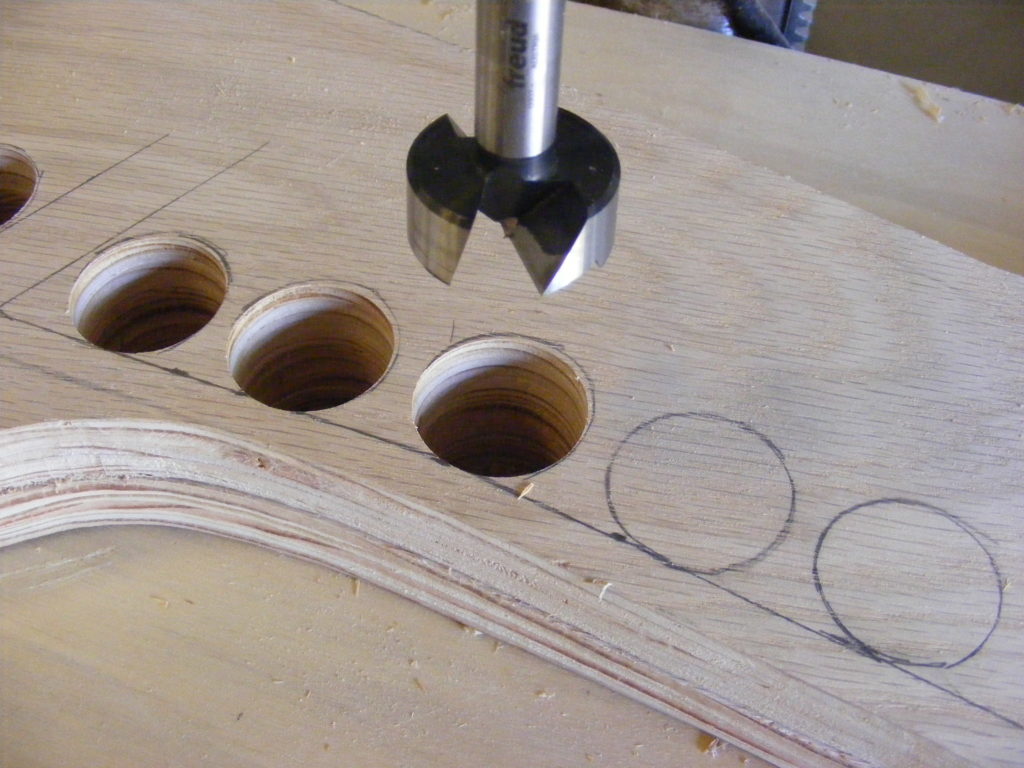
To drill the holes, I used a forstner bit to get a clean hole. I would recommend practicing on some scrap pieces of plywood to get a sense of how to get a clean hole and not cause the plywood to splinter. I definitely needed a waste piece underneath the chair boards when drilling through. You will also notice that I clamped both the chair sides together the whole time I made my holes. This definitely helped with alignment and kept the finished chair from wobbling.
It’s so important to get these clean holes and drill them perpendicular in your side boards. A drill press is preferred or get a jig to go with your hand drill.
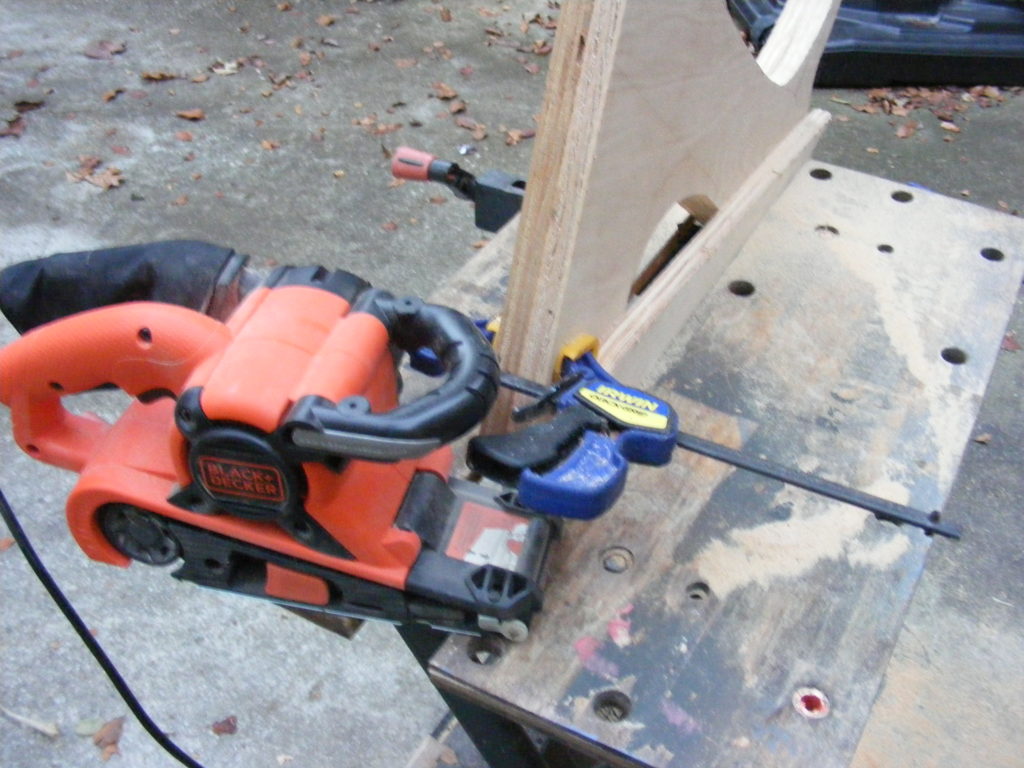
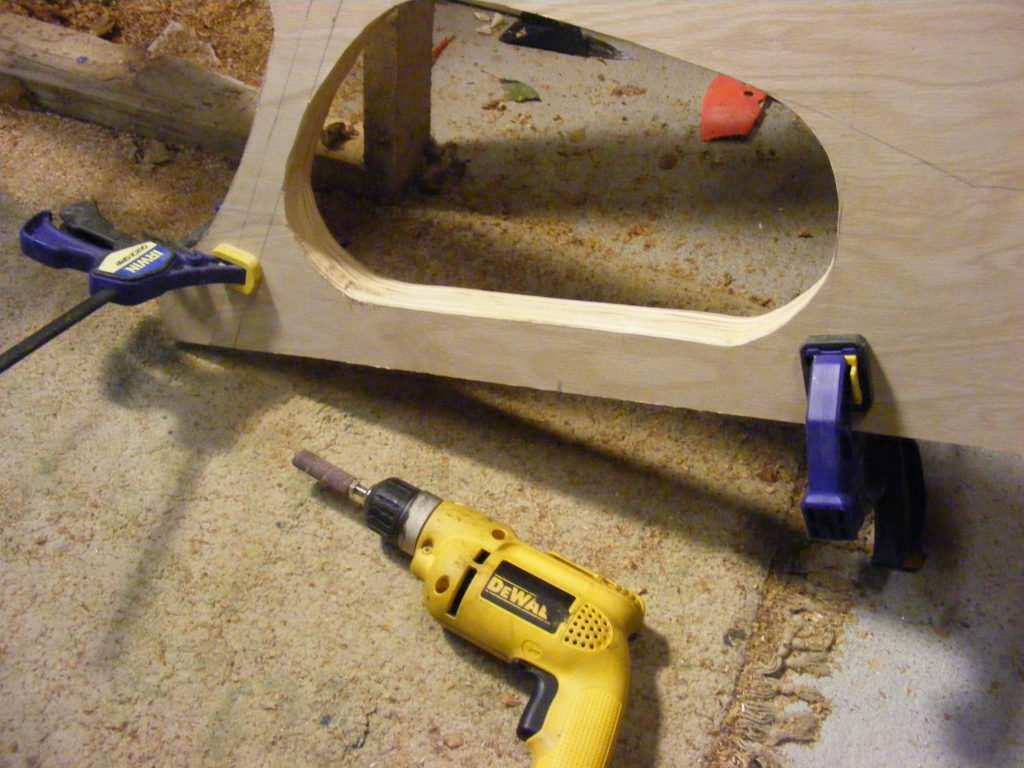
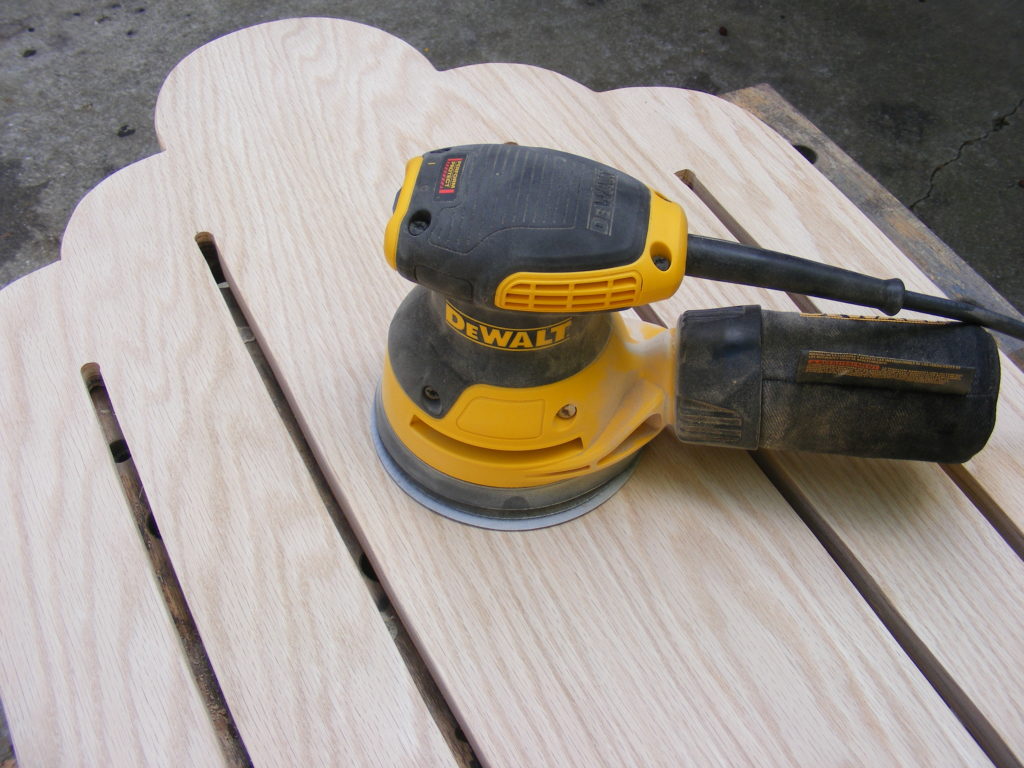
Step 4 – Sand the cut-out parts of the adirondack chair. I used my portable belt sander and hand drill drum sander to smooth out some of the jagged cuts from the saber saw. It’s nearly impossible to get clean cuts from a saber saw. But be careful using a belt sander and don’t get too aggressive. For all the finish sanding, I used my orbital sander to sand edges and surfaces.
I also sanded the wooden dowels so they would fit nicely in the drilled holes. Because the forstner bit cuts such a clean hole, the dowels initially were quite a tight fit. The extra sanding helped the dowels fit much better. Make sure they easily fit before you apply any glue.
Step 5 – Assemble the adirondack chair.
To begin the assembly, I glued in place 3 of the dowels to create a rigid structure for mounting the chair’s back board and this helped with installing the remaining dowels.
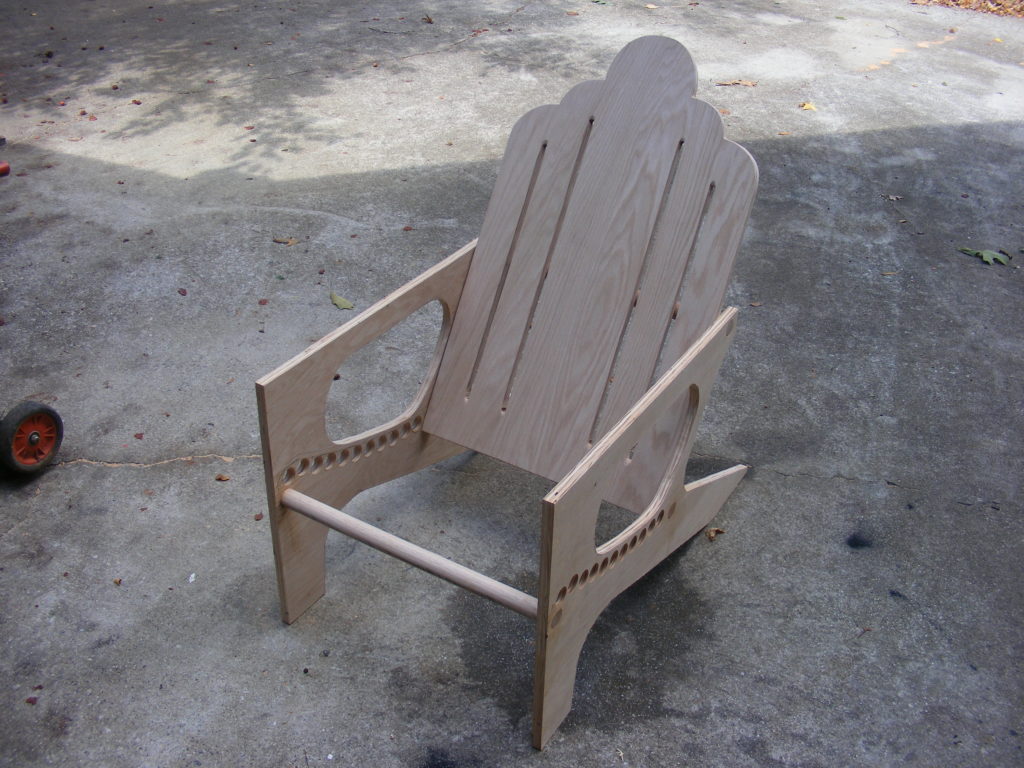
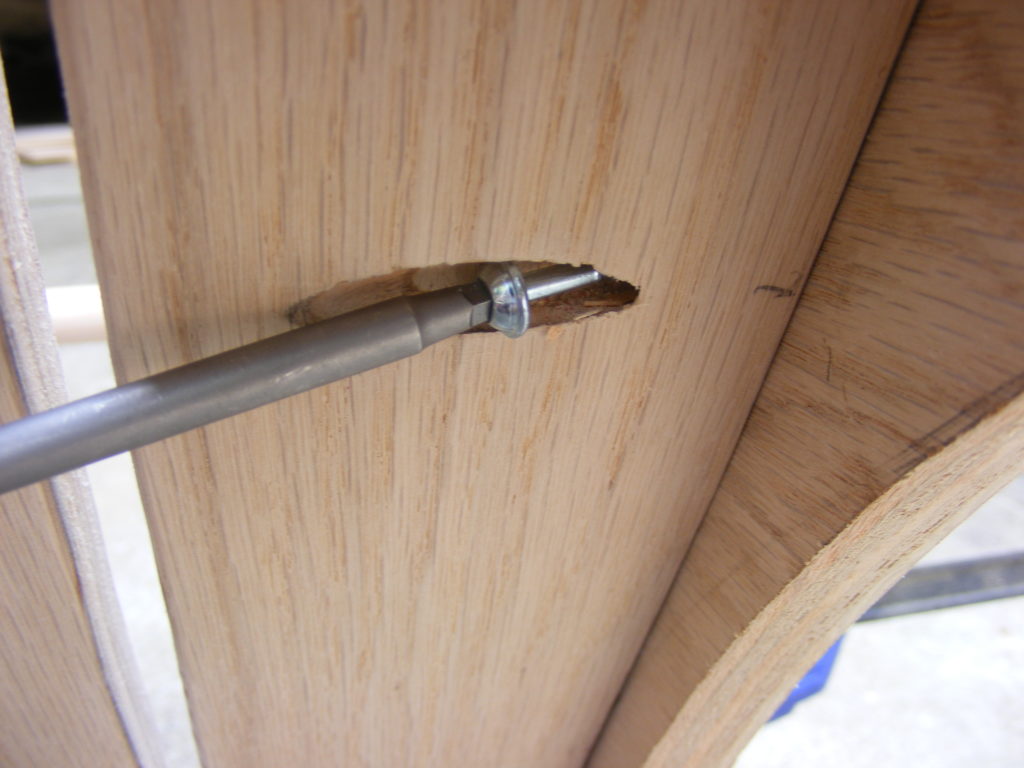
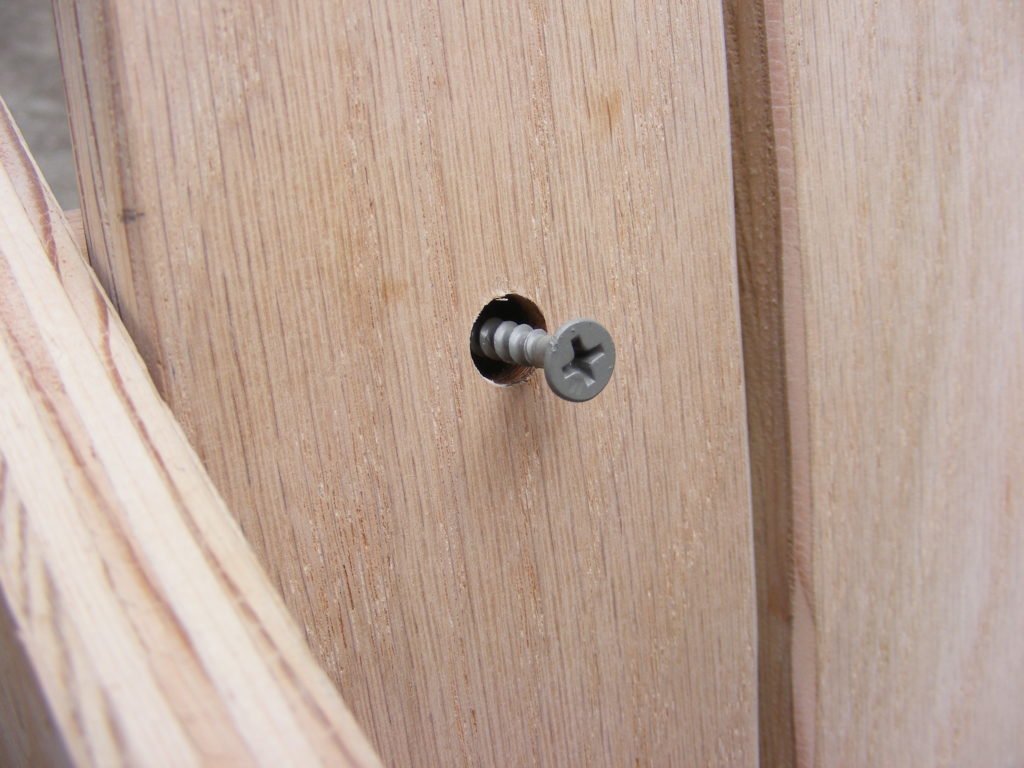
Attach the chair back board BEFORE you start installing all the other dowels for the seat. The back of the adirondack back is attached to the 2 back dowel supports. I use 3 – 1 1/4 inch exterior decking screws for each dowel attachment. Evenly space the screws across the chair’s back board.
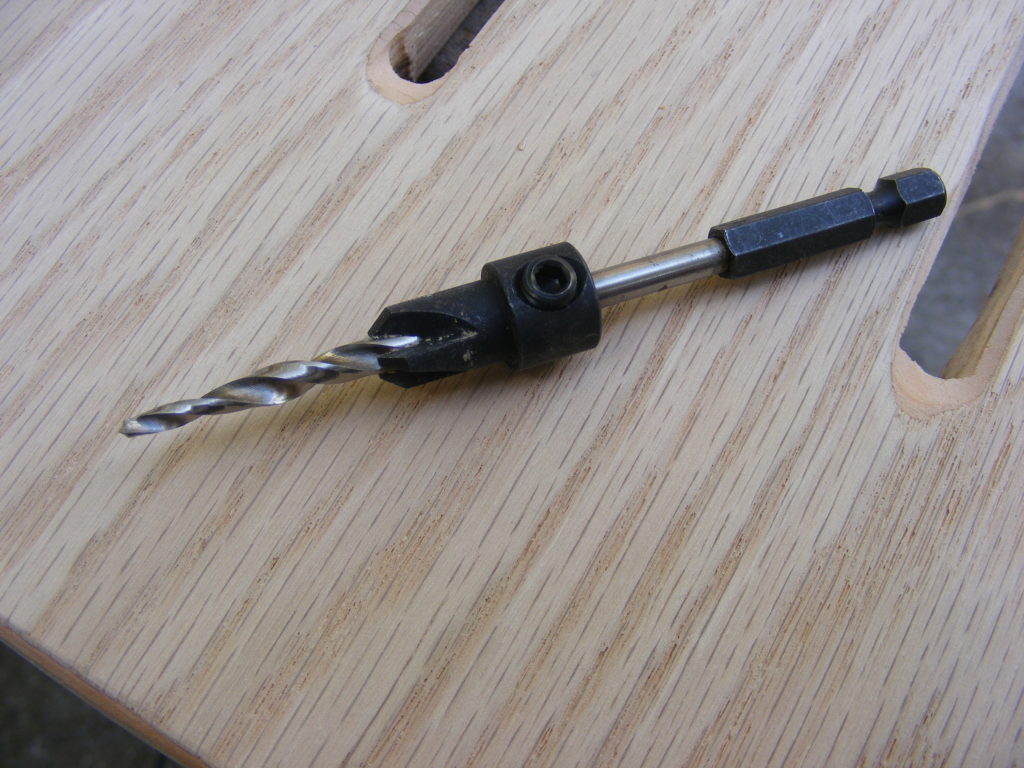
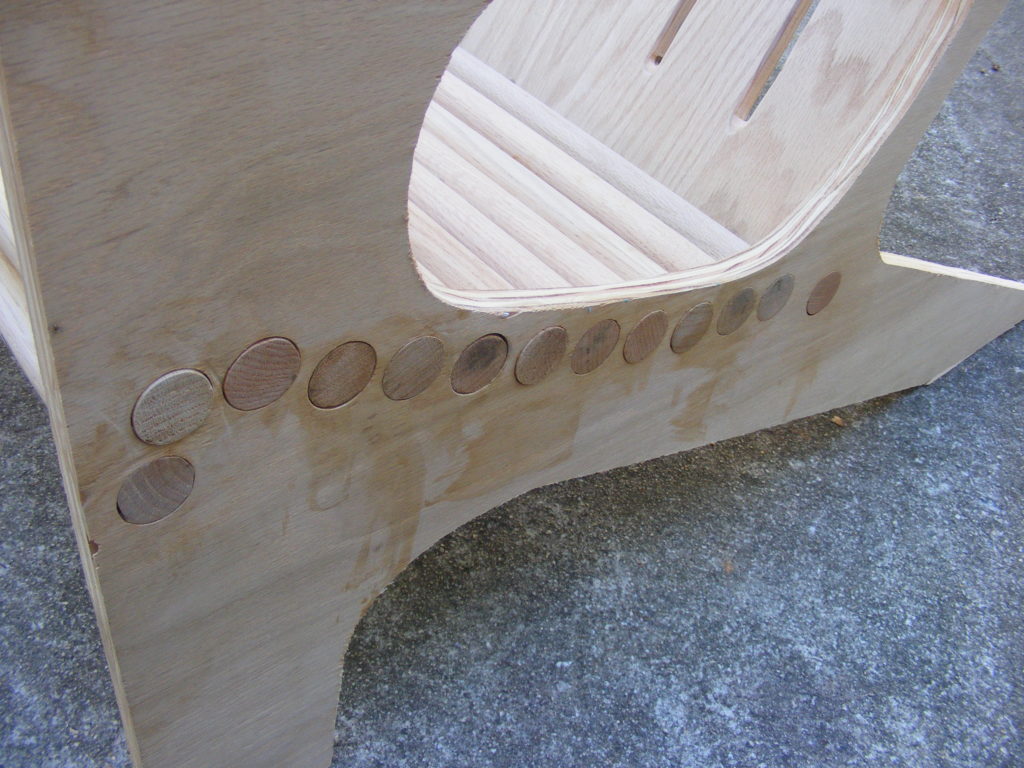
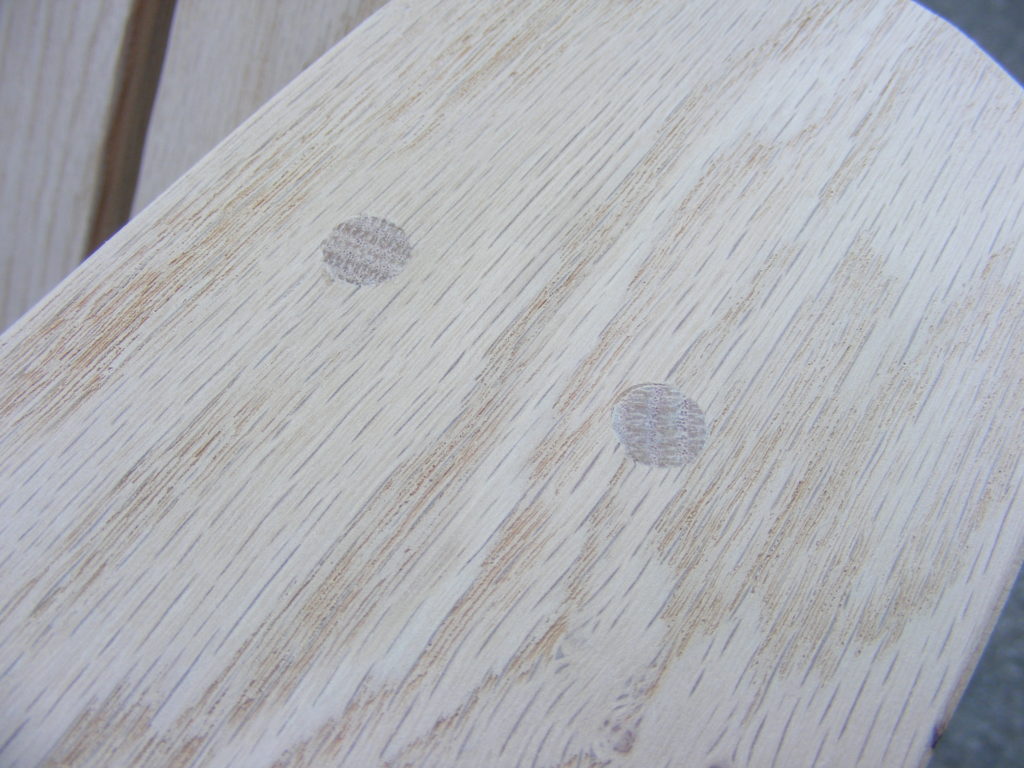
When drilling the pilot holes, I used a #8 counterbore/countersink 11/64 drill bit. That allowed me to recess the screw heads and later hide them with a 3/8 inch oak plug.
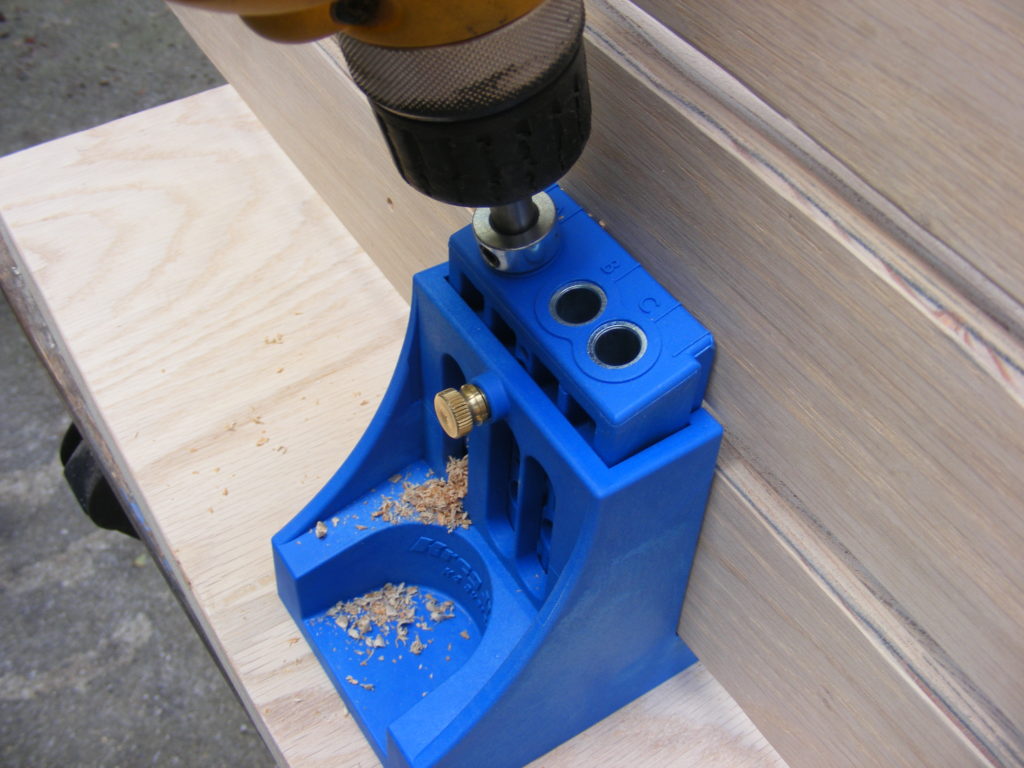
I also used my Kreg Jig to create 4 holes to attach the plywood back to the plywood sides of the chair (but this is entirely optional, maybe overkill on my part)
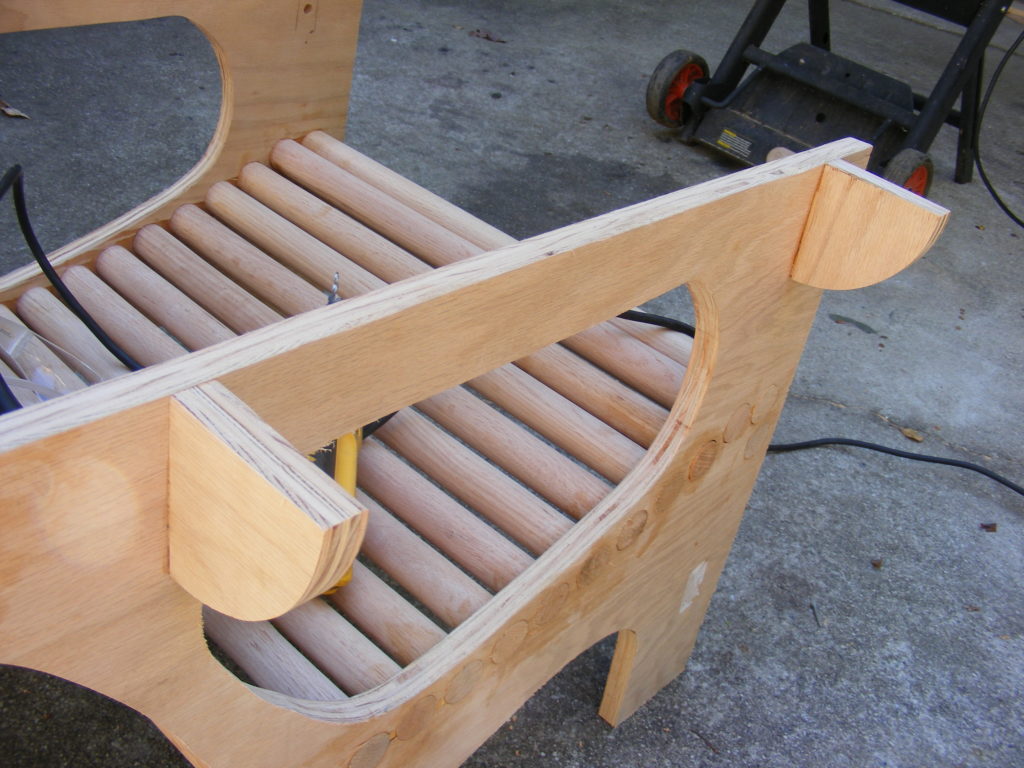
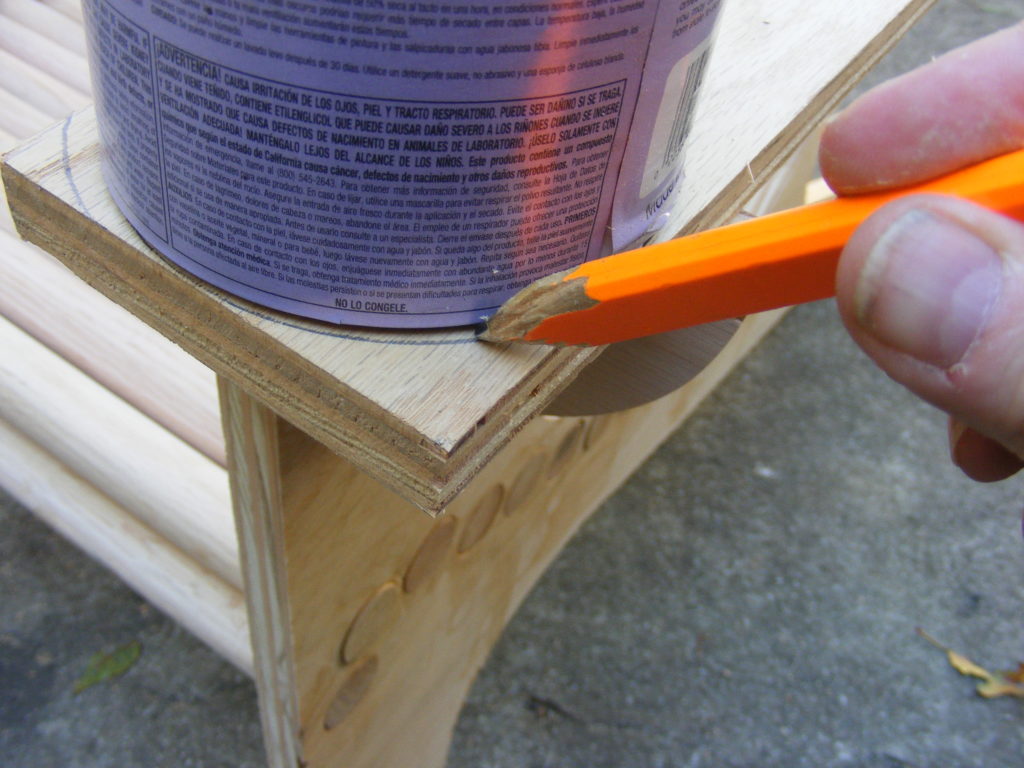
Step 6 – Adding the armrests. I created my own design for the armrests. For each armrest, I used 2 supports. A paint can was used to get the curves for the arm rests which I cut out with my jig saw. I also used dowel plugs to cover up the wood screws and holes. See PDF plans for the placement of the arm rests and supports. I also glued the arm rests to the top surface of the chair’s side board (and supports), and left a 2 inch overhang on the front. It’s up to you, if you want to make these armrests a little longer.
Step 7 – Finish the adirondack chair.
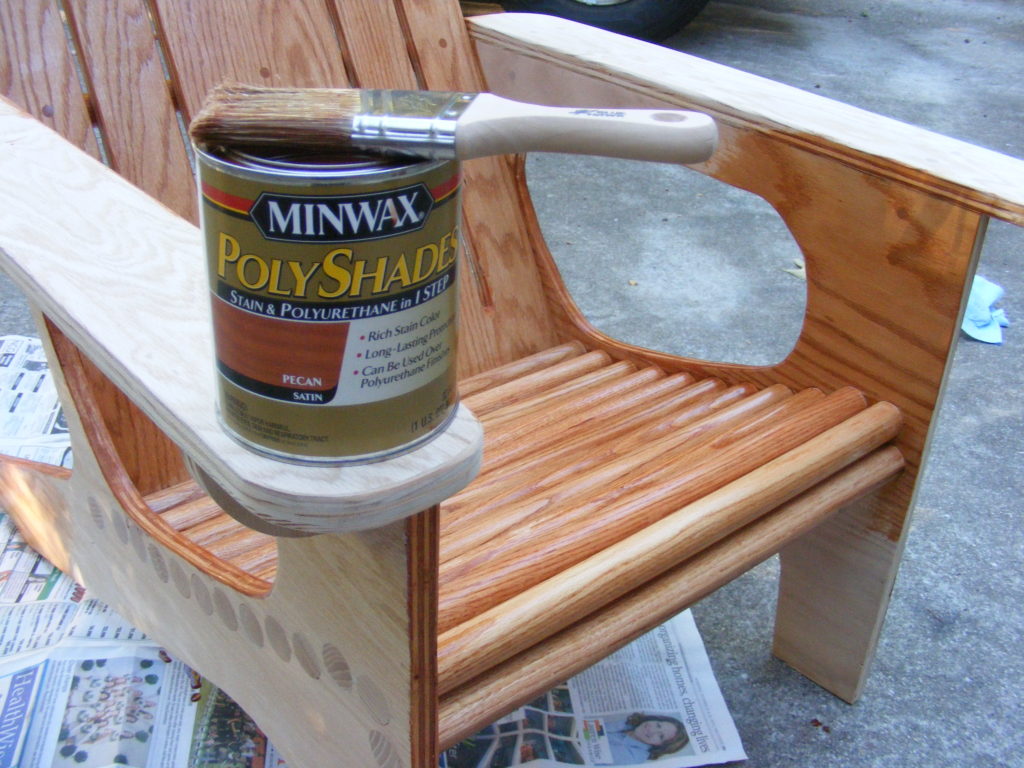
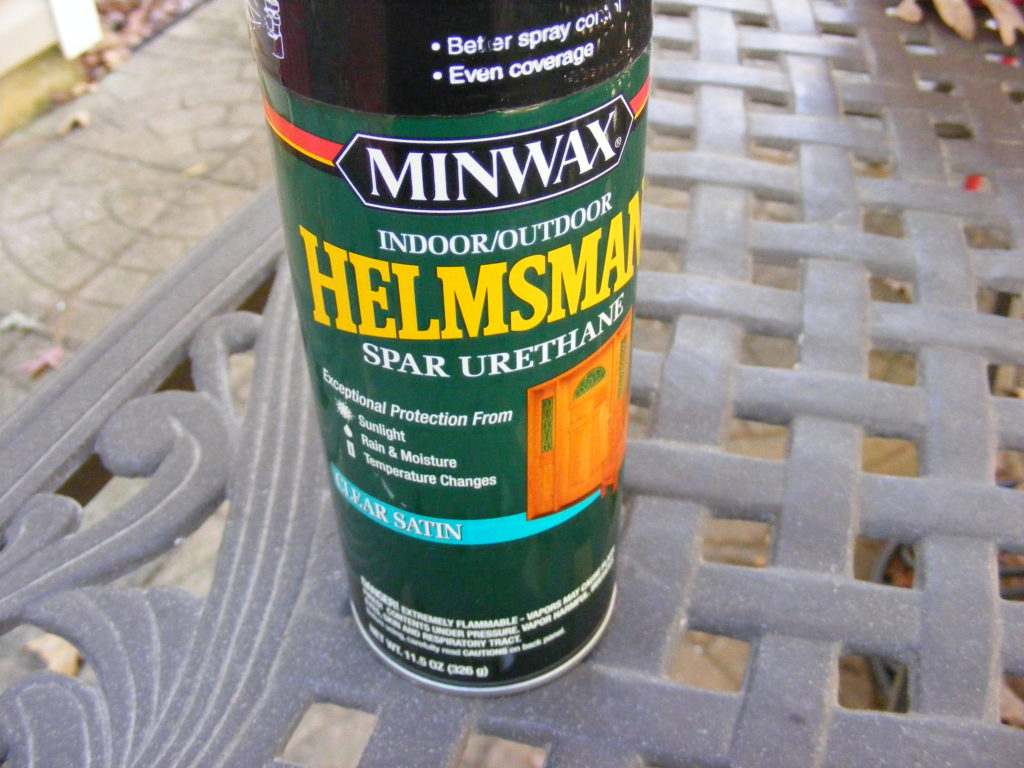
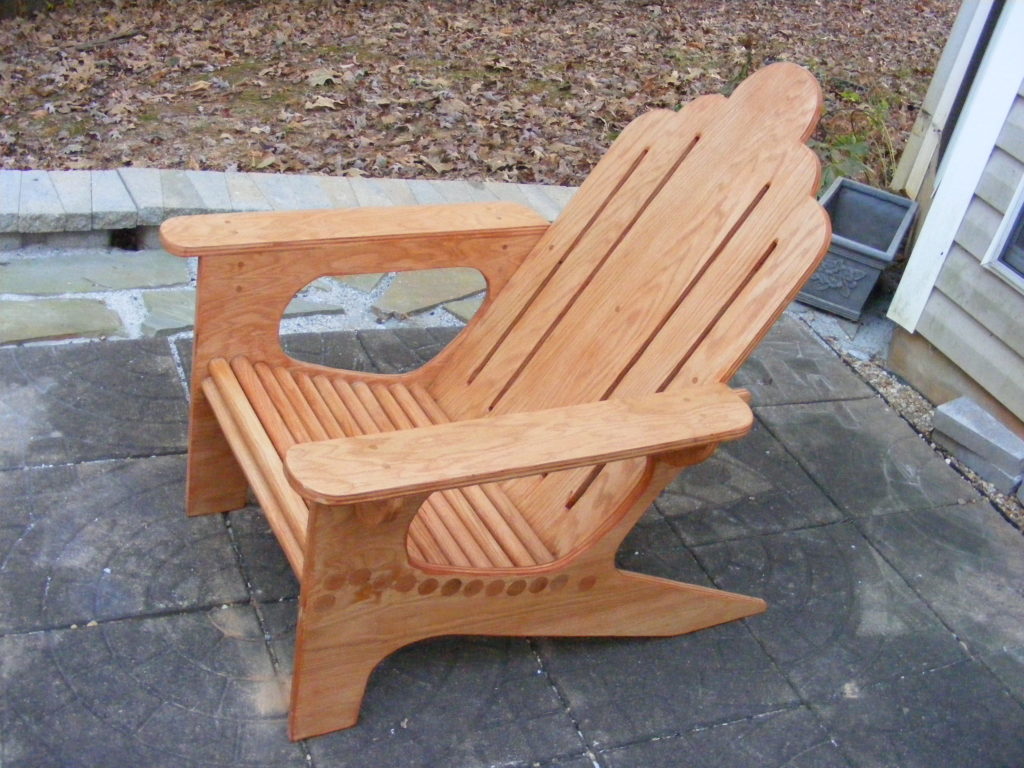
Use a finish of your choice. I went with a pecan stain / polyurethane combo which really gave the oak a richer color. After my 2 coats of stain dried, I sprayed on several coats of spar urethane. I’m hoping this will help the chair endure the weather a little better. (Note that I placed my chair under my porch covering so it won’t be exposed to direct rain.) Make sure you get plenty of finish on the undersides as well and especially where the chair comes in contact with the ground. If you want your chair out in direct rain, then go with an exterior plywood and even then, you probably should seal it or paint it.
If you decide to paint the chair, pick a durable exterior paint and apply 2 to 3 coats.
I hope you enjoyed this tutorial. If you have a question about making the chair, feel free to email or comment.
If you want to get more tutorials like this in your inbox, please sign up for my newsletter at the form below. When you sign up, I will send you a free copy of my Home Shop Safety & Tool Checklist.
Blessings,
Stephen
Pin It!!

Are you starting up a new shop? Want to work safer in your shop? To help you answer these questions I've put together a 2-part checklist -- Home Shop Safety & Tool Checklist.
I will also send you updates of my latest woodworking and DIY projects. You can get all this by subscribing to my free email newsletter.



I love the chair. but I think my eyes are playing games with me. In the plans it shows a right and left photo. the back leg on the right side seams to be longer. is this from the angle of the chair?
I see what you are saying, but they are identical because I used my first leg/side as the template for the second. That picture on the right is zoomed in on the chair a little more than the left. I think that’s why it appears longer. And the angle in the photo may have something to do with why it appears longer.
that’s what I was thinking but I just wanted to be sure. thanks for the reply
No problem!
Awesome!
Thanks!