Over the years, I’ve collected several tutorials on drilling glass bottles. I recently discovered an alternate way to drill glass bottles, and I wanted to share it with you. Several crafts may require you to drill glass materials or to drill glass bottles. I’ve observed that people love turning bottles into lamps or bird feeders.
I recently took an antique telegraph insulator and turned it into a steampunk lamp. So I went searching for a few tutorials that showed me how to do that. That is where I got the idea for this post, and I thought this might be helpful to you.
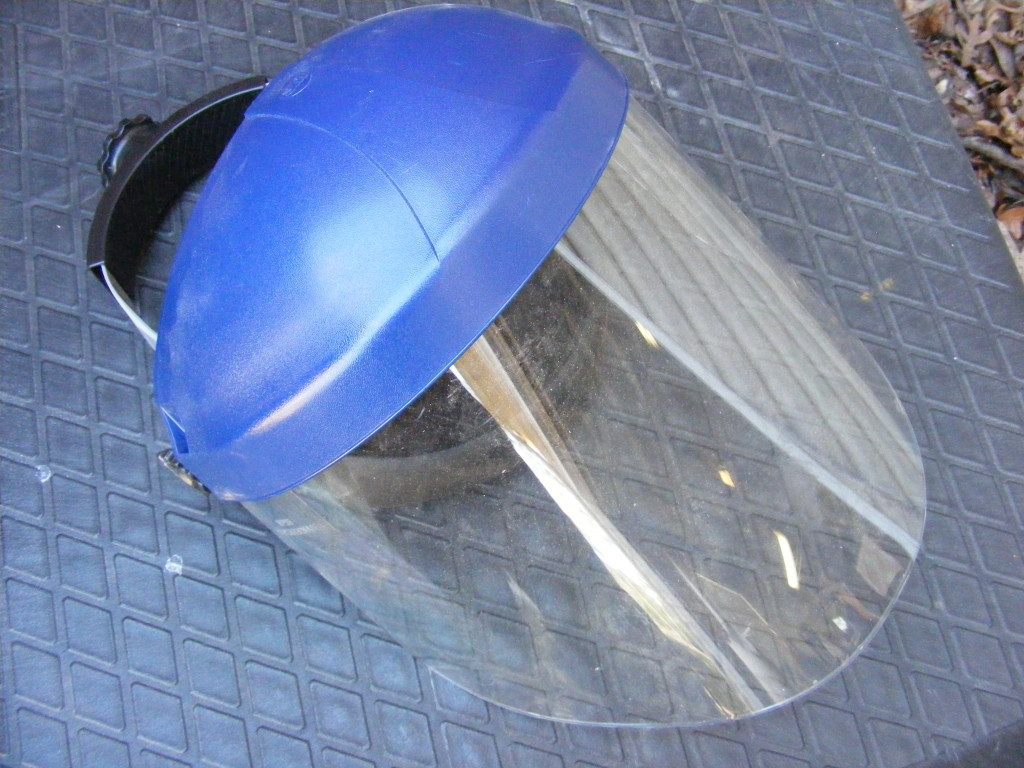
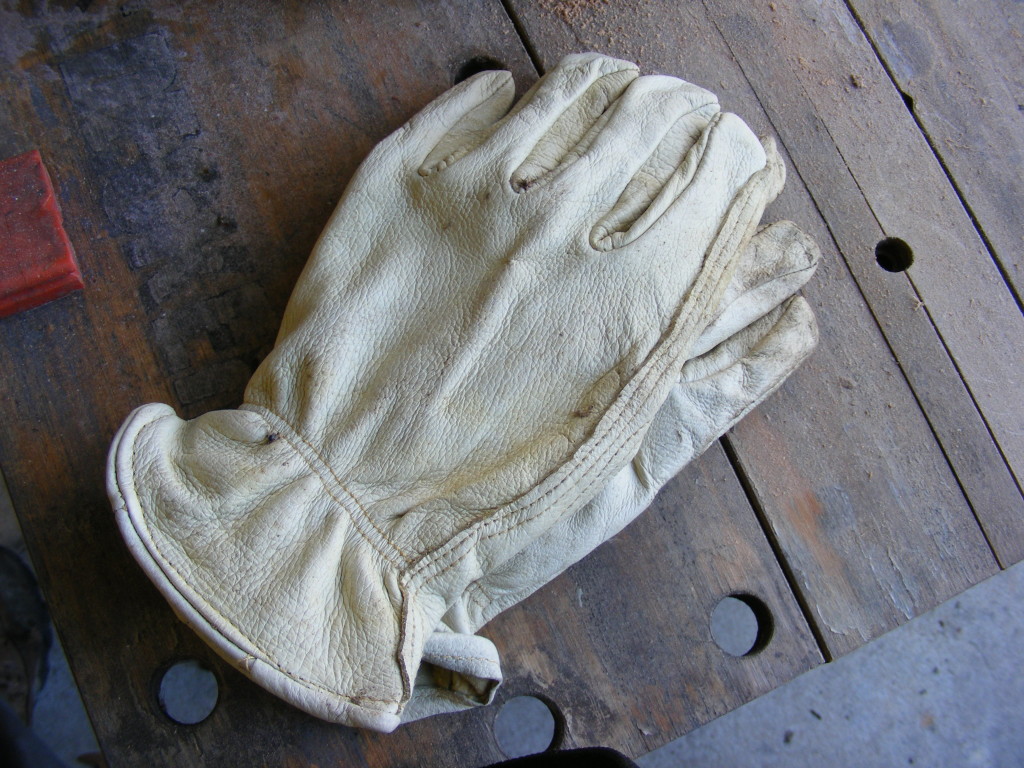
A word on safety – First take a minute and read my disclaimer. This tutorial is meant to only be a guide. Make sure you wear a face shield, and some work gloves. I used a drill press, but you will need to make adjustments to the RPMs depending on what bit you use. Read all the safety instructions that come with your materials, supplies, and your tools. Don’t do anything you’re uncomfortable doing or don’t feel properly trained to do.
Through the pictures below, I will guide you through how I drilled through a glass wine bottle.
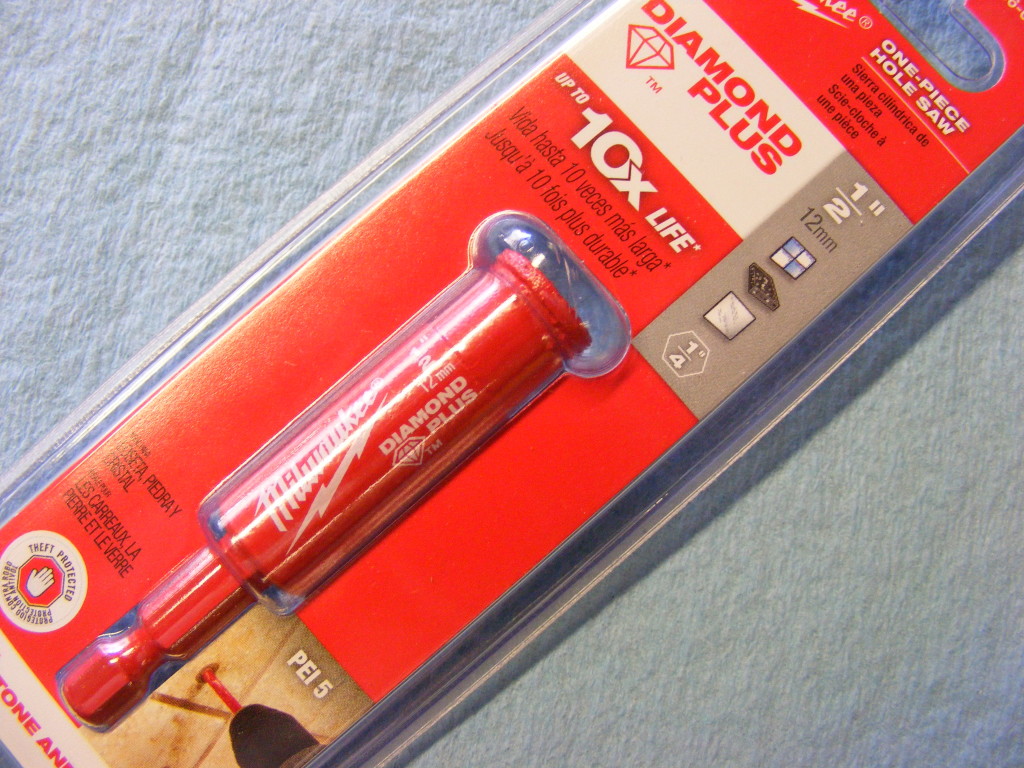
This first picture is the drill bit I used. It’s a 1/2 inch diamond hole saw bit made by Milwaukee. You can purchase it from Amazon – MILWAUKEE 1/2 In. Diamond Plus – if you like or shop around for others. But I found the Milwaukee bit to be high quality and hope to get many uses out of it. You can go to the Milwaukee tools website to read the specifications on the bit. I didn’t see anything saying you could not drill a curved surface and the glass bottle is relatively flat anyway. One of the customer reviews stated they had used the bit many times for drilling glass bottles. They also have drill bit sizes other than 1/2 inch.
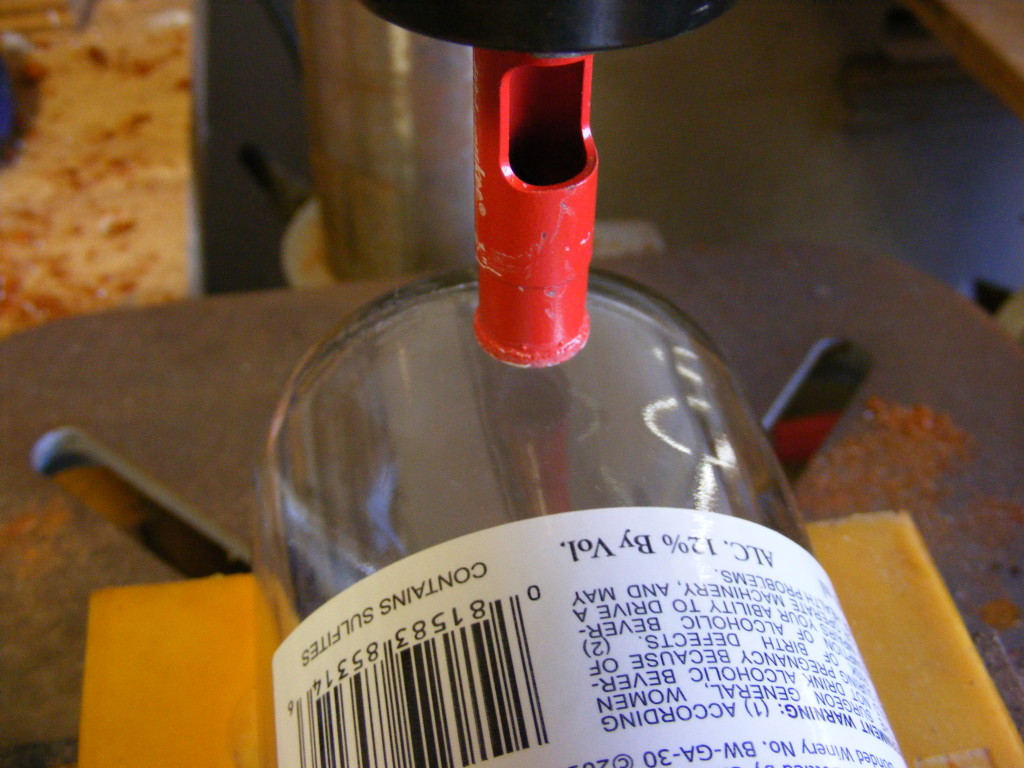
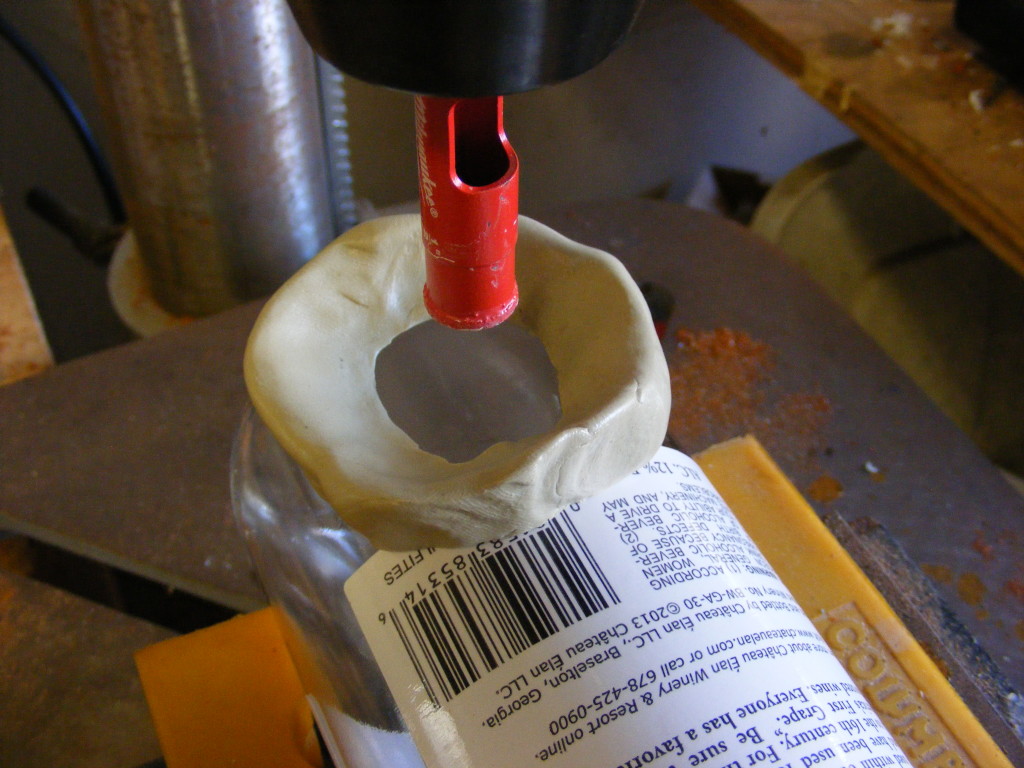
In this second picture, I’m lining the drill bit up over where I want to drill. I’m using a metal drill press vise to cradle the glass bottle. I’m not putting any pressure on the sides of the bottle. The vise is there just to hold and cradle the bottle. Note that I also have some rubber cleats that came with the vise which are extremely handy for holding the glass bottle. If you don’t have a vice, you need to figure out a way to keep the bottle in position while you drill.
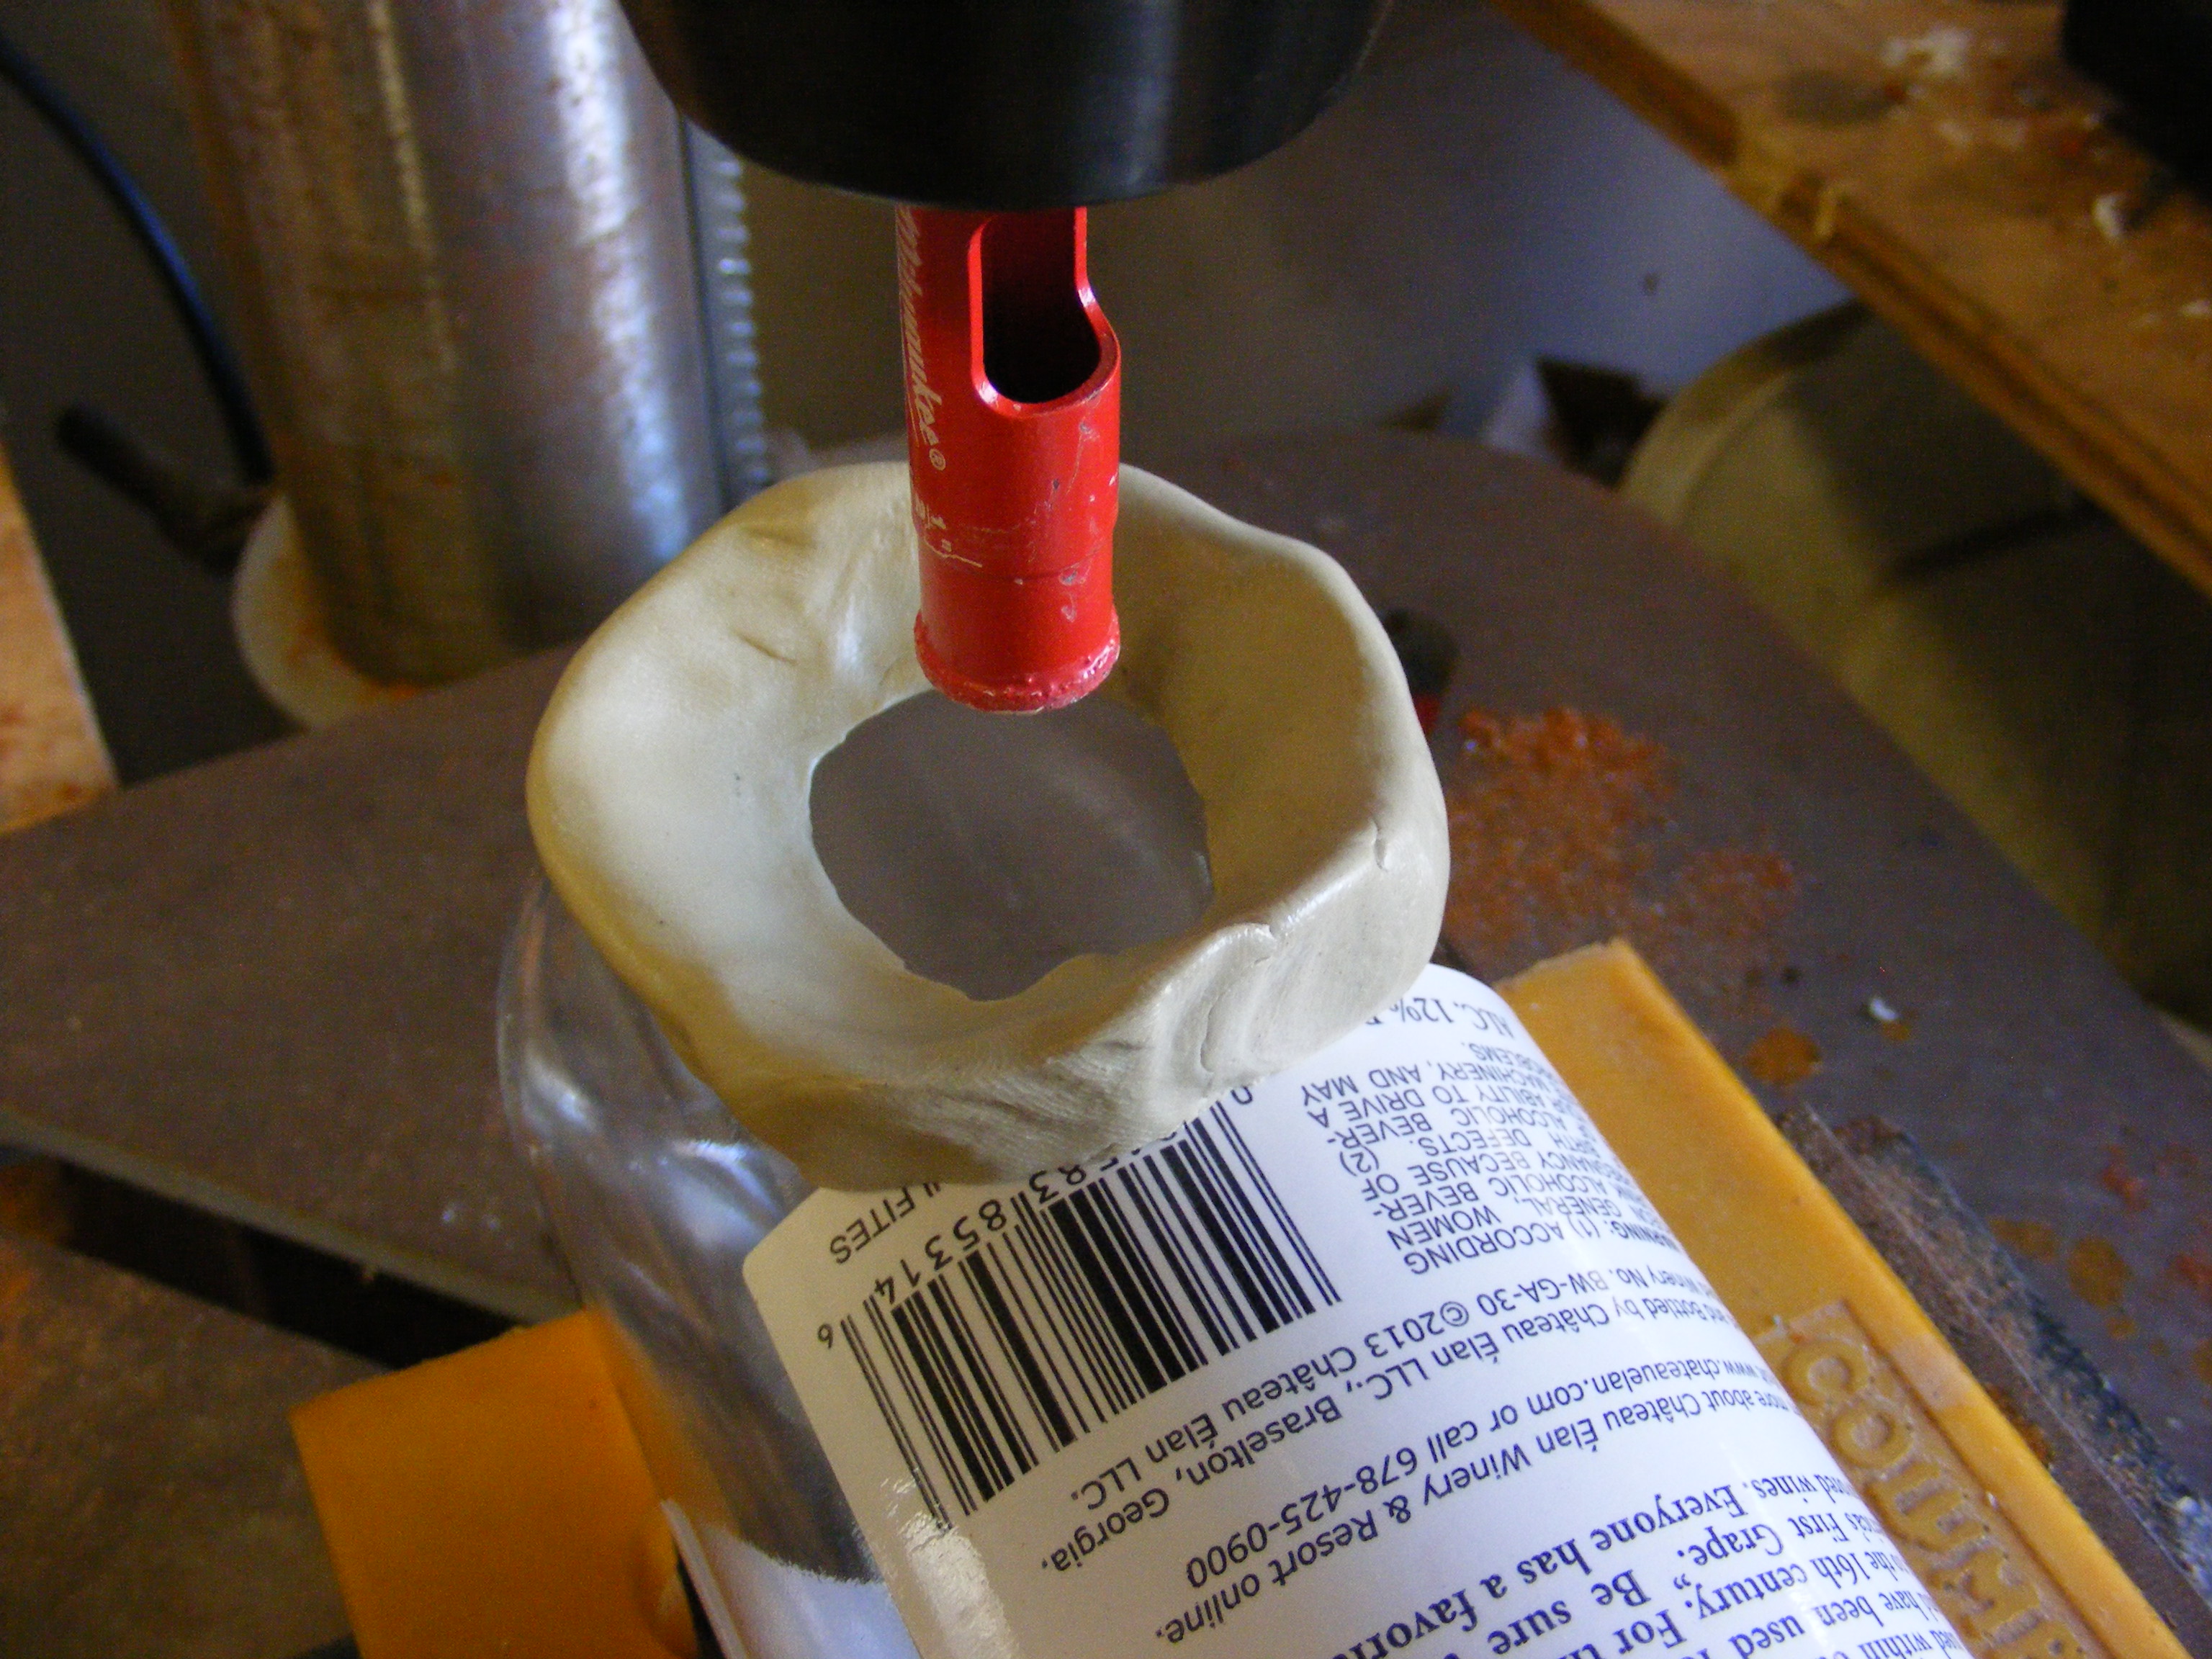
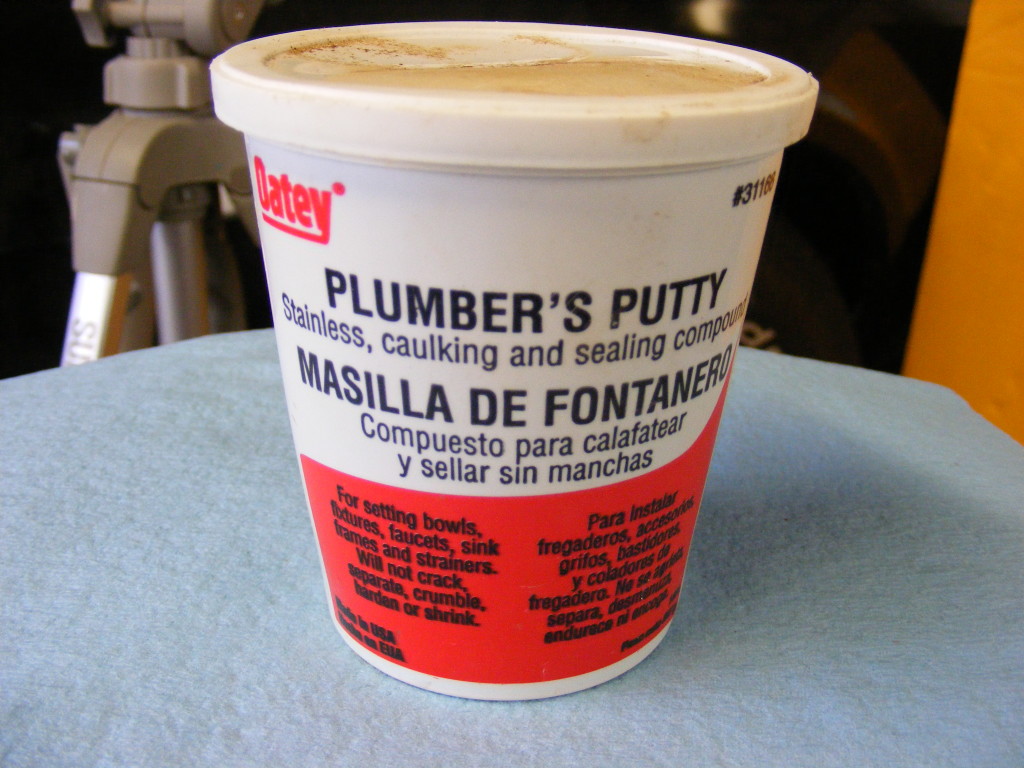
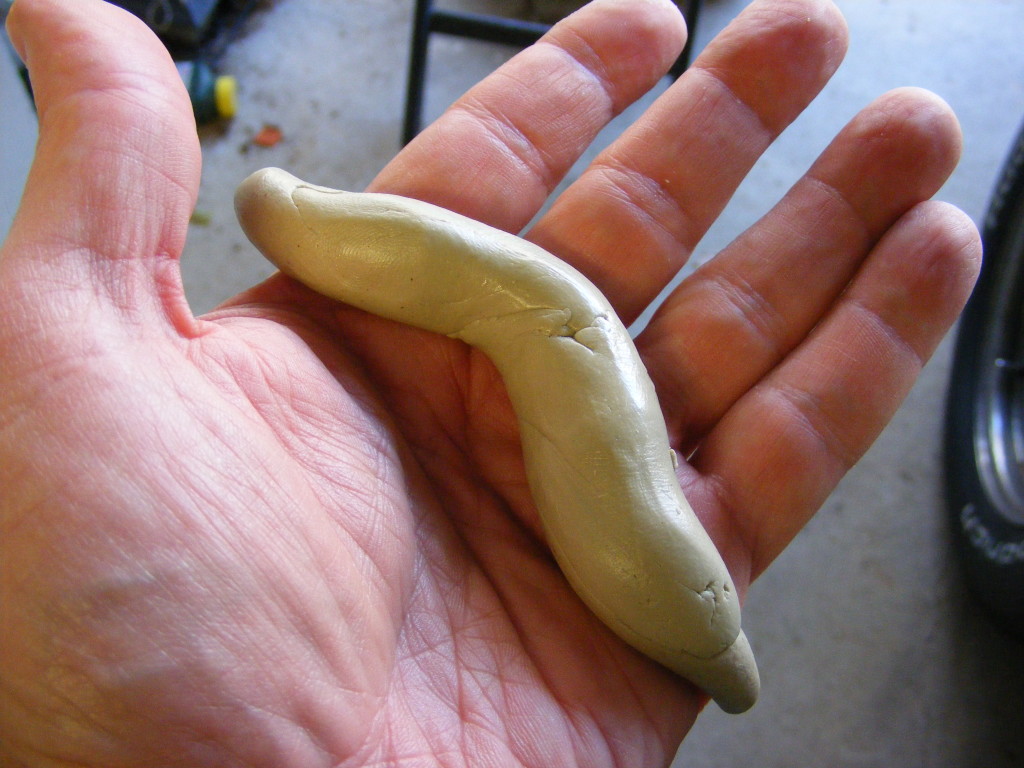
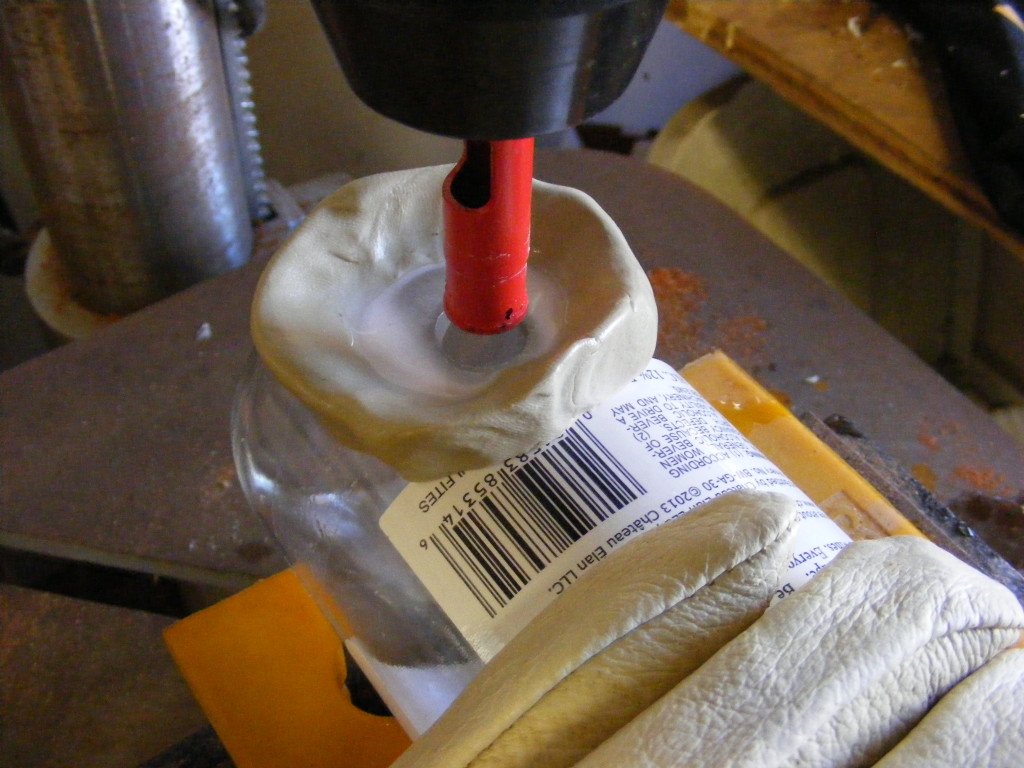
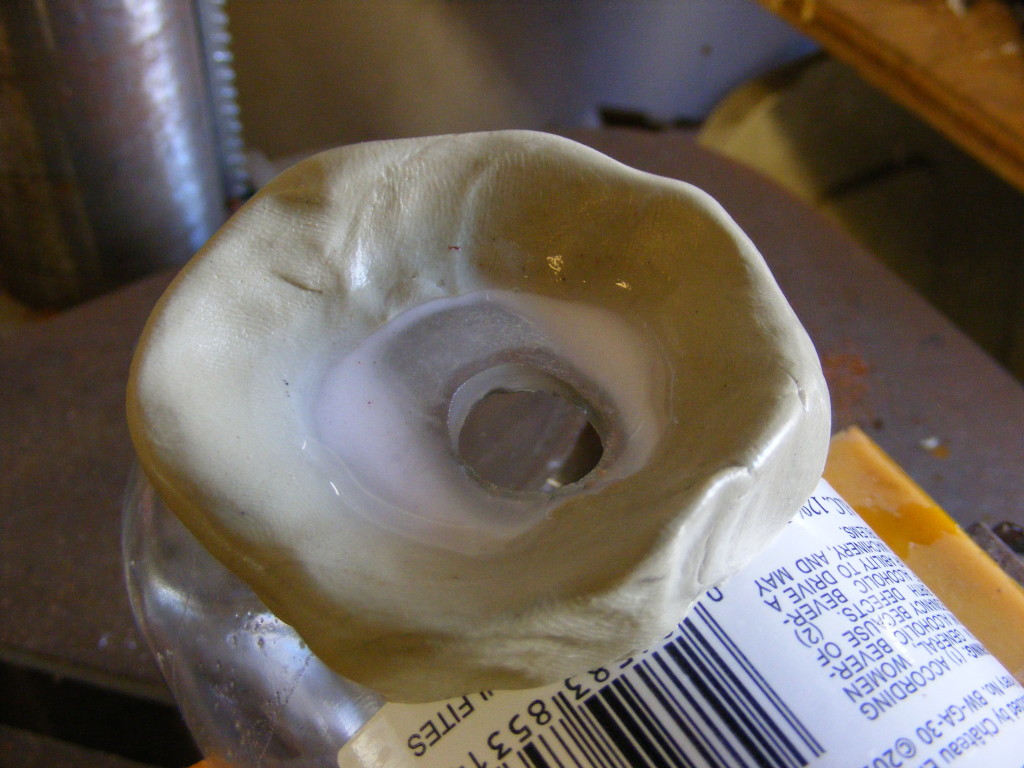
Here’s the cool part. Purchase a small container of Plumber’s Putty. Take some out and roll it back and forth in your hands to make a “snake” or whatever you want to call that ugly-looking thing (hey, it’s like going back to kindergarden). Then you just place that down on your bottle around where you want to drill the hole. Press down and form the putty into a small bowl-like shape. Make sure the putty is sealed to the bottle all the way around.
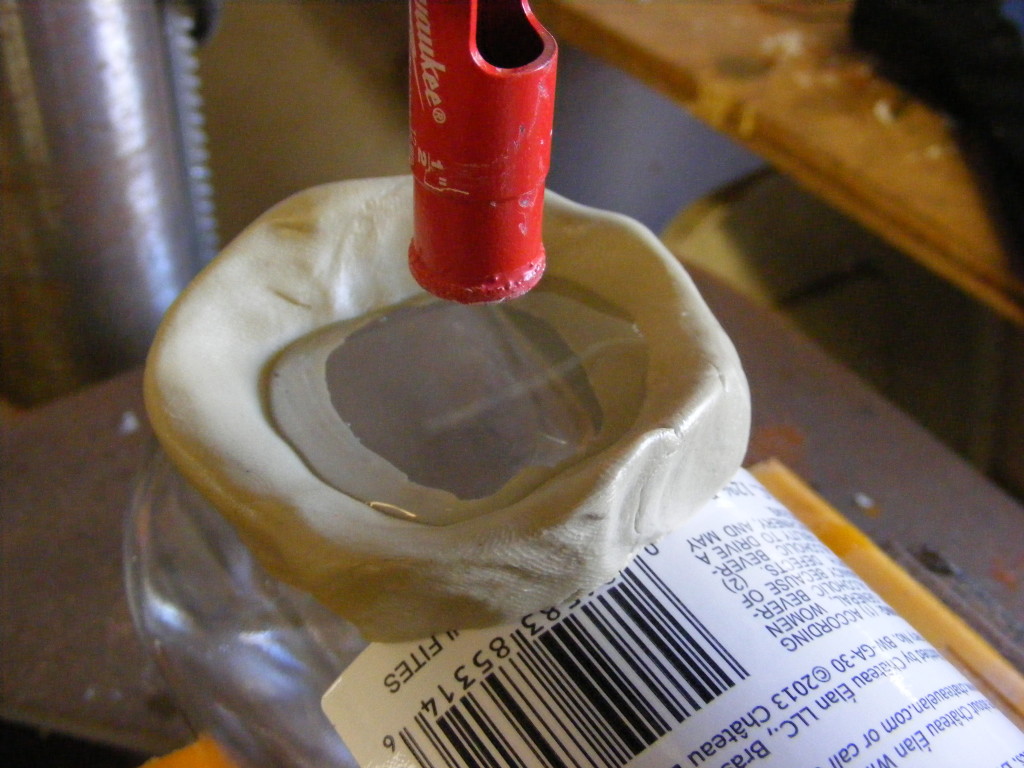
Next, you add about 1/4 inch of water.
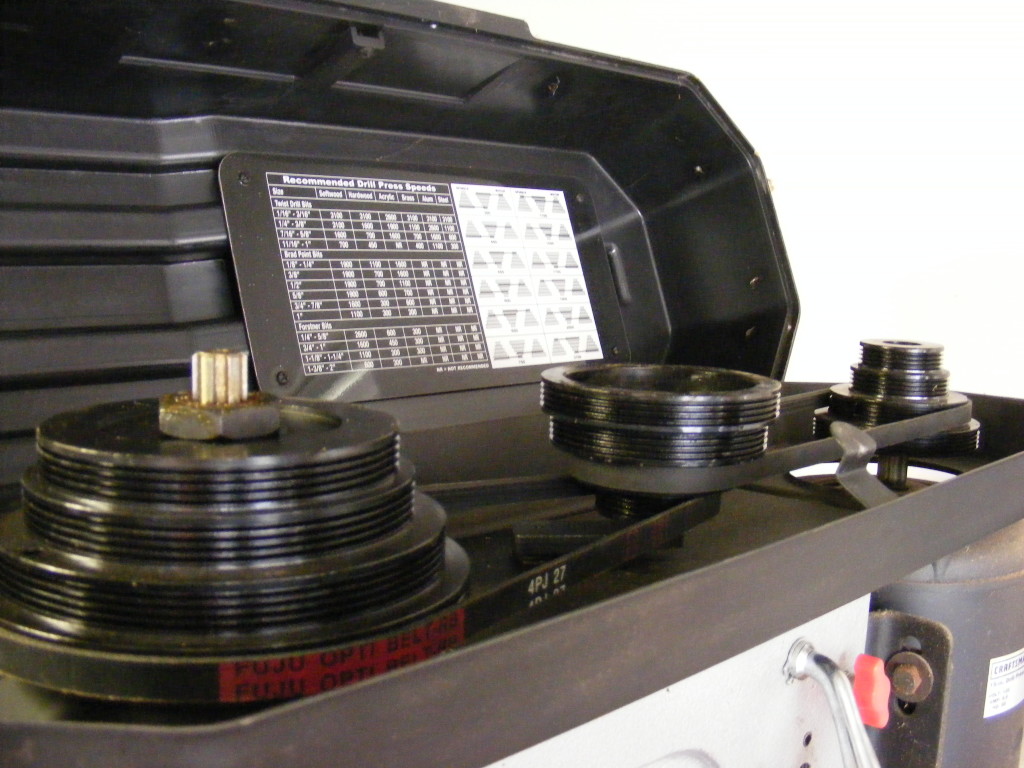
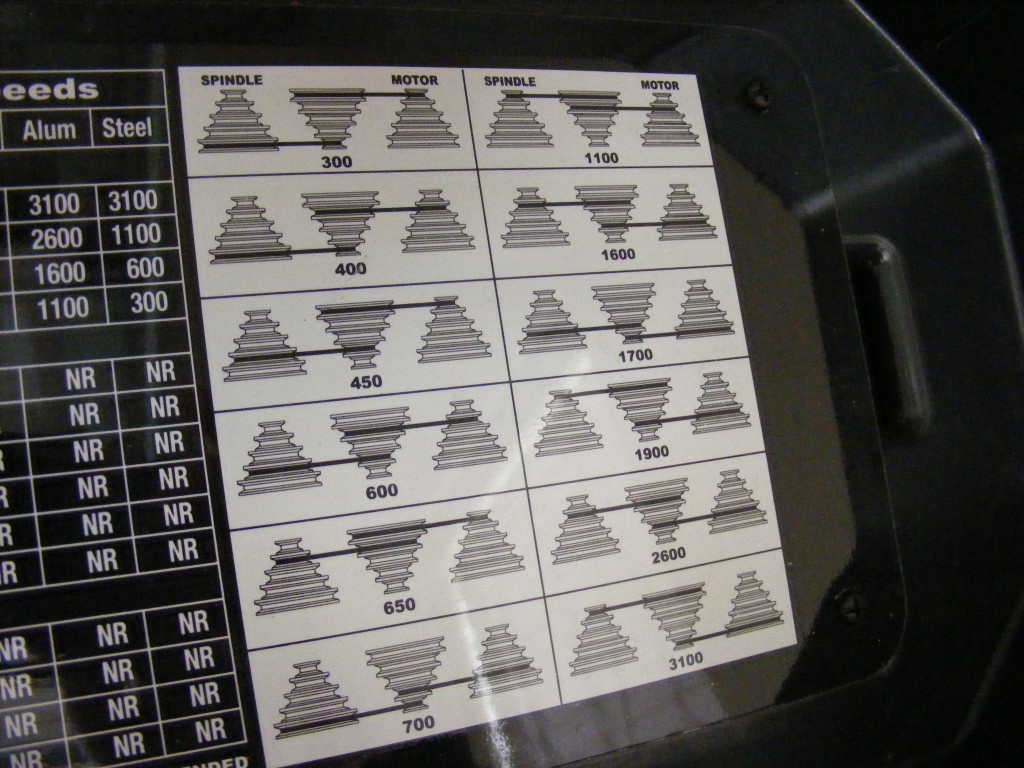
Make sure your drill press is adjusted to the recommended RPM setting. Read the packet that came with your bit for RPM instructions. I set mine to 700 RPM. 700 RPM seemed to be the recommendation in the other tutorials I had read.
Make sure you are wearing your face shield and work gloves. This is very important because there is a chance the bottle could bust apart or shatter.
Begin drilling. Go very, very slow. Bump the drill gently up and down. This allows for gradual cutting and gives the bit time to cool in the water. Although I did’t time it, I figured it took me about 3 to 5 minutes to drill through the glass – don’t get into a hurry on this step. Eventually, the bit will make it all the way through and the water will drain out. When I did mine, the water and waste glass went into the bottle, but for extra measure you may want to place a bucket under the drill press.
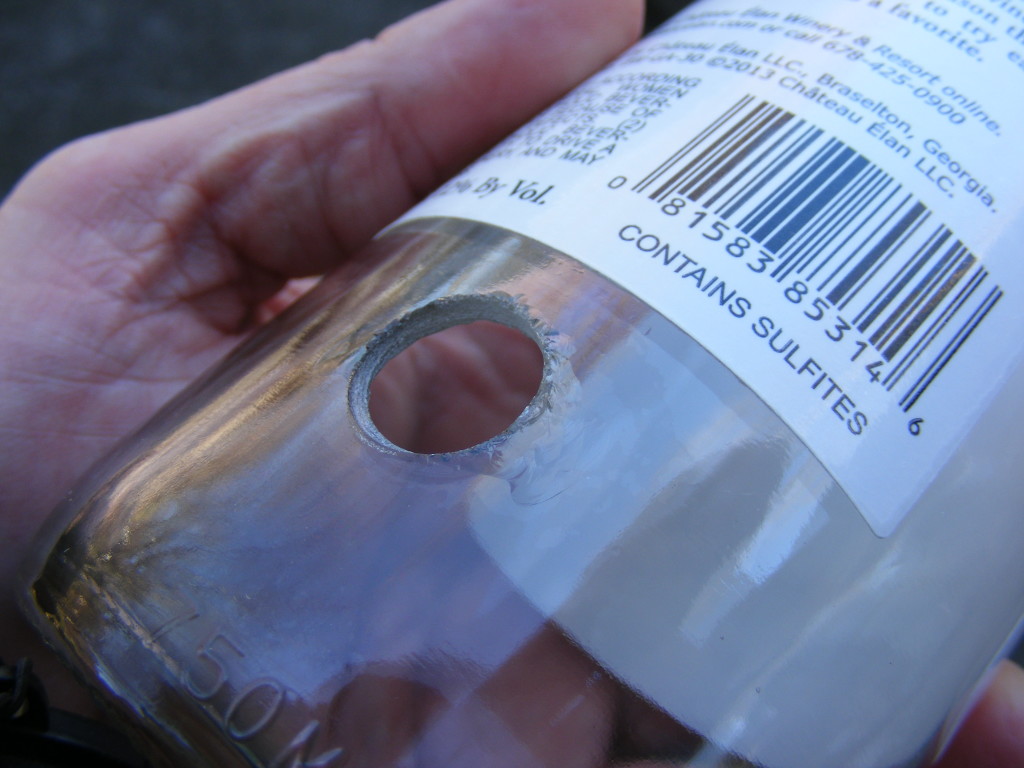
Take the bottle someplace you can rinse and wash. I used the garden hose, and I recommend keeping your gloves on so you don’t get glass particles on your skin. Picture above is my finished hole after I cleaned everything up. Note that you may want to sand the edges some depending on what you put through the hole. It might even be prudent to find some kind of plastic bushing (or make something) so that an electrical cord (for example) doesn’t get cut by the sharp glass edge.
I hope you enjoyed this tutorial. Feel free to comment and share your glass-drilling wisdom. And tell us what projects you’ve been working on.



Great step by step guide to glass bottle drilling. It’s good to see that you made safety a priority. Happy New Year!
Thanks for the comment!