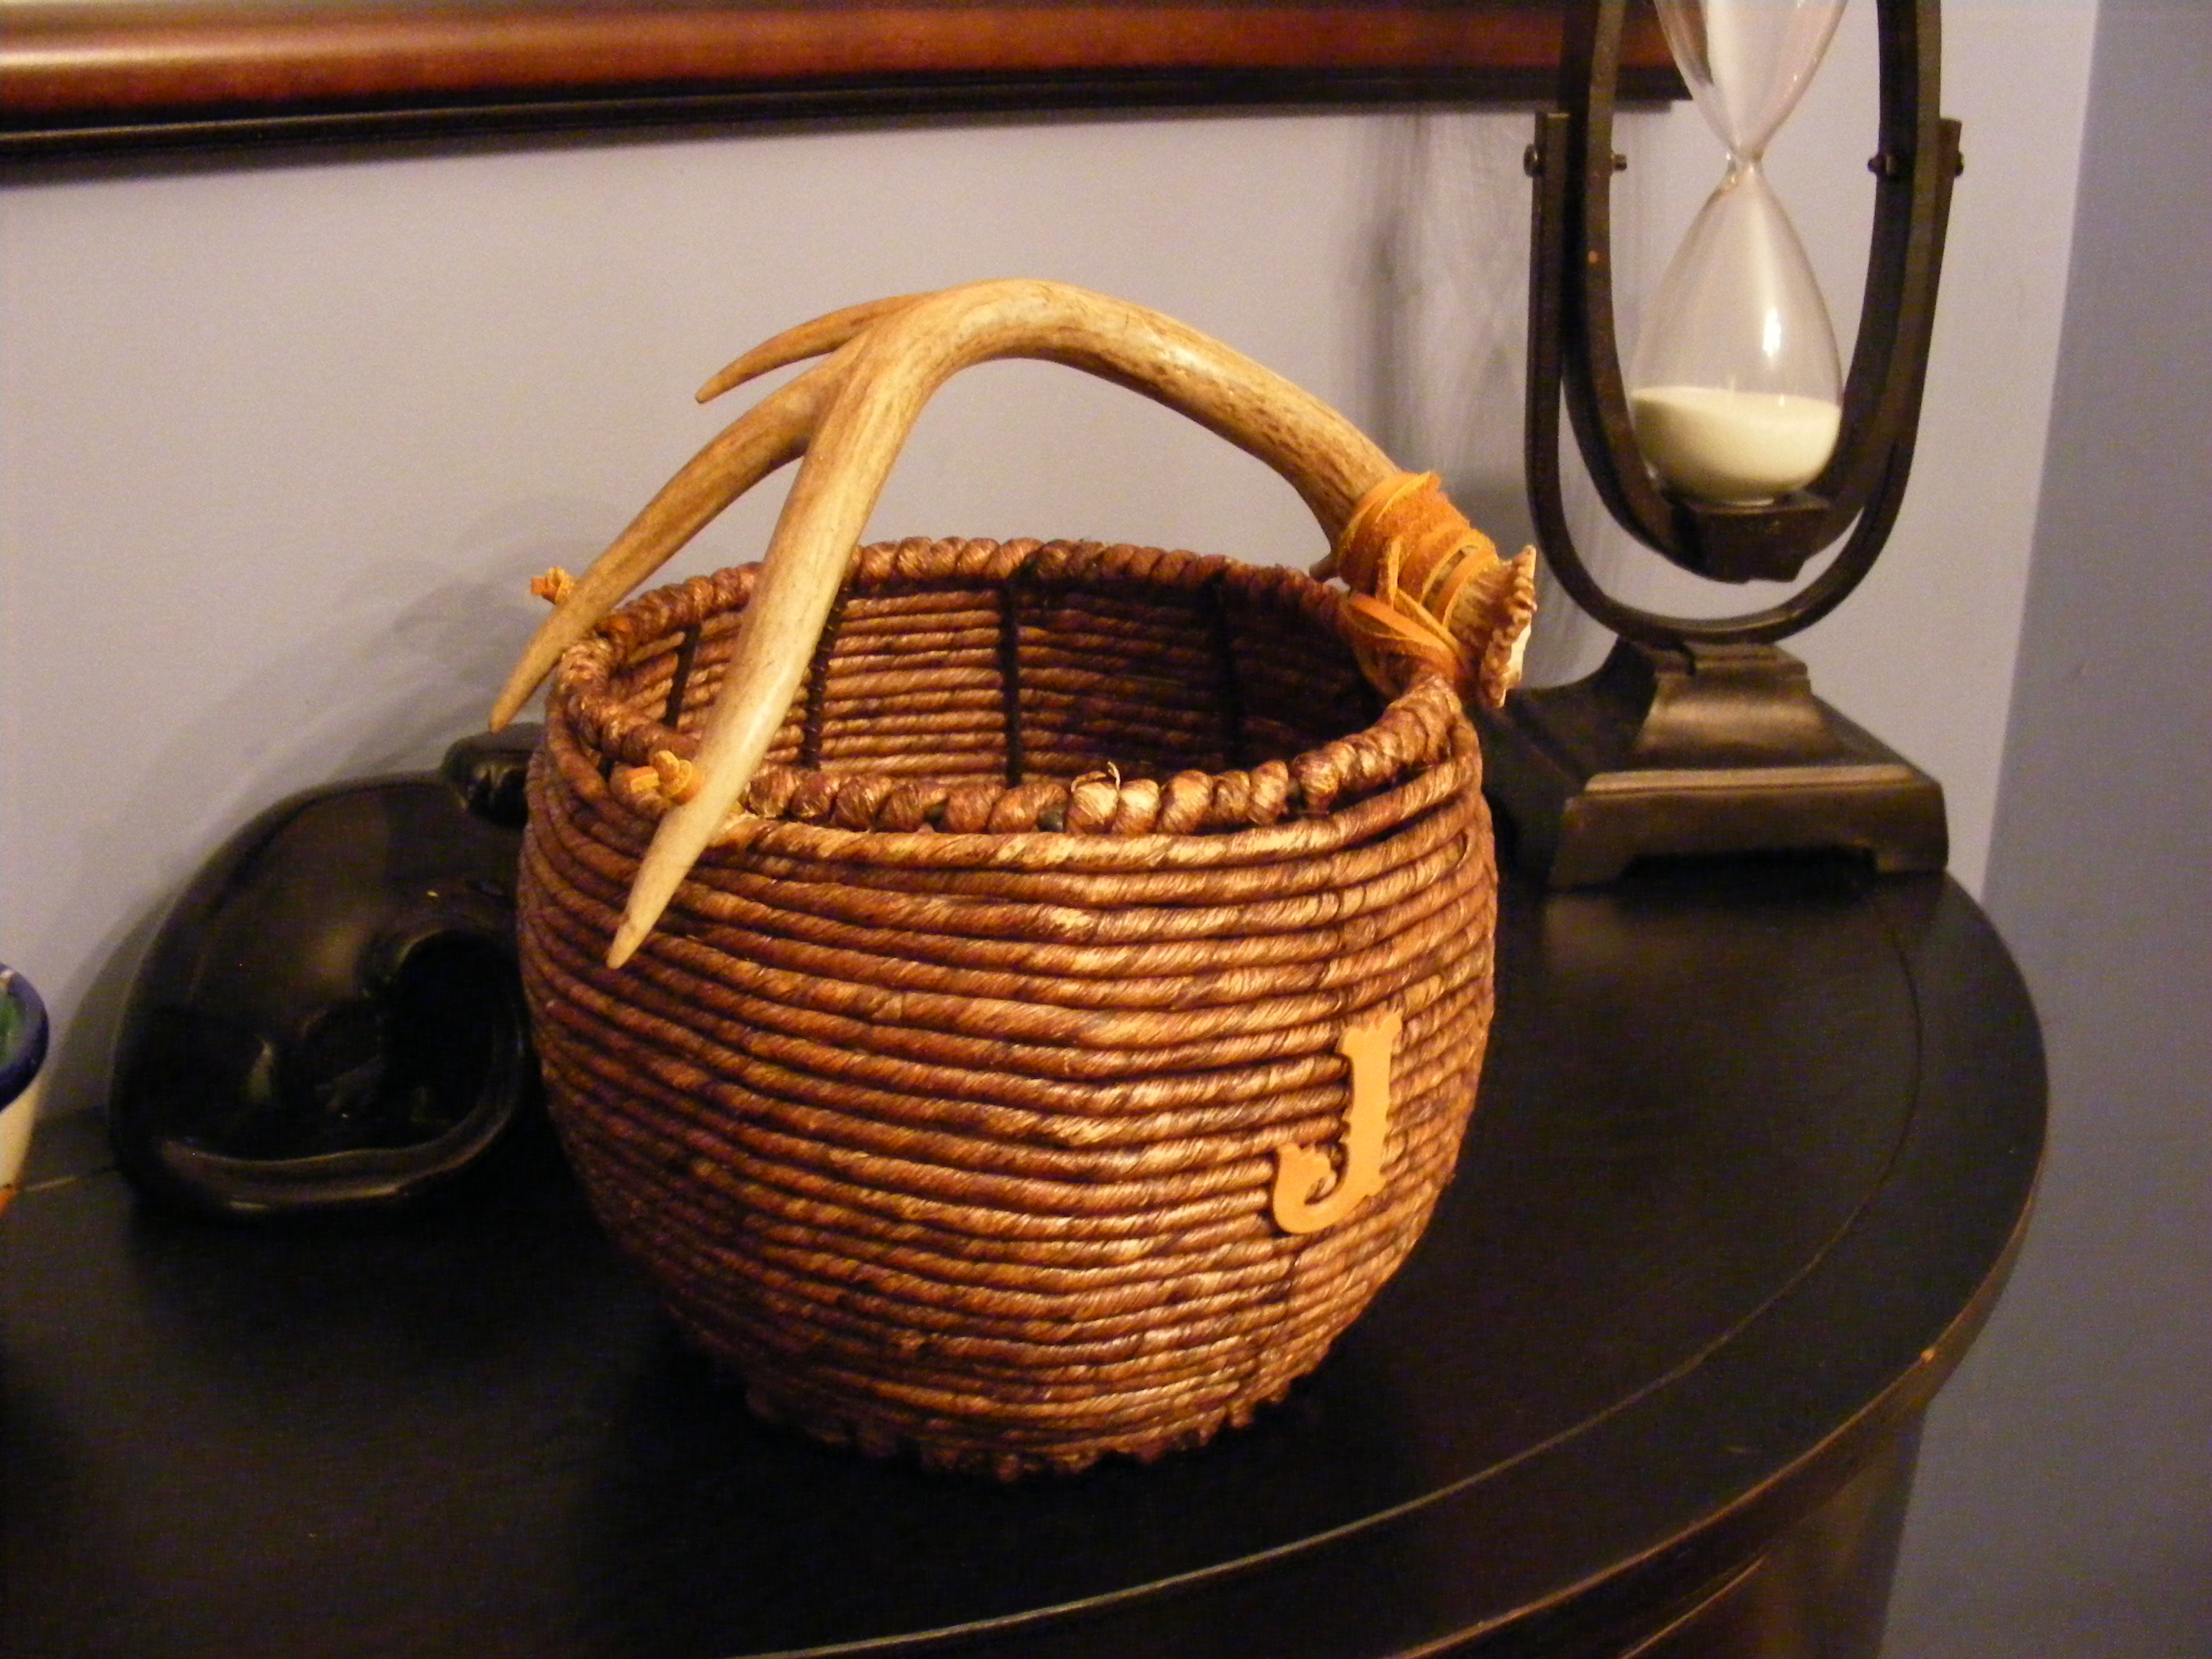
I recently saw an antler handle basket at a state park and just had to make one for my home. Deer antler is an incredible renewable and rustic material provided by nature. They make for great crafts and decorations for the home. The project I’m sharing here is incredibly easy to make. The biggest challenge is finding the right size basket with the right shape and the right size/shape deer antler. The rest is a piece of cake.
Deer antlers can be had from a number of places. Here are a few ideas:
The forest – remember that male deer shed their antlers toward the end of the winter months.
Ebay or Etsy
Antique stores
Craft stores
Flea markets
Yard Sales
If you exhaust all the above avenues, there is another location I recommend you can find deer antlers for sale – The Deer Antler Store. Check them out. One tip though – you might want to buy the antlers before you buy the basket. That way you can find a basket to fit with the antler.
Here are the tools and materials I used:
Bosch 18 volt portable drill
Leather twine – Hobby Lobby $6
Letter J made from leather – Hobby Lobby $1
Basket – Hobby Lobby $15
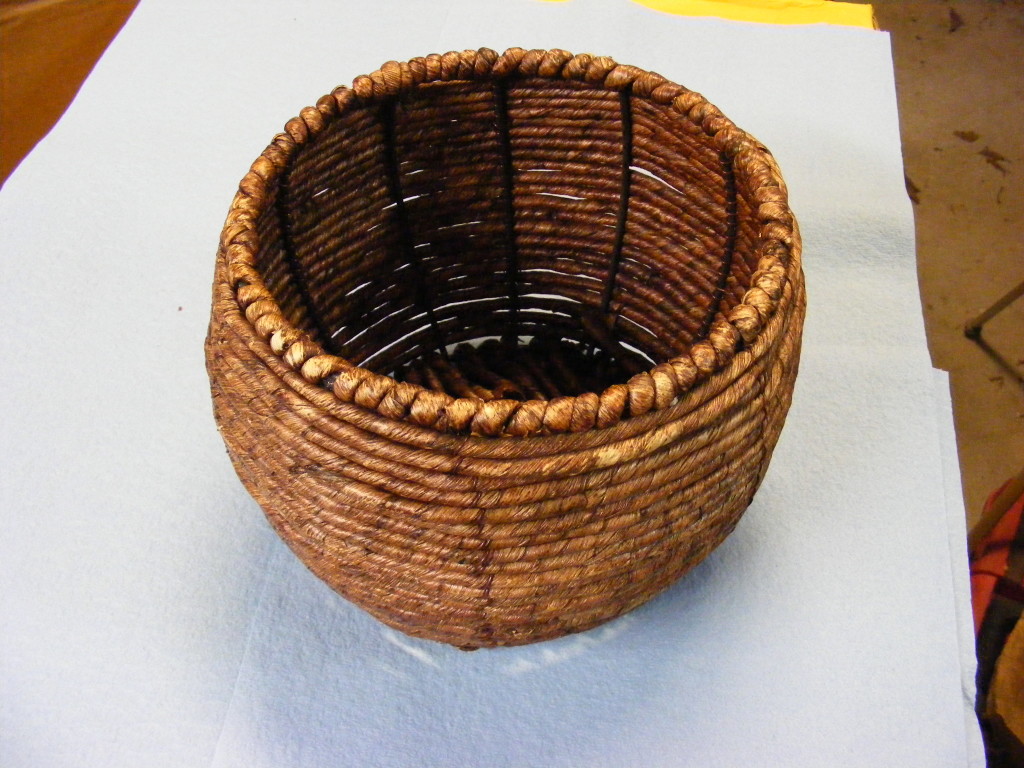
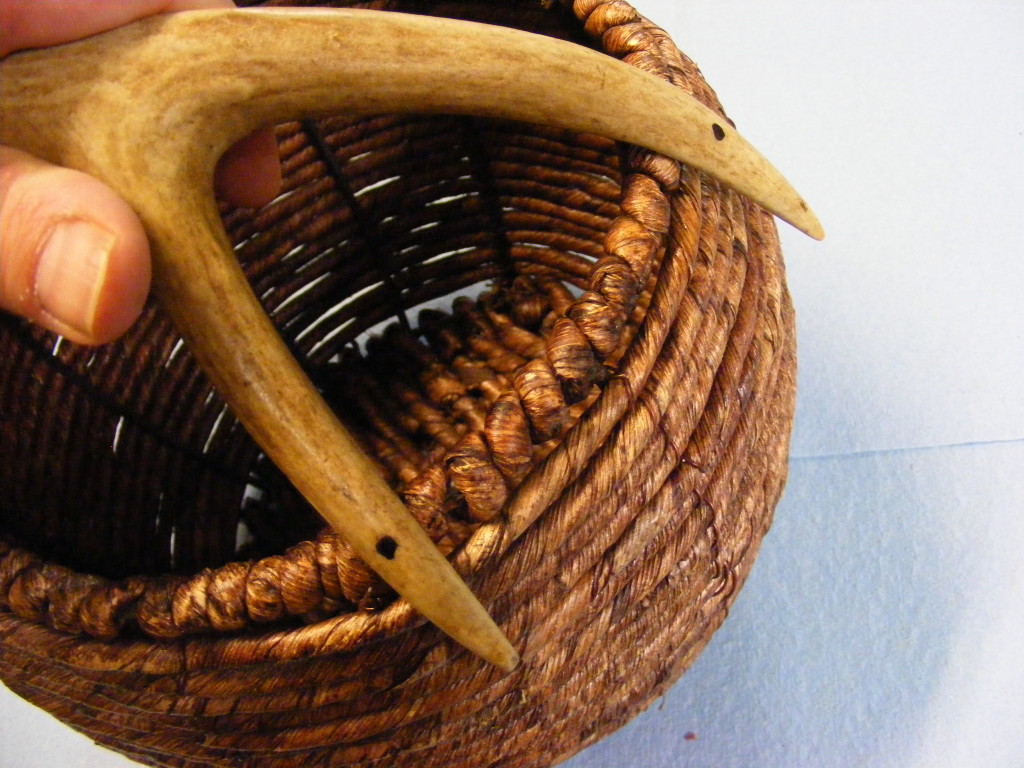
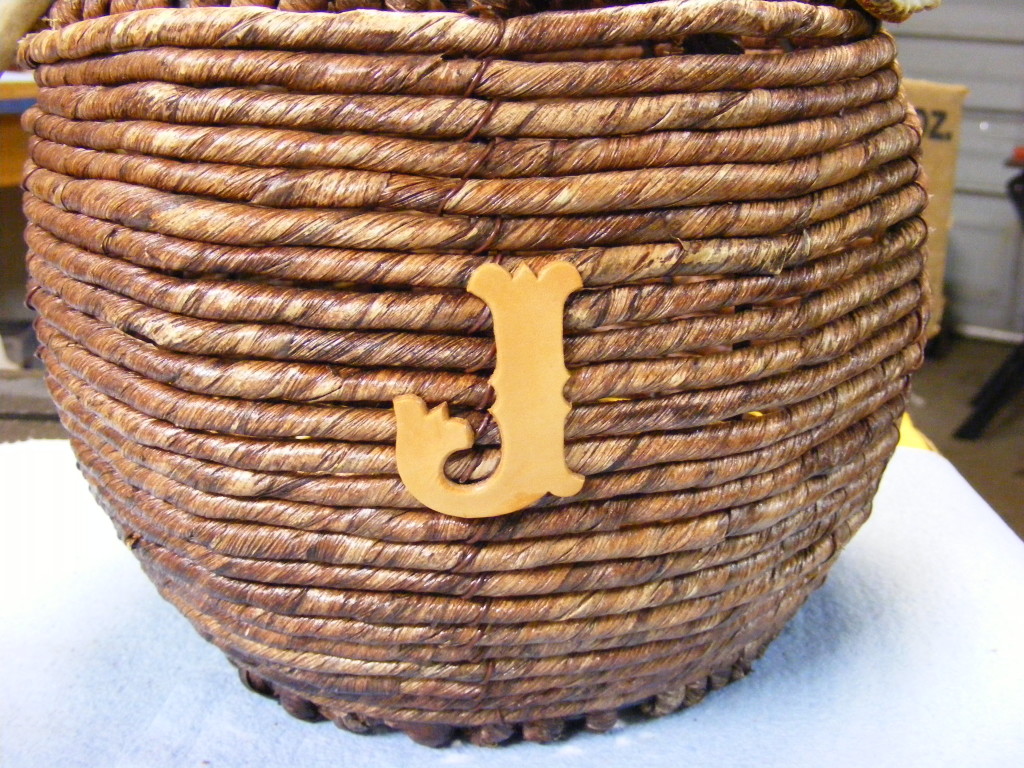
Above is a picture of the basket. This is a medium sized basket I picked up from Hobby Lobby for $15. I liked this one because the color contrasted nicely with the antler and because the basket tapered up slightly which helped it fit like a glove with the antler. Pay attention to those details if you decide to make your own.
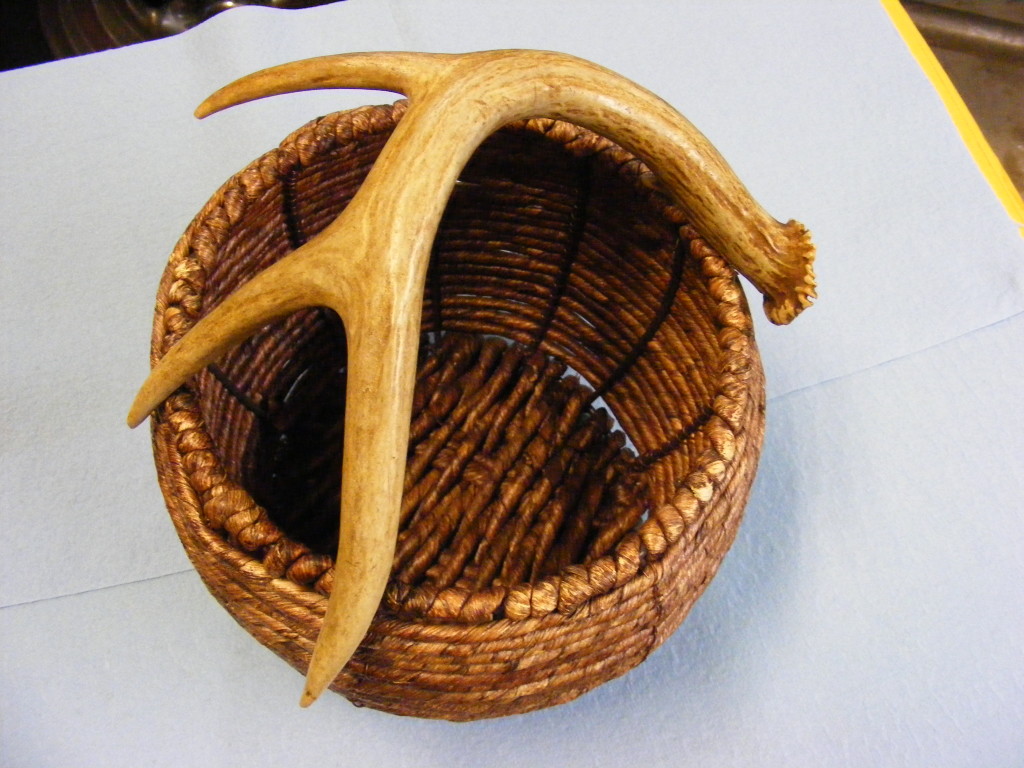
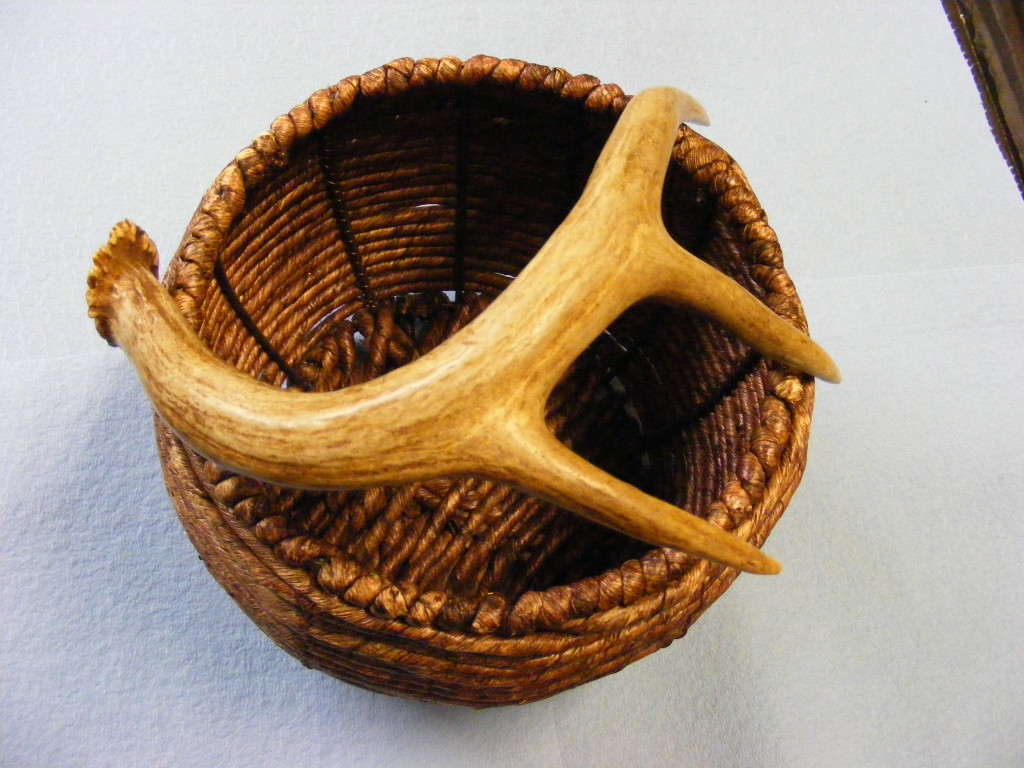
Here are a couple pics of me fitting the antler to the basket. I had 4 other antler sheds that I tried to match up with the basket, but this one fit the best.
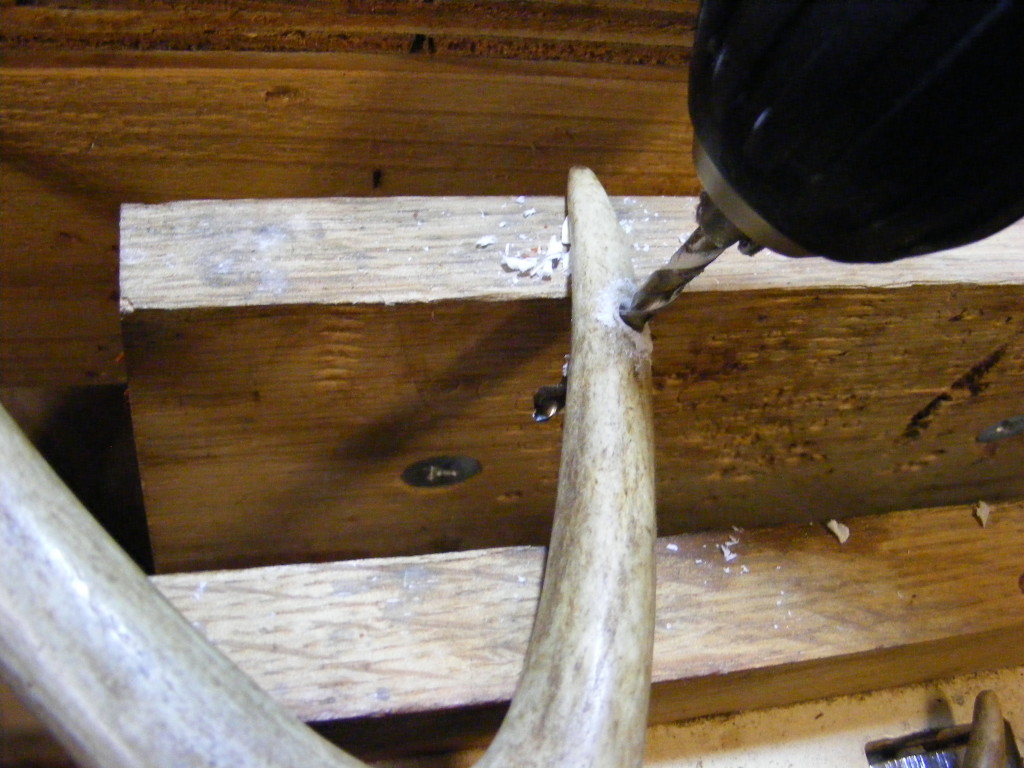
I marked the antlers and drilled 3 strategic holes. I will use the holes to tie and secure the antler to the basket. I suppose you could just hot glue the antlers to the basket, especially if it sits on the shelf as a decoration.
This picture shows me drilling the holes. The holes only need to be about 1/8 to 1/4 inch in diameter. Just big enough for the leather to fit through them.
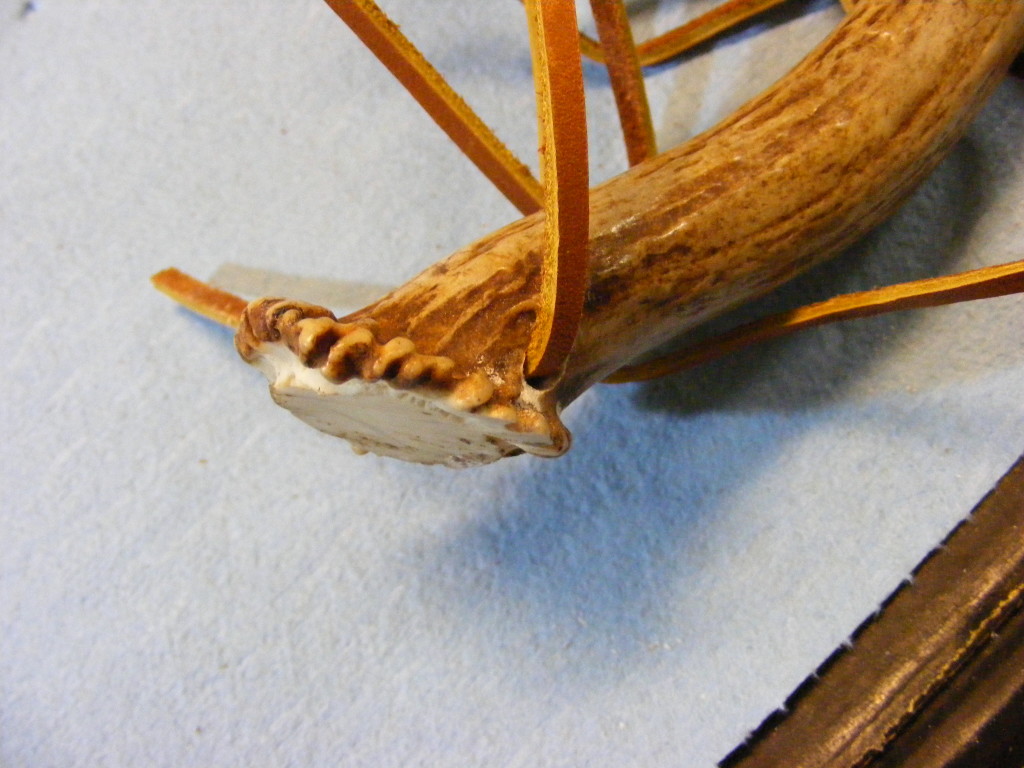
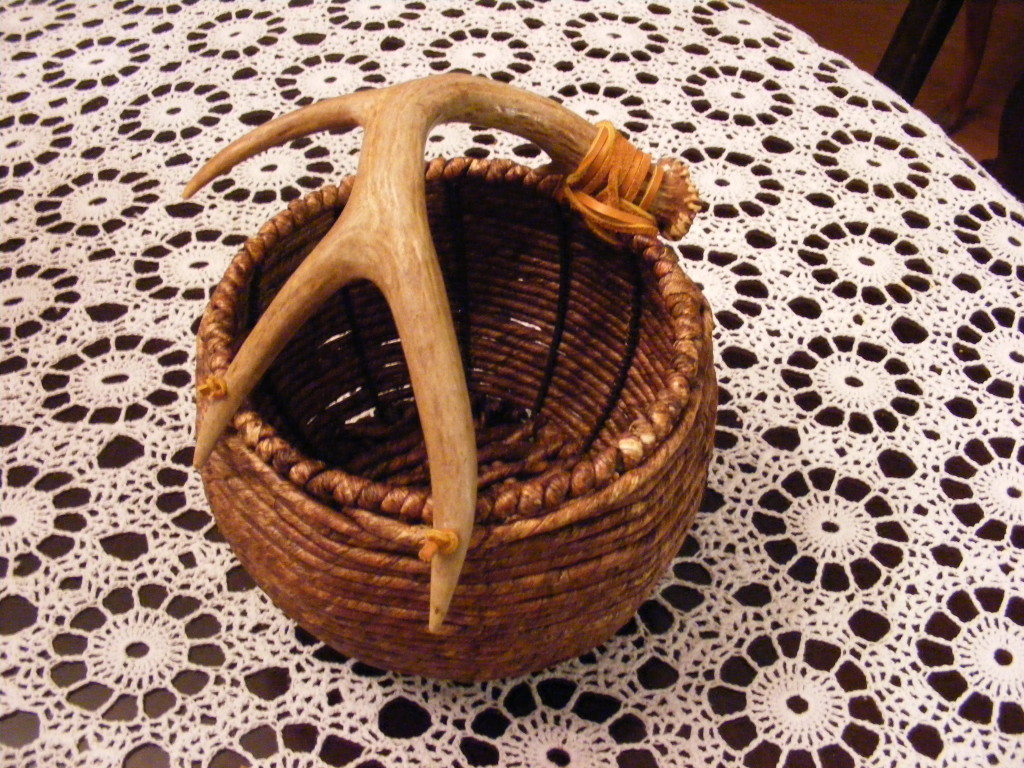
With the holes drilled, I fed the leather through the antler hole, then into the basket and tied it off. Then I wrapped the leather several times and finished tying it off to secure the main antler beam to the basket. I did the same thing to the 2 end tines, but didn’t wrap them. Instead, I simply tied a couple of overhand, “stopper” knots and that worked just fine. You might choose to use paracord or wire to secure the antler – whatever suits your fancy.
If per chance you do decide to carry something heavy in the basket, you’ll want to make sure it’s nice and secure with the deer antler handle.
Next, I glued the Letter J to the body of the basket for a final touch. Of course, the J is for Johnson.
I hope you enjoyed this antler craft tutorial. This antler handle basket is going to make a great decoration for my dining room.
Please subscribe to my blog (it’s free!) and you will be notified when I upload new projects and tutorials. Look for the subscribe box in the left-hand column. You can also follow me on Facebook.
God bless!
SSJ




2 thoughts on “Antler Handle Basket Tutorial”
Comments are closed.