If you’ve been following my tutorials, you know I have a thing for deer antlers. First, they’re a wonderful and renewable natural resource, and second, they’re extremely durable. Which makes them an excellent choice for making letter openers. In this antler letter opener tutorial, I’m going to show you how to make a simple letter opener made with deer antler and a wooden handle. Hope you enjoy!
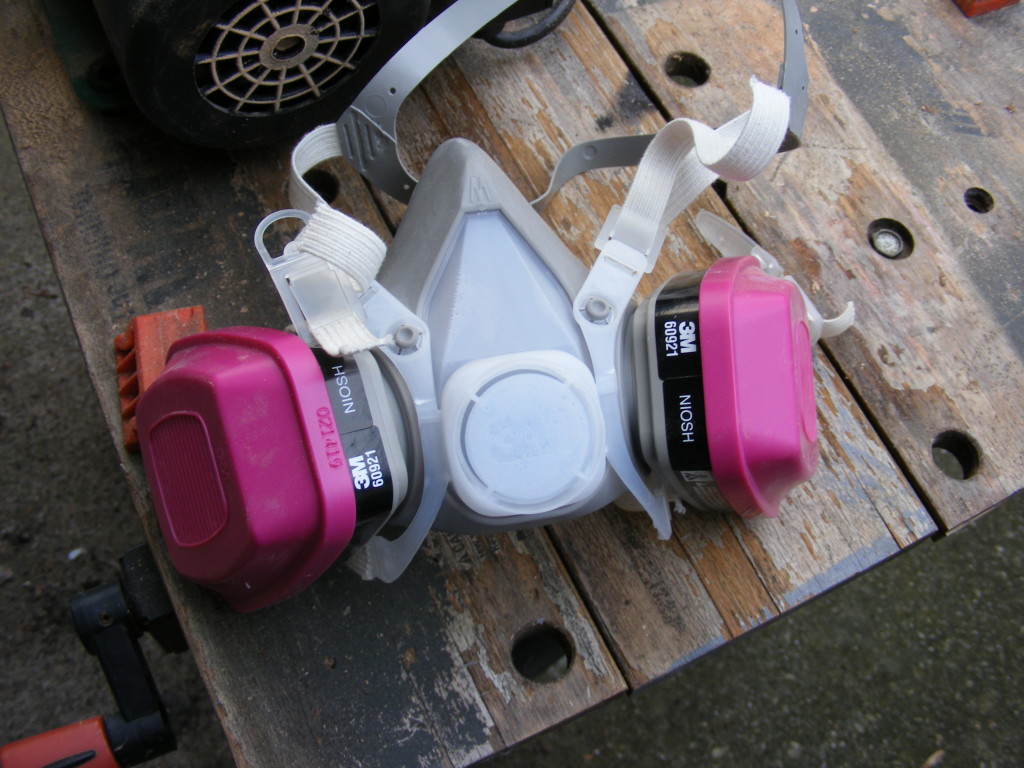
A word on safety – If you decide to use this tutorial as a guide to make your own antler letter opener, please read my disclaimer. Also, read the instructions that come with your power tools. For this project, a respirator is a must when working around deer antler. You don’t want to breath antler dust. Also, the letter opener is for adults and not children.
Materials and tools:
Deer antler and hardwood
CA or epoxy glue
Sandpaper
Drill or drill press
Disc sander and belt sander
7mm drill bit
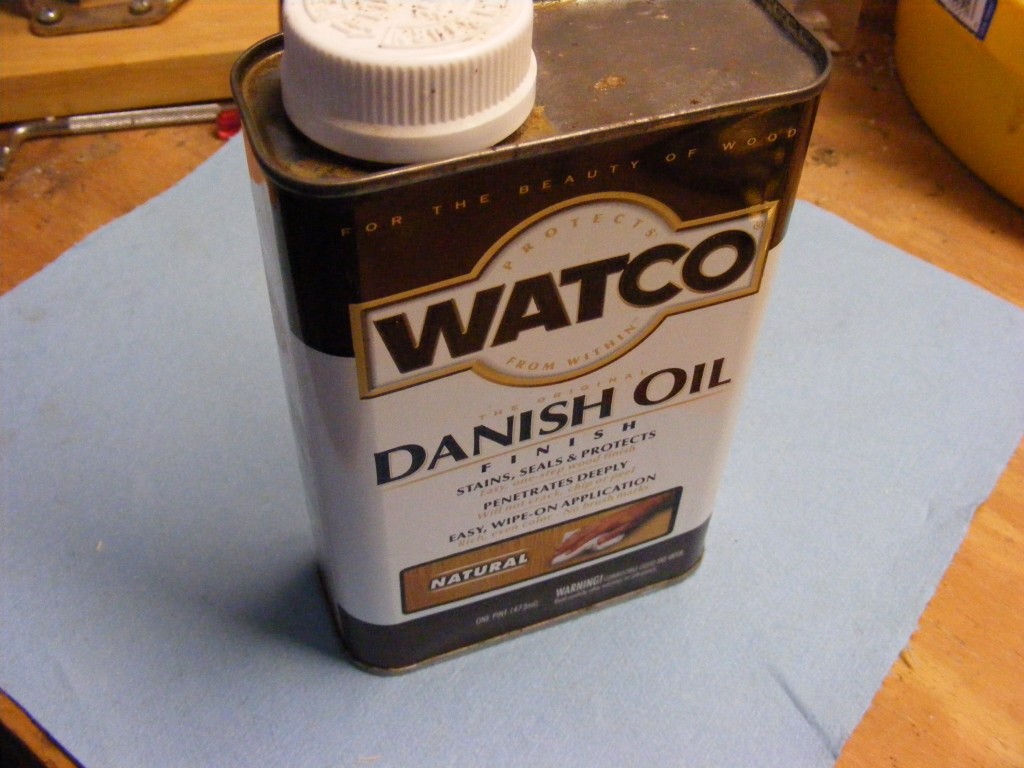
Finish (I used Danish oil – another option might be mineral oil)
Project costs – Assuming you already have most of the tools and some supplies on hand, this project will probably cost around $10 to $20. You may have to search for the deer antler on Ebay or Etsy if you don’t have access to it.
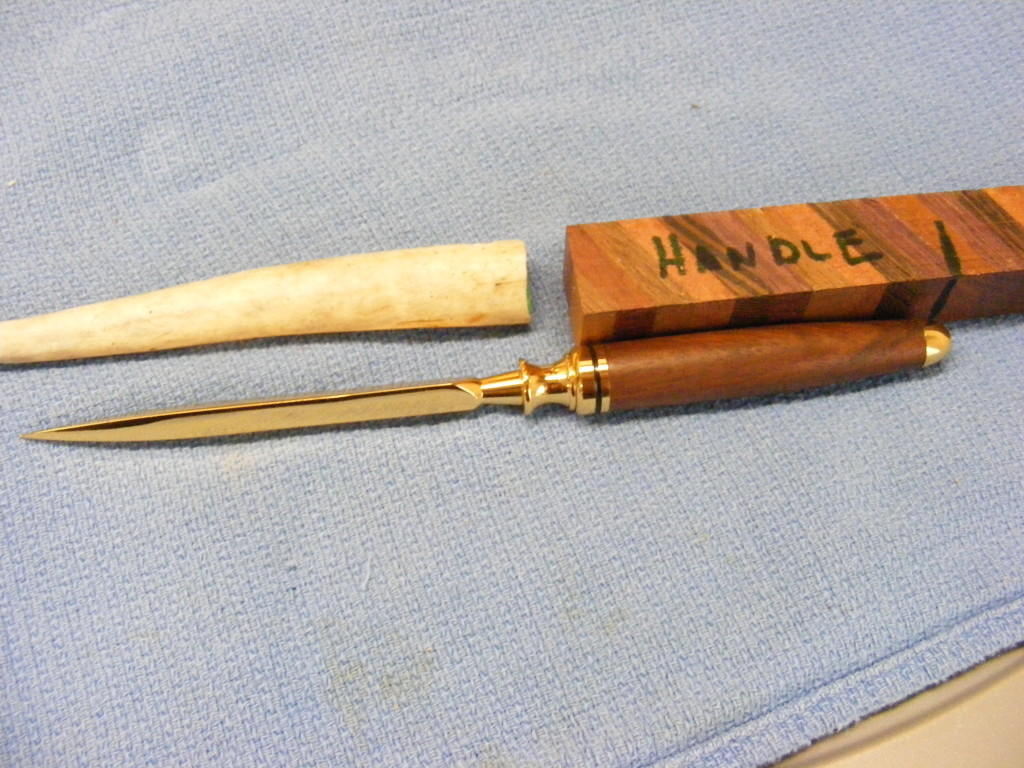
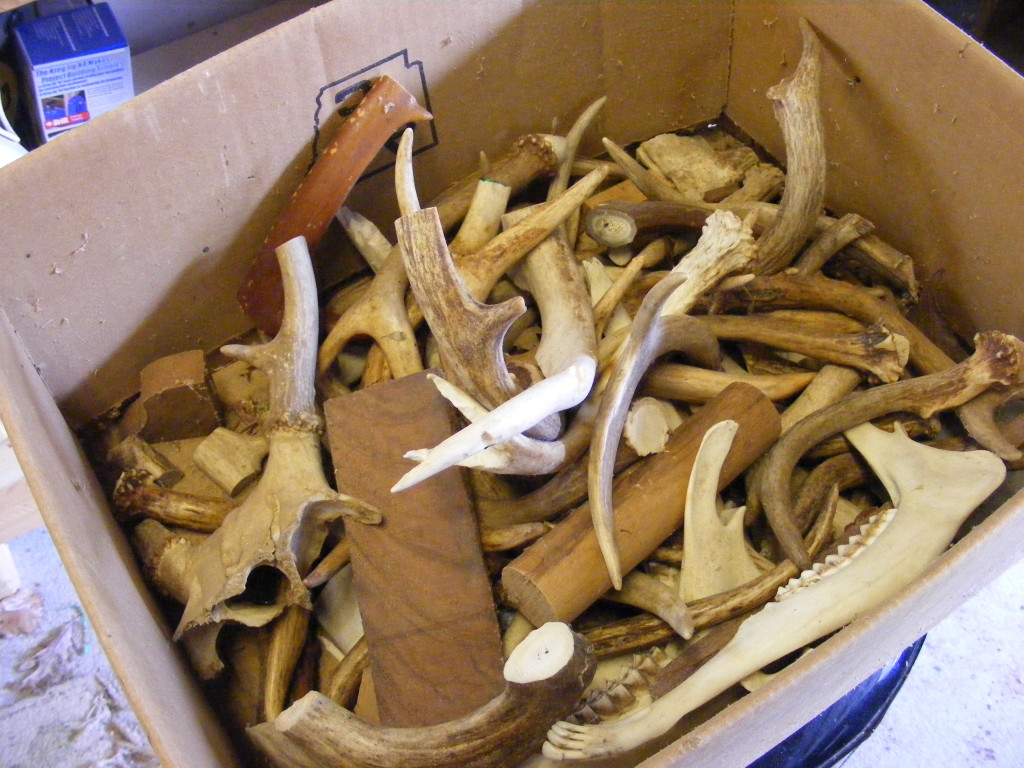
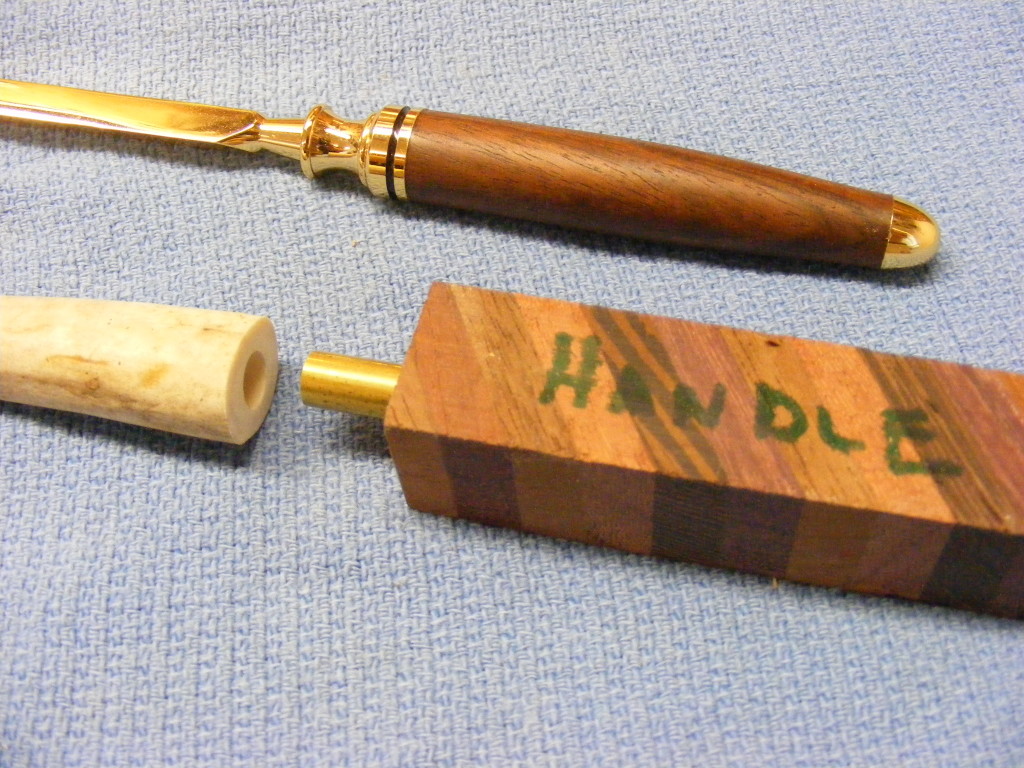
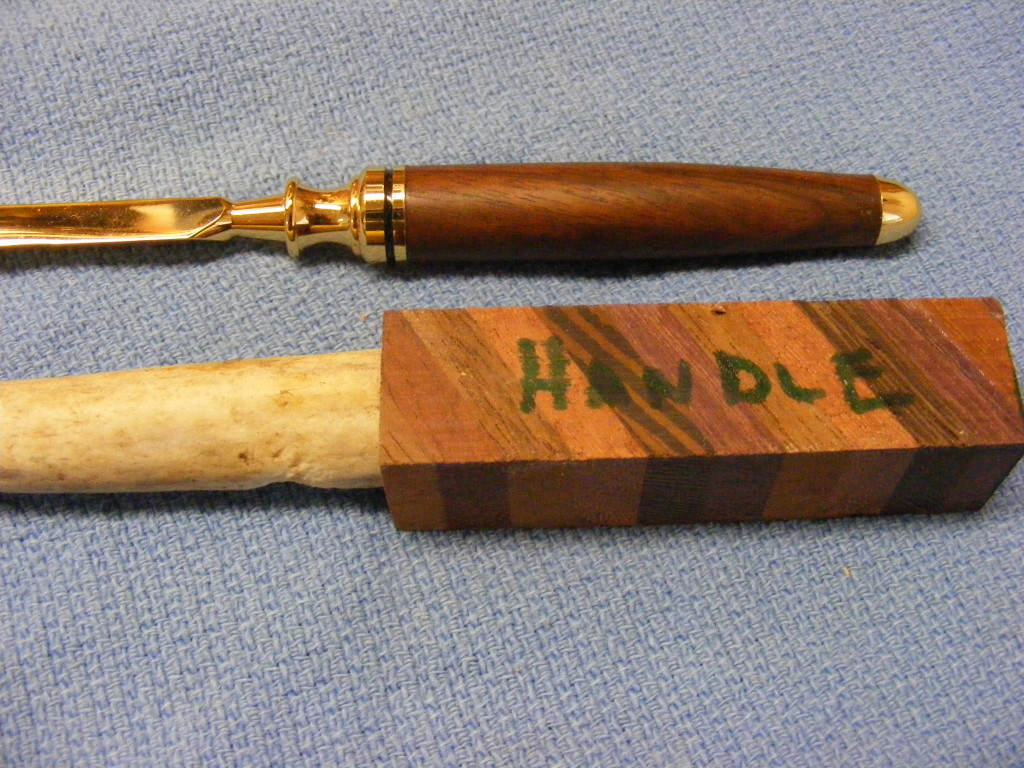
Step 1 – I looked through my box of deer antlers to find a piece that was fairly straight and long enough. And – very low on the porous side. My deer antlers come from the Whitetail deer and the majority are antler sheds. I modeled my deer antler letter opener after another letter opener I made, using a kit and my wood lathe. You can see it in the photo.
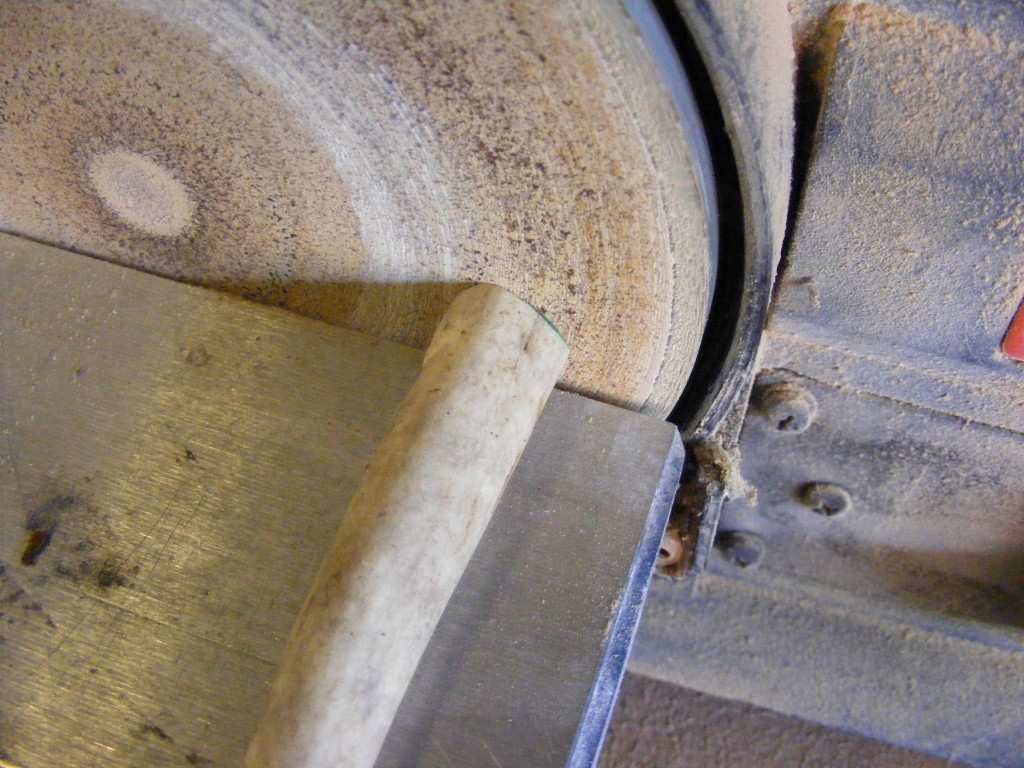
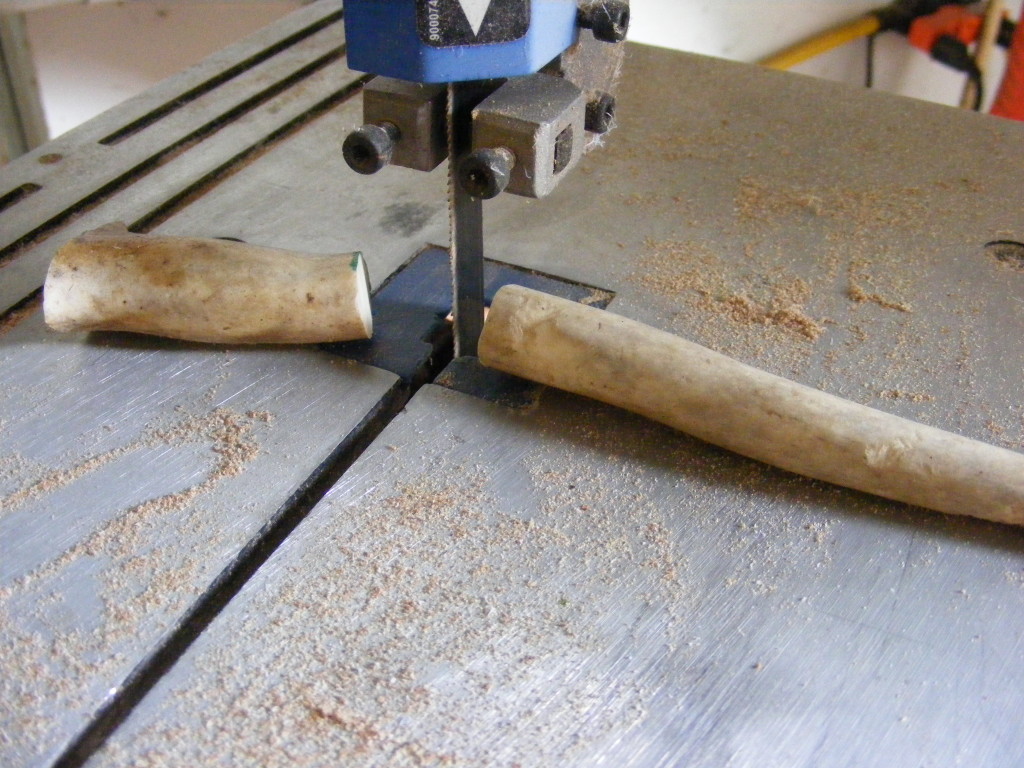
Step 2 – Pick a wood for the handle. I chose a laminated wooden pen blank for the handle (see photo in Step 1). You can use any wood of choice, but I recommend a hardwood. You only need a piece that’s 3/4 inch X 3/4 inch X 4 inches. I used my other letter opener as a guide to measure the length. Cut the antler and wood to desired length and use a disk sander to square up the ends. I will be joining the antler and wood handle together, so I need at least two perfectly flat surfaces.
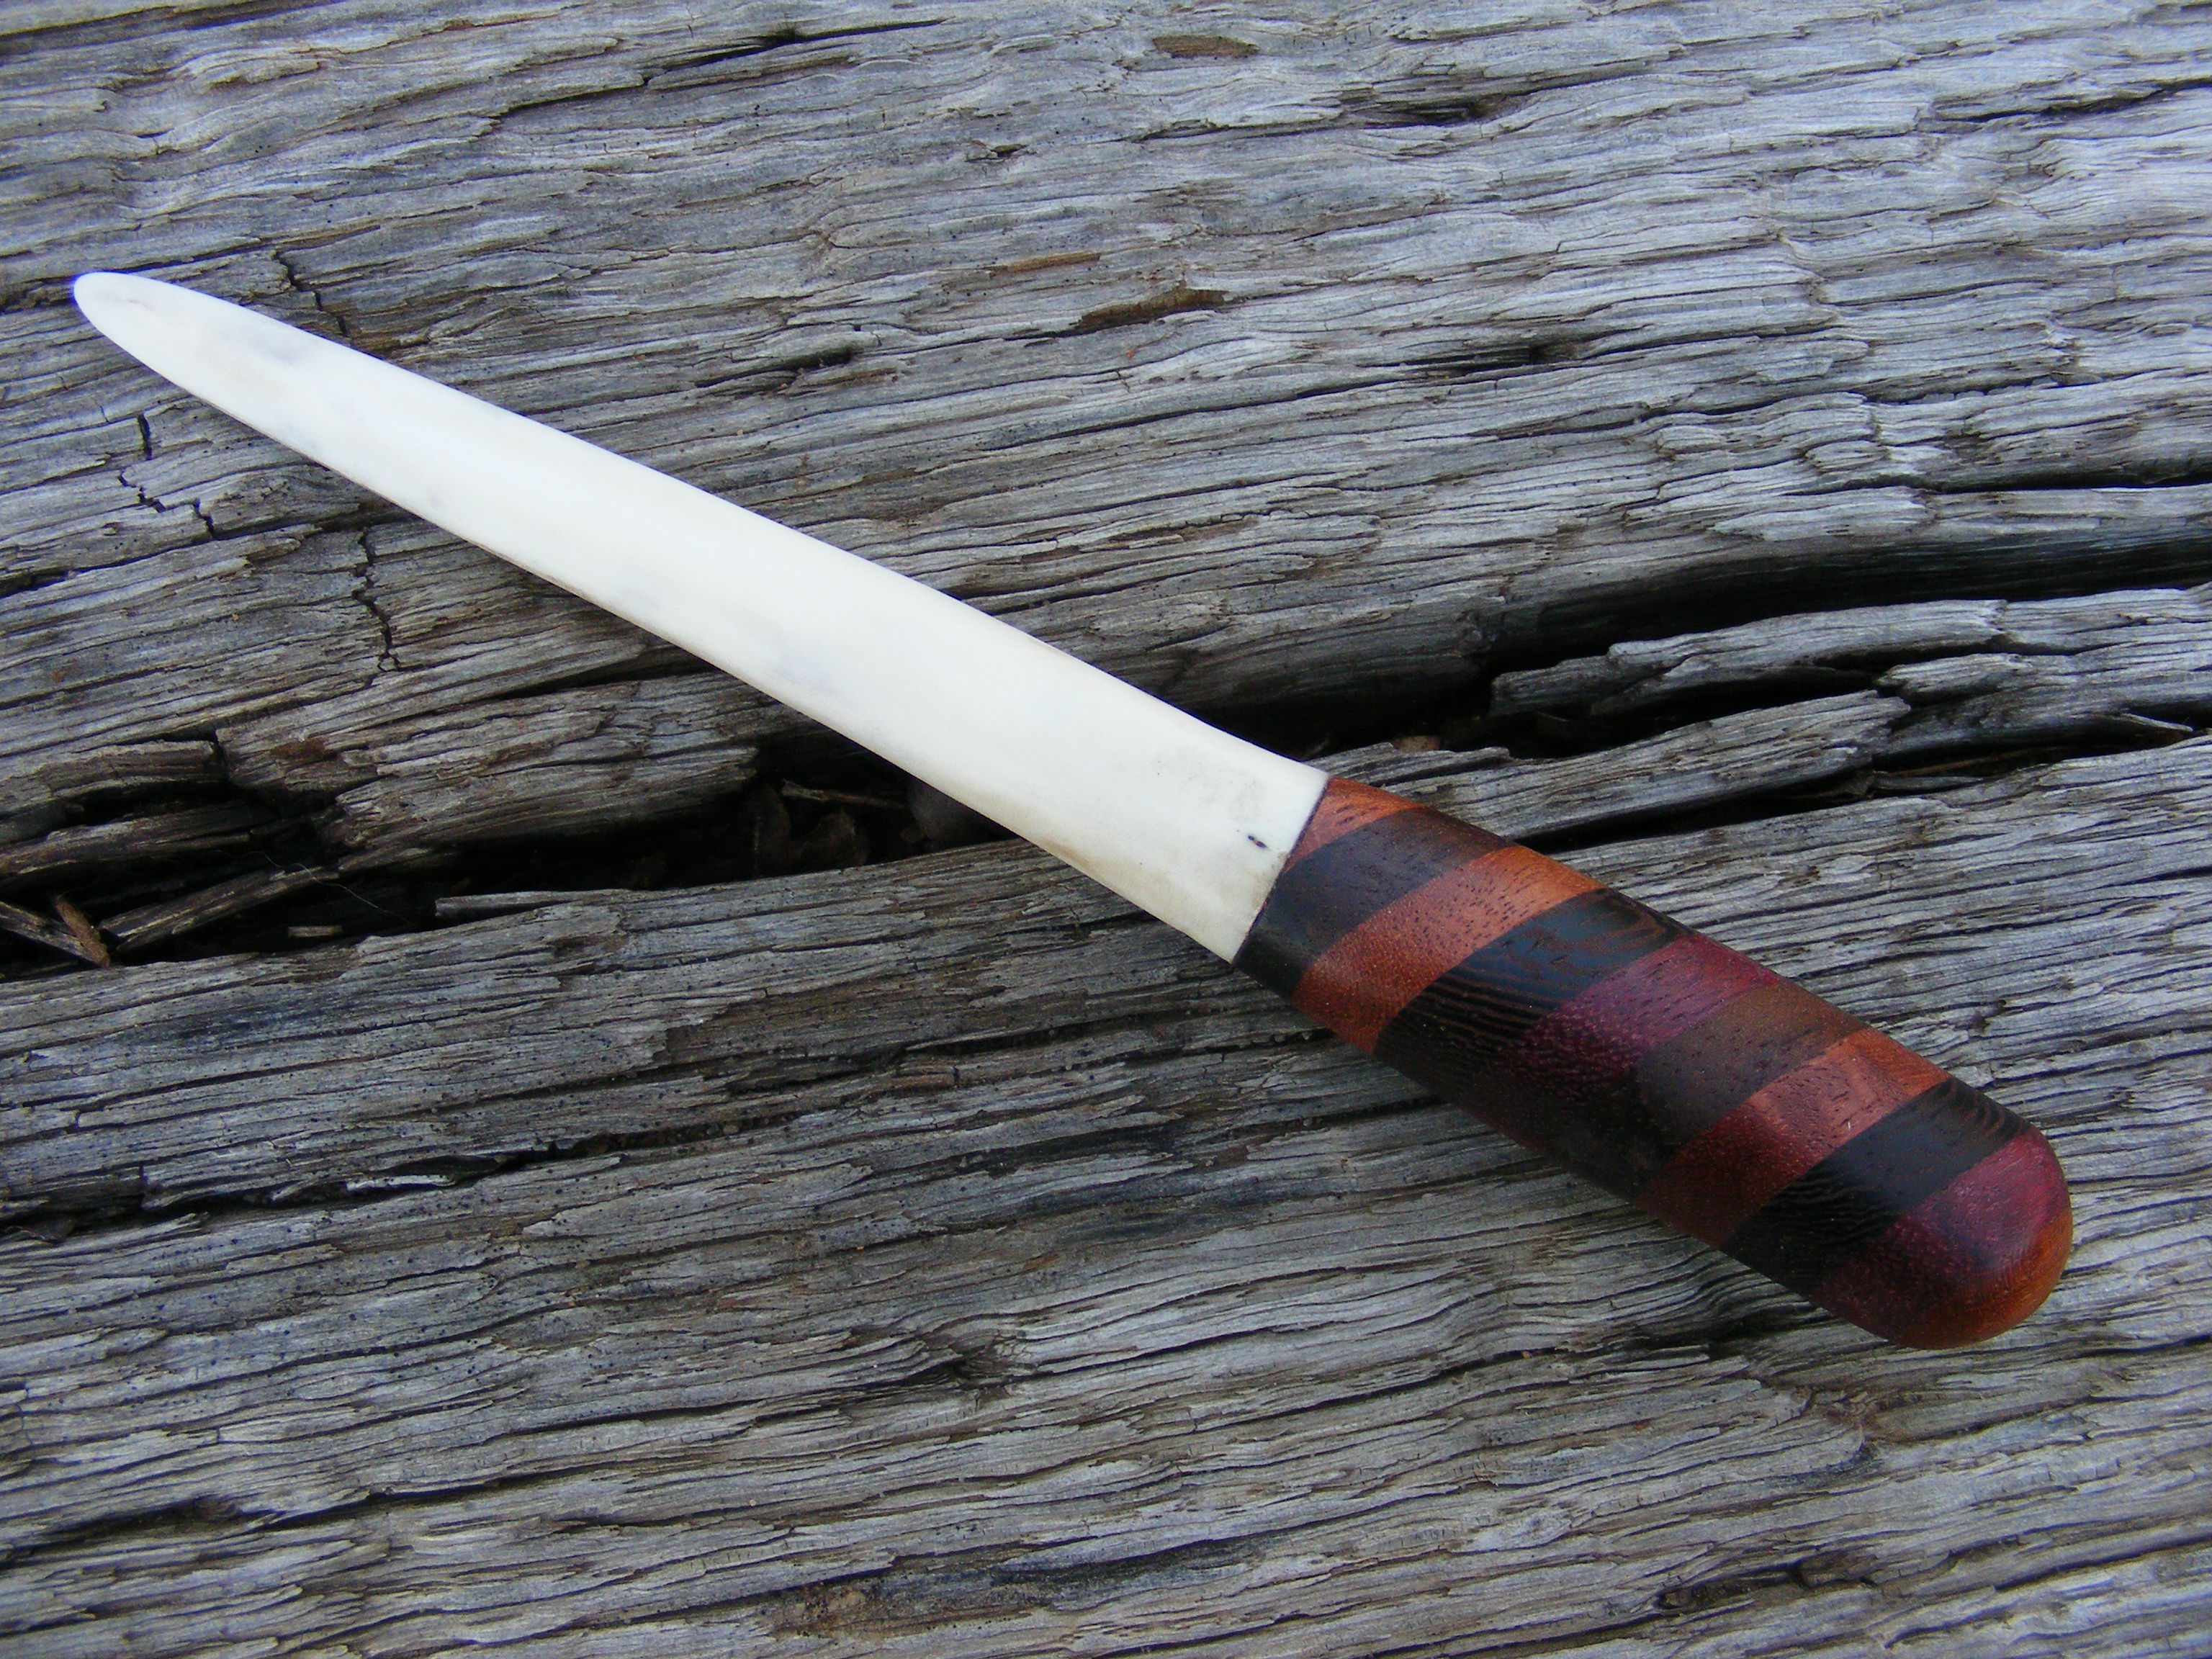
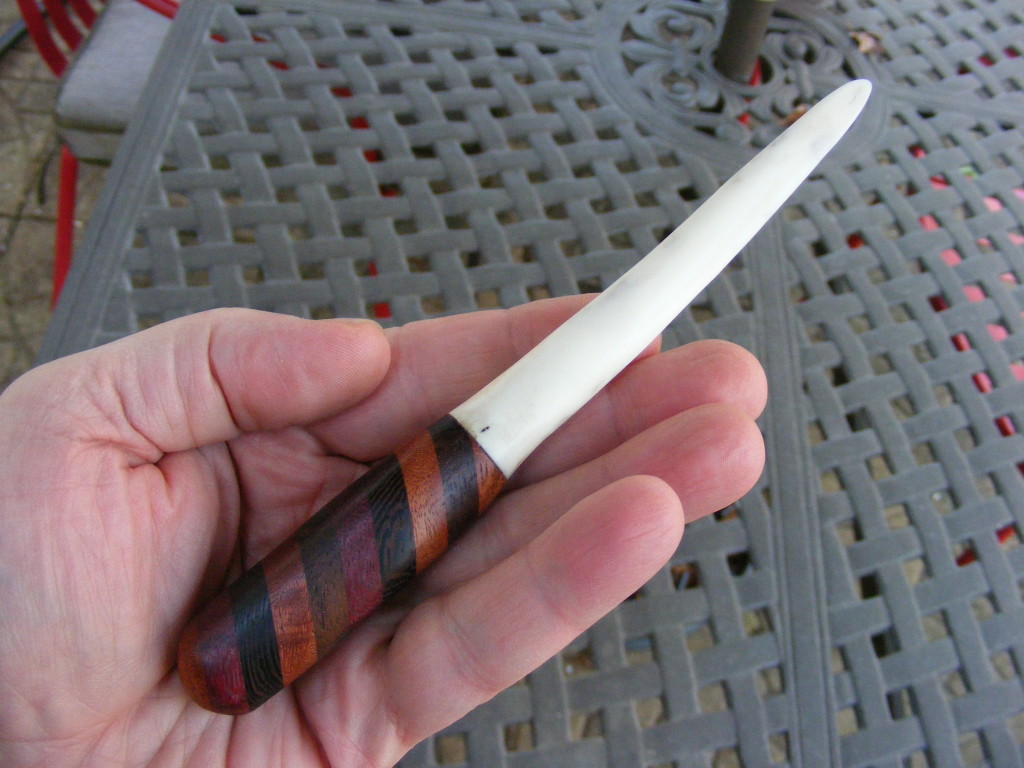
The overall length of my antler letter opener is 7 inches. The handle is about 2.5 inches and the blade is 4.5 inches. Of course, you don’t have to follow my dimensions exactly.
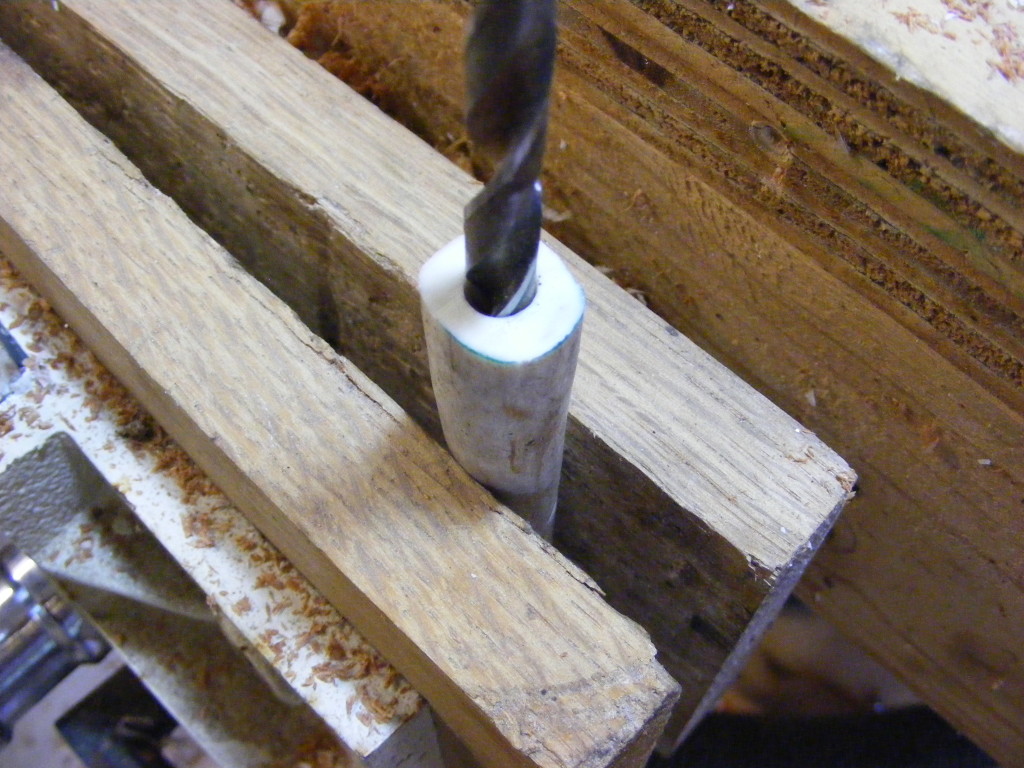
Step 3 – Drill 7 mm holes in the antler and the wooden handle. Drill a 7 mm hole about 1 inch deep into the center of the antler (the fat end). Then drill a 7 mm hole about 1 inch deep into ONE end of the wooden blank. The 7 mm brass tube is about 2 inches in length. Just make sure both holes are deep enough to accommodate the total length of your brass tube. These holes need to be perpendicular (90 degrees) with the end surfaces. Use a drill press if you have one. (Read the safety instructions that come with your tools)
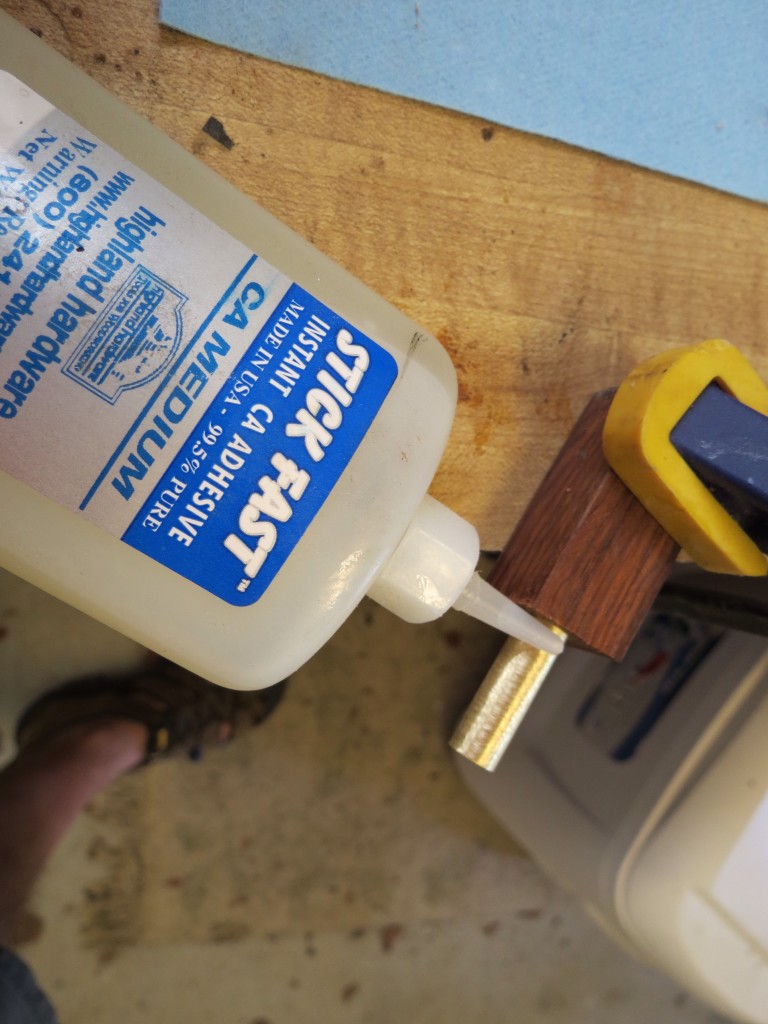
Step 4 – Insert a 7 mm pen tube into both holes and glue the antler and wooden handle together (check for fit first, BEFORE you apply glue). Distribute glue evenly around the pen tube when you place in the holes and make sure glue is between the antler and wood where the handle and blade come together. If you want, you can take a very long C clamp and gently hold the two piece together while they dry. (Remember to wear nitrile gloves so you won’t get glue on your skin) I decided to use the brass tube to join the blade and handle together for a more solid structural design.
You can buy the 7 mm brass pen tube from a supplier like Penn State Industries. However, you may be able to find brass tubes at your local hobby store or hardware store. Just make sure you drill your holes to match the size. I used medium CA (superglue) for bonding the blade and handle together, but you could use an epoxy. Allow it to dry and cure overnight.
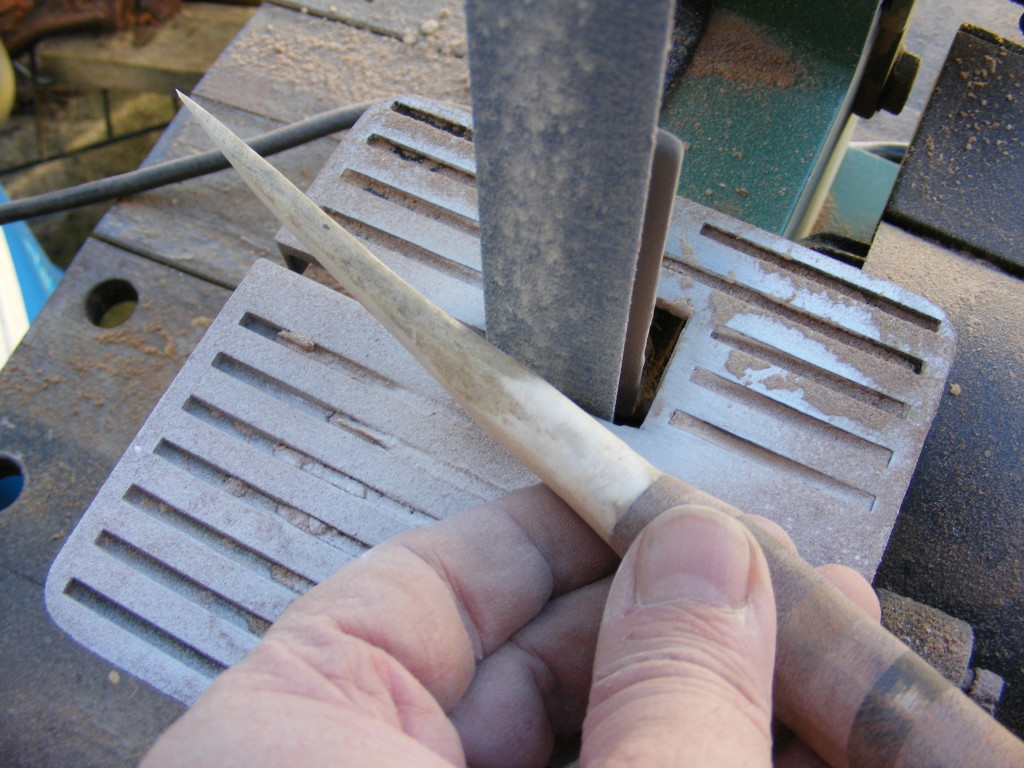
Step 5 – Use a belt sander to shape and rough sand the letter opener. In this step you will be taking off the majority of the antler and wood until it’s down to the shape and profile you desire. Feel free to use my finished letter opener as a model. I tried to get my handle fairly round and I sanded around where the blade and handle come together for a seamless look. Be careful not to sand too deep around the joint between the antler blade and handle. Remember that your brass tube is there. Be sure to wear a respirator or good dust mask.
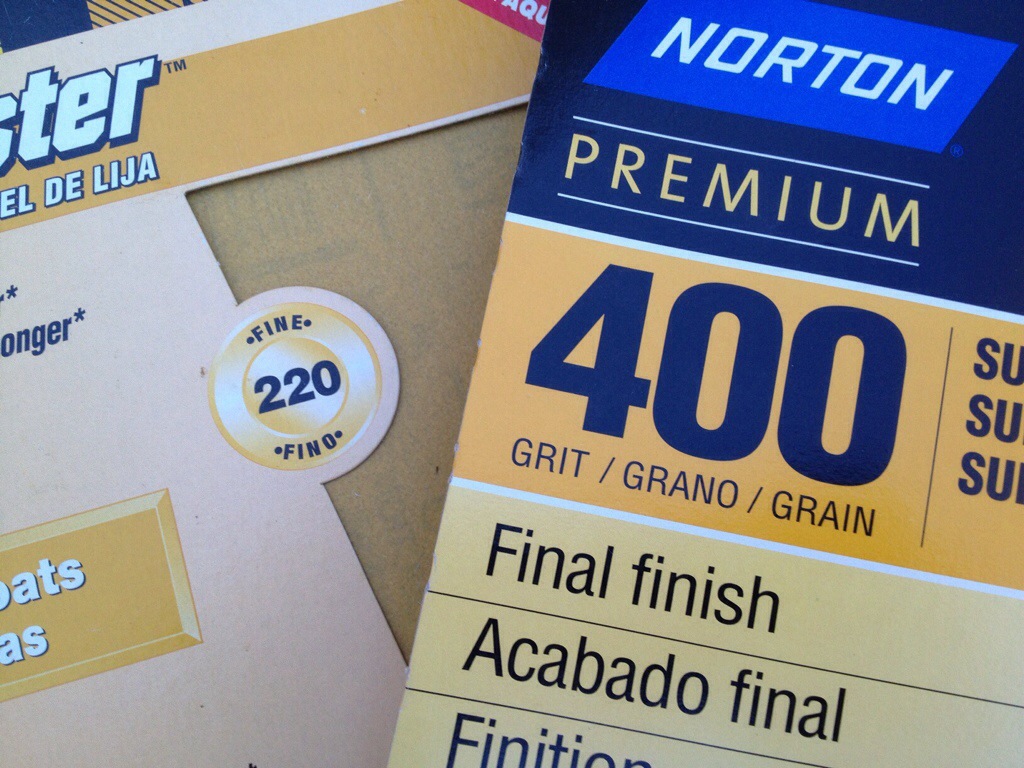
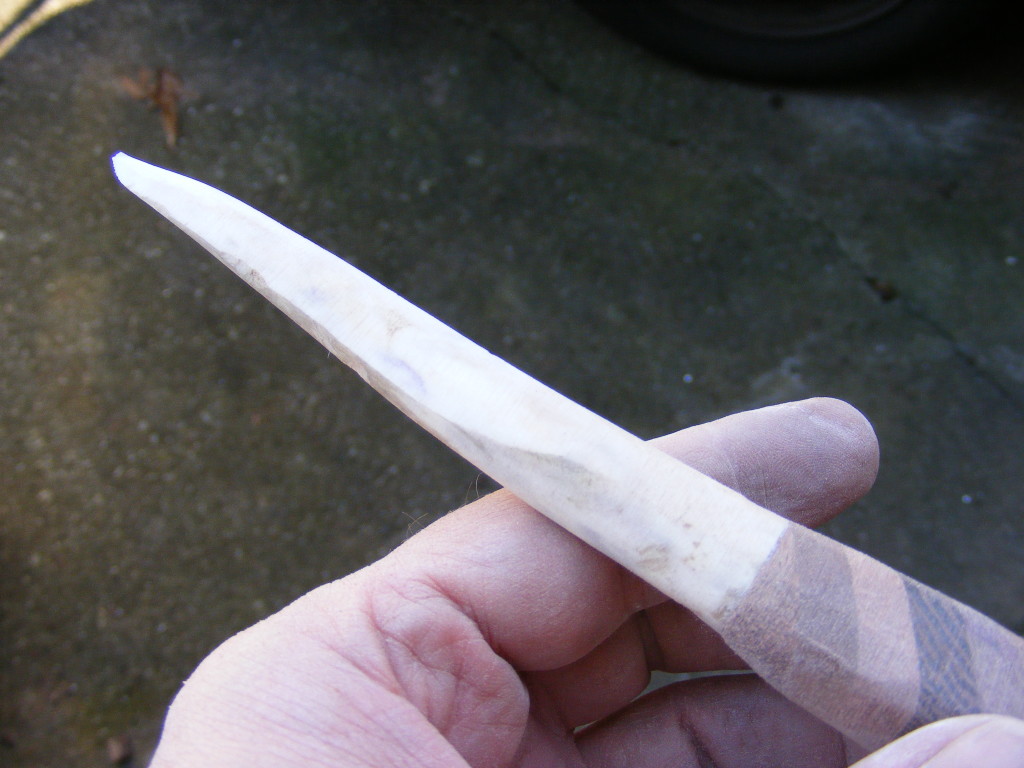
Step 6 – Fine sand by hand with sandpaper sheets. Cut sections out of the big sheets to create a good working size. Use 120 grit, 220 grit, 400 grit and up to 600 grit. Higher grits are even better if you have them. The antler will begin to polish to a glossy finish. Fortunately, my antler wasn’t porous which is ideal. I picked a piece that was part of a tine. The farther you get away from the base of the antler(usually a tine), the less porous they will be. (Continue to wear the respirator as you sand)
Sand the blade until it’s fairly thin on one or both edges, but you don’t have to make it knife-blade sharp. Remember – it’s a letter opener, not a veggie chopper. Sand the wood until it’s smooth and fits your hand comfortably.
Step 7 – Apply a finish to the wood. You can use a finish of choice, but I used Danish oil. Follow the instructions that come with your finish. I put on 2 to 3 coats of the Danish oil and allowed it to dry overnight.
Now you have a letter opener that’s unique. All it took was a little drilling, some glueing and sanding. Should last for many years to come. This would make a wonderful gift for the hunter or nature enthusiast in your family.
Thanks for stopping by and checking out my tutorials. If you’d like to receive notifications of new tutorials, please consider subscribing to my site or following Four Oaks Crafts on Facebook.
God bless,
Scott



1 thought on “Antler Letter Opener Tutorial”
Comments are closed.