As you may know, I love making things from the antlers of the whitetail deer. Every year, the whitetail will shed his antlers and provide us this magnificent material to work with. So I thought I’d take a stab at making some antler rings.
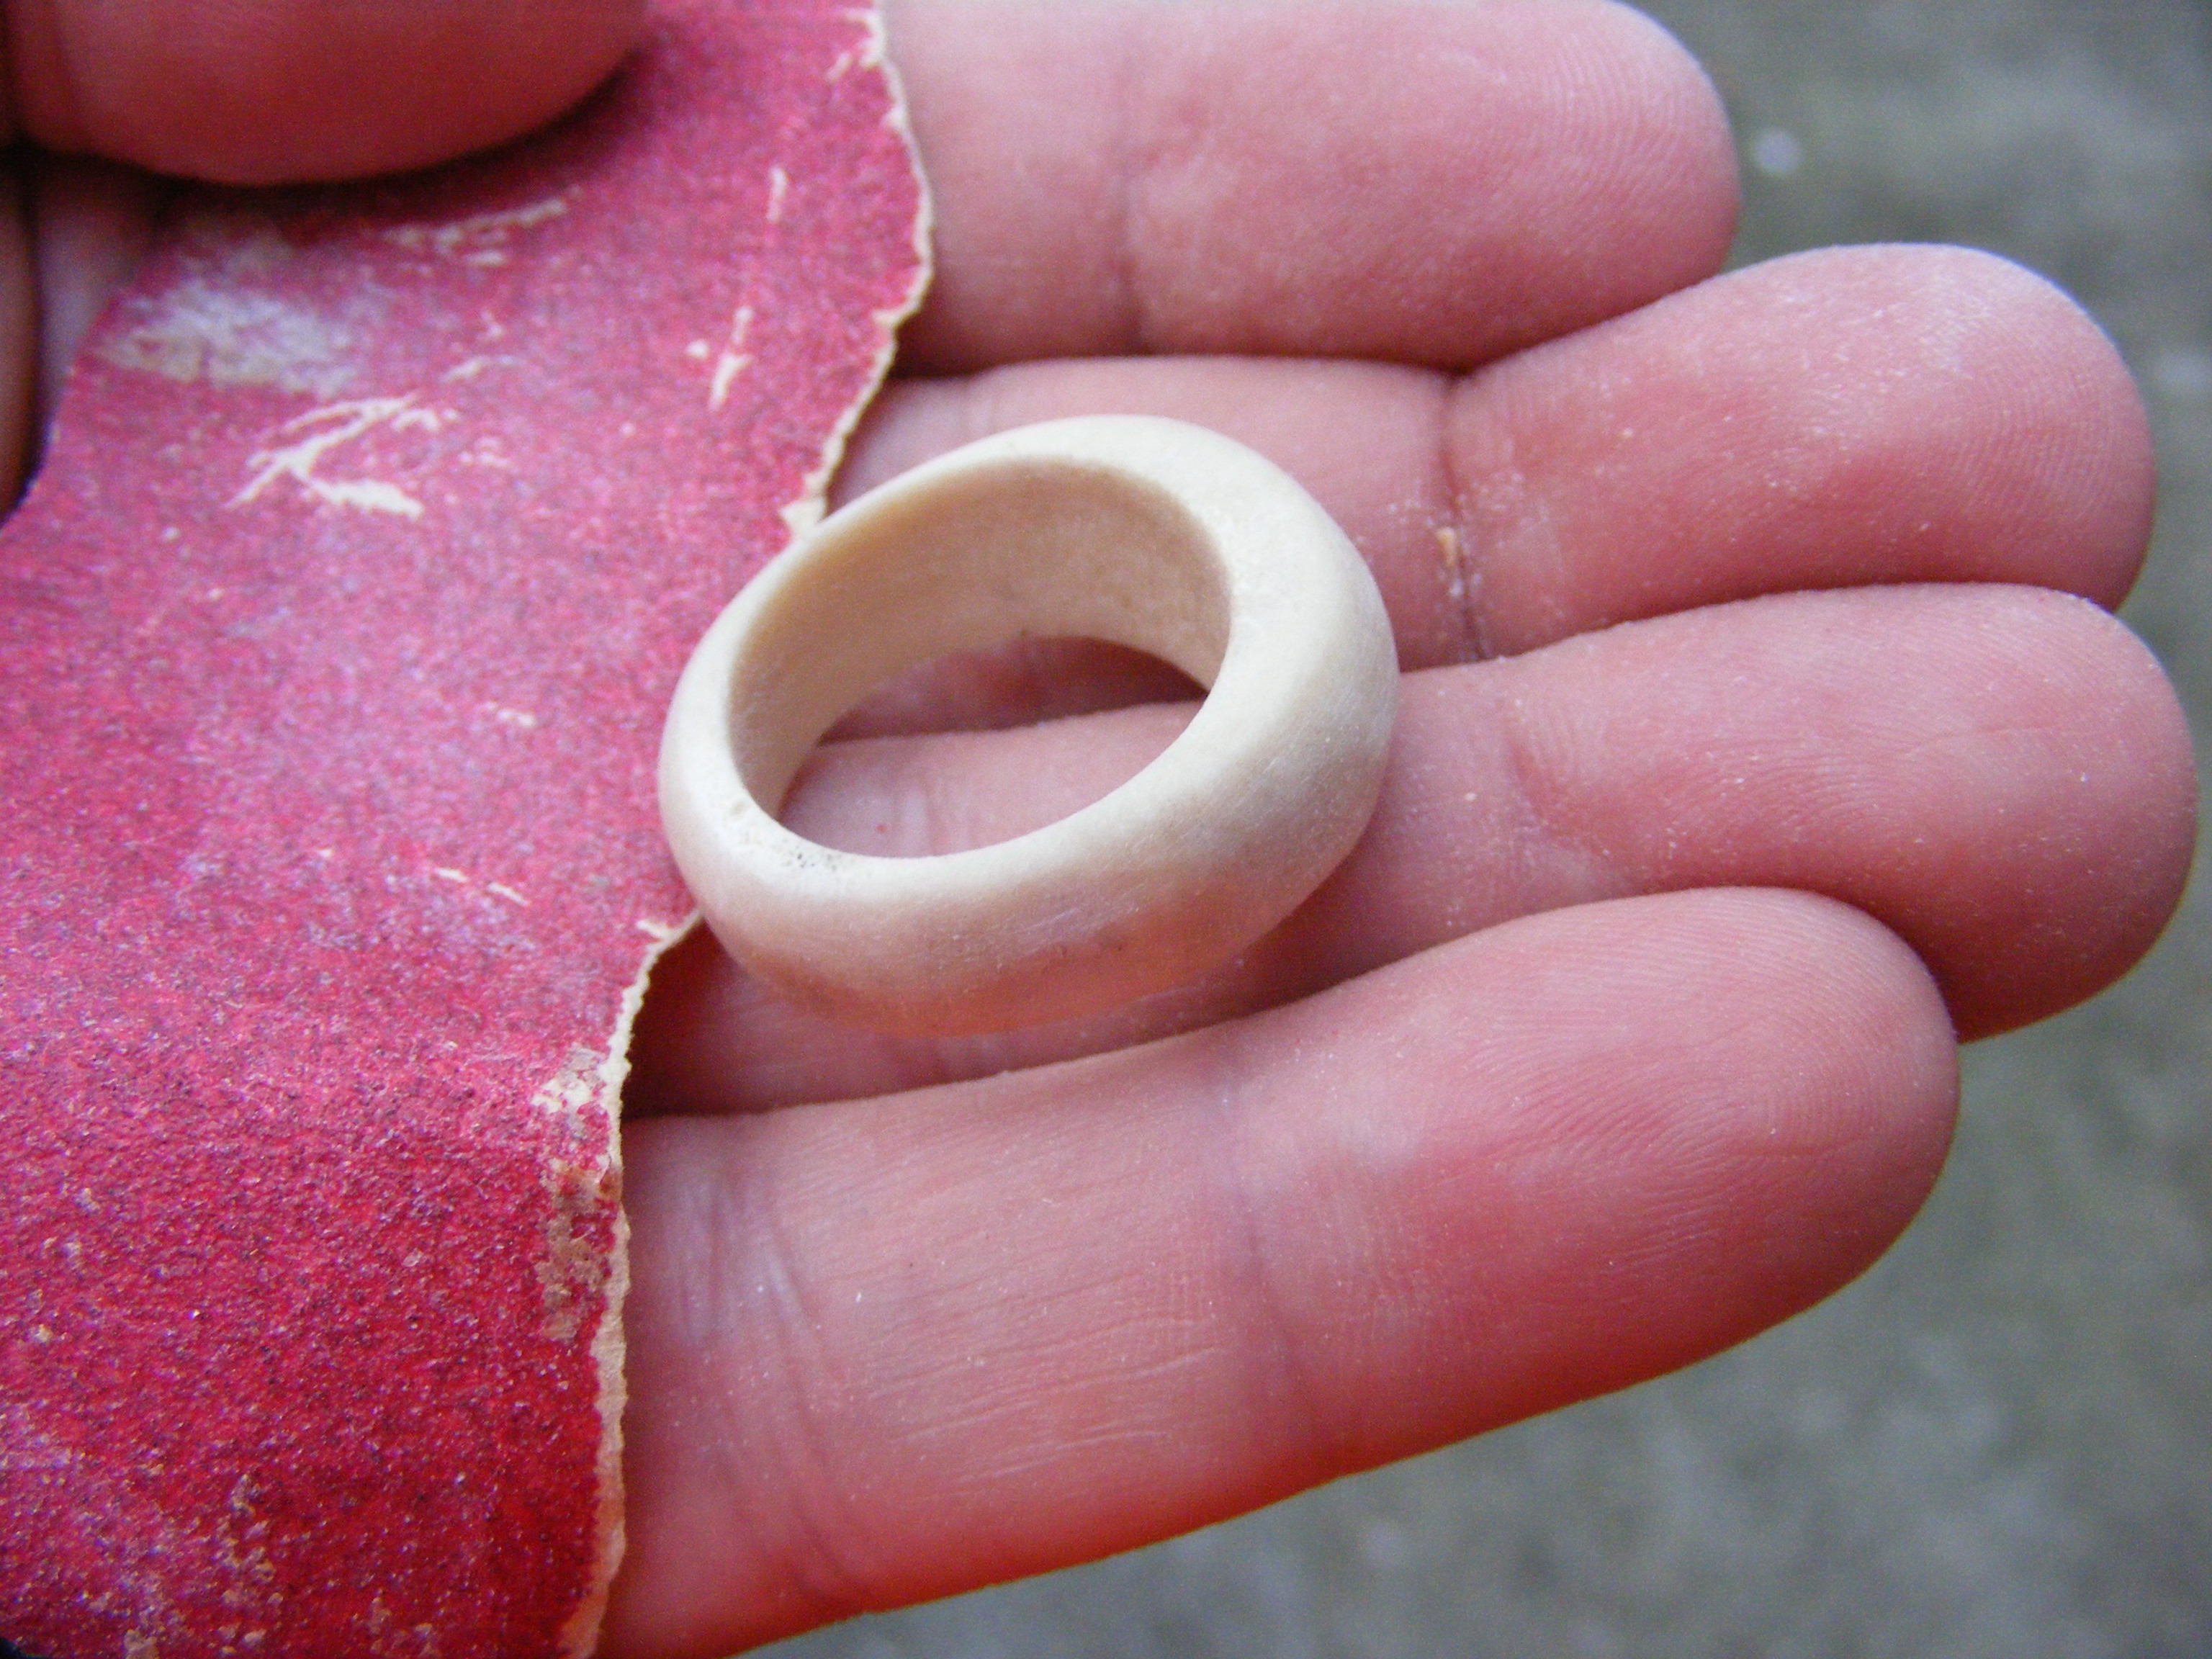
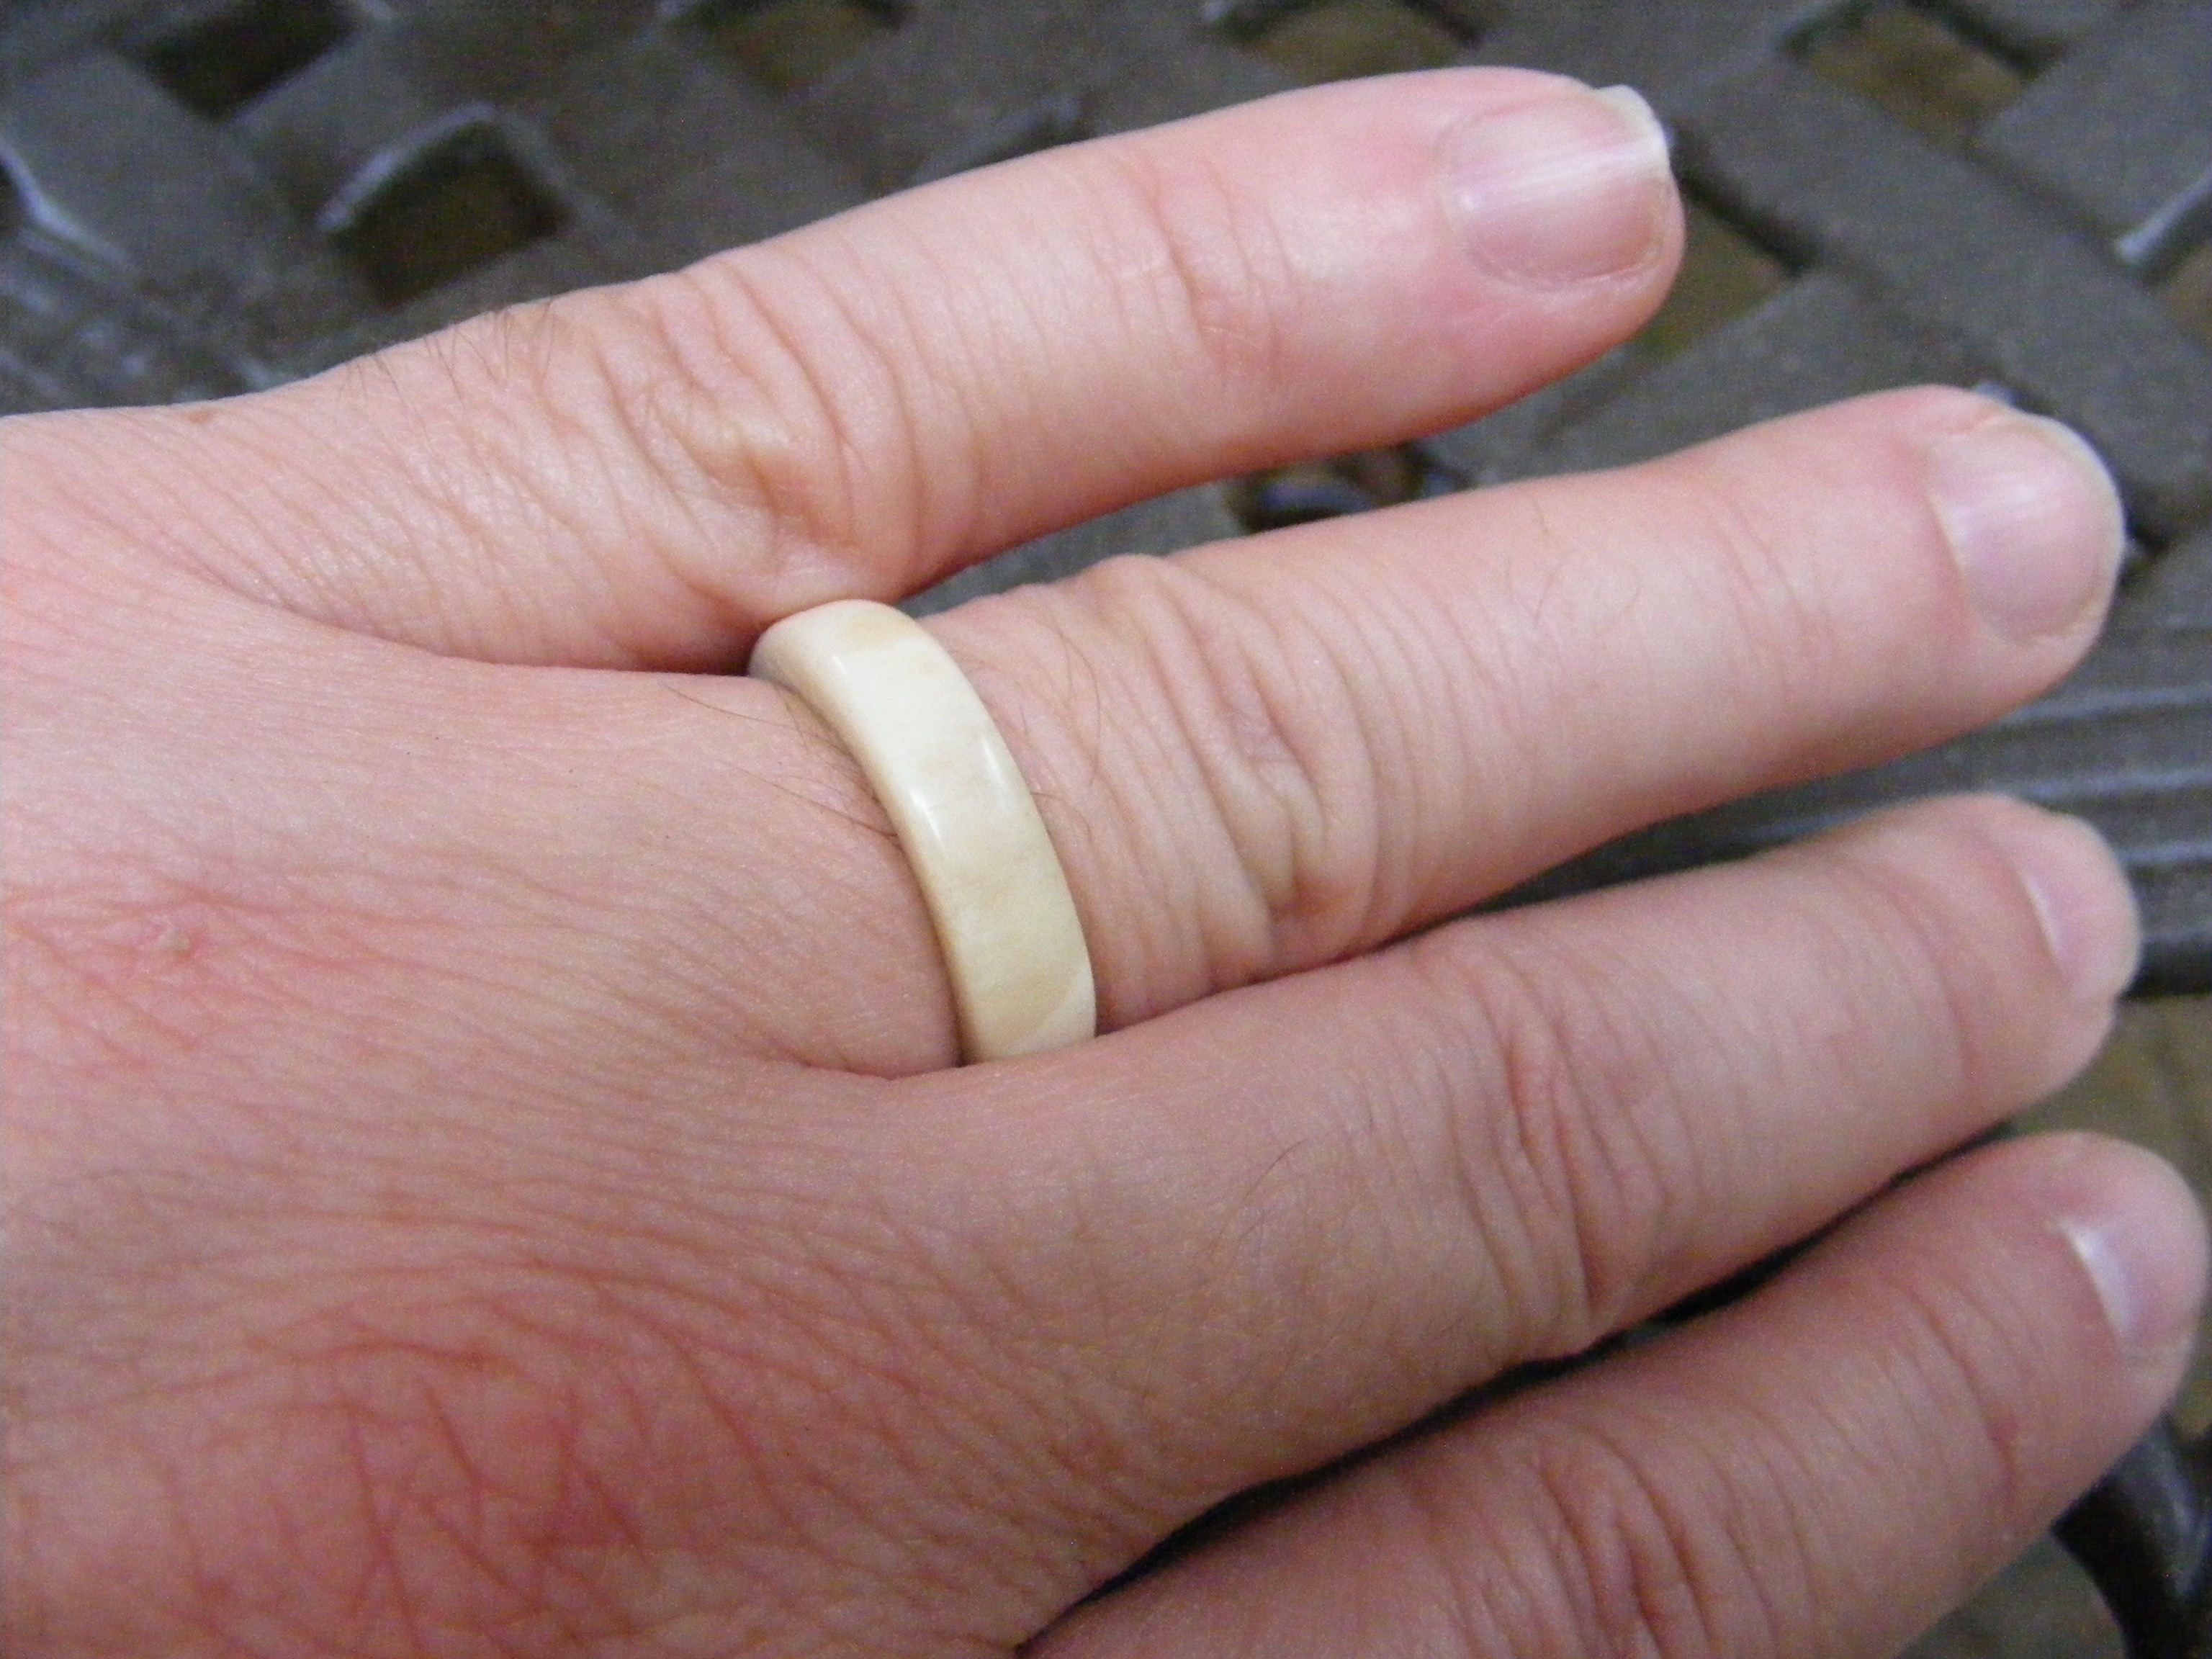
Your kids might call you a redneck–like mine did–but I still think this a great project. Antler can easily be worked, shaped and sanded. Adding a finish isn’t really necessary unless you want to seal it for moisture (wearing it while showering, for example). I’ve found as I sand antler with finer and finer grit sandpapers it polishes to a glossy finish. The ring’s I made fit smoothly on my fingers.
Peruse this site for a little bit, and you’ll see several of my other fun tutorials on making antler pens, letter openers, bottle openers, and home decor. Maybe you can think up other things to make with this gift from Mother Nature. (Let me know in the comments field below)
Post UPDATE: Check out my YouTube video on making deer antler rings. Hope you enjoy!
Tools & Materials That Came in Handy (Affiliate links added for your convenience):
Dremel 8050-N/18 Micro Rotary Tool (on Amazon)
Generic Mini 1 x 30 Belt Sander 3400 RPM (on Amazon)
MICRO MESH SANDING SHEETS (on Amazon)
Craftsman 1/3 hp 3.5 amp 10 in Band Saw (on Amazon)
Craftsman 10 in Bench Drill Press w/ Laser Trac
Walnut Hollow Creative Versa Tool with Versa-Temp Variable Temperature Control (on Amazon)
Now–On to the Tutorial!!
Join with me as I show you how I made my antler rings. In just a few steps you will have a unique piece of jewelry you can brag about or give to your significant other.
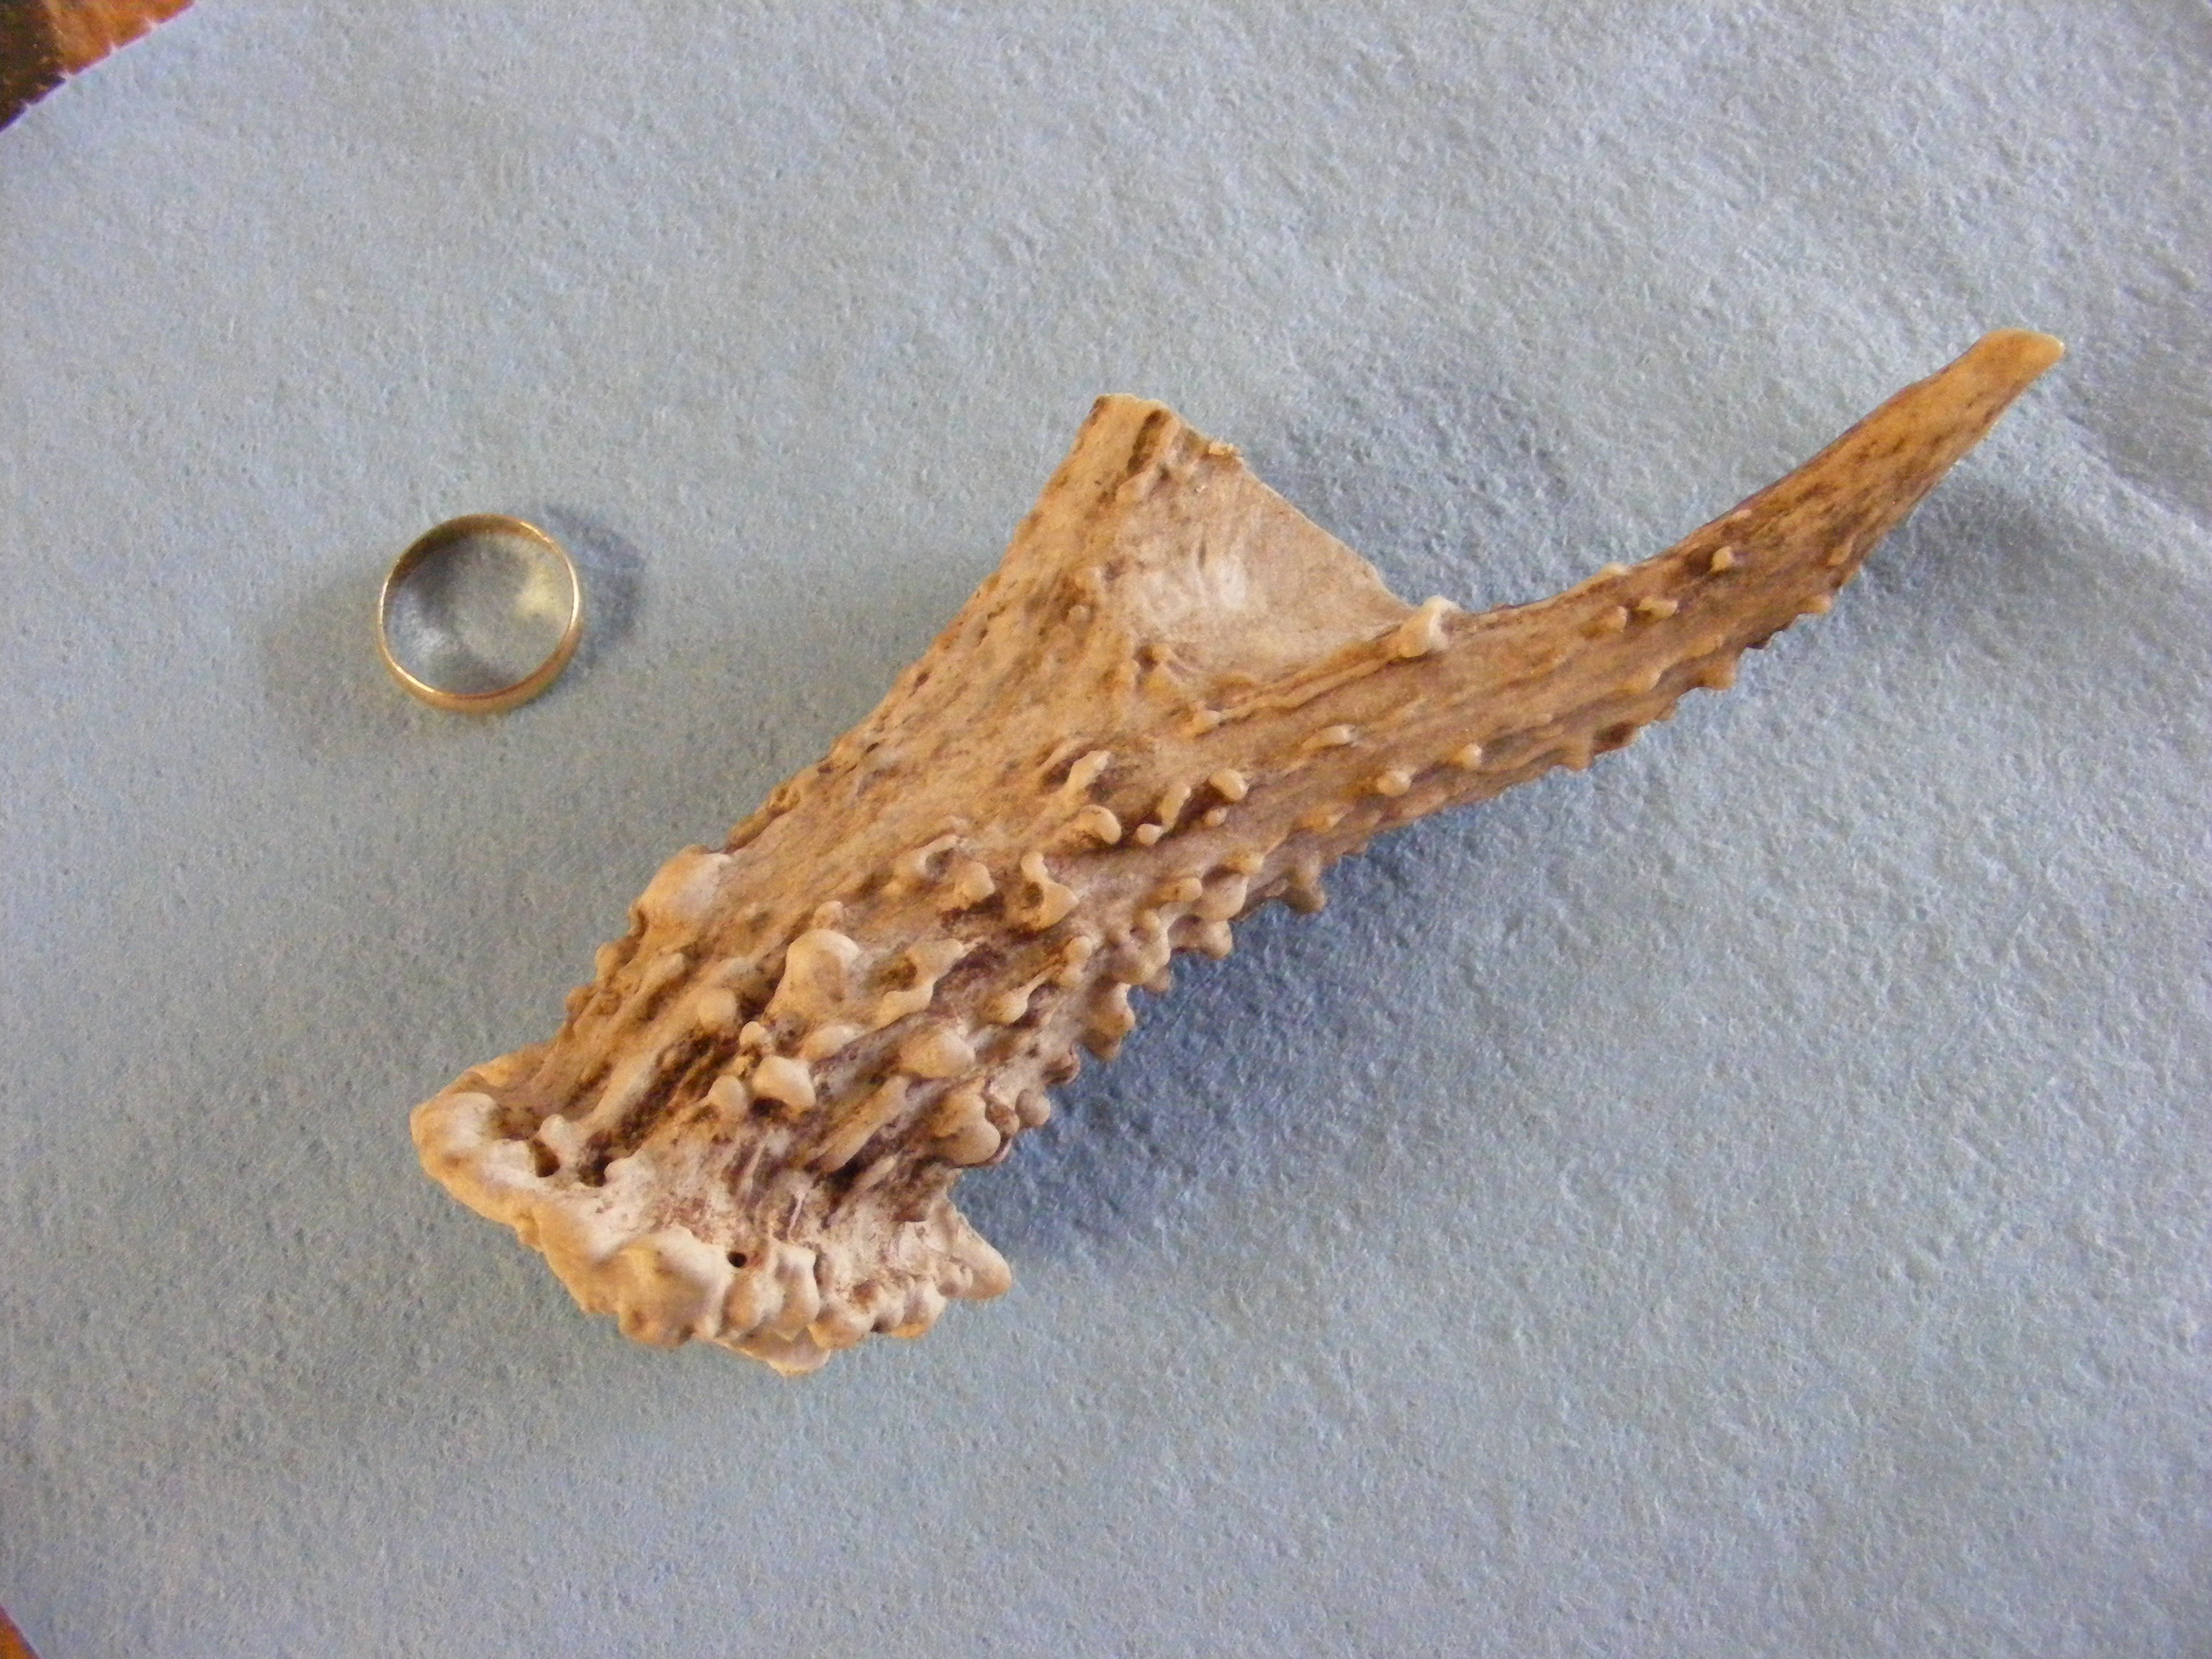
Step 1 – Select some deer antler. Most people want to know where you can get it. The quick answer is to check on eBay or check out a craft supplier who sells antler. Do some searching online, and you should come up with something.
There are many other ways to procure antler: search in the woods, yard sales, sportsmen, antique/craft stores.
For this project, I looked for a piece of antler that wasn’t very porous. Antler is bone and it’s porosity varies from antler to antler. It also varies on the piece of antler itself. Generally it’s more porous around the antler base.
Select a piece that is at least 1/2 inch wider in diameter than your ring finger. This will give you extra antler material that can be shaped and sanded. I used my wedding band as a model for these antler rings.
Also, try to use the straightest piece of antler as possible.
SAFEY PRECAUTIONS: In the steps that follow, I used safety glasses and a good dust mask. Antler dust is not something you want to breath in and it can be quite dusty when worked. Use a dust collector if you have one. I also read and understood how to use all my gear and power tools.
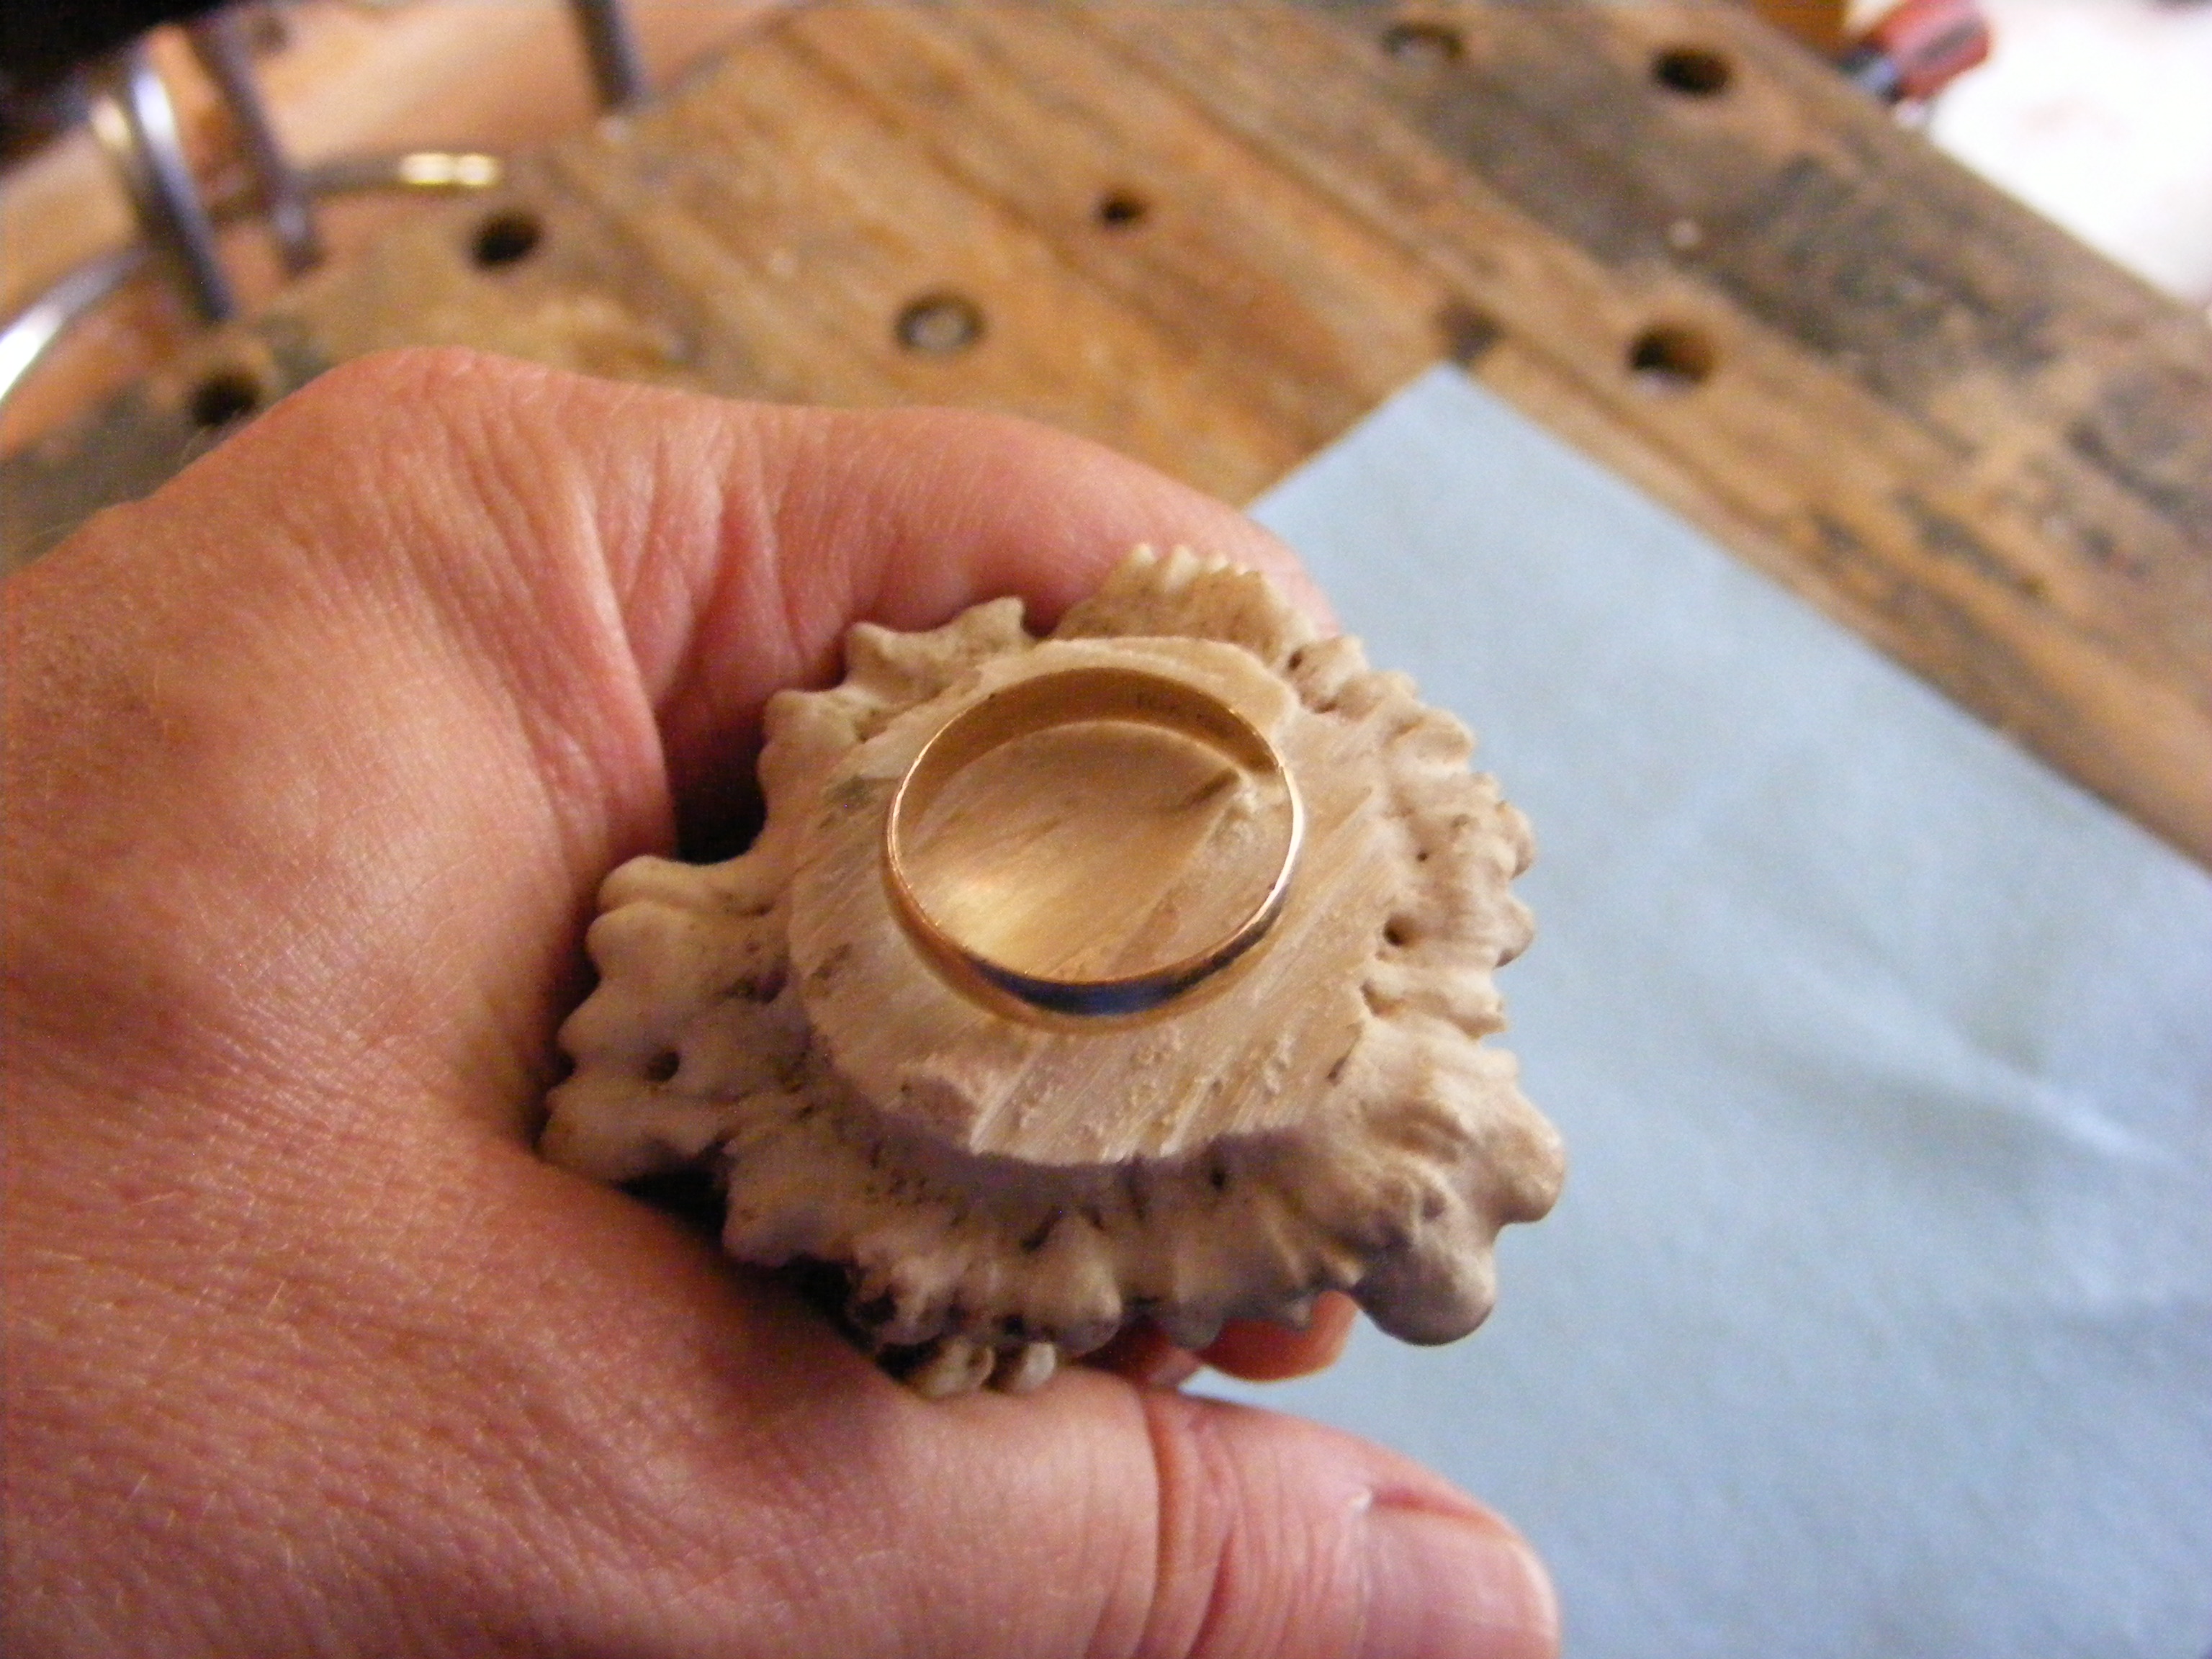
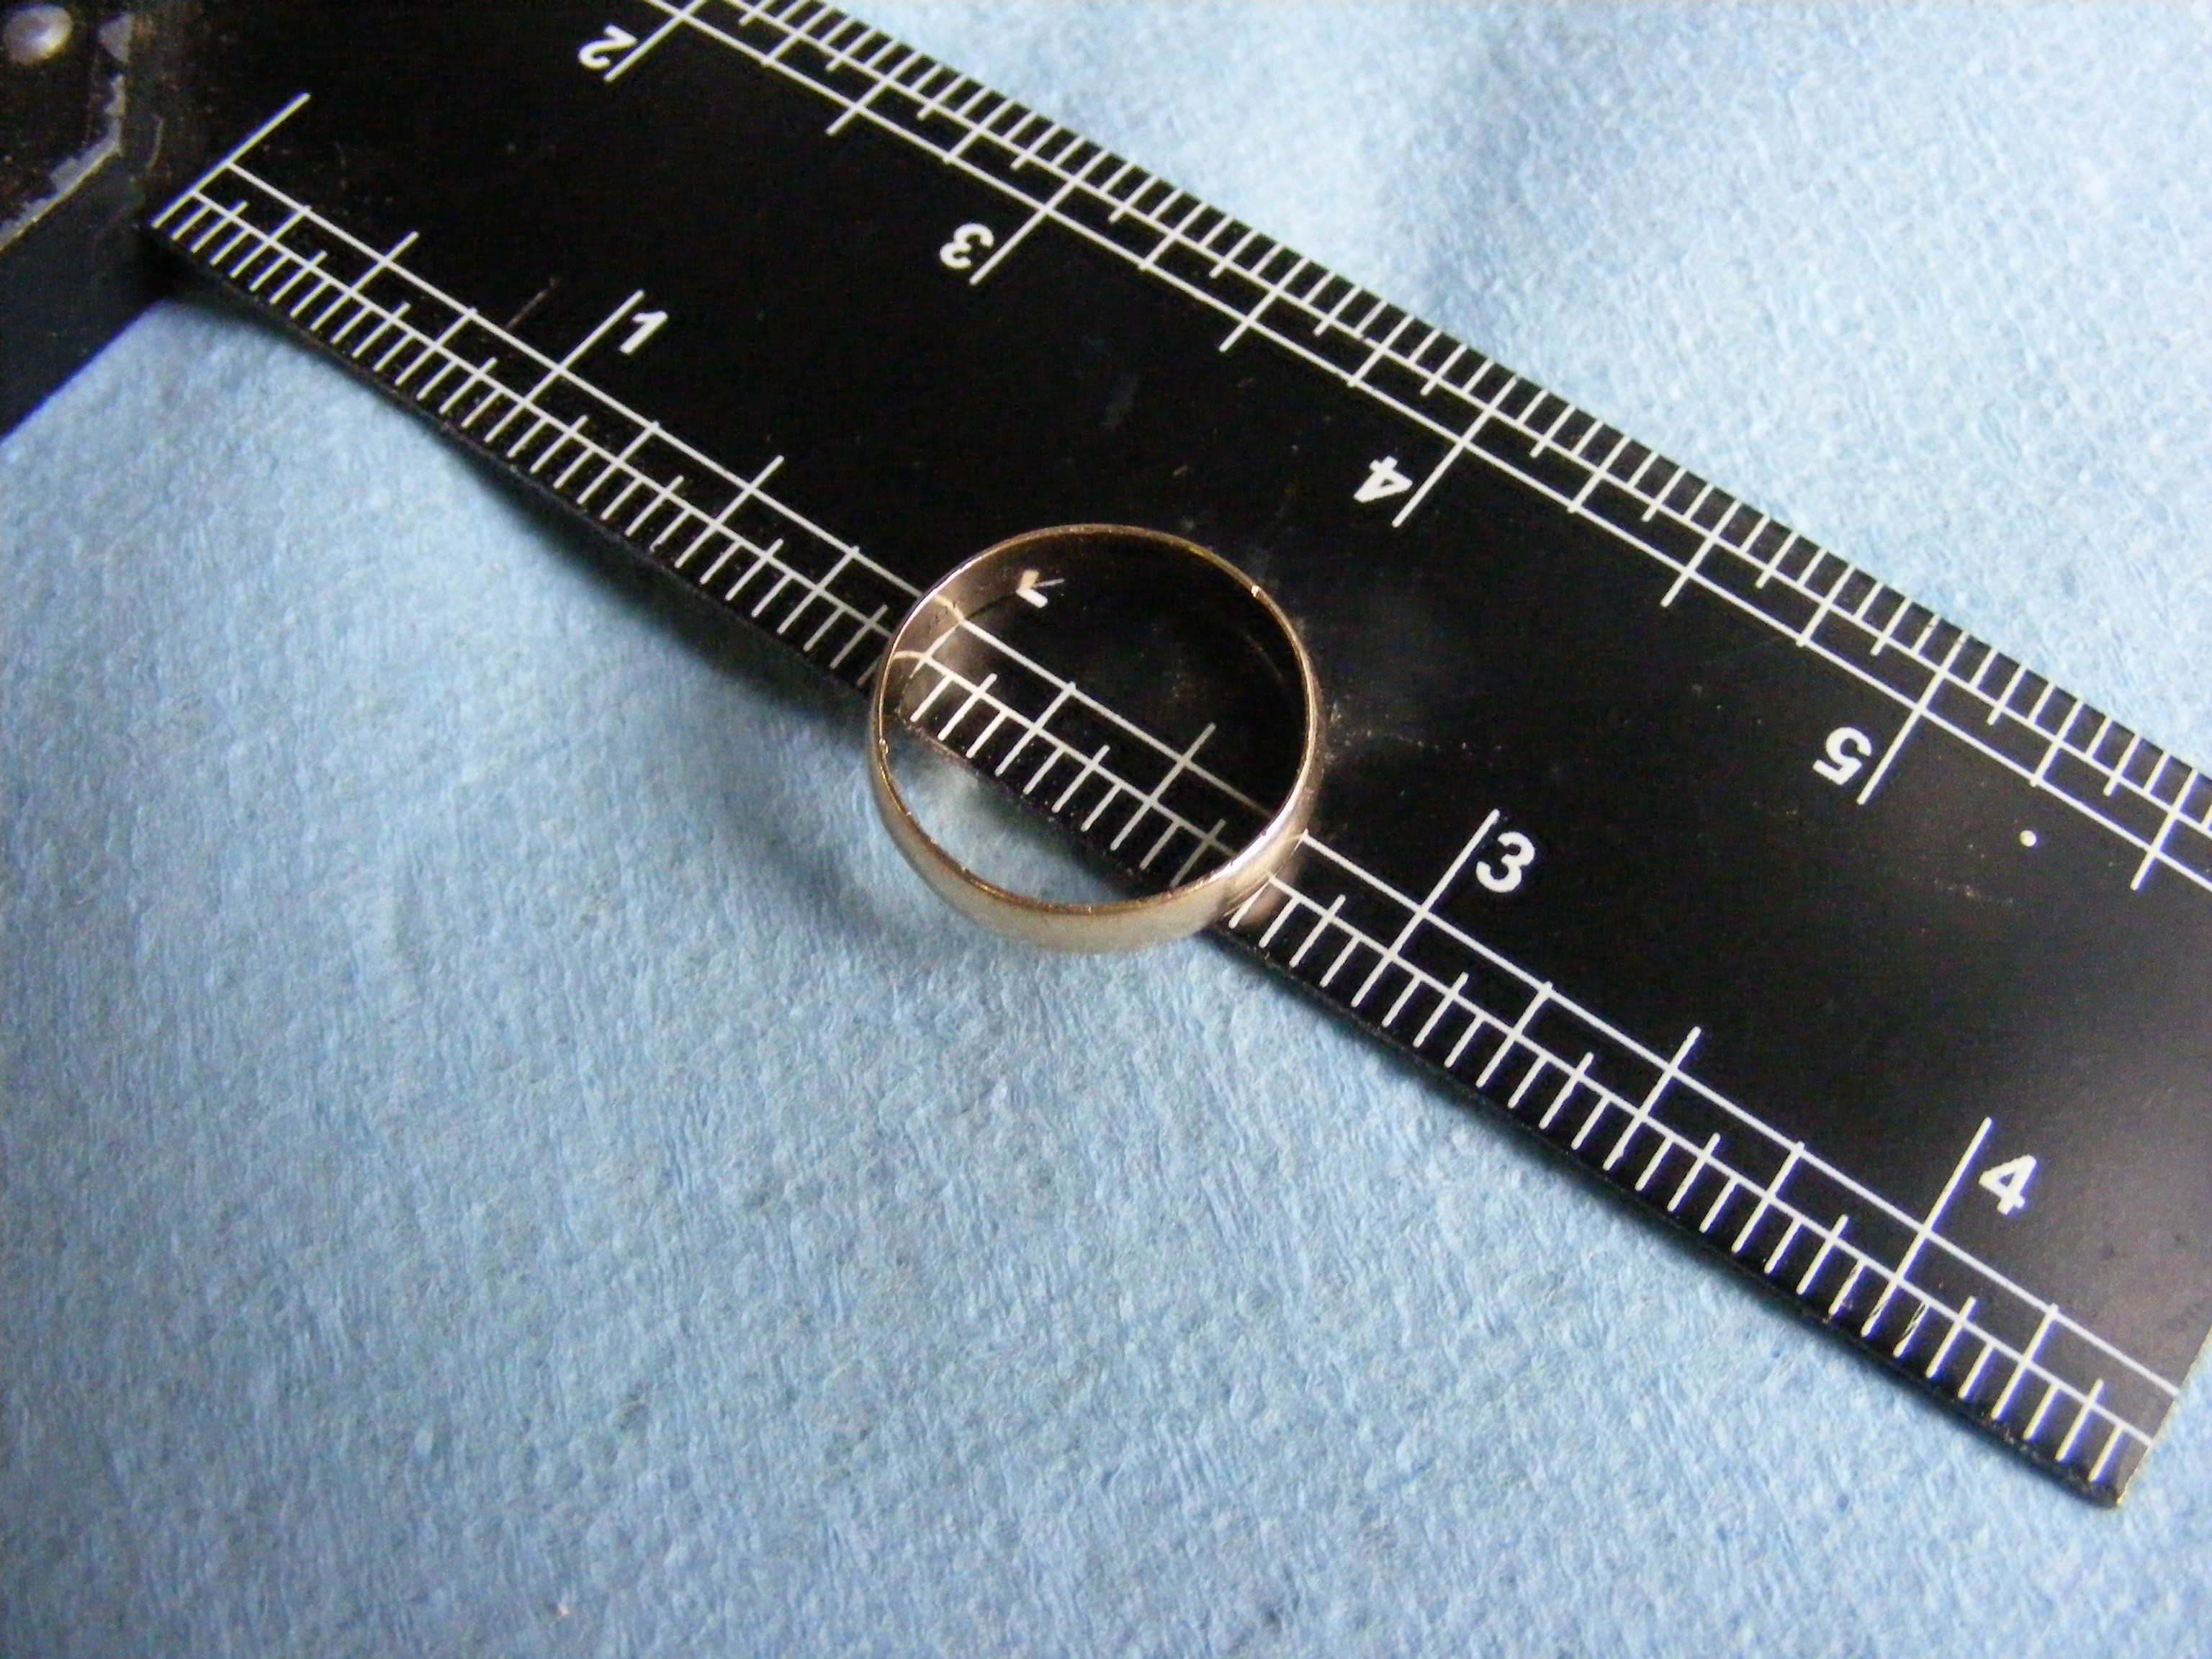
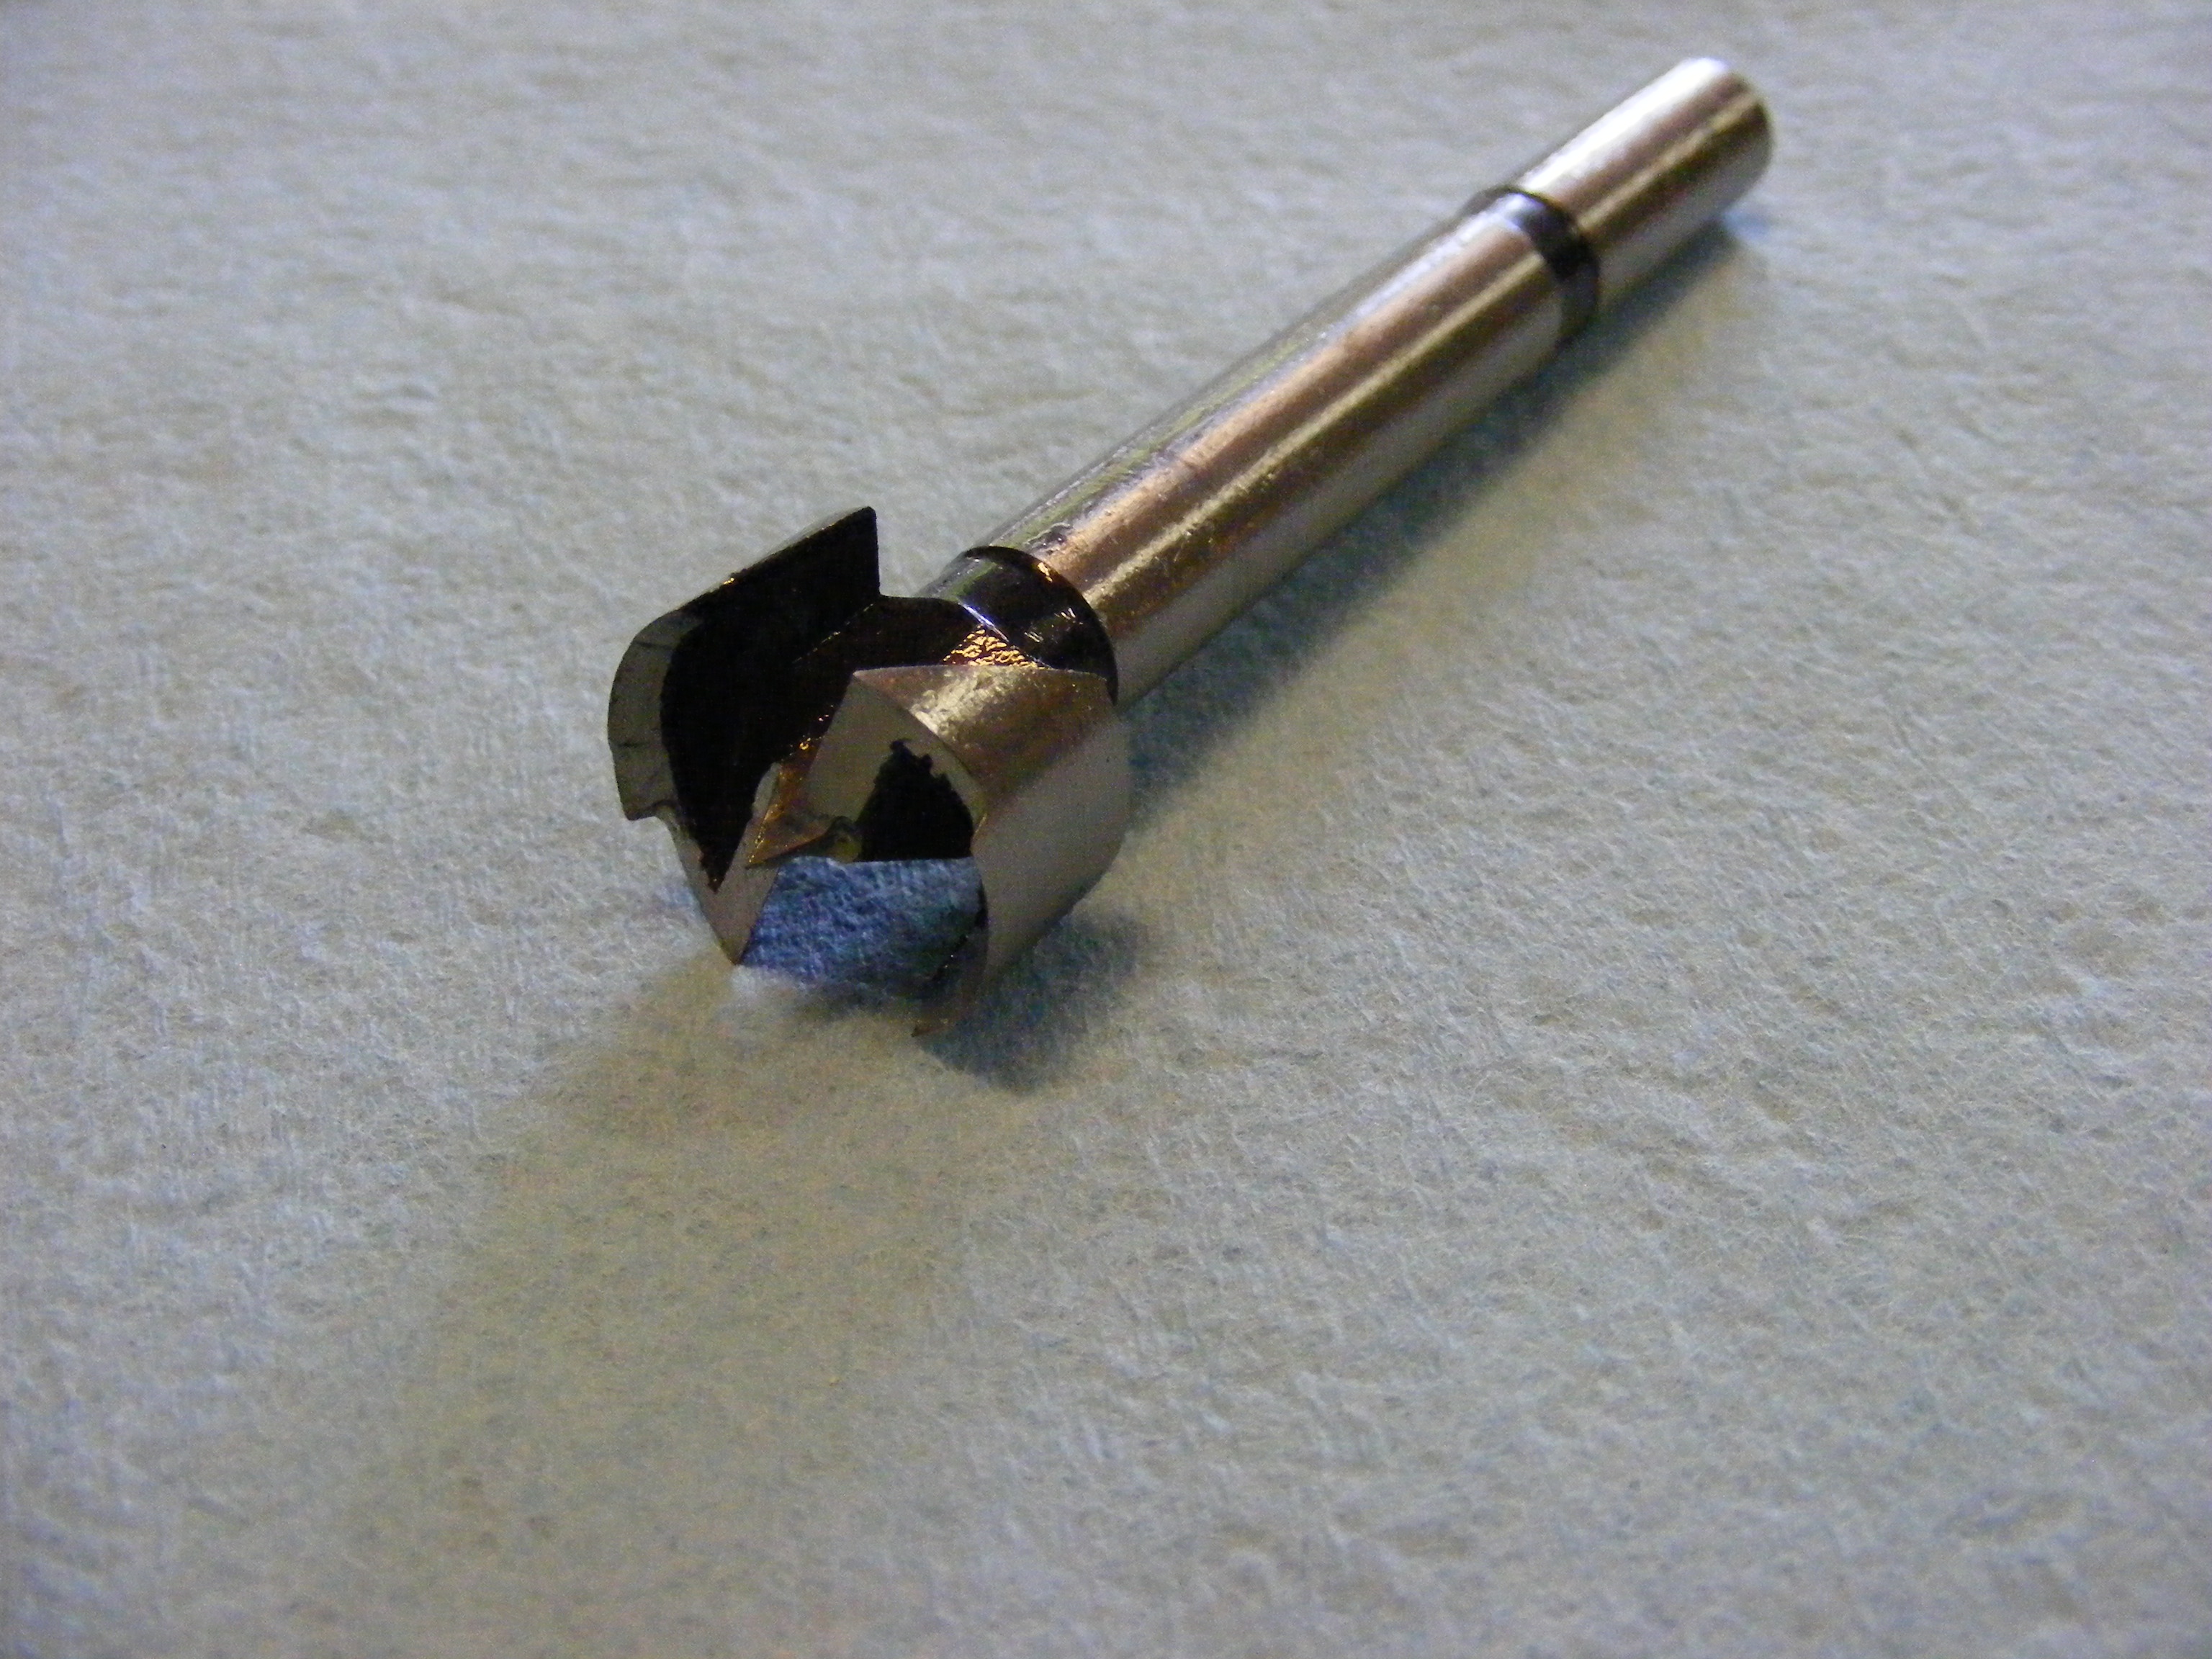
Step 2 – Measure ring size. I used my wedding band and just took a measurement. Fortunately, it measured 3/4 inch inside diameter exactly. Once I had that measurement, I knew that I needed a 3/4 inch drill bit. Whatever you do, try to get a drill bit slightly smaller than or right at your ring size. You can always sand the inside of the ring to make it accommodate your finger size. But you don’t want the hole to be too big or you’ll need to go back to the drawing board.
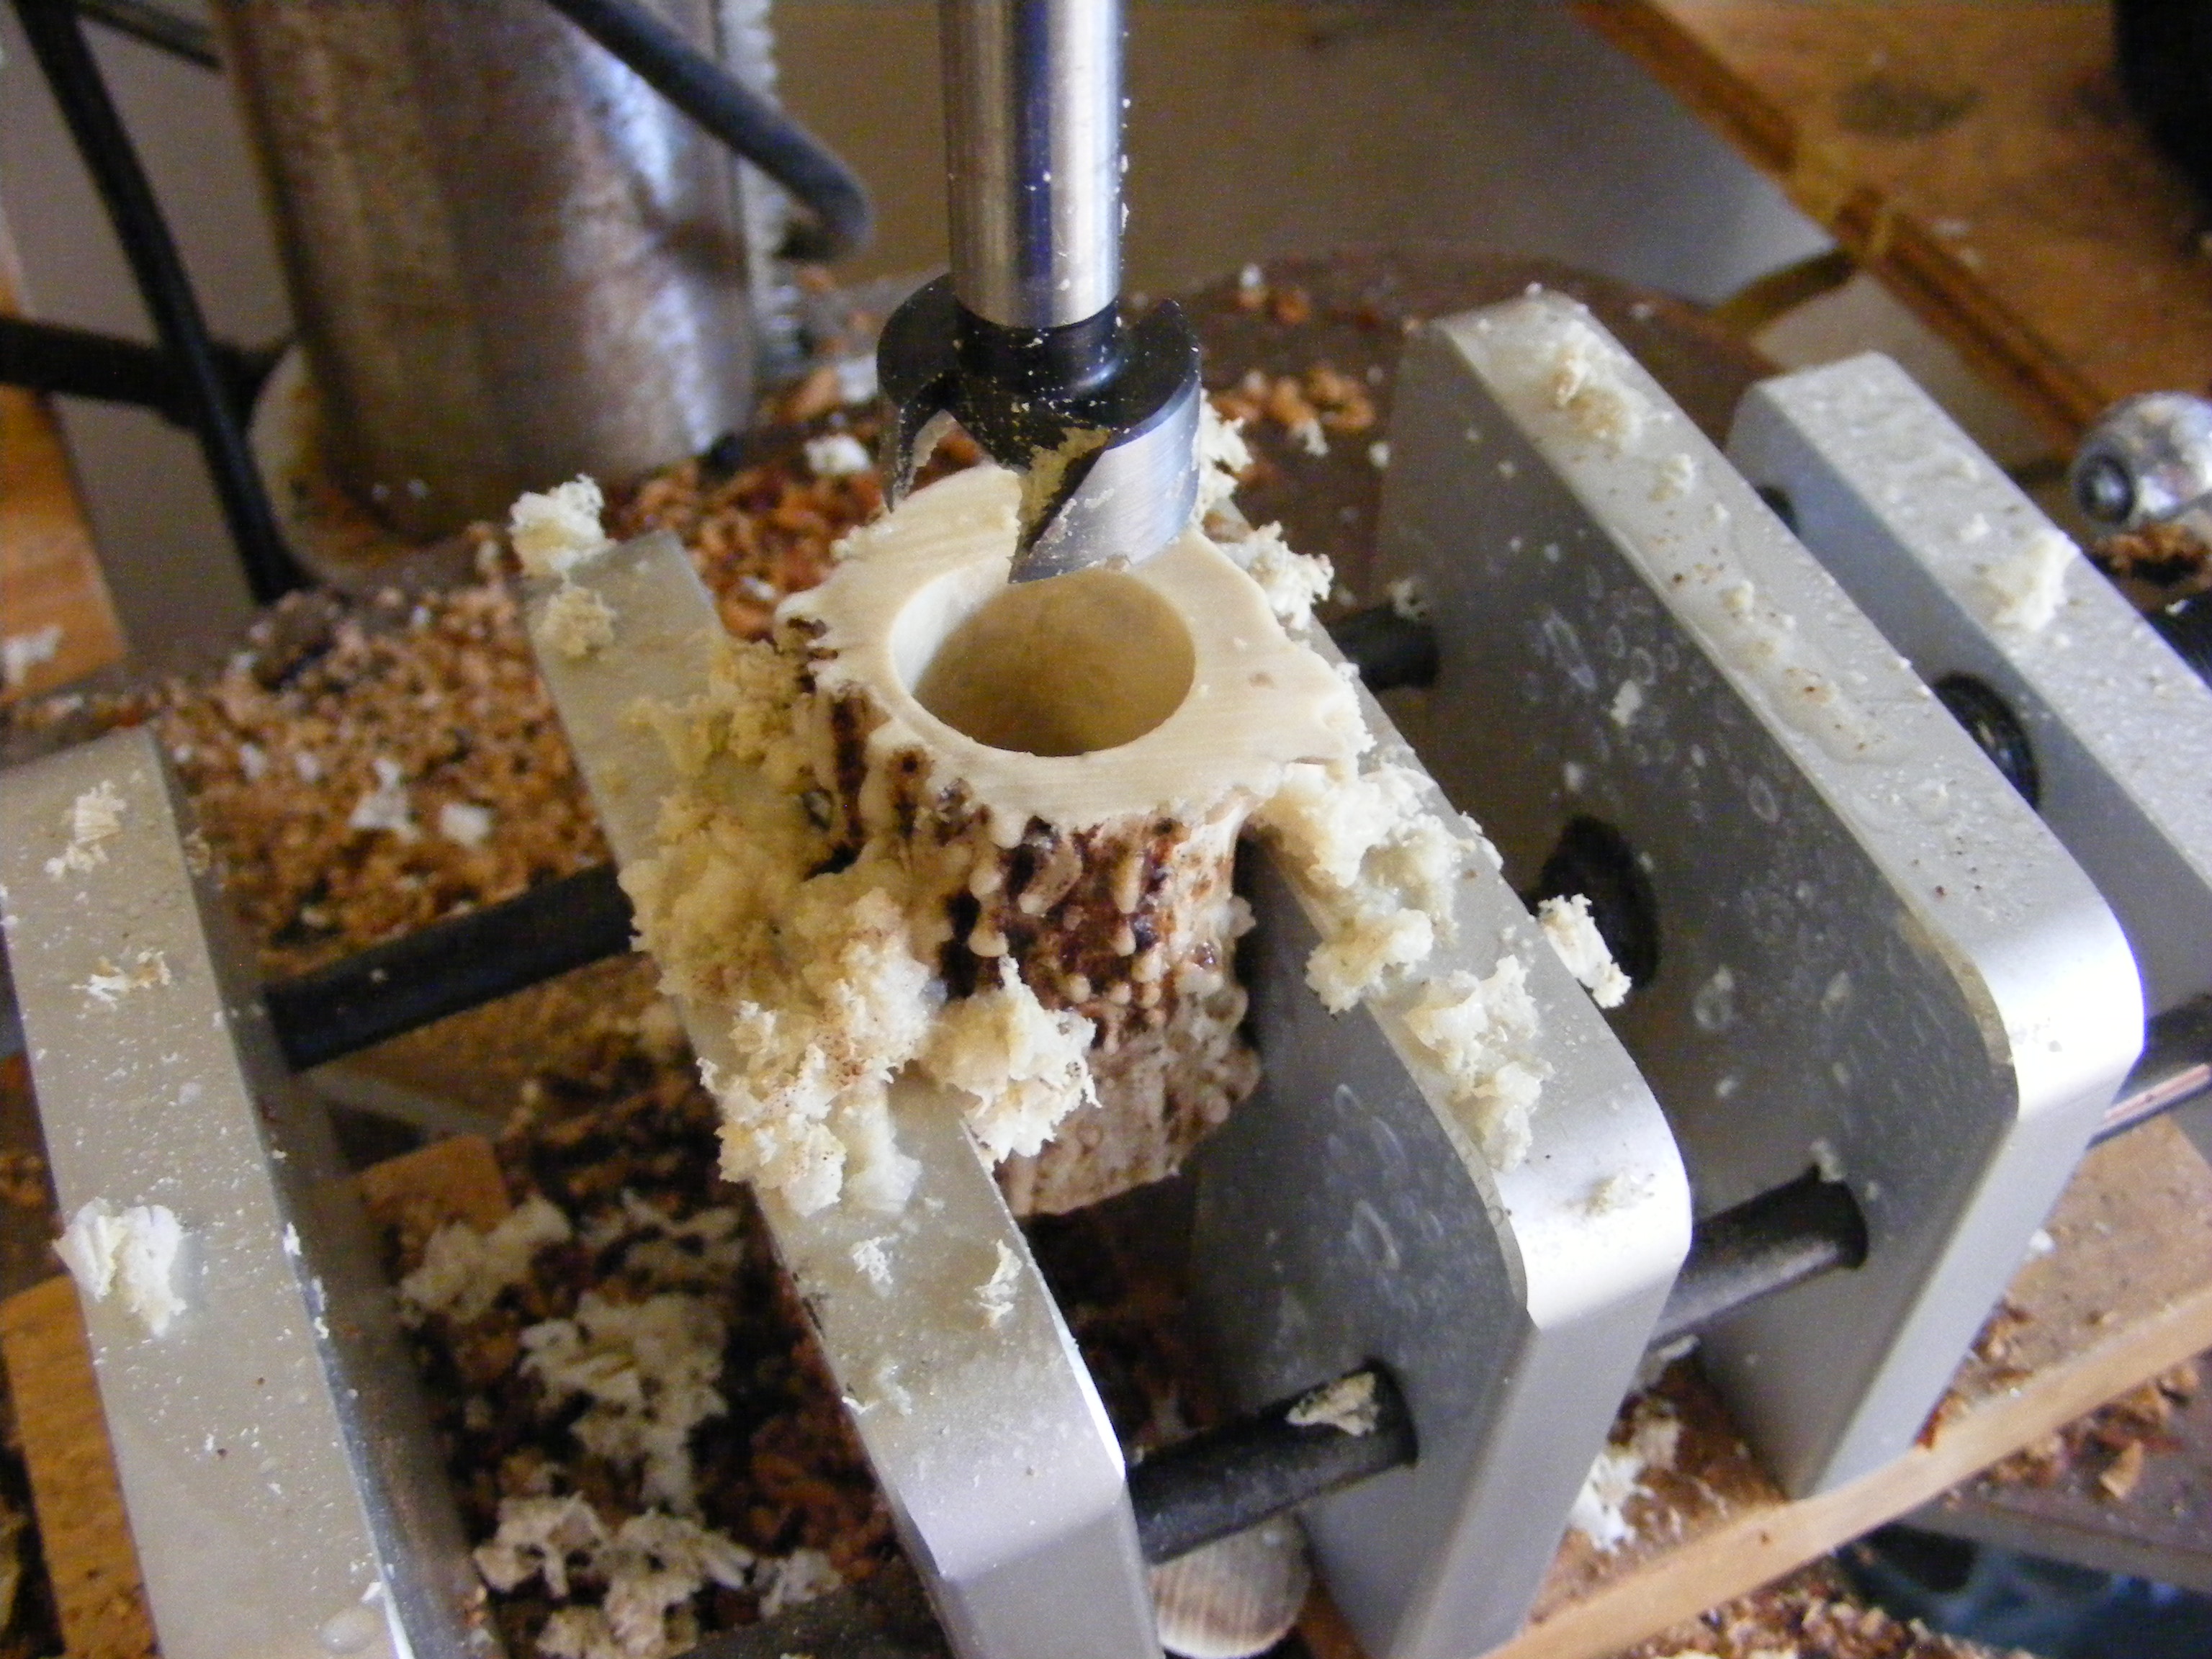
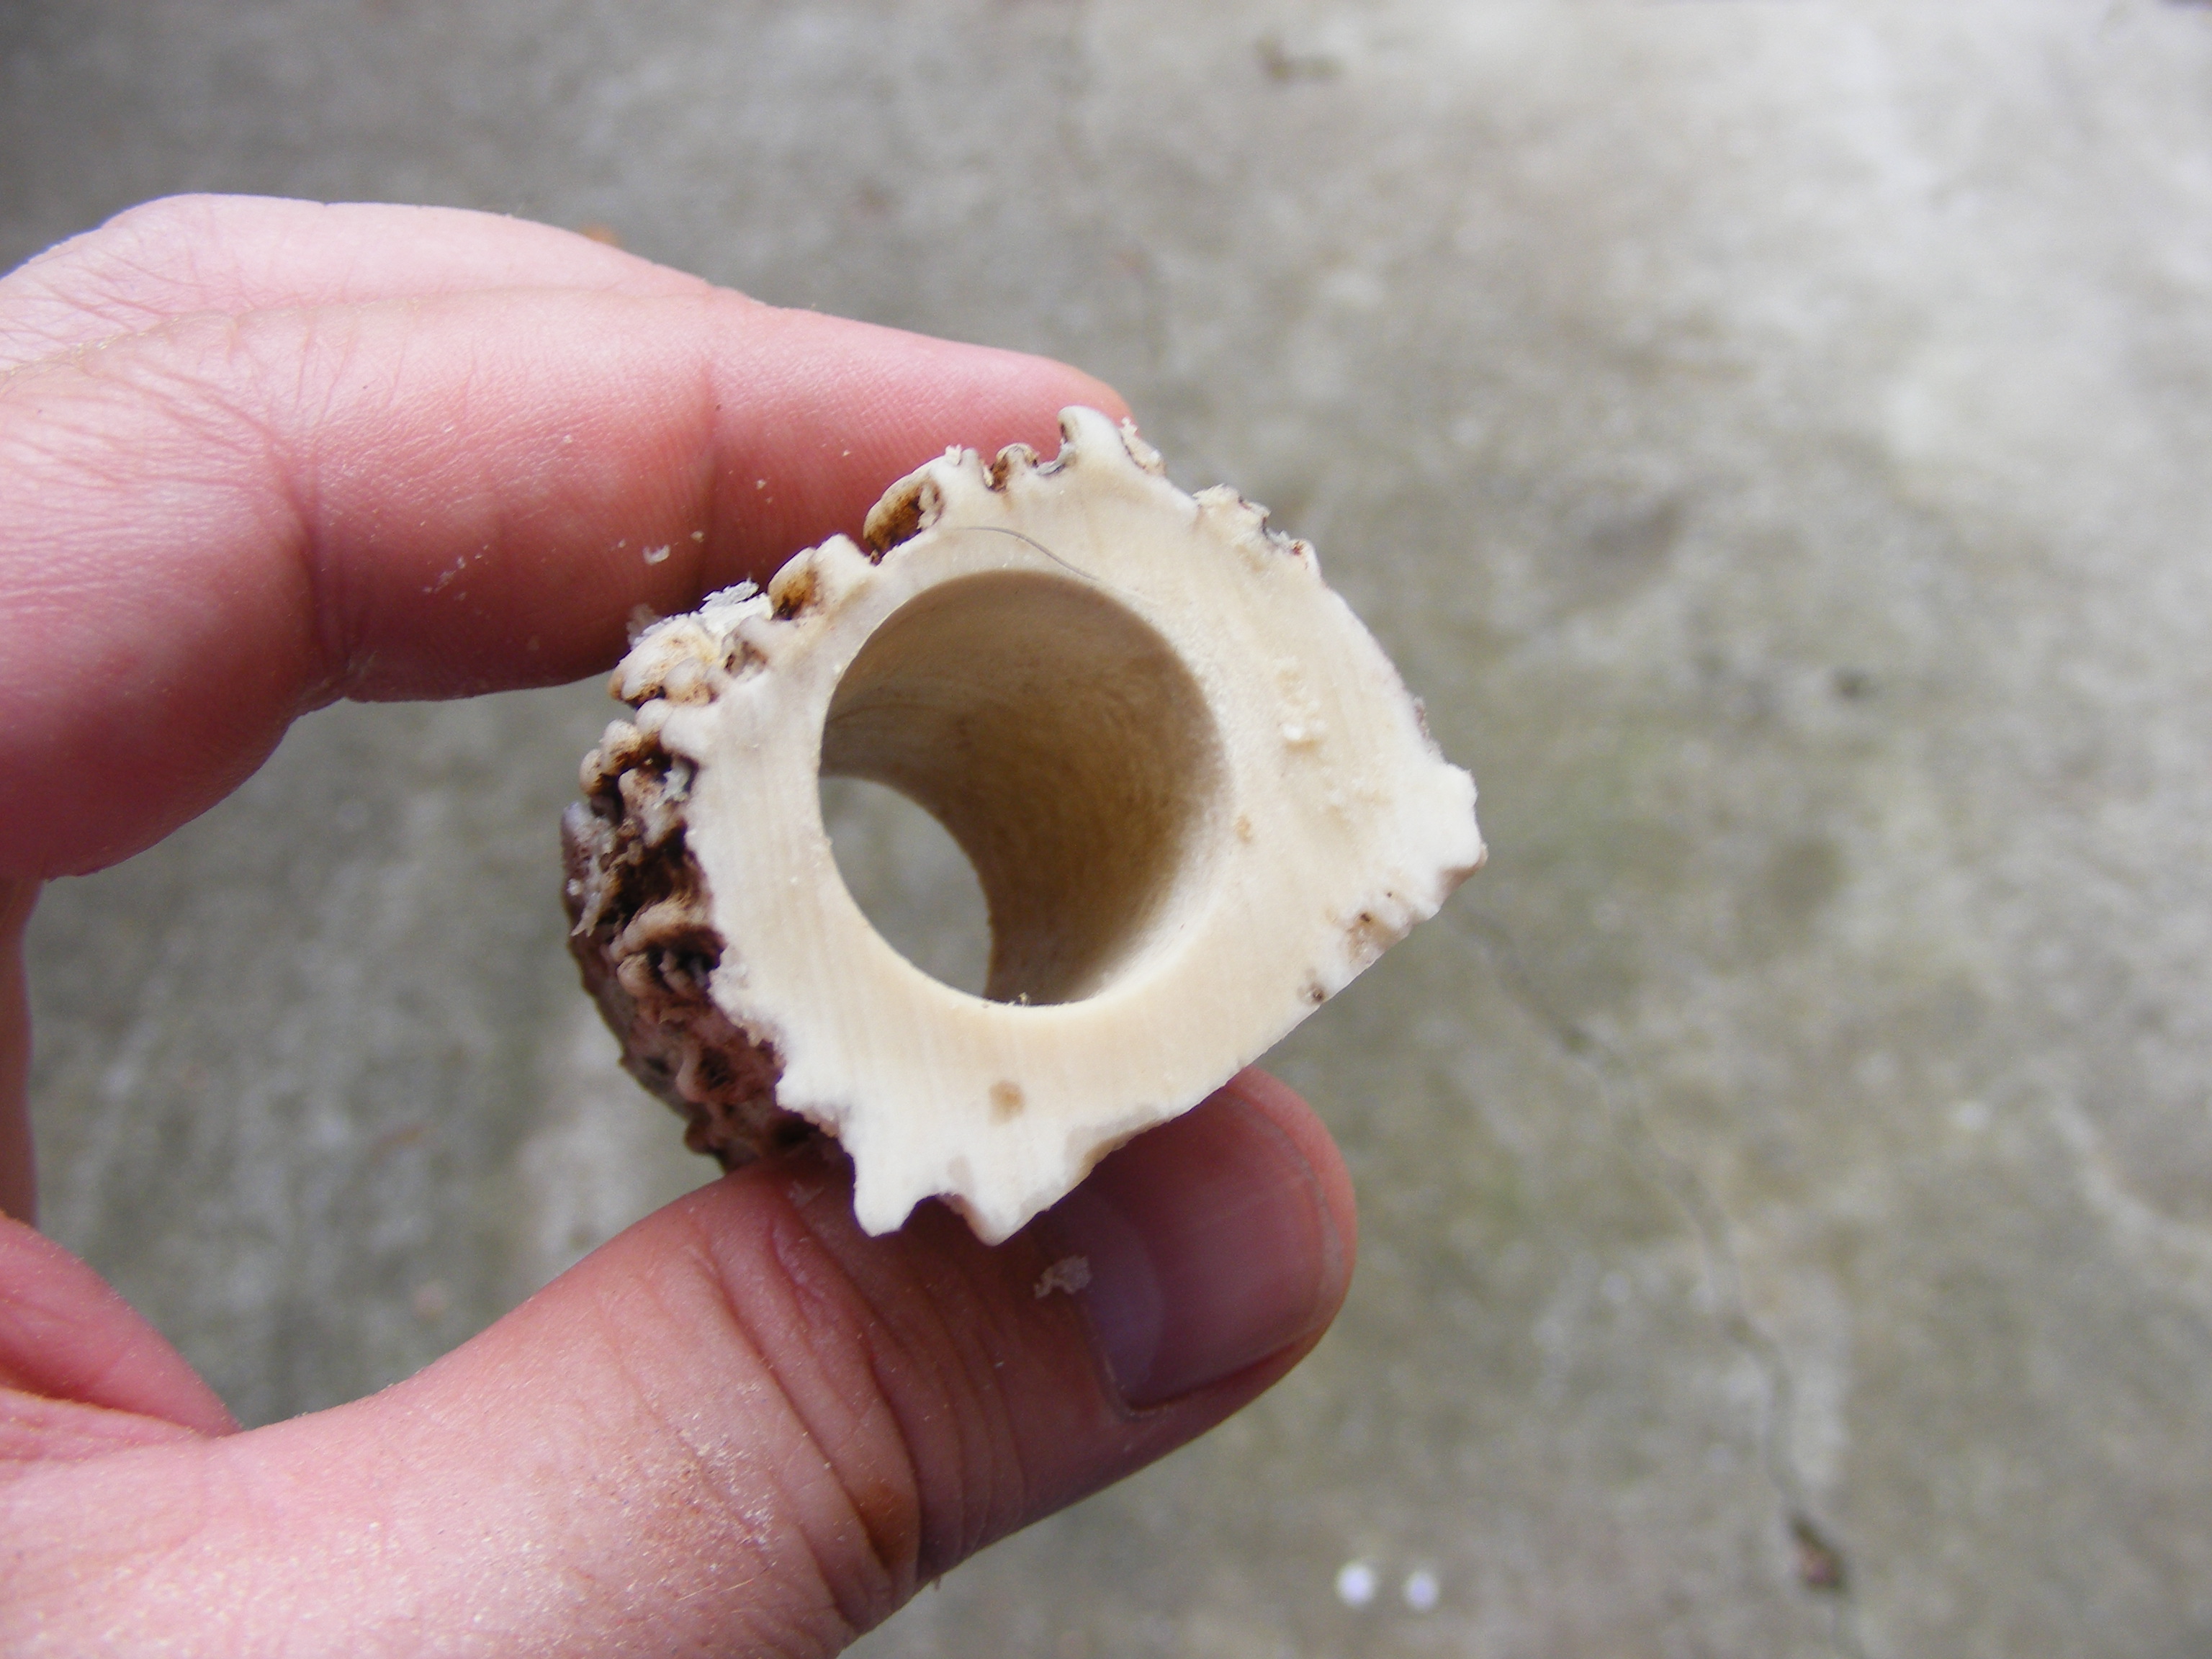
Step 3 – Drill the ring hole through the antler. I cut out a 2-inch-long piece of antler and used my centering vise to drill a hole completely through the antler. The 3/4 inch Forstner bit leaves a very clean hole. You might experiment with other styles of drill bits, but the Forstner worked just fine for me.
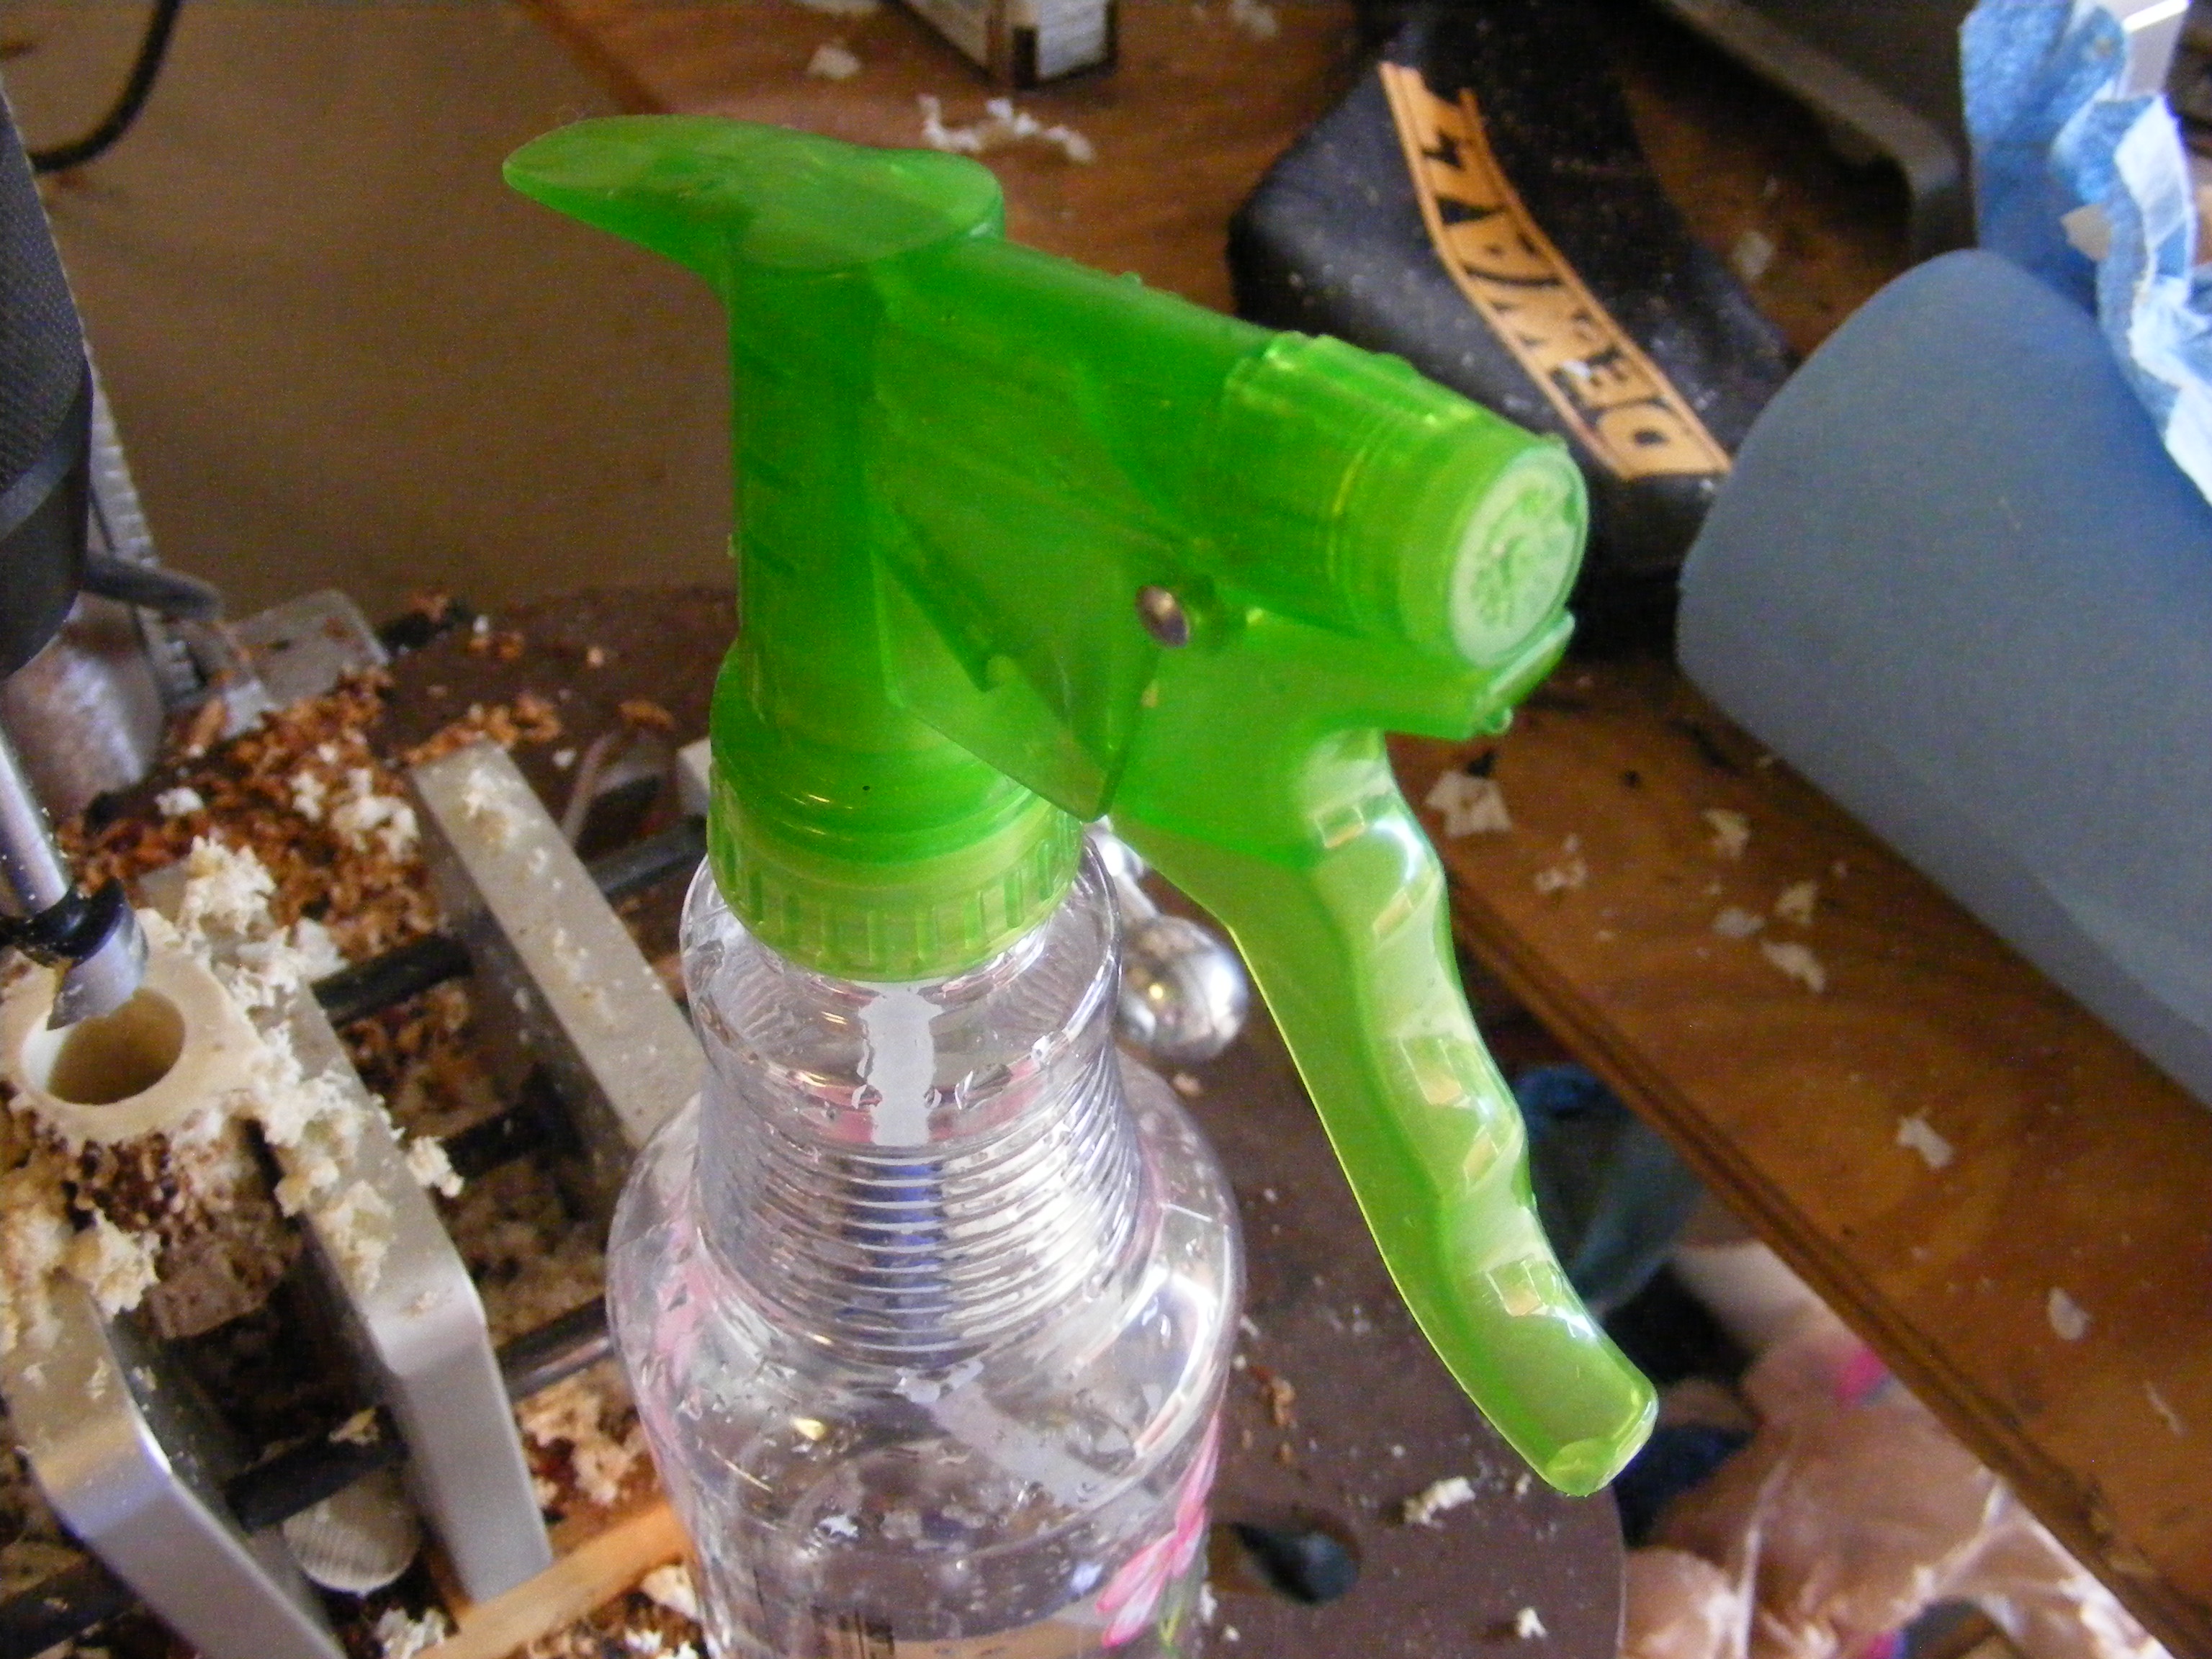
Some tips here — make sure the antler is secure in some kind of vise. Preferably, use a drill press. Try to get the bit centered over the antler as much as possible. This goes back to my reason for selecting a straight piece of antler. Take it nice and slow with the Forstner bit. Go in part way and pull out to remove waste. I also sprayed water on the bit and into the antler as I drilled. Makes for smoother drilling and keeps the dust down.
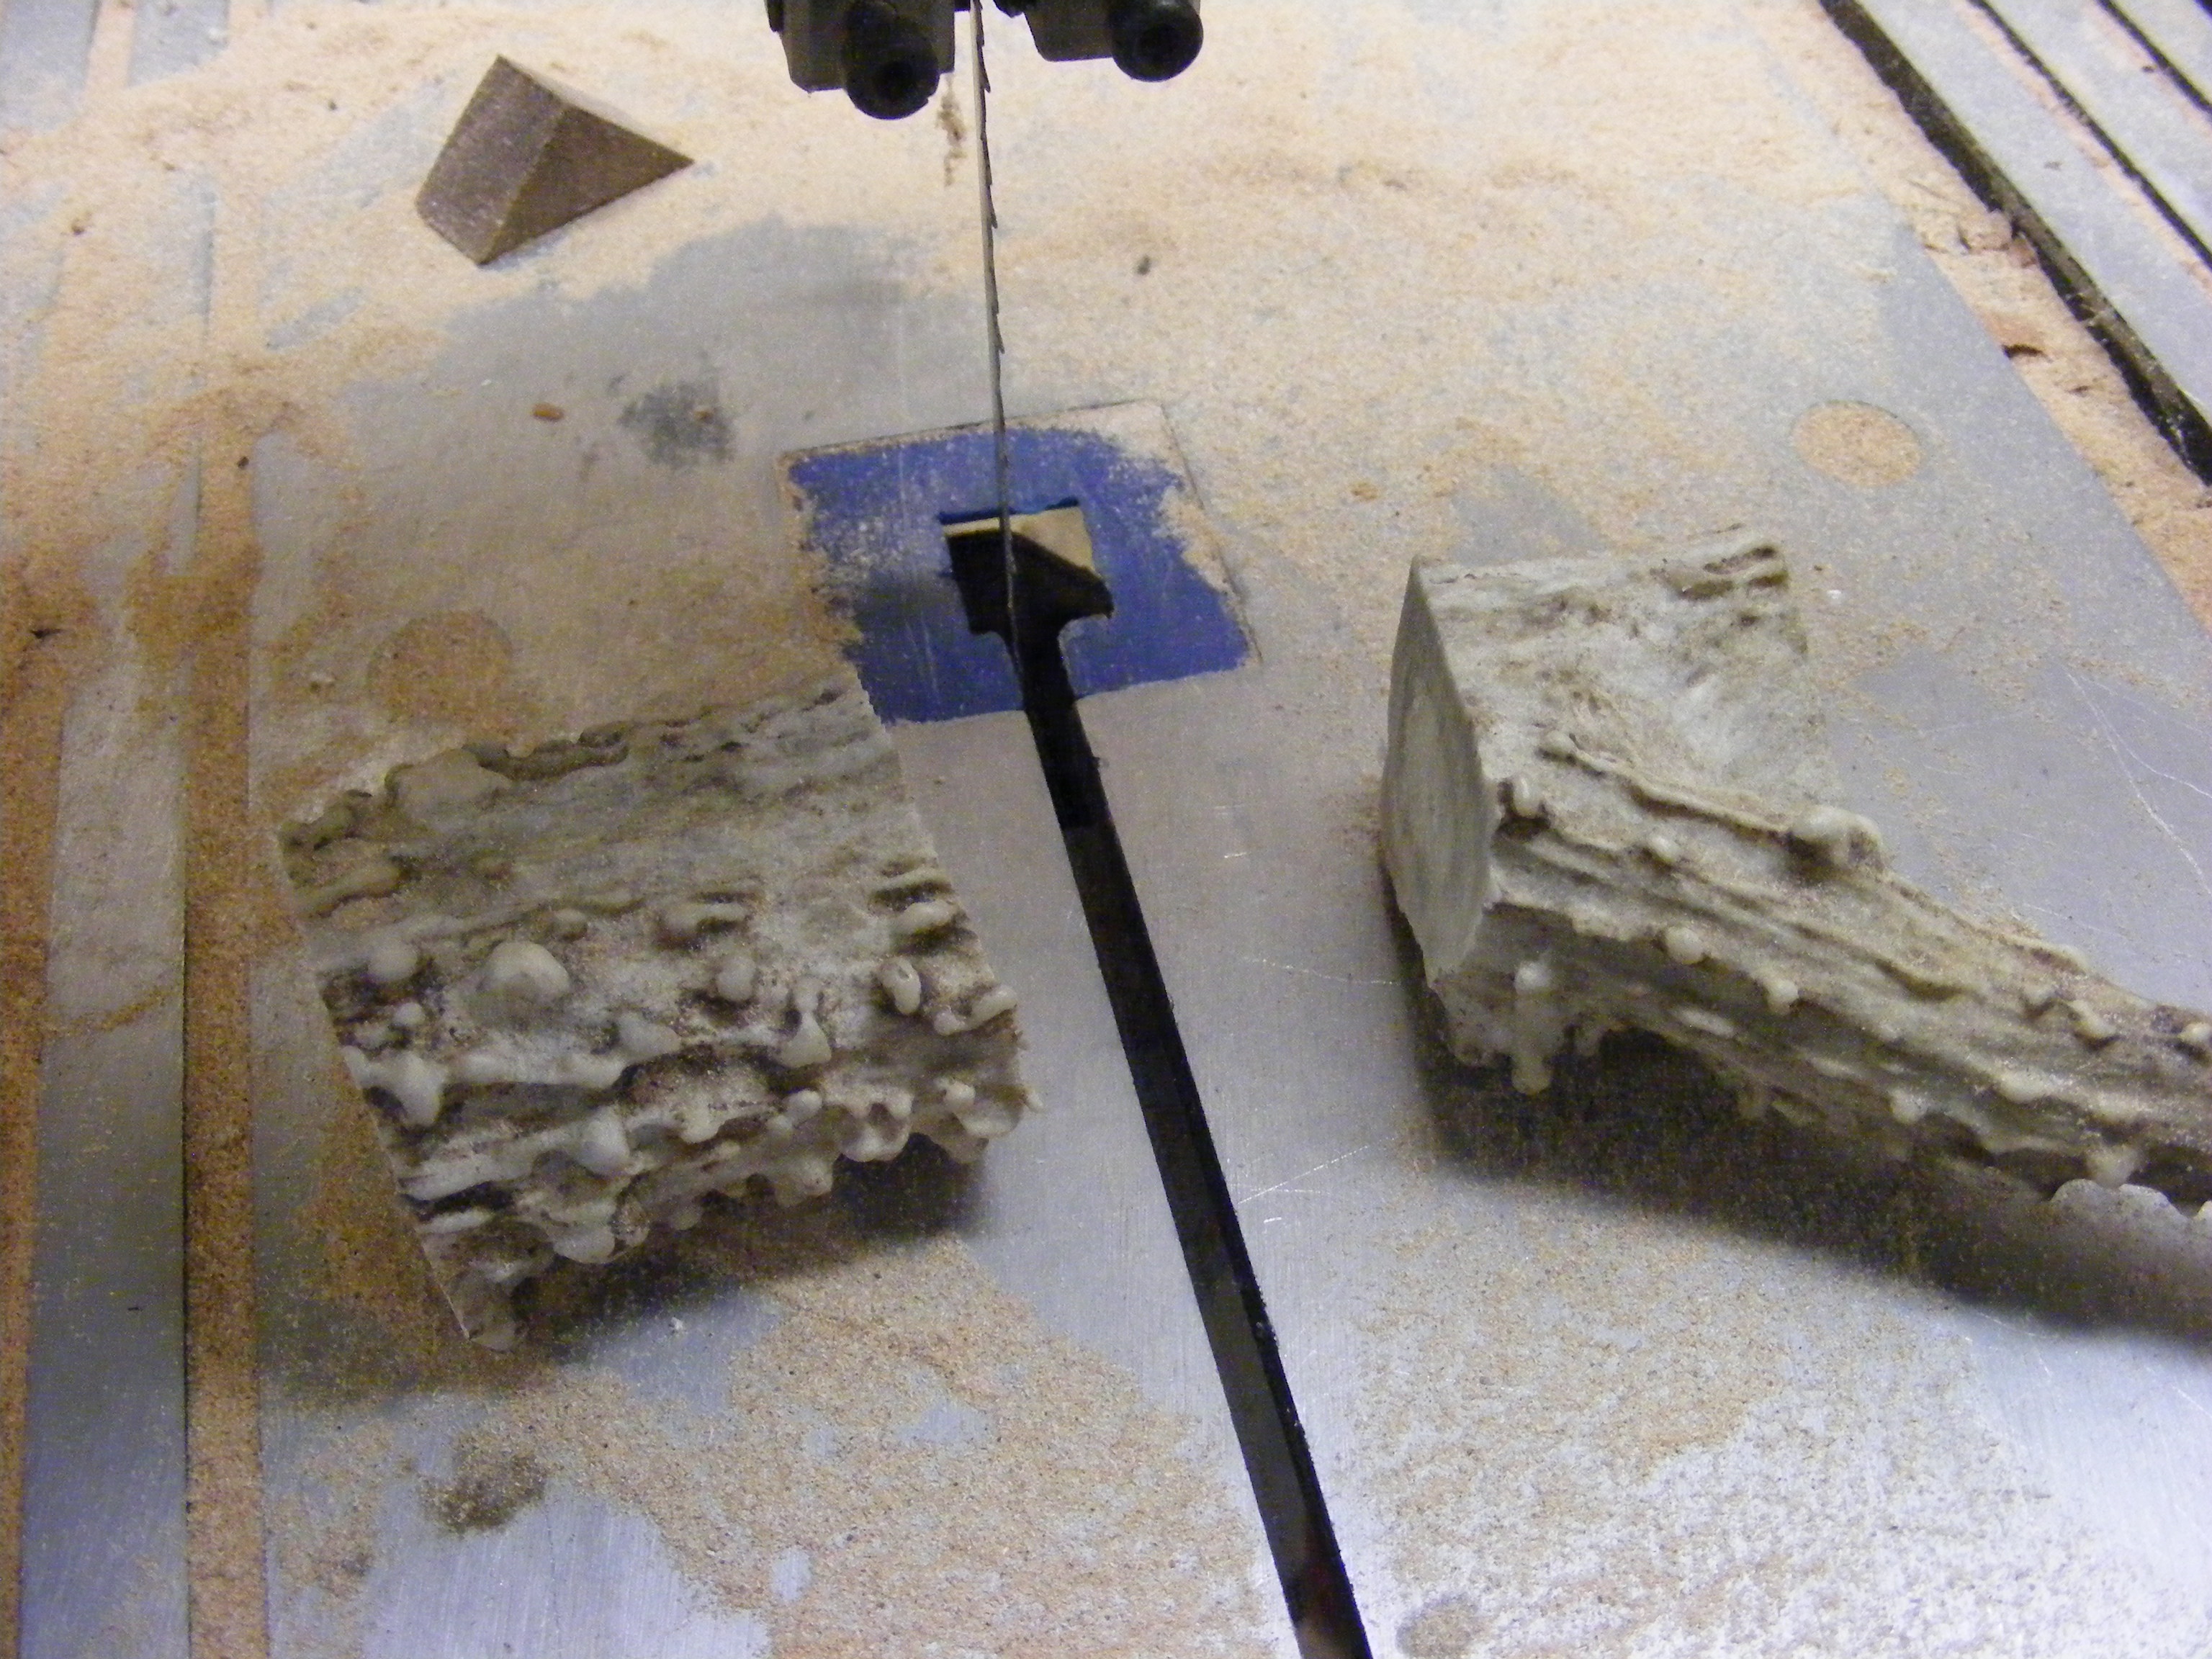
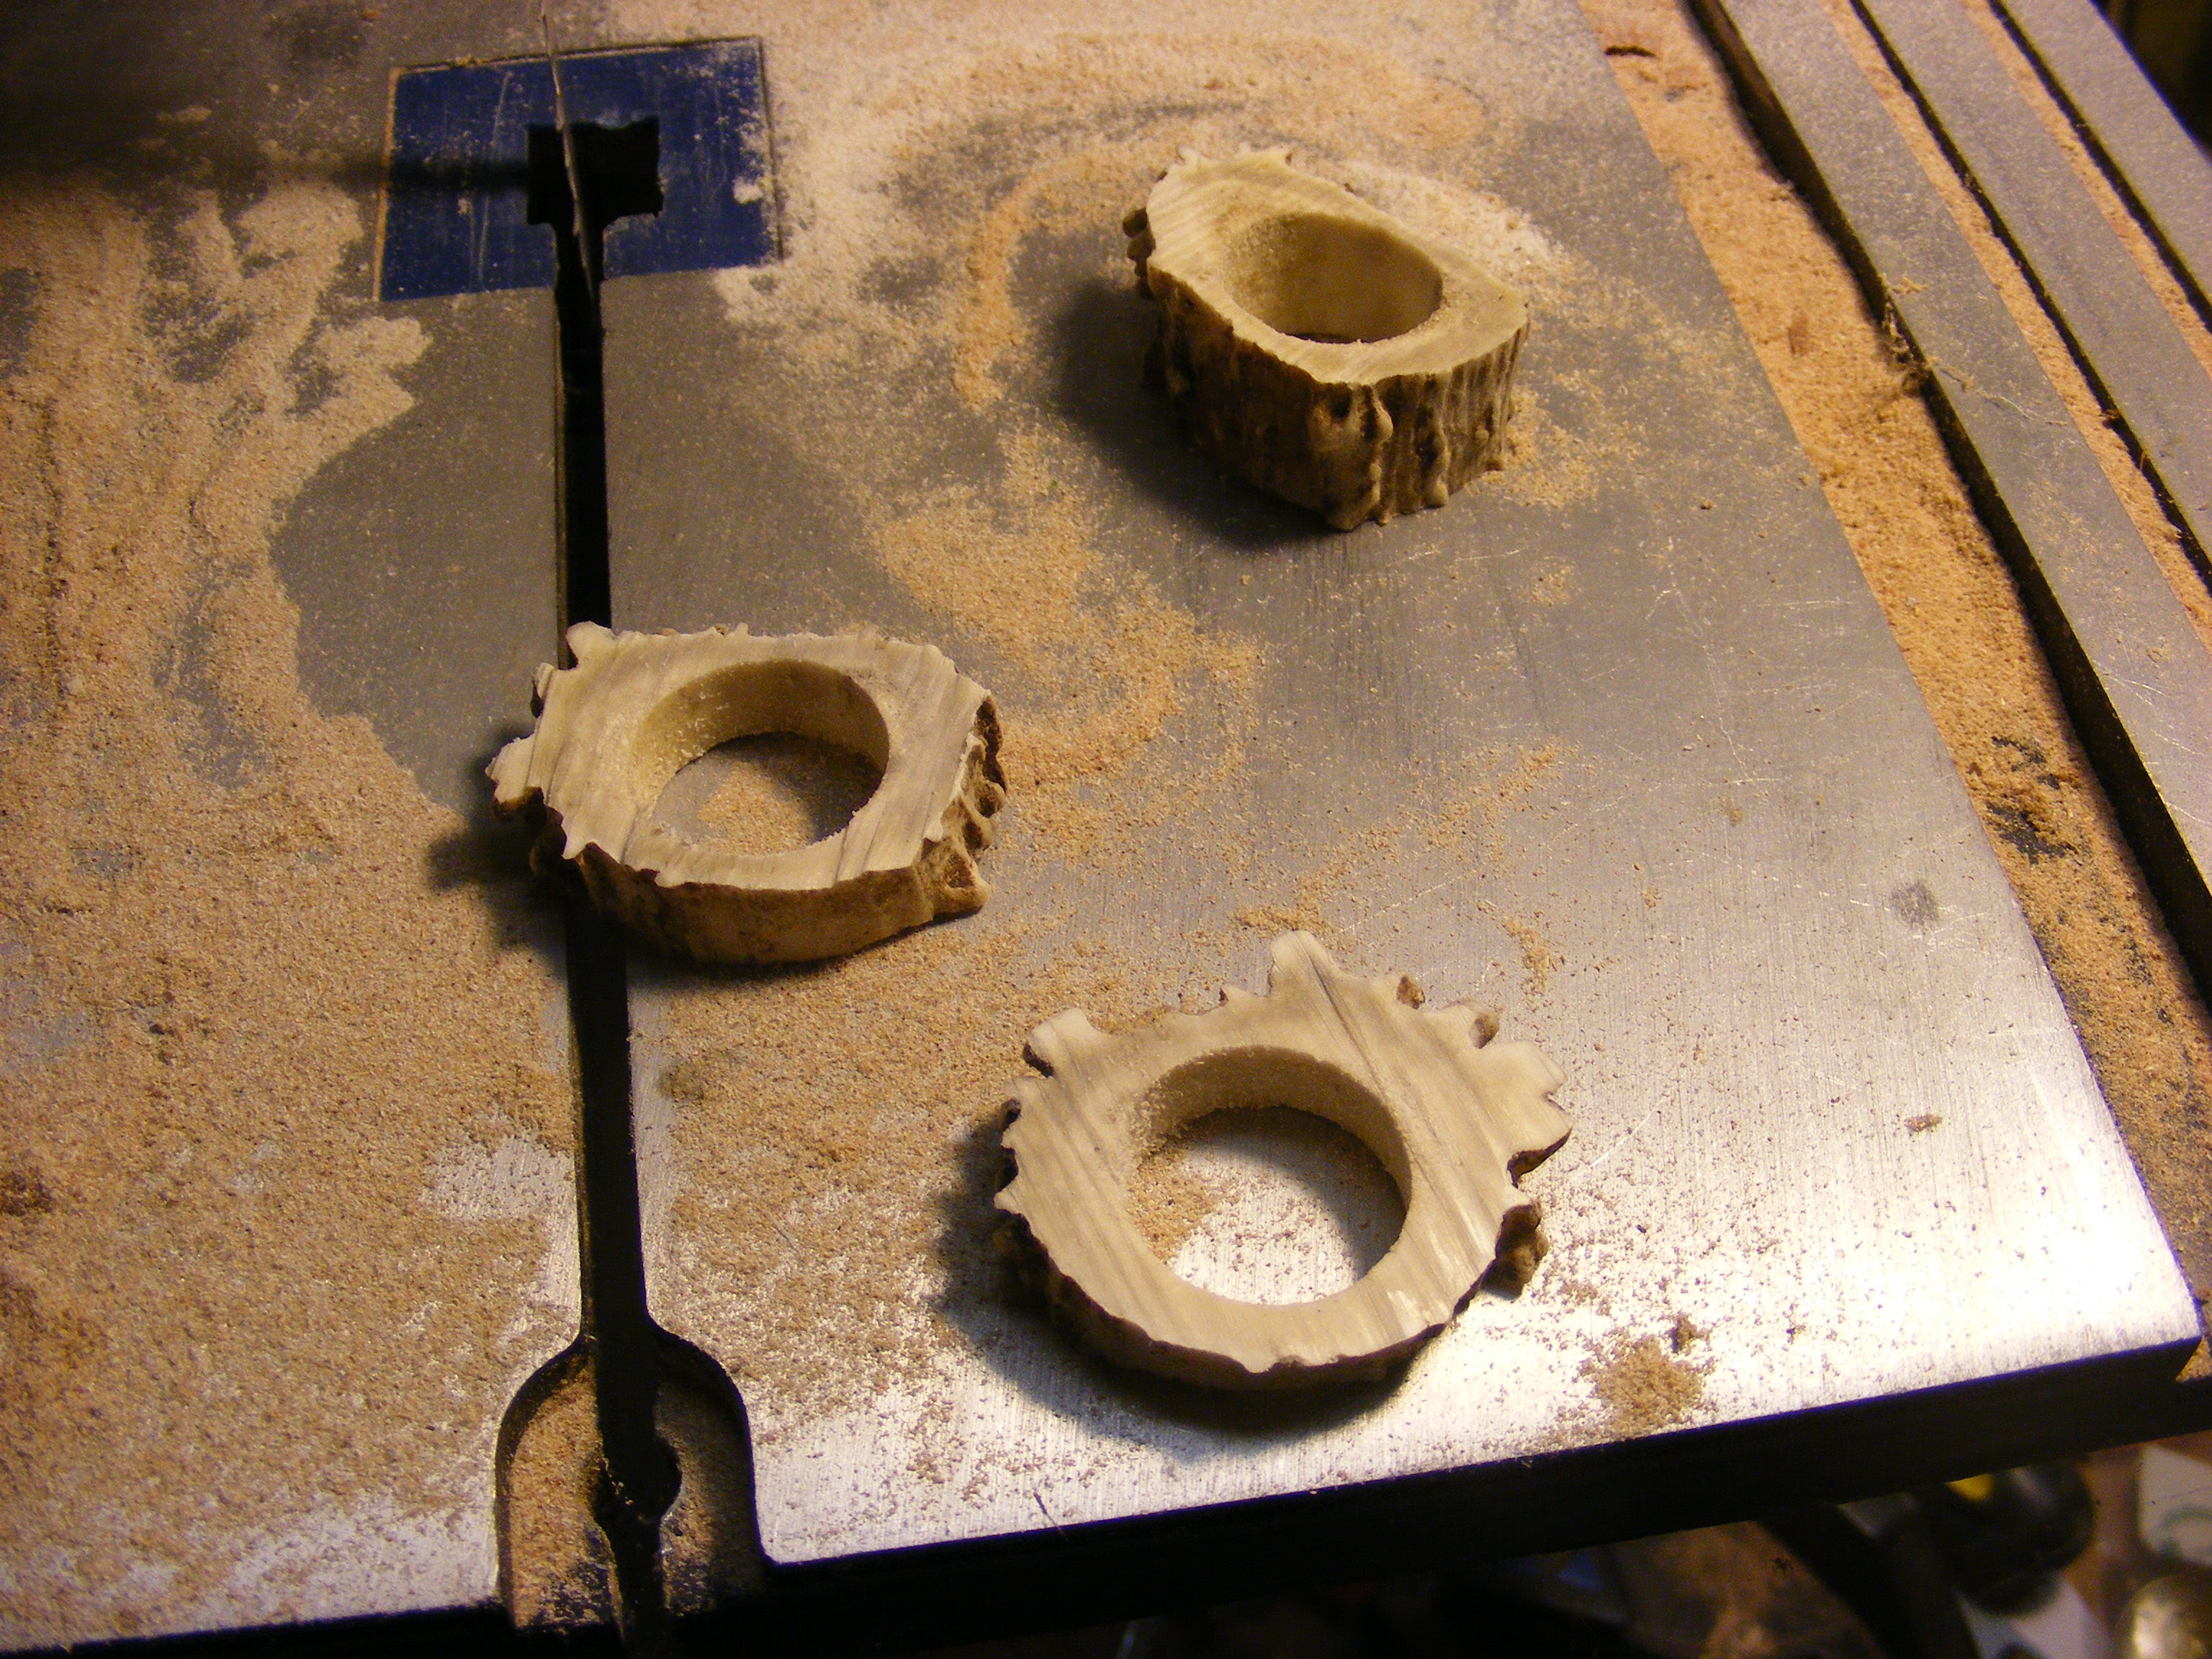
Step 4 – Cut out the ring. I used my bandsaw to cut out the ring. I cut my ring slice about 1/4 to 3/8 inch thick. This leaves additional material for sanding and shaping. And I can probably make about 3 to 4 rings from this single piece of antler.
You can also use a hacksaw if you don’t have a bandsaw. Make sure you know the limits and safety hazards when using any power tools. Read the instructions that come with your power tools.
(An extra step you might want to take here is putting some thin CA glue on the rough-cut antler ring. This is only necessary if you’re working with ver porous antler. The CA glue helps to fill the pores. Make sure you wear nitrile gloves and read the precautions on your glue bottle. Allow the glue to completely dry.)
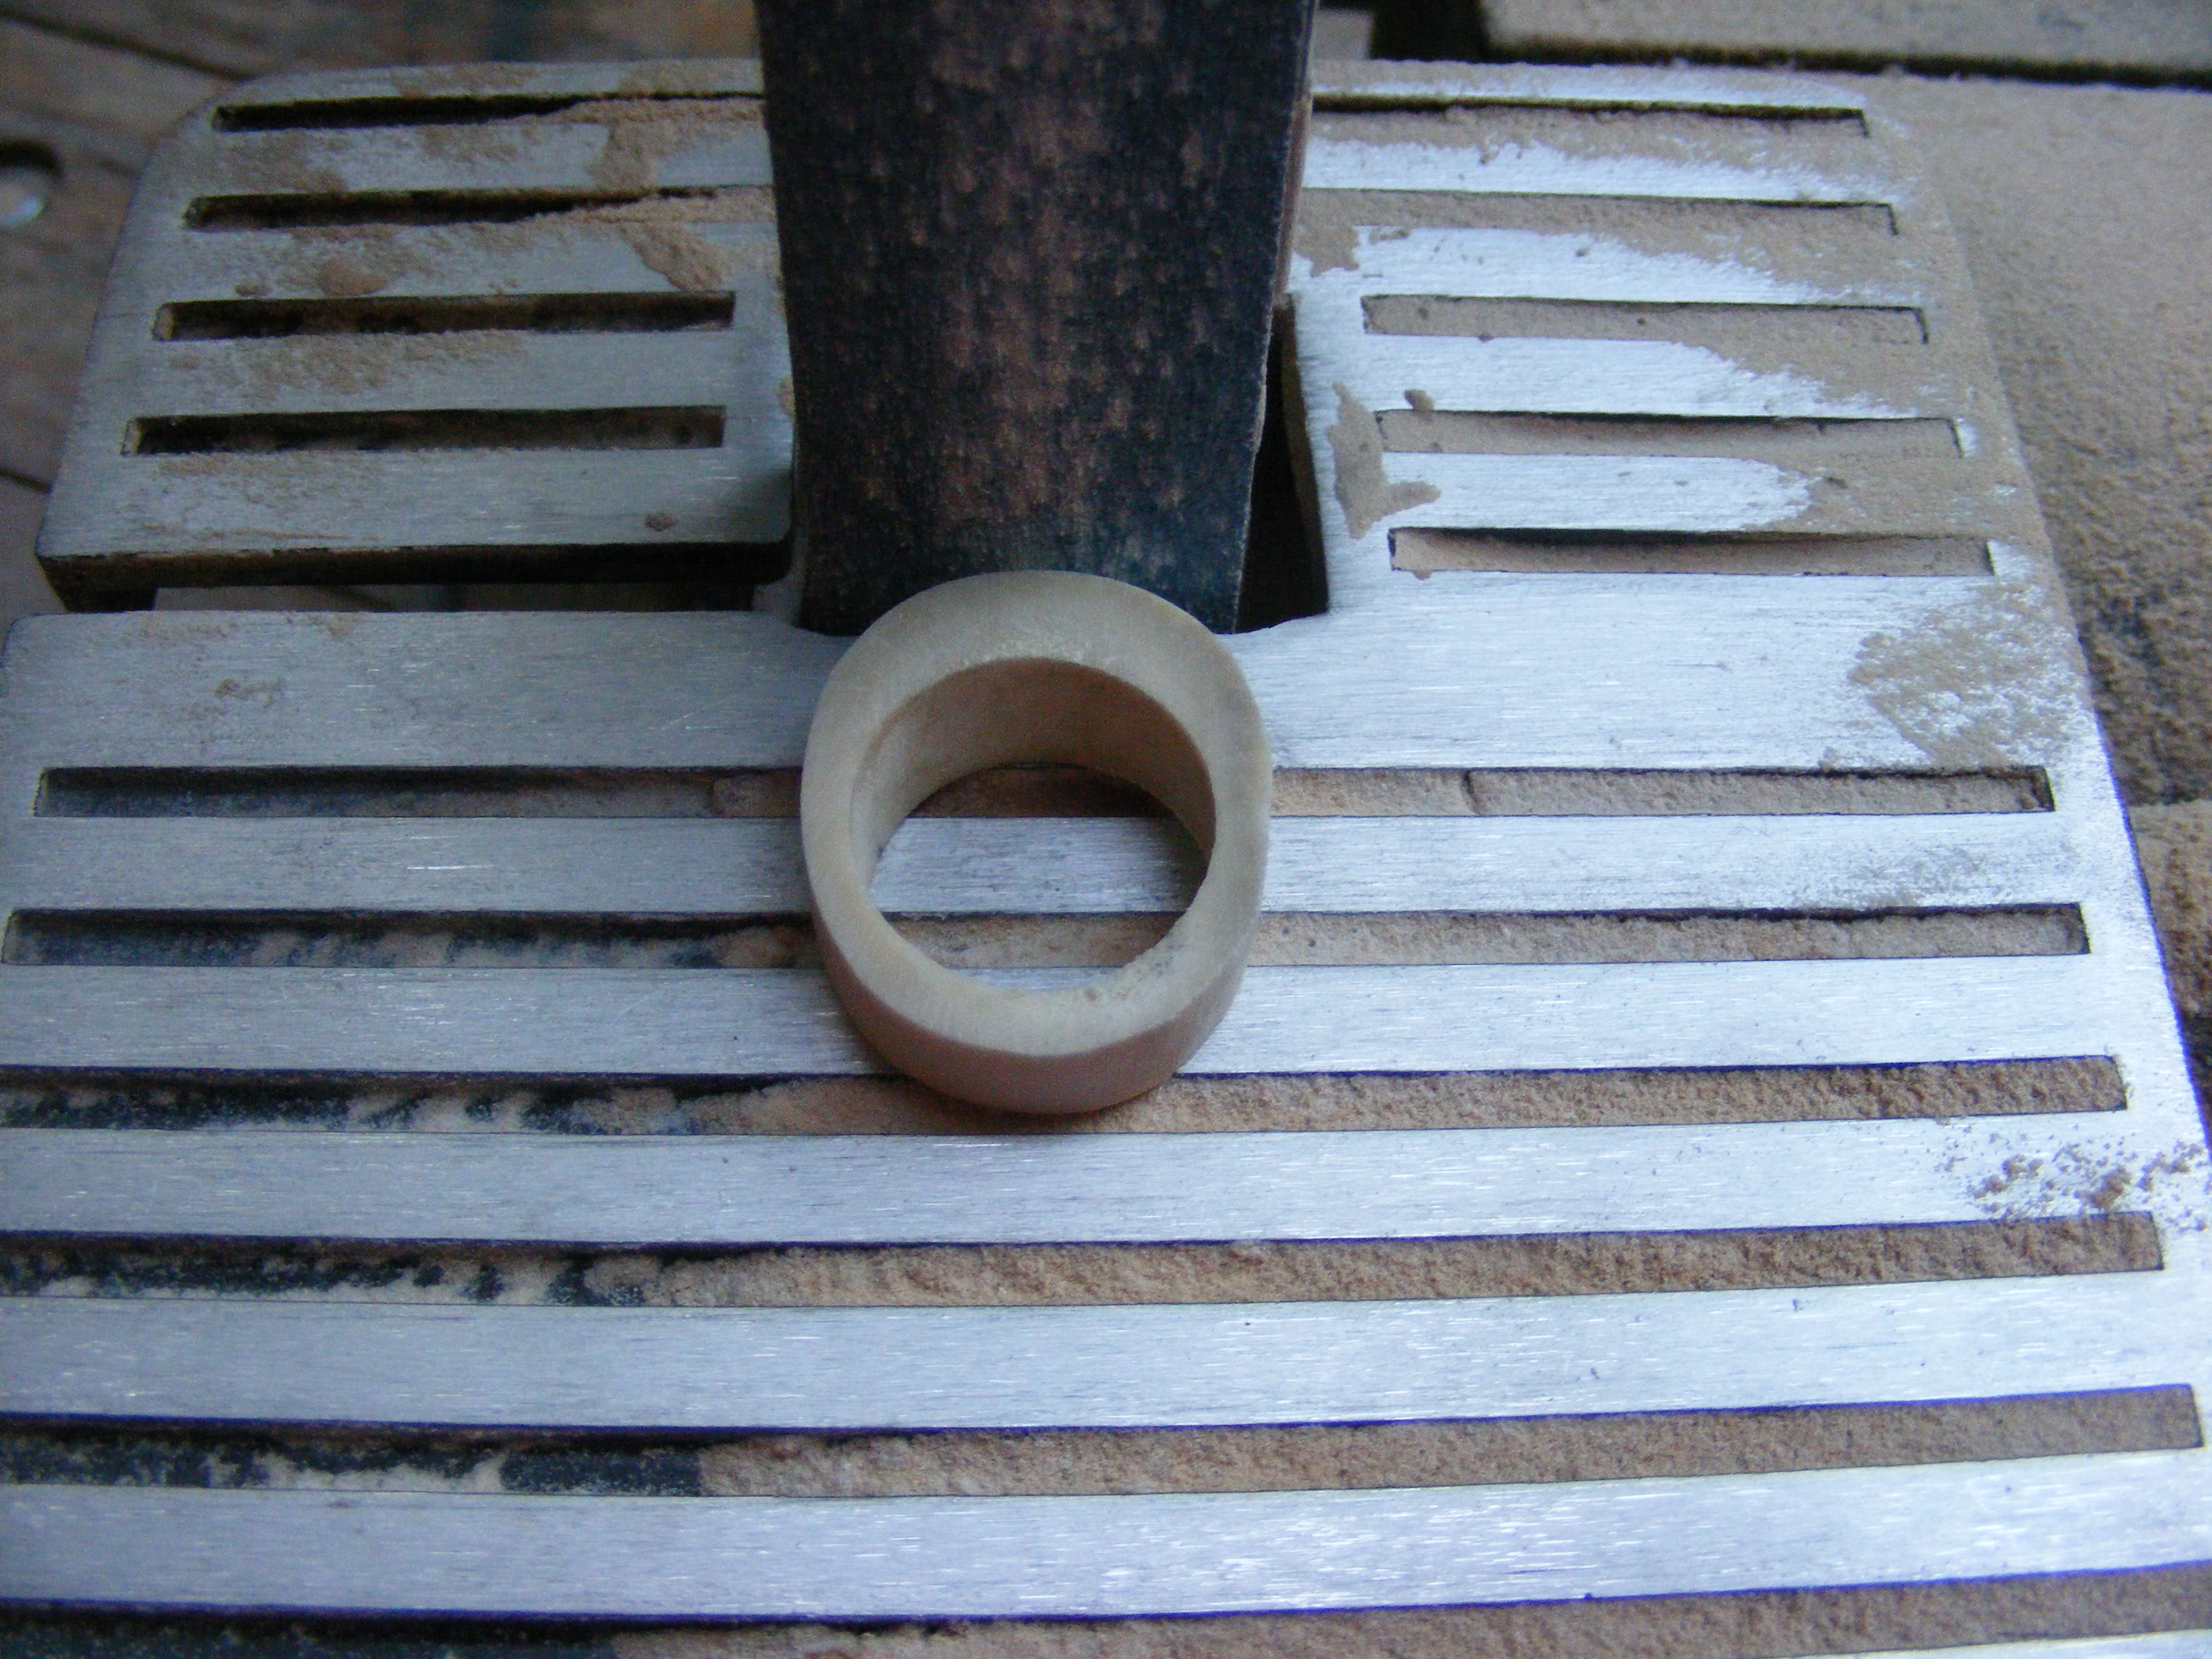
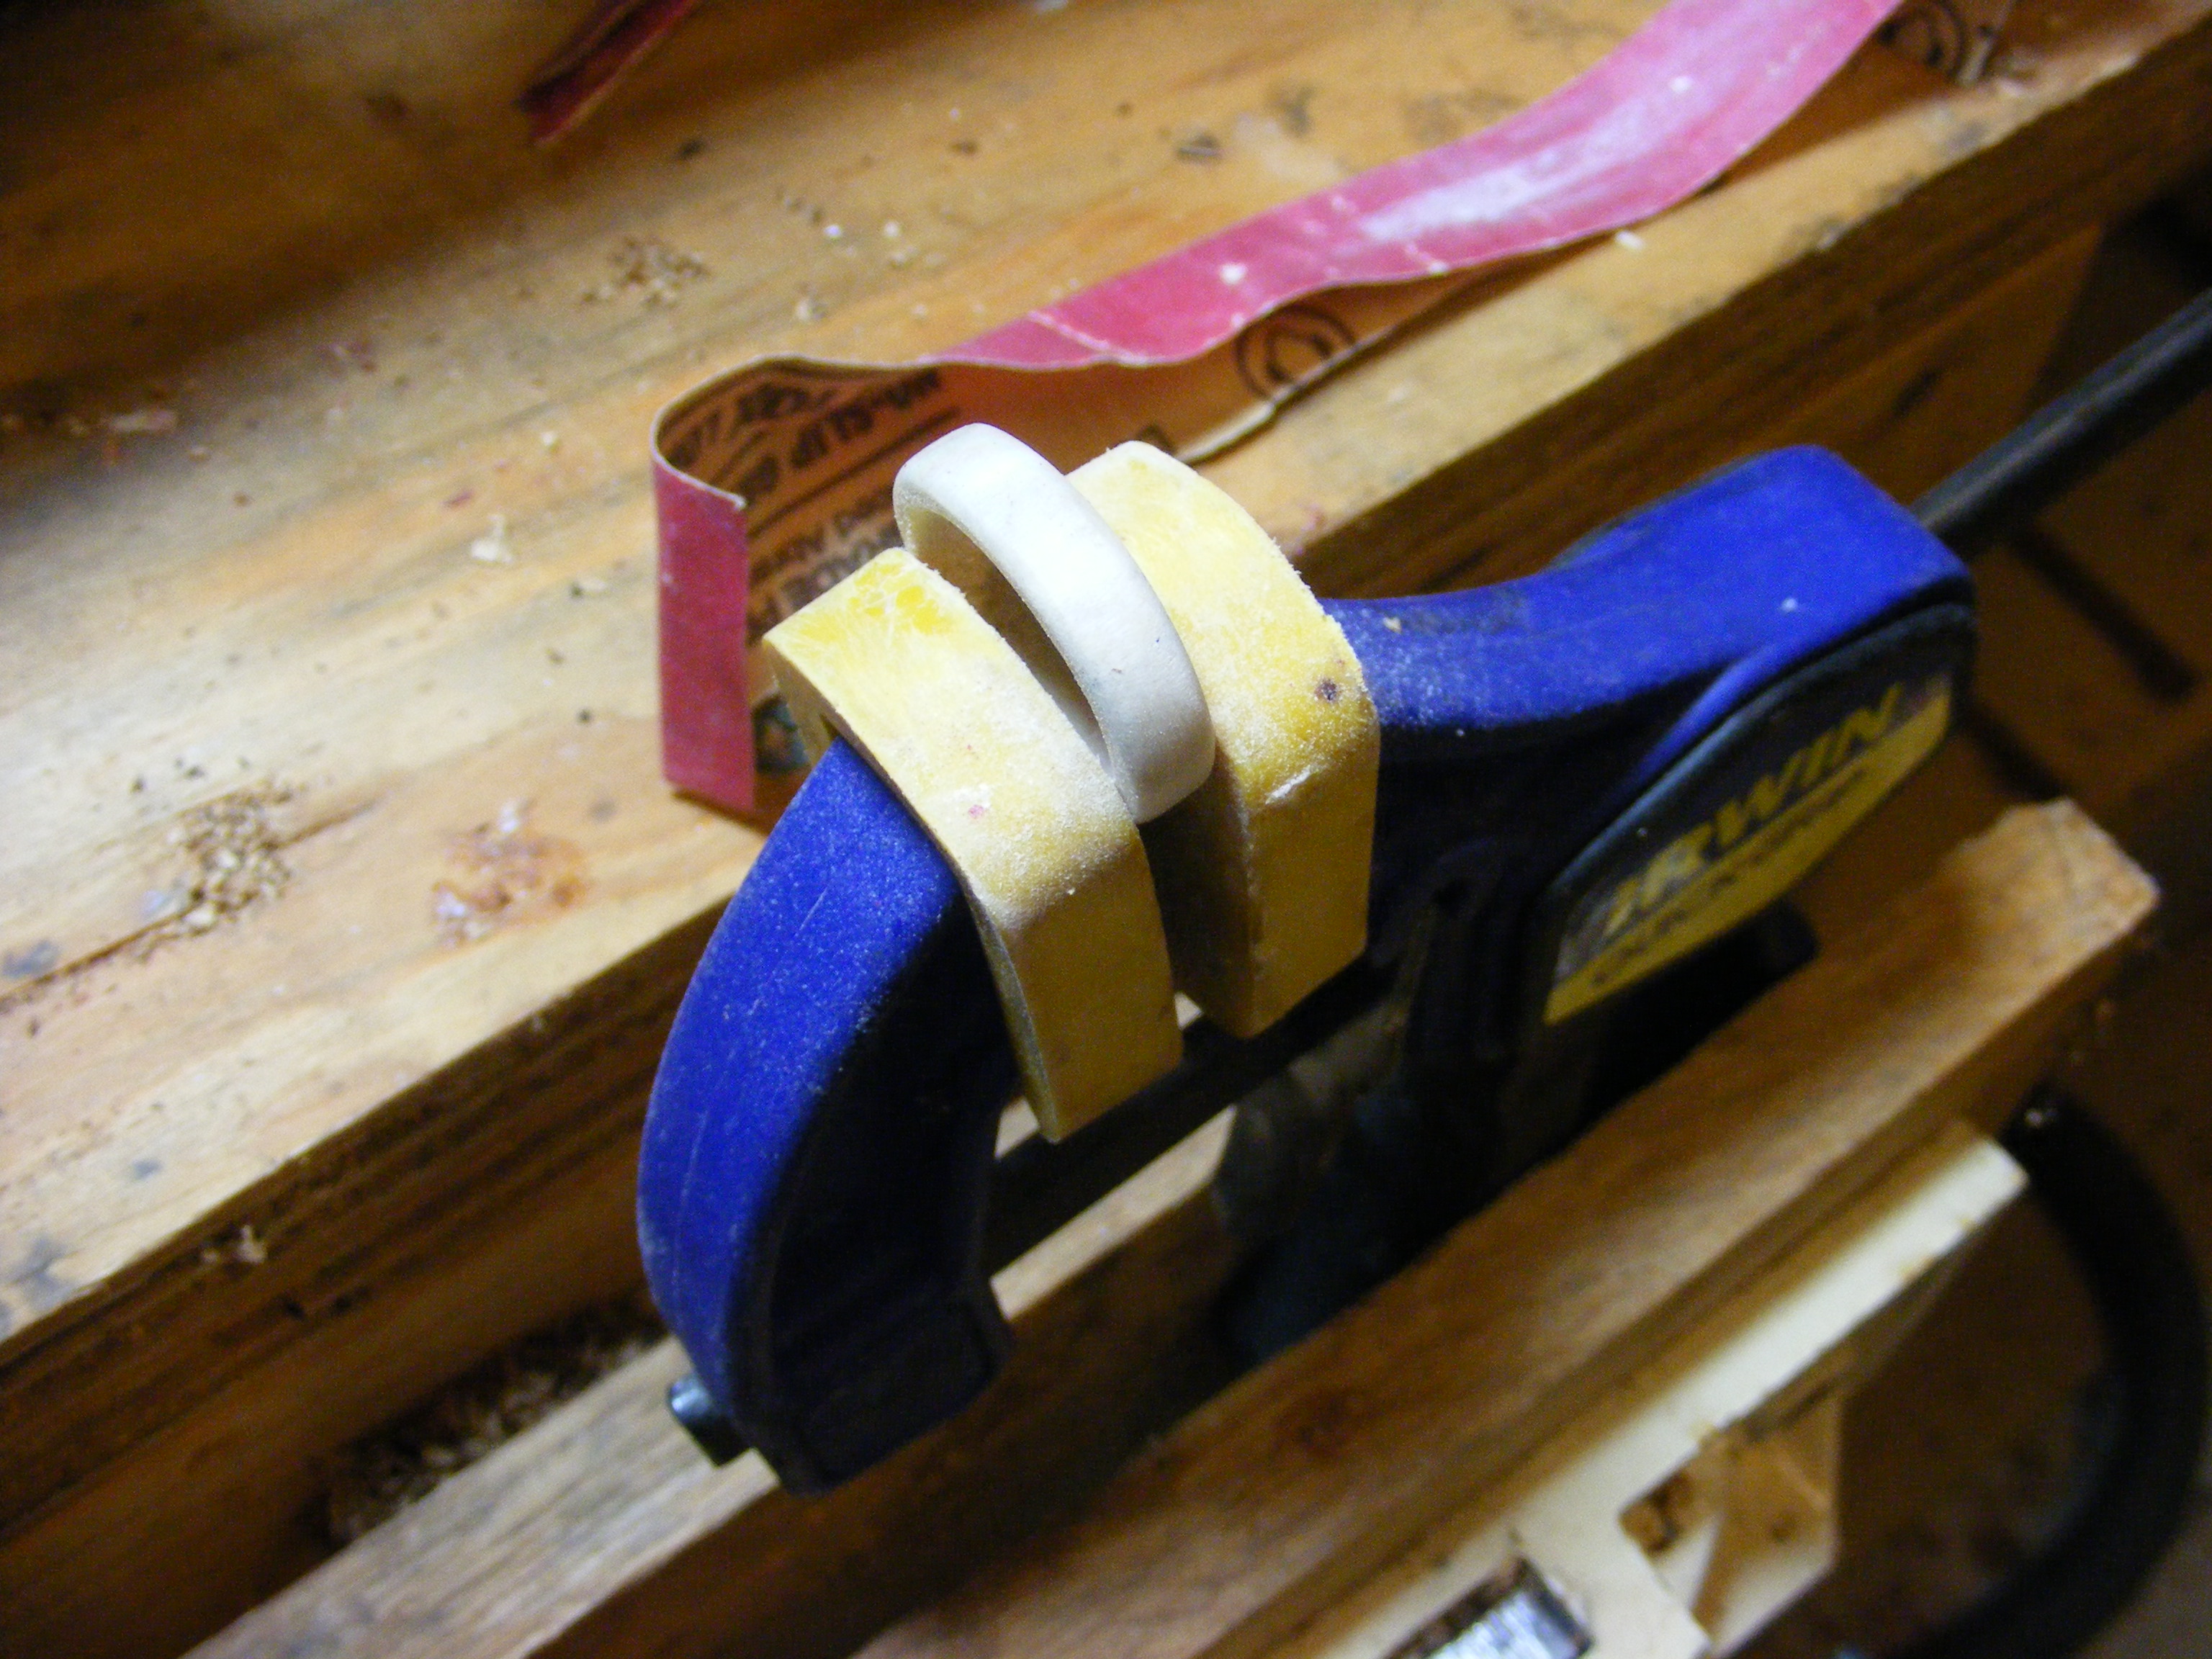
Step 5 – Sand and Shape. I used my 1 x 30 Belt Sander and 6 inch disc sander to sand and shape the rings. If you don’t have a belt sander, you might try the Dremel 8050-N/18 Micro Rotary Tool
This Dremel tool is small and very affordable.
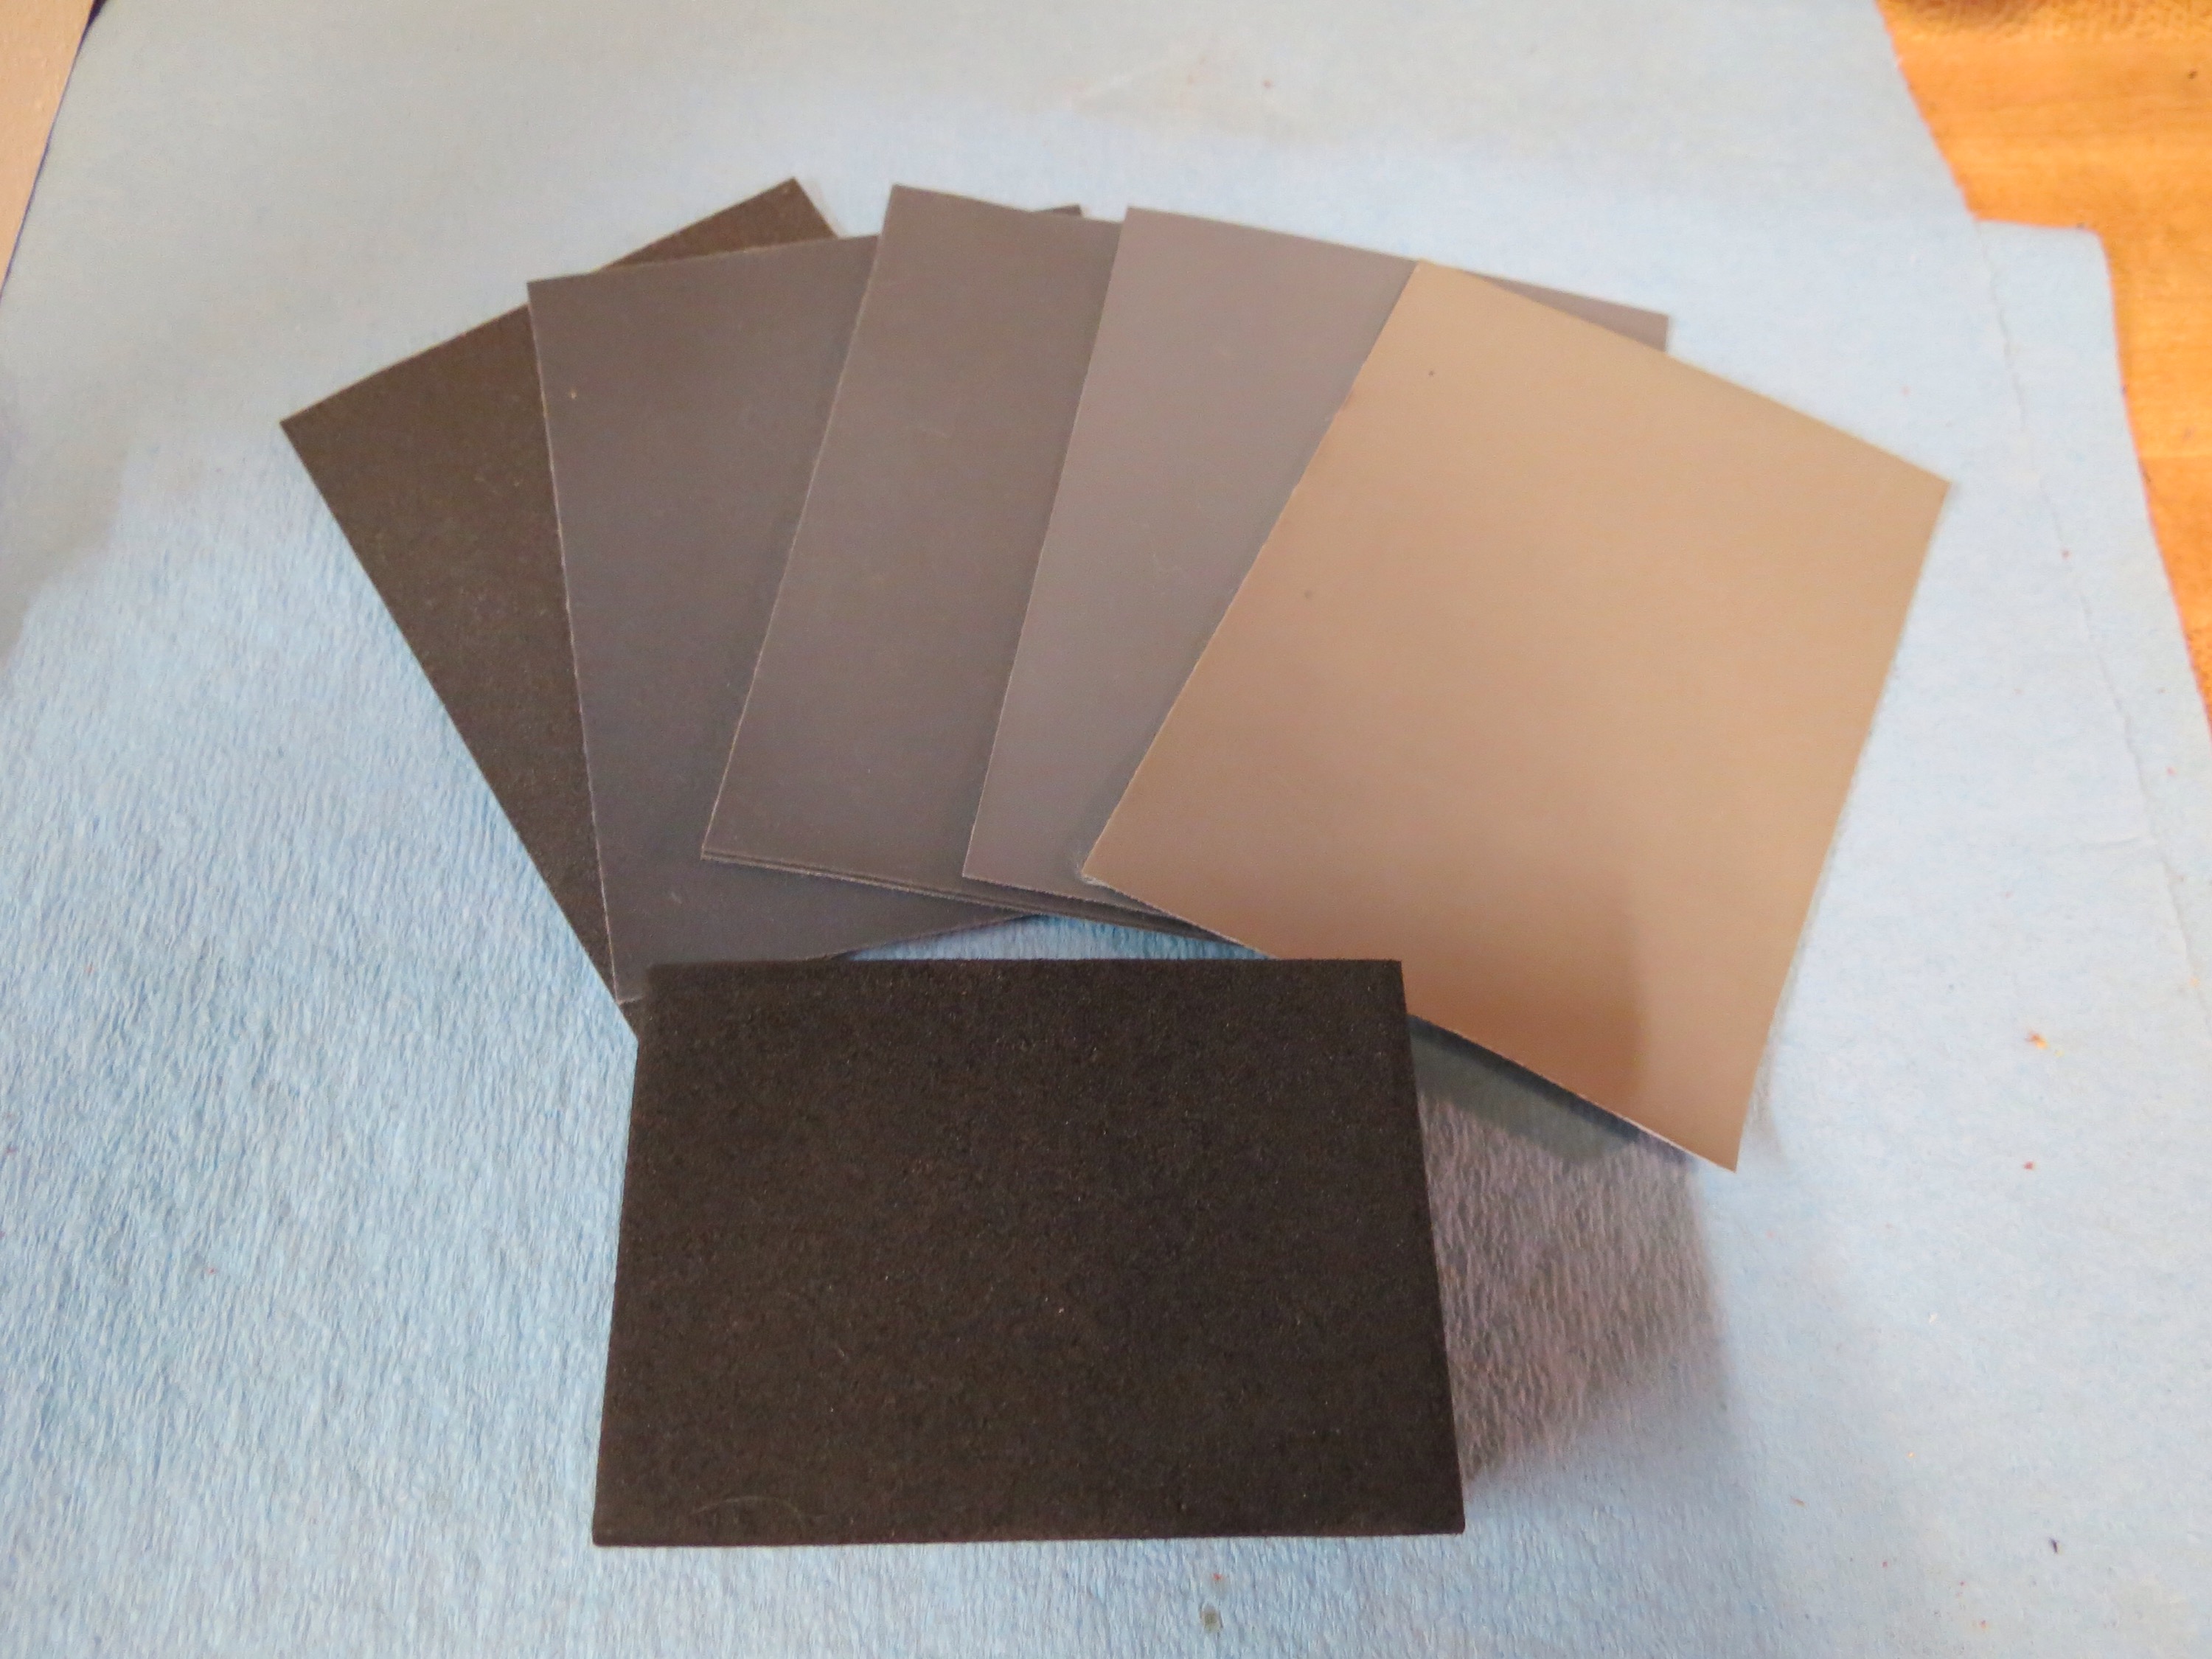
Once I had the ring to the desirable dimensions, I used 120 grit, 220 grit, and 400 grit sandpaper for hand sanding. Next, I moved to my MICRO MESH SANDING SHEETS — 1500 grit, 2400 grit, 3200 grit, 4000 grit and the 8000 grit — again, for hand sanding. The micro mesh cloths created a glossy shine on the antler. If you have a buffing wheel (which I don’t) you could also use it to buff and polish the ring.
You can also sand the inside of the ring, but just be careful that you don’t take off too much antler material on the inside of the ring. Keep checking for fit with your finger.
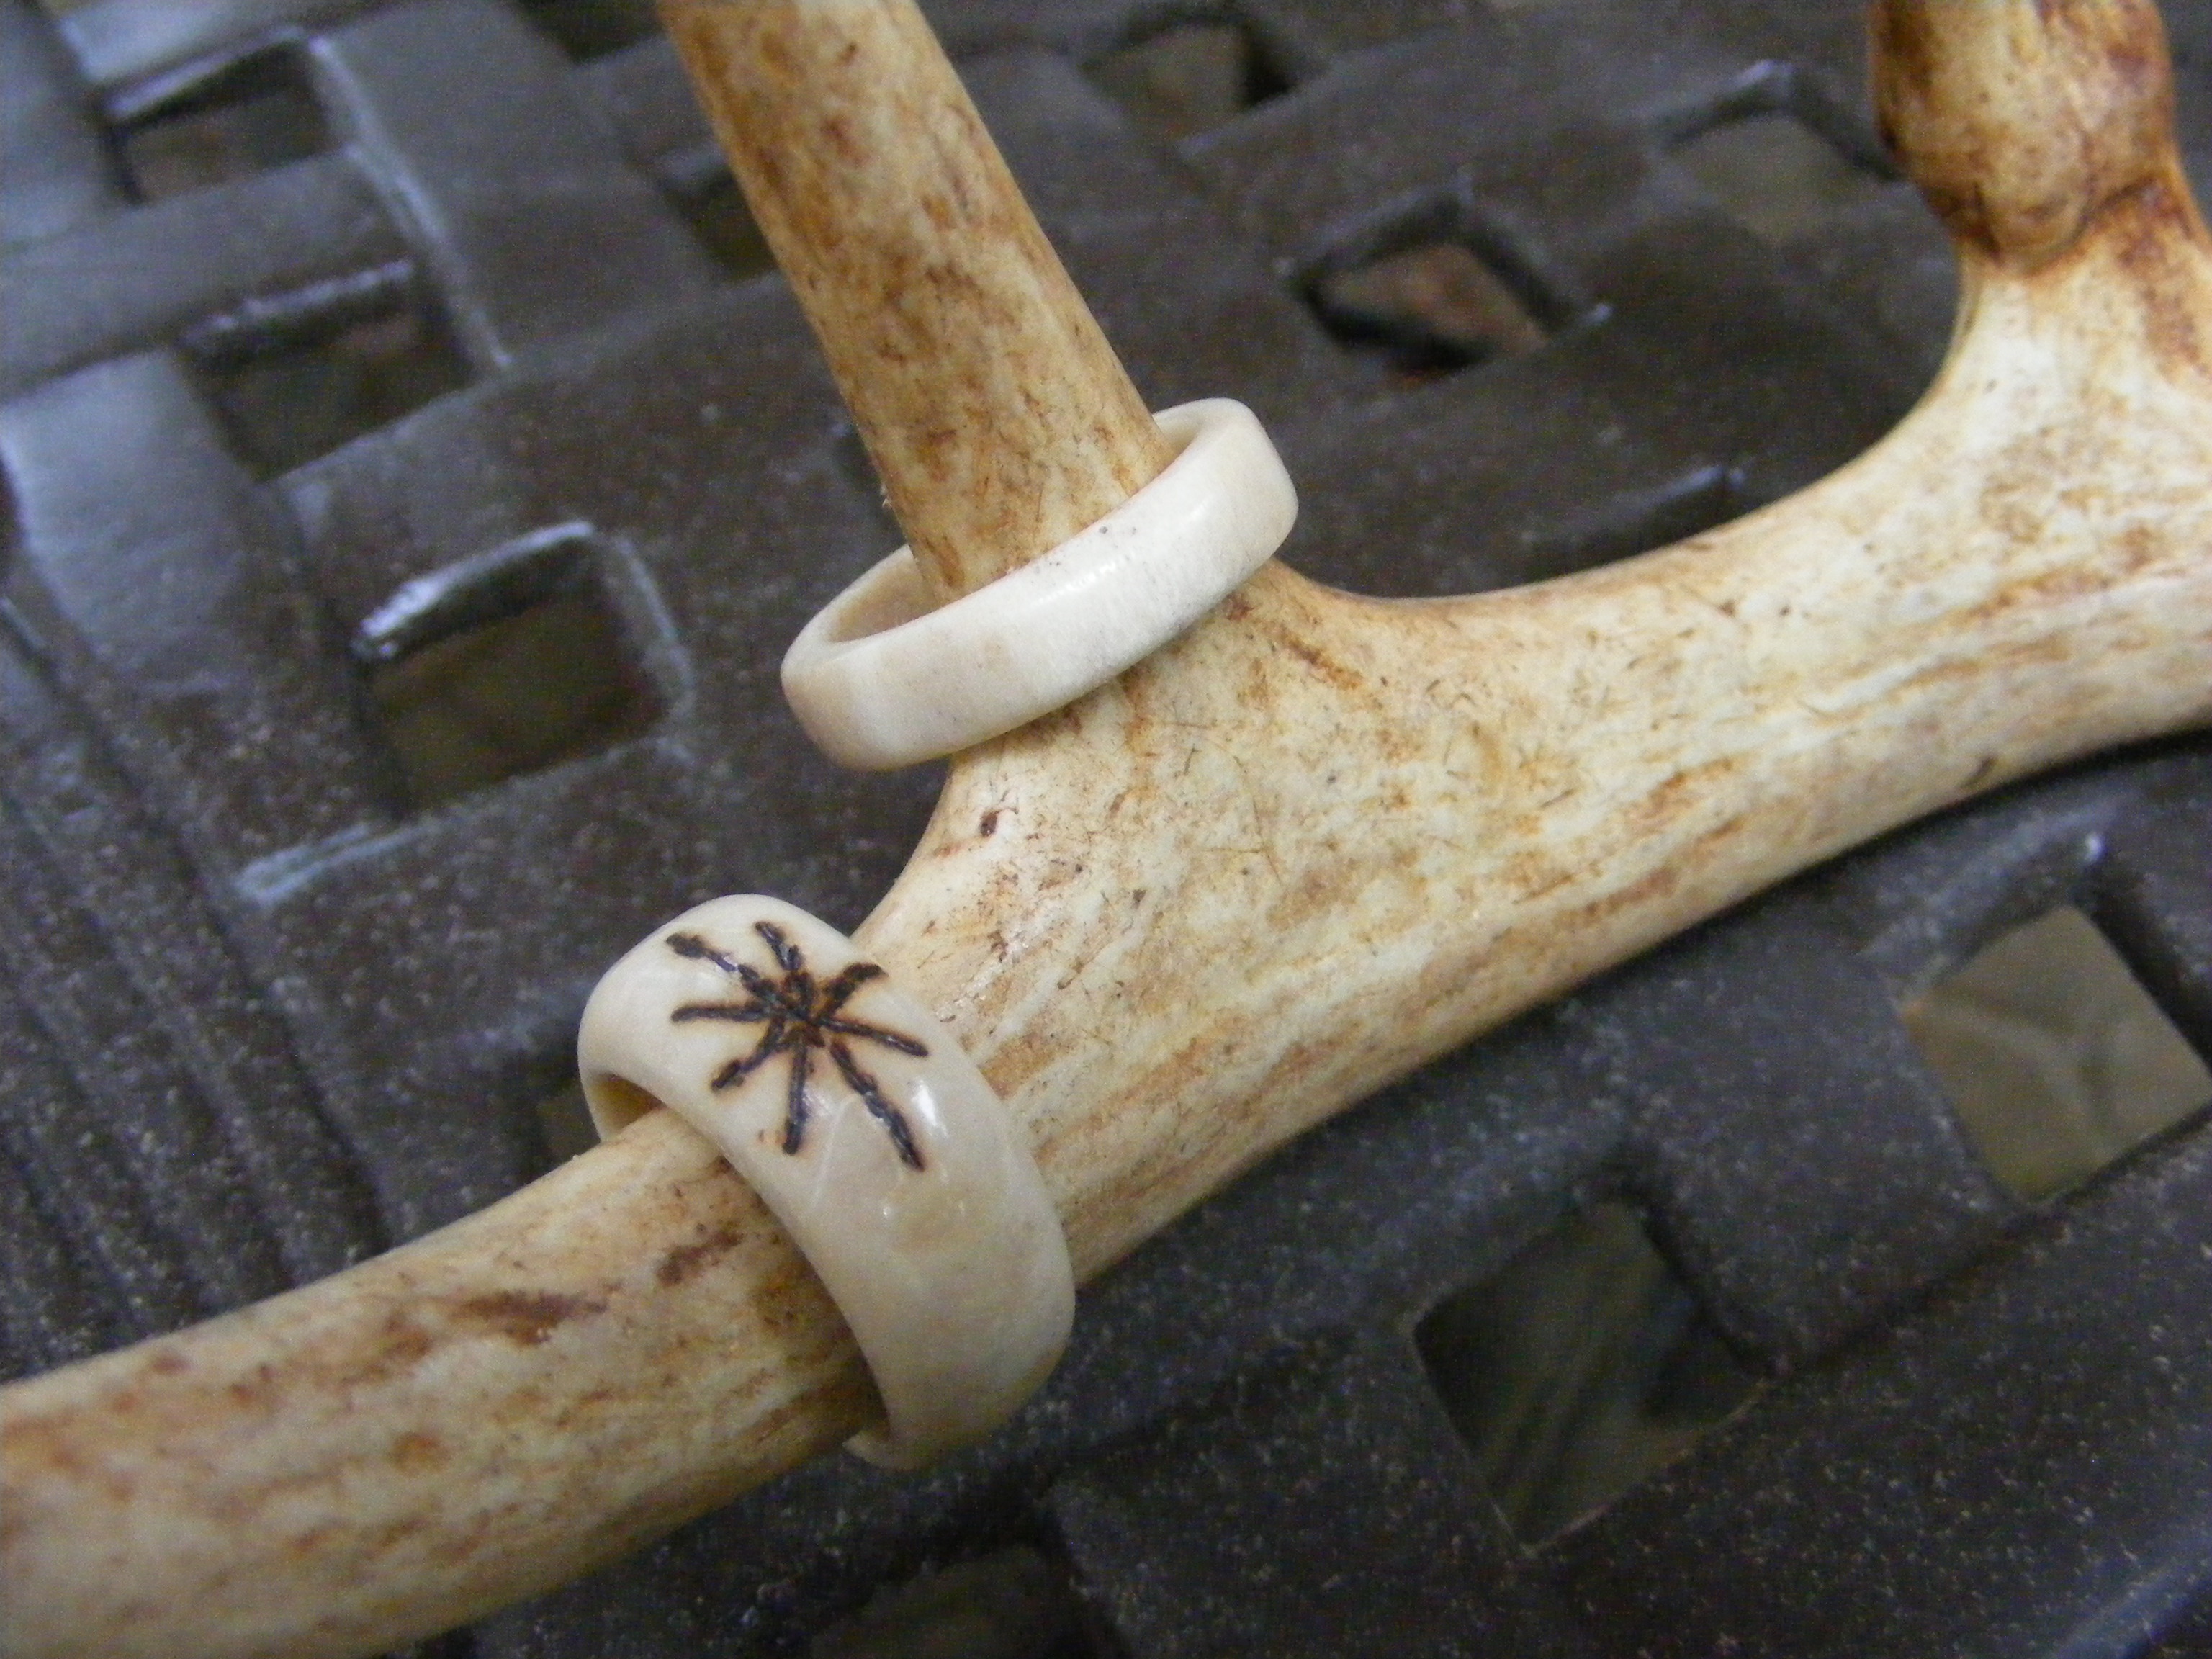
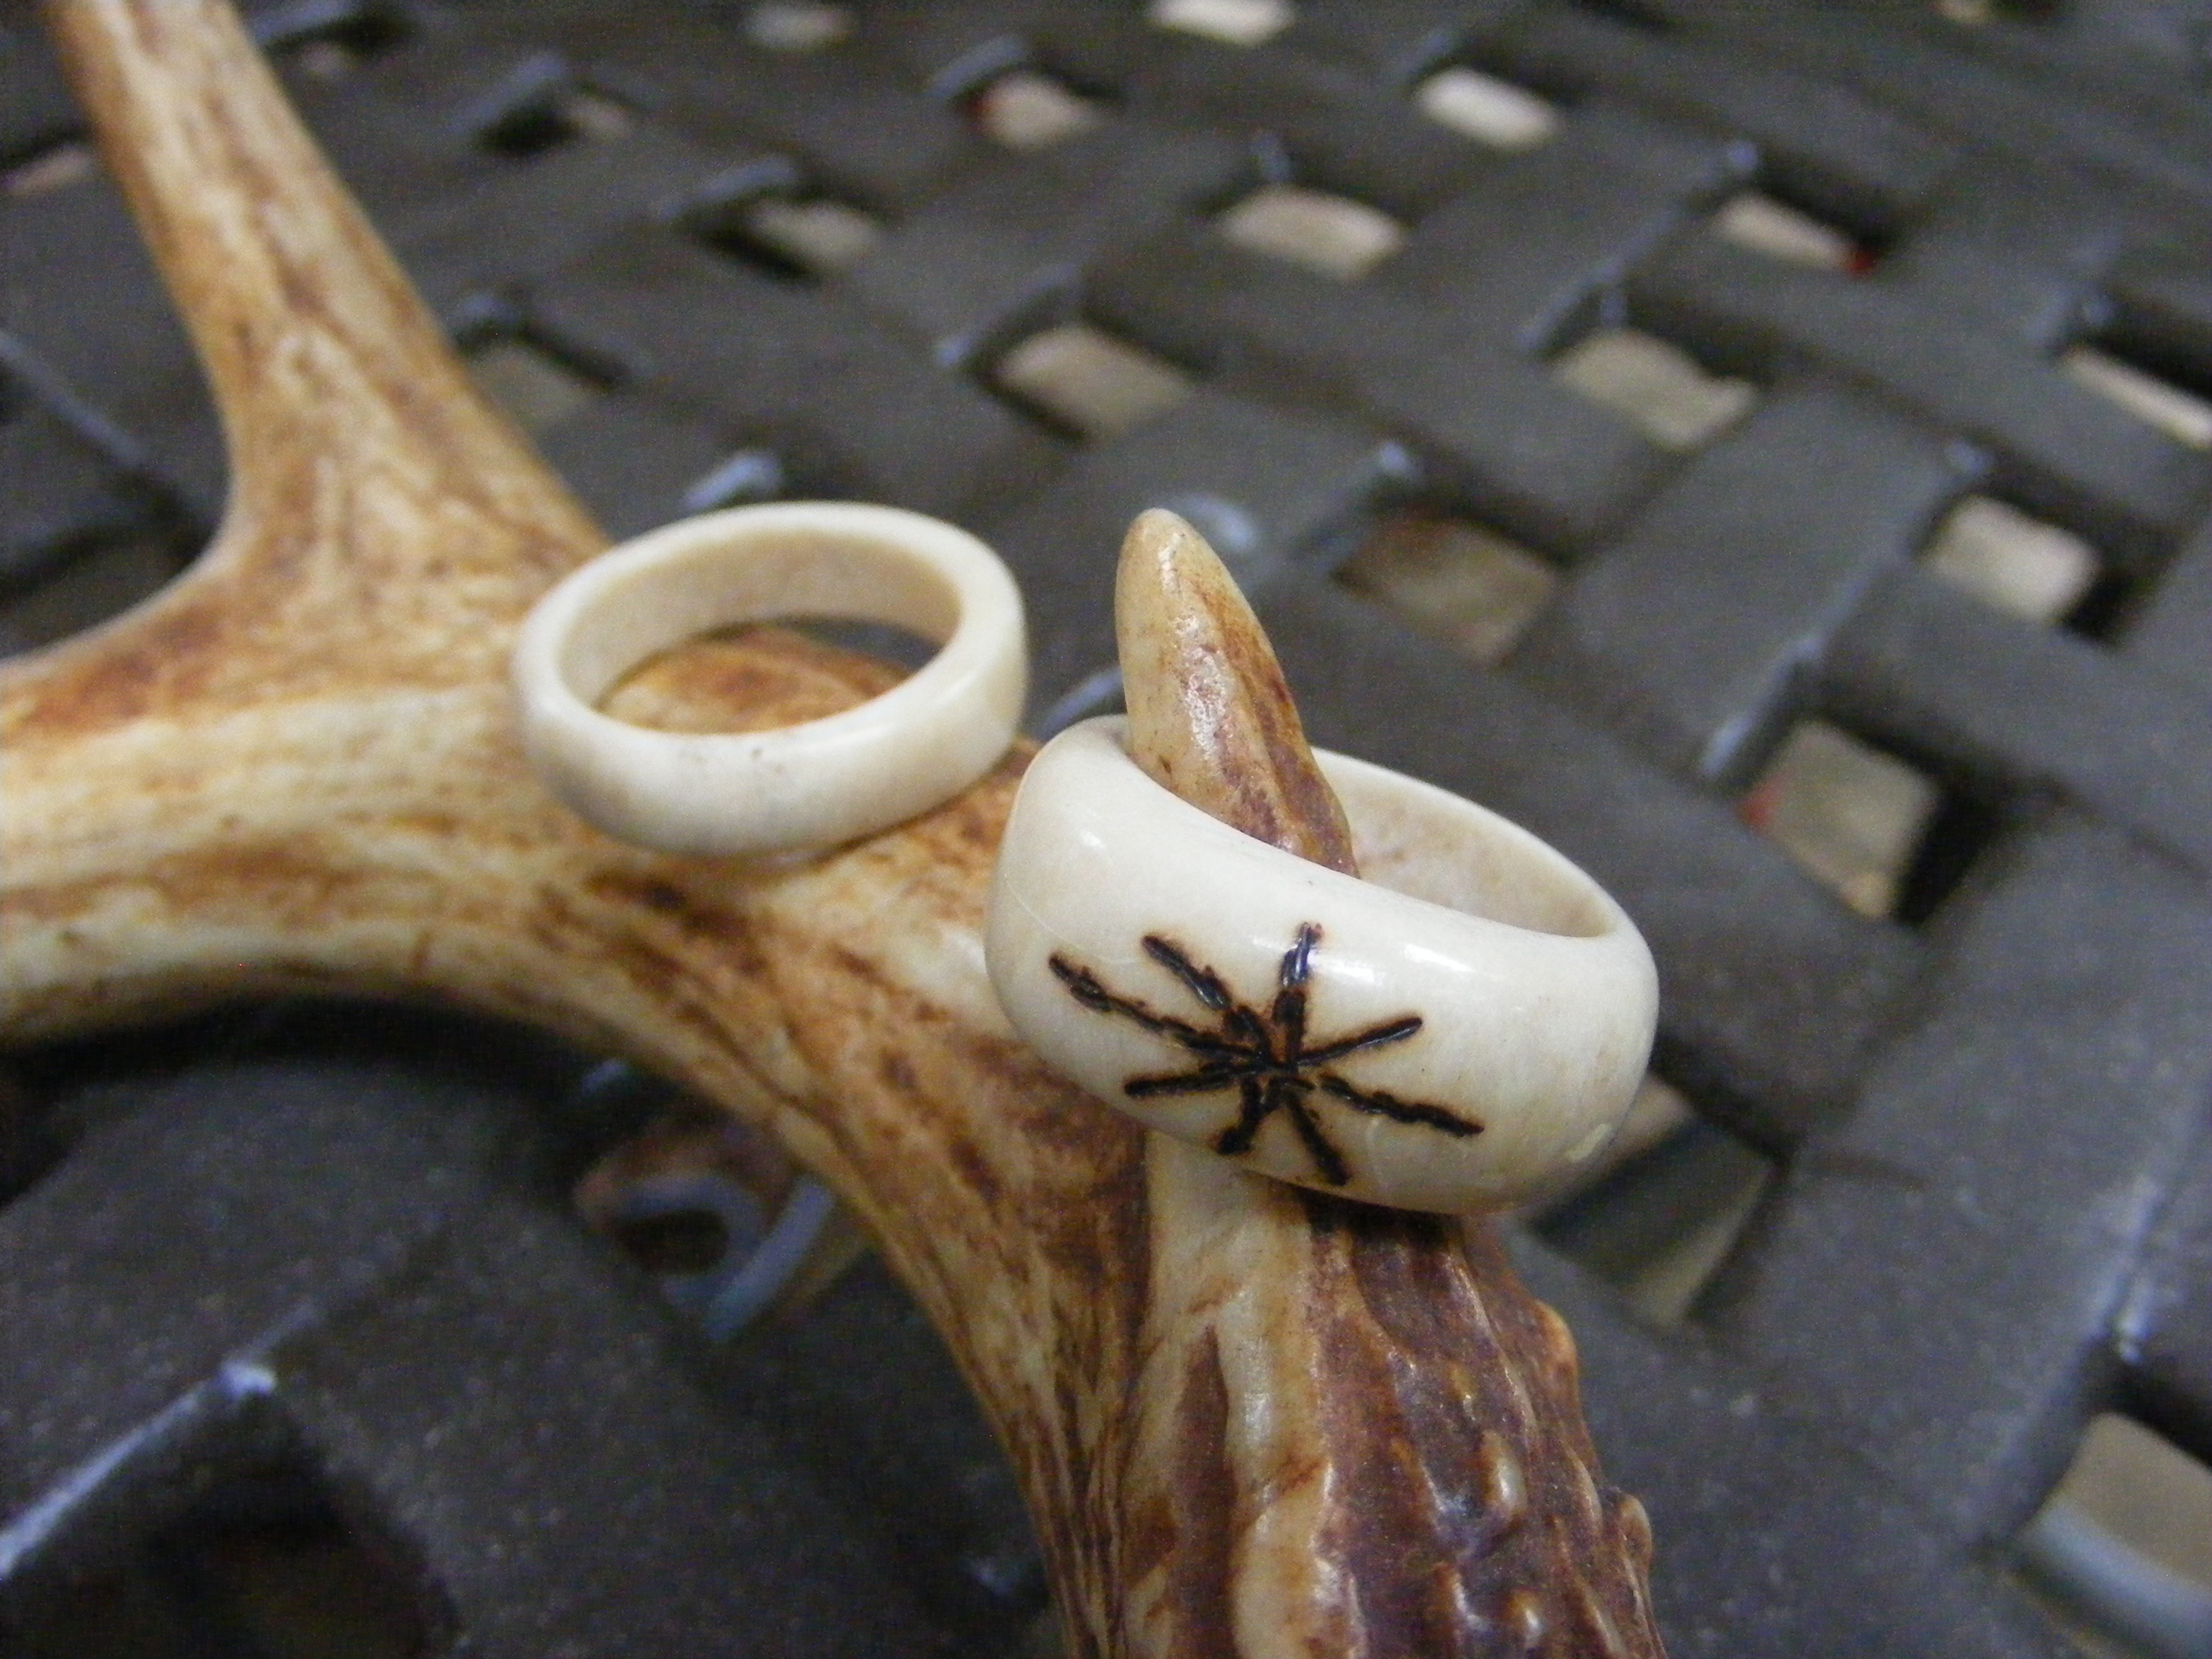
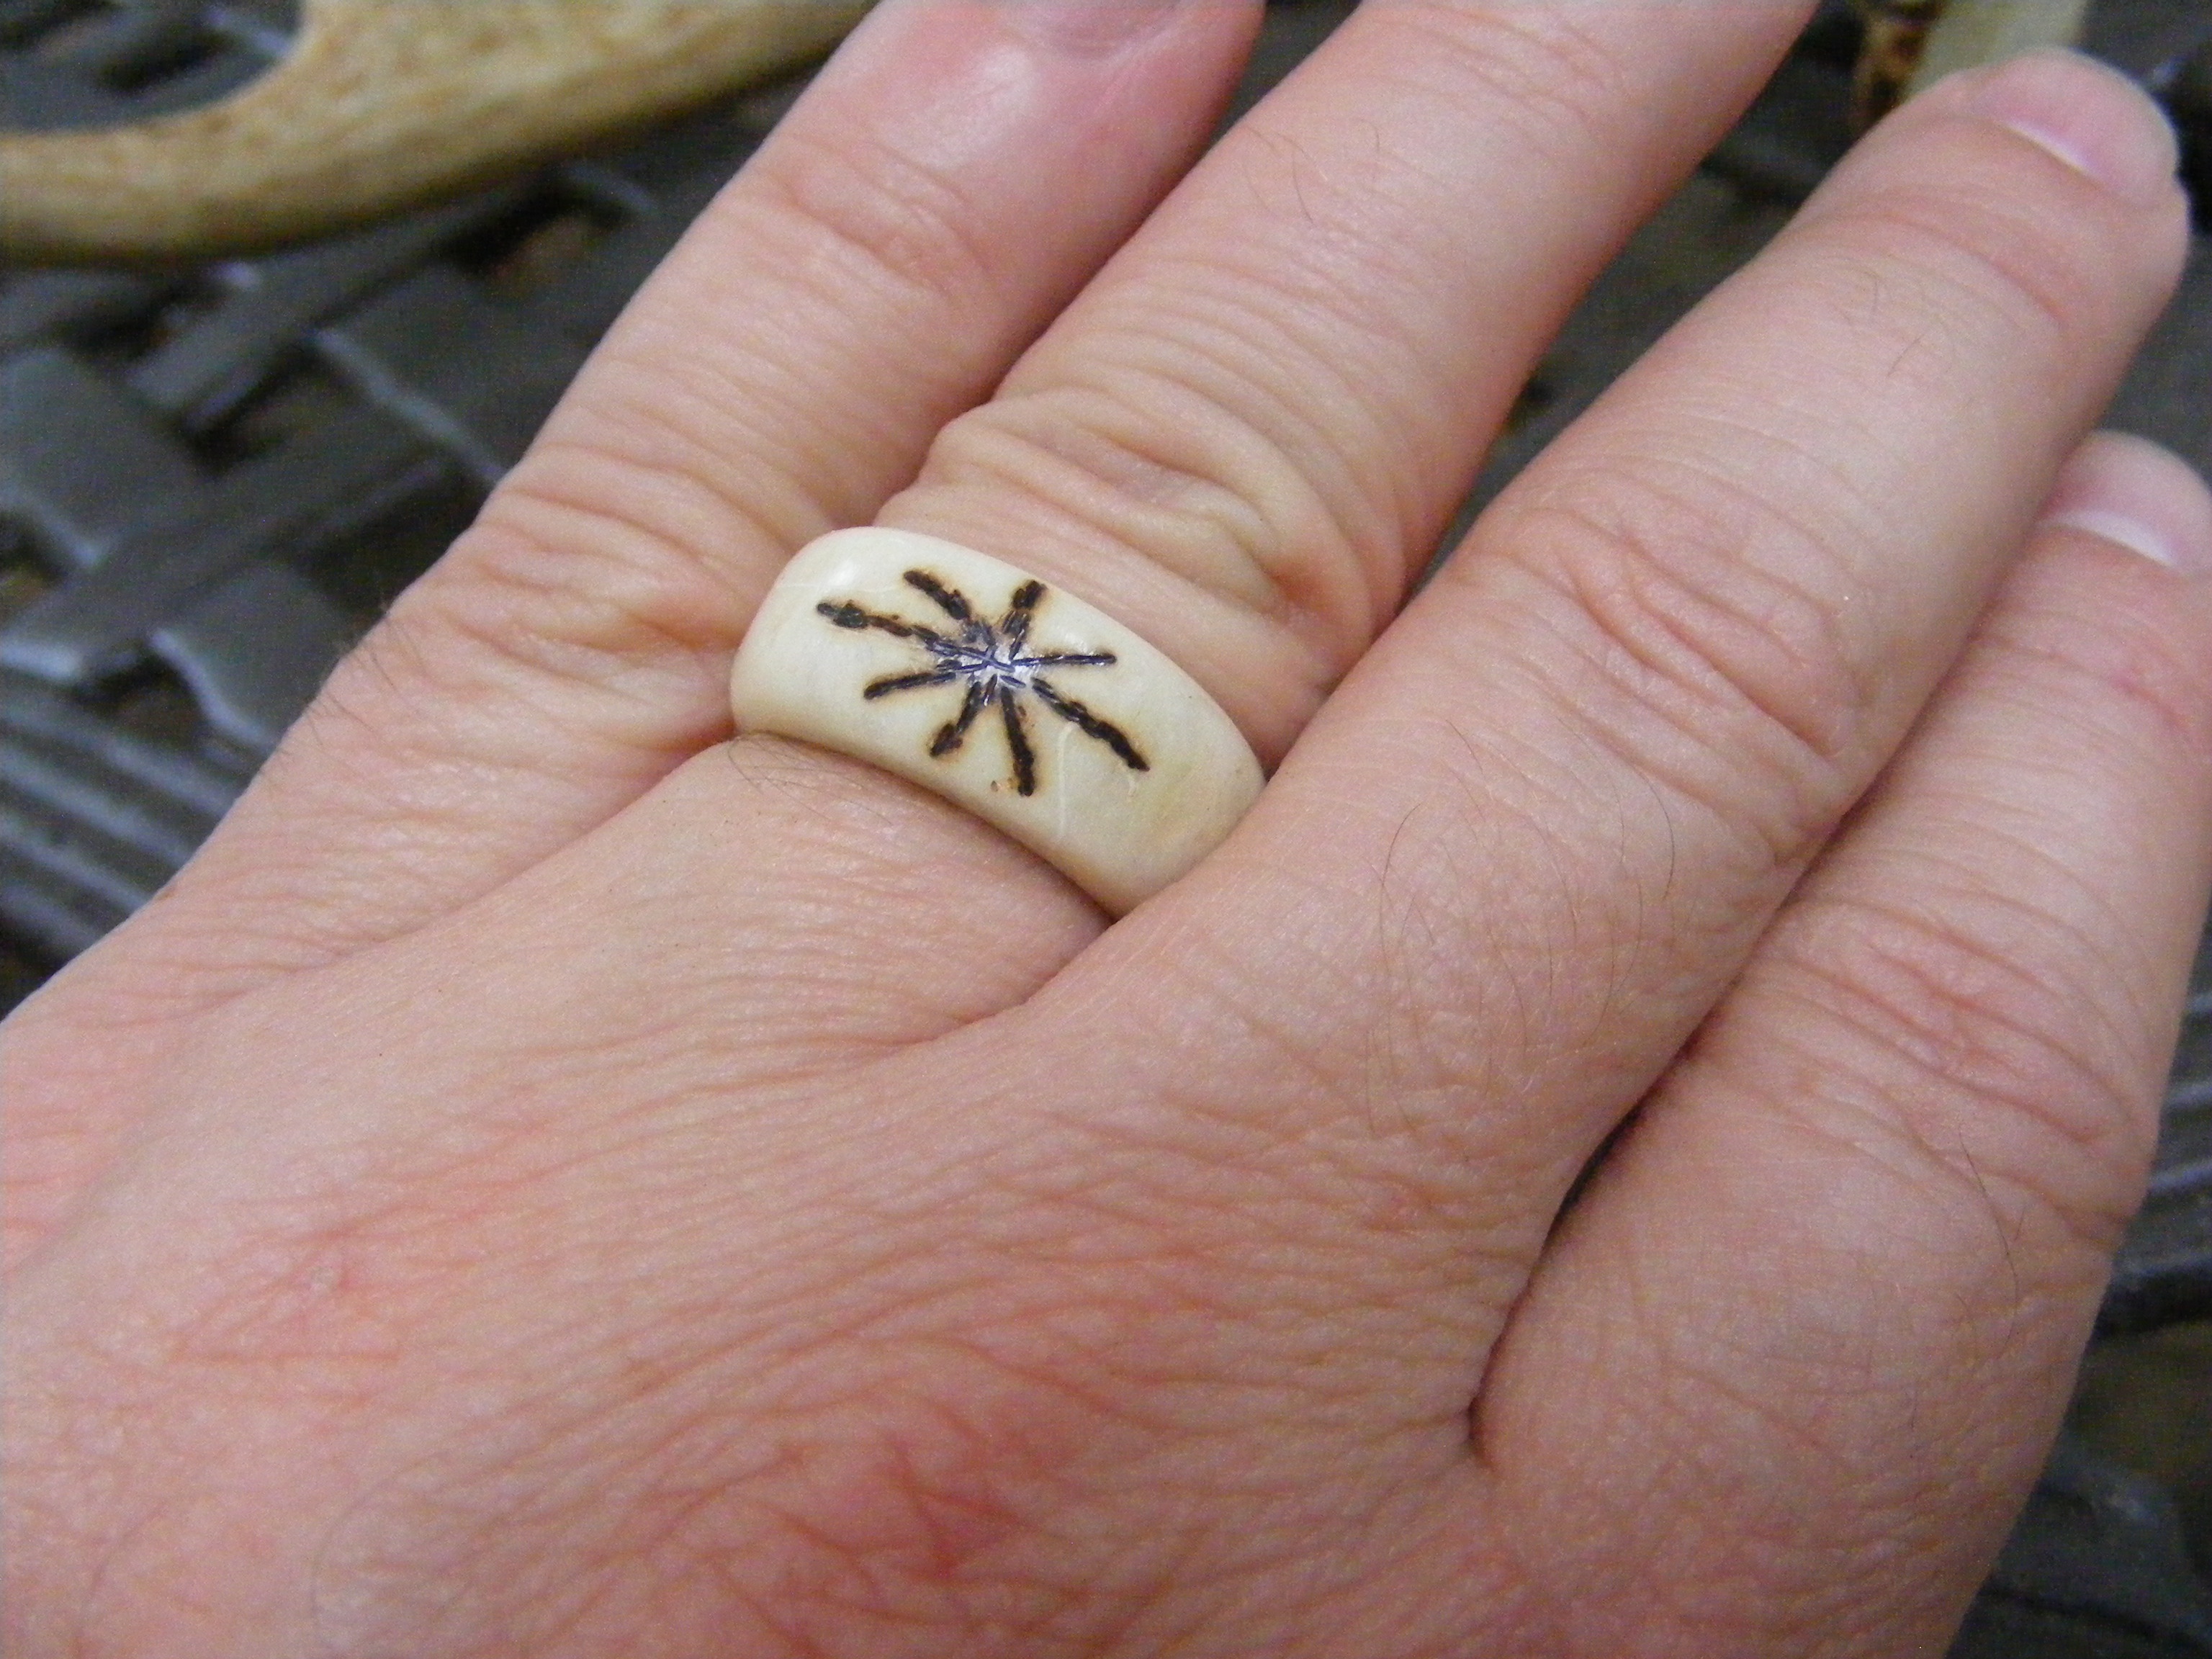
Step 6 – Add accents or decoration. You can keep this step optional if you like. I decided to use my wood burning tool and put a design on one of the rings. Burning antler is not easy. I had to turn the burner up on high. I practiced first on some scrap pieces of antler.
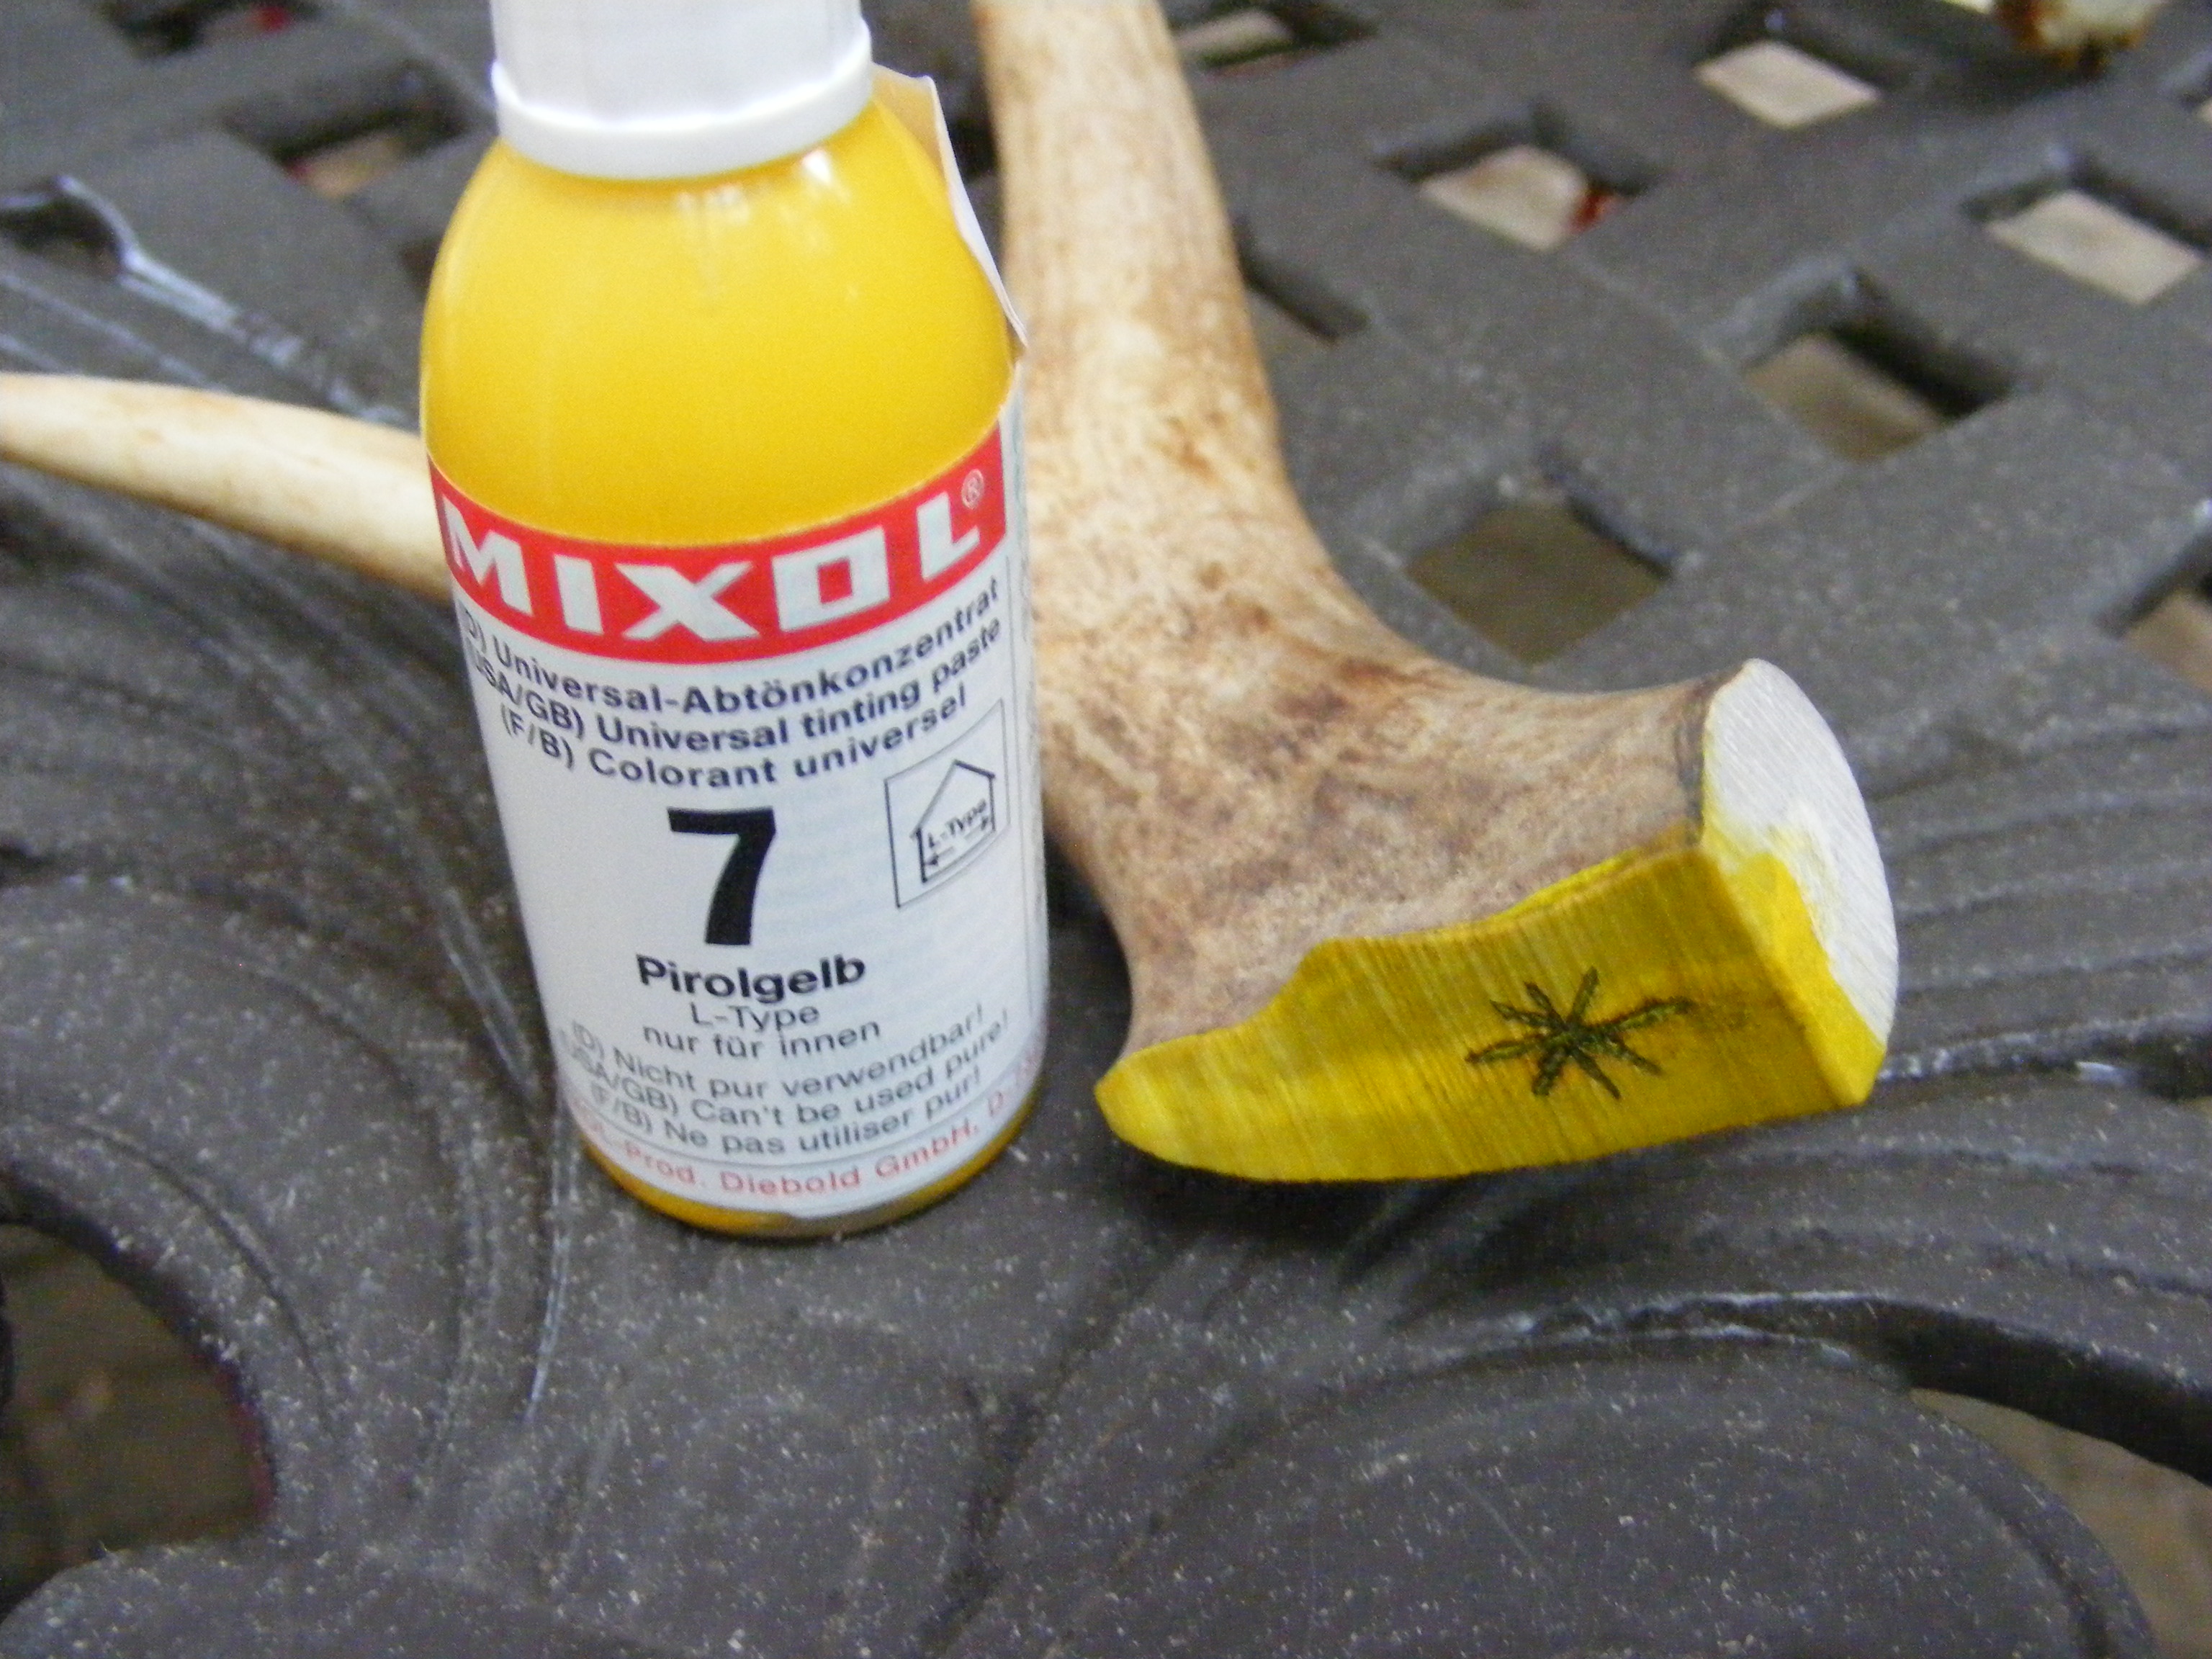
Some other ideas I would like to explore in the future would be laminating some other material between the antler material. You could also apply some dyes to add colors. In the picture above I experimented with some yellow dye on a scrap piece of antler.
The only thing left to do is slip the ring on and enjoy showing it off.
I hope you enjoyed this tutorial on making antler rings. Deer antler crafts are extremely satisfying to create. Let me know what crafts you are making with deer antler. Use the comments field and share what you are up to.
Related Post:
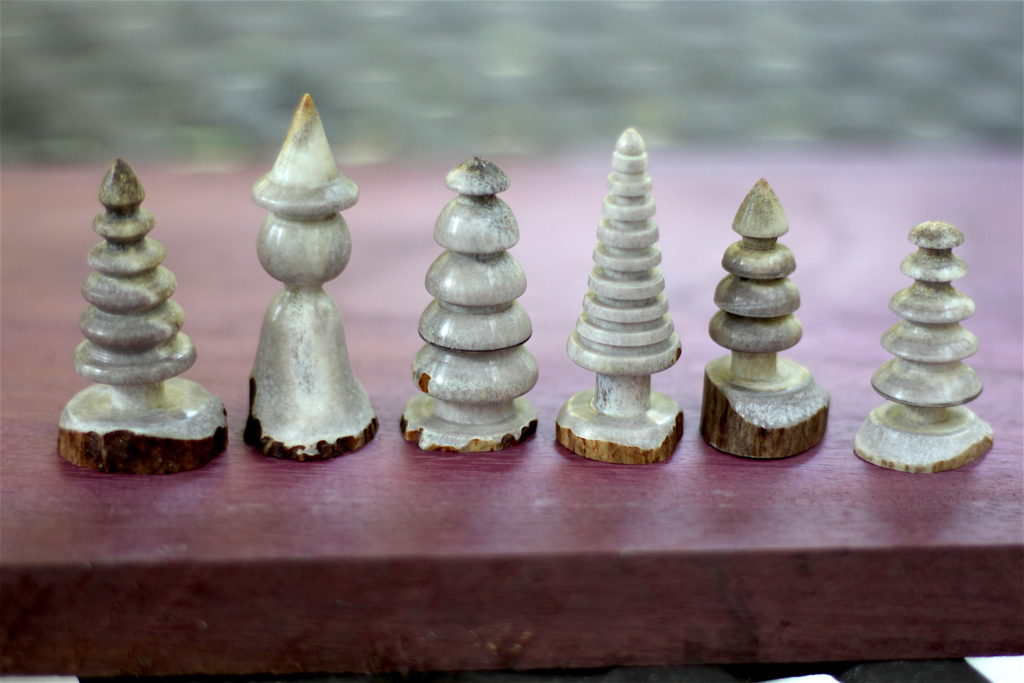
Check out my Antler Christmas Tree Tutorial. Another great example of what you can make with deer antlers.
Want to get more tutorials like this in you inbox? Please consider joining my newsletter. And for joining, I’ll send you my Home Shop Safety and Tool Checklist. Use the form below to sign up.

Are you starting up a new shop? Want to work safer in your shop? To help you answer these questions I've put together a 2-part checklist -- Home Shop Safety & Tool Checklist.
I will also send you updates of my latest woodworking and DIY projects. You can get all this by subscribing to my free email newsletter.


They are very nice , well done I can’t wait to try some Thank you
Thanks for the comment! Good luck, and see me a pic if you make one.
Very nice job. Thank you for sharing this with us. I can’t wait to try this one myself
Thanks, Buddy! Send us some pics when you make one.
Gracias por los tutoriales.
De nada
Very nice.! .I found 8 pairs of antlers.metal tag.on two of them.dated 1960..looks like it.they have been out side Sen CD then.!??…pinkish.an white…are they worth working on/with..???thank you!! Much.
That’s cool. I’m glad you found some. Send me pics of what you make with them. Good luck!
What is ca glue
The long name is Cyanoacrylate glue, which is why you hear CA for short. Commonly goes by other trade names like crazy glue or super glue. Depending on the application, you can buy different viscosities — thick, medium, or thin. For antler crafts, I’ll use thin or medium CA to help fill antler pores. This glue dries fast and you definitely want to wear nitrile gloves when working with it.
Thanks for this. I also made a dozen of your paracord dog leads and sold them all in one day.
That’s awesome! Thanks for sharing.