I hope that you enjoy my beer caddy DIY tutorial. You’ll also hear these called beer totes or bottle totes or a bottle caddy. You can also carry around you favorite soft drinks.
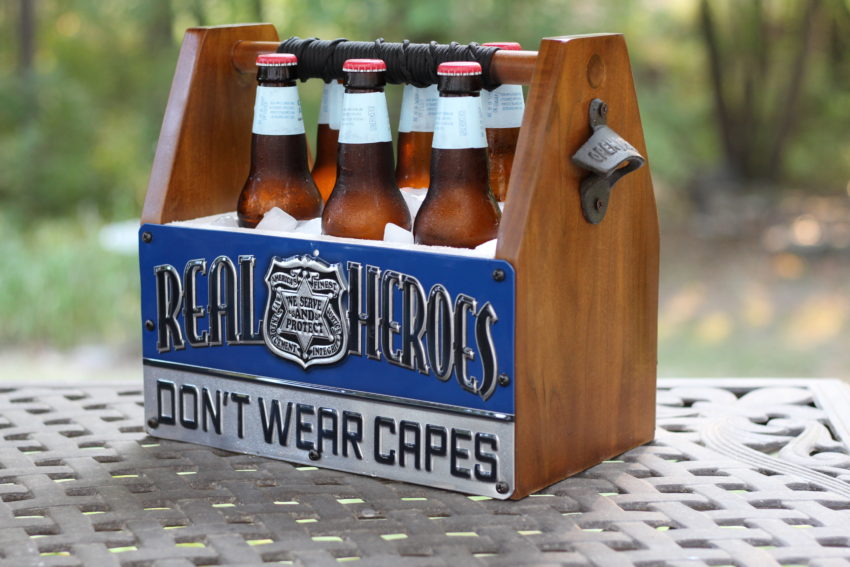
This was one of the most fun projects I worked on this summer. This is a very easy project to make and requires a minimum amount of tools. I used poplar boards and 2 license plates for the sides. A wooden dowel for the handle. And I’ve attached a bottle opener on the end.
This caddy also has something you don’t typically see. I’ve added styrofoam so that the caddy also functions as a small ice chest. Now you can carry around you beer (or root beer) and keep it cool.
This tutorial will also introduce you to how to make your own wood stain. This was my first time making the vinegar and steel wool mixture. I think it turned out great.
You may see a few Amazon affiliate links below. I receive a small commission if you buy through one of the links. This doesn’t change the regular price of the item. Thanks for your support!
Click Here for FREE Plans
Tools and Supplies
- 2 Poplar boards: 2ft by 7.25″ by 3/4″
- 1 Poplar dowel (7/8″)
- Sandpaper 220 grit (orbital sander – optional)
- Phillips screwdriver
- Utility knife
- bottle opener attachment
- A saw — jigsaw or miter saw or hand saw
- An electric hand drill
- Screws: 16 — #8 X 5/8 pan head screws (black)
- Forstner bit — 7/8 inch
- Stain (my homemade batch or your choice)
- Spar urethane spray
- Styrofoam sheets: 3 — 12″ by 12″ by 5/8″
- Kreg Jig & pocket hole screws (optional)
- 2 metal license plates ( 12″ by 6″) (Amazon version)
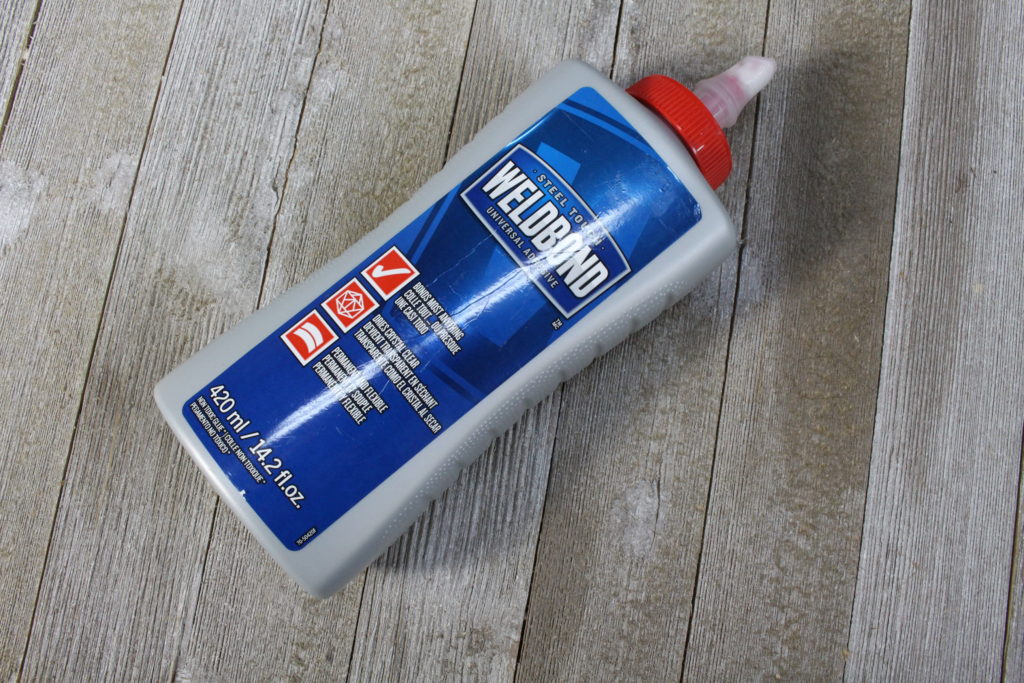
- Glue (I used Weldbond)
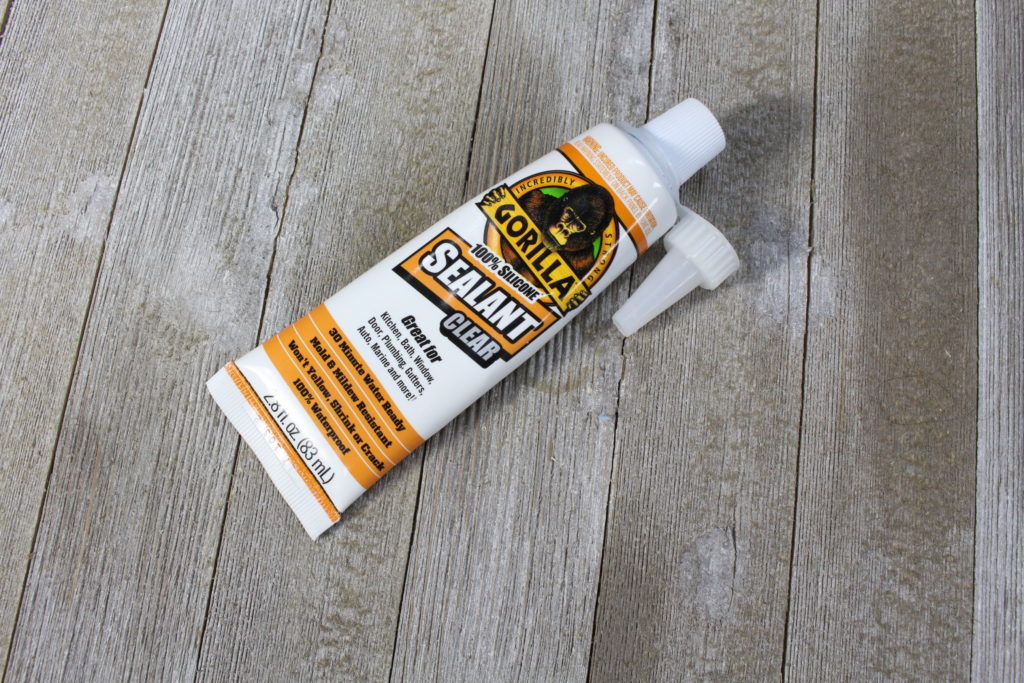
- Silicon sealer
- paracord: 15 feet (optional)
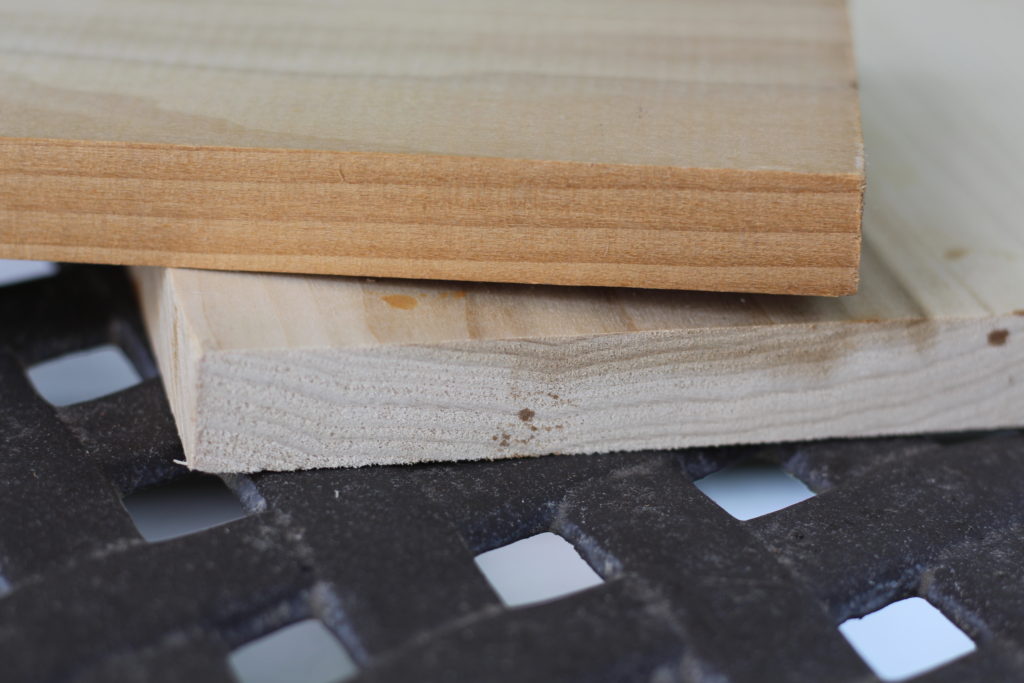
Step 1: Wood selection.
I decided to use some Poplar boards I had on hand. Poplar is definitely easy to cut and sand, however, the grain pattern isn’t that spectacular. I’ll be adding a stain later to make the wood look a little less plain.
The poplar is, however, lite, so I think this will help with the overall weight once you fill it with bottles and ice.
This project requires 2 poplar boards. Each of them 2ft by 7″ by 3/4″.
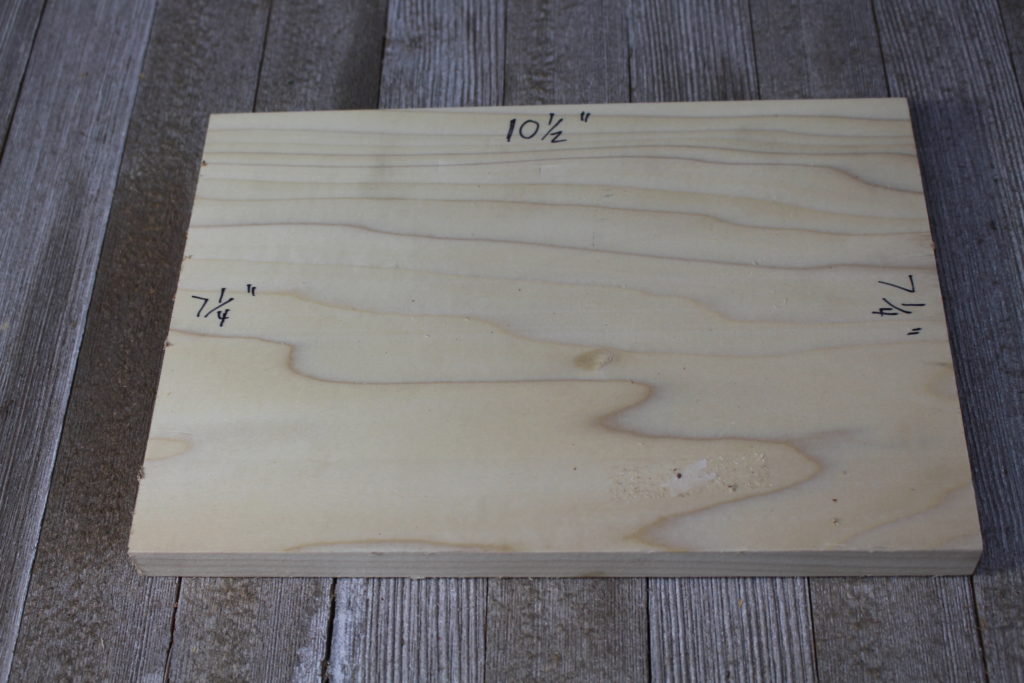
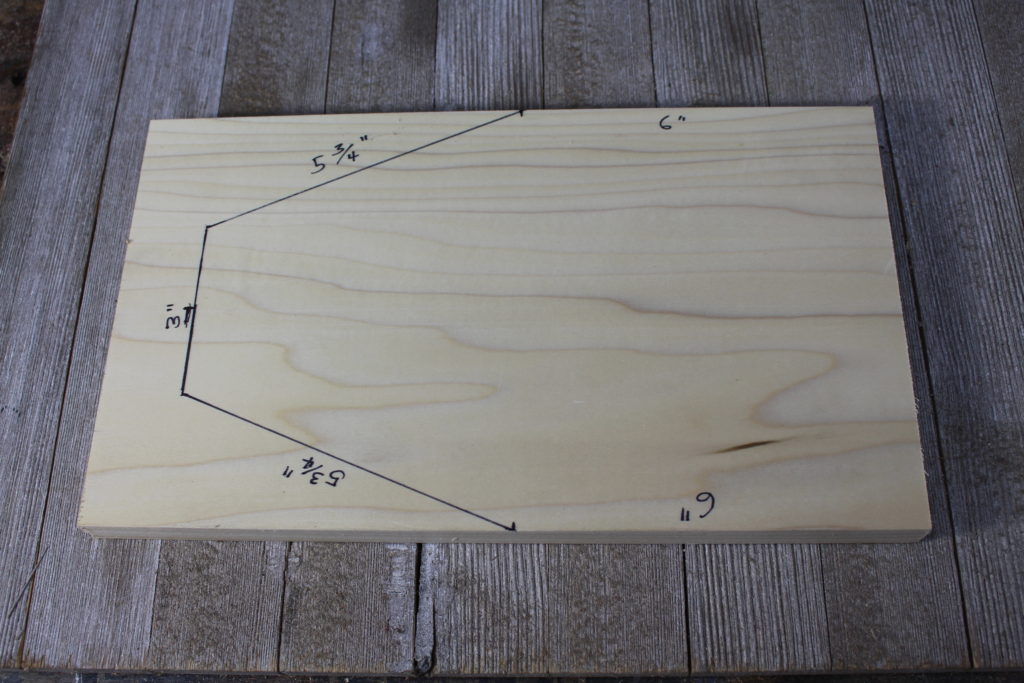
Step 2: Measure boards
Refer to the photos above for measurements and dimensions. Because I’ll be using the metal plates for the sides, I made sure that the wooden parts of the beer caddy matched up with the dimensions of the plates.
Step 3: Cut Out the Boards.
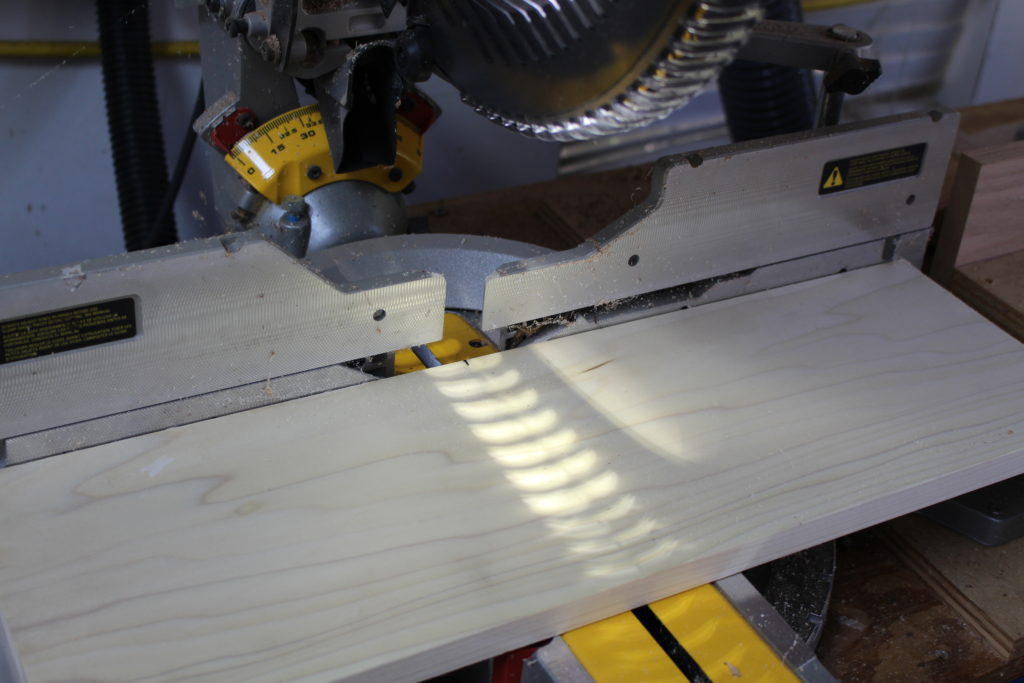
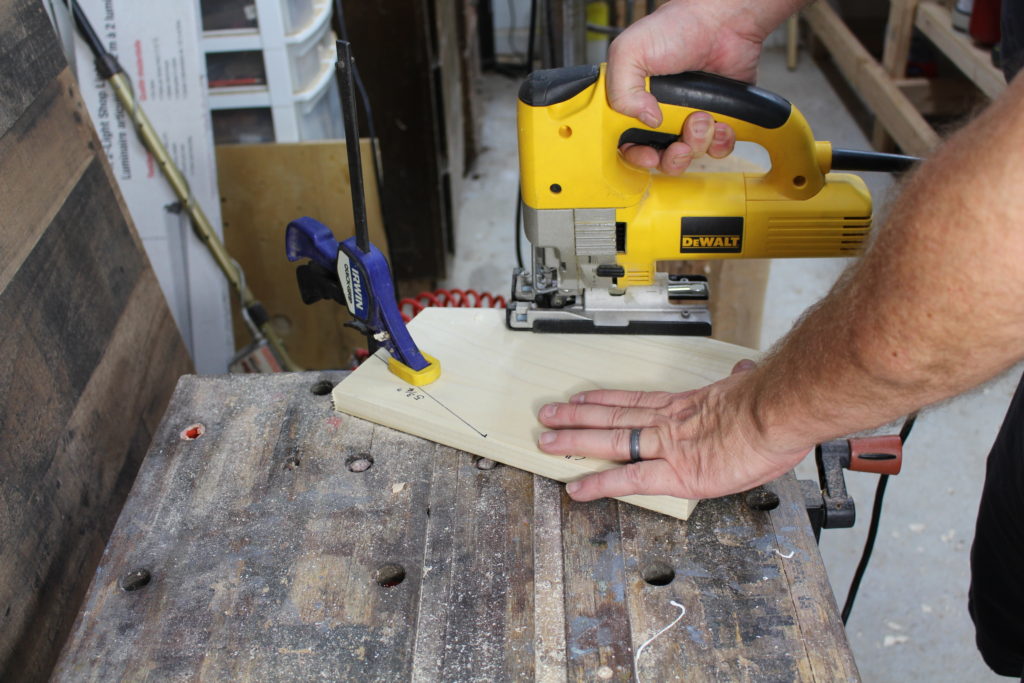
I used my miter saw to cut boards to length and then the jigsaw to cut the angles. Hindsight, I could have used the miter saw to cut the angles also.
Step 4: Drill holes for handle
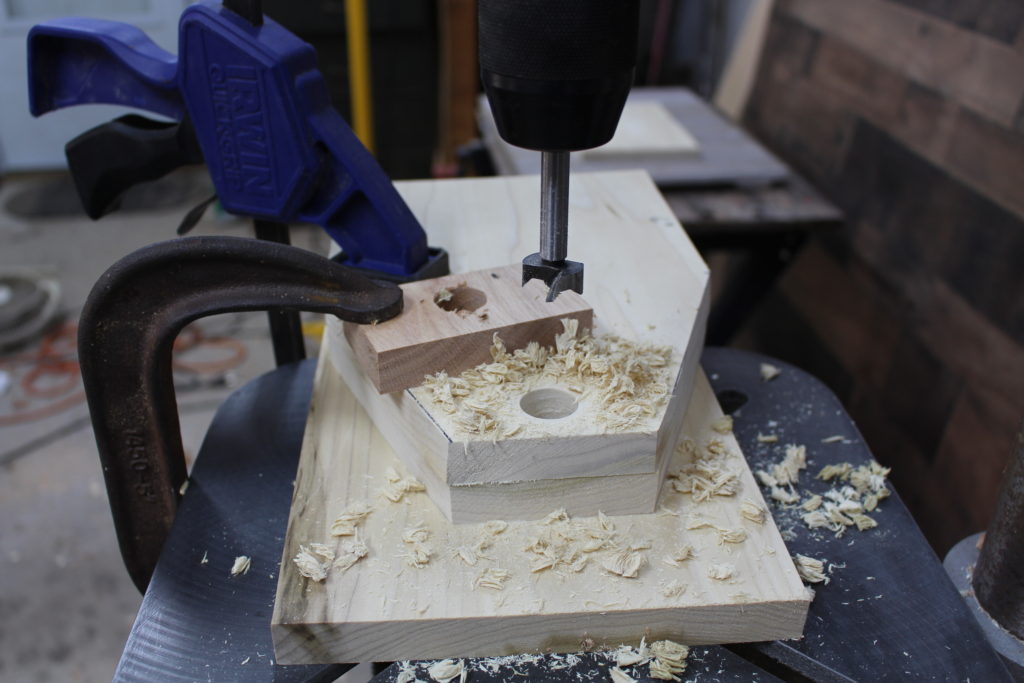
I used a Forstner bit (7/8 inch) to drill the holes for the wooden dowel handle. It works best to line up the two boards and drill the dowel hole through both boards at the same time. Make sure you have a waste board on the bottom. This will help prevent tear out from the bit.
Make sure you hold the boards together and to the drill press table with a c-clamp.
Step 5: Attach bottom board
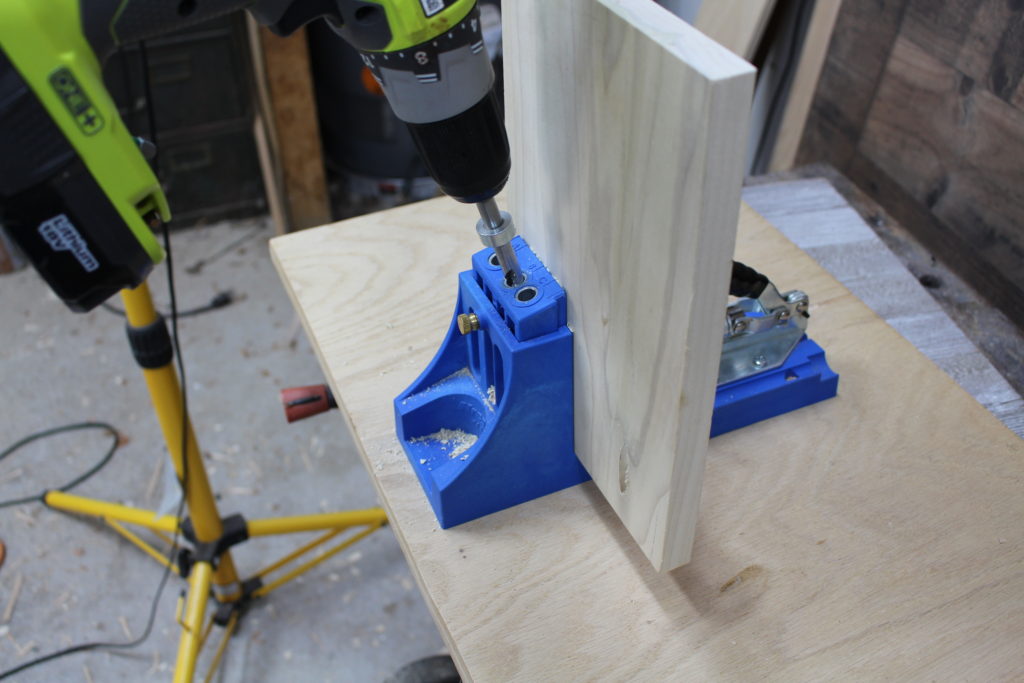
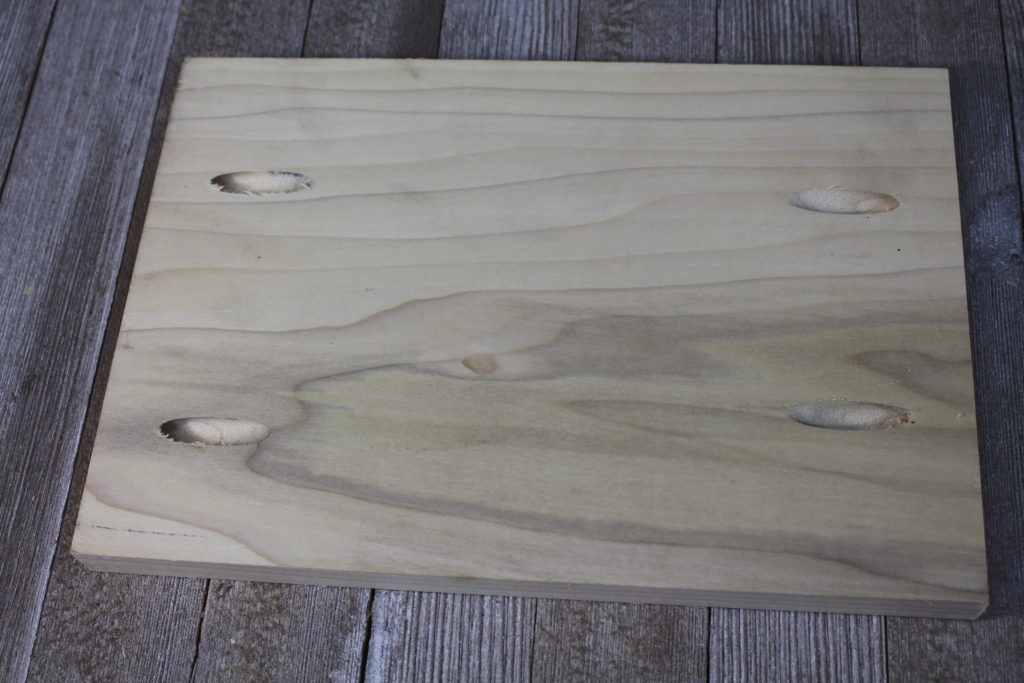
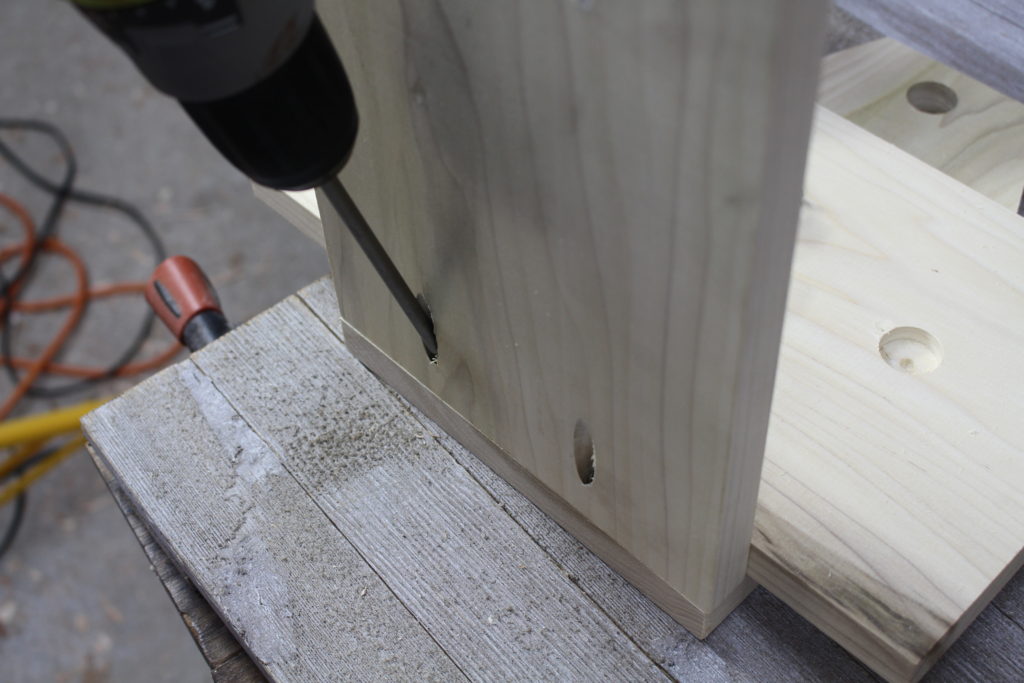
I found it easier to first attach the bottom board to the two outside, end boards. There are many ways to do this. You could use a nail gun, hammer & nails, or butt joints with wood screws. I thought it would be nice to use the Kreg Jig. This way you can’t tell how the boards are joined together, unless you look at the bottom.
The Kreg Jig is super easy to use. The biggest thing you have to do is adjust the collet on the drill bit for the thickness of the wood. The Kreg Jig comes with complete how-to instructions. I’ve used this for several projects now and am very pleased.
Step 6: Fit and cut the dowel handle
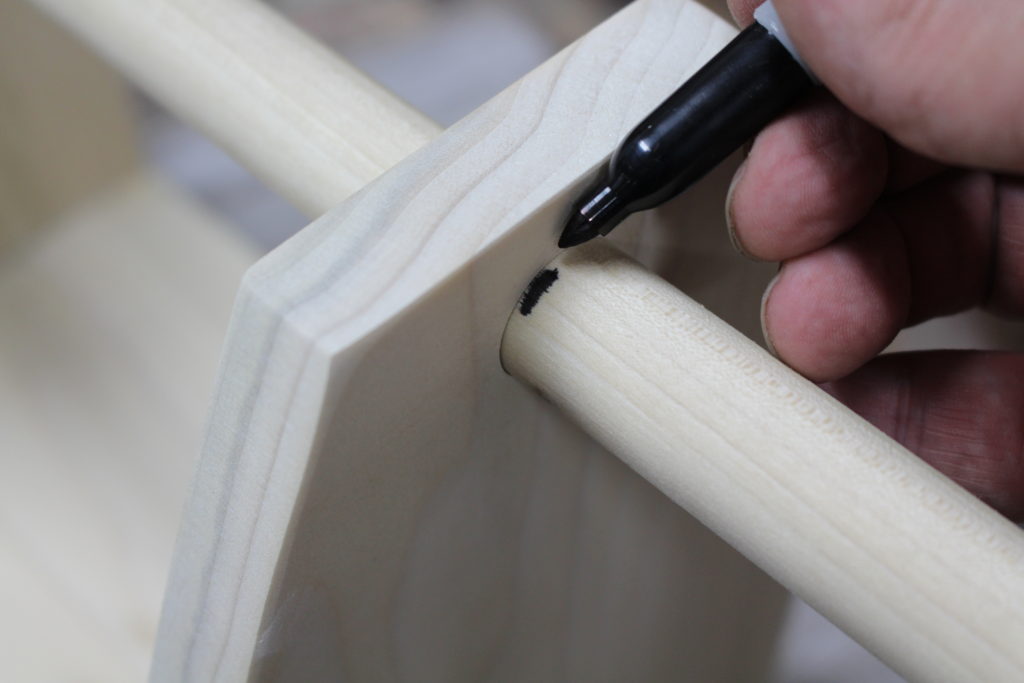
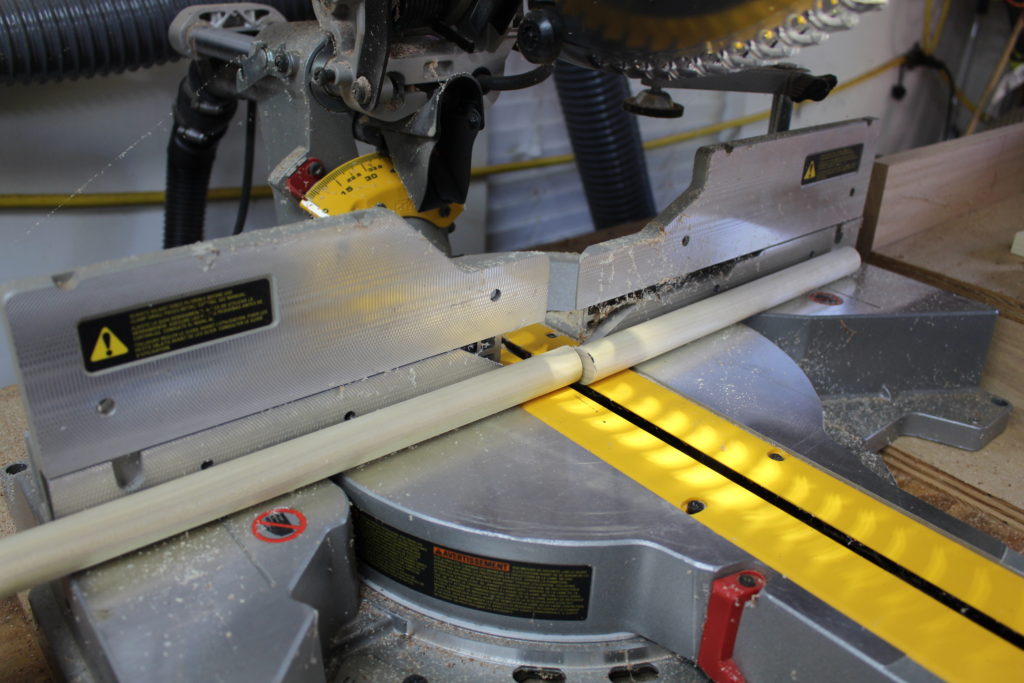
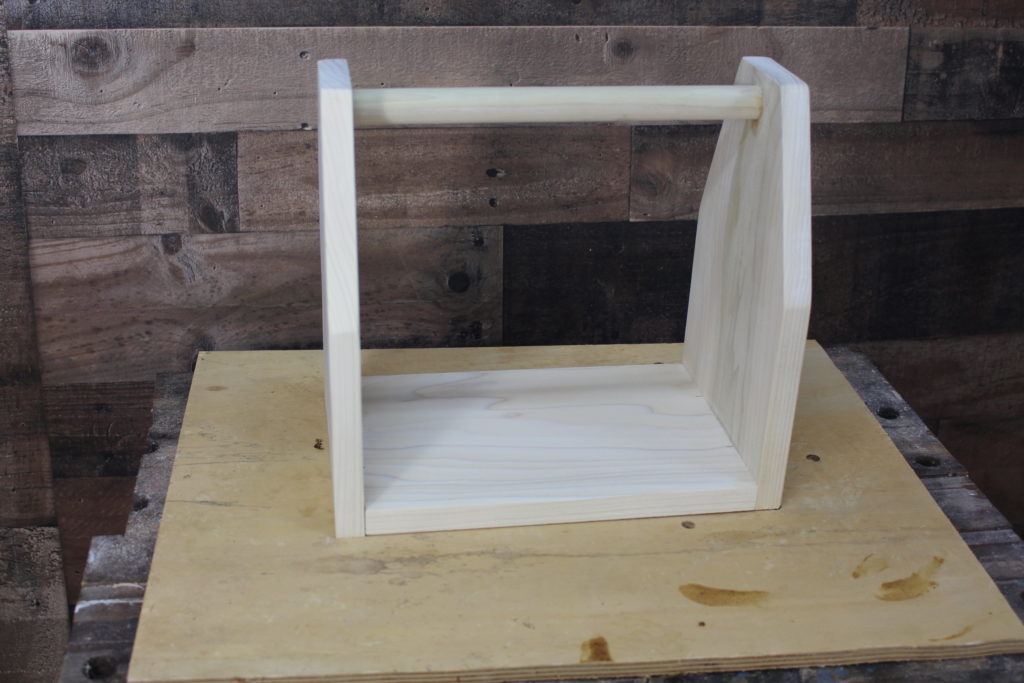
I made sure the 7/8 inch dowel would fit the holes. A little lite sanding helps the fit. Next, I marked the handle length and cut with the miter saw. Then I used a little wood glue and glued the handle in place.
Step 7: Sand the beer caddy
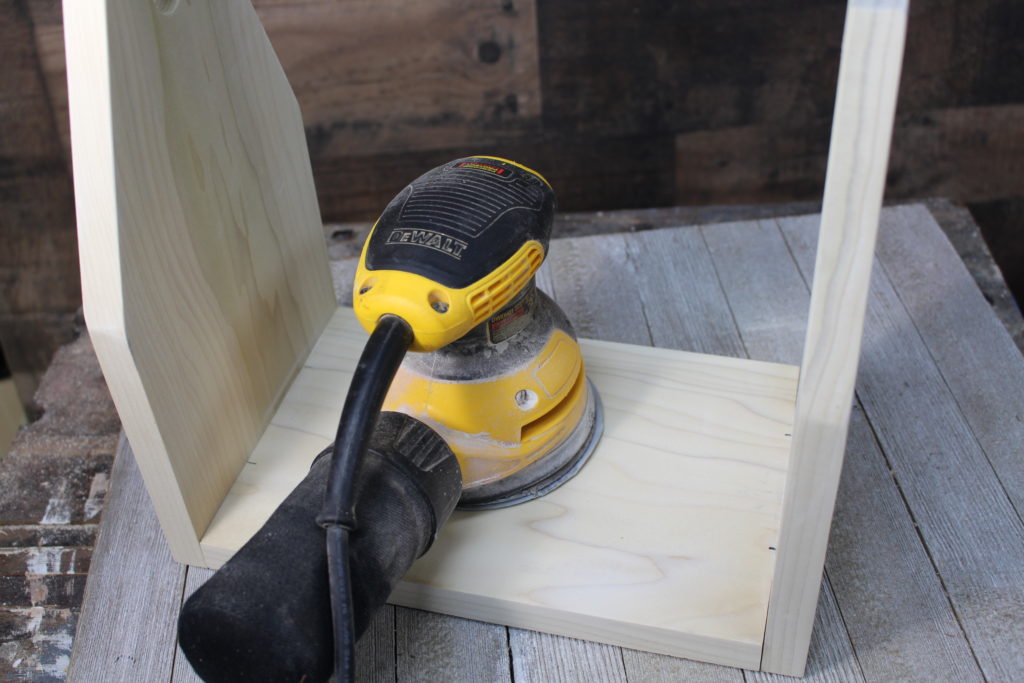
I went over the beer caddy with my orbital sander. I used 220 grit sandpaper and that worked perfectly. I wasn’t really going for the ultra-smooth surface like I do on some of my other projects. The 220 grit sandpaper helped to remove pencil marks and splinters. And it’s now ready for staining.
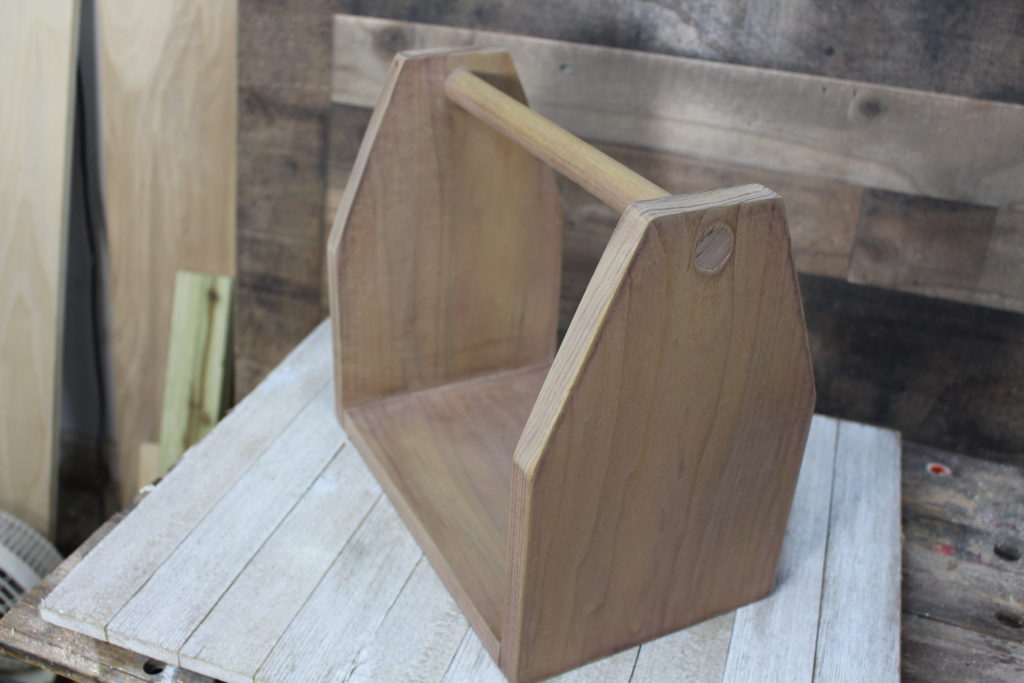
Step 8: Stain the beer caddy
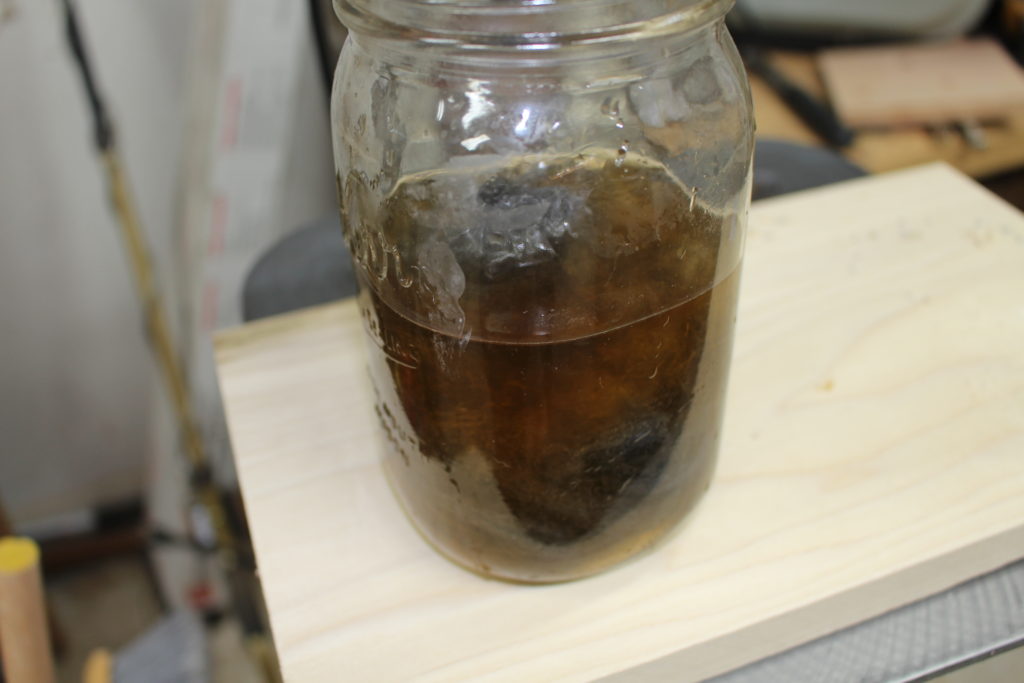
I thought it would be fun to try out a homemade stain. I simply ripped up a piece of 0000 steel wool, placed it in a Mason jar and added about a cup of white vinegar. Then I added about 2 tablespoons of hydrogen peroxide. I gave the mixture about 24 hours to react. It takes about 2 to 3 days for the steel wool to totally dissolve.
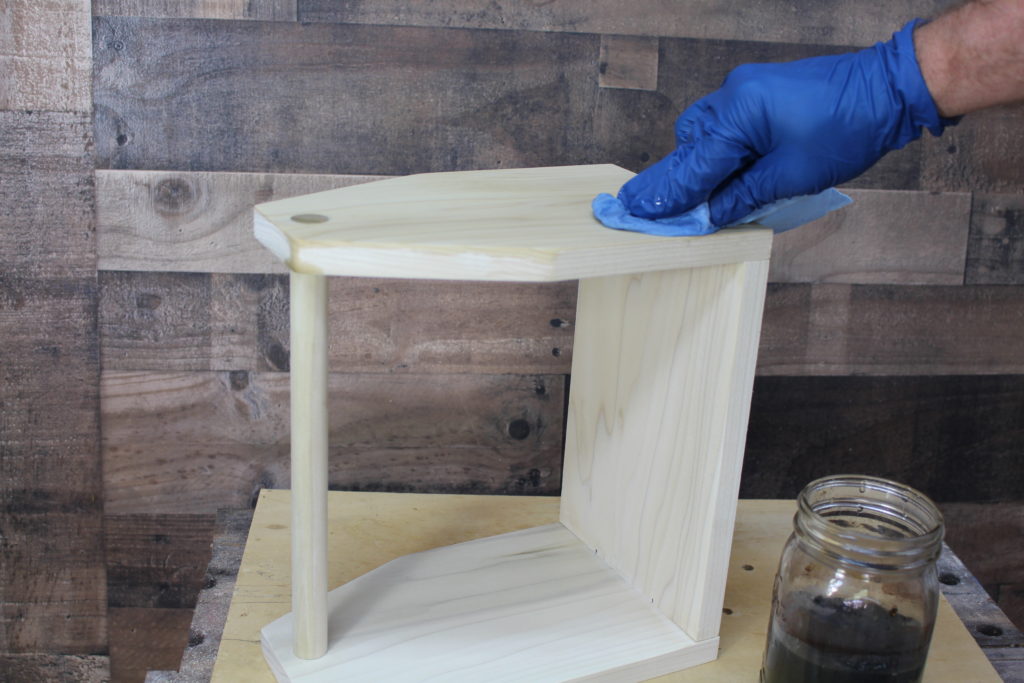
I applied the stain with a paper towel and the poplar reacted quickly with the stain. I gave the stain about 1 hour to react and dry. Then I applied another coat. Applying the second coat did make it a shade darker.
Before you apply the stain, make sure you’ve wiped off the dust left from sanding in the previous step.
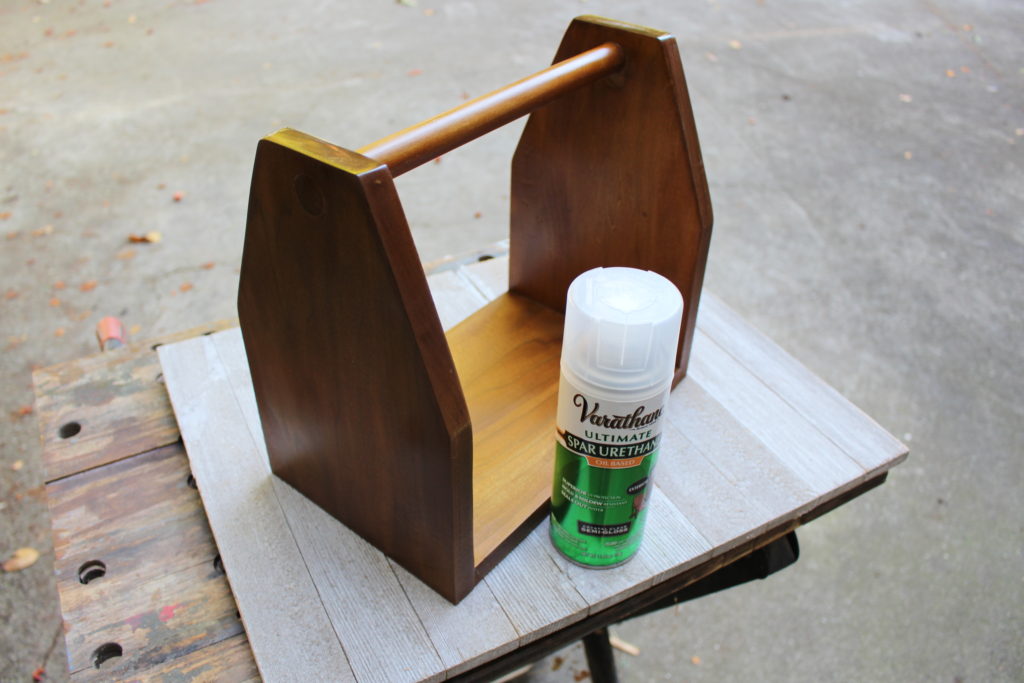
Step 9: Finish wood with Spar Urethane
Since the beer caddy may be outdoors and be exposed to moisture, I added about 3 coats of spar urethane. Just follow the instructions on the can for proper application and dry time. Allow dry time between coats.
Try to keep the can at least 12 inches away and apply nice even and lite coats. This should help prevent the urethane from running.
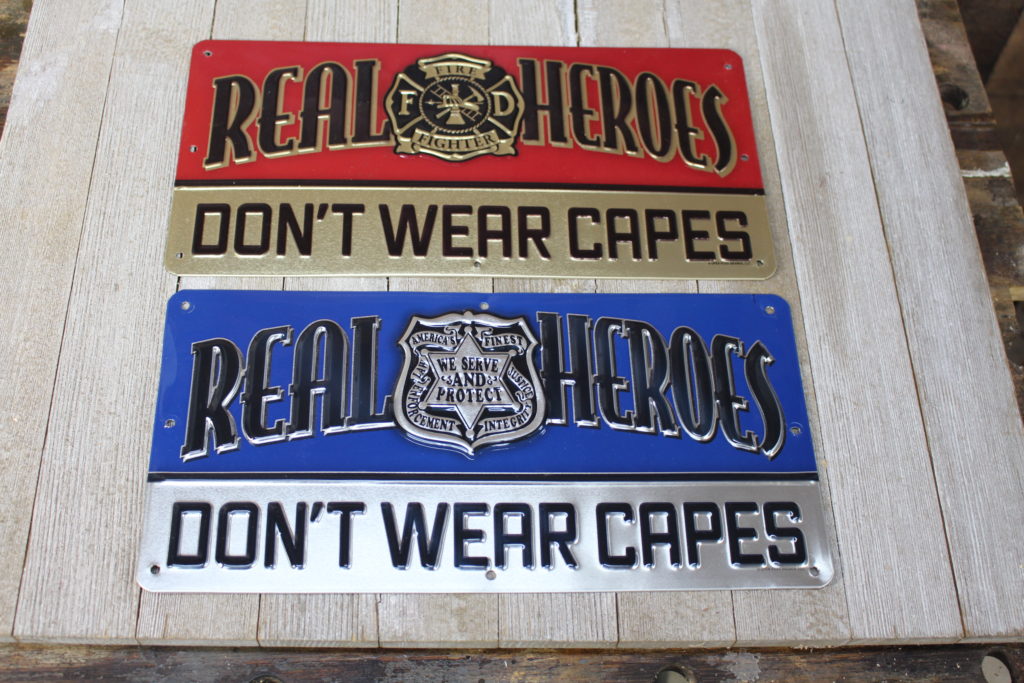
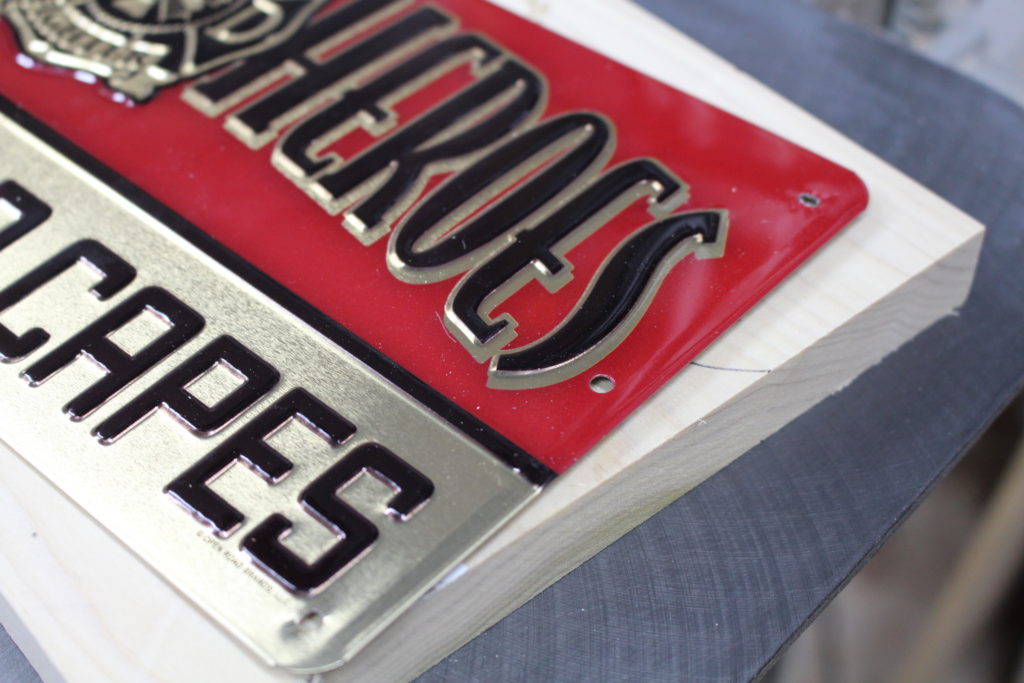
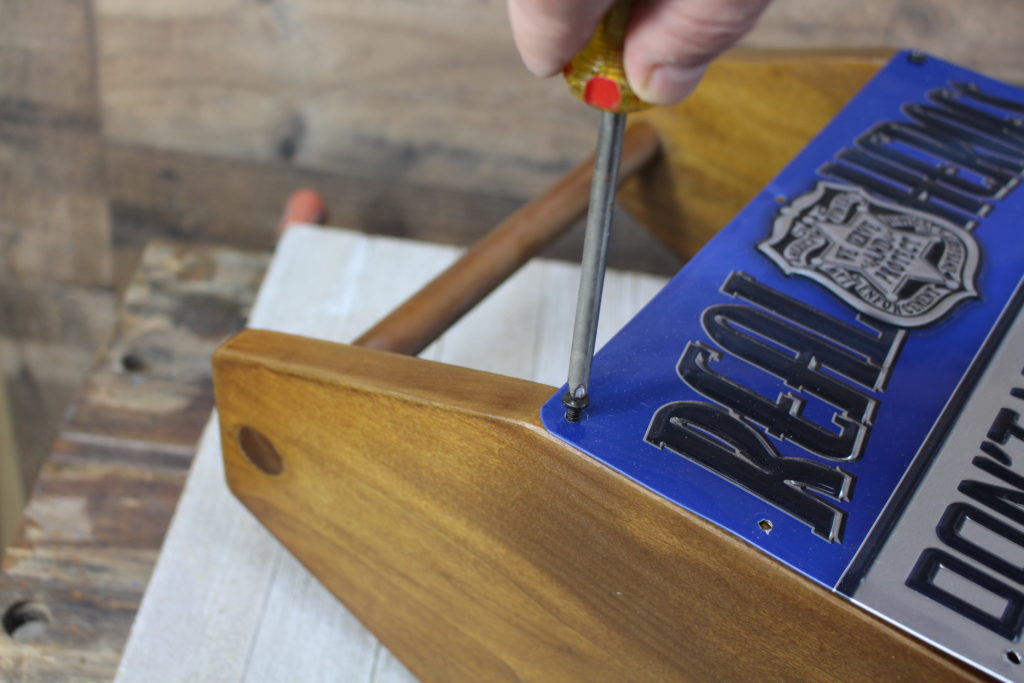
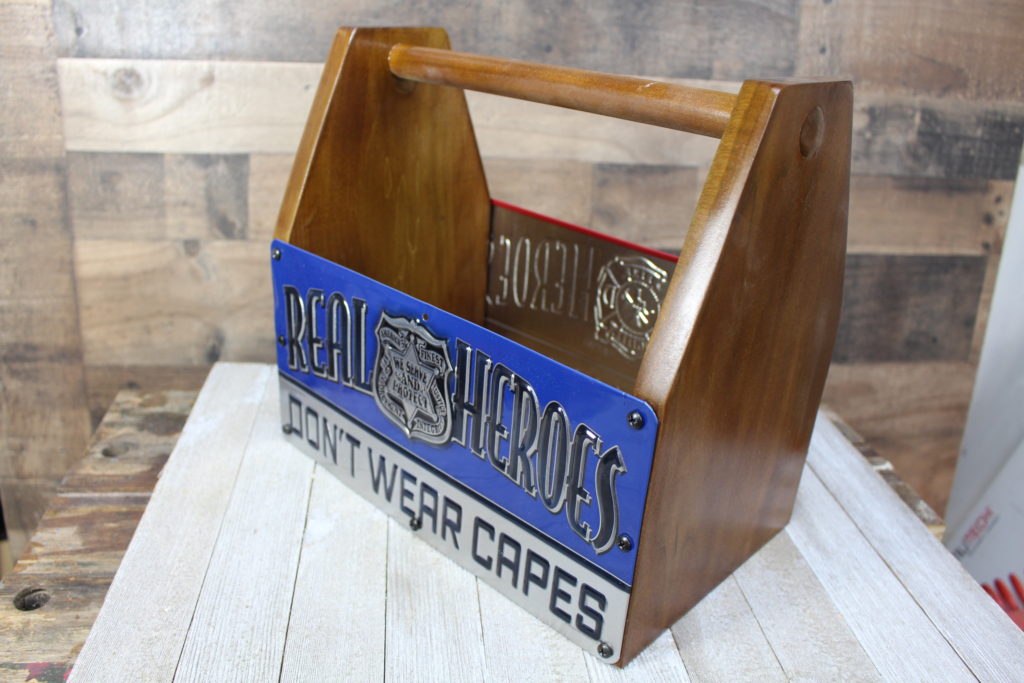
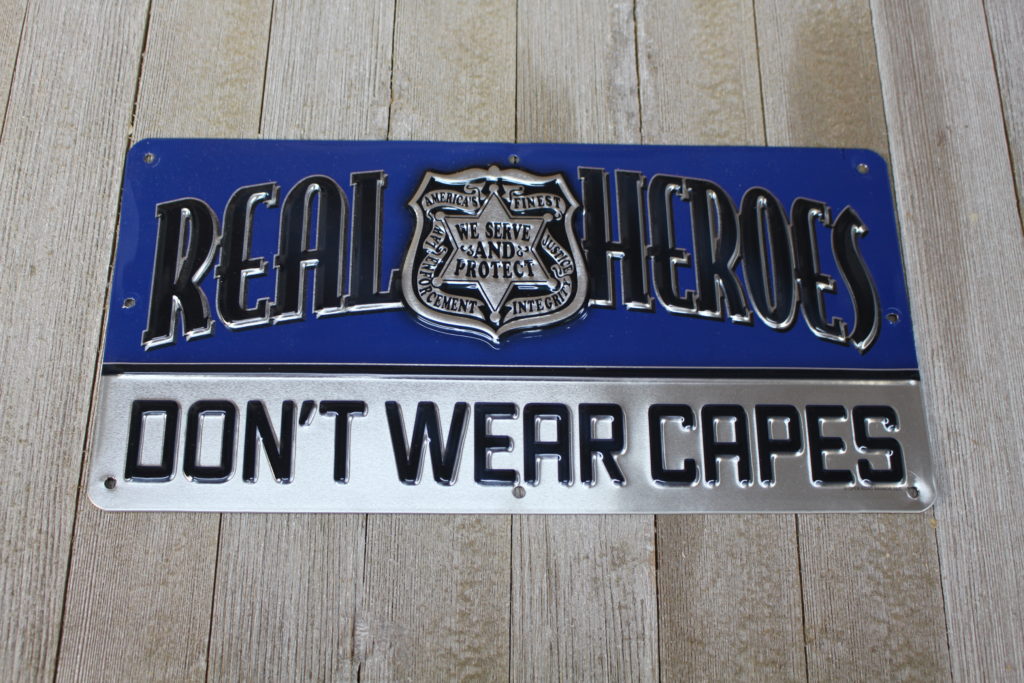
Step 10: Add the two license plates.
I found these cool license plates at Hobby Lobby. Thought it would be a great way to honor the men in blue and red. The blue plate represents the police department and the red, the fire department. You can also order a slightly different version of these license plates from Amazon.
I had to drill some extra holes and then used black wood screws with pan heads to attach the plates to the side of the beer caddy.
The screws are #8 X 5/8. They came about 7 in a pack and I found them at my local home improvement store. You’ll need at least 16 screws. That should cover both plates and the bottle opener, which I’ll talk about later.
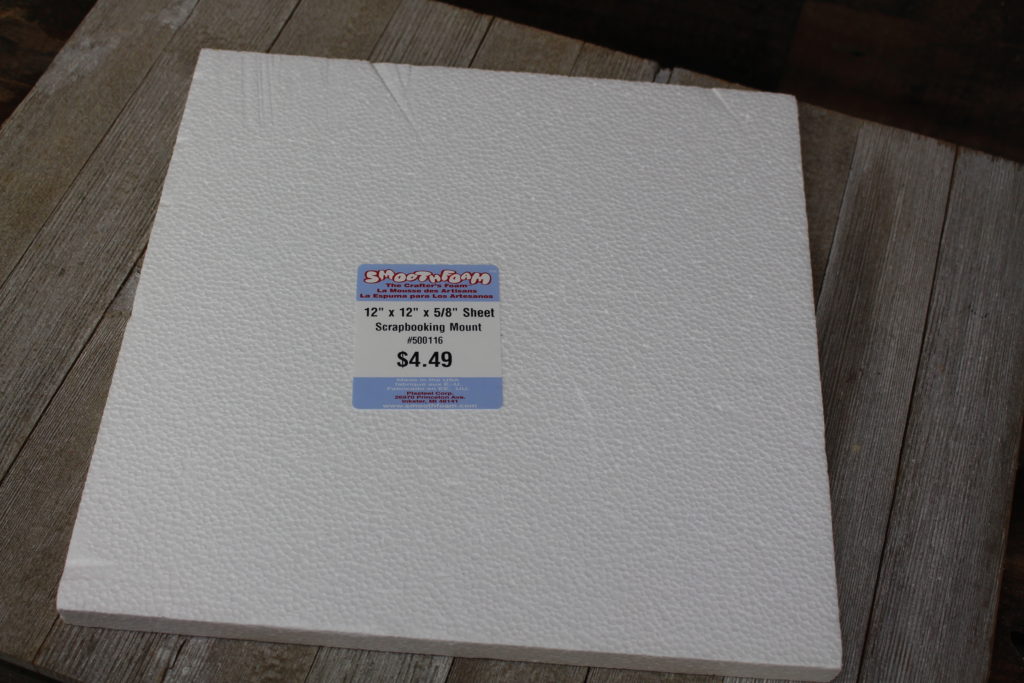
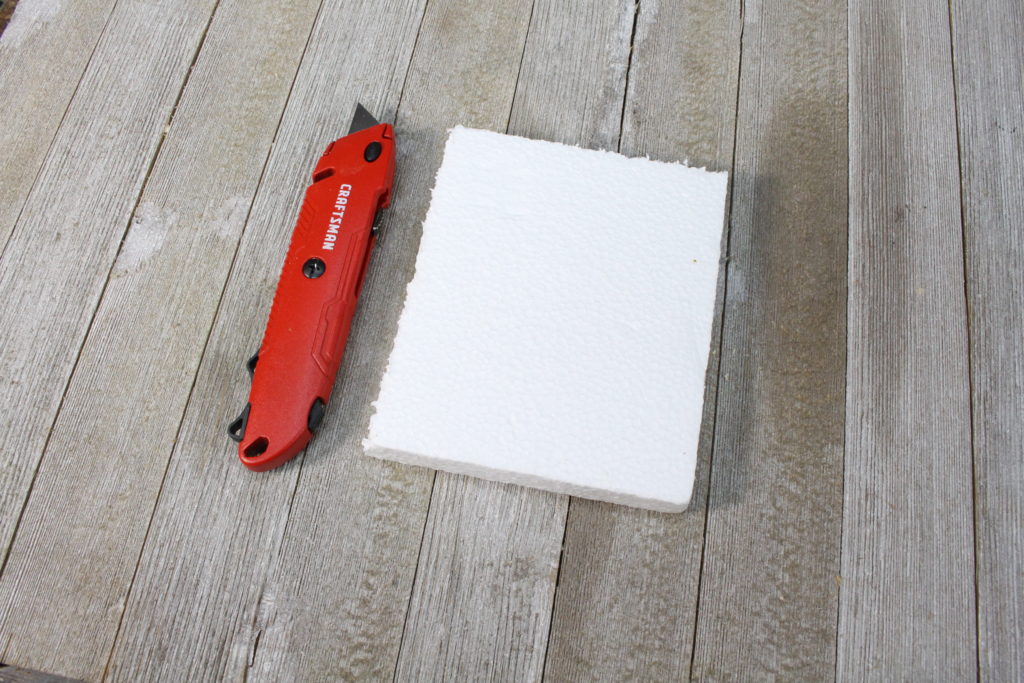
Step 11: Add the styrofoam
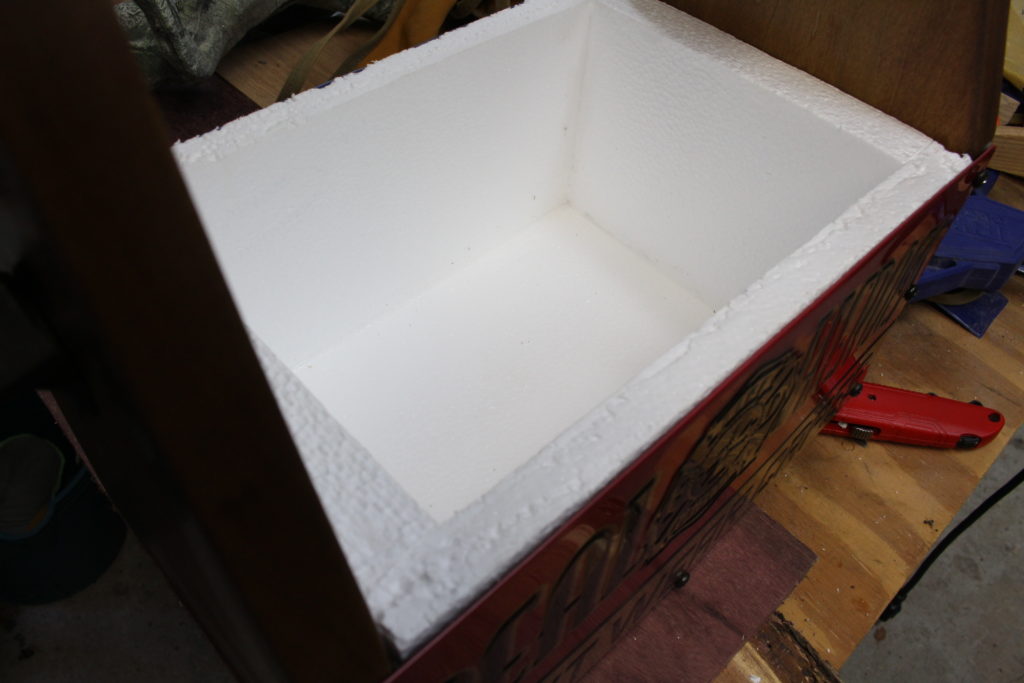
The styrofoam will turn your beer caddy into a mini ice chest.
I found the 5/8 inch thick styrofoam at Hobby Lobby. Just measure and fit and then cut the styrofoam with a utility knife. They also sell 1 inch thick styrofoam sheets and maybe 1/2 inch.
I used Weldbond to glue the styrofoam together. Then I sealed with silicon sealer. The silicon sealer will dry in about 1 hour, but it needs a full 24 hours to cure. In other words, don’t add any ice until after 24 hours.
Step 12: Add the bottle opener
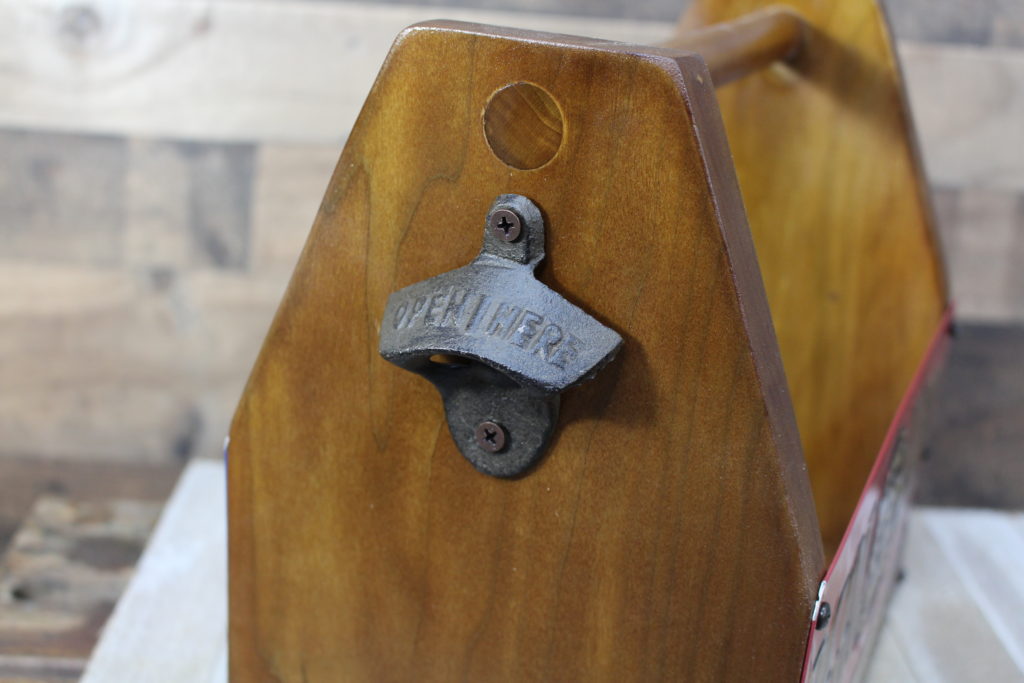
Add the bottle opener attachment. You can order these off Amazon or find them in your local craft stores or department stores.
You can again use the #8 X 5/8 screws. Only takes 2 screws to attach it. Attach this as high as you want it. I placed mine just below the dowel joint since I didn’t want to cover it up.
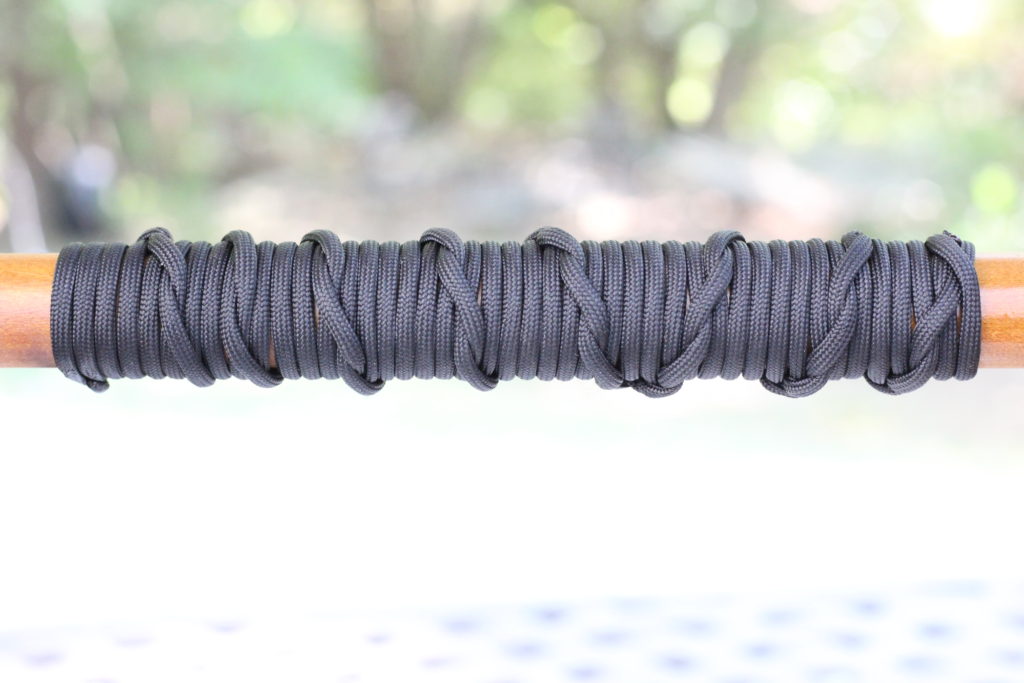
Step 13: Add paracord wrap to handle.
This last step is totally optional. I thought it would just be a cool addition and give the bottle tote a little more contrast. I’ve done this paracord wrap for hiking sticks, and it gives you just a little more traction for the grip. Check out my paracord wrap tutorial if you want to add this to your handle.
I used about 15 feet of paracord. This equated to about a 7″ long wrap.
Finished Beer Caddy
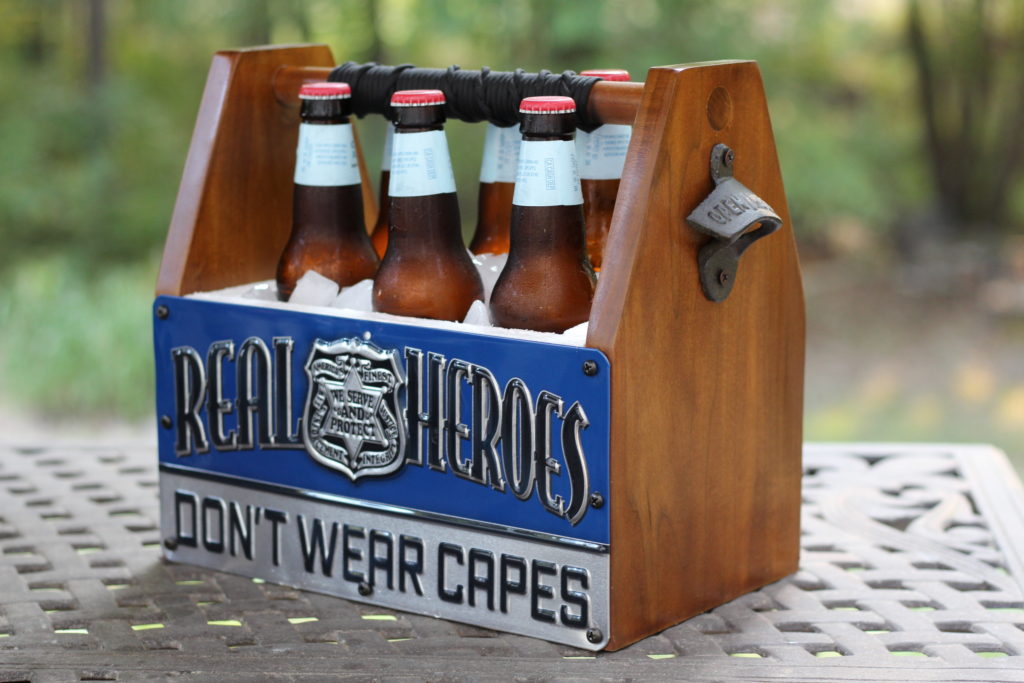
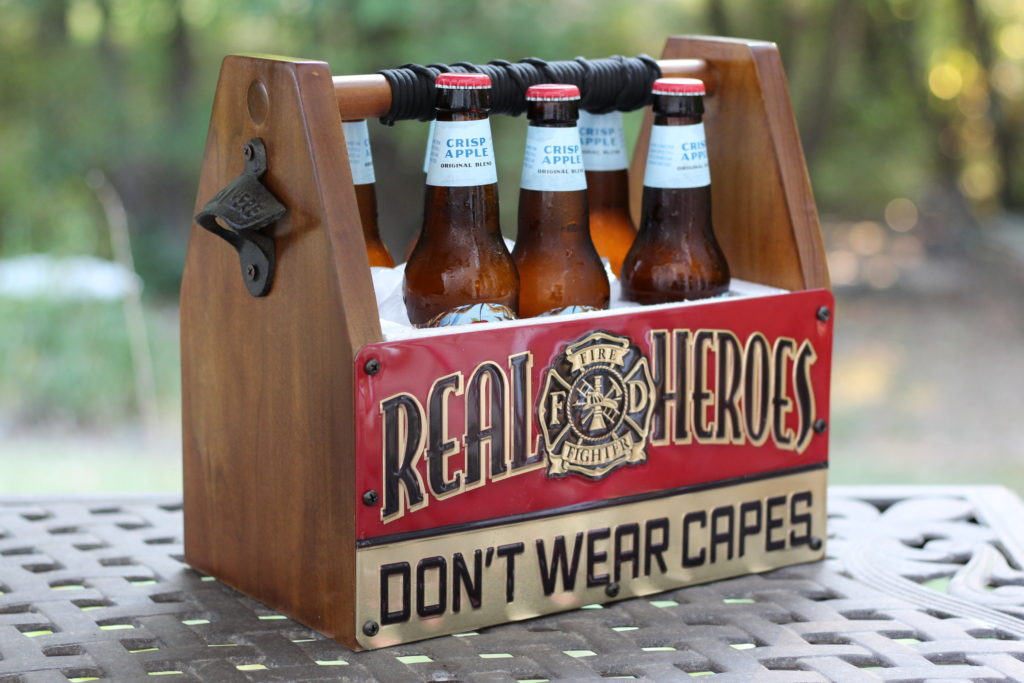
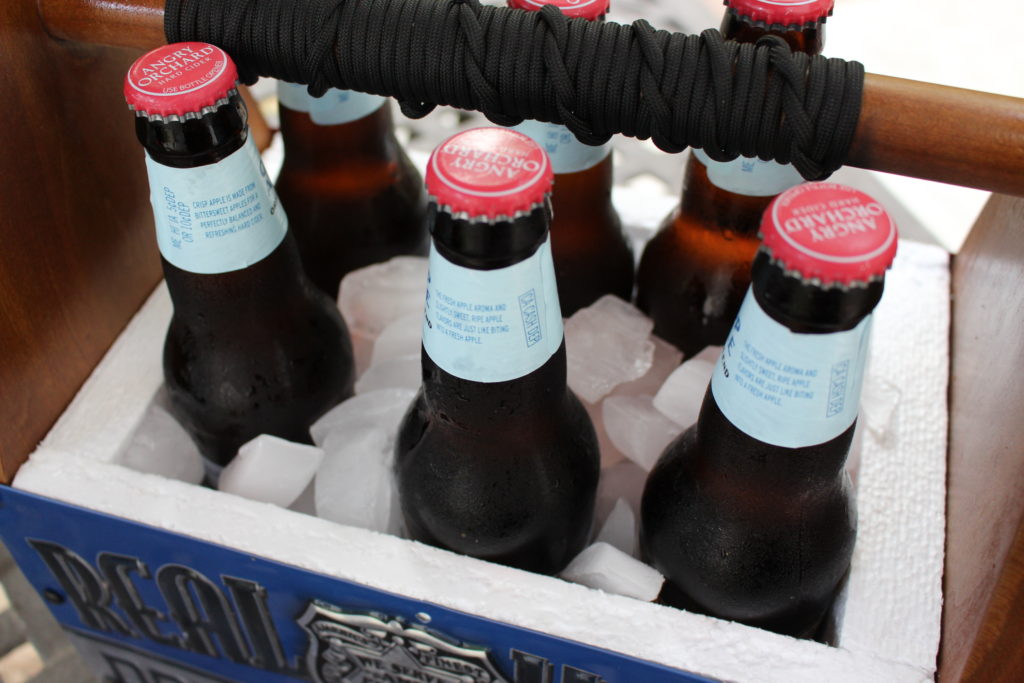
I hope you enjoyed my beer caddy DIY tutorial. Have fun and let me know how your caddy turned out.
If you like this tutorial, be sure to subscribe to my website. I send out a monthly newsletter which lets you know about new tutorials and giveaways. Look for the signup form below or on the side bar. When you subscribe, I’ll also send you my free Home Shop Safety & Tool Checklist.
God Bless!

Are you starting up a new shop? Want to work safer in your shop? To help you answer these questions I've put together a 2-part checklist -- Home Shop Safety & Tool Checklist.
I will also send you updates of my latest woodworking and DIY projects. You can get all this by subscribing to my free email newsletter.



Great project!
Thanks for the comment! Enjoy!