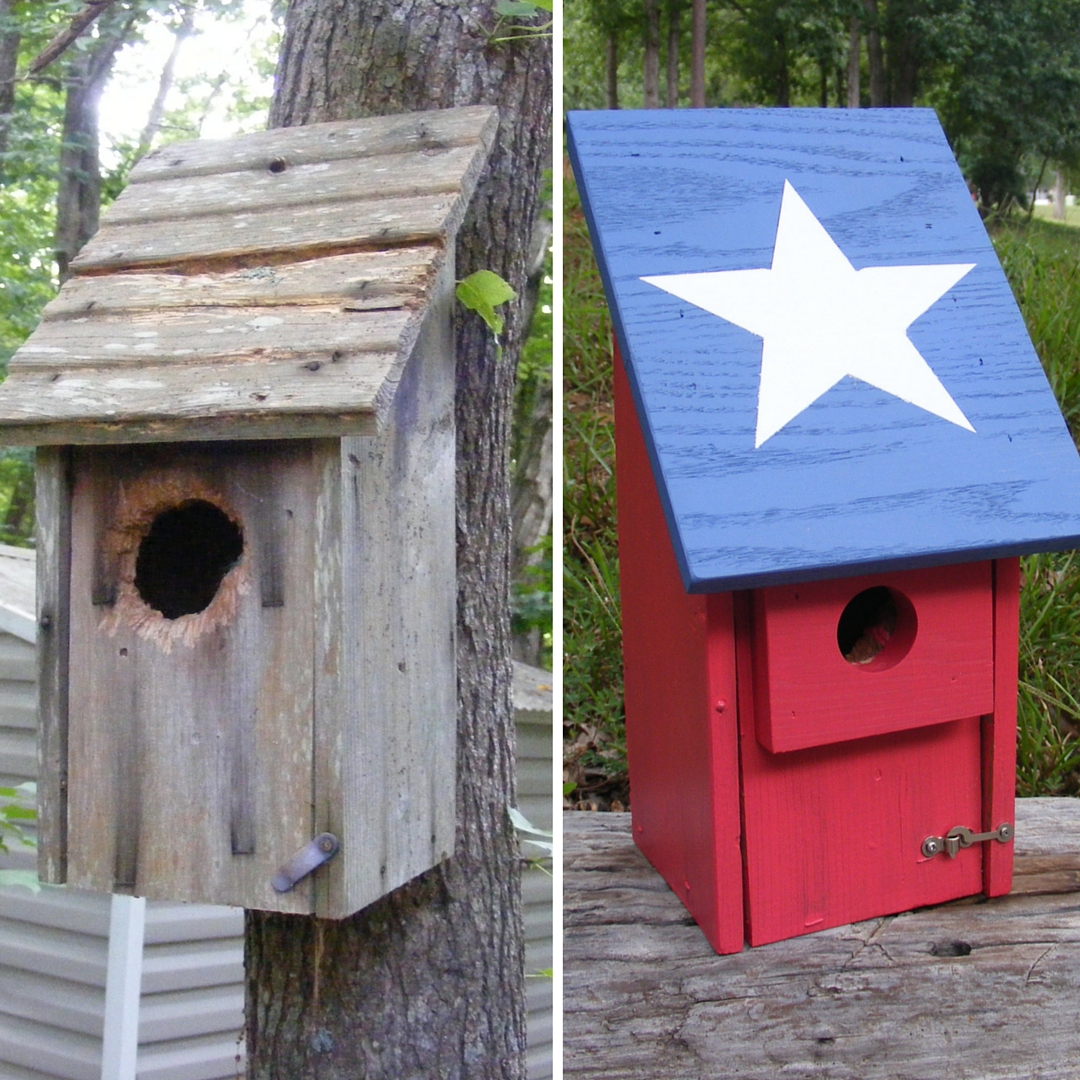
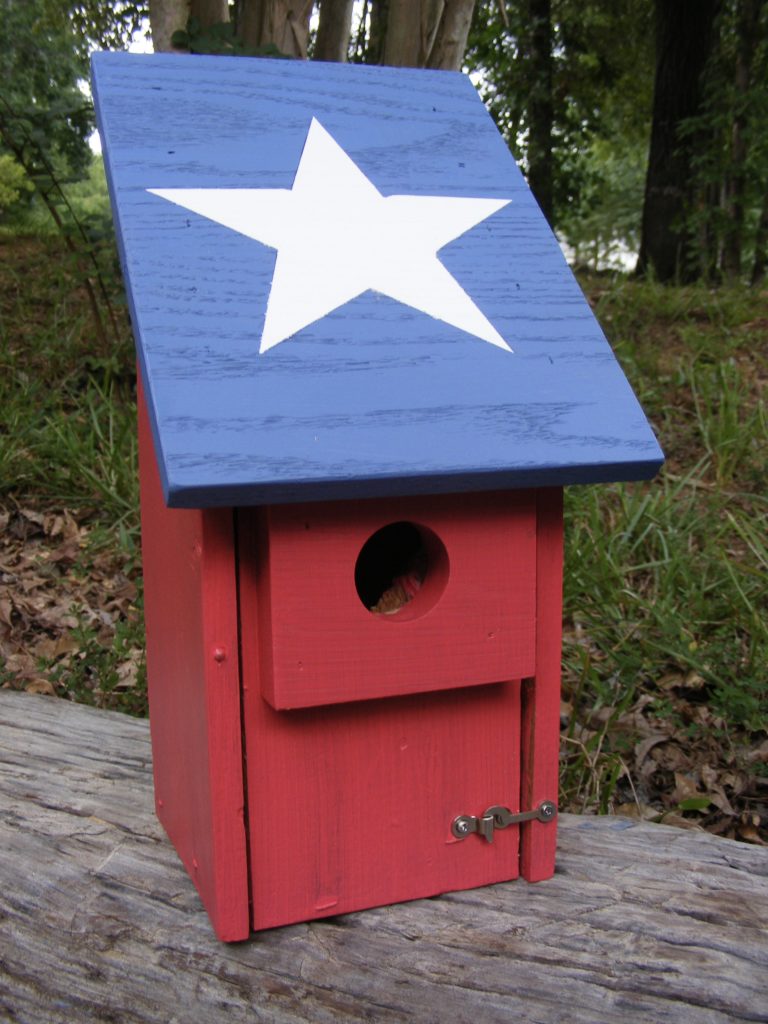
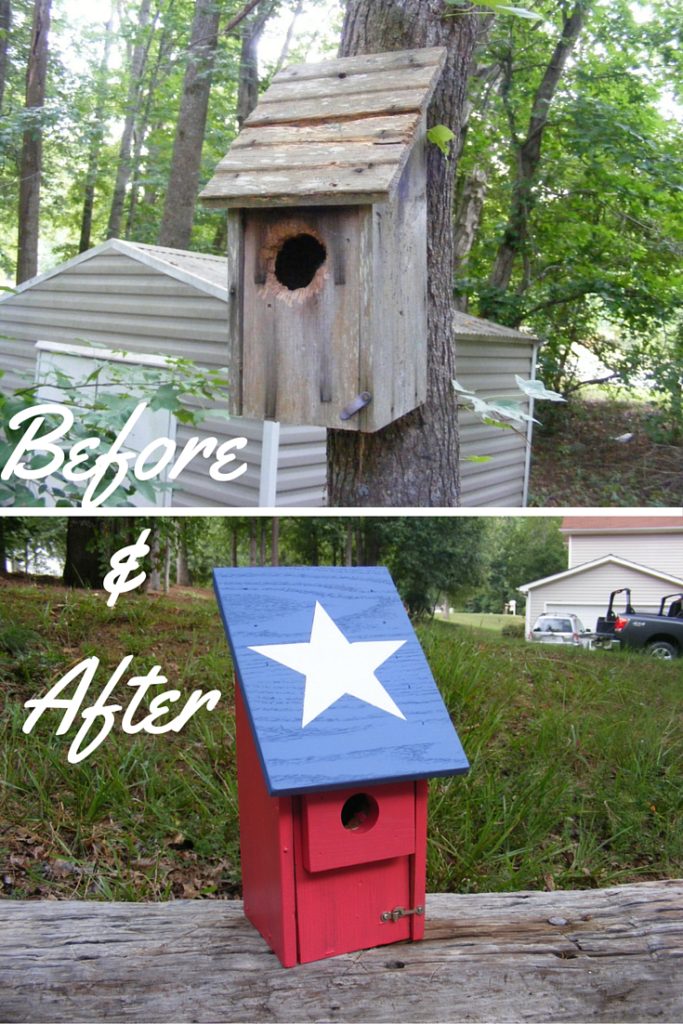
Hopefully you got a copy of my recent Bluebird house tutorial. In that tutorial I used an old dilapidated birdhouse as my model. In this post I will show you how I took that old Bluebird house and performed a total makeover. I hope you enjoy my birdhouse renovation.
Tools and Materials I used for the birdhouse renovation:
DEWALT 12-Inch Double Bevel Sliding Compound Miter Saw
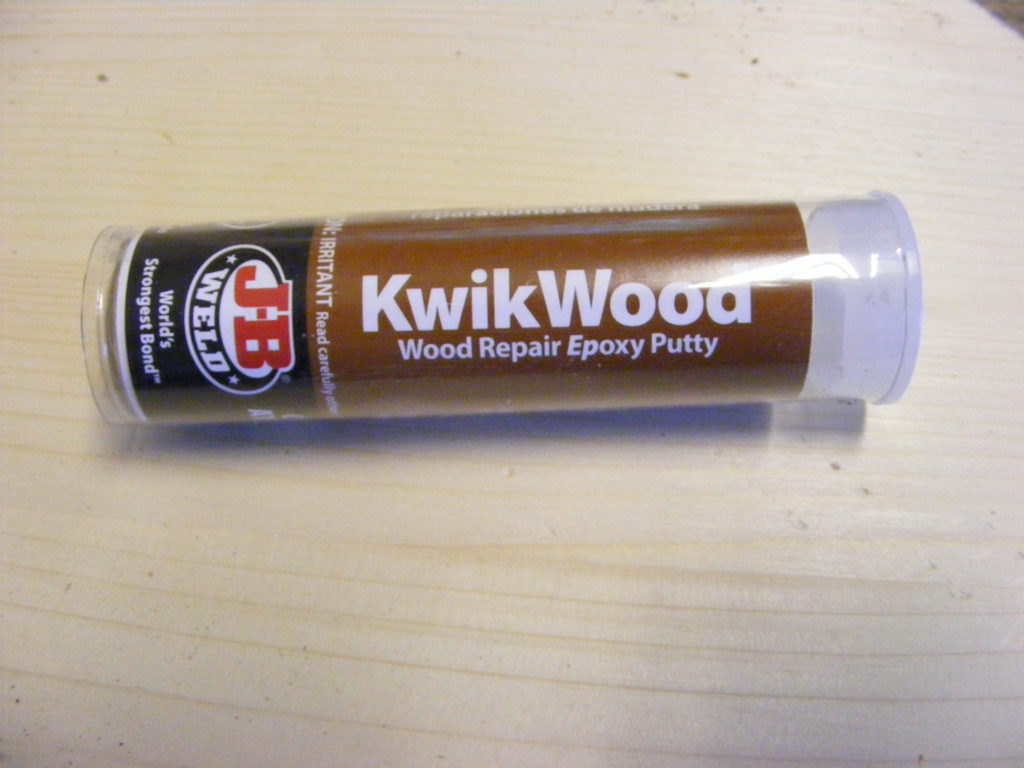
KwikWood Wood Repair Epoxy Putty
Titebond III Wood Glue
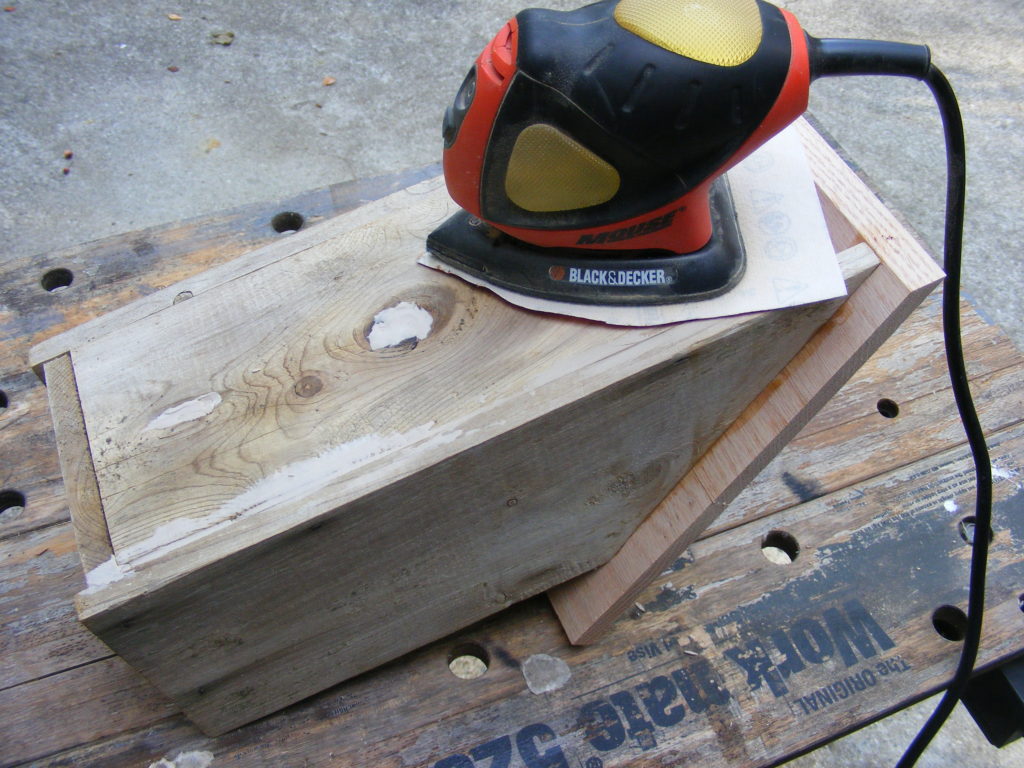
BLACK+DECKER Mouse Detail Sander
Sandpaper 120 grit
Forstner Bit – 1.5 inch
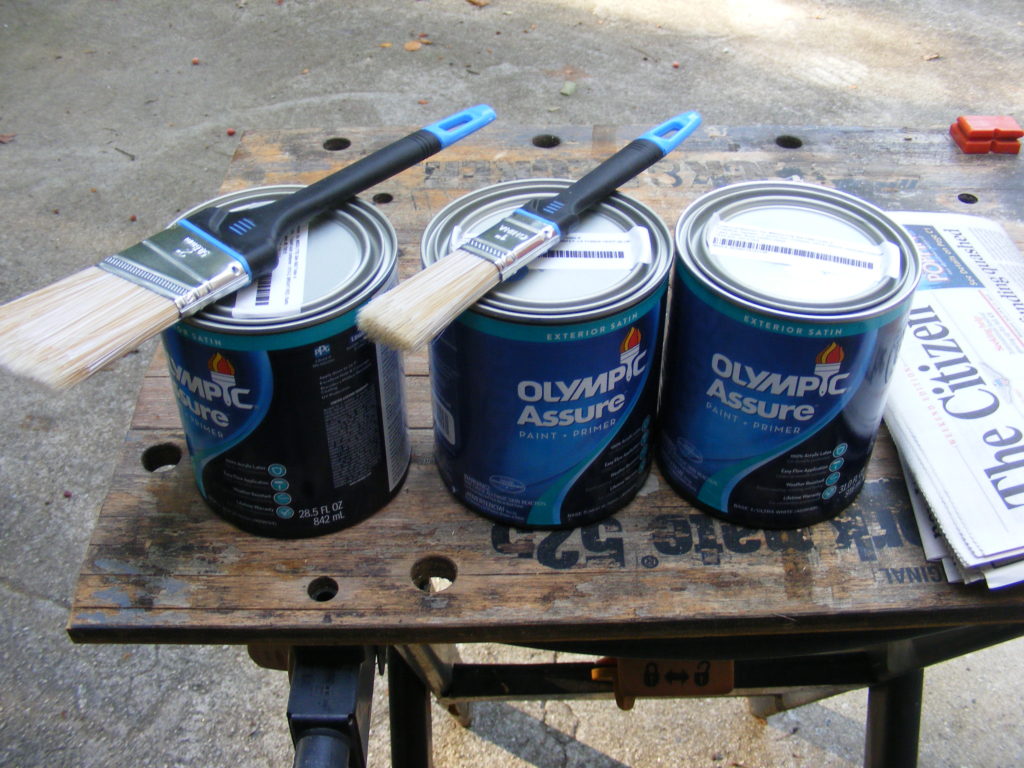
Exterior Acrylic Paint
Books You Might Want to Buy:
Birdhouses You Can Build in a Day
The Complete Book of Birdhouse Construction for Woodworkers
If I had to choose one of the books above, it would probably be the Audubon Birdhouse Book. It has some great plans and projects, but it also covers bird habits and habitat in a very thorough manner. It has over 45 reviews and a 4.5 rating. Please check it out. Building a birdhouse is half the challenge. It’s also fun to learn about the birds themselves.
On to the Tutorial:
In the tutorial below, I’ll show you step-by-step how I transformed an old birdhouse into a beautiful new birdhouse.
Hold on, because here we go:
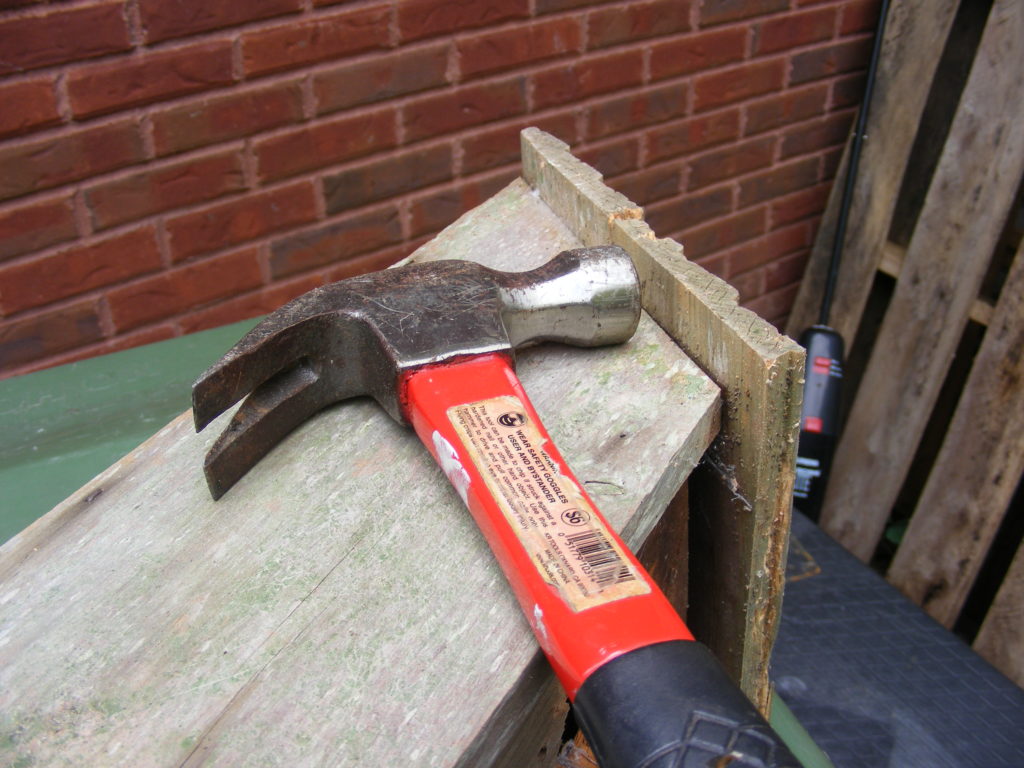
Step 1 – Using a hammer, I removed the old roof, so I could add a new one.
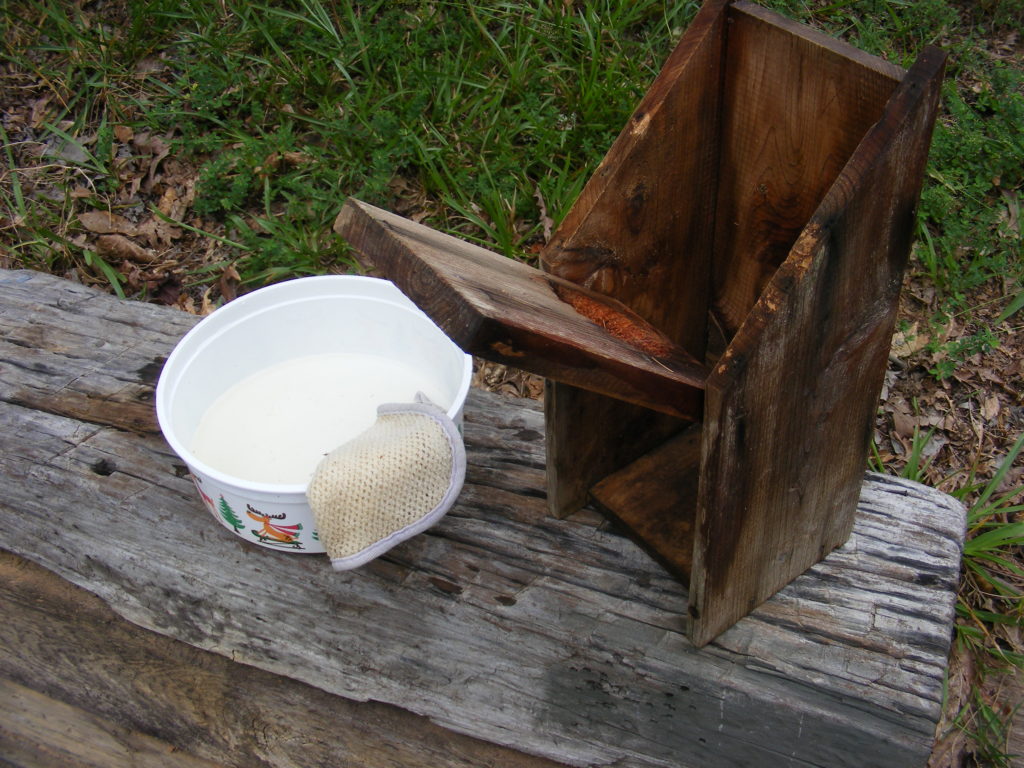
Step 2 – I took a clorox and water mix and completely cleaned the inside and outside of the old birdhouse. Then I set it in the sun and allowed it to completely dry.
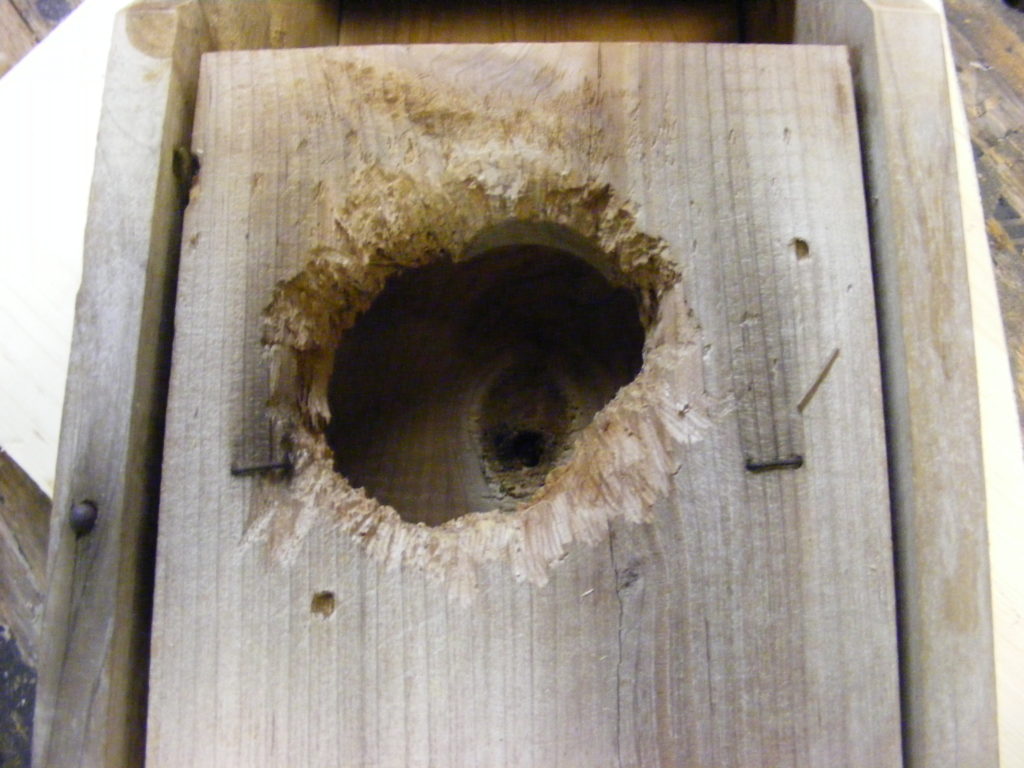
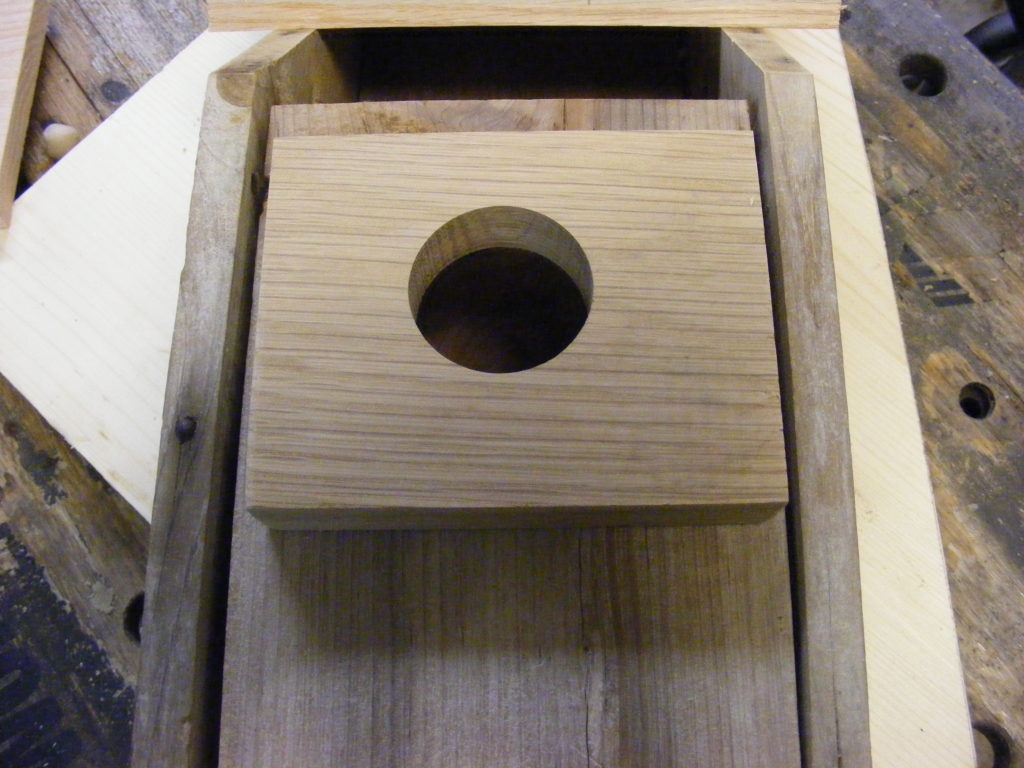
Step 3 – Used my chop saw to cut out a small piece of oak. I used a Forstner bit and drilled a 1.5 inch hole in the oak board. I glued and nailed (using nail gun) the oak with the new entrance hole over the squirrel-gnawed entrance.
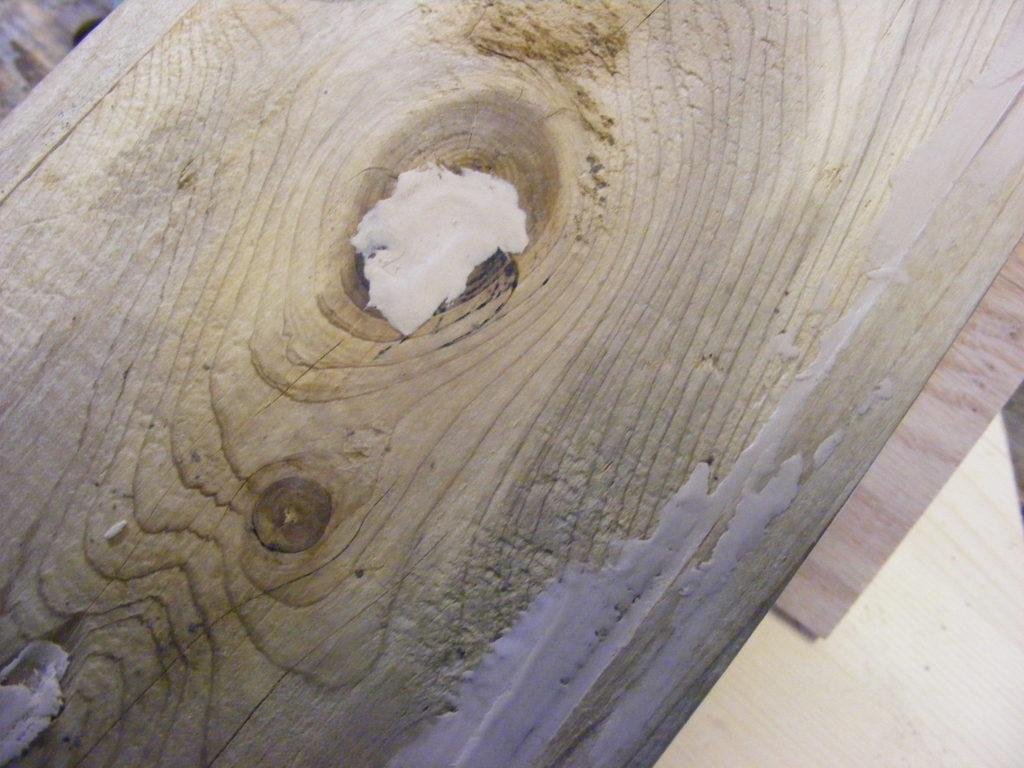
Step 4 – Plugged up big holes, cracks and gaps with a product called KwikWood. I allowed about 1 hour for curing and then was able to sand.
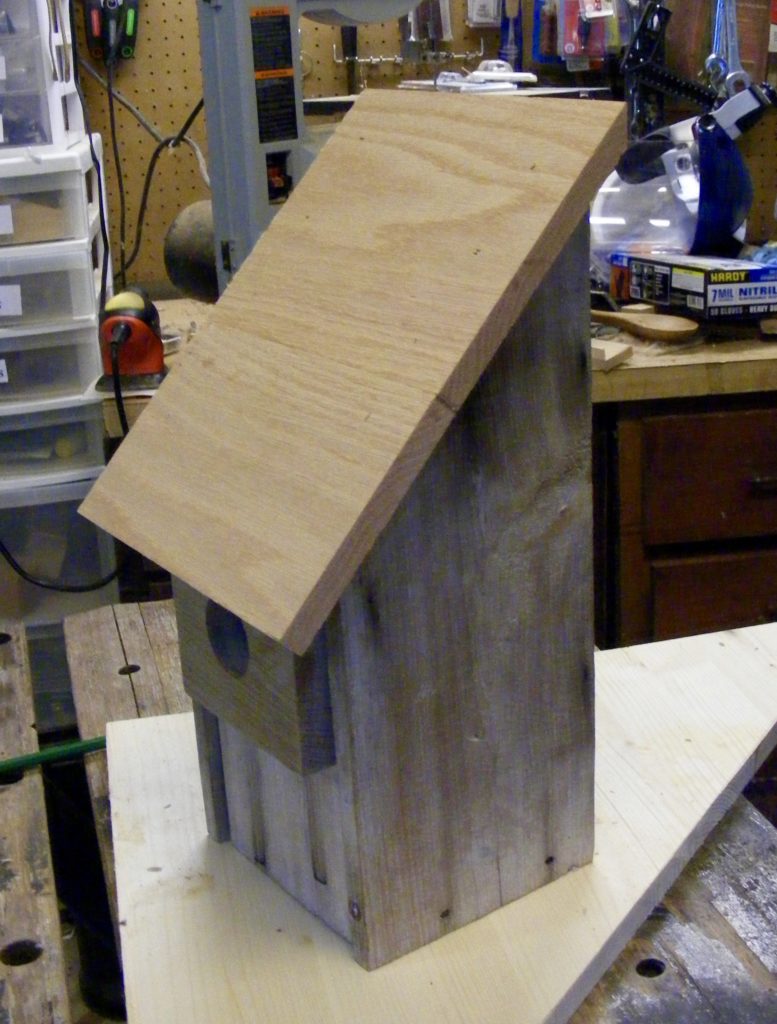
Step 5 – I added a new roof. I used a 1/2 inch oak board and cut the new roof out to match dimensions of the old roof. I used my Ryobi electric nail gun to attach the roof. I also used Titebond wood glue.
Step 6 – Sanded the old birdhouse, using my Black & Decker mouse detail sander. Not a lot of sanding was necessary. I went over the whole house with 120 grit sandpaper.
Step 7 – Painted the house, using exterior latex paint. I did not paint the inside, just the outside. Applied 3 coats and also decorated with a star for the patriotic theme colors.
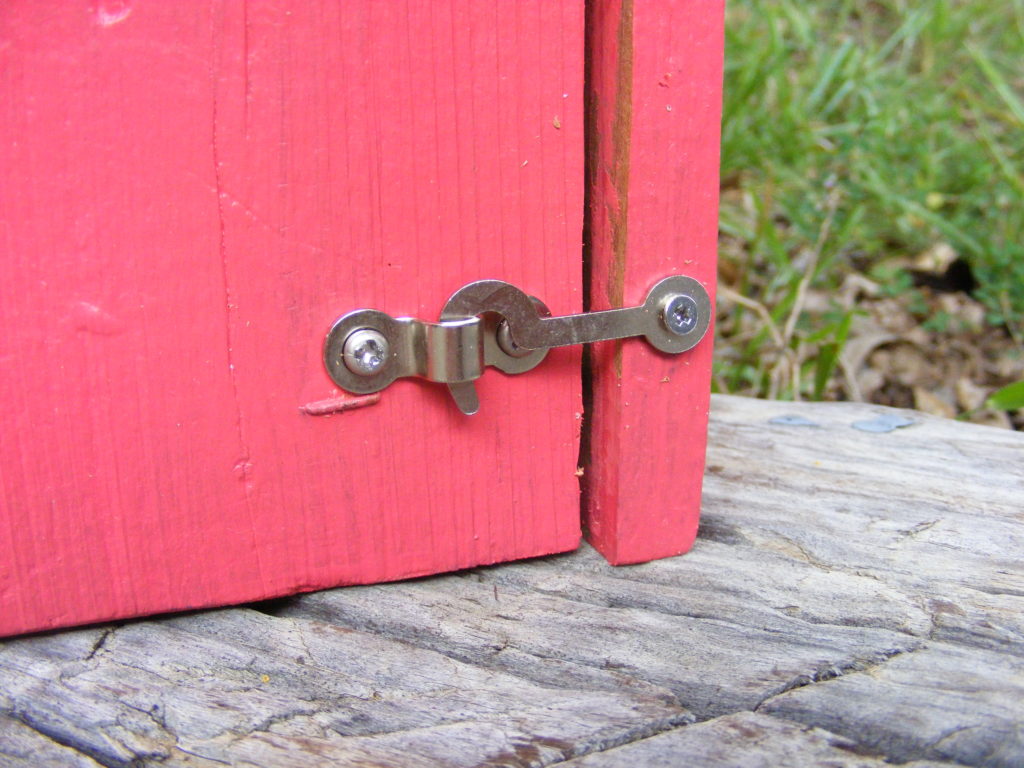
Step 8 – Added a new door latch. The door pivots so the inside can be periodically cleaned out. I found this little latch at Home Depot.
Thanks for checking out my birdhouse renovation. I know it’s not as exciting as Property Brothers, but it will make a difference in a bird’s life. And I had tons of fun making it. I know you will have fun making your own birdhouse also.
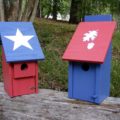
Below are a few of the birdhouse tutorials I have on this website. Please check them out and make a bird happy!
How to Make a Hard Hat Birdhouse

Are you starting up a new shop? Want to work safer in your shop? To help you answer these questions I've put together a 2-part checklist -- Home Shop Safety & Tool Checklist.
I will also send you updates of my latest woodworking and DIY projects. You can get all this by subscribing to my free email newsletter.
