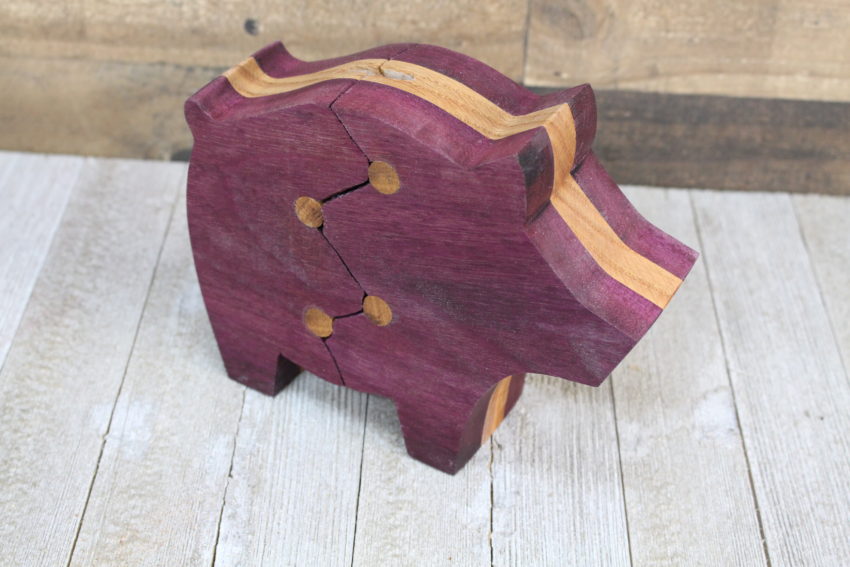
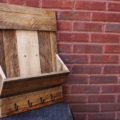
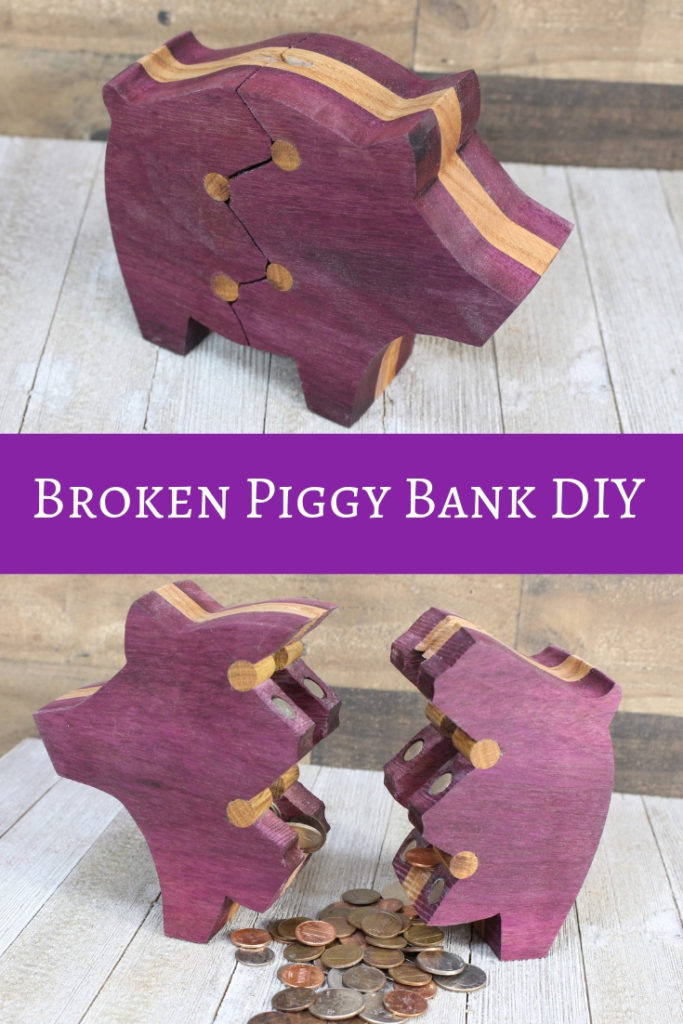
Thanks for stopping by and checking out my broken piggy bank DIY. Learn how to make a wooden piggy bank but with a twist. No, a crack. This was a fun project, and I hope it will make a great family heirloom.
Believe it or not, I got the inspiration for this project while watching one of my favorite shows — The Andy Griffith Show. It was the episode where Opie broke his ceramic piggy bank. So I thought — what if that piggy bank was made out of wood.
It wasn’t difficult to make. The most challenging part was getting everything sanded like I wanted it.
If you want to see the how the broken piggy bank works, check out the short overview video below.
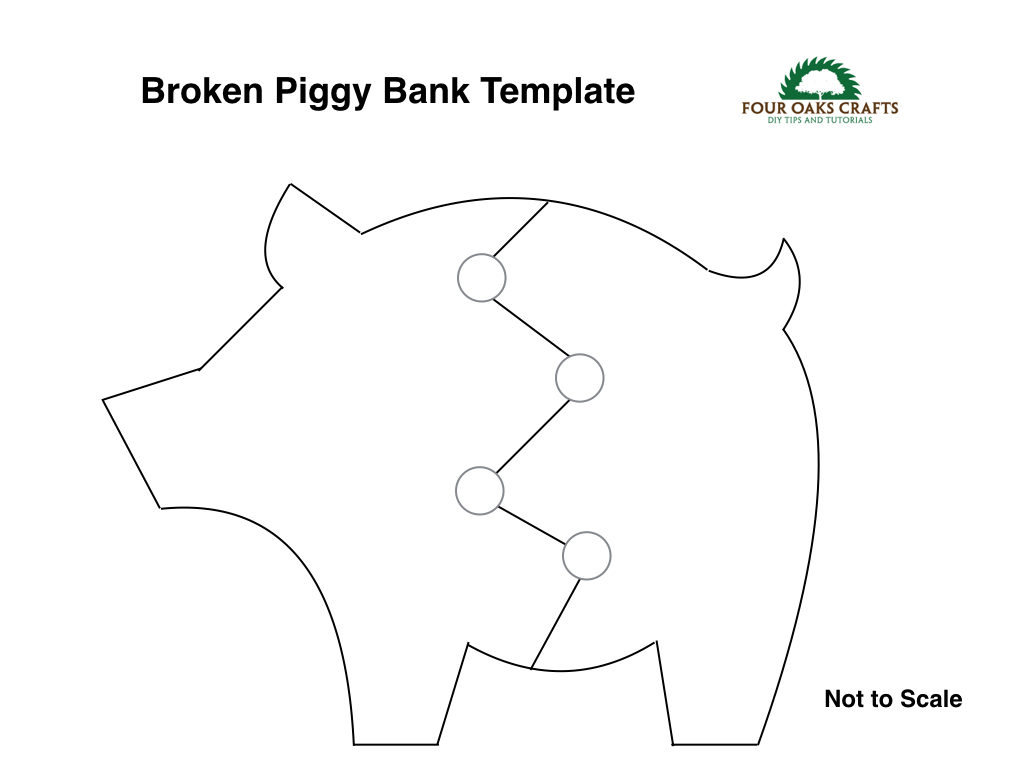
Step 1 — Print Out the Template
Here is a PDF and you can print out the template for free. Share it with your friends and family. The template is not to any scale, but the general dimensions when I printed mine out were 8″ long and 7″ tall. You can make yours a little bigger or smaller.
Step 2 — Choose your wood.
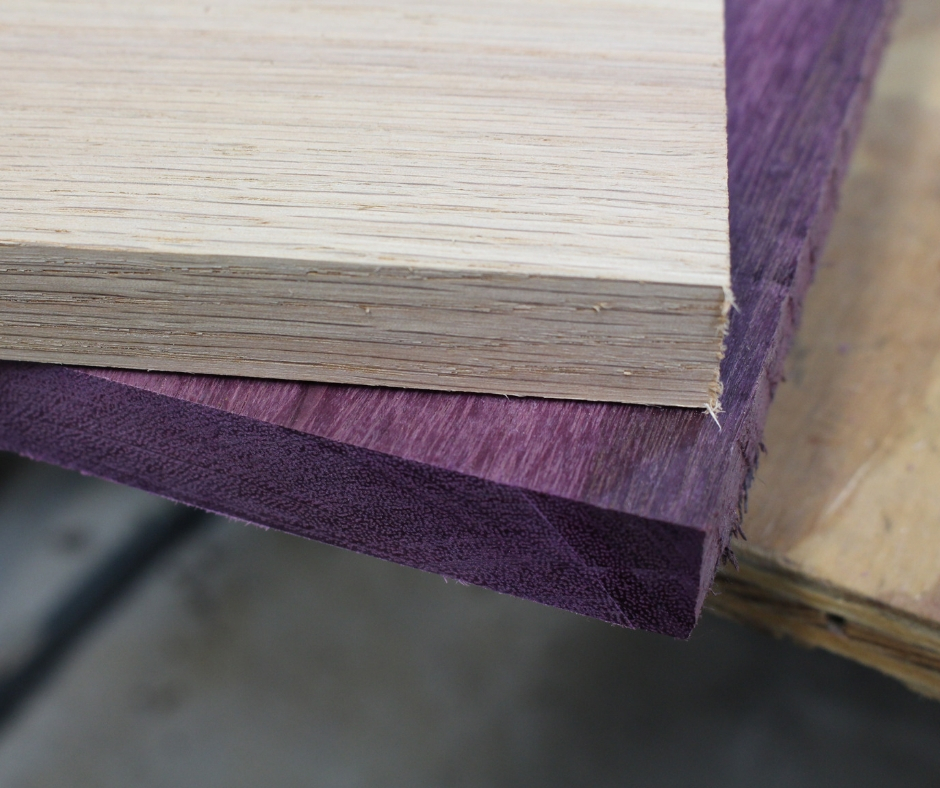
I decided to use red oak and purple heart wood for this project. The purple heart I think makes a great color for the pig and the red oak will be sandwiched between the 2 purple heart boards. A nice contrast.
But you can use any wood you like. The cheapest way to go might be to use pine and then paint your project whatever color you like.
Fortunately, these boards had already been planed to a thickness of 3/4 inch.
Step 3 – Cut the Boards
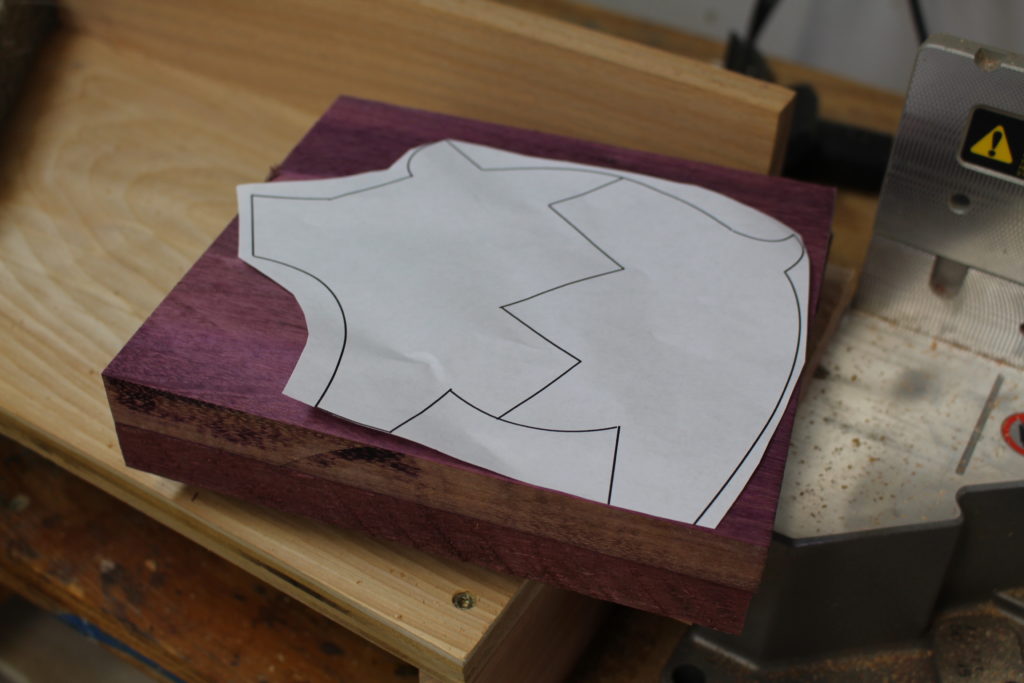
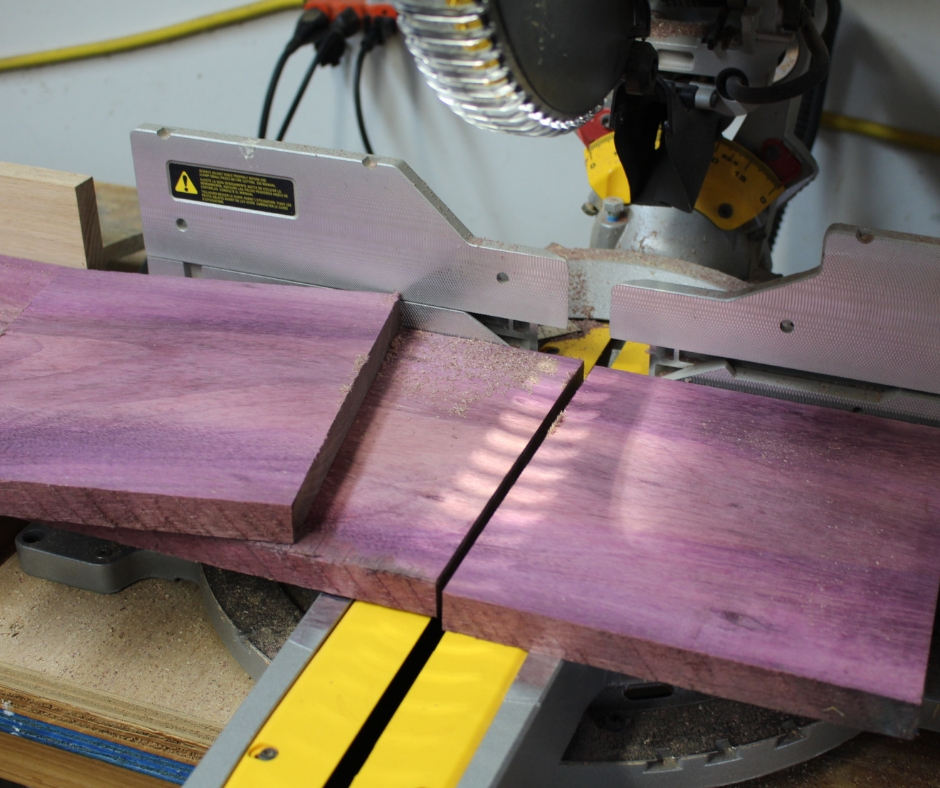
I created my own template for this project. I used a miter saw to cut all the boards. I made sure the boards were all about the same size and big enough to accommodate the template (roughly 8″ by 7″).

Step 4 – Cut out the Piggy Bank
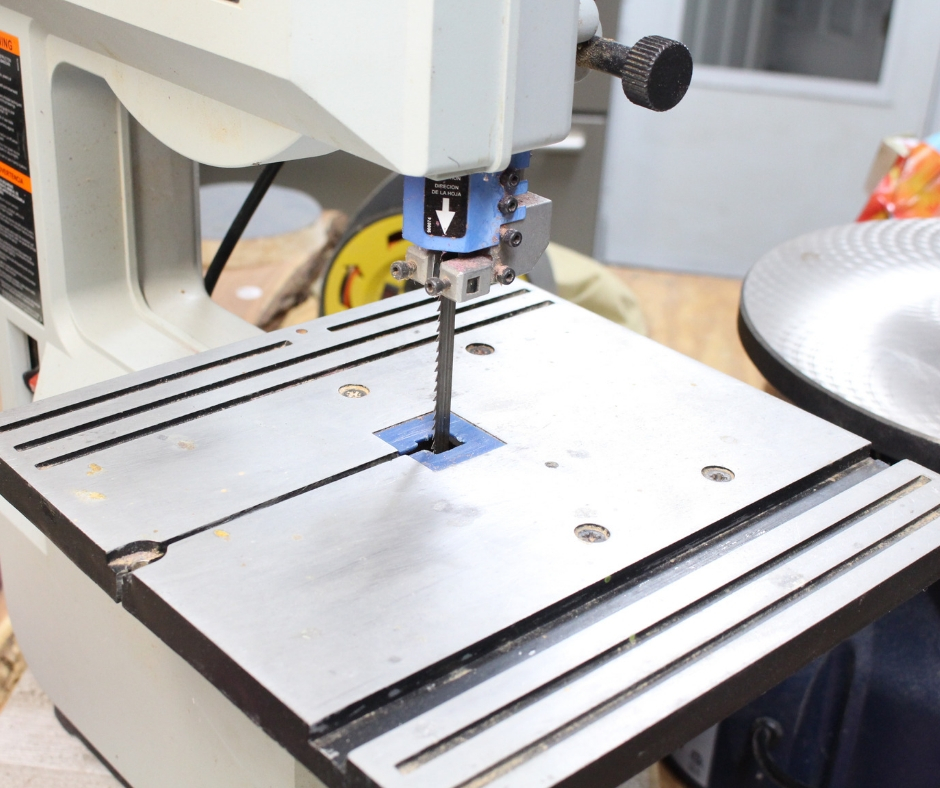
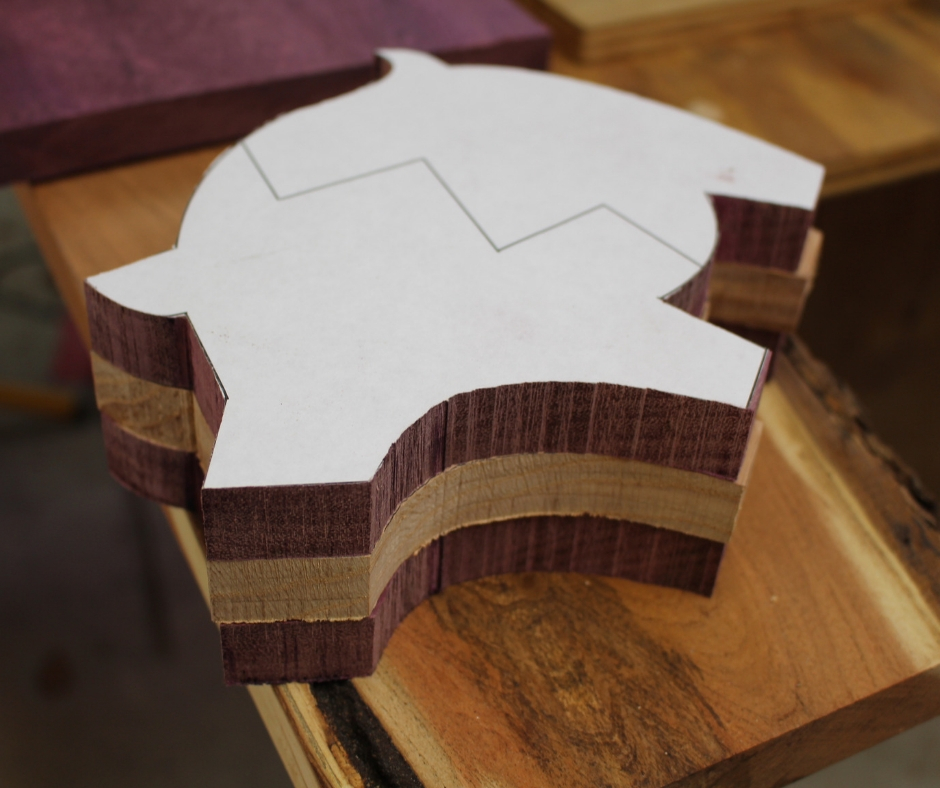
After cutting the 3 boards — 2 purple heart and 1 red oak — I used double sided tape to hold them together while I cut out the pig shape with the bandsaw.
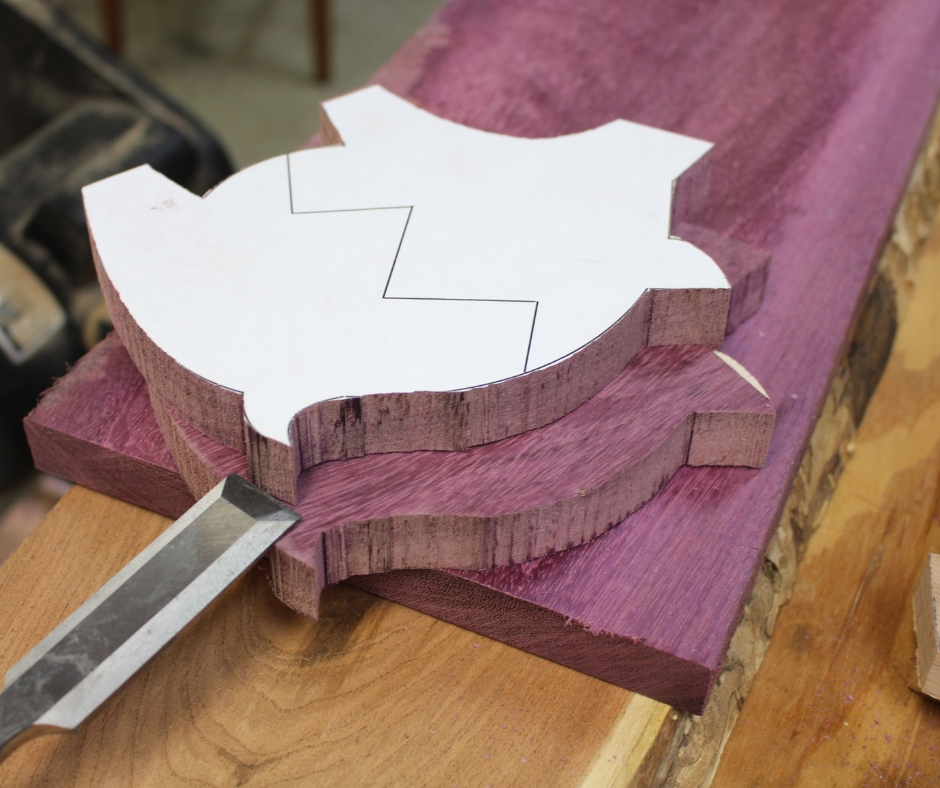
To me, the best way to apply the piggy bank template is to use a spray adhesive. Just follow the instructions on the back of the can. It does a superb job of holding the paper template to the wood while you cut around the template.
After cutting out the piggy bank, you can then take a wide chisel to help pry the boards apart. This can be a little challenging as the double-sided tape is very strong. Try not to put gouge marks in the boards.


Step 5 – Cut Out the Coin Compartment
Now I’m going to cut out a section of that center red oak board. This will become the coin compartment.
I drilled several holes around my lines and then used a jigsaw to cut out the compartment. I then used the ossicalting sander to sand the inside edge.
Step 6 – Glue the Boards Together
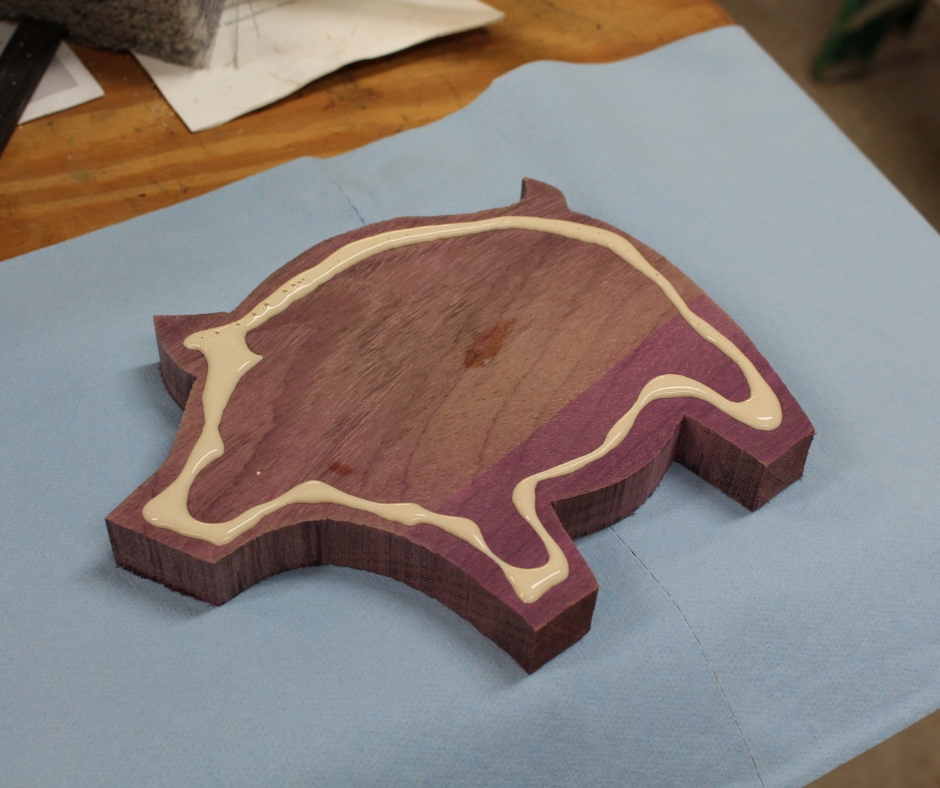
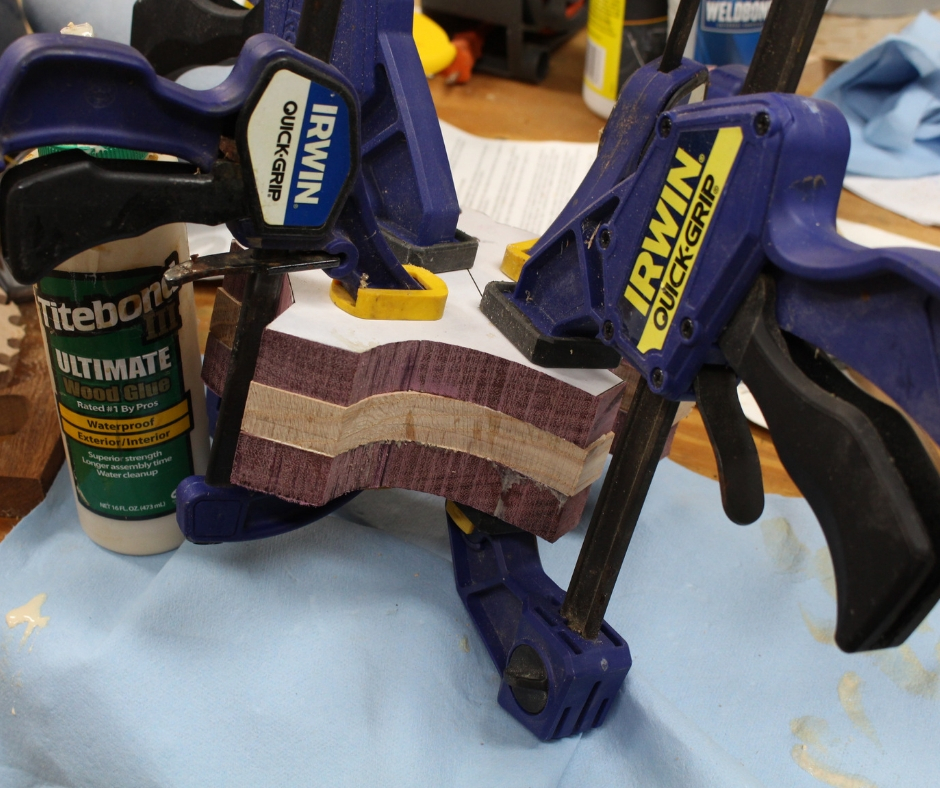
With the coin compartment cut out, we can now glue the 3 boards together to create the piggy bank.
I used Titebond glue and clamped the boards together with 4 quick clamps. I allowed this to dry overnight.
Step 7 – Sand the Outside Edges
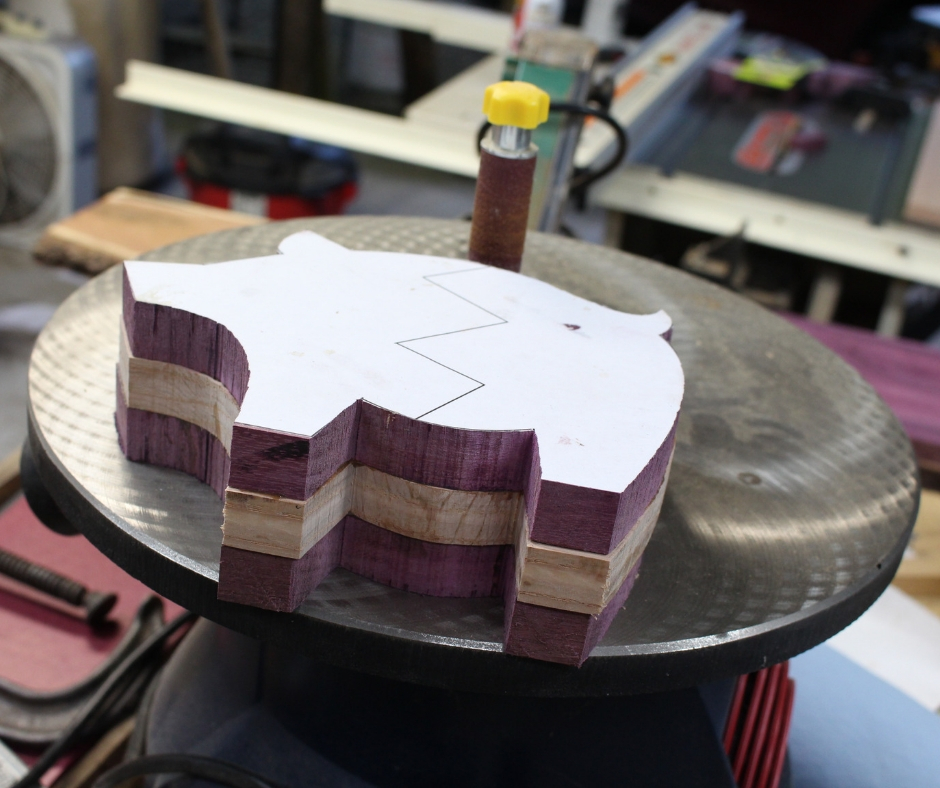
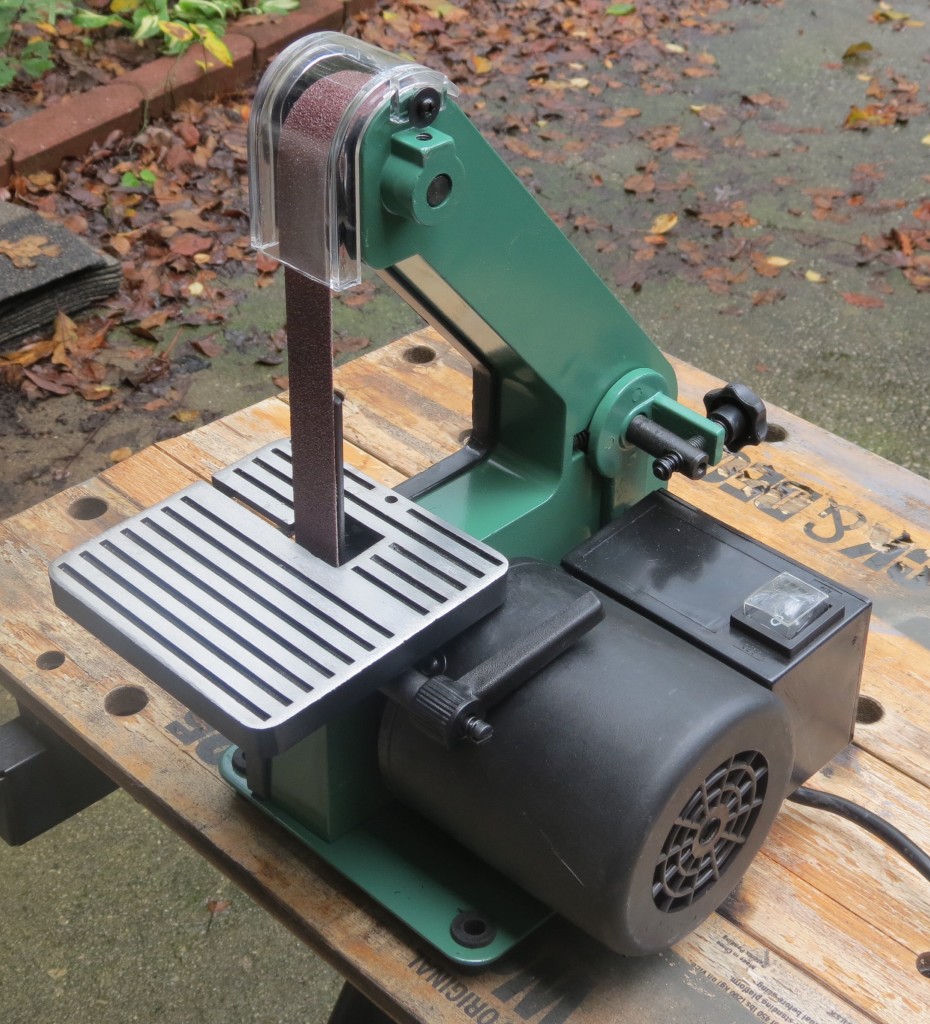
Now the fun part begins — sanding. As you might have guessed, this was the most time consuming part of the project. I used the oscillating sander and the small belt sander for the most part. I also used individual sheets of sandpaper and sand some by hand.
Take your time and be patient with this step. Don’t forget to wear a dust mask.

Step 8 – Cut Out the Broken Lines
Now we can begin the process of cutting out the jagged lines from the template.
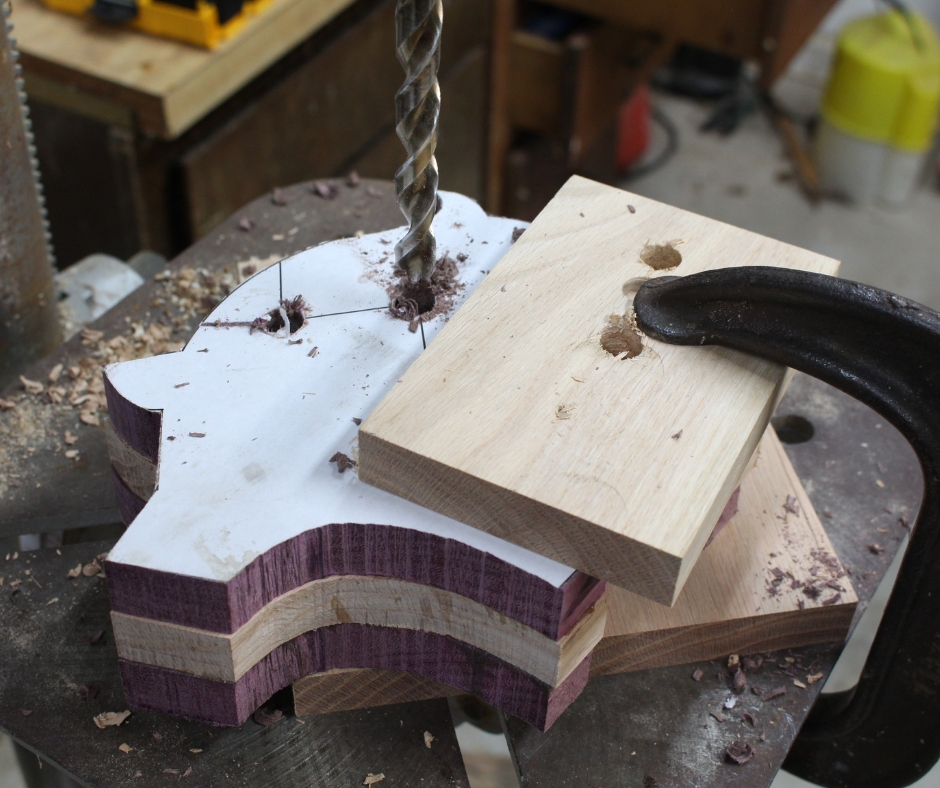
I used the bandsaw to make these cuts, but obviously I can’t maneuver the blade to follow those lines exactly. So, I drilled 4 holes at each point the lines change direction.
These holes will allow me to cut the lines with the bandsaw and maneuver the blade. The hole needs to be slightly wider than the bandsaw blade.
I chose a 1/2 drill bit (and 1/2 inch dowels) and this will be slightly wider than my bandsaw blade. This hole will also match up with my red oak dowels. Later, I will glue in the dowels where the holes are.
Step 9 – Glue in the Red Oak Dowels
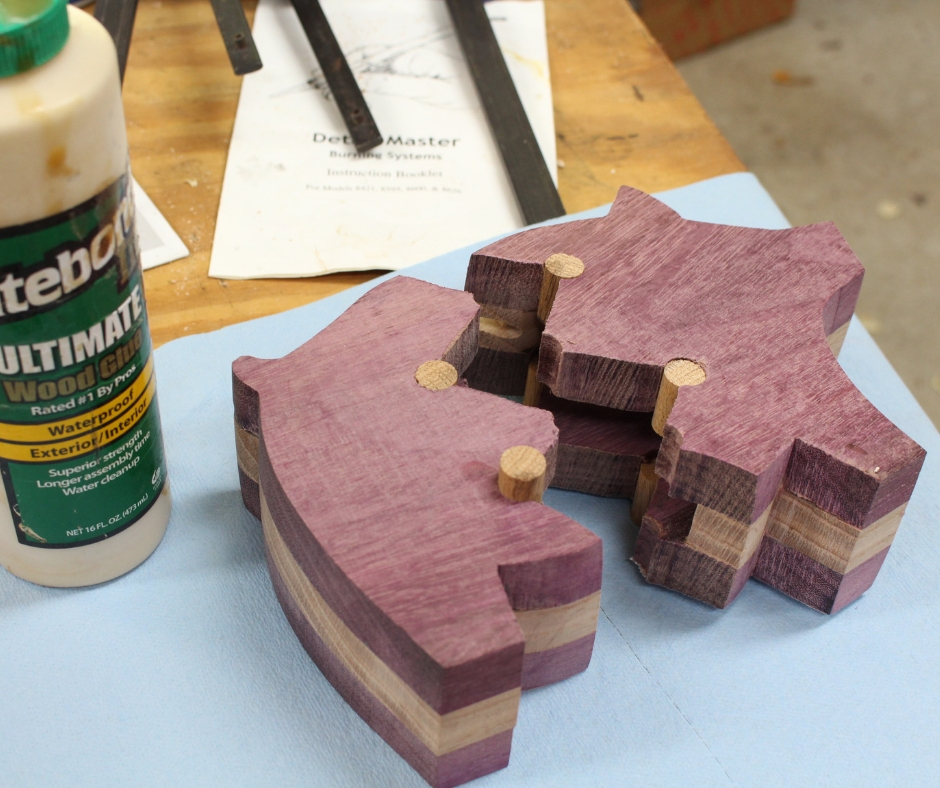
Now, I’m going to fill in those holes with the red oak dowels.
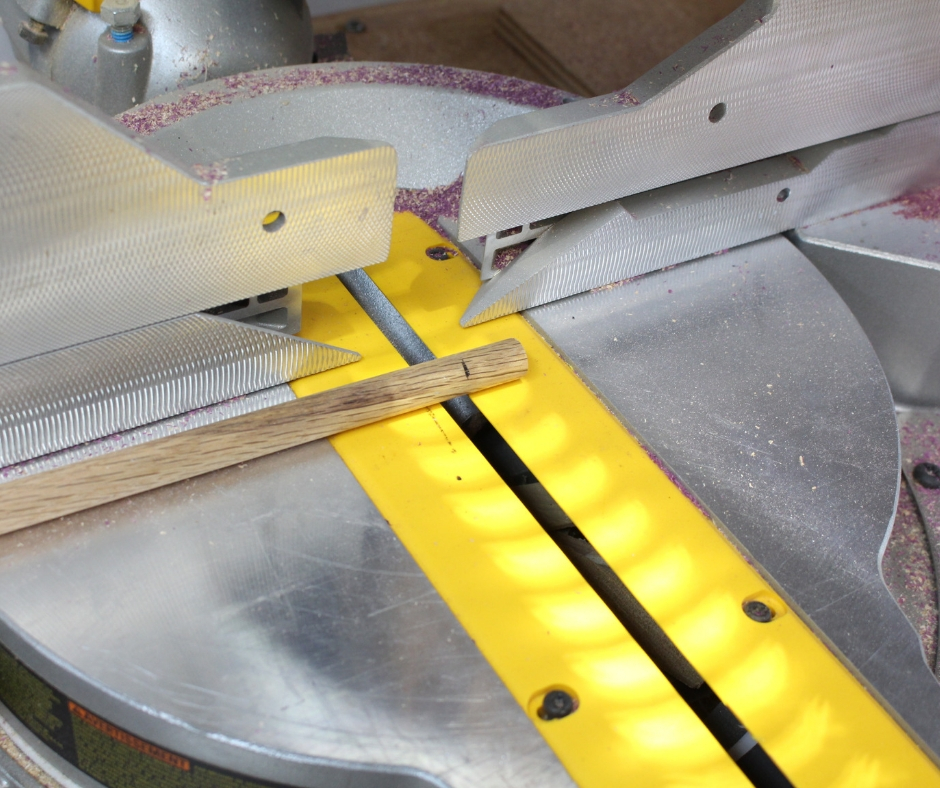
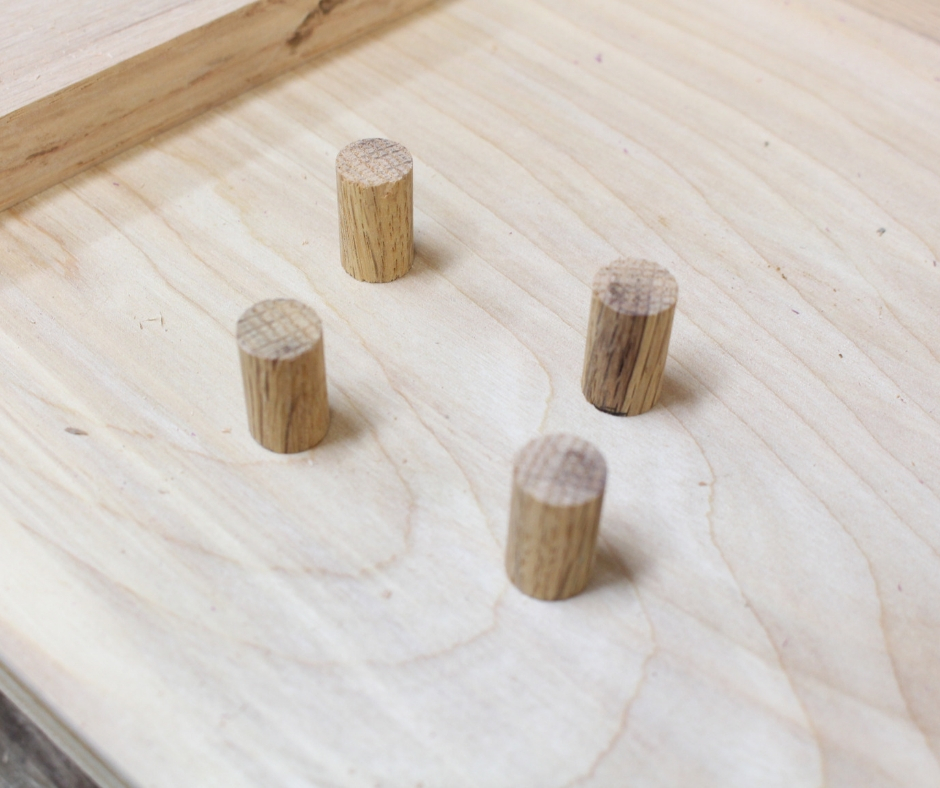
First, I measured the dowels and cut them to the proper length, using the miter saw. Although the photo above shows 4 dowels pieces, you’ll need a total of 8 dowels.
I simply spread some glue around the dowels and slid them in the holes. Give the dowels some time to dry.

Step 10 – Glue in the Magnets
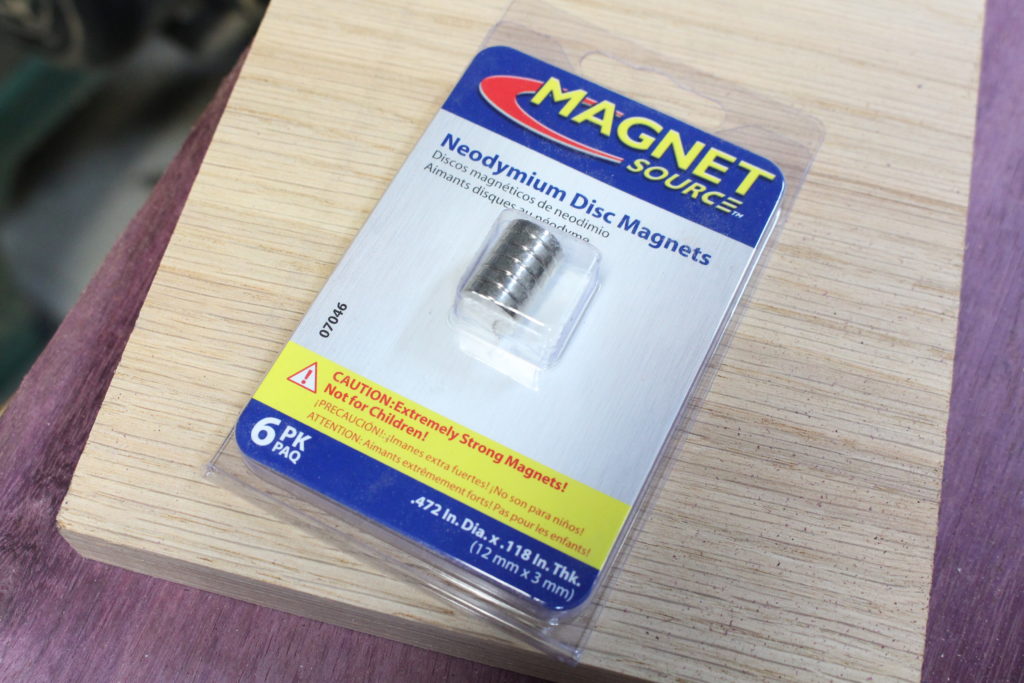
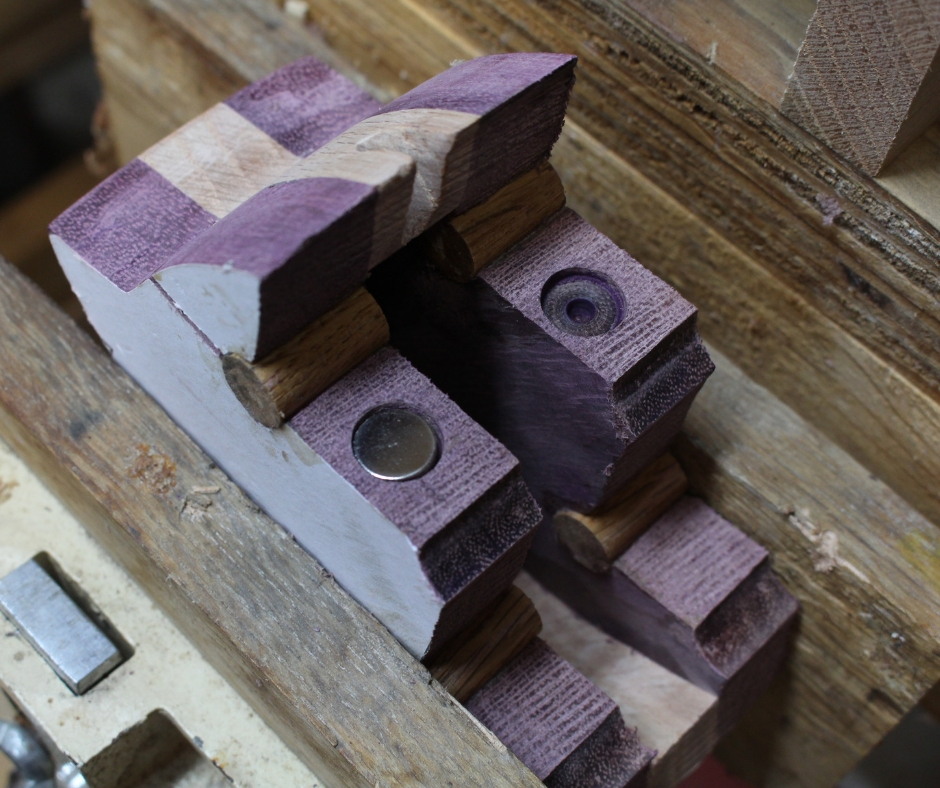
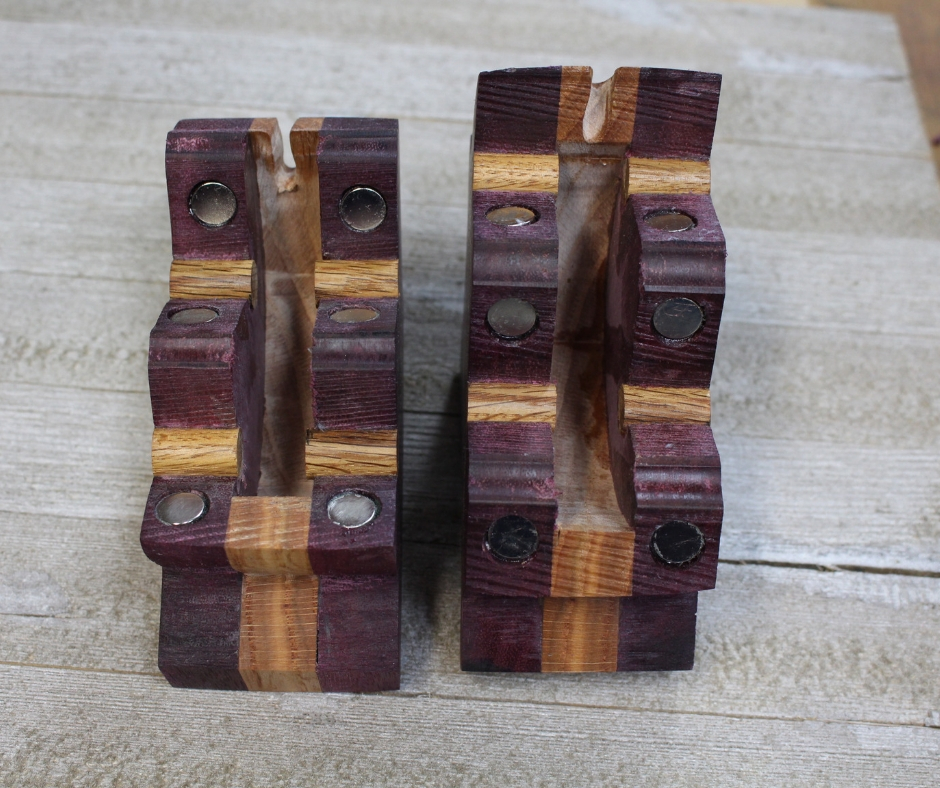
To help keep the broken piggy bank together, I used a total of 12 strong magnets. They are called neodymium magnets and you can find these at Home Depot.
I used a 1/2 inch Forstner bit and drilled down deep enough so that the magnet was flush with the wood. Just make sure that each magnet is the opposite polarity from the one it will snap to. Otherwise, the piggy bank may not snap together evenly. Hint — use a magic marker to keep up with the polarity of the magnets, as they are NOT already marked on the magnets.
Be VERY careful with these magnets. They are so strong that it’s easy to pinch your finger between them. And they’re somewhat brittle so don’t drop them.
Each magnet’s diameter is slightly smaller than 1/2 inch.
I used medium CA glue to glue the magnets in place. Give the CA adequate time to dry so it can hold the magnet in place.
Step 11 — Cut Out the Coin Slot
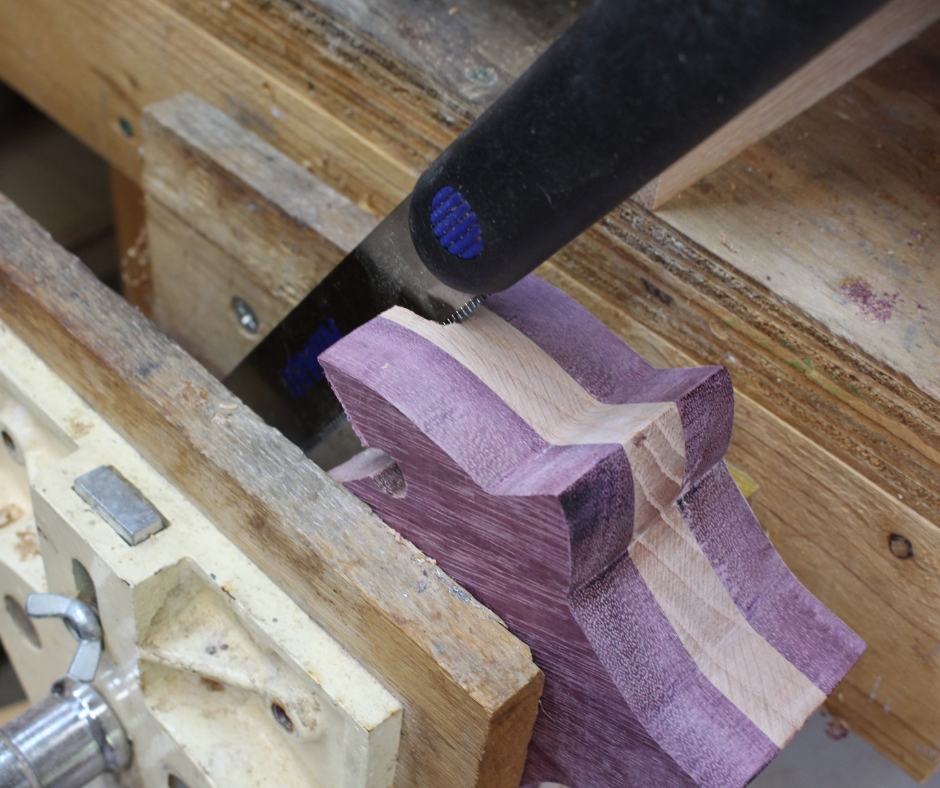
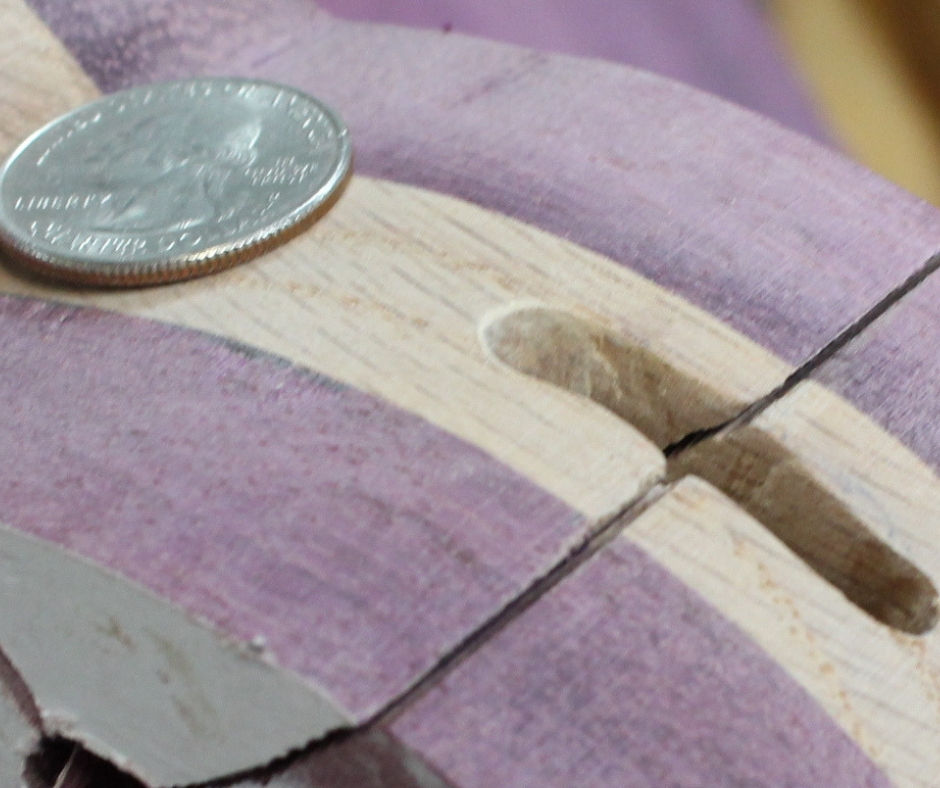
I used a portable drill and a handsaw to cut out the coin slot. I made sure the slot was at least big enough to accept a quarter. Make sure to test it out, so coins won’t have a problem moving through the slot.
Step 12 — Finish the Piggy Bank
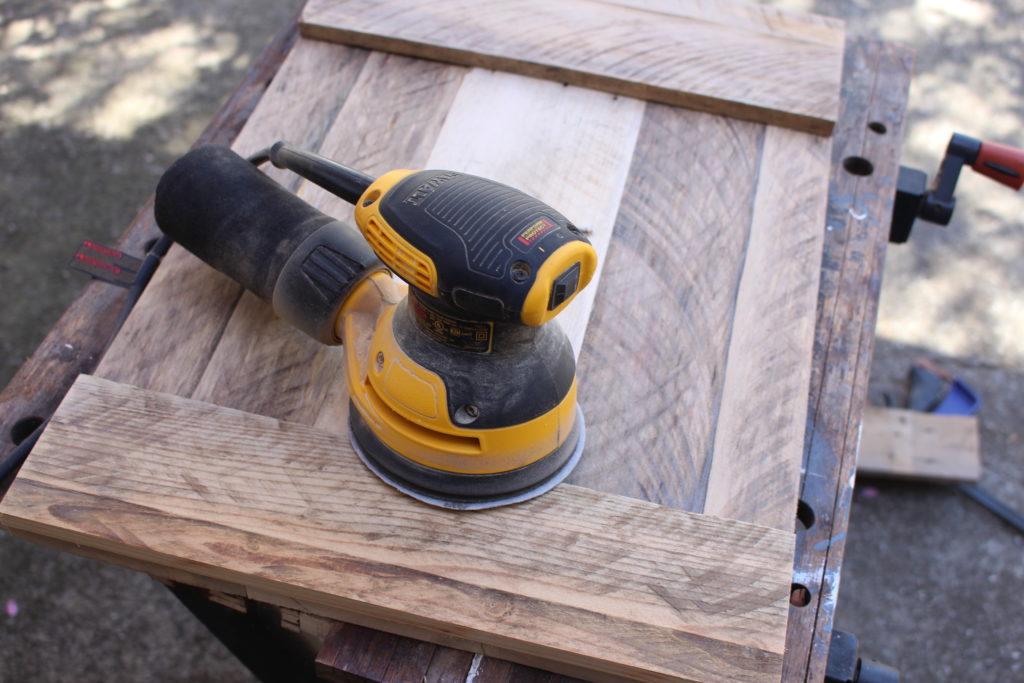
I used the orbital sander to do the final sanding. I started with 120 grit and then moved to 220 grit. I made sure the dowels were sanded flush with the purple heart.
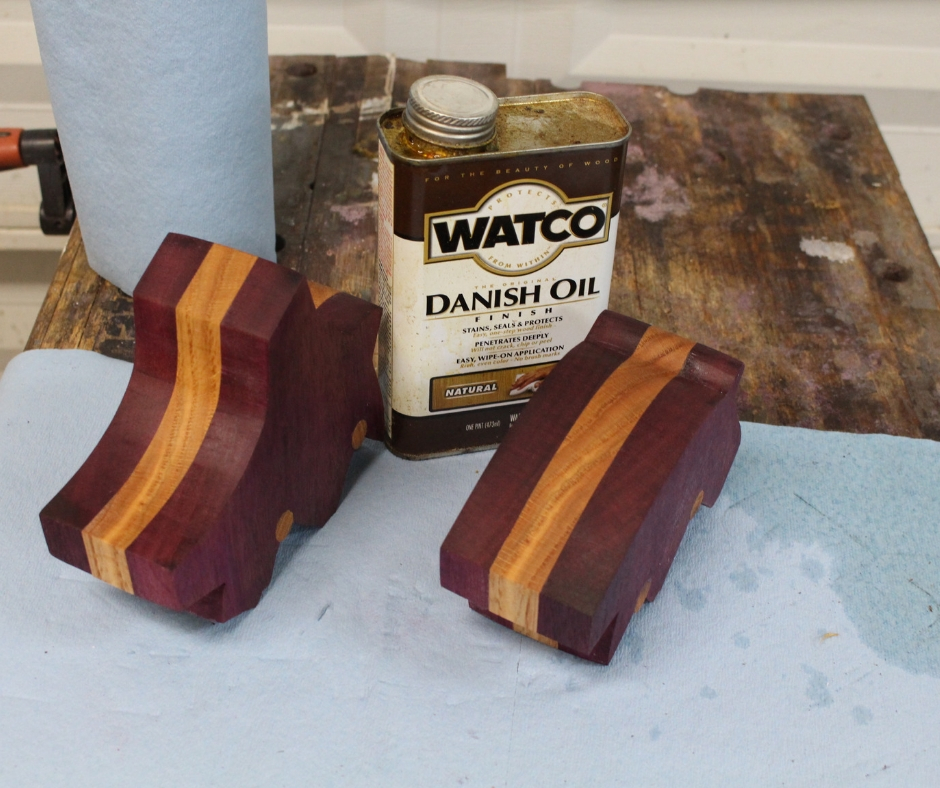
Next, I used a clear Danish Oil to finish the piggy bank. I applied 2 coats, allowing 30 minutes between coats.
PIN IT!
I hope you enjoyed this tutorial. Please leave a comment below if you have a question or any suggestions for improvement. Hope you will consider subscribing to my free newsletter. See the sign-up form below.

Are you starting up a new shop? Want to work safer in your shop? To help you answer these questions I've put together a 2-part checklist -- Home Shop Safety & Tool Checklist.
I will also send you updates of my latest woodworking and DIY projects. You can get all this by subscribing to my free email newsletter.
