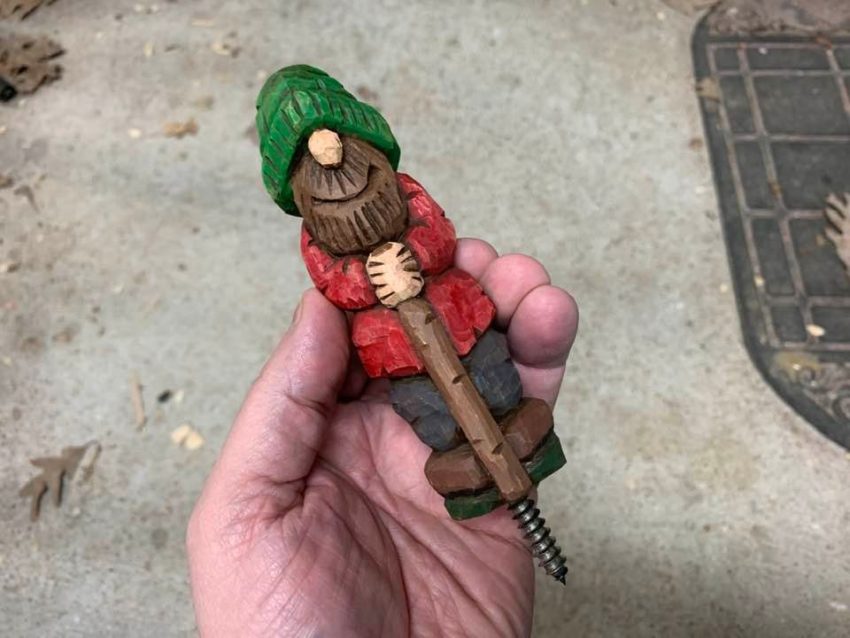
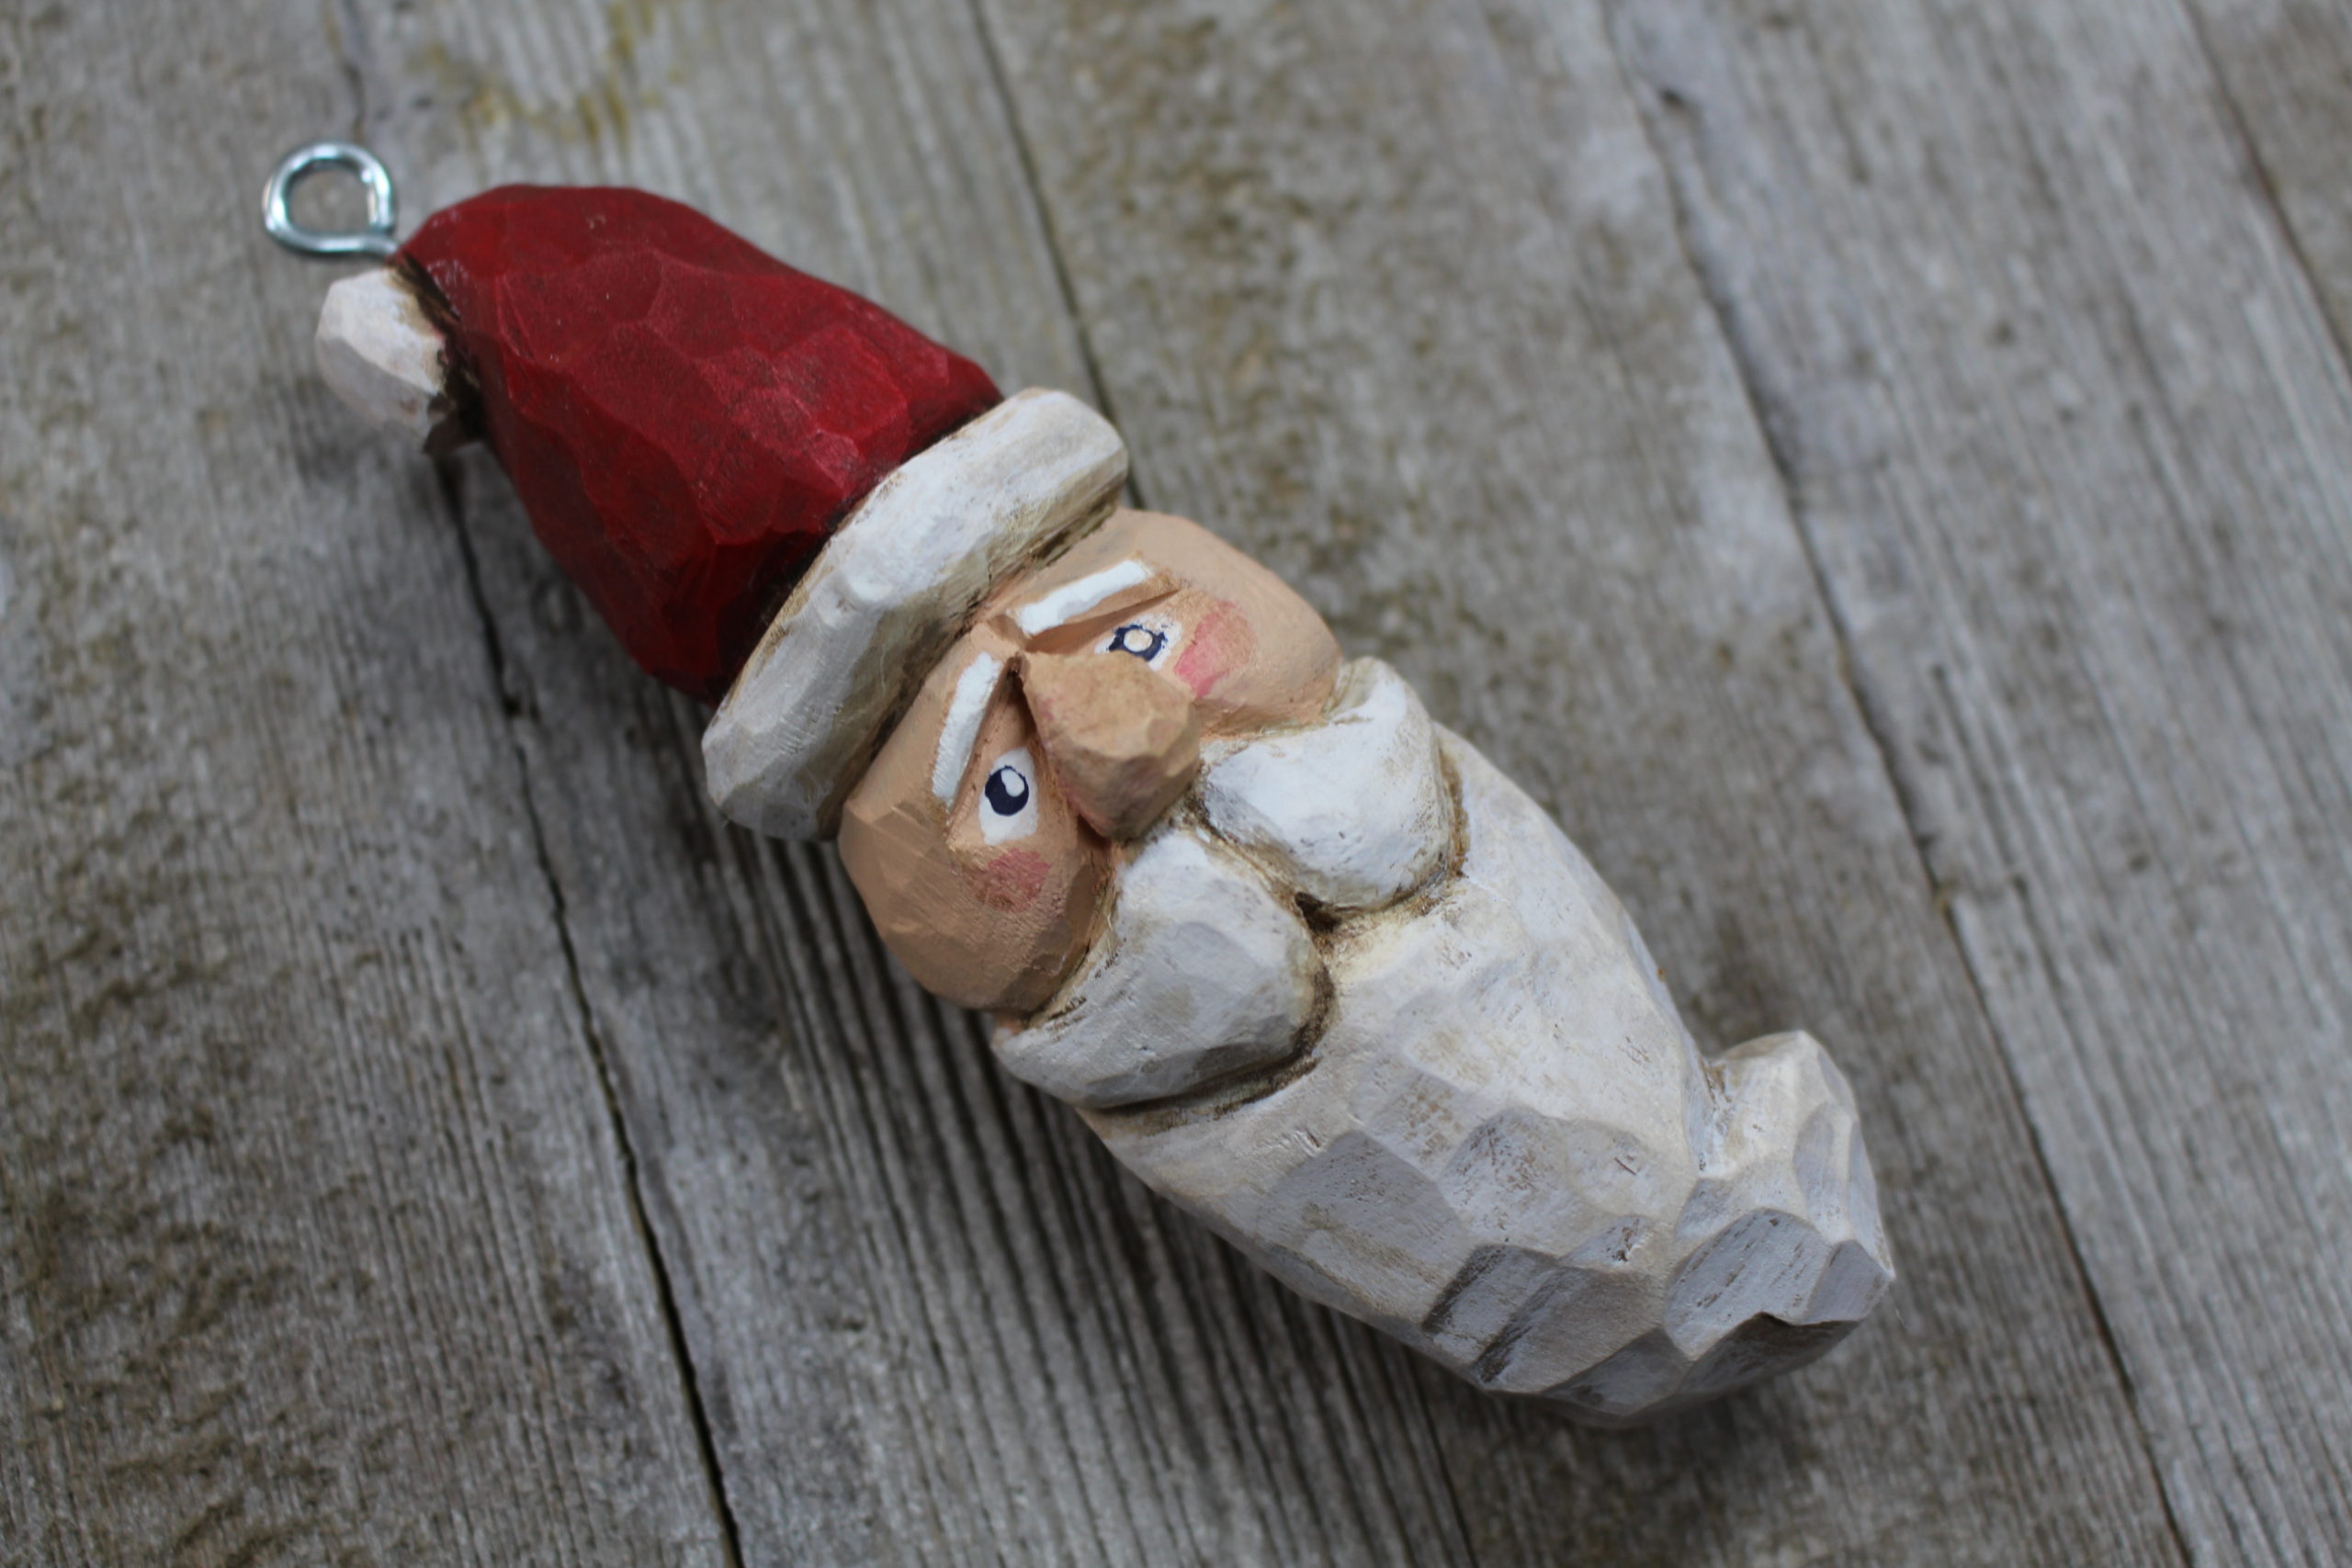
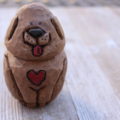
In this post, I’ll show you how to carve a hiking stick topper. You can probably better see how I do this by watching the YouTube video I created (see below). This is a wonderful way to spruce up an old hiking stick or create a brand new hiking stick. Maybe is could be a gift for the hikers in your life. Or — surprise someone and leave one of these to give away along the trail.
Step 1 – Obtain a block of Basswood.
You may ask – why basswood? The quick answer is that it’s easy to carve and not expensive. Also, you can paint the final basswood carving with acrylic paints. I like to use a block that’s 1.25 inches by 1.25 inches by 6 inches. Or use something that’s fairly close to the diameter of your hiking stick. Of course, you could just carve something directly on your hiking stick, but chances are good the staff is hardwood. Hardwoods can be a challenge to carve.
Step 2 – Add the Dowel Screw
Before I start the carving, I like to drill a 7/64 inch hole into the basswood block for a dowel screw. The dowel screw (2.5 inch long) has threads on both sides. in the video, I demonstrate how I like to use a battery-powered drill to drive the dowel screw into the bottom of the carving. It doesn’t seem to mess up the threads and for me it’s the easiest way to drive in the screw. Once I’ve finished my carving, I’ll simply screw it into the top of the hiking stick, using my hand.
Step 3 – Carve the Topper
I like to use Flexcut knives to make my carvings. In the video, I show you how to carve a wizard / hillbilly character that I like to call Hillbilly Hank. You can also see the other carving I made, and I like to call him Happy Hiker Hal. So, Hal is a miniature hiker on top of my hiking stick. There are so many possibilities of what you could carve. I’m also thinking about making an owl topper or some other type of bird. Anything you want, really. The sky is the limit.
First, I like to sketch in the main features of the wizard – hat brim, nose, and beard.
Next, I will begin to define the hat brim by making several stop cuts.
Then, I’ll begin defining the nose. Again, I’m using short stop cuts. Be careful around the nose. Start with a big nose since you can always carve it down. You can’t add wood back – LOL.
Next, I’ll move onto the mustache and beard. I like to use a V-tool to give the beard its texture.
Finish defining the the hat. I like to make the hat look like it’s flopped over to one side.
If you’re new to carving caricature figures, you might want to watch some other wood carvers like Doug Linker to learn some of the basics. Or checkout the accompanying video I made which shows the carving process probably better than I can put into words.
Step 4 – Paint the Topper
I like to use acrylic paints for my carvings. After the paint has dried, I like to use an antiquing wax which I brush on then immediately wipe off. The dark-colored wax will stay in the cracks and crevices to create shadow. On top of the acrylic paint you could use a clear urethane or maybe boiled linseed oil as a final sealant. I prefer that my carvings NOT be shiny, but some people are okay with a shiny carving.
Step 5 – Attach the Topper
Using my battery-powered hand drill, I create another 7/64 inch hole in the top of my hiking staff. Try to get it as straight with the hiking staff as possible. If you like, you can add some epoxy around that joint to give it more strength. But keep in mind that the topper is more of a decoration piece and not the hiking stick handle.
I honestly don’t know if there is an ideal hiking stick length. I have heard a few people say that they prefer to have the stick come to the height of their chin. But I don’t know of any hard and fast rules.
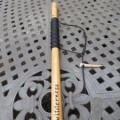
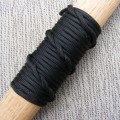
If you want to add a paracord grip to your staff, check out my Paracord Wrap tutorial.
Go For a Hike and Enjoy!
I hope you enjoyed this tutorial — Carve a Hiking Stick Topper — and will give it a try. Please shoot me an email or photo of what you carve. I love to see what other people are making.
Thanks for following along! Please consider subscribing.

Are you starting up a new shop? Want to work safer in your shop? To help you answer these questions I've put together a 2-part checklist -- Home Shop Safety & Tool Checklist.
I will also send you updates of my latest woodworking and DIY projects. You can get all this by subscribing to my free email newsletter.
