In this tutorial, I’m going to show you how to carve a Santa Claus ornament for Christmas.
This is a fun project to make this time of year. You can make one or two for yourself or these ornaments make great gifts. I was able to make this one in an afternoon. Get really good, and you can work these out in 1/2 to 1 hour.
This project is inspired by an article by Tom Hindes found in Woodcarving Illustrated magazine (Summer 2008, Issue 43). The article is called the 5-Minute Wizard. These are so much fun to make. Once you got the basic steps down you can make these wizards or wood spirits for several applications — toppers for hiking sticks, ornaments, wooden spoons, stand-alone figurines or just grab a stick and carve around the campfire for your kids. You can also make several variations, only limited by your imagination.
If you’re new to carving, you might want to watch some videos and get a little training on the basic techniques. The biggest danger is working with really sharp knives, but once you understand the precautions and techniques, it’s a very safe process. And — you don’t have to worry about wood dust and carving is a big stress reliever.
Check out my free PDF resource on Carving for Beginners.
A few of the links below are Affiliate Links. If you purchase with these links, Four Oaks Crafts receives a small commission and that helps with the expenses of providing free tutorials. Thanks for you support!
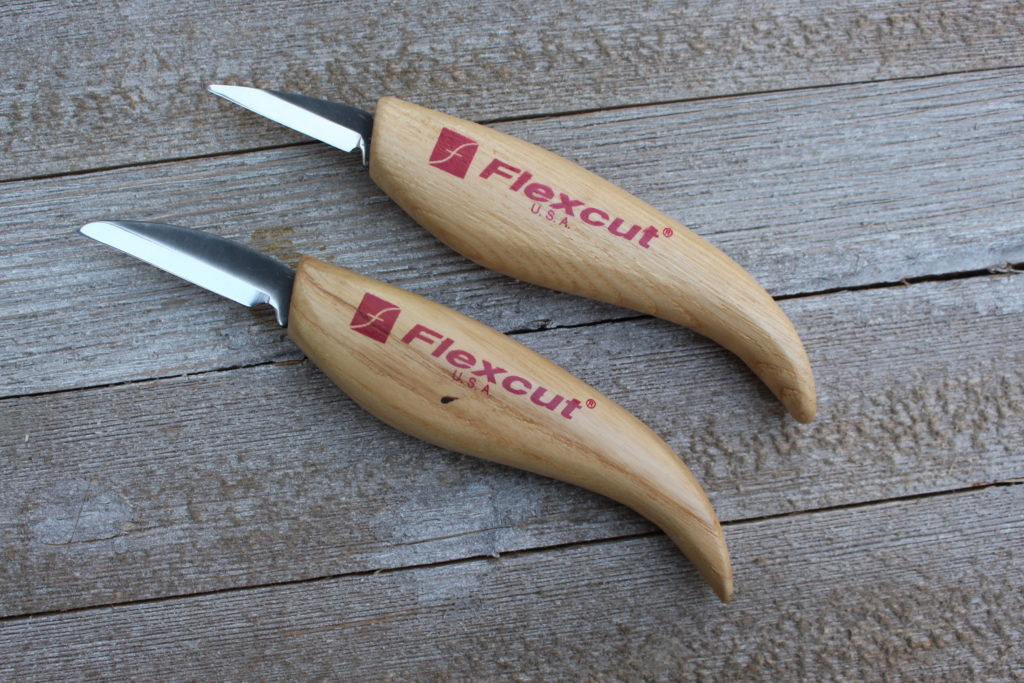
My carving tools of choice. Flexcut is a great inexpensive carving knife, but there are many other brands out there. These knives really fit my hands well. The top knife has a 1.5 inch blade
and the bottom is 1 3/4 inch blade
. A small V-tool (not shown) can also come in handy.

First, I’ll run both knives over the leather strop to touch them up so they are razor sharp. These strops are easy to make or you can buy some that are pre-made. I rub a Compound
(the green stuff) into the leather to help sharpen the knives.
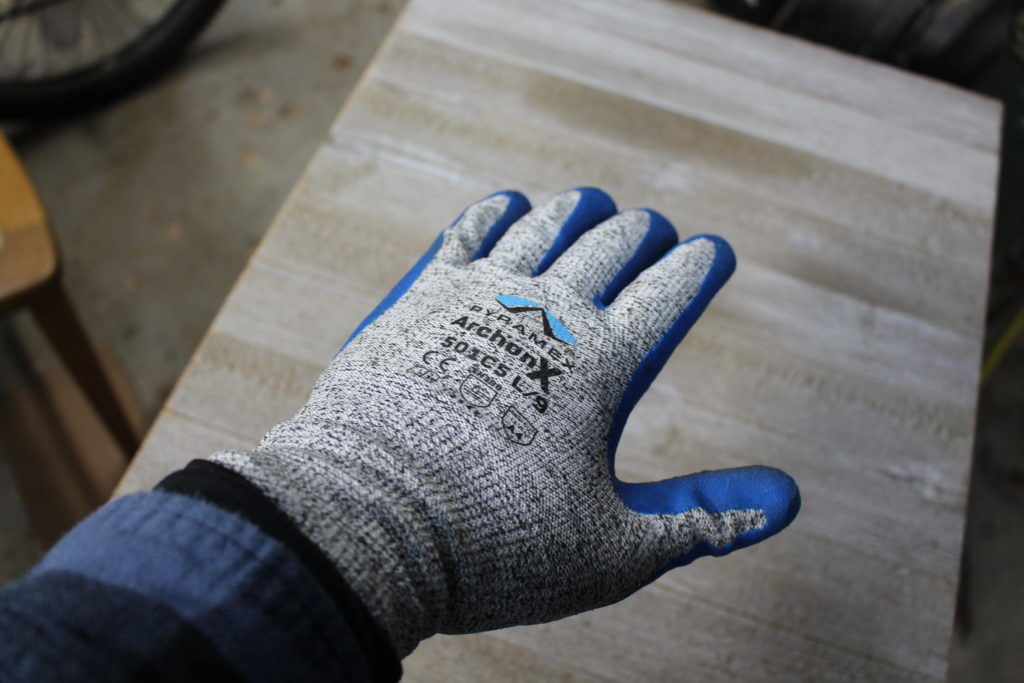
Don’t forget to wear some carving gloves to protect your hands and fingers from cuts. The gloves I’m using will also grip the wood well which is important for making small controlled cuts.
Make sure your fingers (or other body parts) aren’t in the direction of the knife blade’s travel. Keep your work up on the carving table and not in your lap. Always keep some band aides and a first aide kit nearby just in case you get a cut. Been there and done that a few times now.
Carve a Santa Claus Ornament
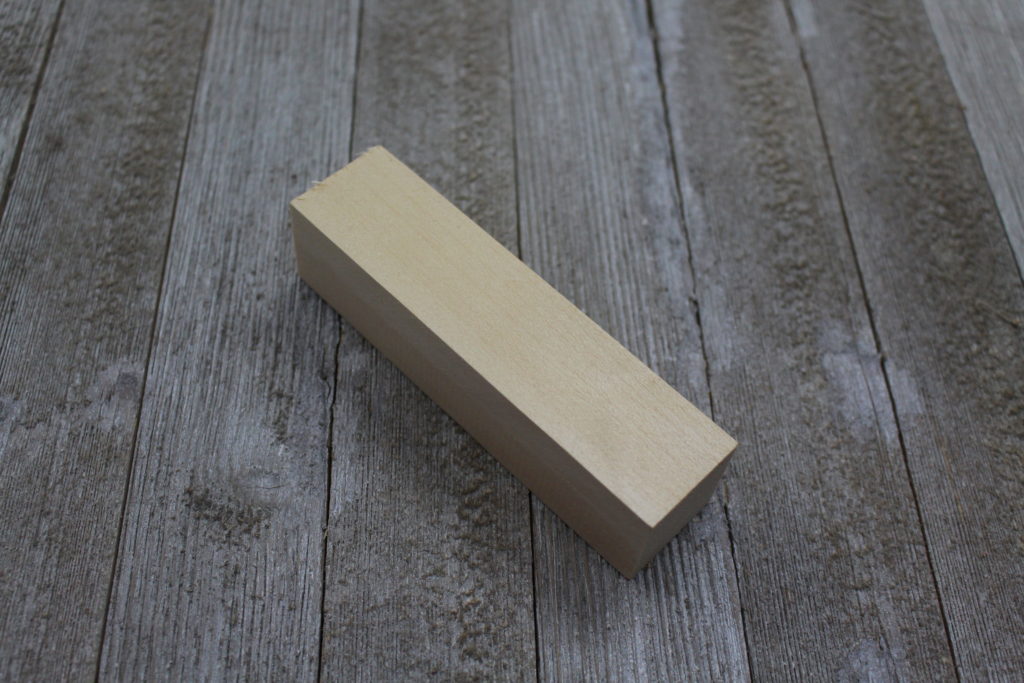
Start with a 1.25 inch by 1.25 inch by 5 inch block of Basswood. To me, Basswood is the wood of choice for these type carvings. You may need to run the wood through a table saw and / or miter saw to get these final dimensions. You could go with pieces that are 1 inch by 1 inch, but I don’t think I would go smaller.
Go ahead and cut out several of these blocks. You may not get everything correct the first time, but this wood is cheap. If you mess up big time, then just start over with a new block. Been there and done that too.
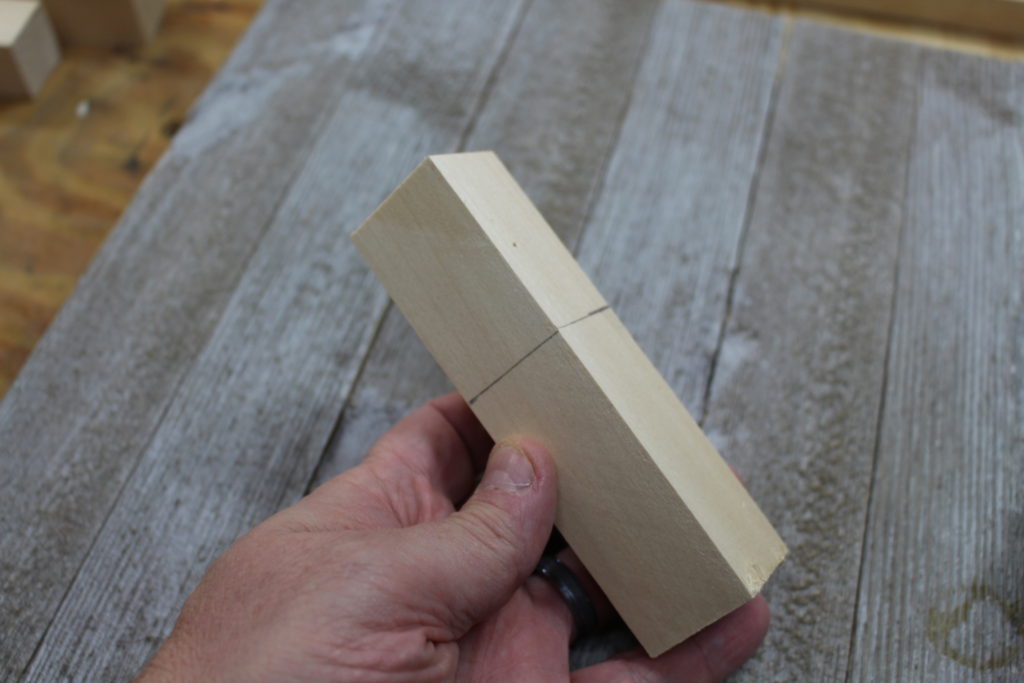
Come down about 2 inches from the top and draw two lines straight across. This will be the bottom rim of the hat.
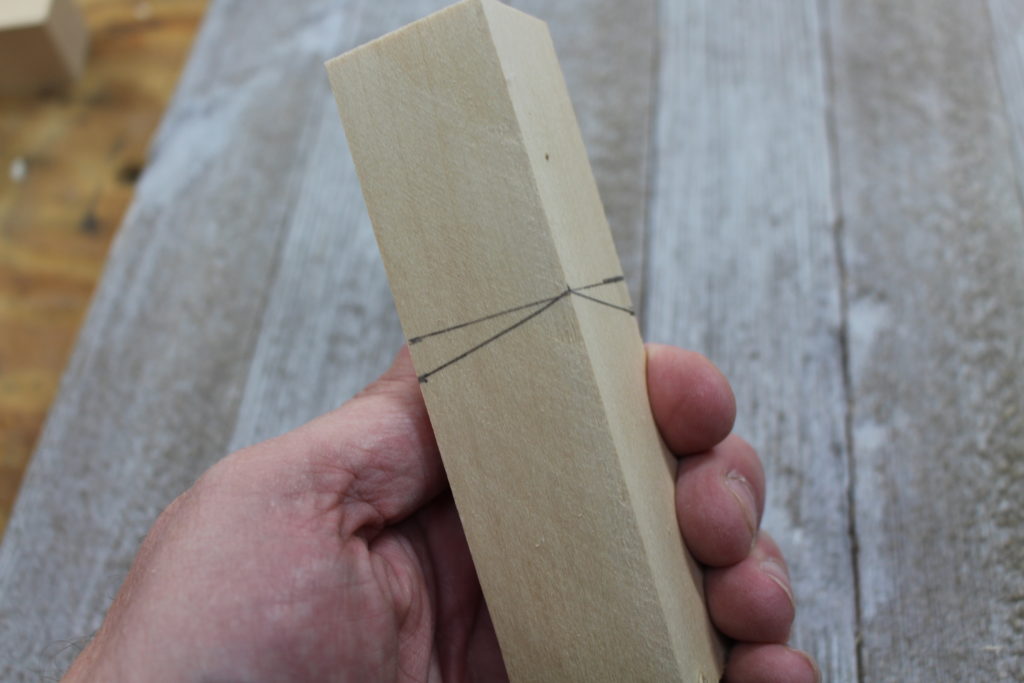
Draw a slanted line which connects to the first drawn lines. You come down 1/4 inch in the back. Normally I will make my first stop cut straight in on this slanted line. But I forgot and made my stop cut on the straight lines (top lines) and carved up to that line.
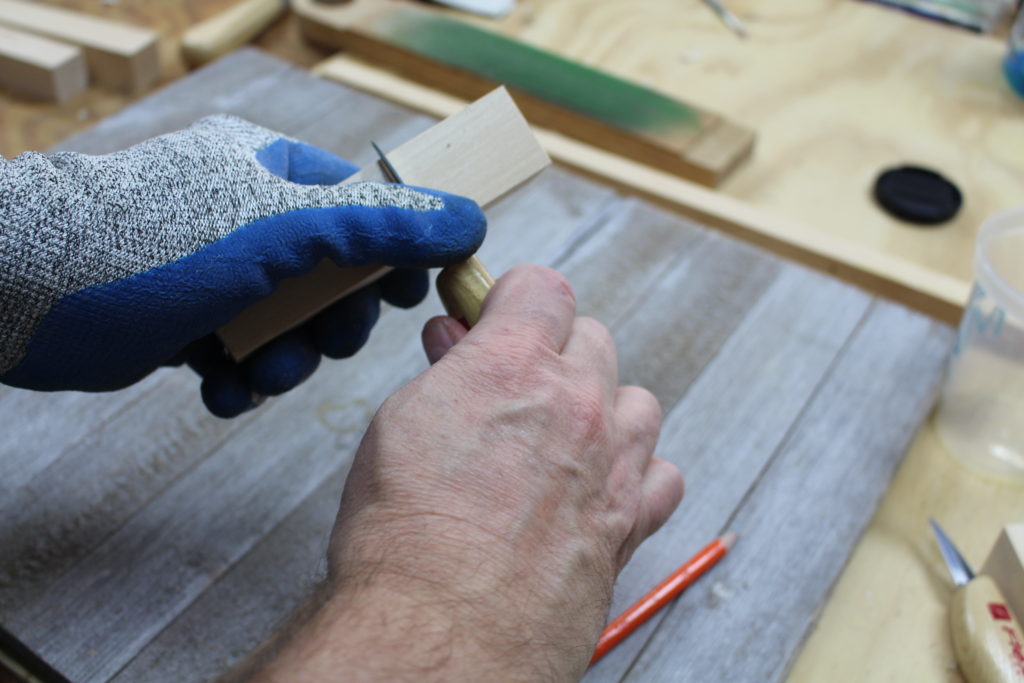
Photo above showing me making the stop cut going straight across. You can go in to a depth of between 1/8 and 1/4 inch. Make sure your cuts are square and clean.
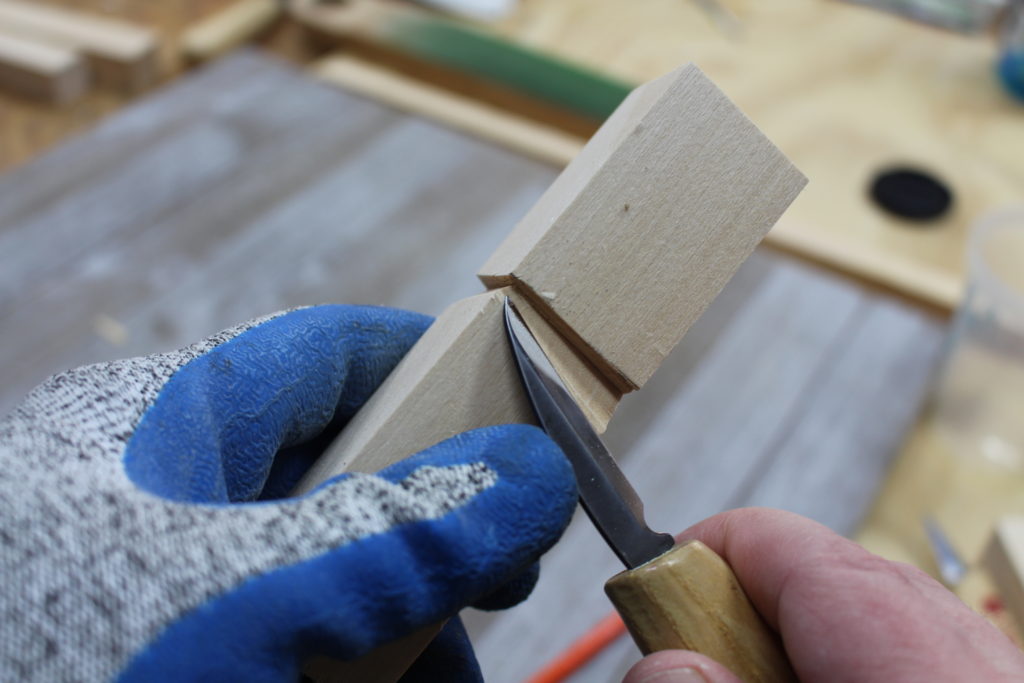
As mentioned before, I forgot and made the stop cut on the straight-across line. Most folks make the stop cut on the slanted line and carve up to that stop cut. If you do it that way, the hat will have more of a slant down. In the end it didn’t affect things that much.
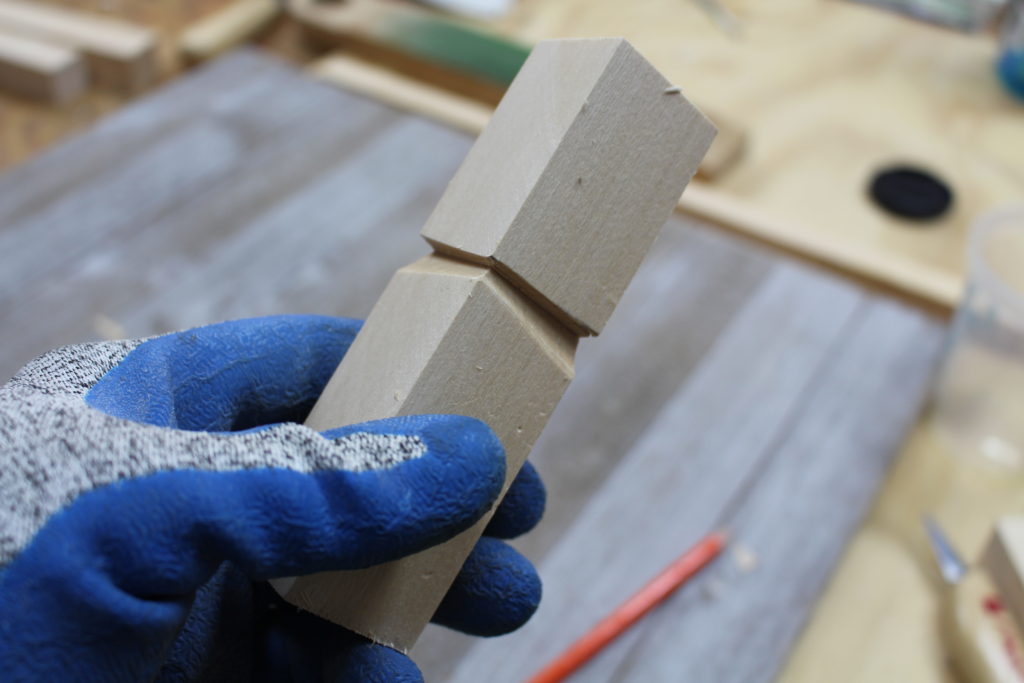
I’ve finished carving up to my stop cuts. This will be where the forehead meets the bottom of the hat brim.
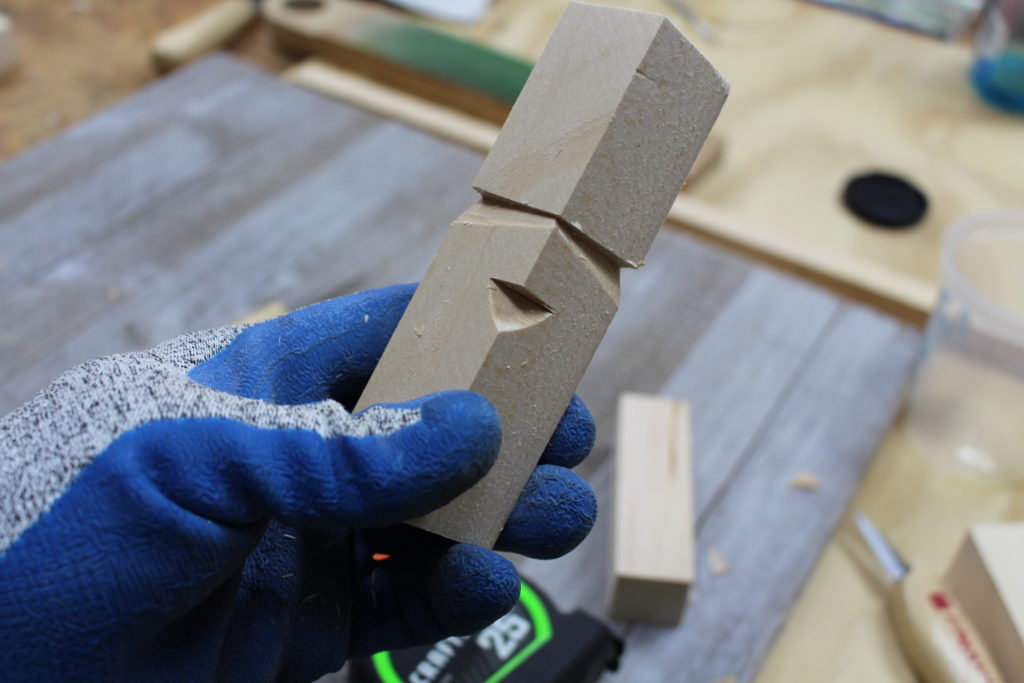
From the bottom of the hat brim, I measure down 3/4 inch down and make another stop cut straight in. Then carve back up to the stop cut. This is the formation of the nose. How deep you go on that stop cut will determine the size of the nose. Go deeper for a bigger nose. Go shallow for a smaller nose.
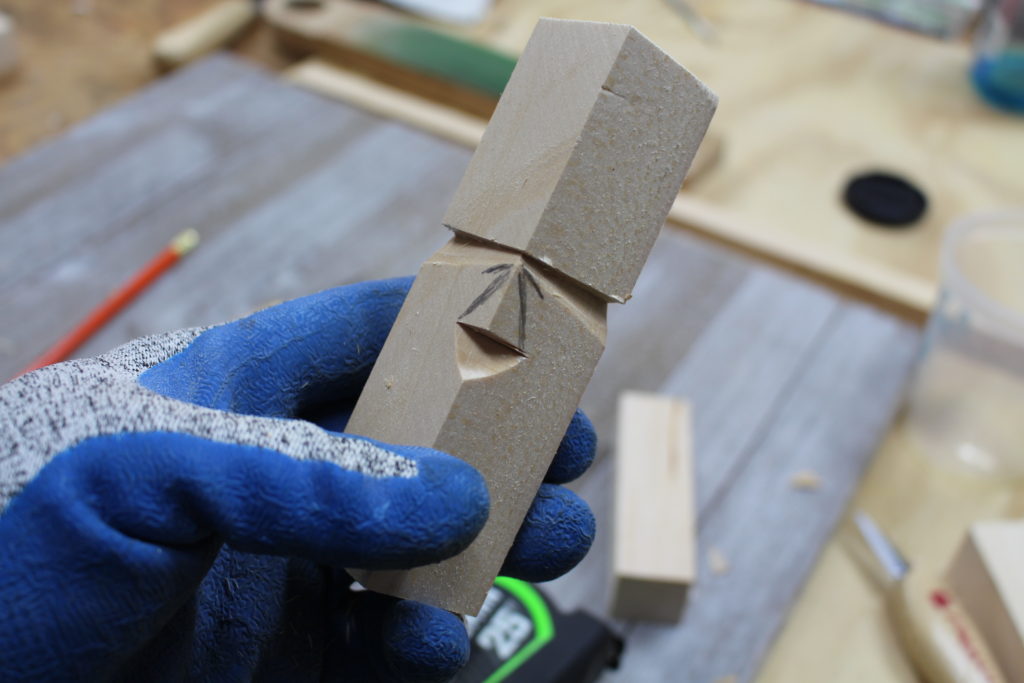
I pencilled in the lines for the eye sockets and showing the nose. You basically draw a triangle for the nose.
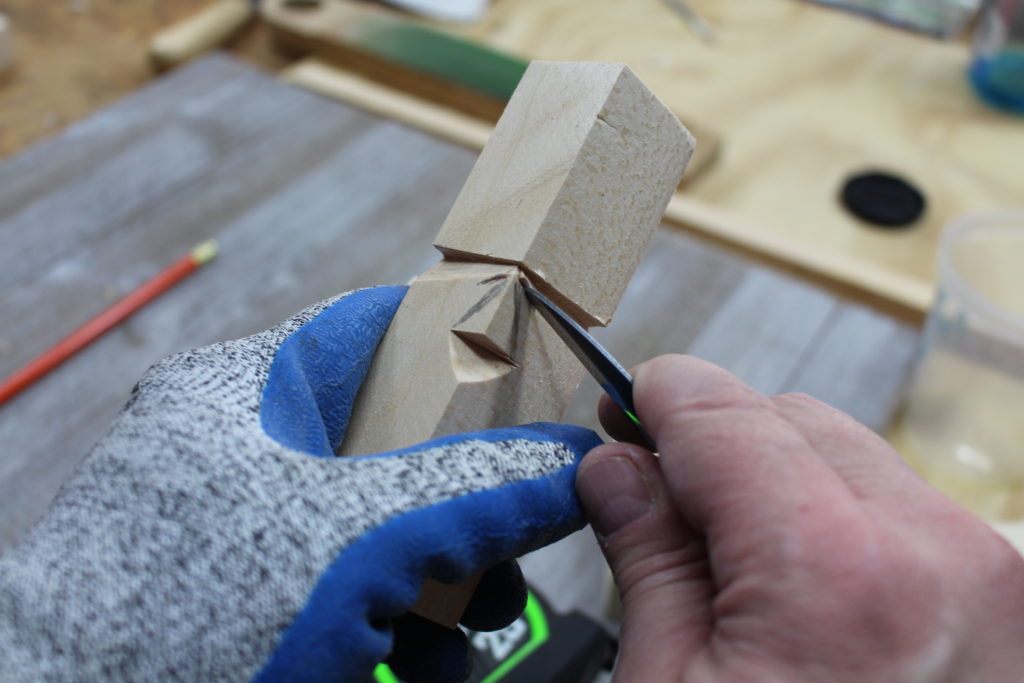
Take the knife and cut down into the wood for both eyes. Cut fairly deep. It can be a little tricky around the eye-brow so try not to break the eye-brow.
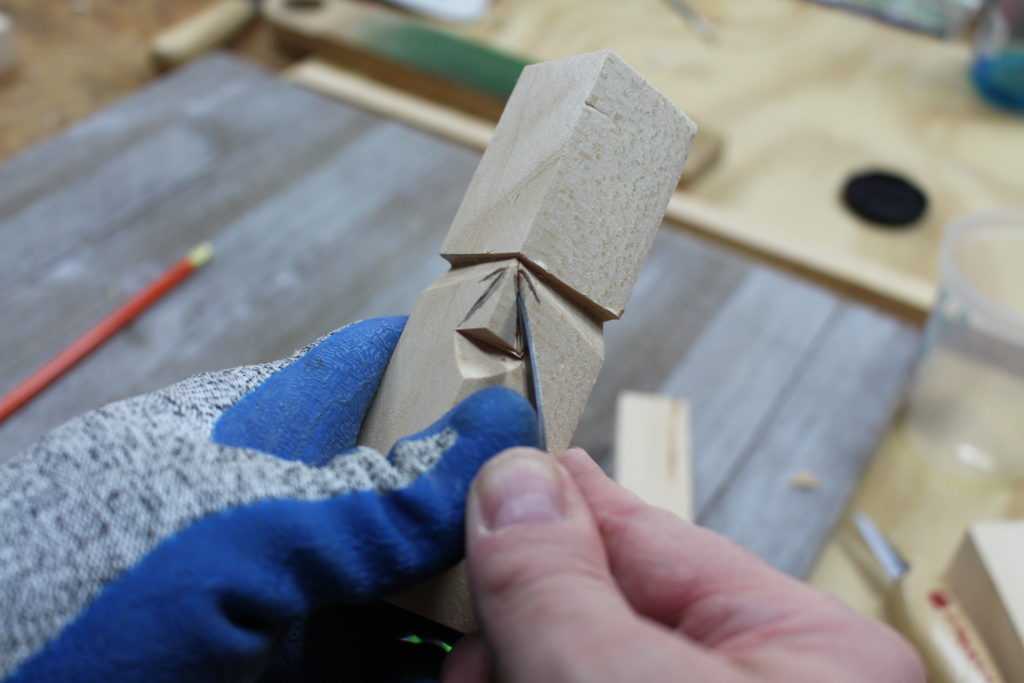
Next, take the knife and cut straight in along the nose line. Make sure you cut straight down and don’t angle into the nose. Start at the eye line and come down with your cut to the corner of the nose. This will create two stop cuts.
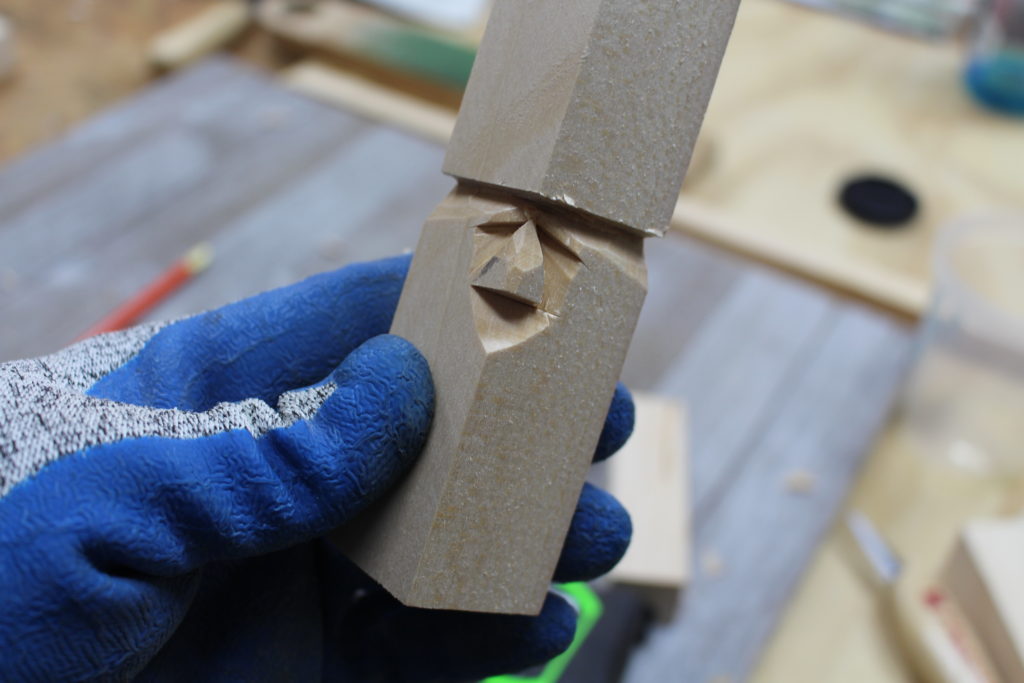
So after making the two stop cuts shown in the previous steps, I carefully use the tip of the knife to take out the wood chips. Now, you’re starting to see the formation of the face.
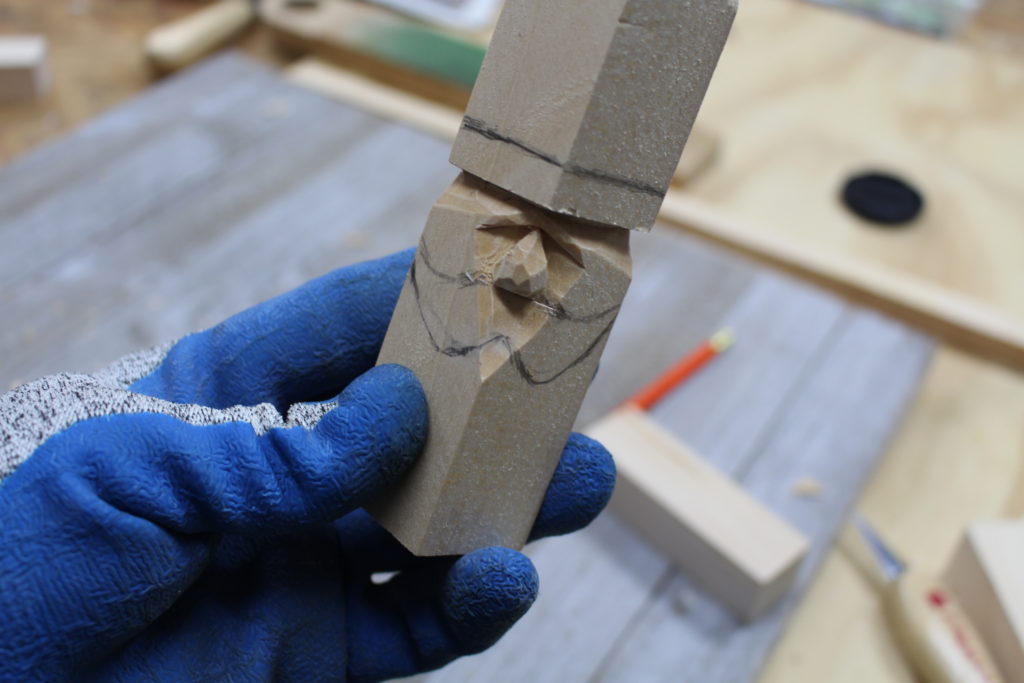
In the photo above, I’ve pencilled in the hat brim and the mustache. I’ll make a stop cut straight in along the line and then carve from the top down to the stop cut. This will define the brim. The width of the brim is roughly 1/4 inch.
You’ll also noticed that I’ve cleaned up the nose to make is more round in shape. Go slow and take small cuts with the tip of the knife.
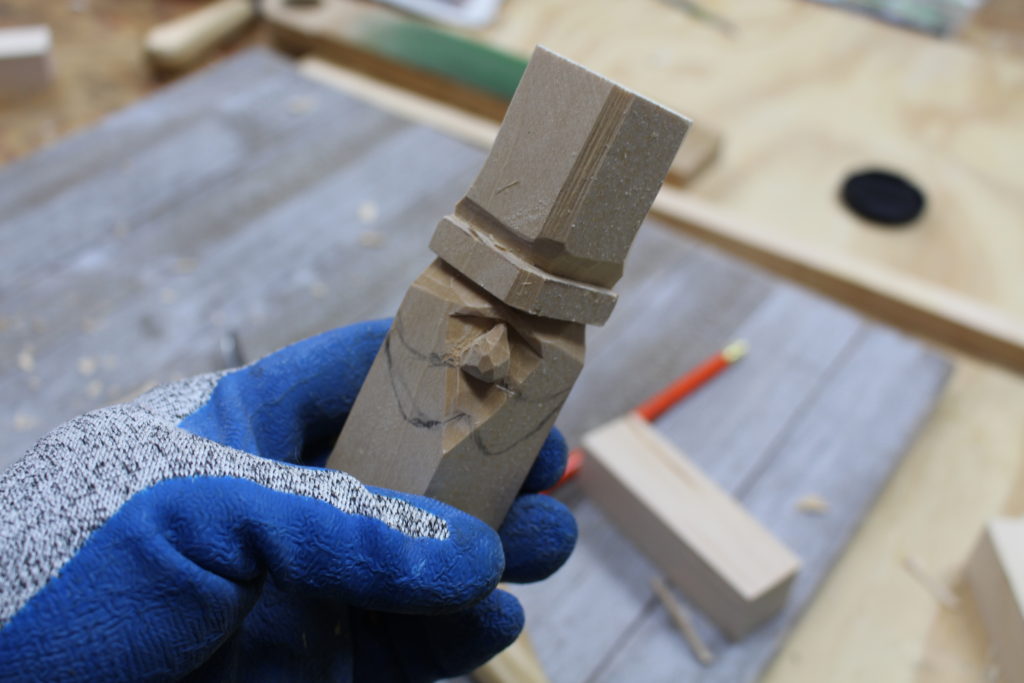
I’ve carved down to the stop cuts and now you can see the start of the brim.
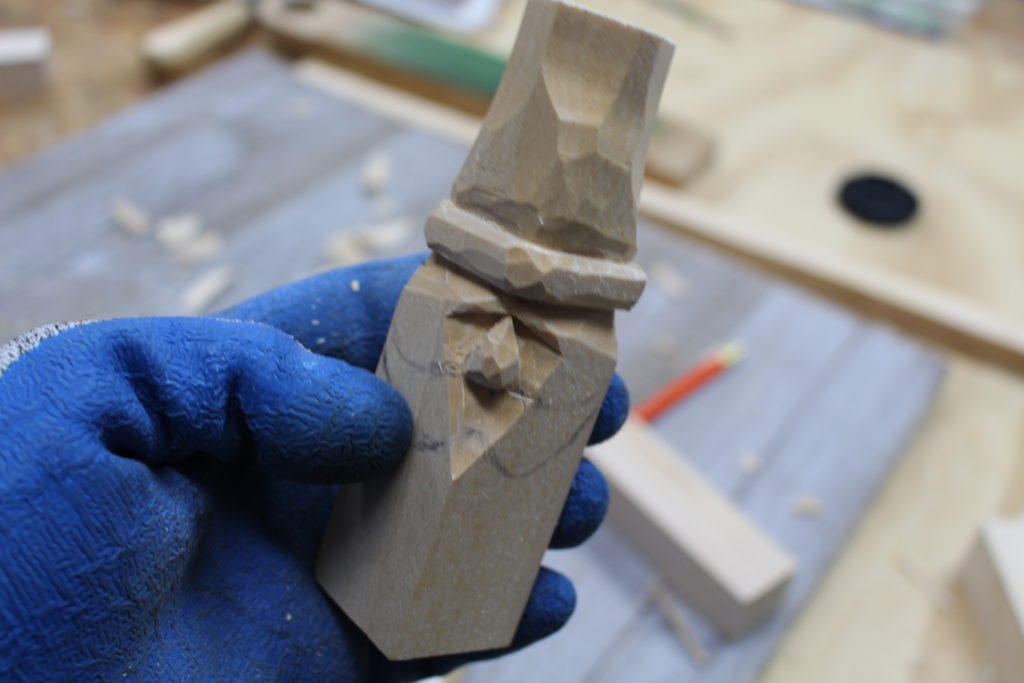
I carefully use the knife to shape and round over the brim. And I’ve started to work on the hat. I use a lot of small push-cuts to shape the hat.
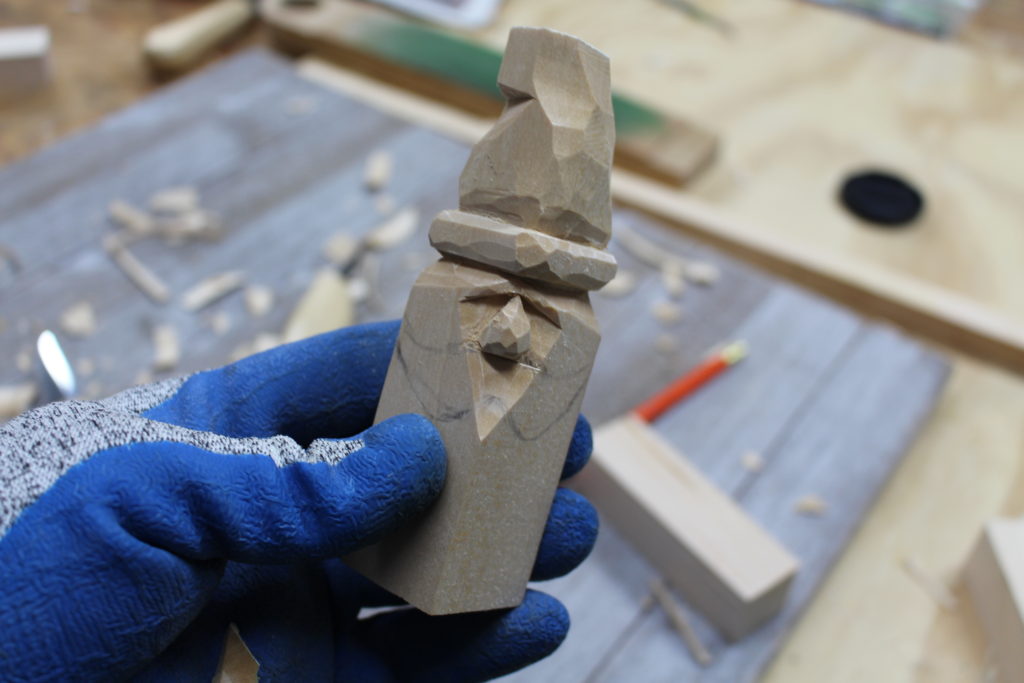
As I’m shaping the hat, I make a stop cut to make the hat begin to curve to the left. I begin carving more on the right to make the hat swoop to the left.
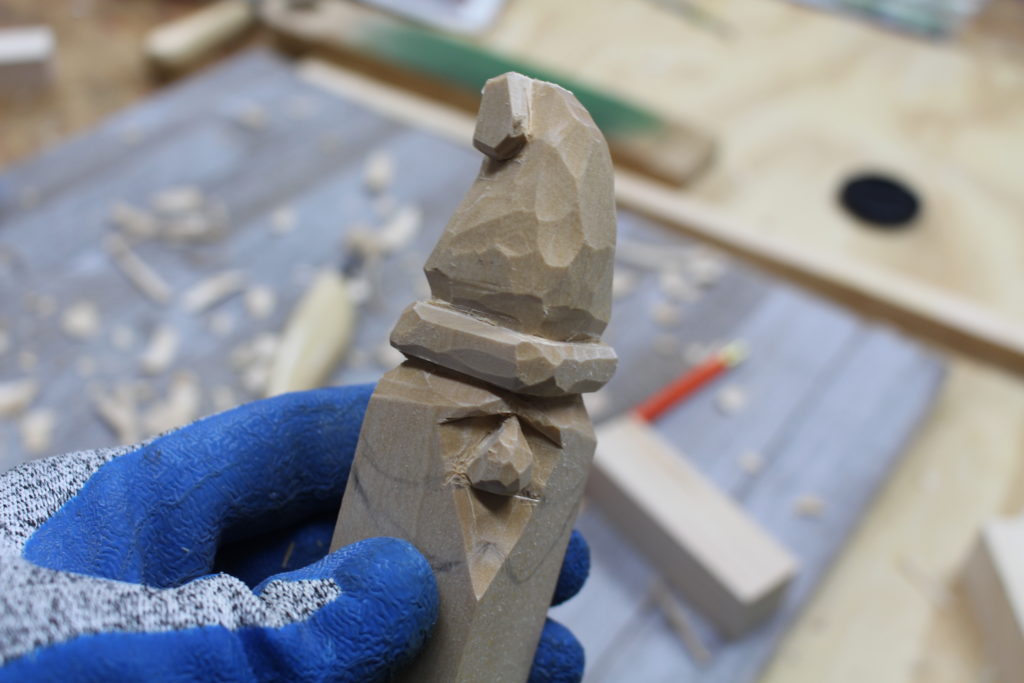
With a few more stop cuts, I start to shape the ball on the end of the hat.
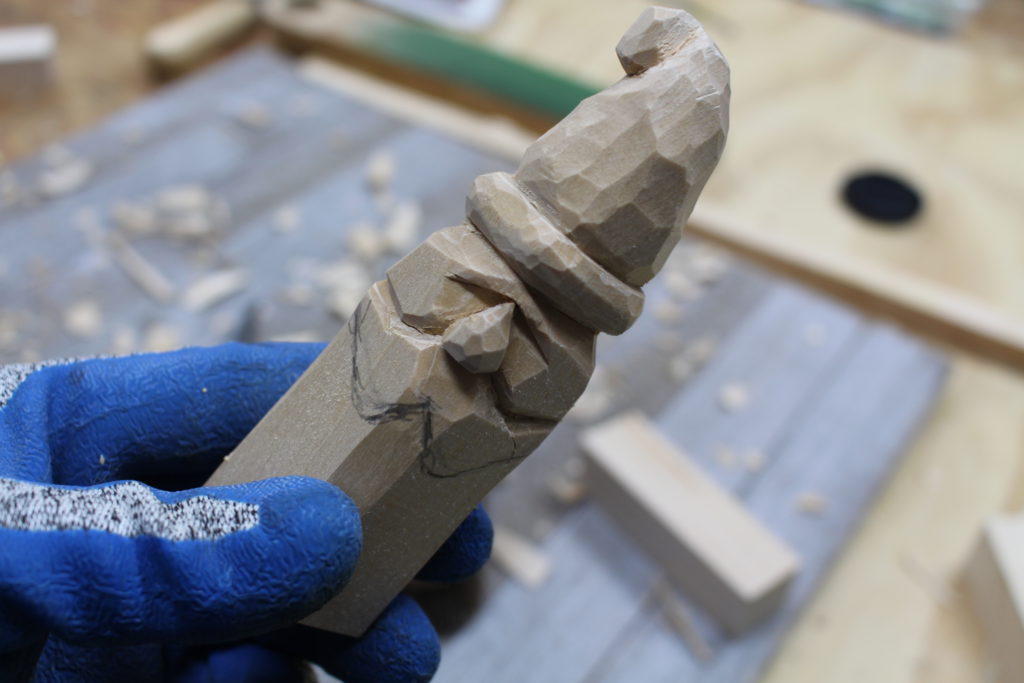
Using the tip of the knife, I carefully follow the lines for the mustache and make some initial stop cuts. Then carve up to the stop cuts to define the mustache. I suppose you could also use a V-tool to make these cuts.
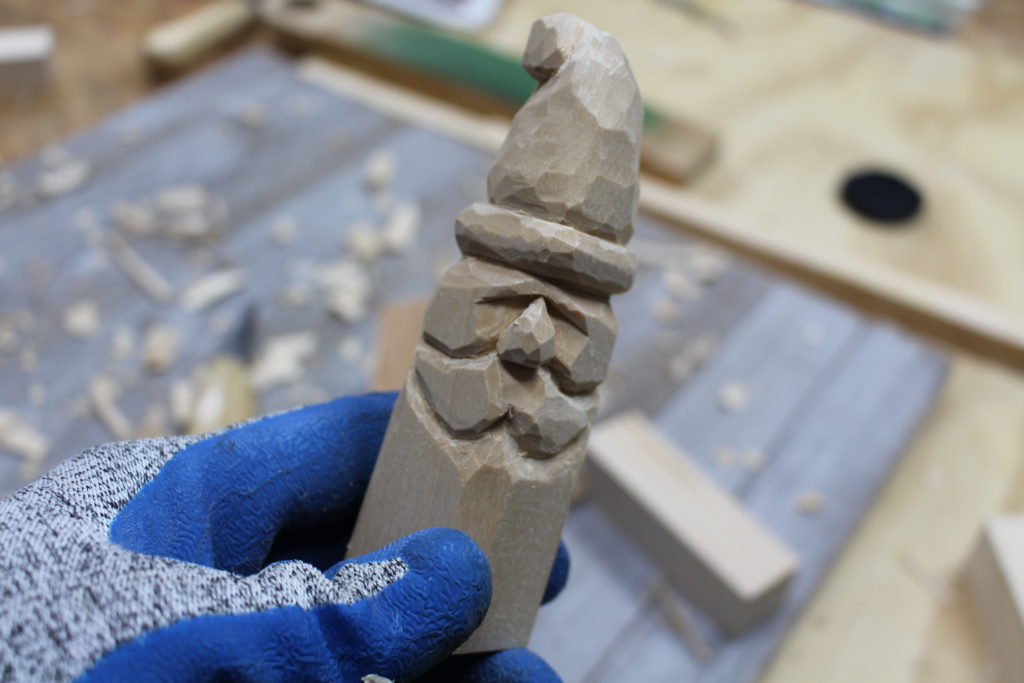
I do the same thing to make the bottom of the mustache stand out.
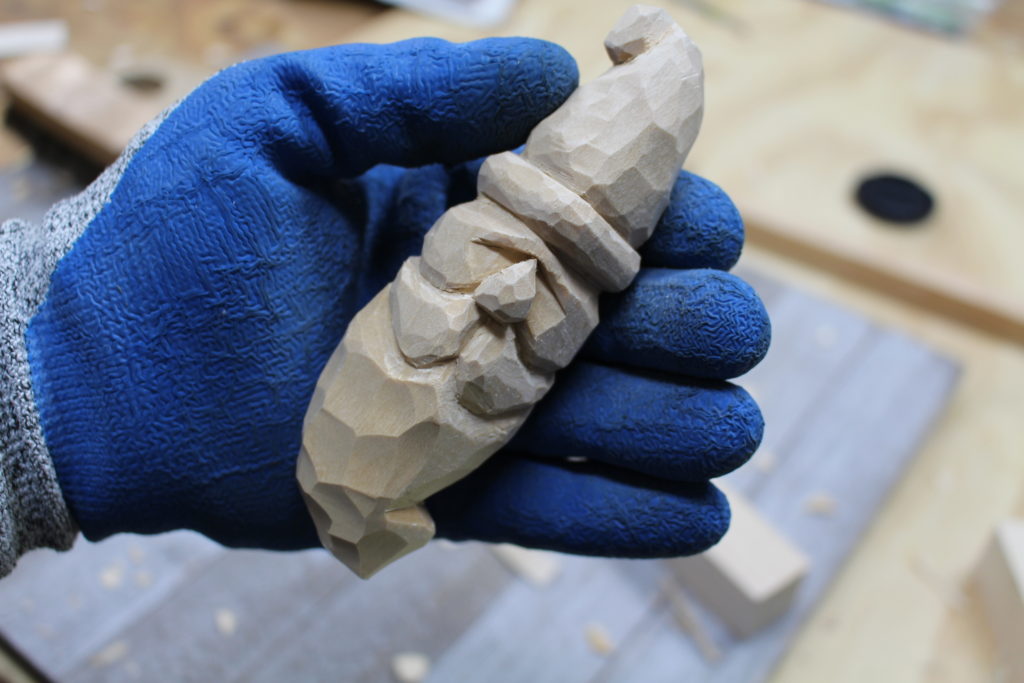
Now I can work on creating the beard. Similar to what I did for the hat, I made a stop cut on the right for the beard and made the beard swoop to the right. Of course, you can make the beard go straight down into a taper if you want. Here again, I used several small push-cuts to give the beard texture. You can also use a V-tool to create texture for the beard.
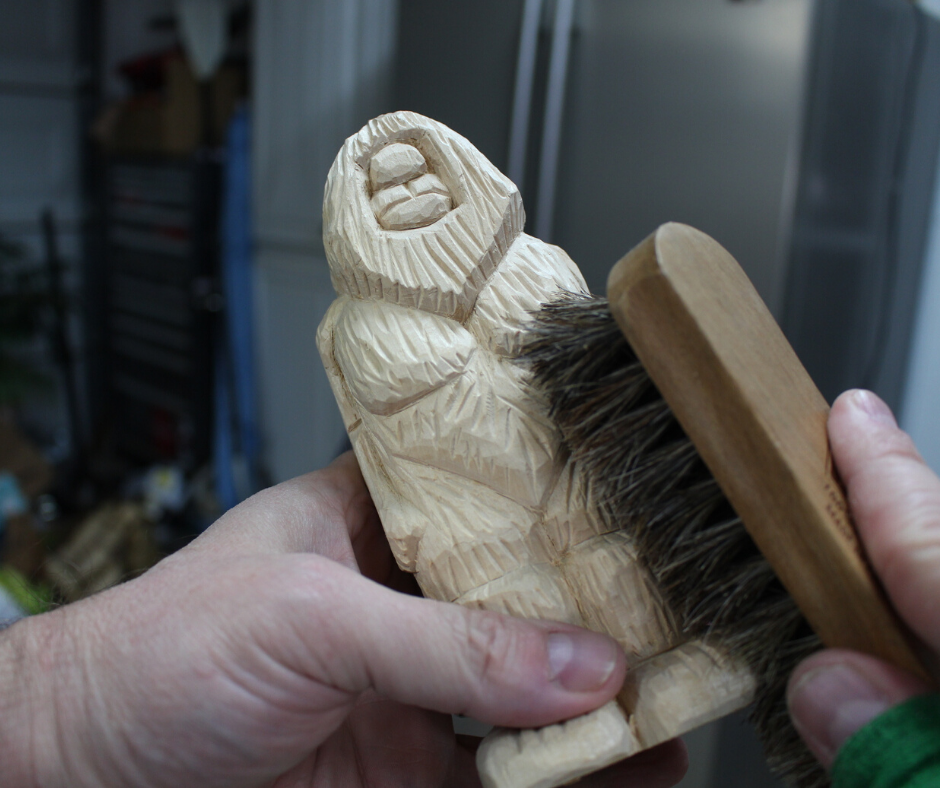
For these carvings, you DON’T normally use sandpaper. But I use a brush to go over my carvings. The brush helps get the little fuzzies out or tiny pieces that continue to hang. Some carvers will also use something like a scotch bright pad to just knock off really sharp edges that might break. But for the final carving you want to be able to see the chisel marks from the blade. In the photo above you can see me brushing my Bigfoot Carving.
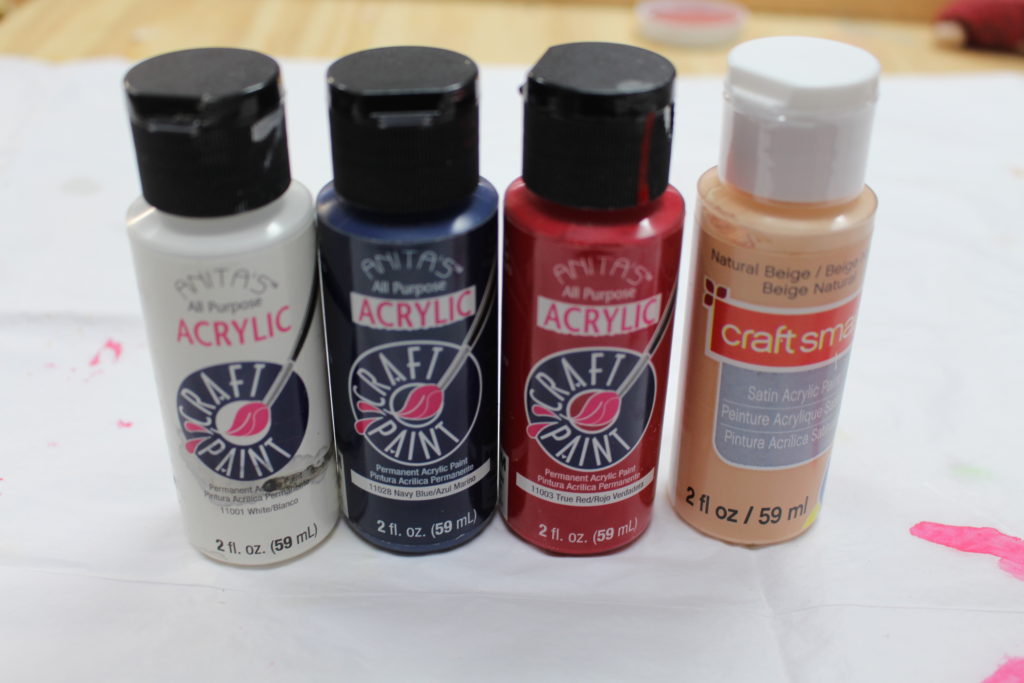
On to the painting phase. I’ll use these basic acrylic paints from Hobby Lobby. You can also get these at Michaels. You’ll also need a pack of brushes all in different sizes. I use beige for the flesh tones and red for the hat, white for the hat and beard and blue for the eyes.
Another way to apply these acrylic paints is to mix with a few drops of water. By doing this you kinda turn the solid-color paint into more of stain. I recommend that you experiment with the paints on some scrap wood to see the finish.
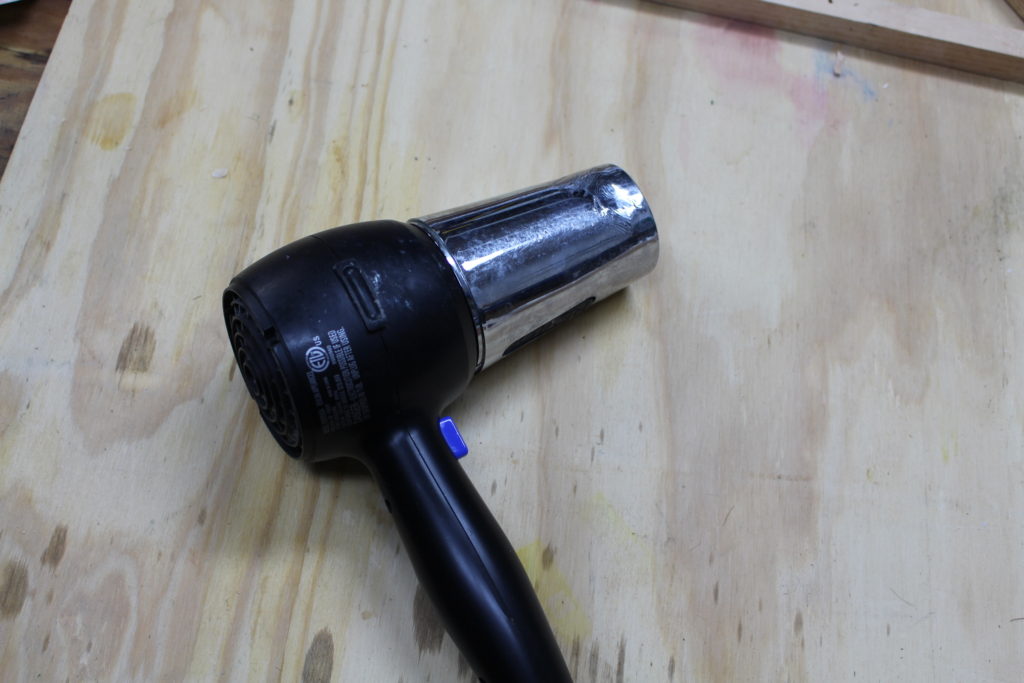
If you don’t want to wait for the paint to dry, then get a hair dryer. This will drastically speed up the wait time. I used it between each application.
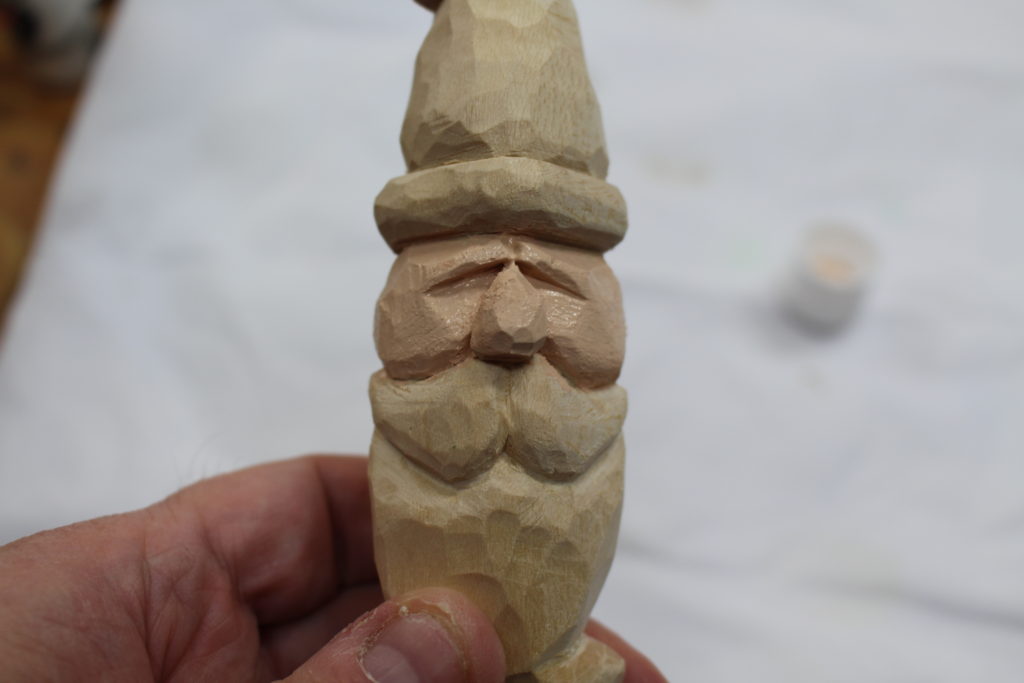
I start with the face and paint it with a beige color. There may be other colors out there that will also give this flesh tone.
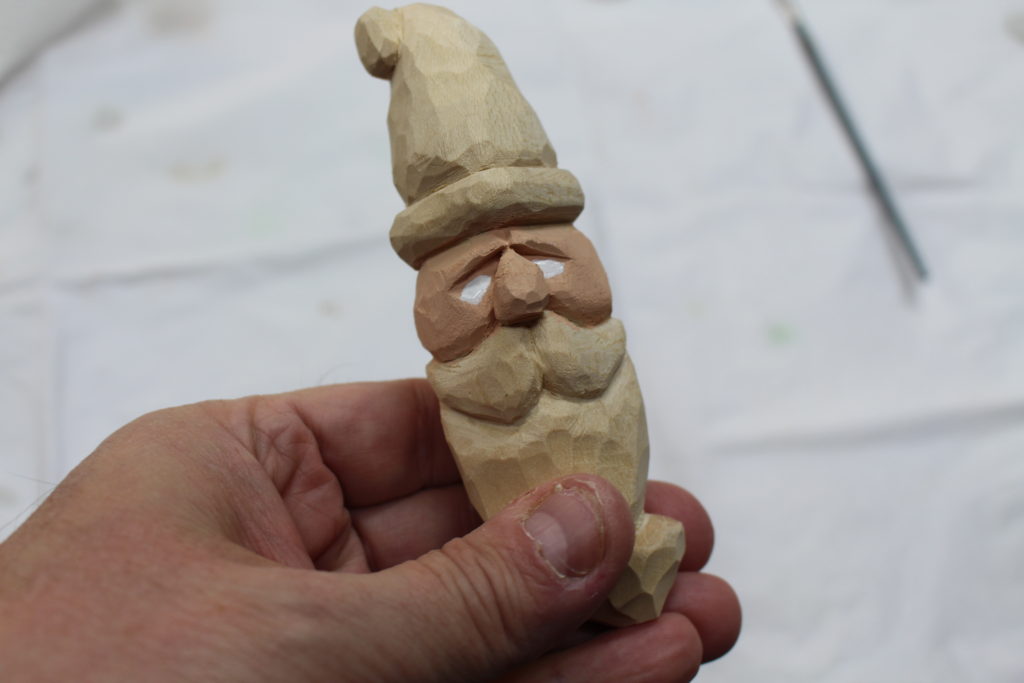
I add an oval shape of white to create the whites of the eyeballs.
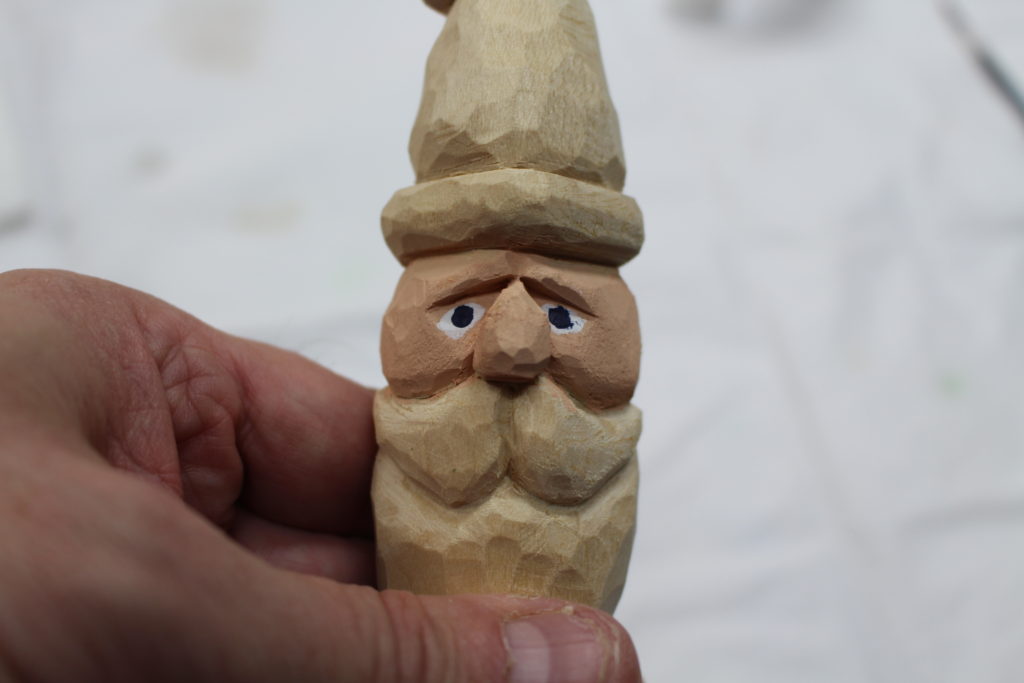
I added a dab of blue on top of the dried white paint. For the eyes, you want to use a very small paint brush.
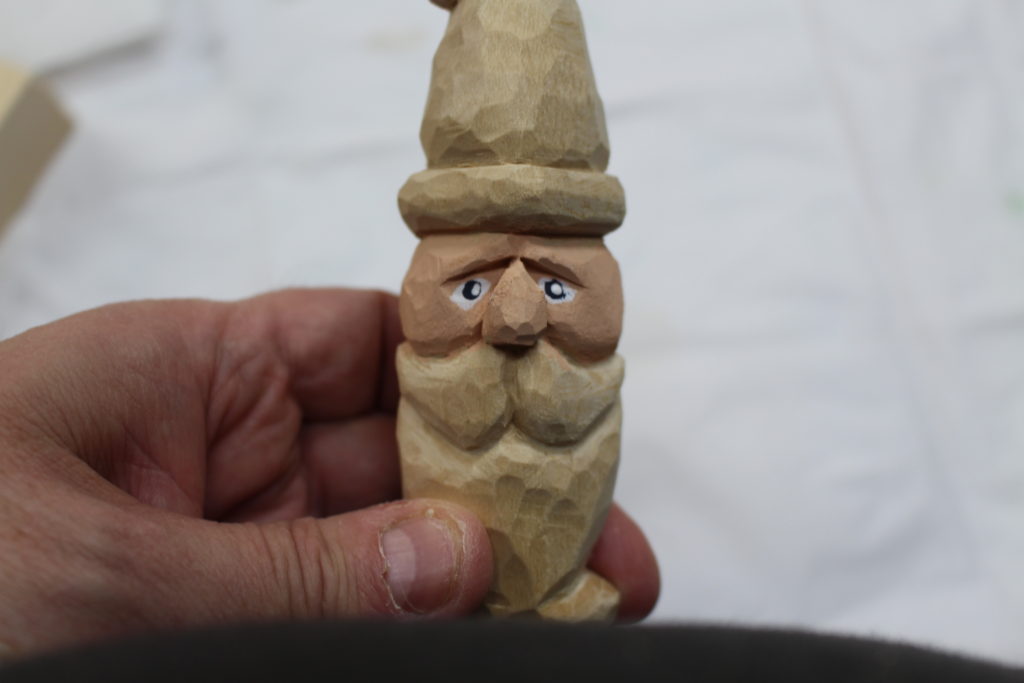
Next I used a toothpick, dipped it in some white paint and added the little white dot on top of the blue. This really brings Santa to life.
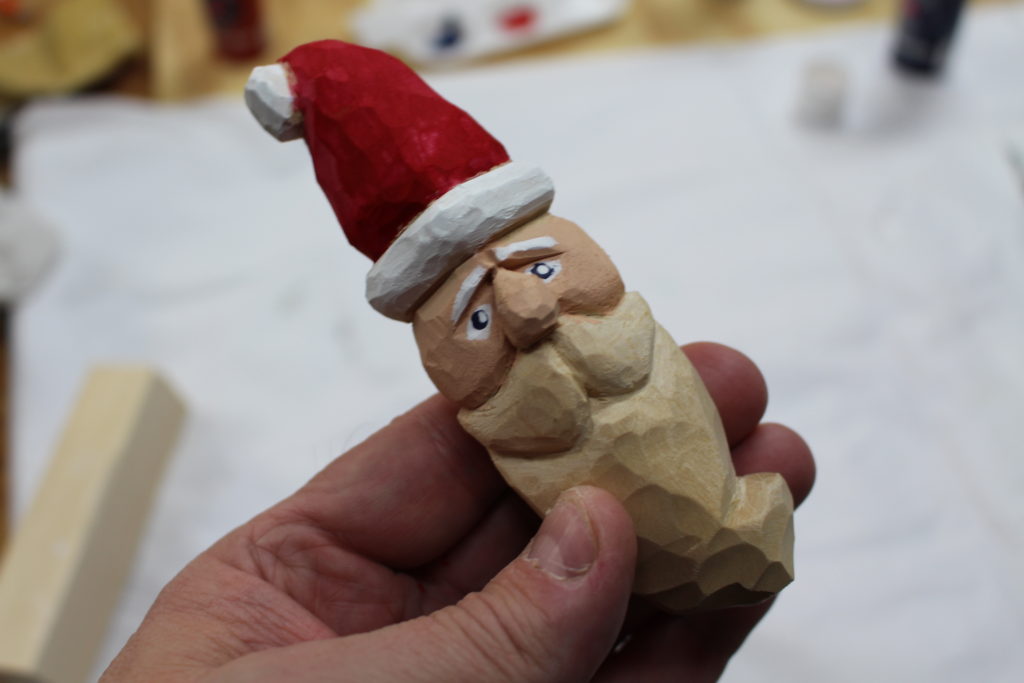
I then gave Santa some eyebrows and painted the brim and hat.
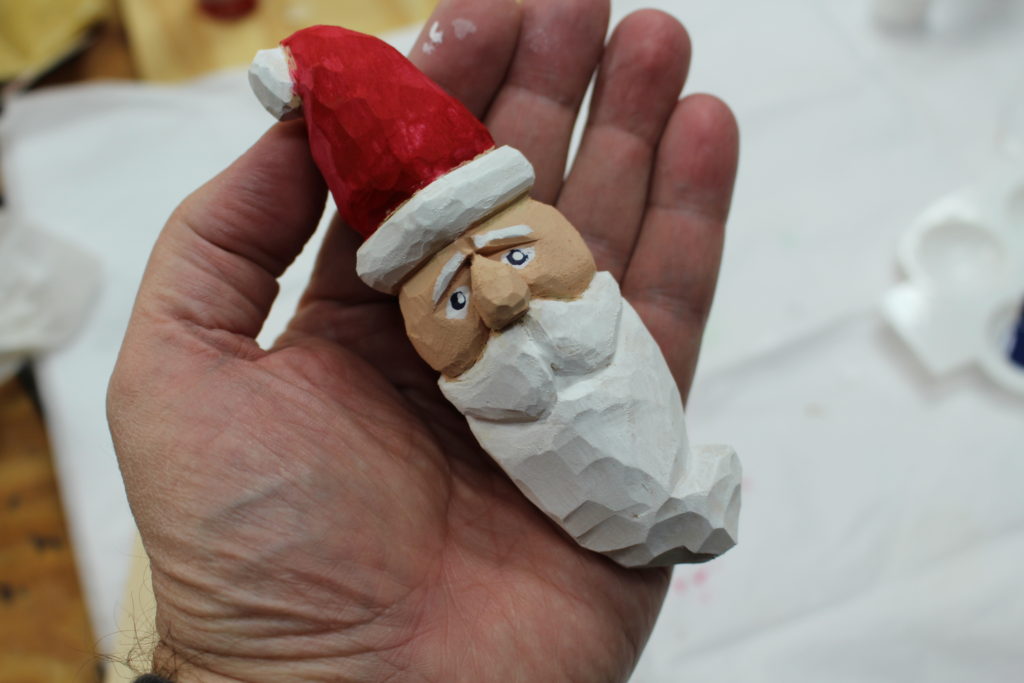
Lastly, I painted the beard.
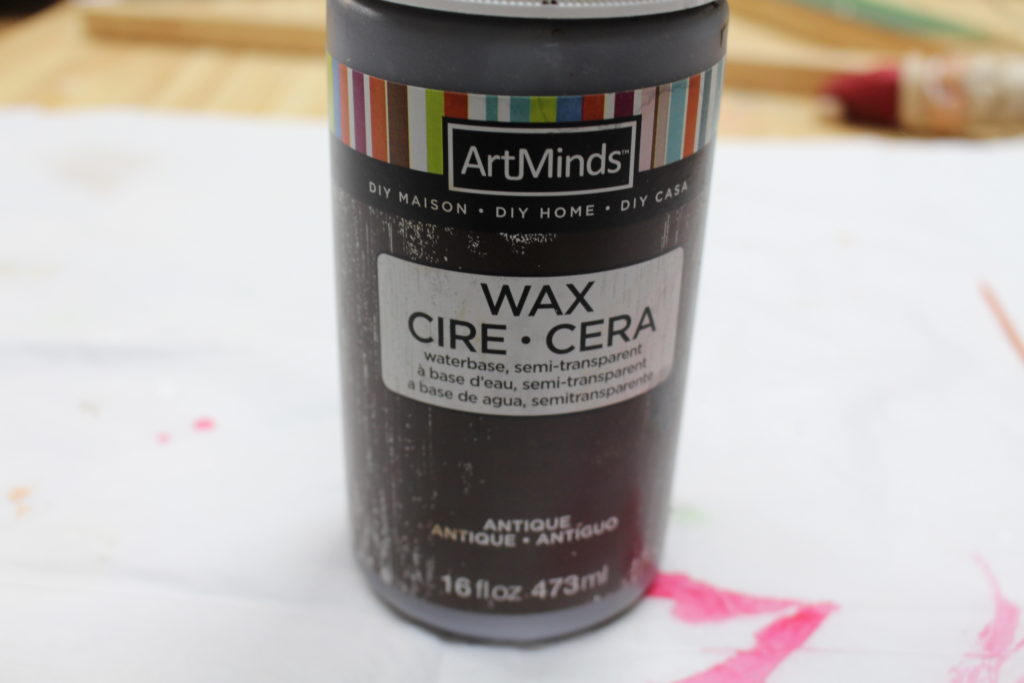
I decided to give Santa the antique look. This is a dark-colored wax that you brush on and then immediately wipe off. This gives the piece an antique look and feels in some of the deeper crevices. This is an optional step. If the antique wax creates some smears in places you don’t want, simply go back with paint and touch up. I did this for the beard and face because the antique mixture darkened it a little more than I wanted.
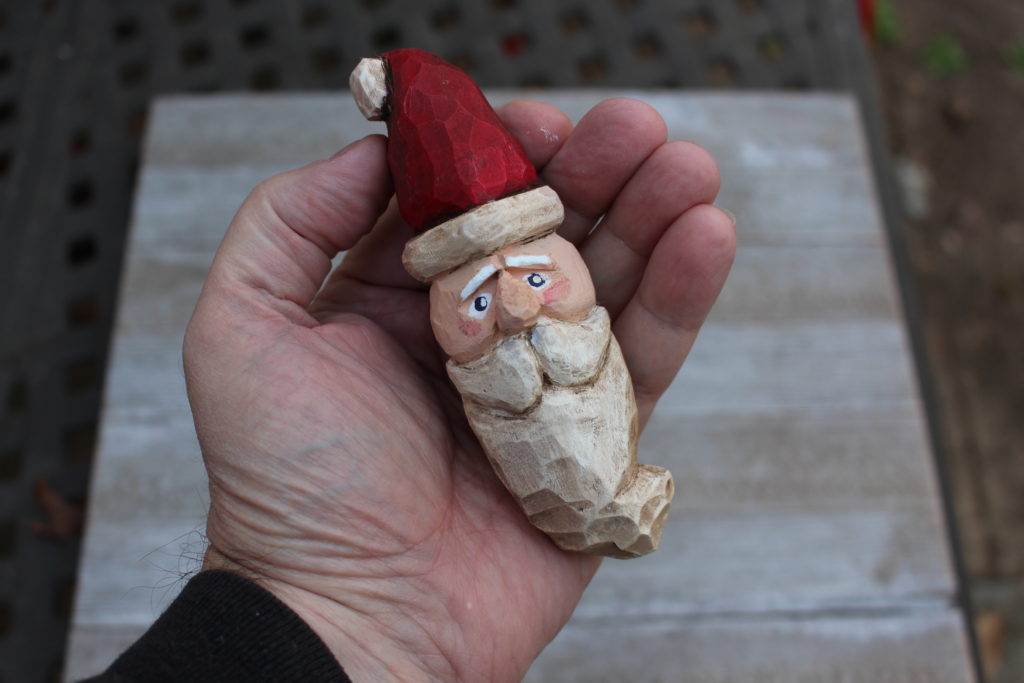
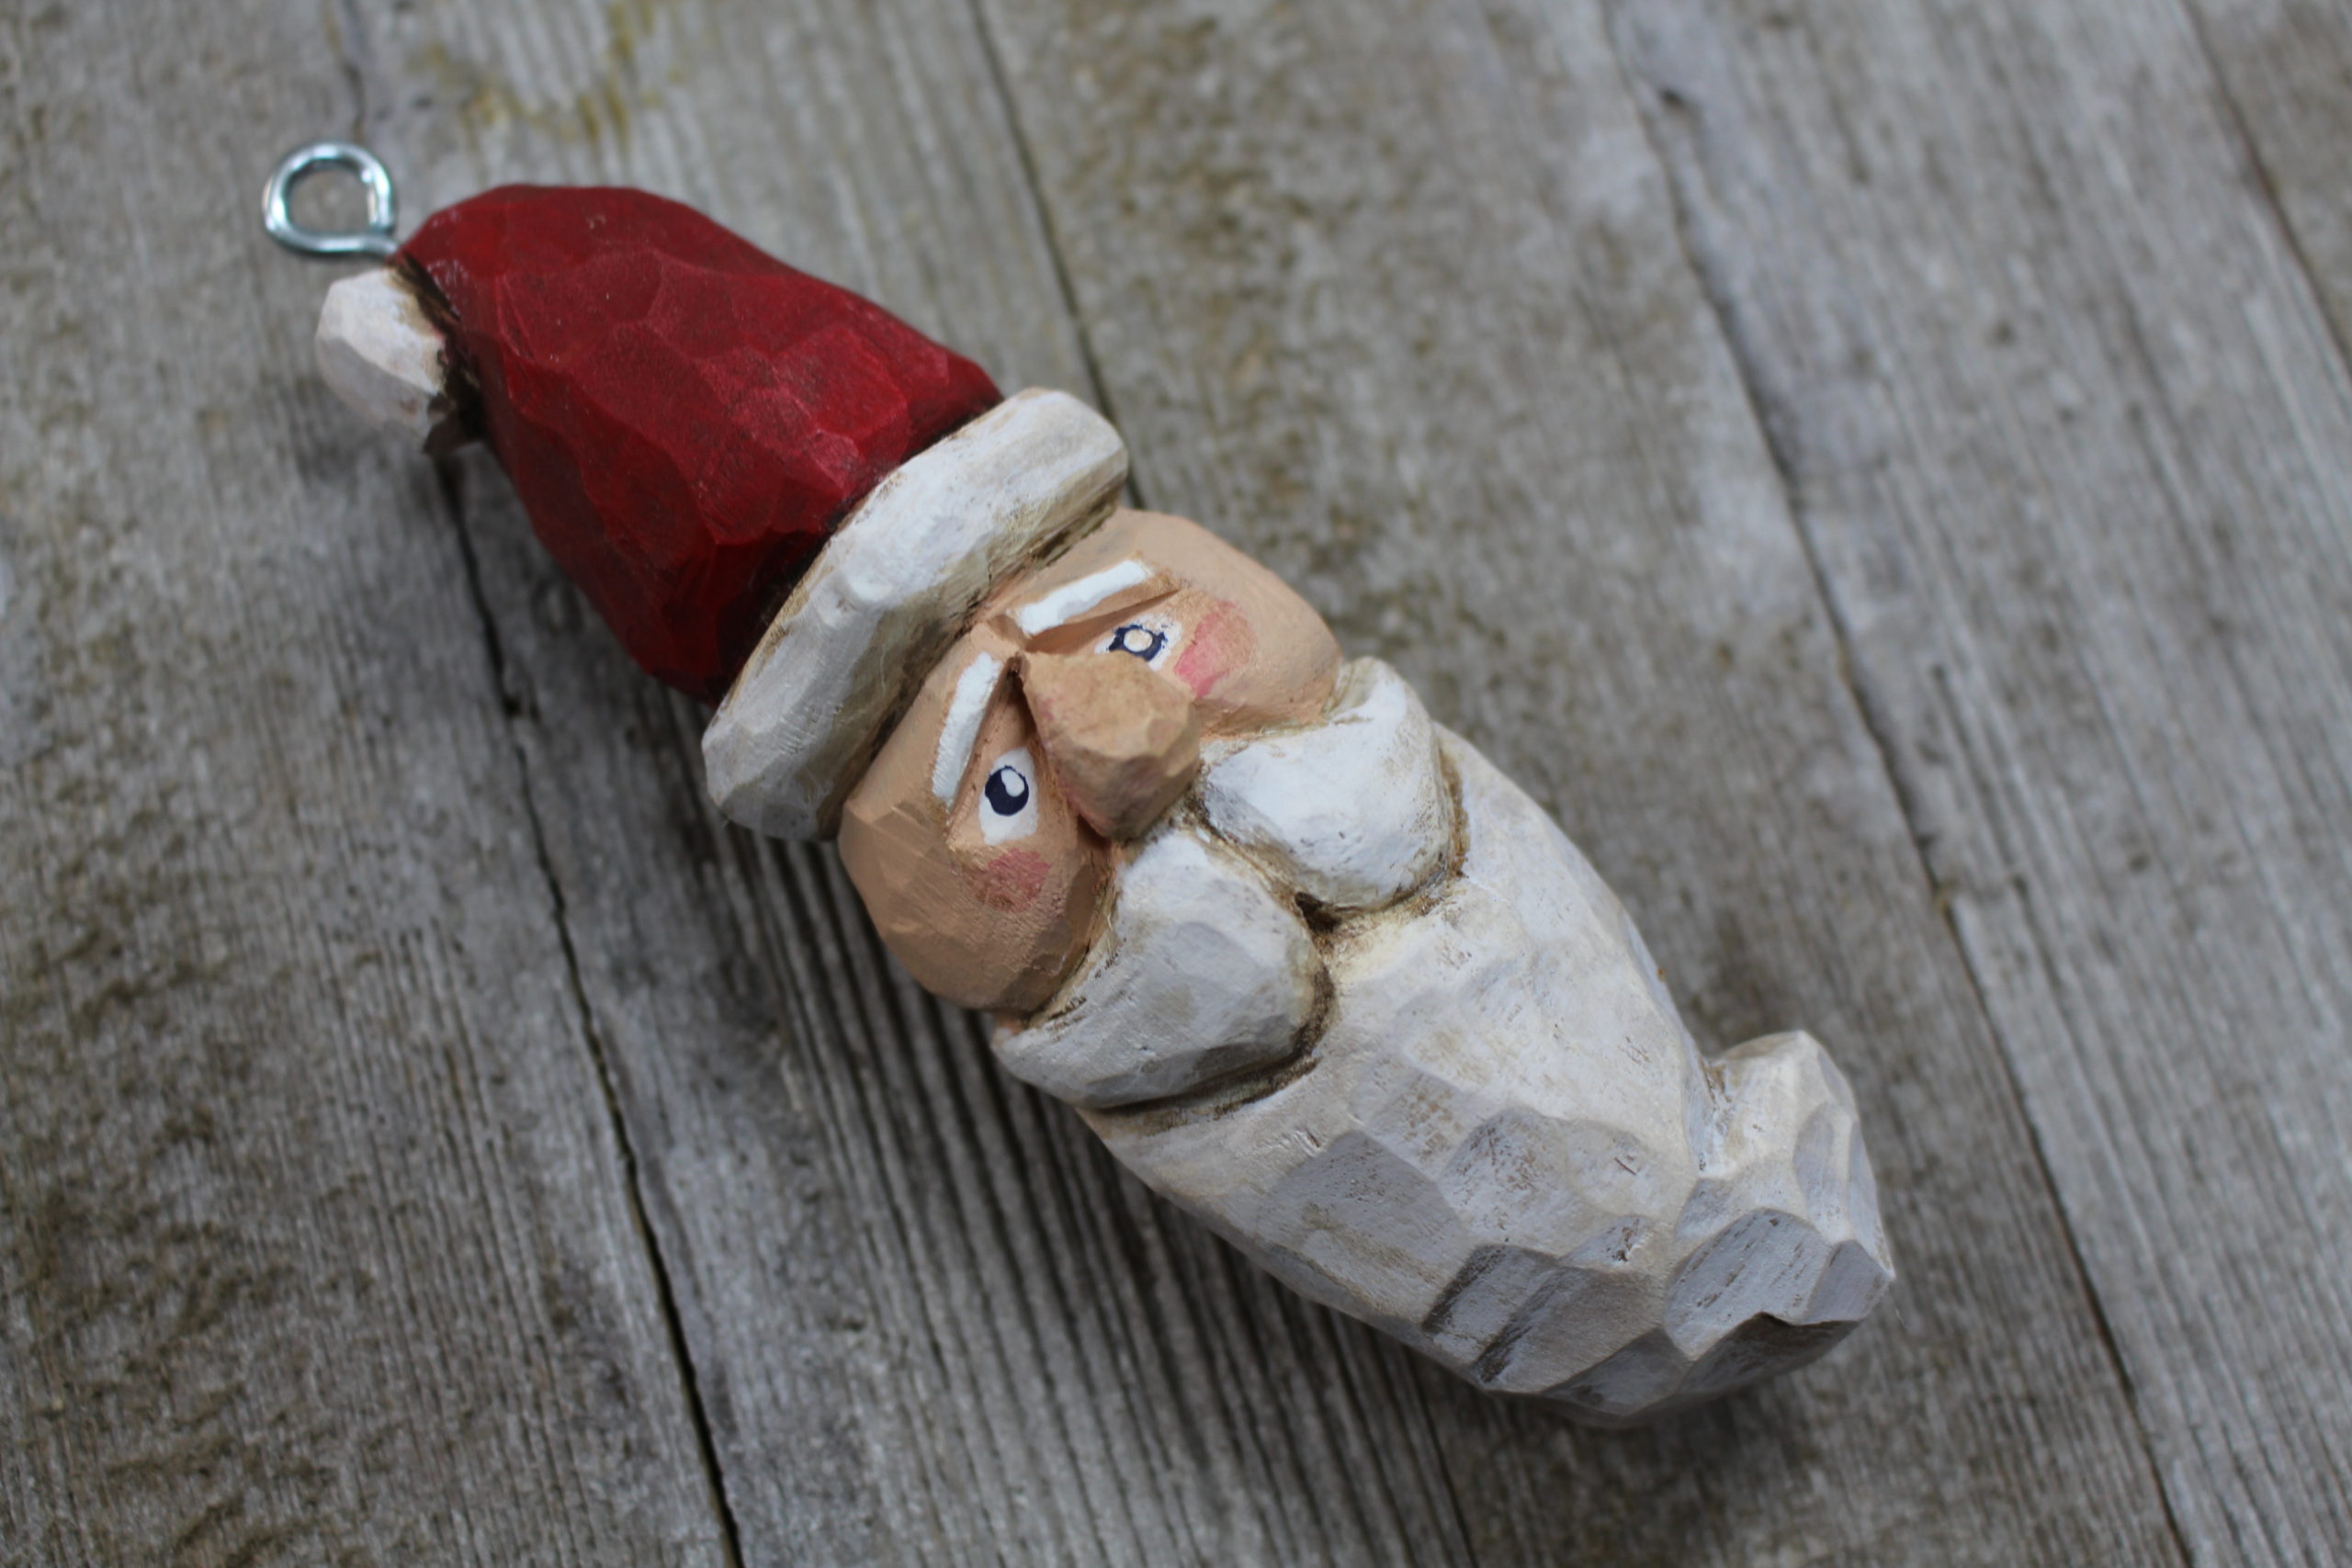
Here is the finished Santa Claus ornament. Again, if the antique wax leaves smears that you don’t like, then go back with the acrylic paints and touch up.
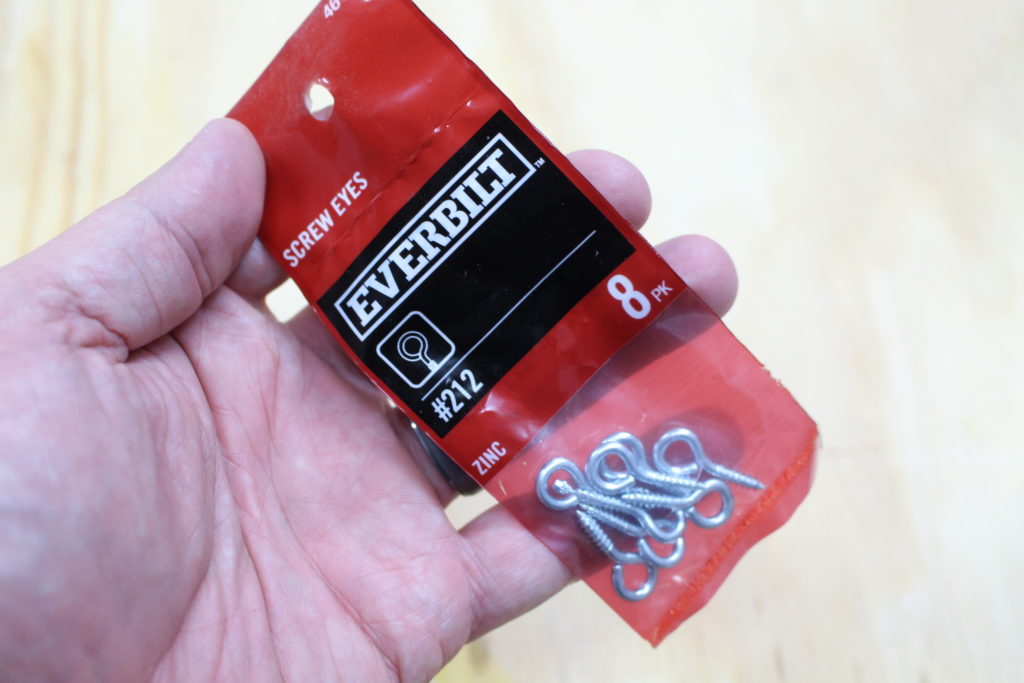
For the final step, I added a small screw eye that will screw into the wood on top of Santa.
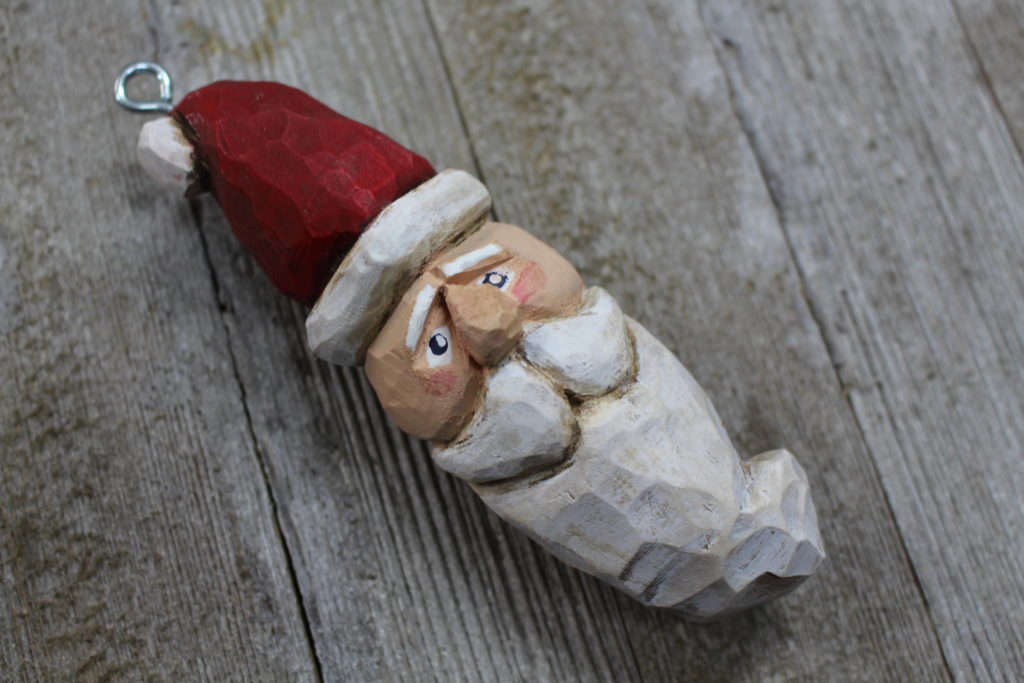
The screw eye was very easy to start by hand and just screw in with my fingers. Now, Santa Clause is ready to hang on the tree.
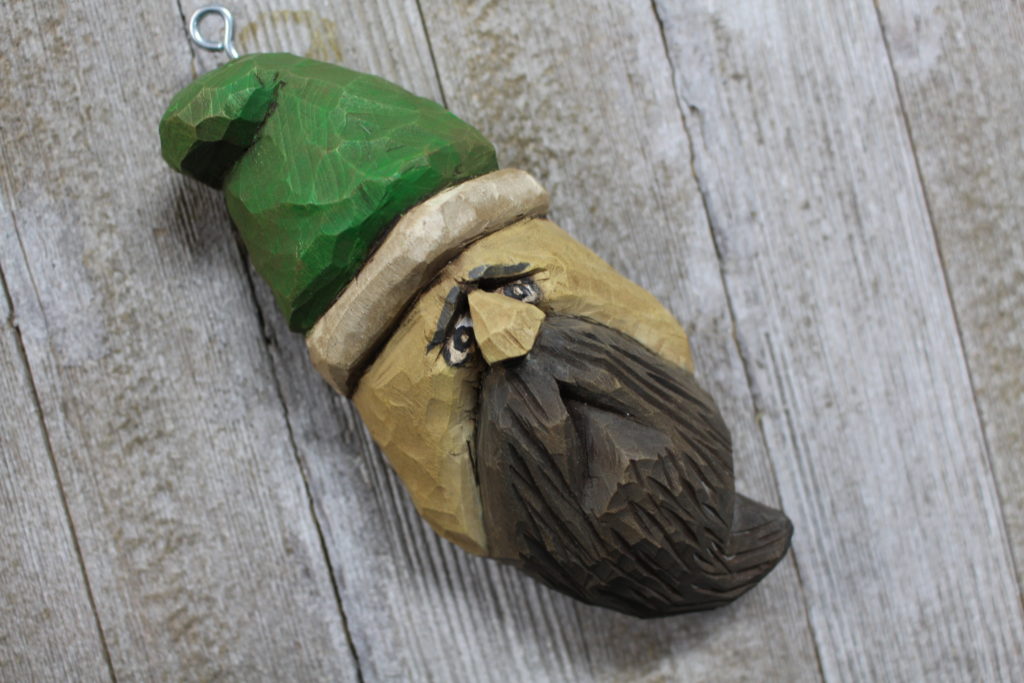
Here is one of Santa’s elves. This is one of the first caricature carvings I created. If you look closely at the elve’s beard you’ll noticed that I used a V-tool to get the beard texture.
I hope you enjoyed this tutorial on how to carve a Santa Claus ornament. If you like this tutorial, I invite you to check out many of my other tutorials on this site and YouTube. If you subscribe to this website, I will automatically email you my Home Shop Safety Checklist. See the sign up form below this post.

Are you starting up a new shop? Want to work safer in your shop? To help you answer these questions I've put together a 2-part checklist -- Home Shop Safety & Tool Checklist.
I will also send you updates of my latest woodworking and DIY projects. You can get all this by subscribing to my free email newsletter.
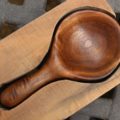
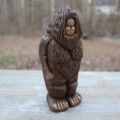
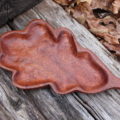


My question is about using wood from a tree that’s been dead about a year and will be cut down soon. One is ash and one is black walnut. I’m just starting wood carving but would love to keep some of the branches to carve into various items. Good idea? And I have a birch branch recently cut off a tree. Do I have to do anything special to be able to use it in the future?
Thanks! Love your “Beginners” book
Thanks for commenting! With green wood — especially large pieces — you might consider sealing the ends with latex paint or something similar. The ends are generally where big logs will begin to check or crack. With smaller branches you may not have to worry as much. But I would recommend you store them in a place like the garage so they can gradually season.
Hi Stephen,
I don’t do much carving at this time but have done once in the past. Currently I’m building cornholes…I appreciate your work and tips. I enjoy seeing other people’s craftsmanship..
I’d attach a few photos of my work but I can’t attach any here.
Thanks and
Happy Holidays….
Thanks for the comment! The cornhole project is a fun project and something the kids and family will enjoy! Good luck!
Really enjoy your tutorials.
Keep making them, please.
Thank you! Will do!