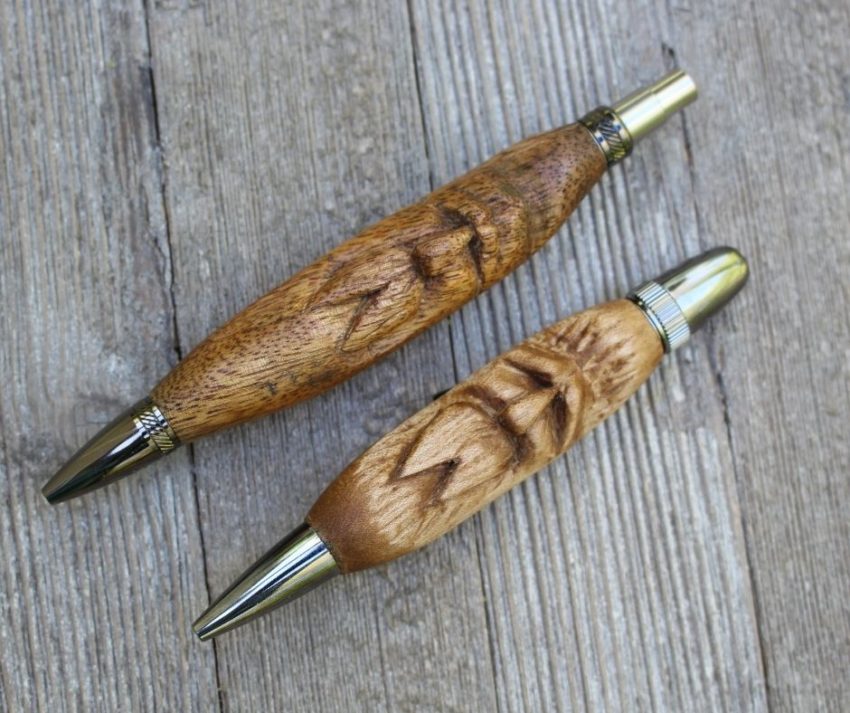
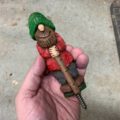
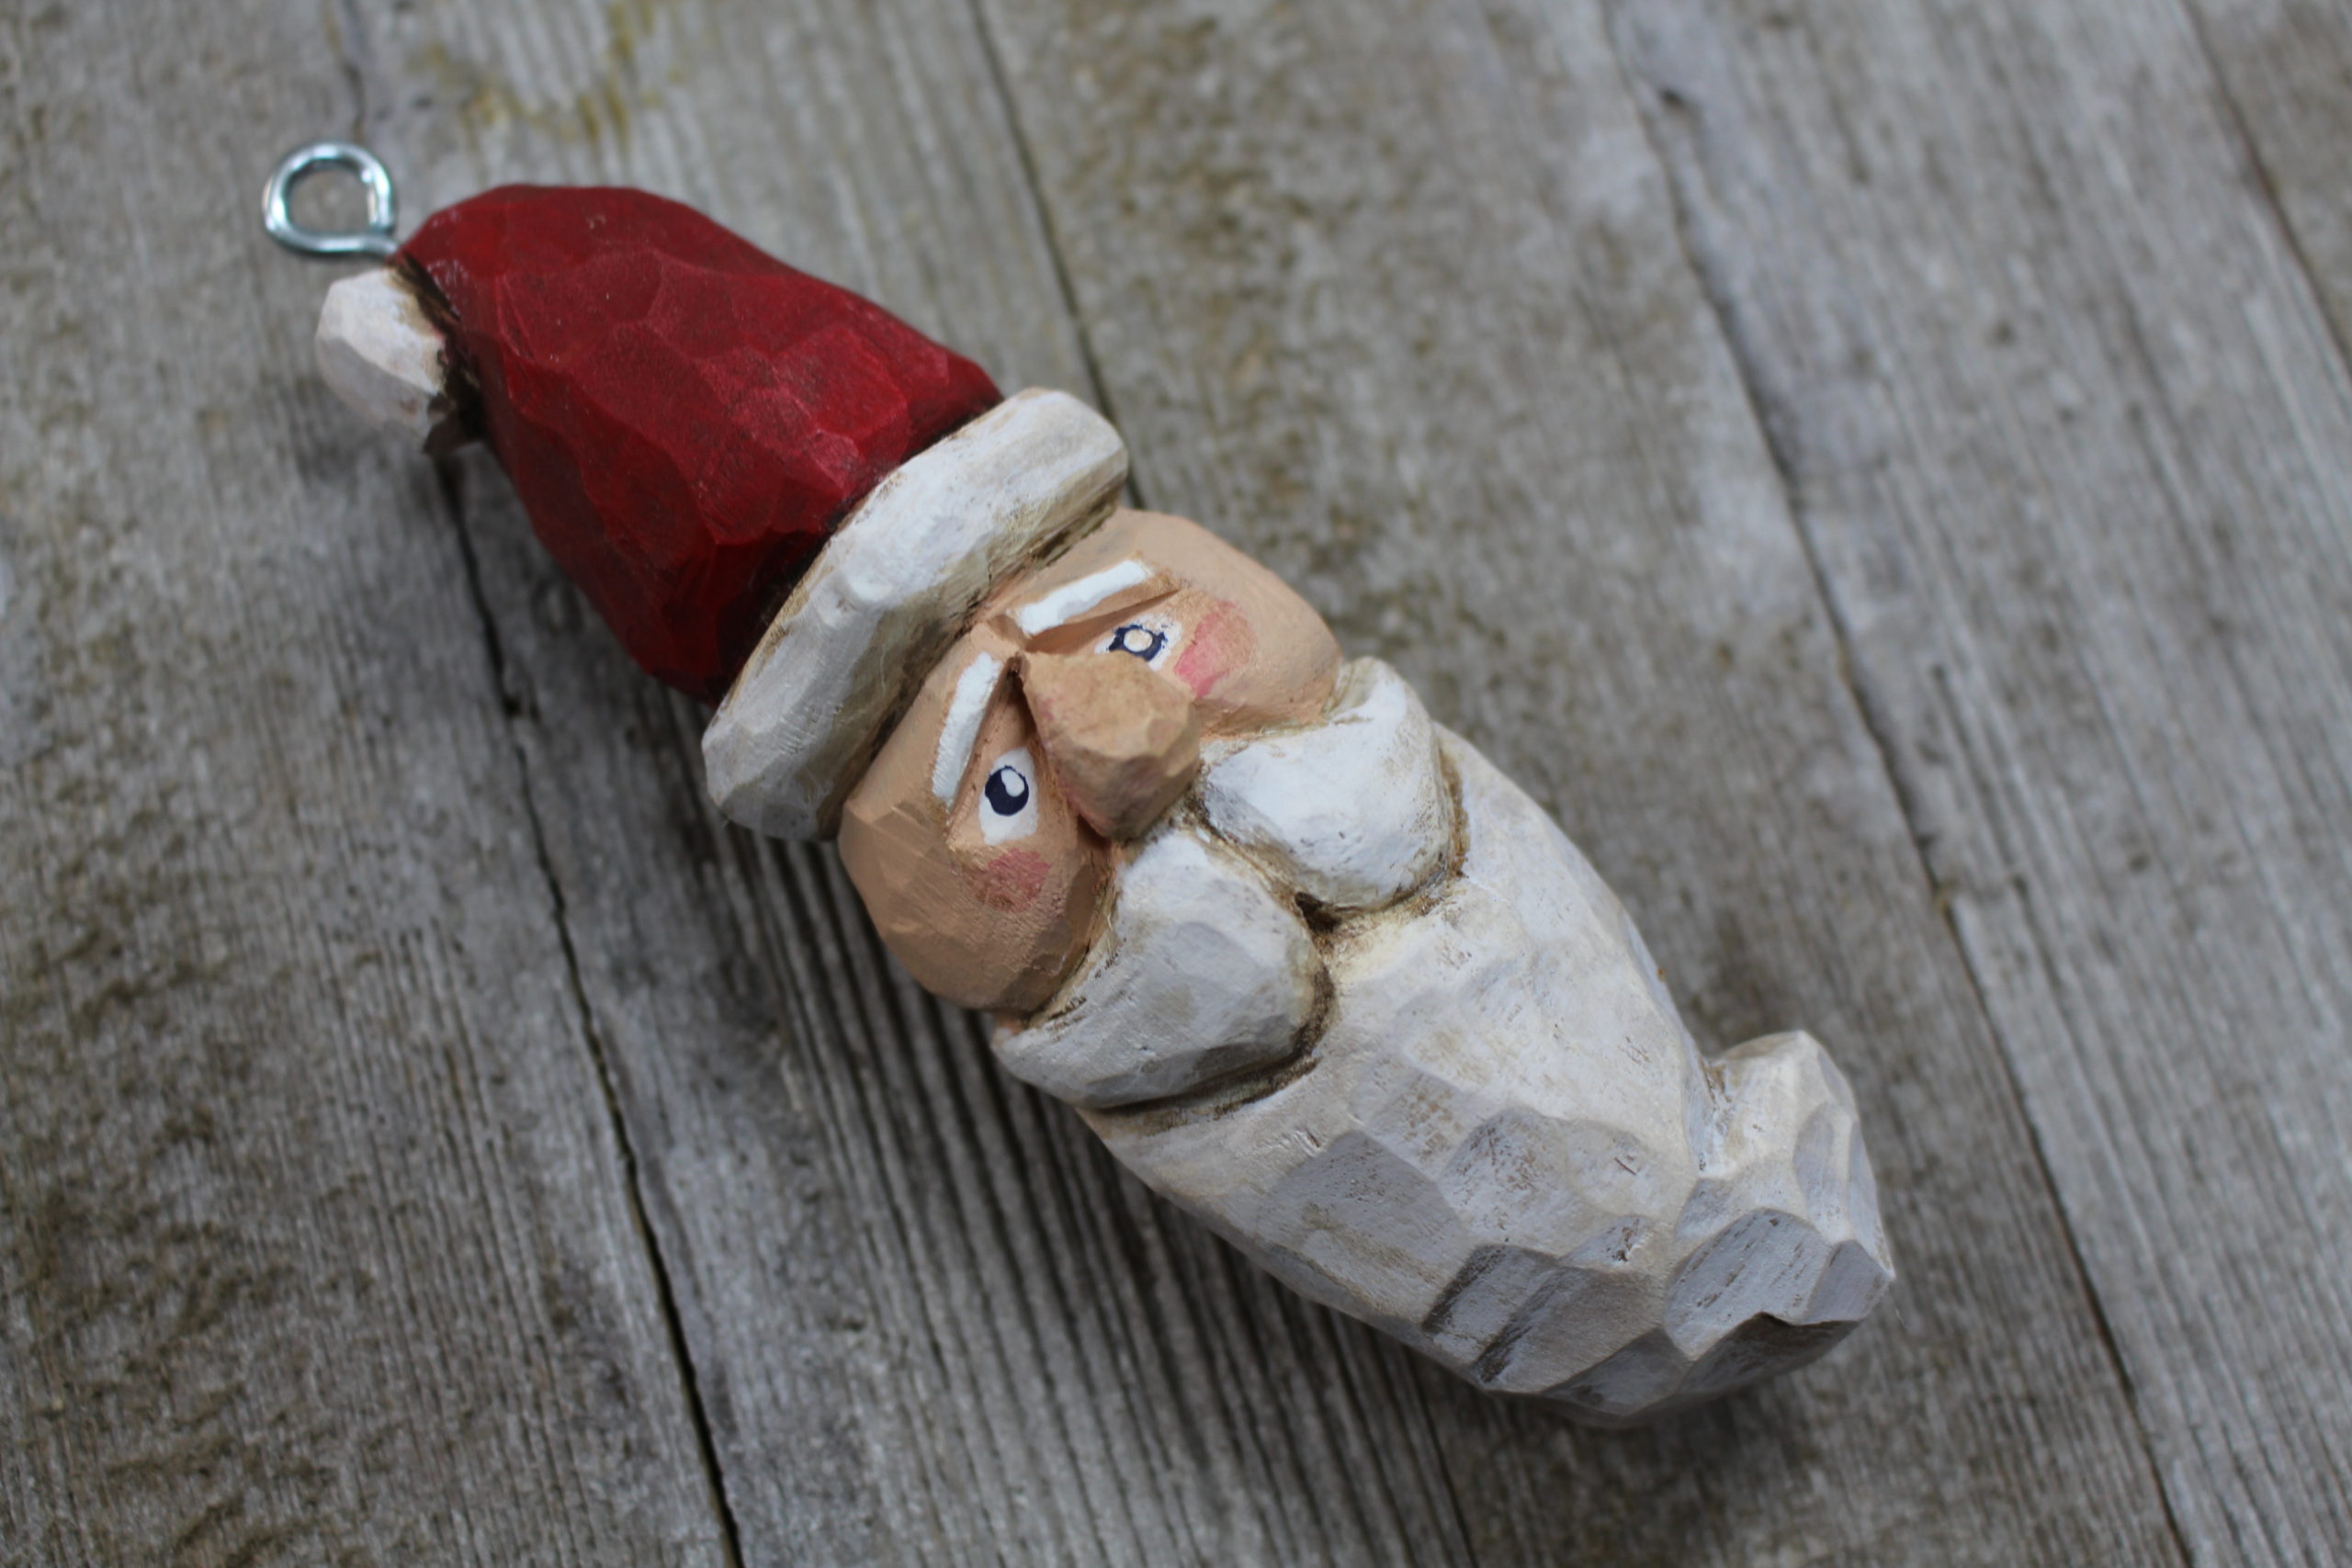
I recently decided to carve a wood spirit onto one of my pen turnings and it turned out nice. I was ecstatic about how this turned out. I decided to make two. Once you learn the basics of carving a wood spirit, then you can apply it to many other wood crafts. I’ve carved them on hiking stick toppers, wooden spoon handles, and even deer antler.
In this post, I’ll share how to carve a wood spirit on a wood turning from my lathe. I’ll share a few photos and steps below, but if you really want to get the feel for carving these, I recommend watching the YouTube video below:
Tools I Used
Below, I list the main tools and/or materials you’ll need to do this project. Some of these are affiliate links, and if you buy through these links I receive a small commission. Which definitely helps support me toward producing more content. Thanks for the support!
- Flexcut Detail Knife
- Flexcut V-tool (60 Degree)
- Carving Glove
- Carving Tape
- Atlas Pen Kit
- Atlas Pen Kit Bushings
- Pens Plus Friction Polish
Safety
Be sure to wear your safety glasses, face shield, and dust mask when using the wood lathe. For carving, make sure you have a freshly stropped knife and wear your carving gloves to protect from cuts.
Step 1 – Choose Pen Kit and Prepare Pen Blank
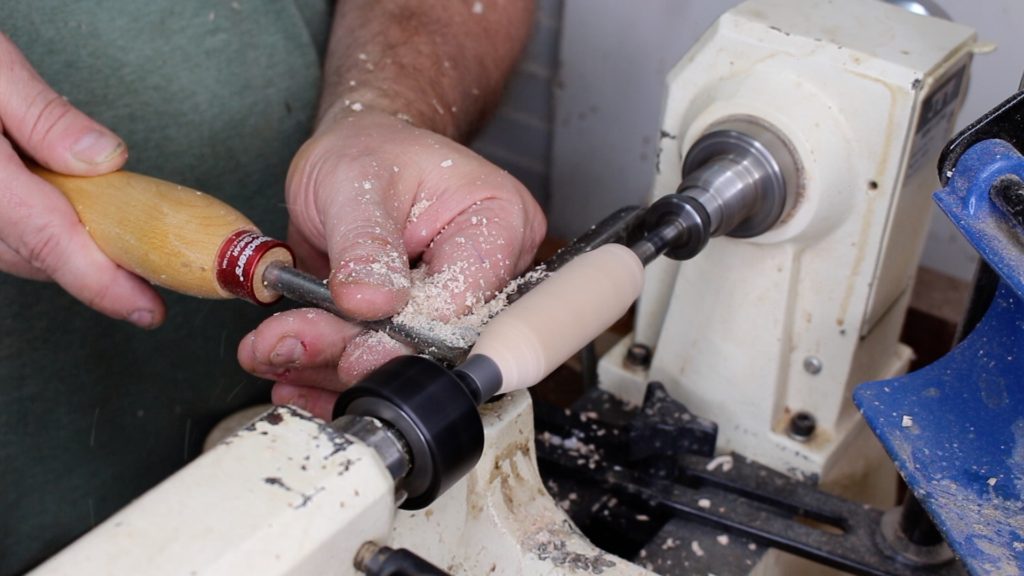
I first decided on a pen kit that would give me enough room to make the wood carving. For my first practice pen, I used Mango Fig wood and a pen kit called Tenacious. Tenacious is a one-barrel kit that’s relatively long. For the tutorial, I used a pen kit called Atlas. The barrel is a little shorter than the Tenacious Kit, but still has plenty of room for a carving.
I prepared the pen blank like I normally do and you can check out my Pen Turning 101 Series if you’re not familiar with pen turning. This tutorial will be more devoted to making the wood spirit carving.
On the lathe I turned the pen down to the bushings on both ends and sanded. I turned the middle section some but not totally round. That gave me plenty of wood to carve the wood spirit. In fact, I had so much to work with that I never carved down to the pen tube.
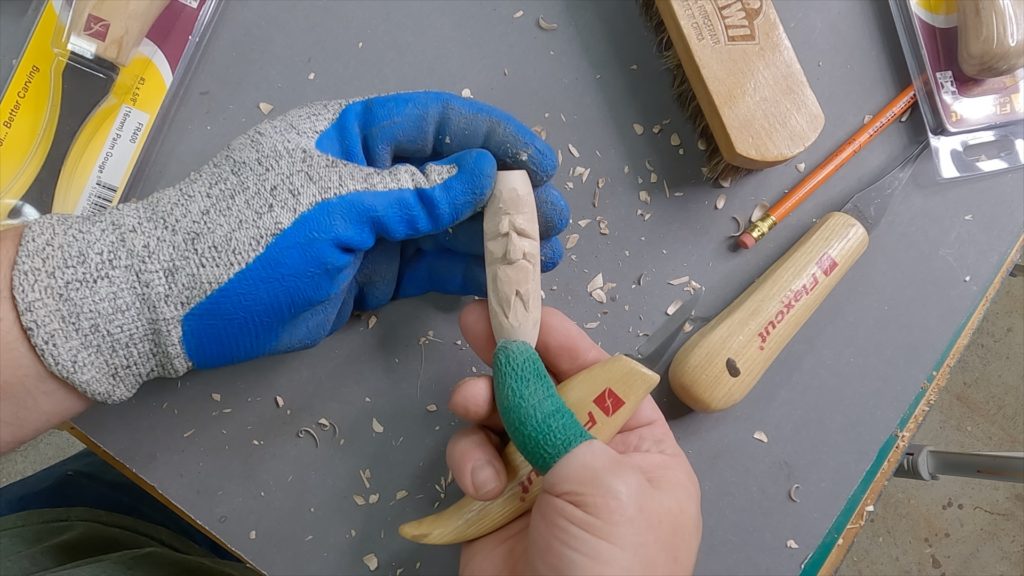
Step 2 – Carve the Wood Spirit
Below, I’ve listed the order in which I carved the wood spirit. I would highly recommend watching the video to better understand the sequence. The video will go step-by-step through the process – beginning to end.
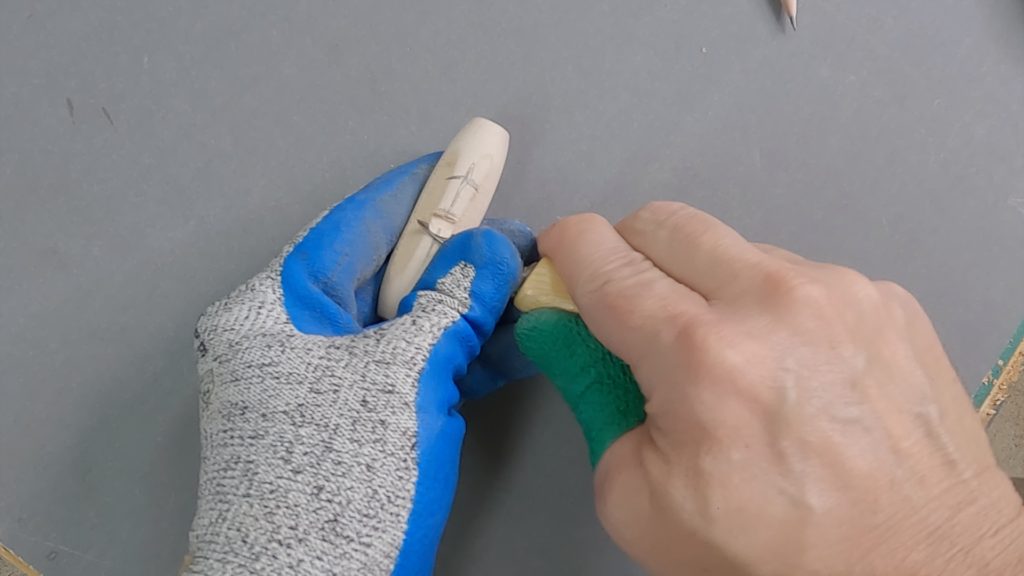
Establish a centerline lengthwise and mark with a pencil.
Draw a line across the blank, in the center.
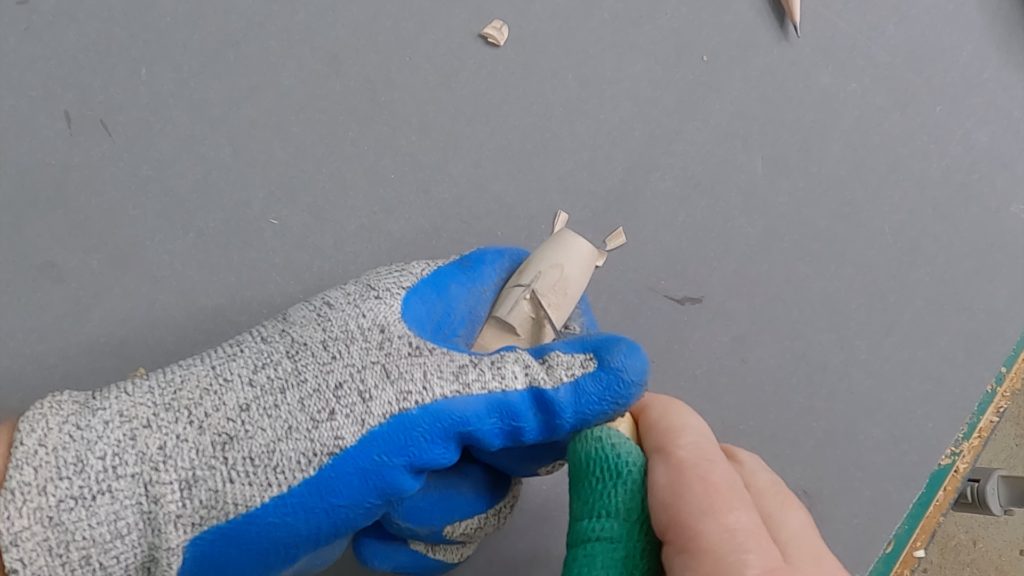
Make a stop cut on this line. This will be the bottom of the nose. Carve up to the stop cut to establish the bottom of the nose. The deeper the stop cut, the more the nose will stick out. Obviously, you don’t want to go so deep that you come in contact with the brass pen tube.
Go one finger up and draw a brow line. Make it slightly slanted.
Make stop cuts on these lines and then carve up to them to begin establishing the eyes. Don’t be afraid to go deep. You will be carving the eyes in such a way that it creates the illusion of eyes. Keep making a series of cuts until you think the eyes are deep enough. Again, don’t go so deep that you hit the brass pen tube.
Draw in the nose and make stop cuts straight down on the nose. Cut back to these stop cuts to create a V-cut. This will establish the sides of the nose and begin to establish the cheeks.
Sketch in the mustache. Draw it in about 2 fingers down. Then, make a V-cut on that line to define the mustache. The mustache will sit on top of the implied beard.
Cut off the corners of the nose on the bottom.
Make triangle cuts on the corners of the nose to better define the cheeks and give the face some depth.
Refine the nose by making small, careful slicing cuts. Round over any square edges and bring down the top of the nose so it tucks in under the brow.
Make some stop cuts about 1/8 inch above the brow to create the top of the eyebrow. Then make some rolling cuts to establish a forehead. Be careful with these cuts so you don’t accidentally chip off any big chunks of wood toward the end of the pen. You simply want the forehead to appear like its receding into the pen body. You may have to keep reversing the direction of the knife to create this shallow valley between the forehead and the pen barrel body.
Try to stay well away from the ends of the pen so that you don’t create gaps that might expose the brass pen tube. The pen tube is there to accept the pen parts which will be pressed in later. We don’t want the pen tube showing.
Go back over the entire carving, refining and cleaning things up. Make careful slicing cuts and get rid of sharp edges.
Finally, I used my V-tool to clean up v-cuts I made with the detail knife, and I used the V-tool to create the illusion of hair in the mustache, beard and above the forehead.
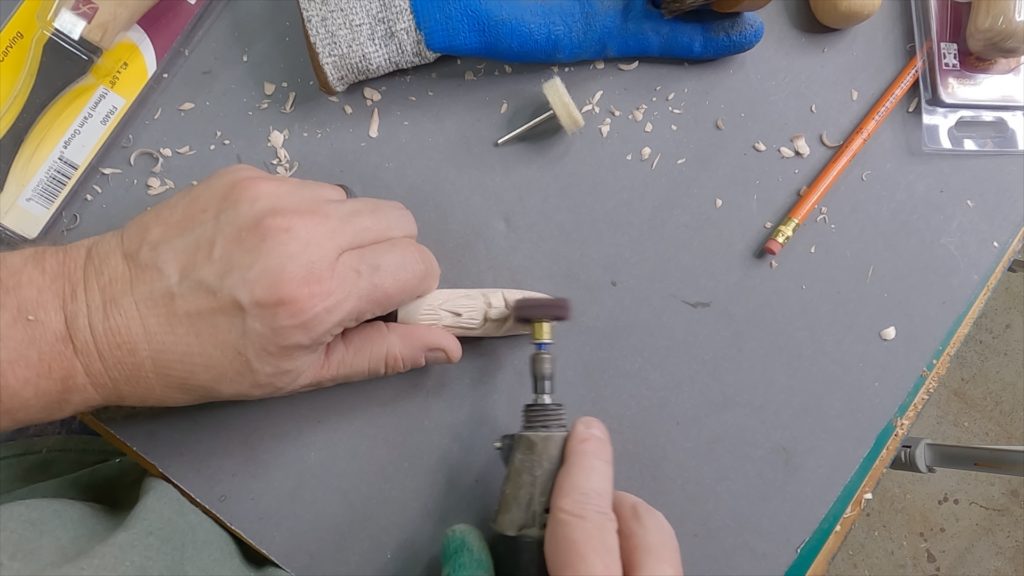
Step 3 – Clean up and Refine the Carving
Normally, I don’t use sandpaper on my carvings, but for the pen (and since it will be resting in someone’s hand) I did use a little 220 grit sandpaper and the 320 grit buffing wheel Dremel attachment. I’m mainly getting rid of unwanted fuzzies and smoothing over any unwanted sharp edges.
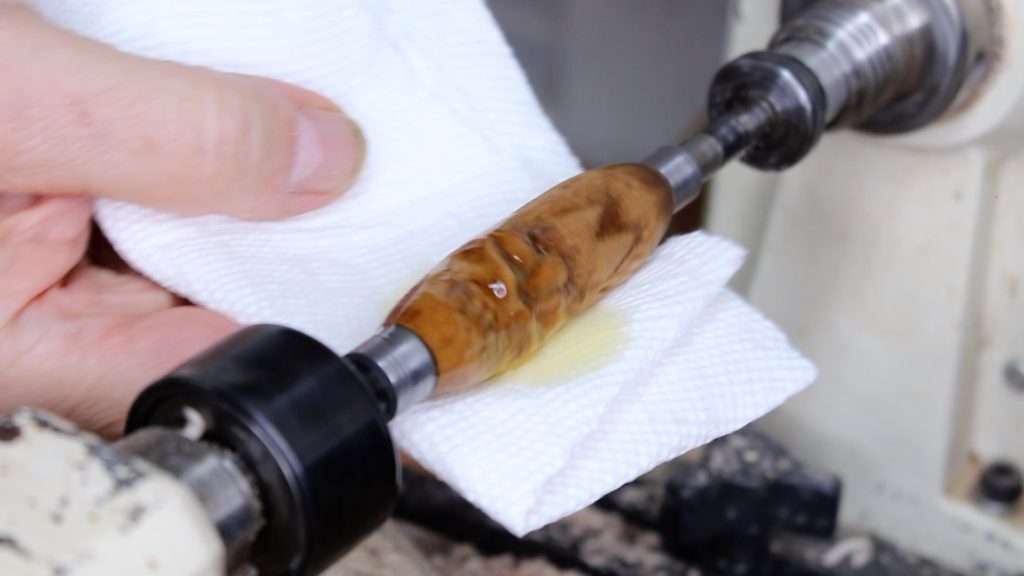
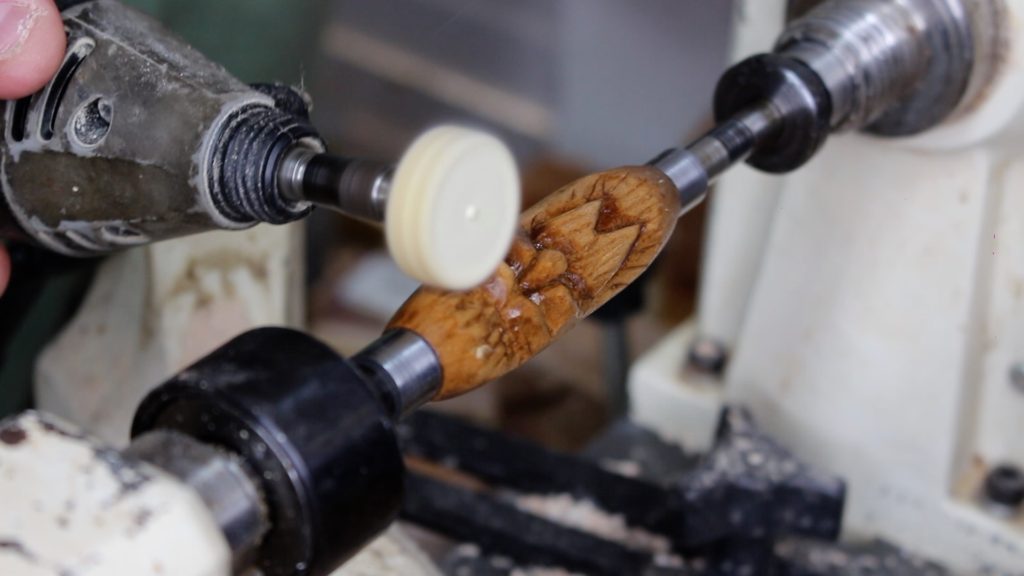
Step 4 – Apply a Finish
I used some Medium-dark Danish oil to darken the light-colored maple. After the Danish oil dried, I put the pen back on the lathe and used a little friction polish to finish the pen ( 3 coats). While the pen turns on the lathe, I mainly apply the friction polish to the ends of the pen. These are the areas that I did not carve.
For the friction polish on the face area, I used a small buffing wheel attachment on my Dremel. This creates enough friction and heat to help cure the polish on the face. NOTE – Don’t bare down hard on that middle section while it turns on the lathe. You could end up destroying your carving.
Step 5 – Assemble the Pen
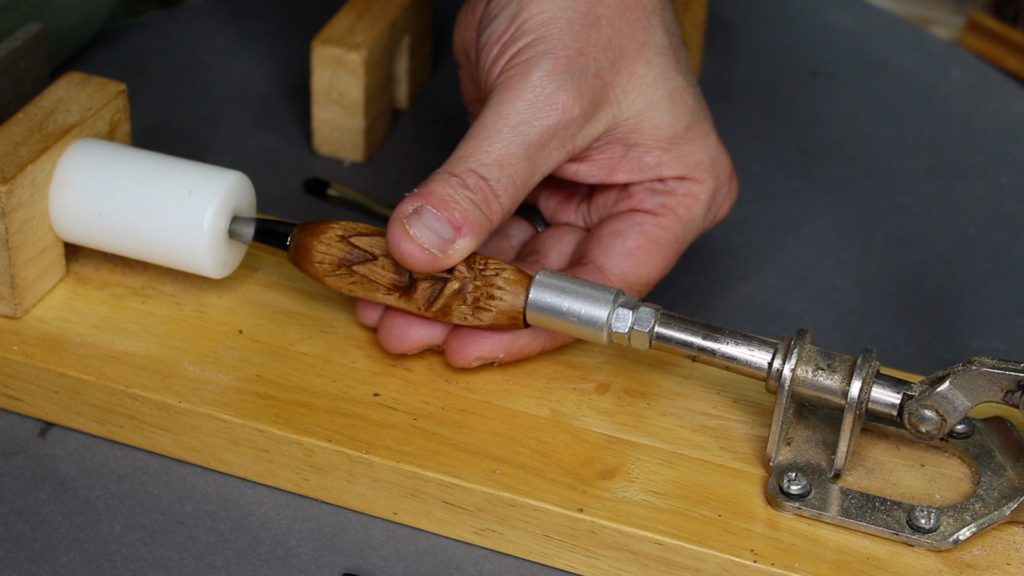
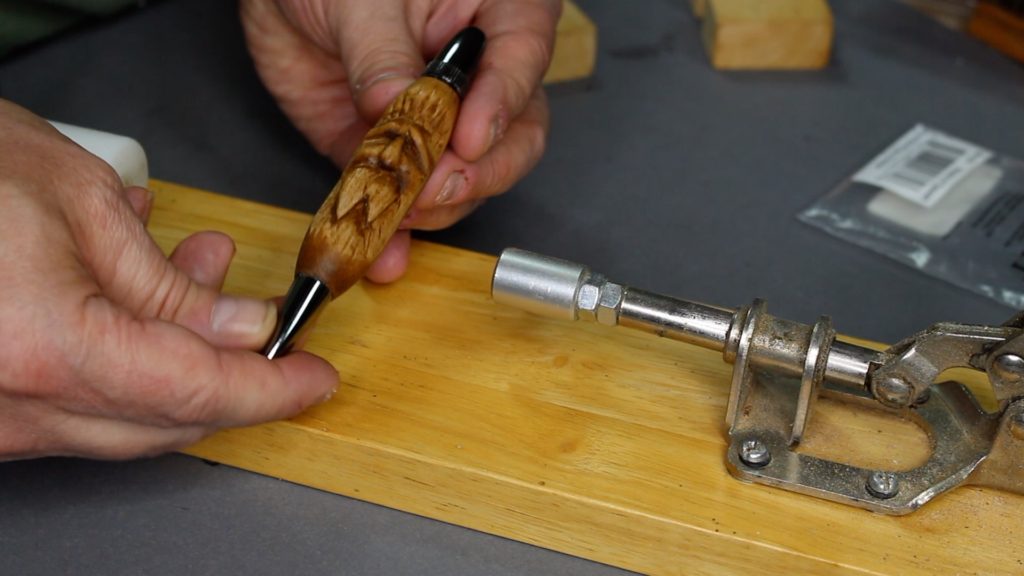
After the friction polish dried, I used my pen press to press in the pen parts that came with the kit. Just make sure you follow the pen kit assembly instructions to the letter. Test out the pen to make sure the twist mechanism works smoothly.
Practice on Scrap Wood
I highly recommend practicing the wood spirit carving on scrap wood first – pine or basswood. Then you will have more confidence and know what to expect when you apply a wood spirit to a wood craft.
Here are a few ideas where you might can add a wood spirit to enhance a craft or project:
- Hiking sticks
- Wooden spoon handles
- Key chains
- Whistles
- Refrigerator magnets
- Figurines
- Flower pot
- Birdhouse
Thanks for checking out my tutorial and YouTube video. If this information was helpful, please consider subscribing.

Are you starting up a new shop? Want to work safer in your shop? To help you answer these questions I've put together a 2-part checklist -- Home Shop Safety & Tool Checklist.
I will also send you updates of my latest woodworking and DIY projects. You can get all this by subscribing to my free email newsletter.
