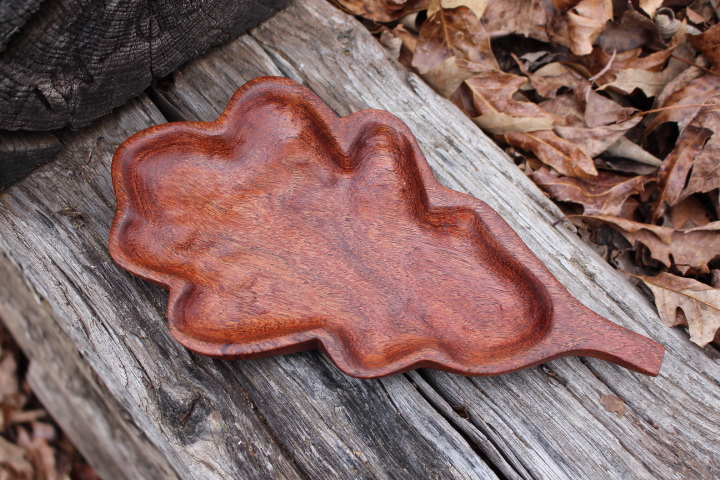
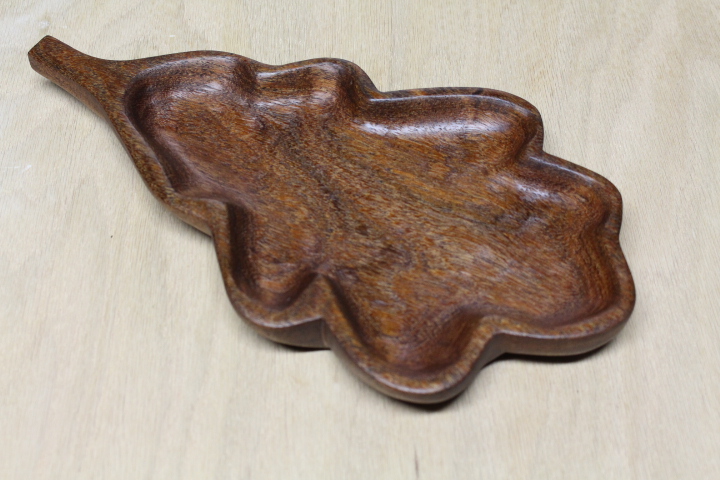
In this tutorial, I’ll be showing you how to carve a wooden leaf tray, just using my two bare hands. Of course, I’ll have a few tools in those bare hands – LOL. This diy serving tray makes a great home decor piece that will hold and showcase your candy, nuts, jewelry or whatever else you want to place in it.
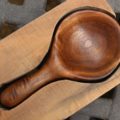
I love this relaxing and gratifying hobby of woodcarving. I’m looking forward to creating other hand-carved projects in the future, but for now I’m enjoying making kitchen utensils and items for the home. There’s just something about getting this close and intimate with the tools and the workpiece. If you like these kind of projects, you might want to check out my coffee scoop project and spatula project.
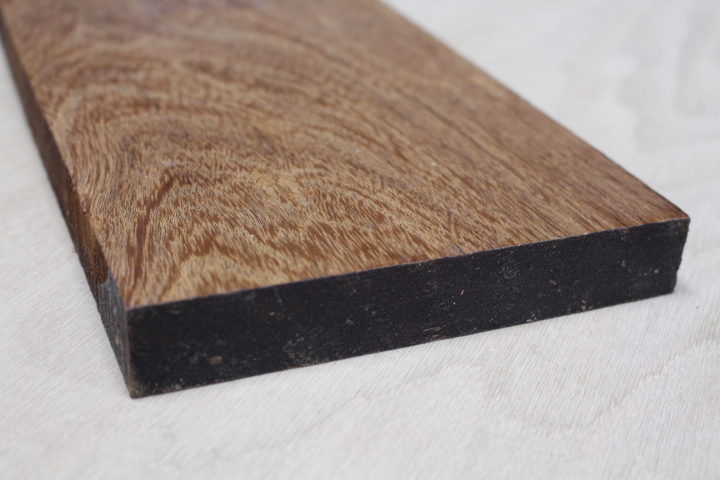
I made my leaf-shaped wooden tray out of Mesquite wood that I found at the Woodcraft Store. This wood is awesome to work with. I plucked a leaf from a white oak tree living in my own yard and this became the template for my tray.
There are other ways to make trays similar to mine. Another popular way to make these is using a router with a dish-carving bit. Perhaps I’ll explore that option later since I own two routers.
Remember: Safety first. Wear your personal protection gear, know your skill level, and know your tool’s limitations. Below, I will take you step-by-step through the process, and I’ve included a few affiliate links to show you the tools I used for this project.
Let’s get started:
Step 1: Pick out your wood.
Just about any wood will do for this project. I recommend a hardwood for durability. The wood I’m using is Mesquite. I got this on sell at my local Woodcraft Store. And the grain pattern looks amazing!
If you’re new to carving, you might also consider using Basswood since it’s easy to carve. Basswood is a good bit lighter color than the Mesquite.
Step 2: Create a template and transfer to the wood.
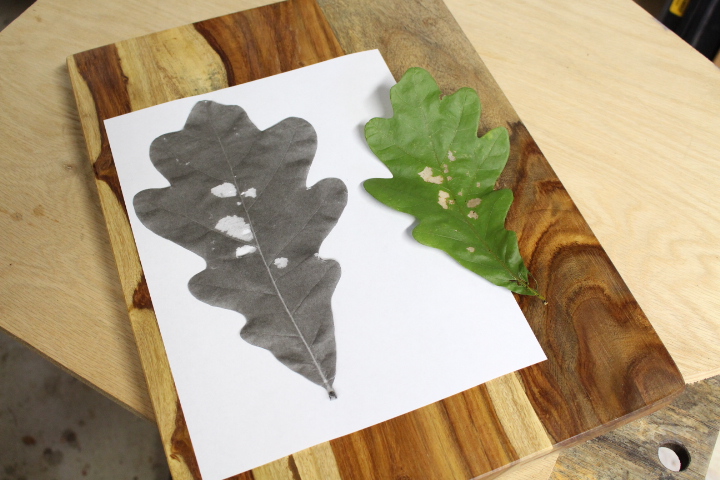
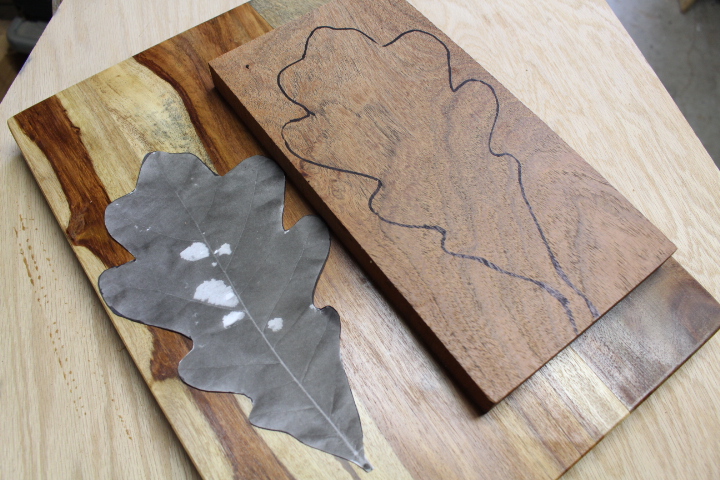
This is the fun part, because I picked a leaf from my own yard and used it as my template. You can do the same thing or do an internet search to find a free-to-use pattern.
As you can see in the first photo above, I took the leaf to my copier and enlarged it some. Then I took some scissors and cut the leaf copy out of the paper. I traced around the cutout oak leaf with a pencil and transferred the shape to the Mesquite (second photo).
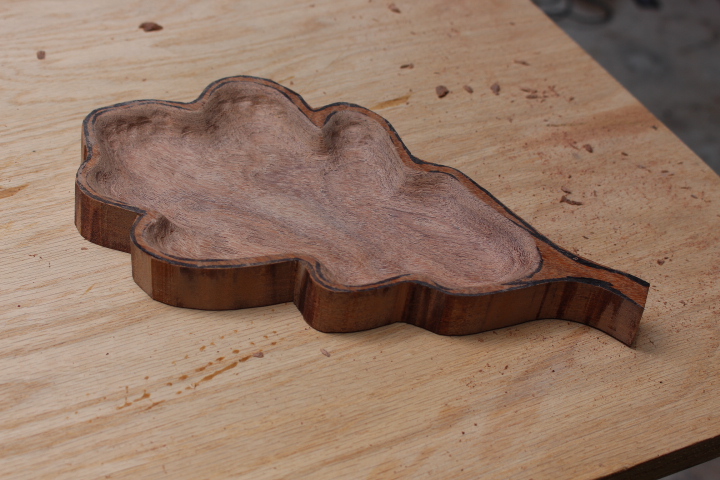
Final tray dimensions: 11 inches long, 6 inches max width, and 1 inch thick. The bowl depth is approximately 3/4 inch.
Step 3: Begin carving.
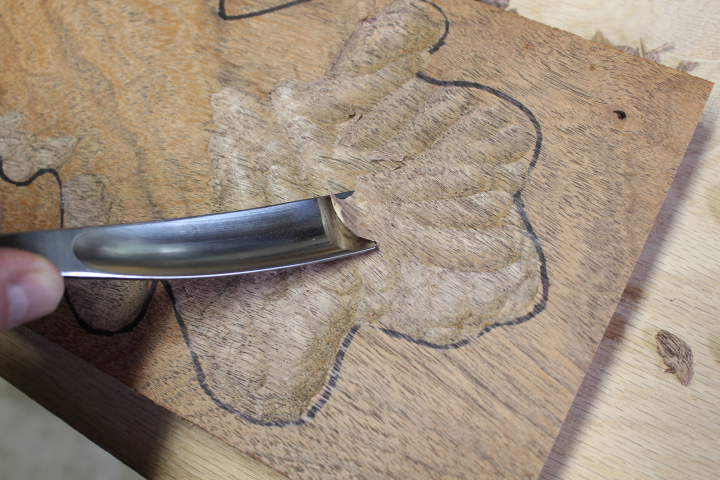
I started close to the line and used a couple of spoon gouges to start hogging out the wood. I started from the line, working inward, going with the grain as much as possible. Even going across the grain, these gouges carve very nicely. My gouges are razor sharp which makes for pleasant carving. But I had to be extra careful to move the gouges away from my body and keep my other hand in a safe location.
Notice that I decided to carve out the bowl area before cutting out the entire tray. This gives me some extra wood to clamp the work piece down. Clamping the piece down frees up both hands to work the carving gouges.
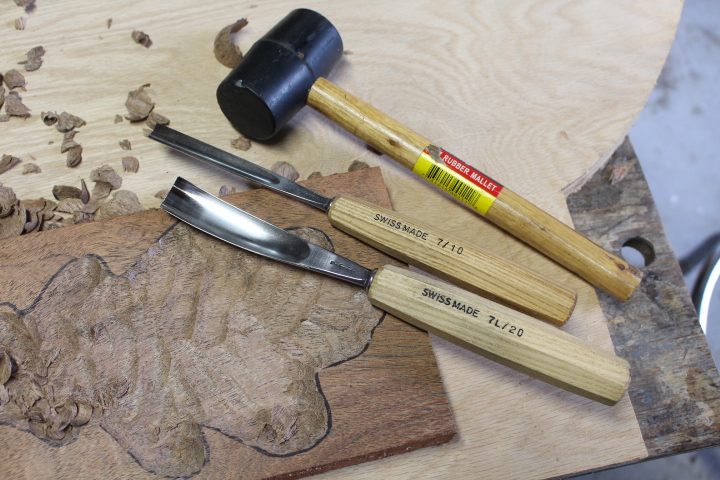
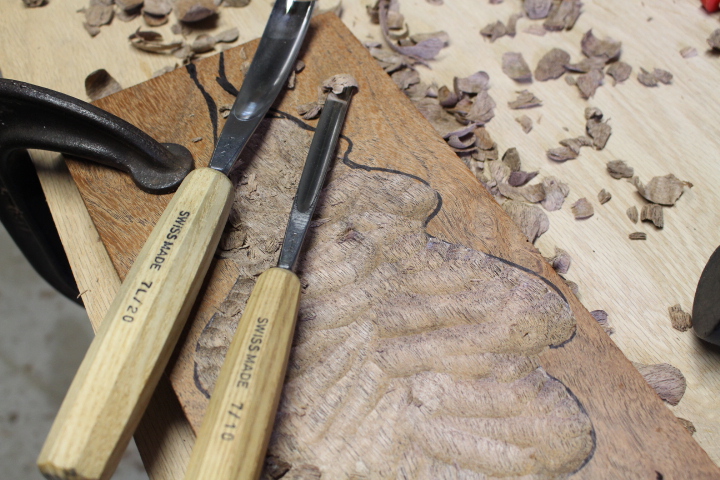
I used the larger gouge (PFEIL “Swiss Made” 20mm, Gouge, 7 Spoon) to do the lion’s share of the work. I also used a small rubber mallet to speed up the process. Take little slices off at a time, being careful to not dig too deeply into the wood. The depth of my tray bowl area is only about 3/4 inch. The gouge should slice through the wood fairly easily and you may have to give it a little twist motion as you slice off the wood.
The smaller gouge (PFEIL “Swiss Made” 10mm 7 Sweep Spoon Gouge) came in handy for fine tuning, especially around the transition from inner rim, down into the bowl bottom. I wish now that I had made that transition a little more gradual. You really have to work with the carving tools you have on hand and try to make your bowl area match the contour of the gouges. That’s probably why there are a gazillion different shaped gouges in the woodworking store. So the final bowl design depends on how deep your bowl area will go and how steep or gradual you want the sides to sweep up to the rim. There is no right or wrong answer. Do what feels right to you and understand what your gouges will do.
Once I got most of the wood out, I put down the mallet and used both hands to work the spoon gouges. Overall, I probably used the larger spoon gouge for about 85 percent of this project.
This carving step will take some time. I think I spent about 2 to 3 hours just on this part. But I had a fresh pitcher of sweet tea and took my time. It’s so relaxing. And a good workout for the hand and arm muscles.
The last photo in the above photos shows my tray after I was satisfied with my carving work on the bowl area. I did do some initial rough sanding (80 grit) before I moved to step 4.
Step 4: Cut out the leaf tray profile.
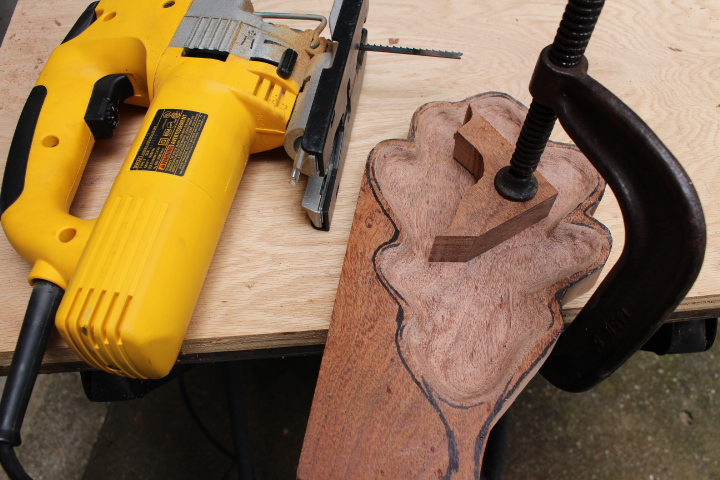
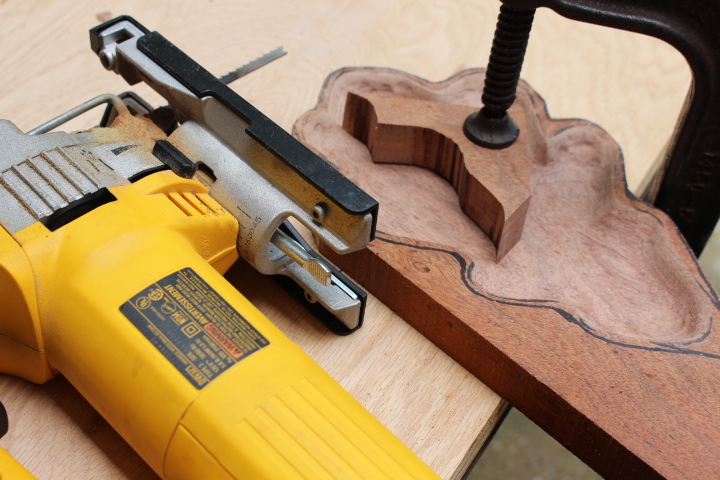
I used my DEWALT Jigsaw with scroll blades to cut out the leaf tray profile. In the photos you can see how I clamped the piece down while I cut. I did move the piece around and reclamped it to get the jigsaw all the way around.
A bandsaw would have worked great also. But if you don’t have a bandsaw or jigsaw, you could use a coping saw which is a cheap hand tool. However, the Coping Saw will take a little longer to cut out the profile.
Step 5: Begin carving and shaping the outside of the tray.
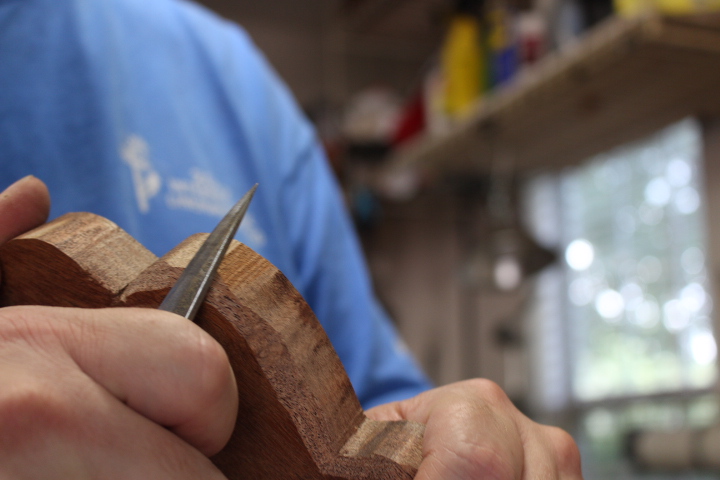
For this step, I used my carving knife (Morakniv Wood Carving 120 Knife) to take off wood around the bottom outside edge. In the first photo above you see me using a pull cut as I work all the way around the bottom. I’m being careful to keep my other fingers out of the travel direction of the blade. Have some bandages on hand. Hopefully, you won’t need one, but there is a good probability.
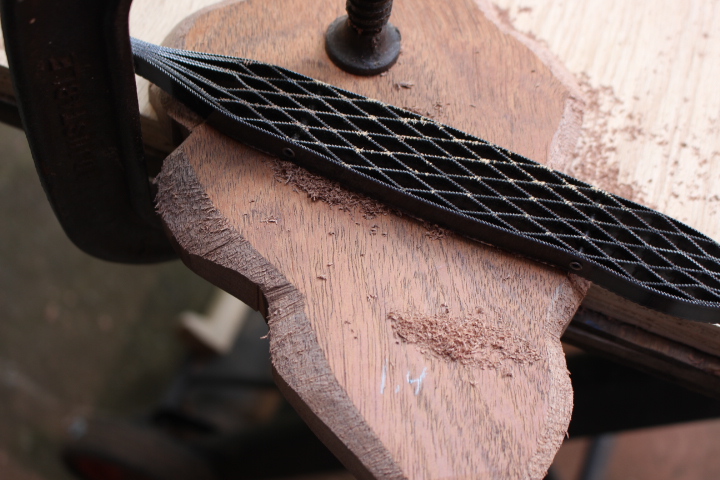
Next, I swapped over to my saw rasp (9″ Shinto Saw Rasp). I carefully clamped the tray down (bowl facing down) and shaped the bottom of the tray to make it gradually sweep up to the rim. I left a large proportion of the tray’s bottom flat. So the rasp probably only touched a 1.5 inch swaft all the way around the bottom edge of the tray. The Shinto saw rasp works really fast and will take off a lot of wood. So be careful and pace yourself.
Step 6: Sand. And sand. And sand some more.
Yes, this step will take some time if you do this by hand. You could also use a power sander if you have one. I won’t tell anyone.
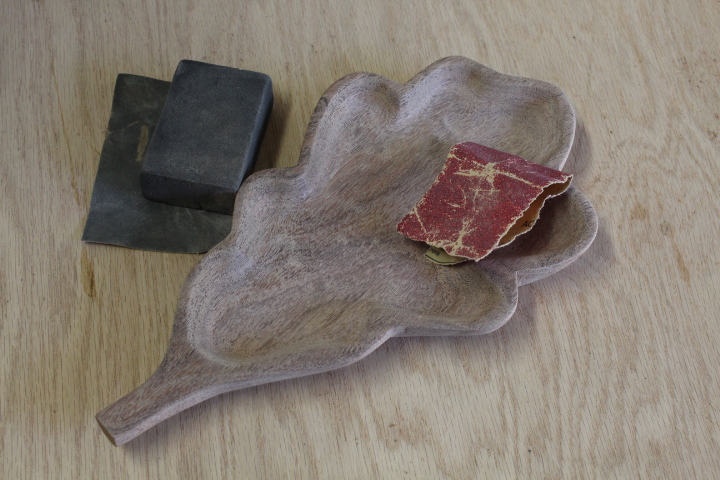
But I decided to sand by hand. I started with an 80 grit piece of sandpaper. Then I moved to 120 grit, 220 grit, 320 and 600. I pulled out my Dremel Rotary Tool a couple of times because it was hard to reach a few areas in the curved walls of the bowl. But 95% of the time I was sanding by hand.
After moving through all the sandpaper grits, I brought out my micro Micro-Mesh (1500 grit and 3600 grit) and this made the Mesquite silky smooth.
Step 7: Add a finish
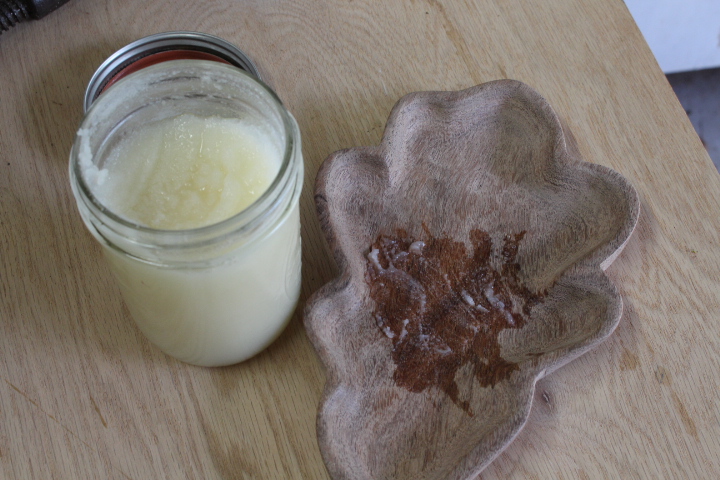
I’m using my tray for food items, so I decided to use my beeswax / mineral oil recipe. But if you don’t have time to make this mix, then just pick up a bottle of food-safe mineral oil from your local department store.
There are other finishes you could use if you want to use the tray for storing jewelry, rings, or watches. Lacquer would probably be fine. Danish oil would also work.
Well, I hope you enjoyed learning how to carve a wooden leaf tray. This will make a beautiful, yet functional wooden tray for your home. Or it might make a cool gift for a special occasion.
If you want to get more tutorials like this, why not sign up for my monthly newsletter? I’ll also send you a free gift — The Home Shop Safety & Tool Checklist — if you subscribe. Check out the form below to sign up.

Are you starting up a new shop? Want to work safer in your shop? To help you answer these questions I've put together a 2-part checklist -- Home Shop Safety & Tool Checklist.
I will also send you updates of my latest woodworking and DIY projects. You can get all this by subscribing to my free email newsletter.


I really like this project. I have all the carving tools. I just got back into carving. I tell myself that I’m going to carve everyday, but I always run out of time.
Thanks for the comment! I hope you can find the time to take this back up. I don’t carve all the time, but when I do I find it very relaxing.