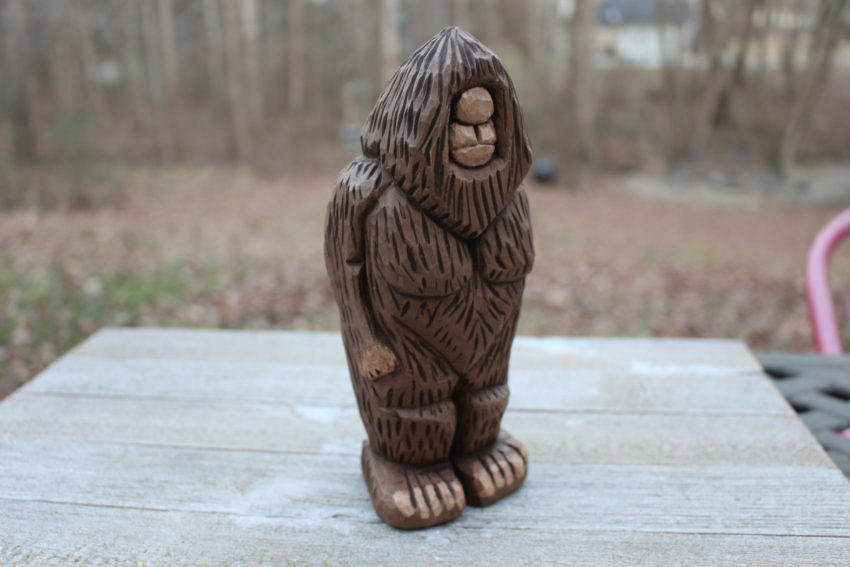
Carving Bigfoot. No, it’s not another TV reality show. Just a fun weekend project that you’ll be proud to make. I’ve always had a fascination with the creature Bigfoot. Not sure if he/she exists, but I would like for him to be a reality. Who knows, maybe one day we’ll discover one.
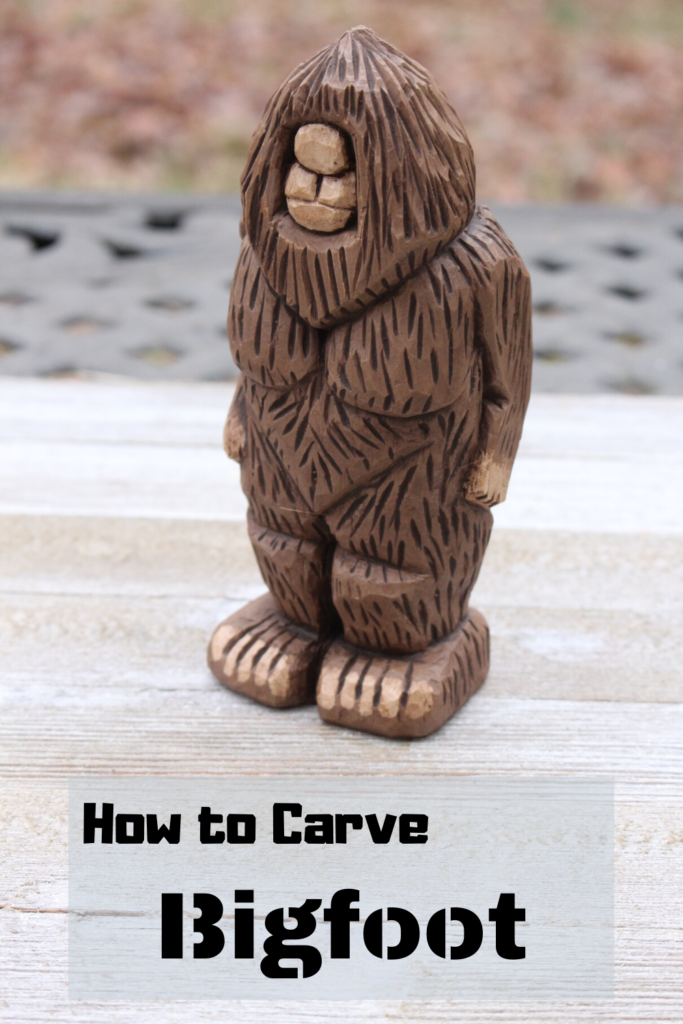
Anyway, I’ve recently been more fascinated with doing caricature carvings. Doug Linker and his YouTube channel have been a huge inspiration. I borrowed one of his design ideas to create this 7 inch tall Bigfoot. Doug does some Hillbilly carvings with the big nose and no eyes. I applied the same concept to my Sasquatch design.
I hope this Carving Bigfoot tutorial will inspire you. As I get better with these carvings, I hope to provide some YouTube videos on carving and deliver more detailed instructions.
Don’t forget to check out my Carving Resource Page, if you want to learn where to purchase carving tools.
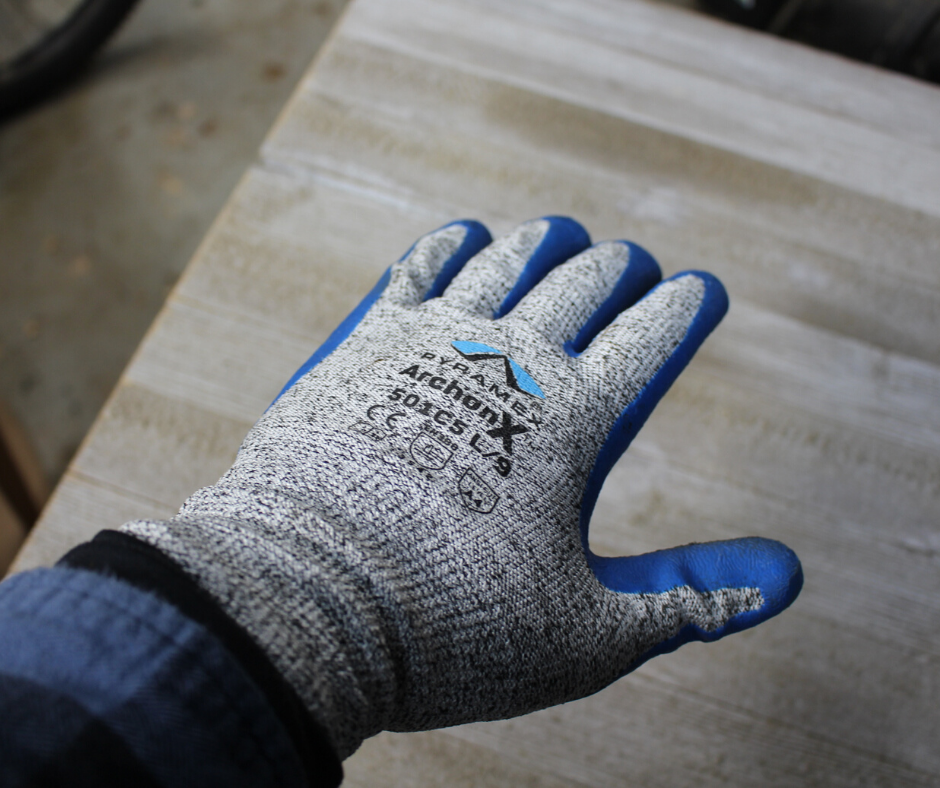
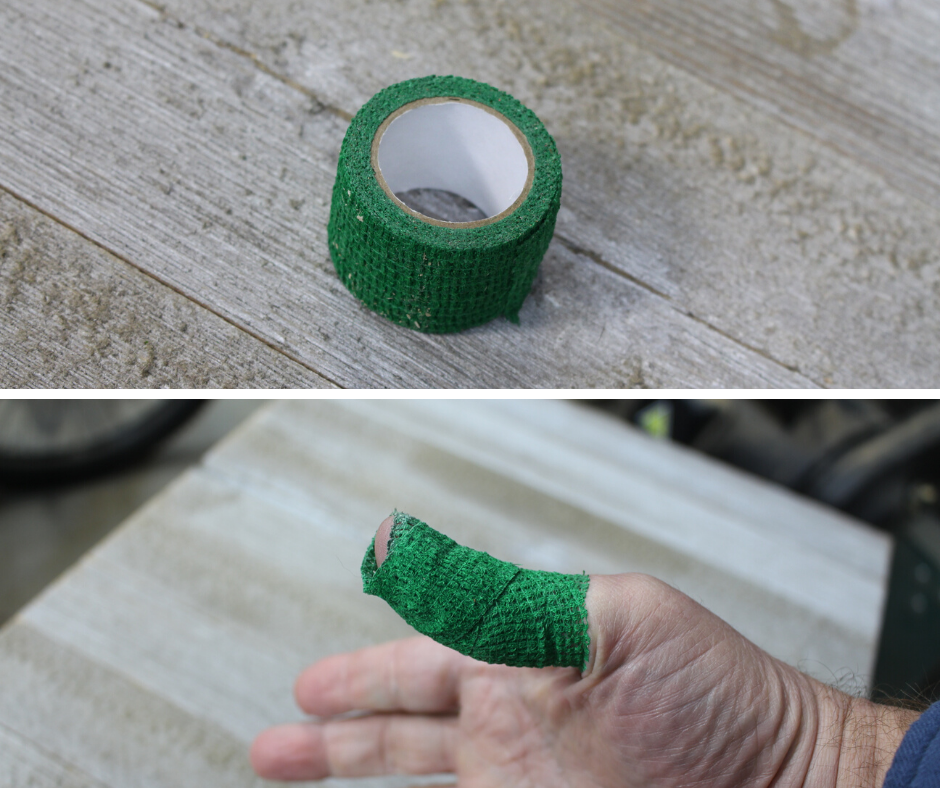
Safety is always on my mind. Carving with a knife can be dangerous, but the hazards can be easily managed. For smaller carvings like this, I like to wear a carving glove on the left (non-dominate) hand. I also have some safety wrap tape that I put around my right thumb. You still have to be careful about not jabbing yourself through the glove.
I kept my knives sharp and made carefully controlled cuts. It’s good to practice on some scrap wood first.
Even with all the safety precautions in place, I will occasionally cut myself. So, I keep a good supply of bandaids on hand.


In photo 3 I’m showing the knives I used for carving bigfoot. From left to right: Flexcut 70 deg. 1/4″ V Tool, Flexcut 1.75″ Carving knife, Morakniv 120 knife. I used the Flexcut 1.75″ carving knife 80% of the time.
In photo 4 is my leather strop, which I used off and on to keep my knives sharp. A sharp tool is safer than a dull one.
Carving Bigfoot
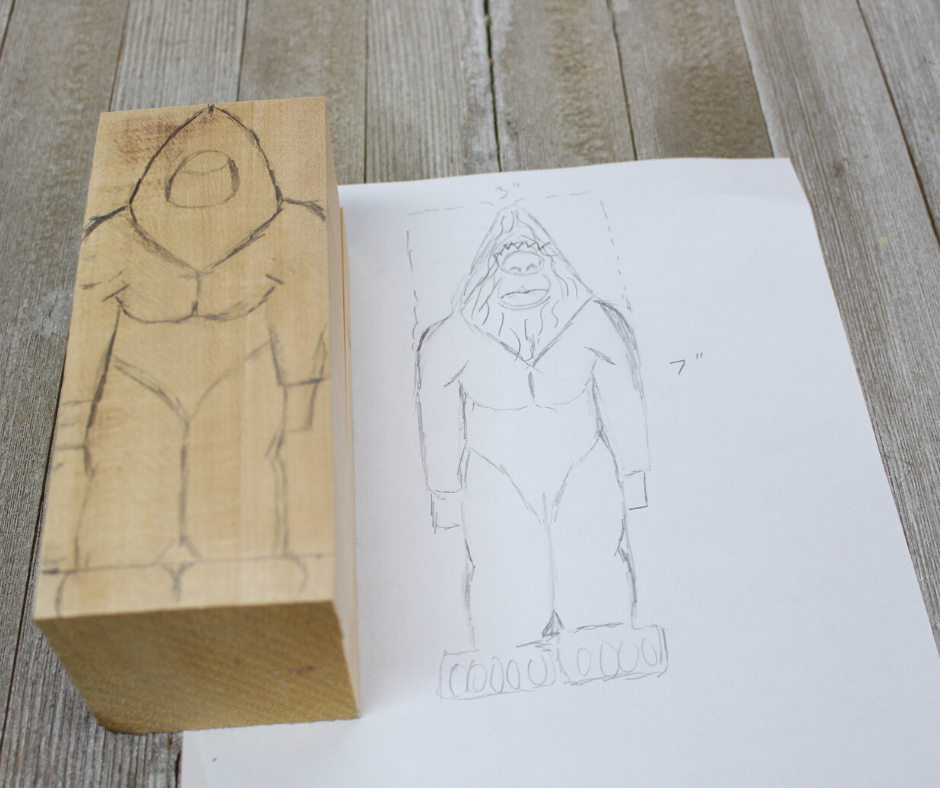
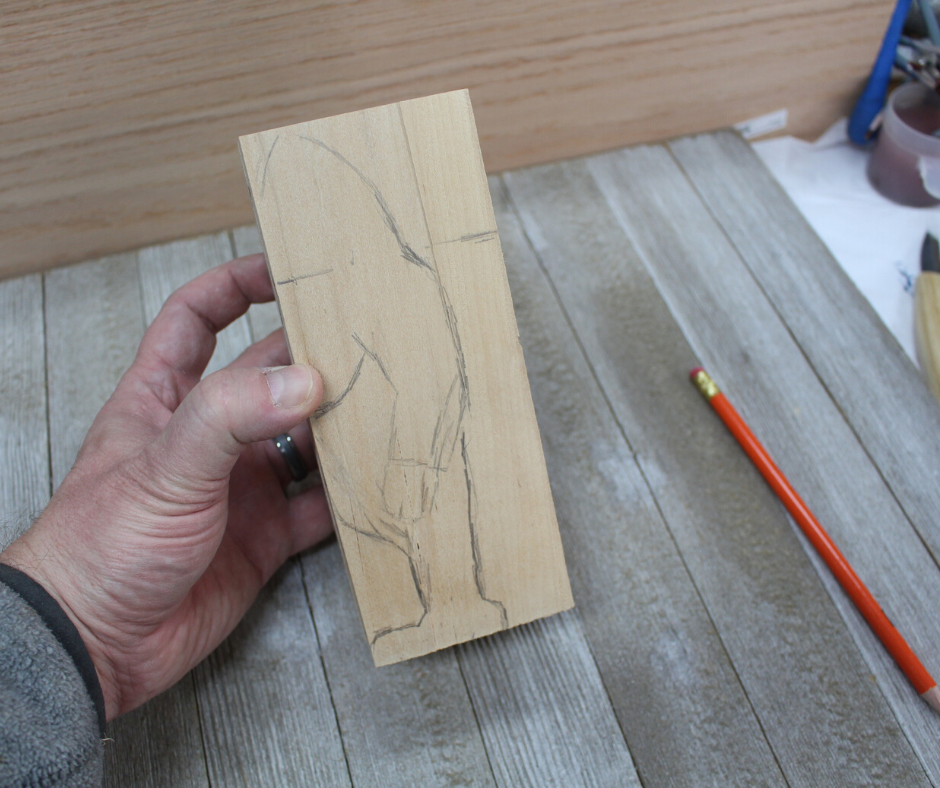
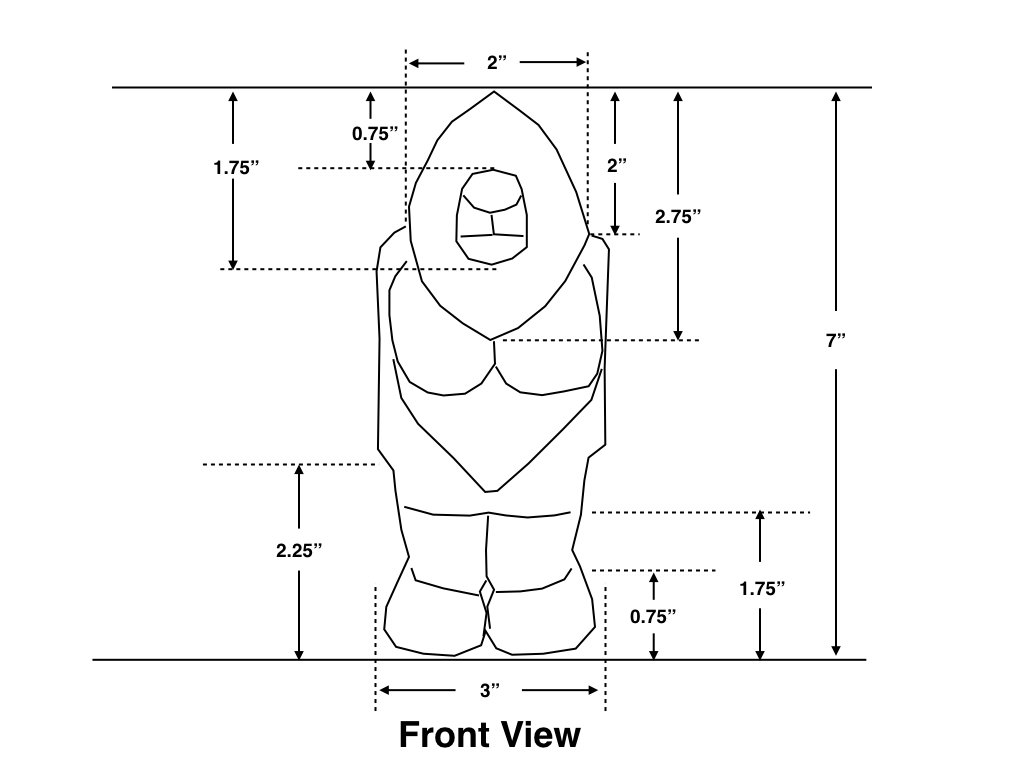
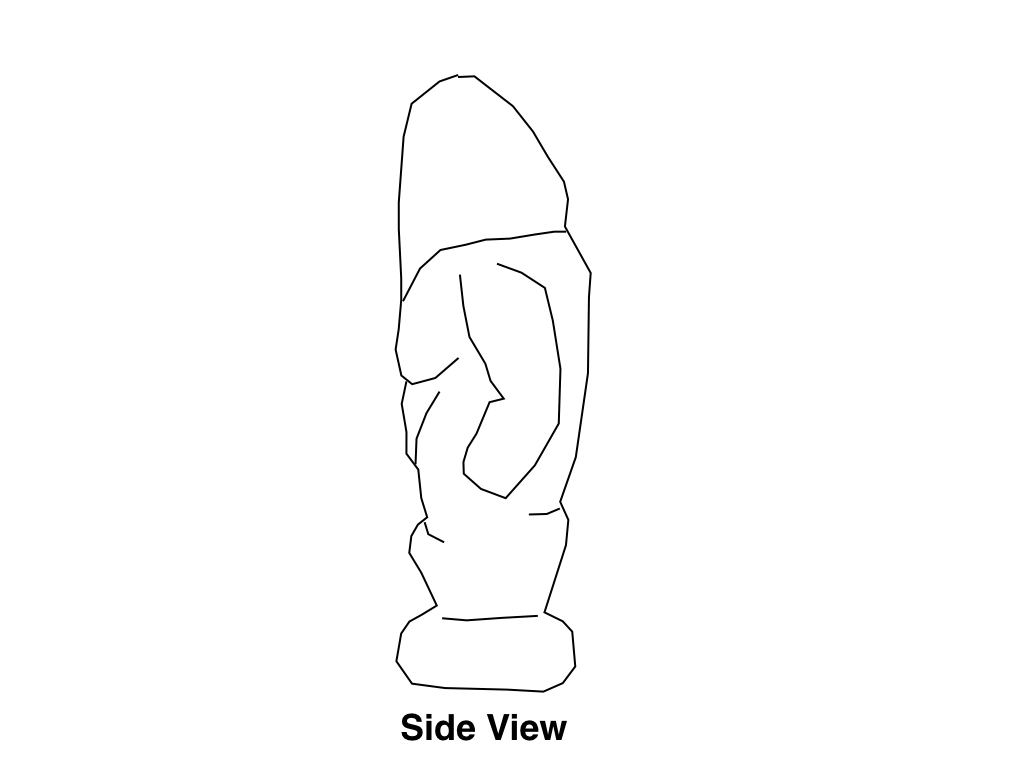
I first sketched out a concept of the Bigfoot on a piece of paper and then I drew it on the piece of Basswood. I also sketched out a profile on the sides. The Basswood is 3″ by 3″ by 7″ long. I’ve also given you some additional drawings, showing the dimensions.
Basswood is excellent for carving. It’s closed grain and takes detail well. It’s much easier to carve compared to other hardwoods like walnut or maple. And since I’m going to paint the final carving, I’m not concerned with how the grain looks.
You can find Basswood at most woodworking or craft supply stores. I got this Basswood from a wood supply store called The Wood Yard.
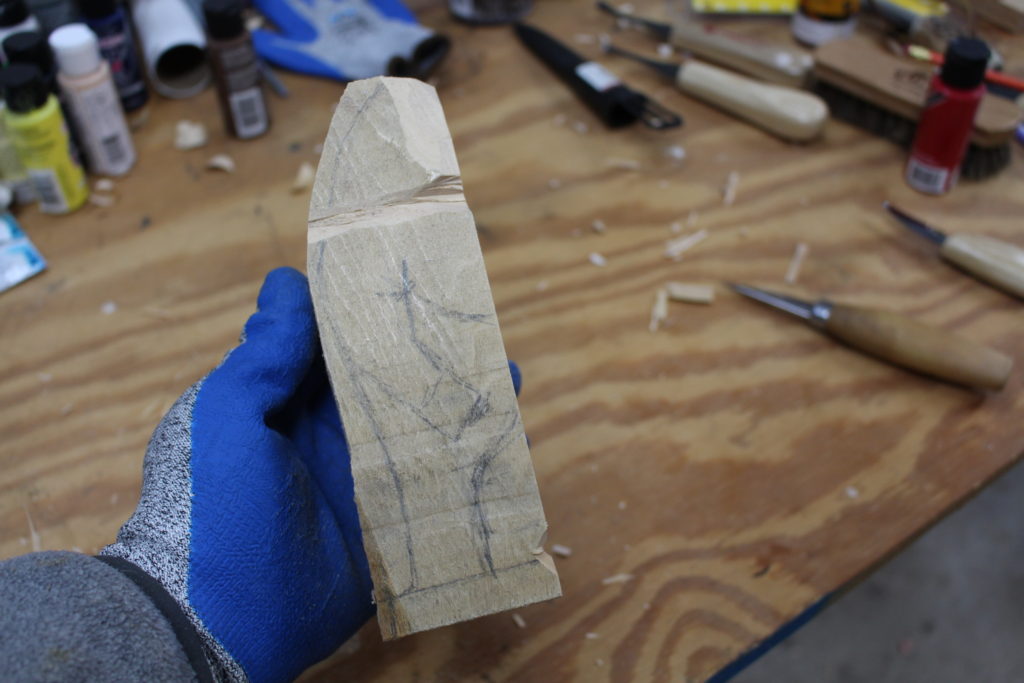


In photo 7, 8 and 9, I’m roughing out the body. First, I defined where the shoulders will be by carving out a notch on the sides and the back (not the front). I then did the same thing for the feet (all around). I worked on carving the head and then moved down the torso.


I made an angled cut around the face area and cut out a groove around the face (Photo 10). Then, I made a stop cut on the bottom of the nose and carved up toward the nose to define it. I had to be very careful shaping the nose and face area. I made very small and careful cuts, paying attention to the grain direction. I also made some V- cuts to define the cape (Photo 11).
In this design, it’s assumed the eyes are covered up with the creature’s hair. So all you see is the nose and mouth.

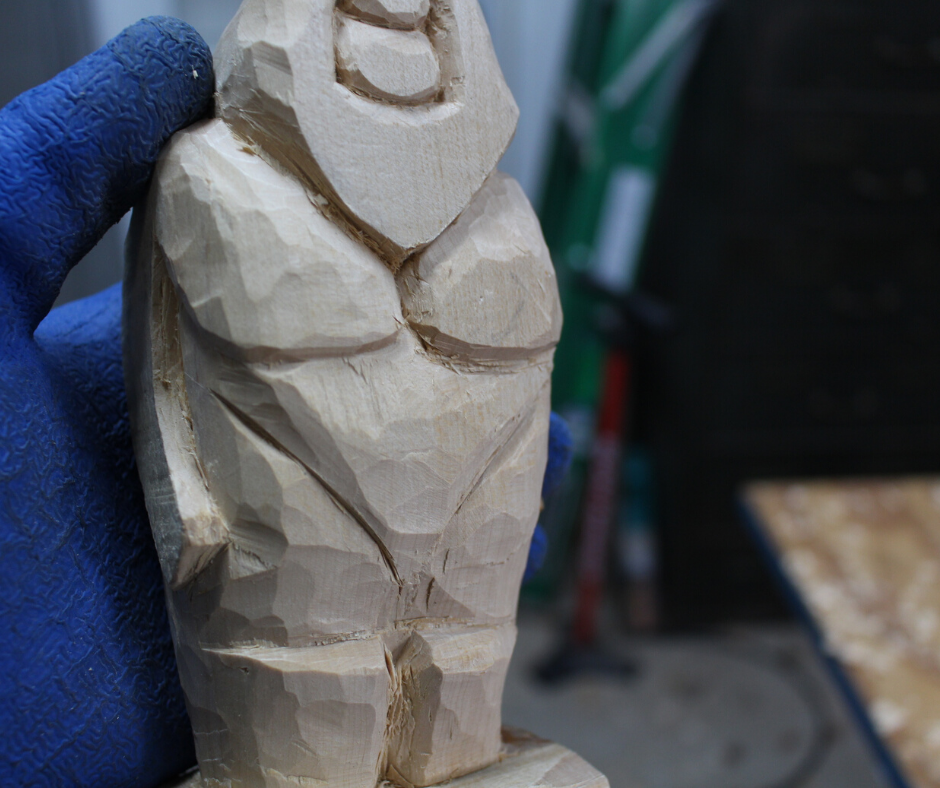
Next, I moved on to making stop cuts to define the arms (Photo 12). I very carefully cut some small v-notches for fingers. I’m still not sure if I got the arms right. Maybe they should stand out a little more — I don’t know.
Then I moved on to shaping and defining the torso (Photo 13). I wanted Bigfoot to have a pretty wide chest and defined pecks. Moving downward, I also defined the knees. Always be aware of grain direction and feel how your blade will interact with the wood. Make controlled cuts.
As I worked on the carving, I occasionally had to step back and look at it to make sure everything appeared symmetrical.


Here are a couple shots of the back. I used a V-tool to define the spine. I continued to carve and get rid of the flat plane of the wood. And I made the back curve in toward the spine and blend with the torso and arms. You can also see that I’m shaping the bend behind the knees.

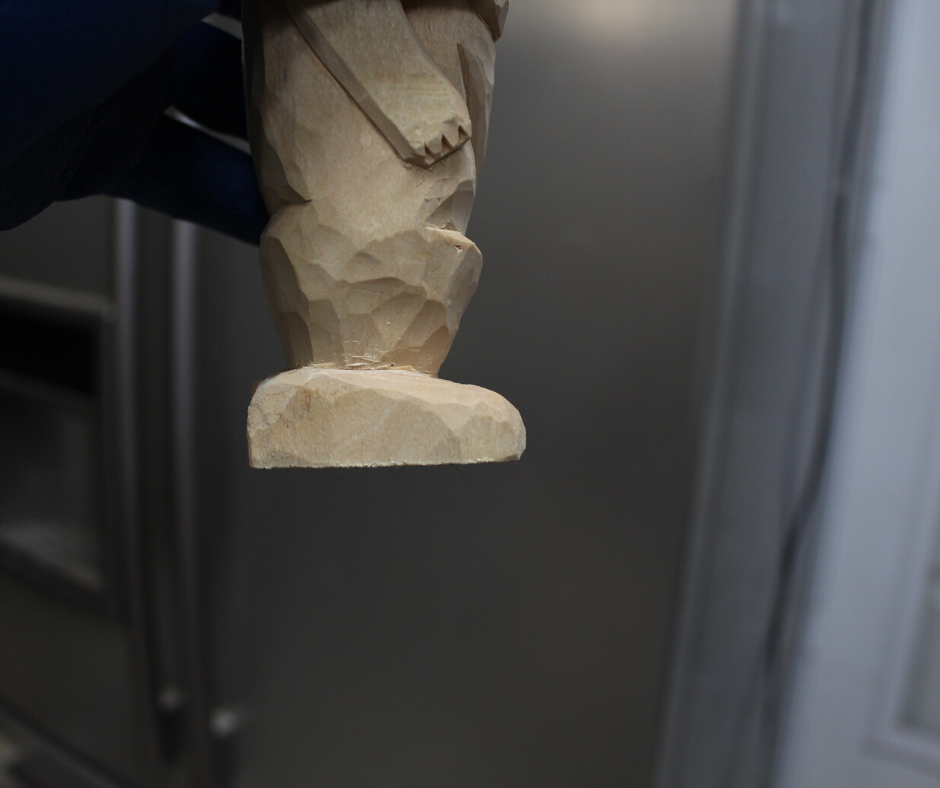

I had to be very careful carving and shaping the feet. Of course, I wanted him to have big feet. The feet and the legs didn’t need to go all the way through for this carving. I decided to use the V-tool to make shallow cuts to define the toes. Later, I will paint the toes a lighter color. I didn’t want to make any big notch cuts here for fear of splitting something.

I used the 70 degree 1/4″ V-tool all over the carving to create the effect of fur. It doesn’t take very many cuts to achieve the look of fur. I think it helps to be fairly random with the cuts, but I also thought about the direction the fur should flow. The fur should naturally flow like it would on a primate.
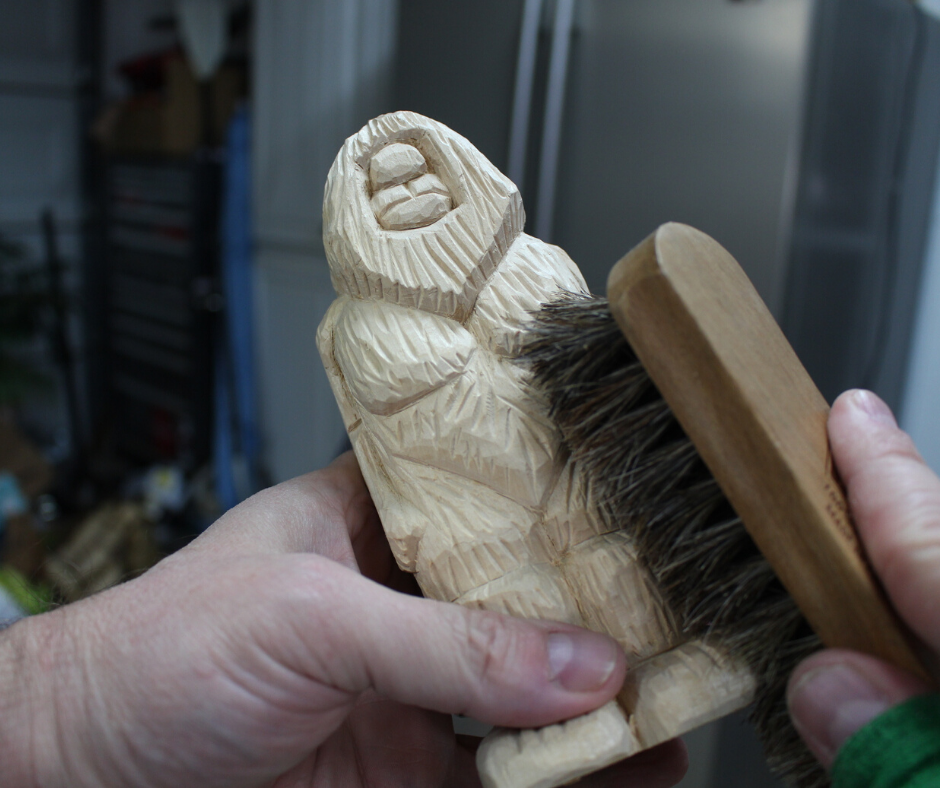
I gradually went around the carving with my knife to do as much clean up as possible.
Once I had the carving completed, I went over it with a stiff bristled brush. This helps to get rid of the fuzzies.
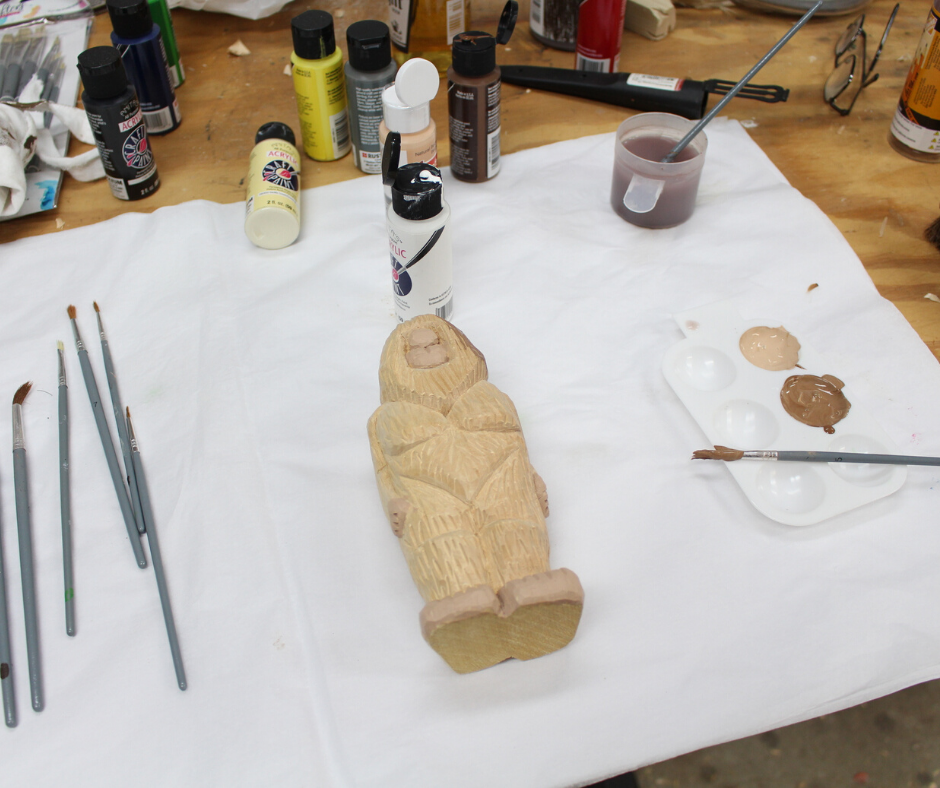
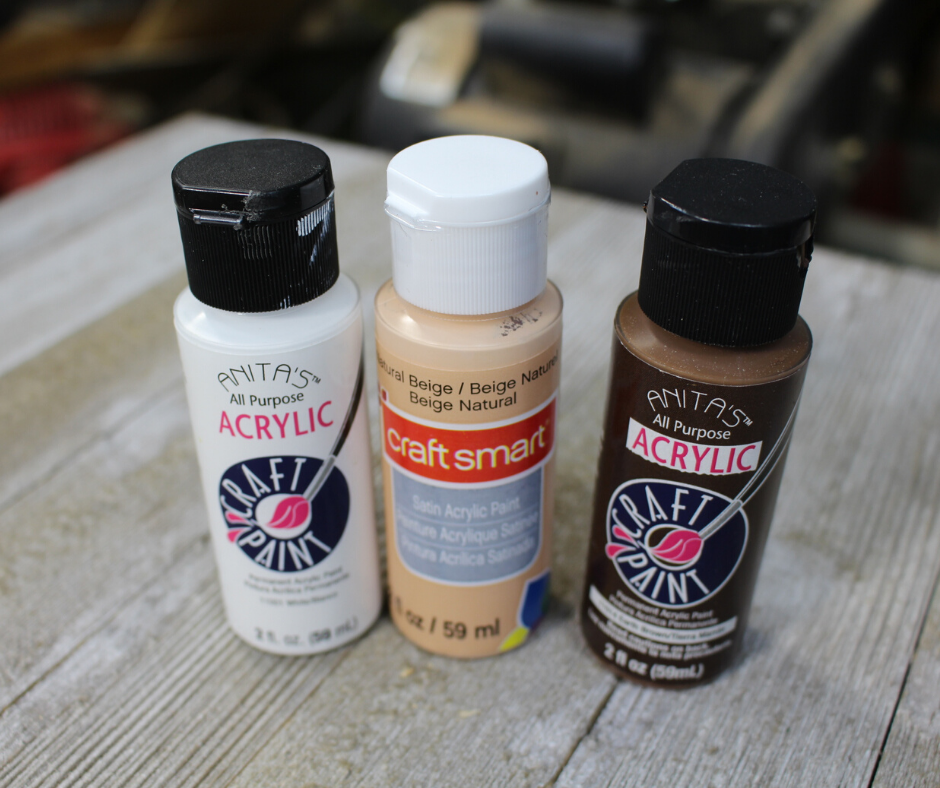
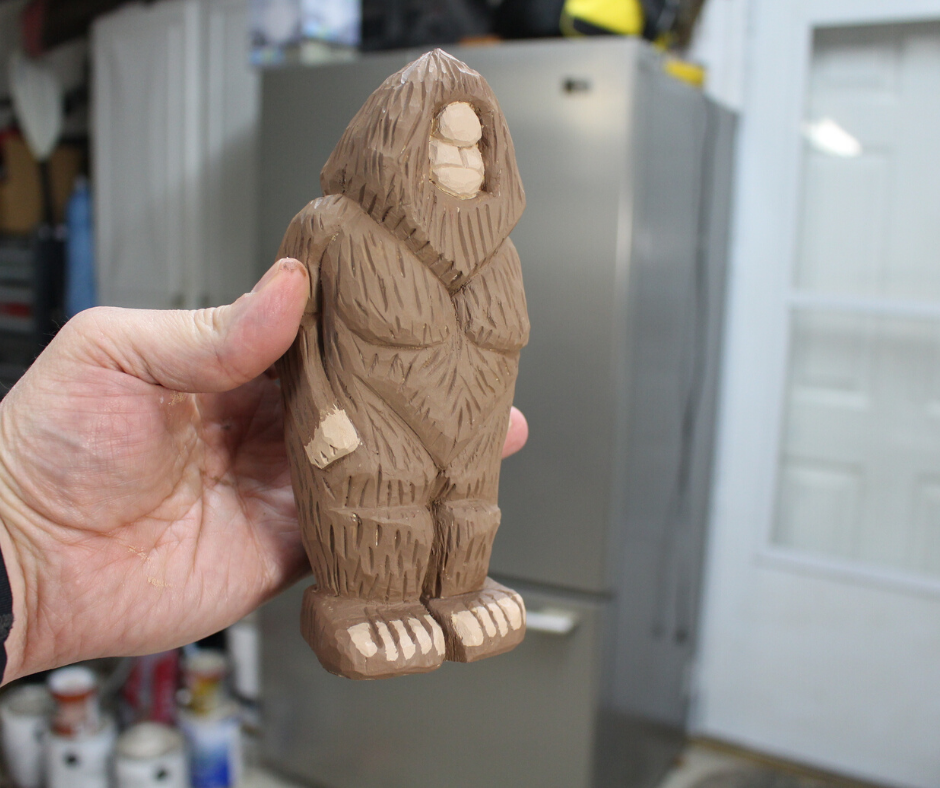
Now, it’s time to paint the Bigfoot. I used the 3 acrylic paints in Photo 22. Left to right: white, beige, brown. For the fur, I took the brown paint and mixed in a drop or two of the white. For the face, hands, and toes, I used the beige paint with a drop of brown. Who knows what Bigfoot really looks like, so you are at liberty to get creative here.
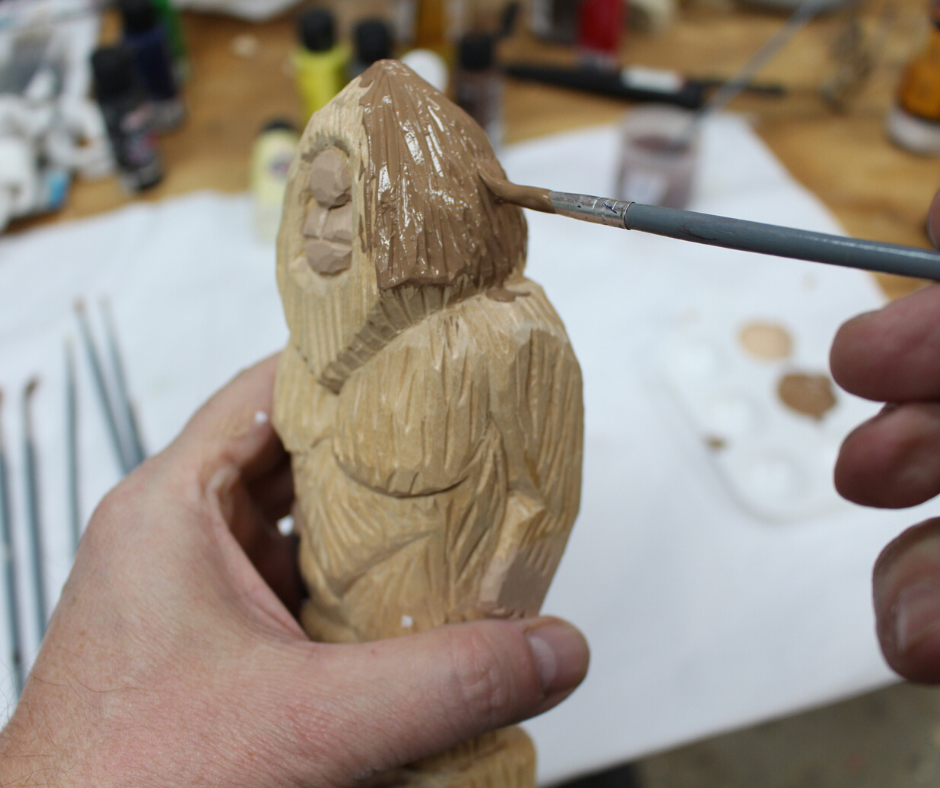

I used several types of paint brushes from the hobby store. The really fine-tip brushes help with painting the nose and face and the toes. Get some quality brushes if you can afford it.
Acrylic paint doesn’t take long to dry, but if you’re impatient (like me) you can use a hair dryer to speed up the dry time.
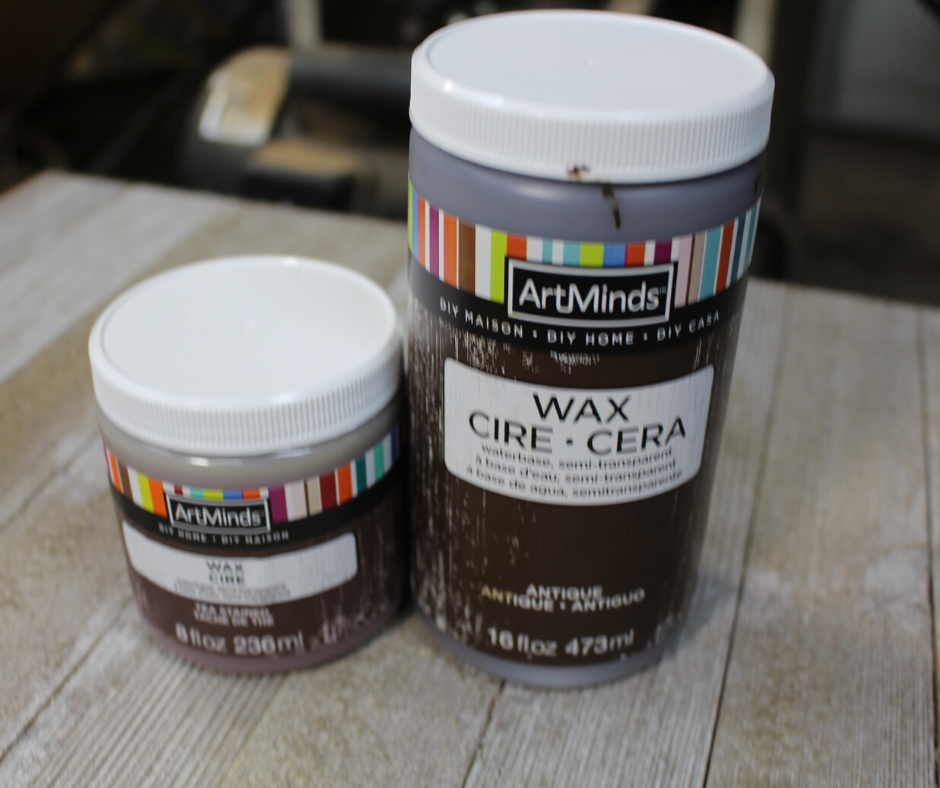
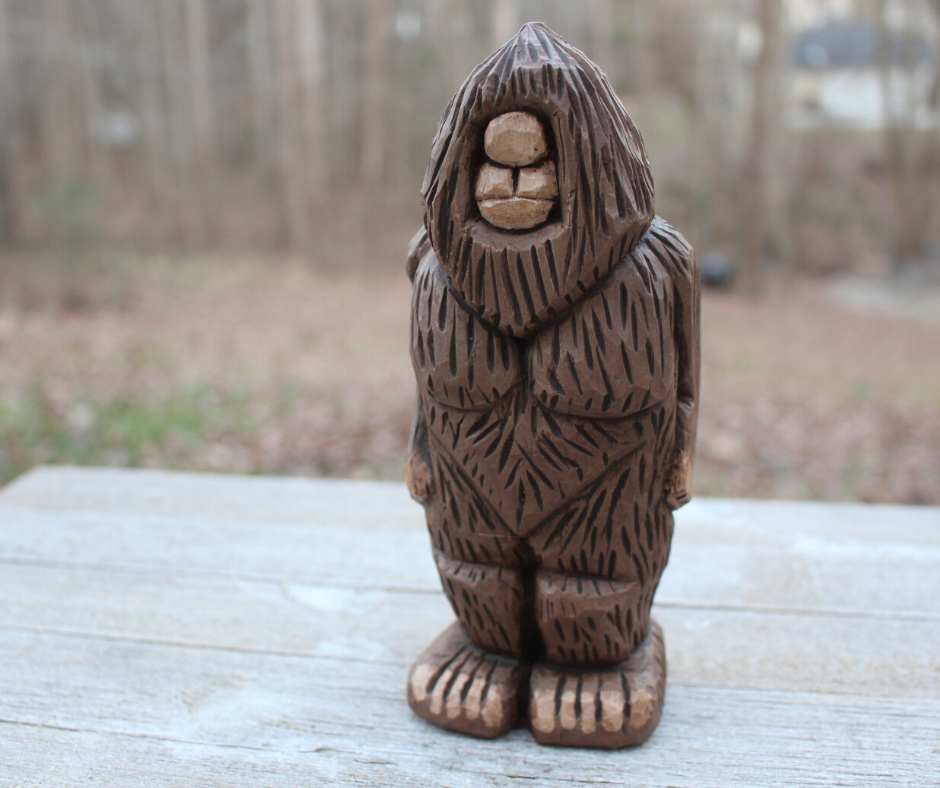
There is one more step to bring the carving to life. The acrylic paint by itself looks rather plain (Photo 25). So, I applied some antiquing wax (Photo 26) to the carving with a brush and then immediately wiped it off. Allow the wax to fully dry for 24 hours. The wax gives the carving a gritty look and tends to stay in the deep groves. This gives the carving more contrast.
I used the antiquing wax in Photo 26, the one on the right. The wax should help seal it to a certain degree. I don’t know that it’s necessary to finish it any further.
Another option is you can dilute the acrylic paints with water and create a stain. If you do that then the wood grain will show through more. If you do this, you may not want to apply the wax. Best thing to do is practice on some scrap wood first to see how it will look.
Don’t forget to clean up your brushes and stuff. It’s all water soluble, so clean up is easy peasy.
Pin It
Don’t forget to check out my Carving Resource Page to learn where you can purchase carving tools.
Well I hope you enjoyed my overview of carving Bigfoot. In the future, I hope to put together some more detailed videos or tutorials showing more steps. If you like this post, please consider subscribing to my monthly newsletter. You’ll find the sign up form below.

Are you starting up a new shop? Want to work safer in your shop? To help you answer these questions I've put together a 2-part checklist -- Home Shop Safety & Tool Checklist.
I will also send you updates of my latest woodworking and DIY projects. You can get all this by subscribing to my free email newsletter.
