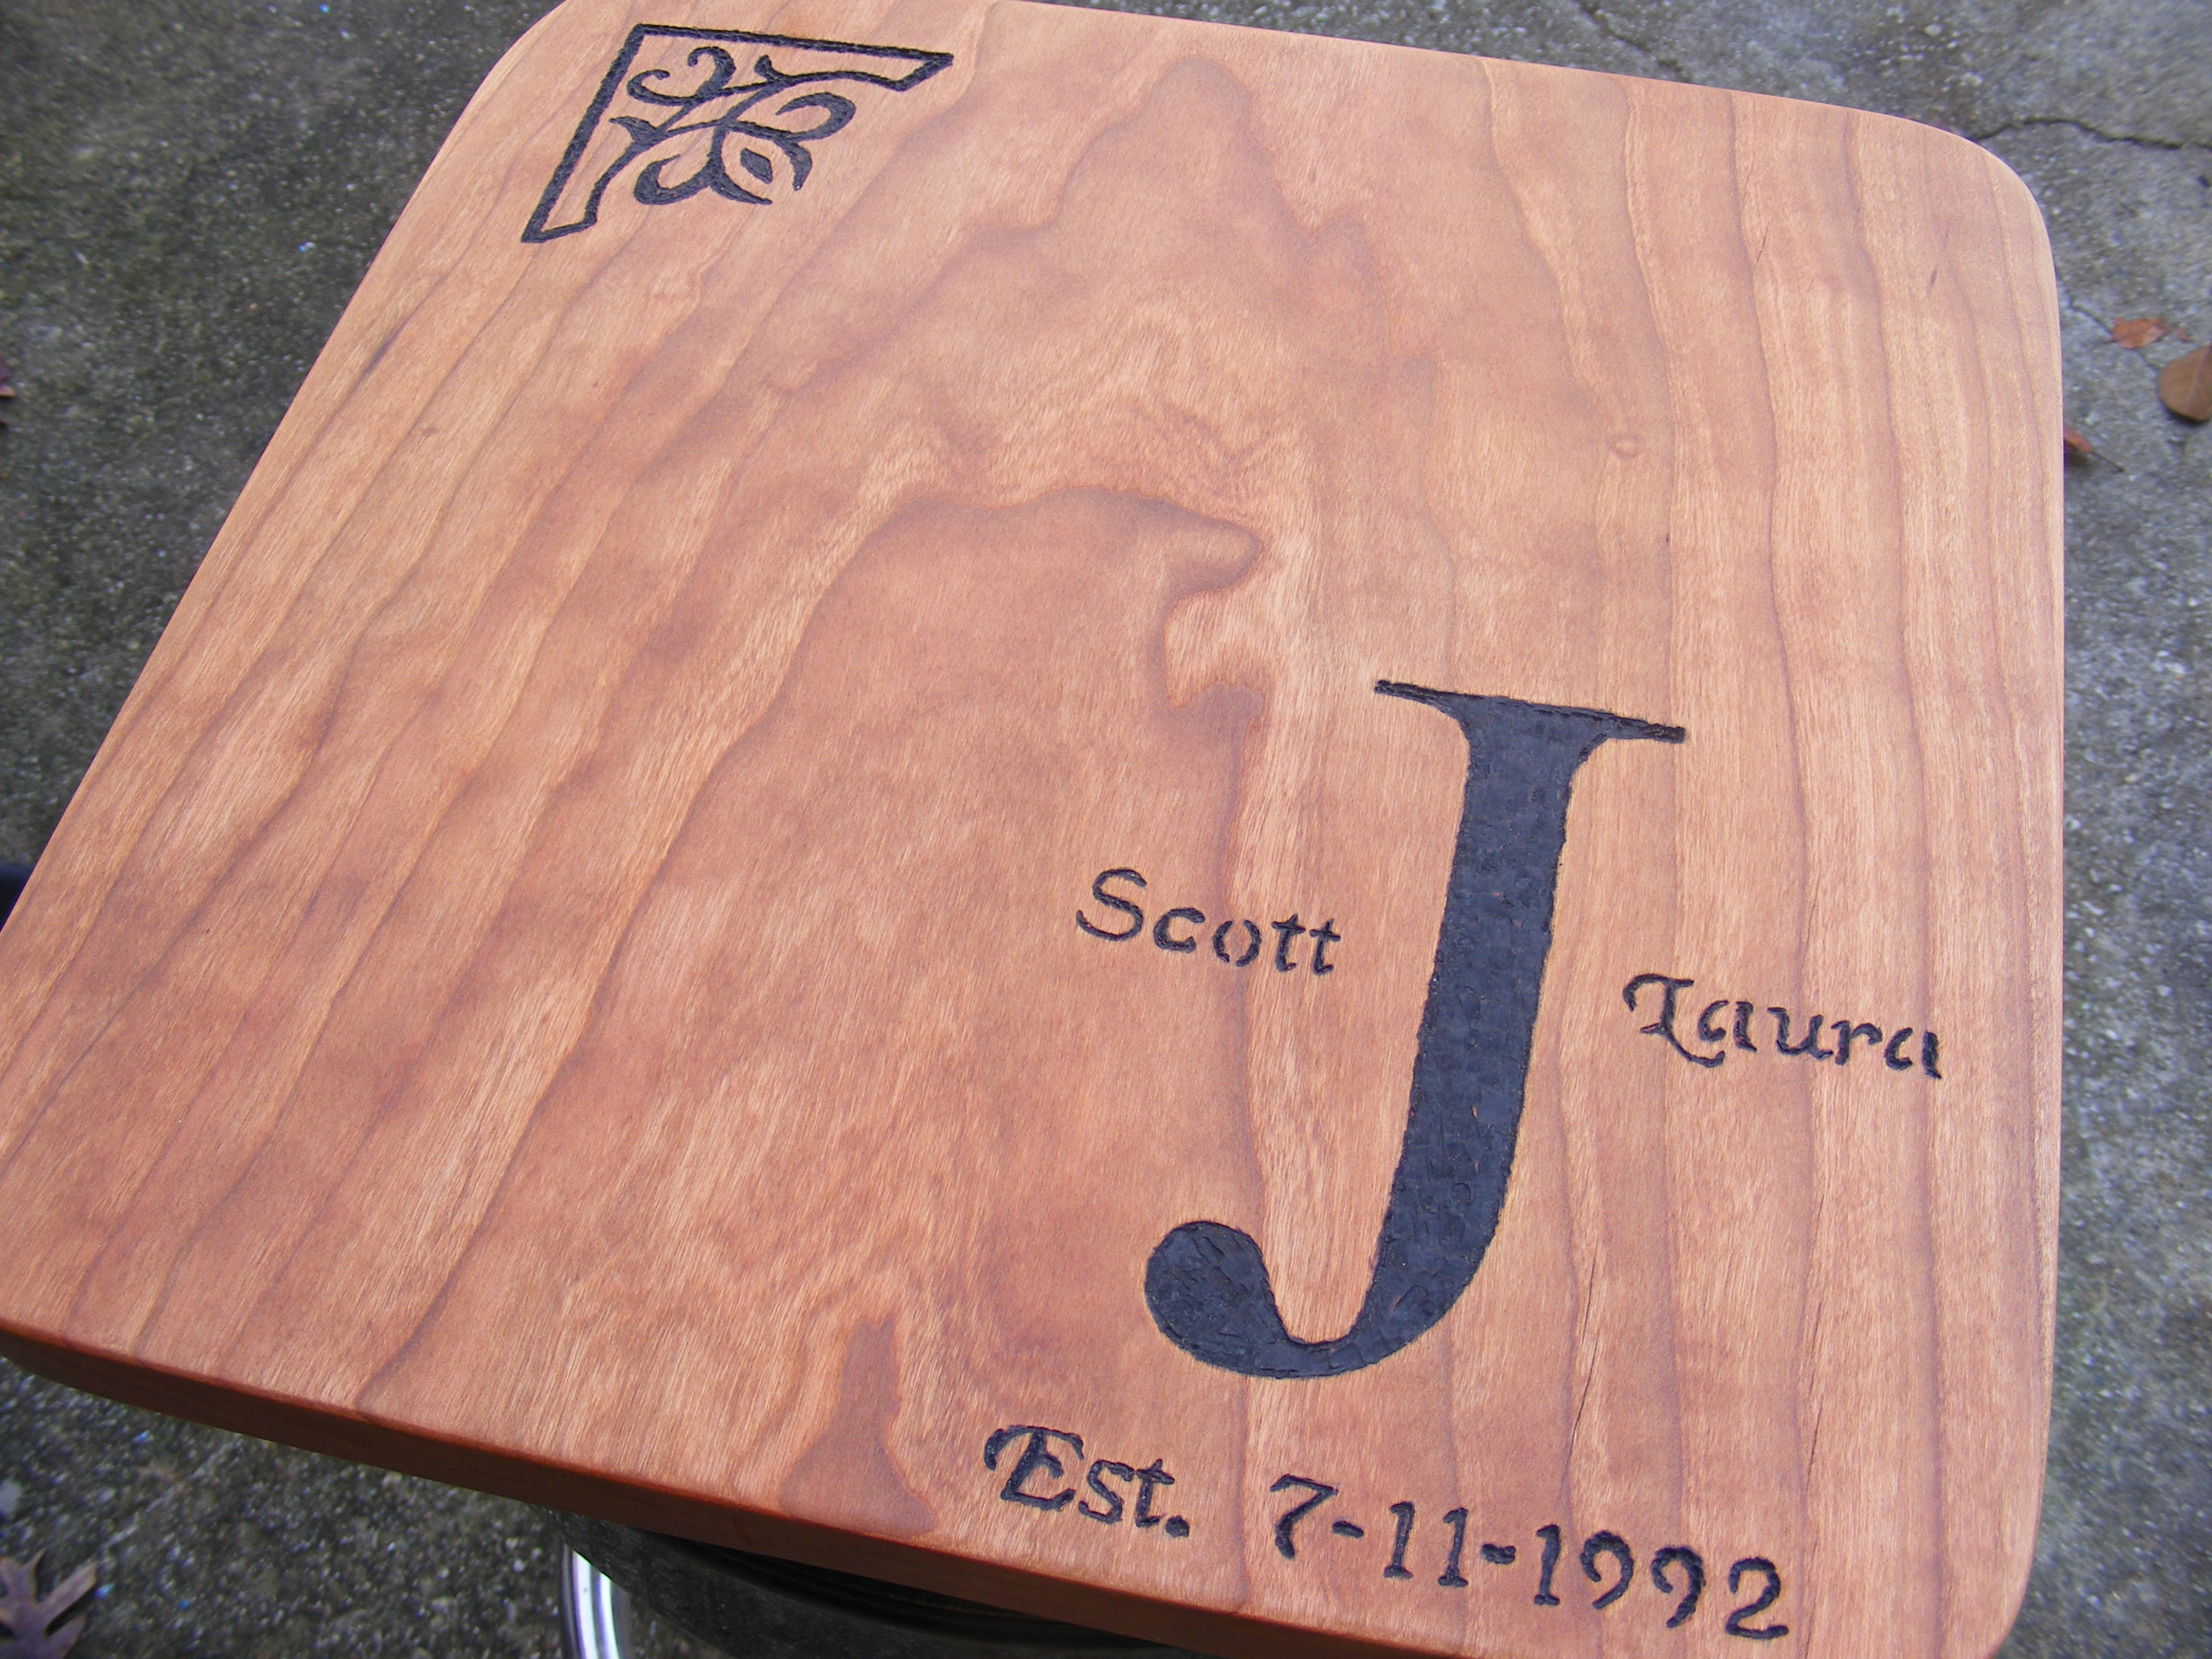
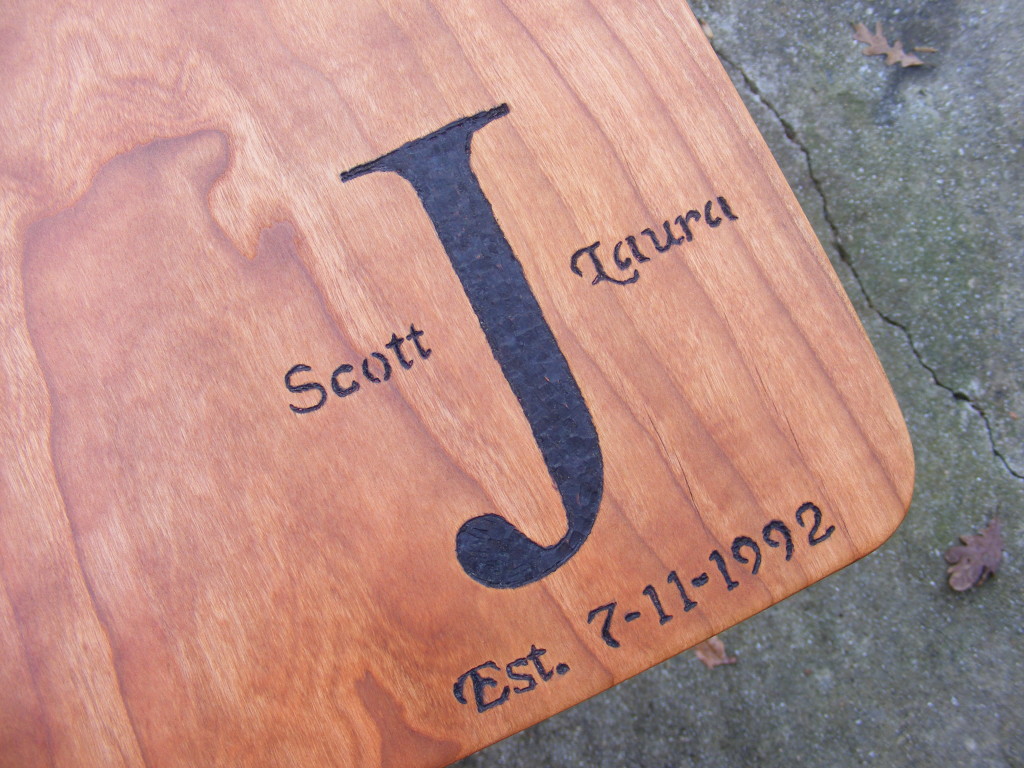
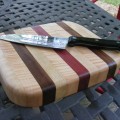
Very recently I made a cherry cutting board for my wife. I was going to give this to her for our anniversery, but just couldn’t wait. Instead, I gave it to her yesterday for her birthday. I know, a December 18th birthday is kinda the pits this close to Christmas. She was so surprised to receive the cutting board. It’s almost too nice to slice food on. In this post I’ll take you through a few of the steps on how I made this cherry cutting board.
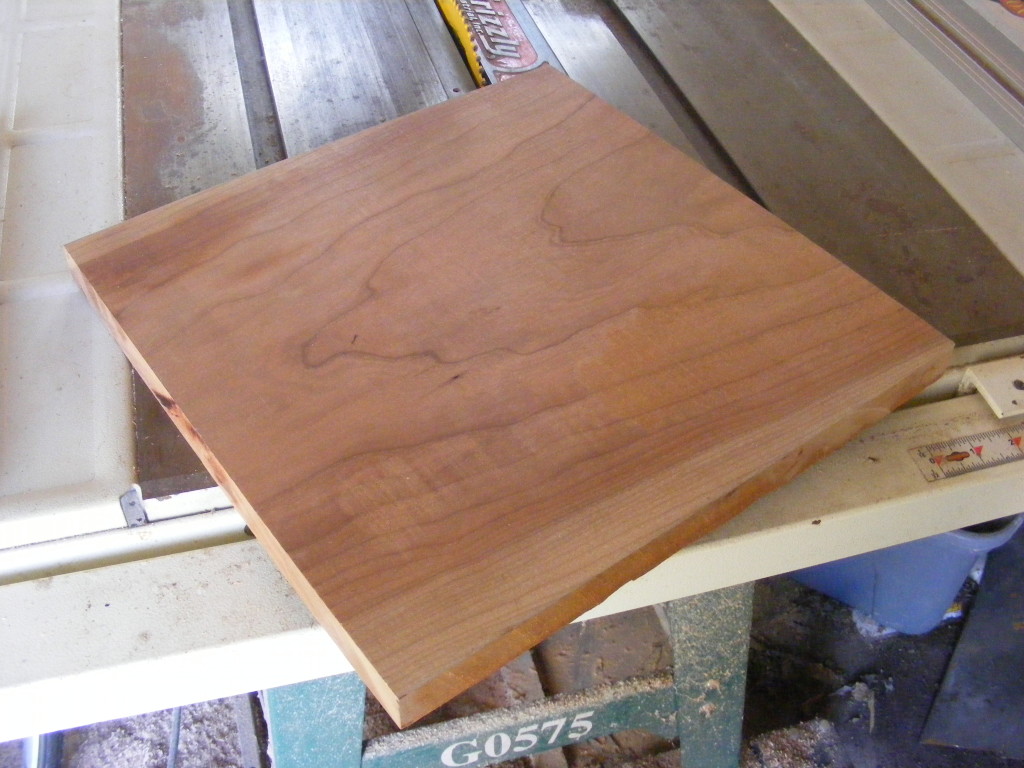
Step 1 – I picked up this nice piece of cherry from a wood store over in Concord Georgia called the Wood Yard. You can also order wood via their website, but I only live a few miles away. I think I paid about $10 or $15 for the 15 inch by 15 inch piece, and it had already been sent through the planer. Thickness-wise it’s about 1 inch.
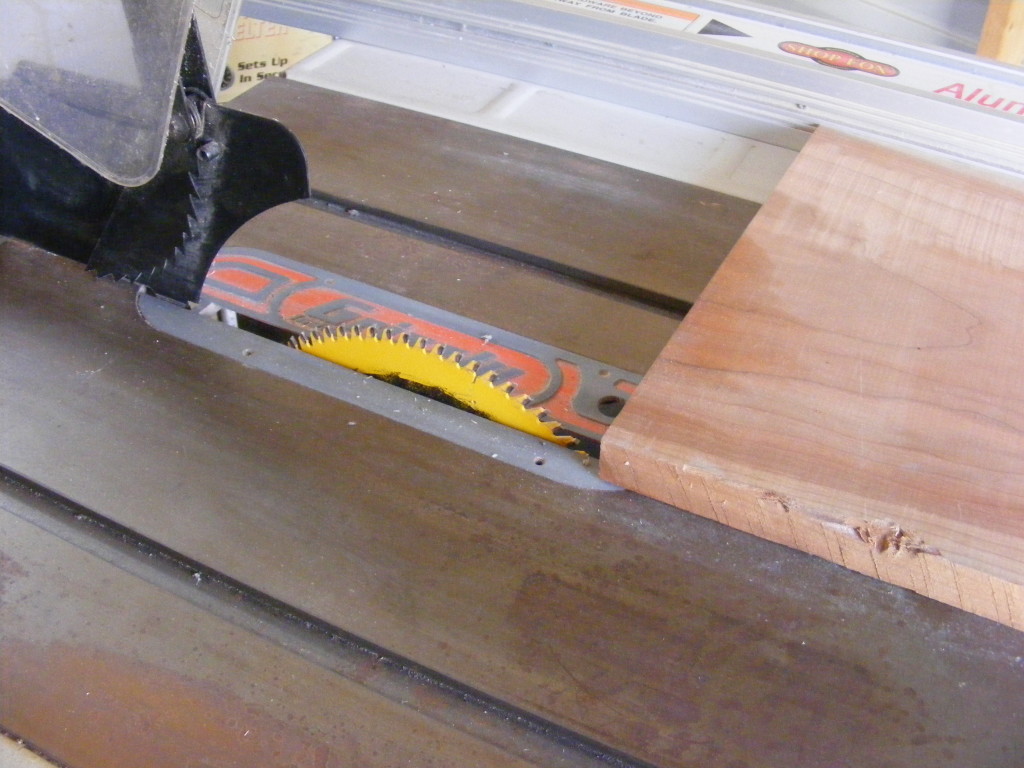
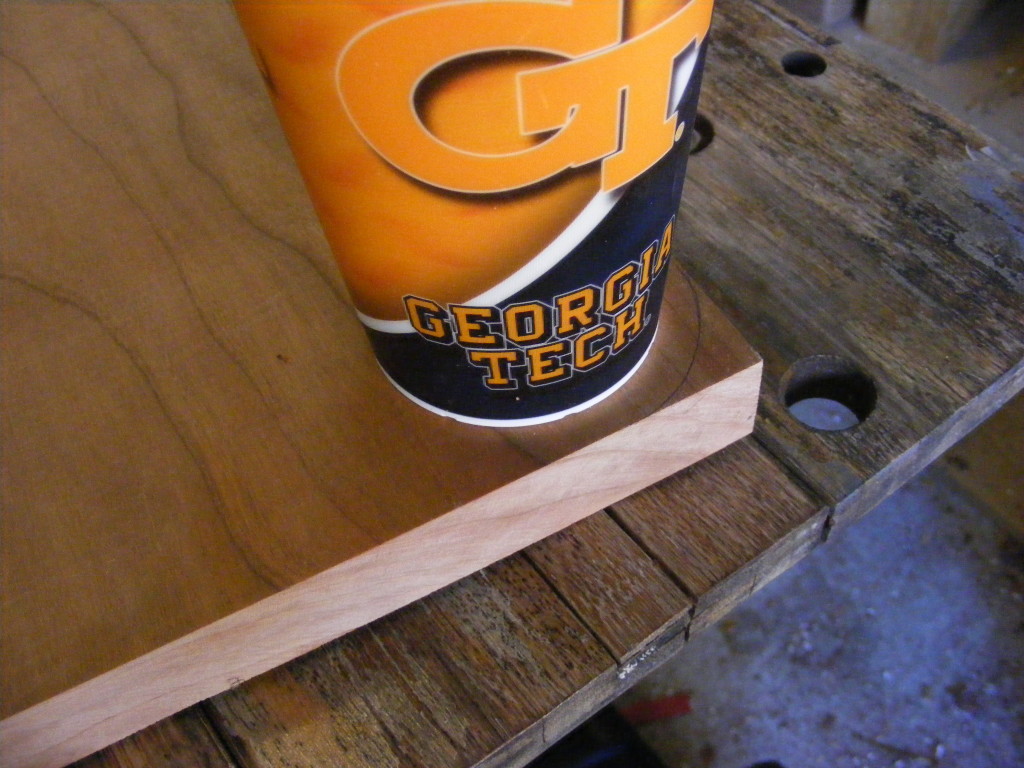
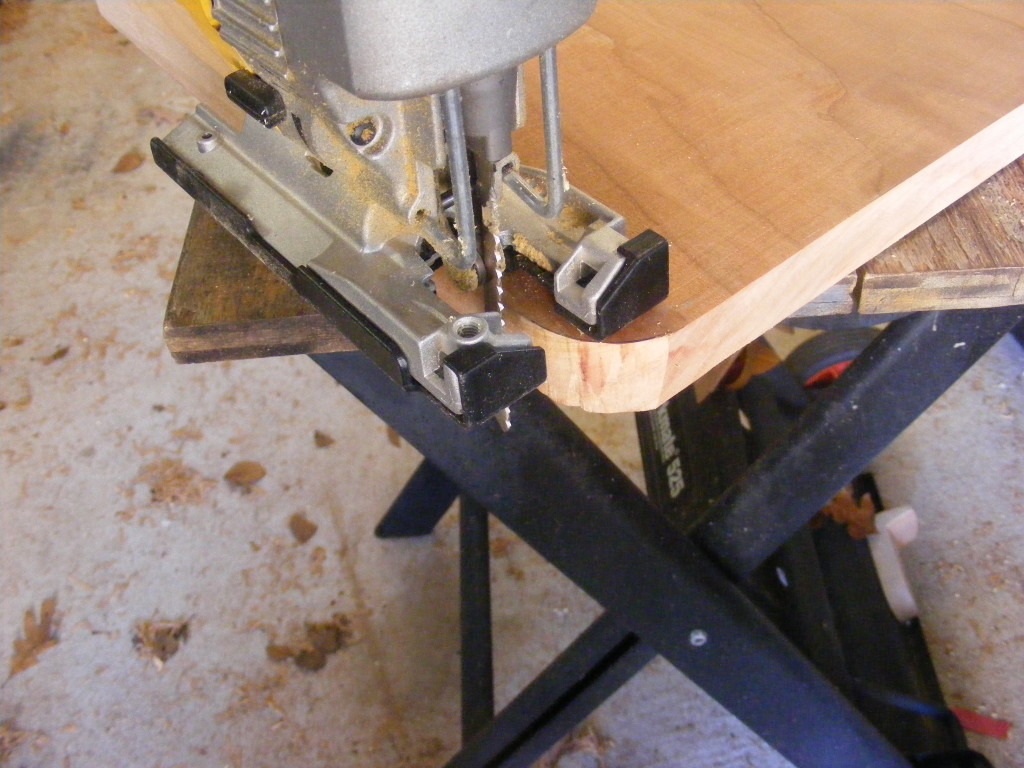
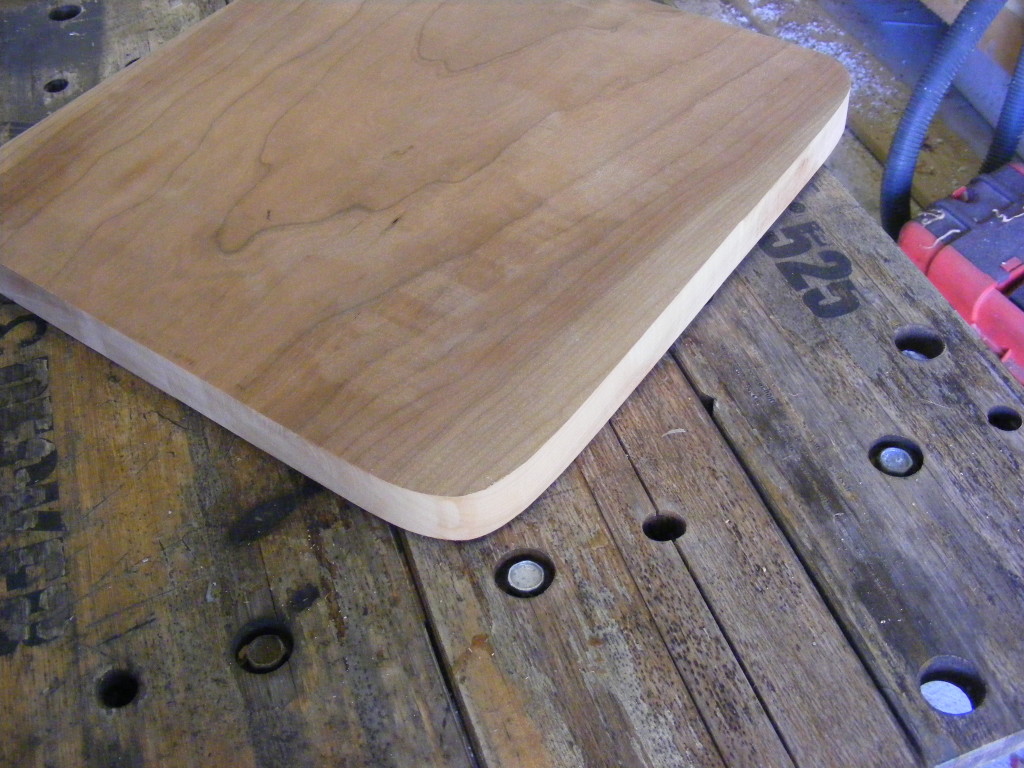
Step 2 – I ran it through my table saw to make sure the board was squared up. Some of the edges were not looking so nice either. Then I used a cup to draw some round corners. I used my Dewalt Saber Saw to round off the corners.
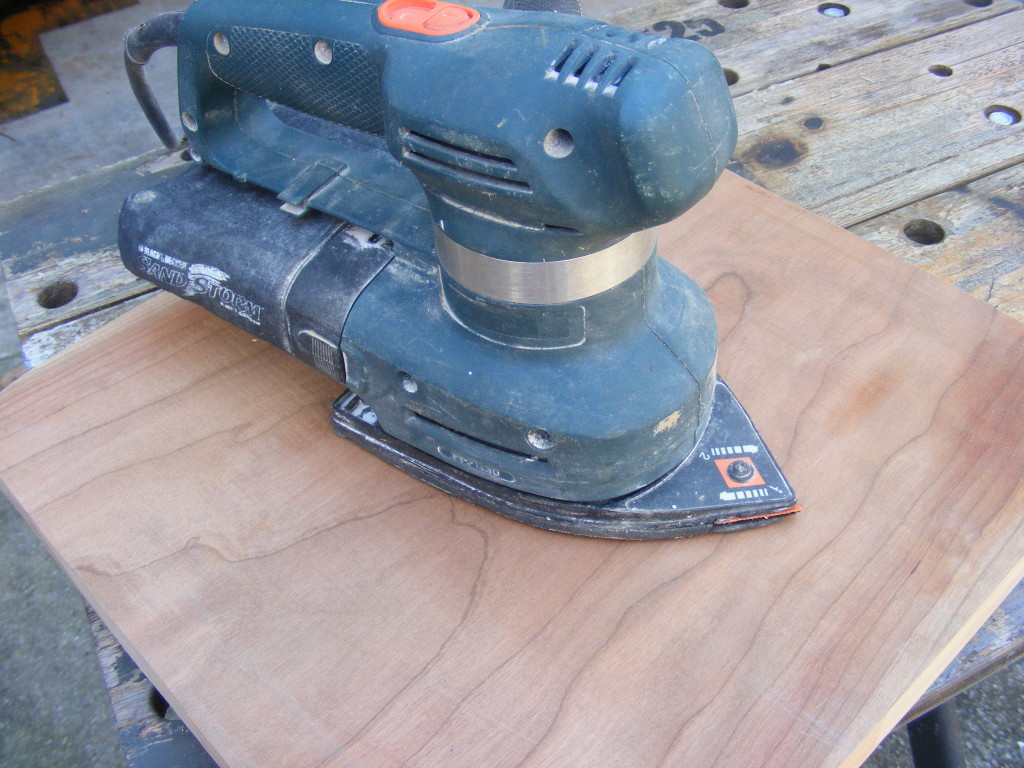
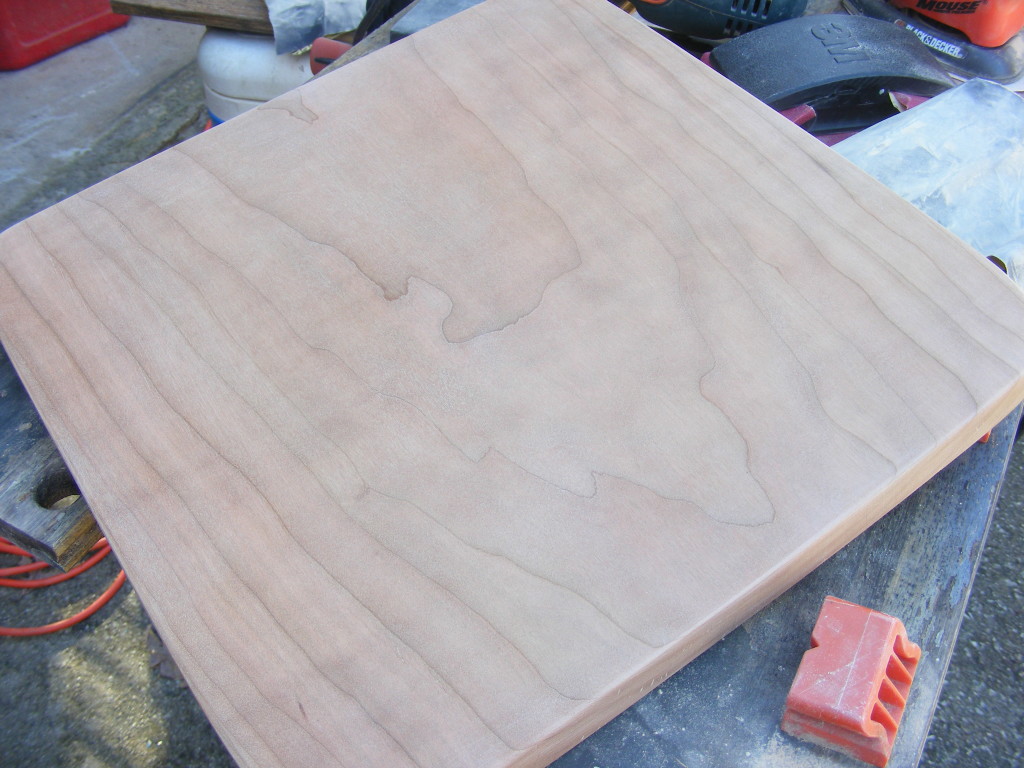
Step 3 – I sanded the board using my disc sander for the edges and my Black & Decker Mouse sander and Sand Storm for the surface. I started with 120 grit, then 220 grit, then 500 grit. I had some 1000 grit and 1500 grit sand paper, so I finished the sanding with those 2 sheets. The surface got really smooth. The sanding took some time to finish. It definitely helped that the board had already been through a planer. I wiped off excess dust with denatured alcohol and allowed it to dry.
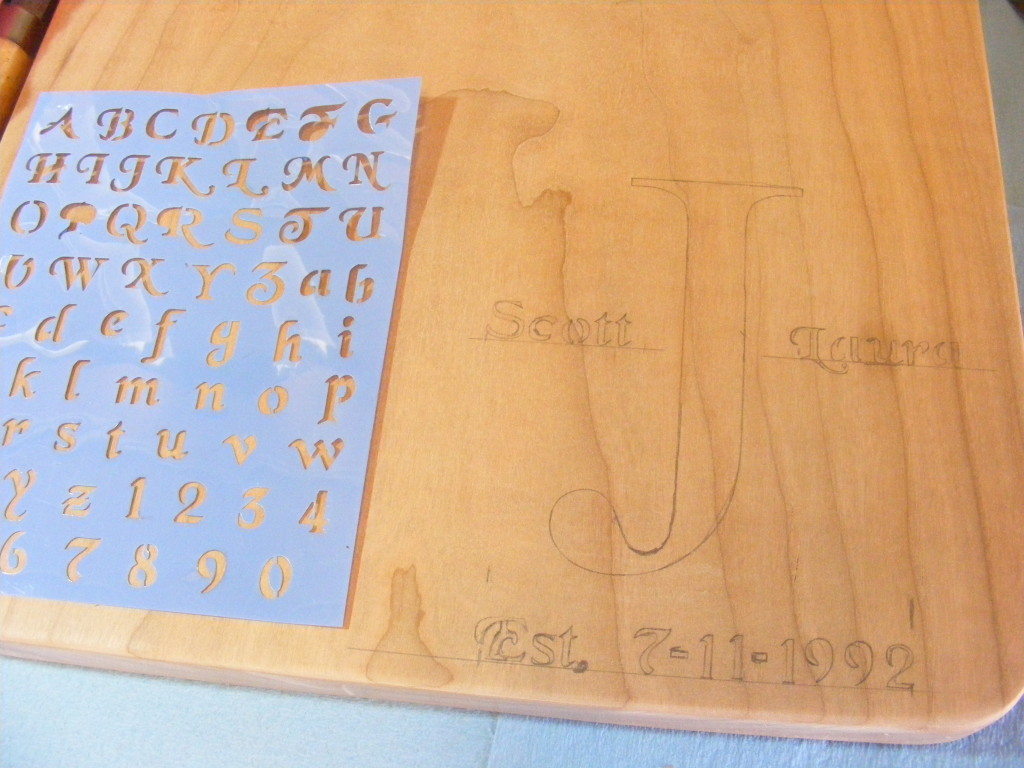
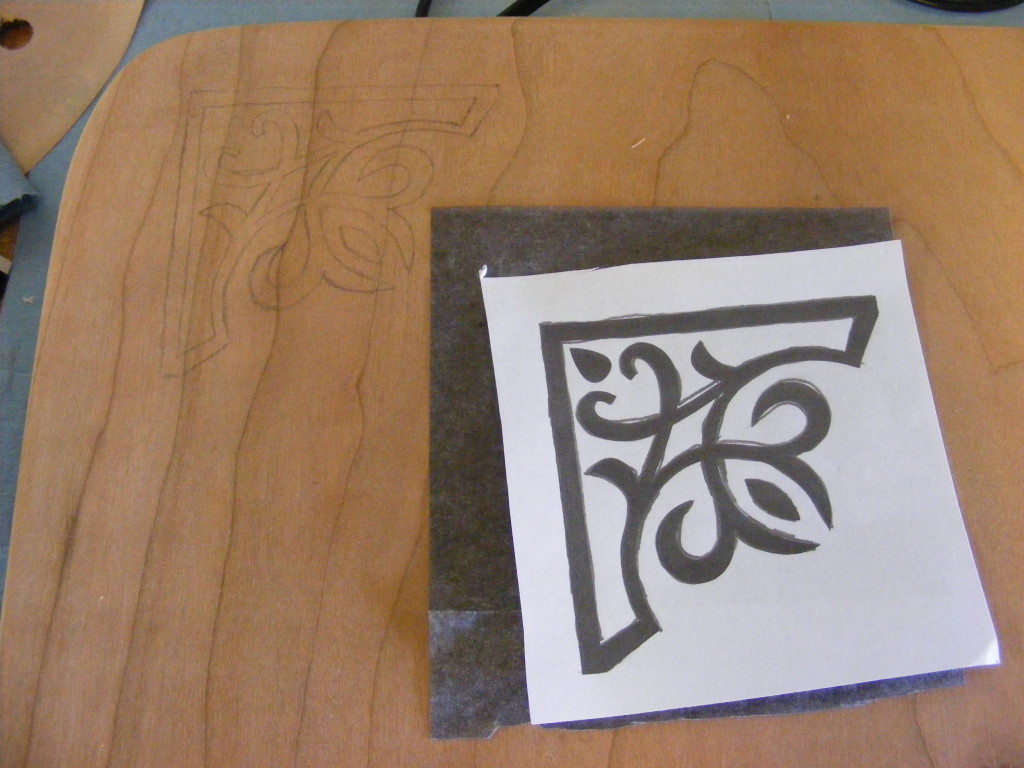
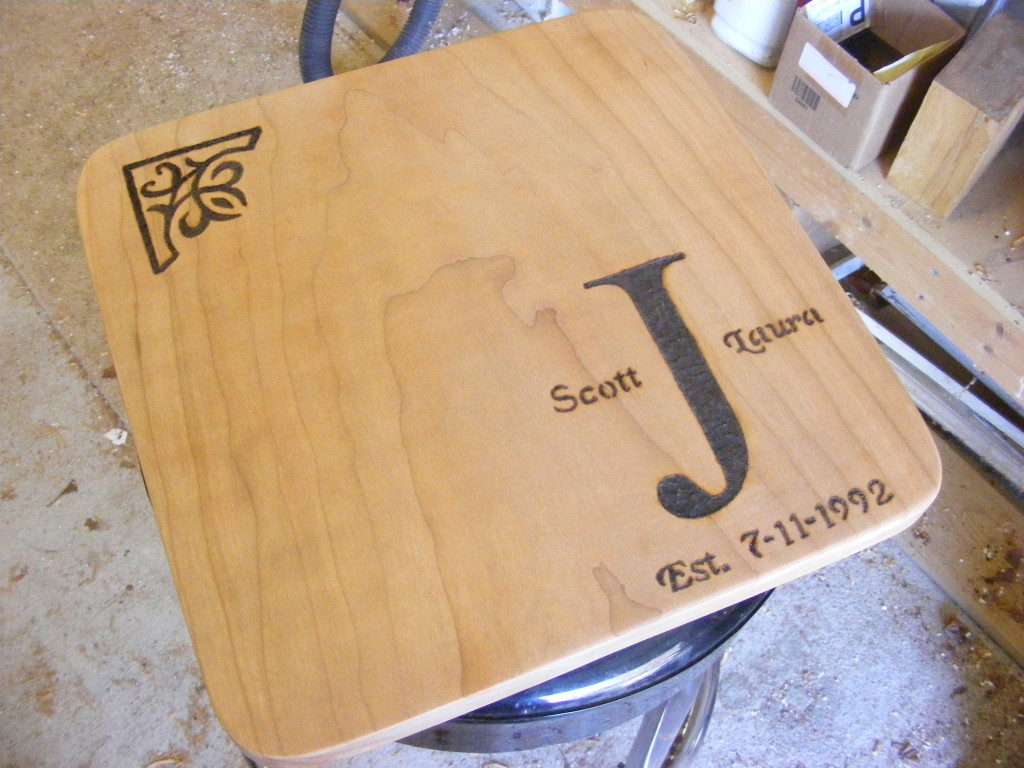
Step 4 – I traced out the letters using a template I bought from Hobby Lobby. I also pulled a royalty-free graphic off the internet and used graphite tracing paper to transfer the graphic to the top left corner.
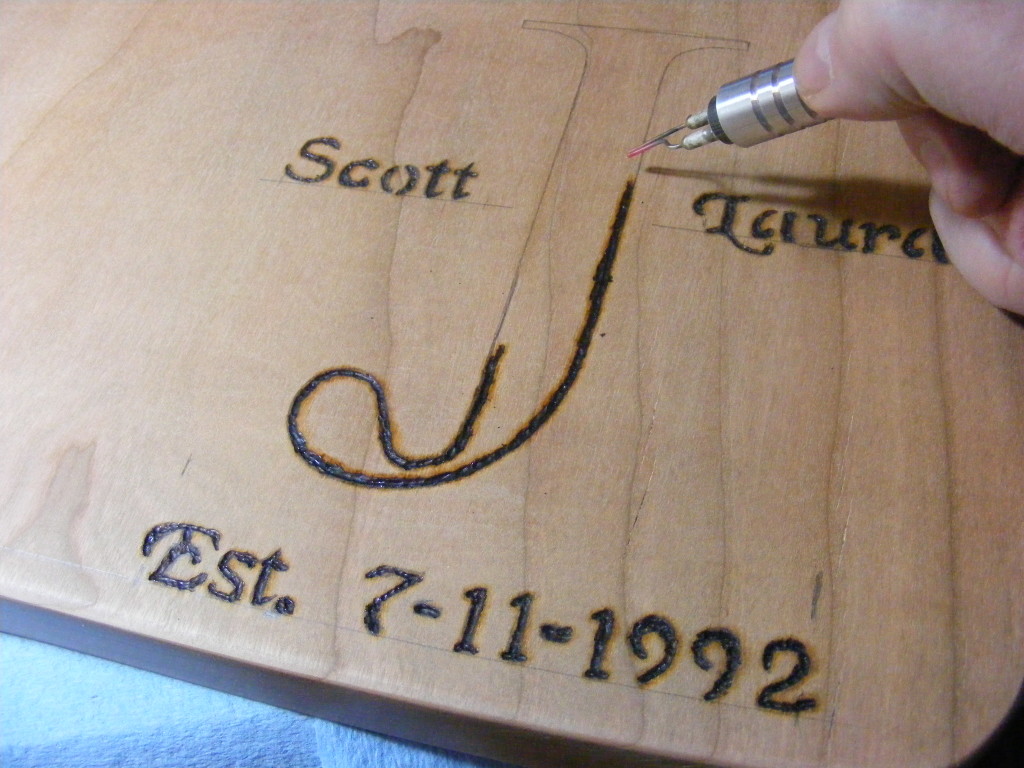
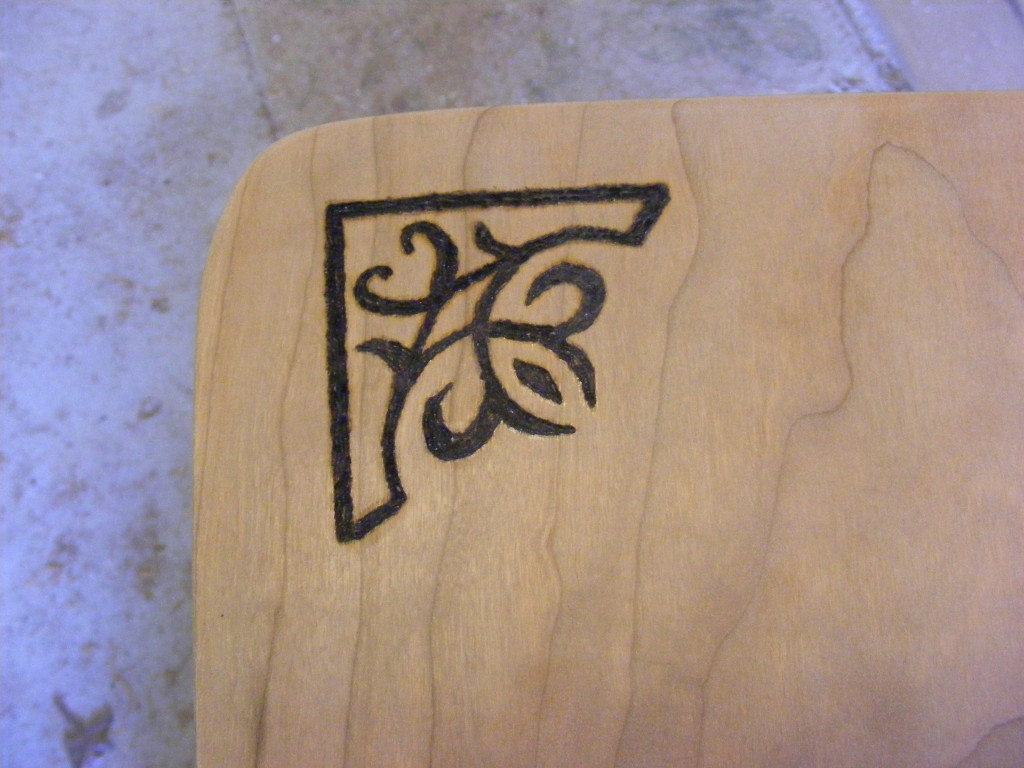
Step 5 – I used my Detail Master “Dagger III” wood burner to burn the letters and graphic. Any woodburner will do, but I like my Detail Master because I can buy a variety of tips, and I can easily adjust the temperature of the burner. I decided to place the letters and graphic in the corners, thinking most of the cutting would take place in the center of the board. I also burned fairly deep so the woodburning would endure more wear and tear.
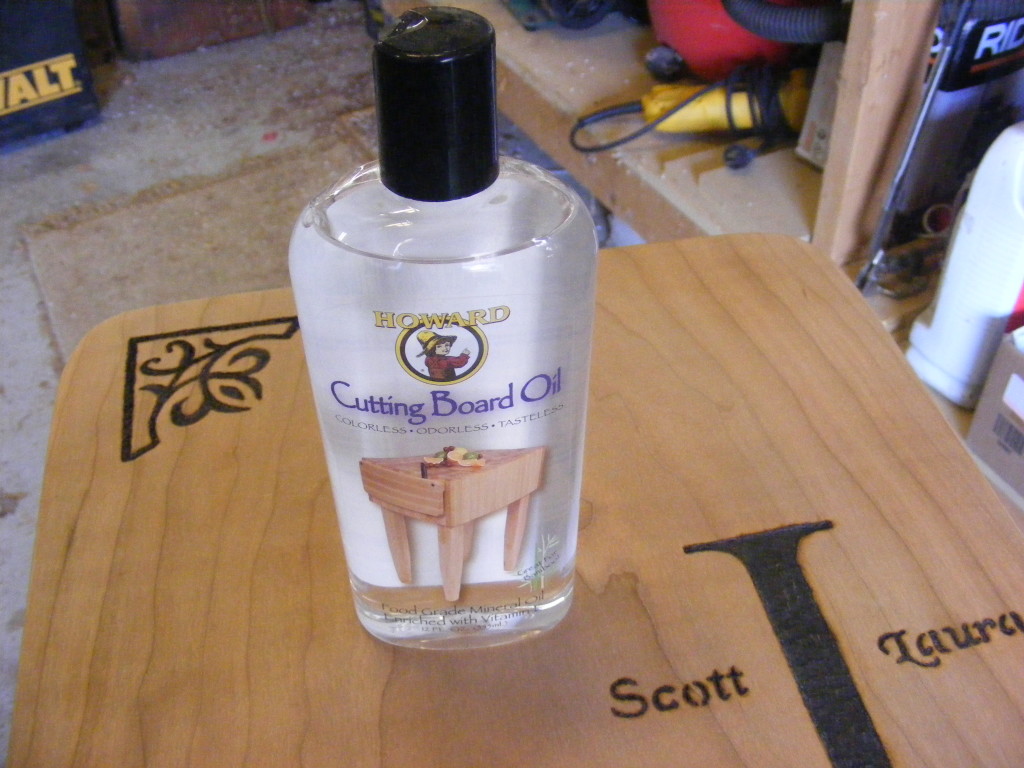
Step 6 – Used some food-safe mineral oil to finish the board. I put on about 3 light coats, allowing for some soak time in between. The oil really brings out the natural grain and beauty of the cherry. The mineral oil will also preserve the wood and hopefully make it last longer.
I hope you enjoyed this short tutorial. I hope that it might inspire you to get out in the shop and create something beautiful. Feel free to comment and share what crafts you’ve been working on for the Christmas season. I encourage you to subscribe to my site if you’d like to automatically be updated on new tutorials and woodworking tips.
God bless!
Scott
