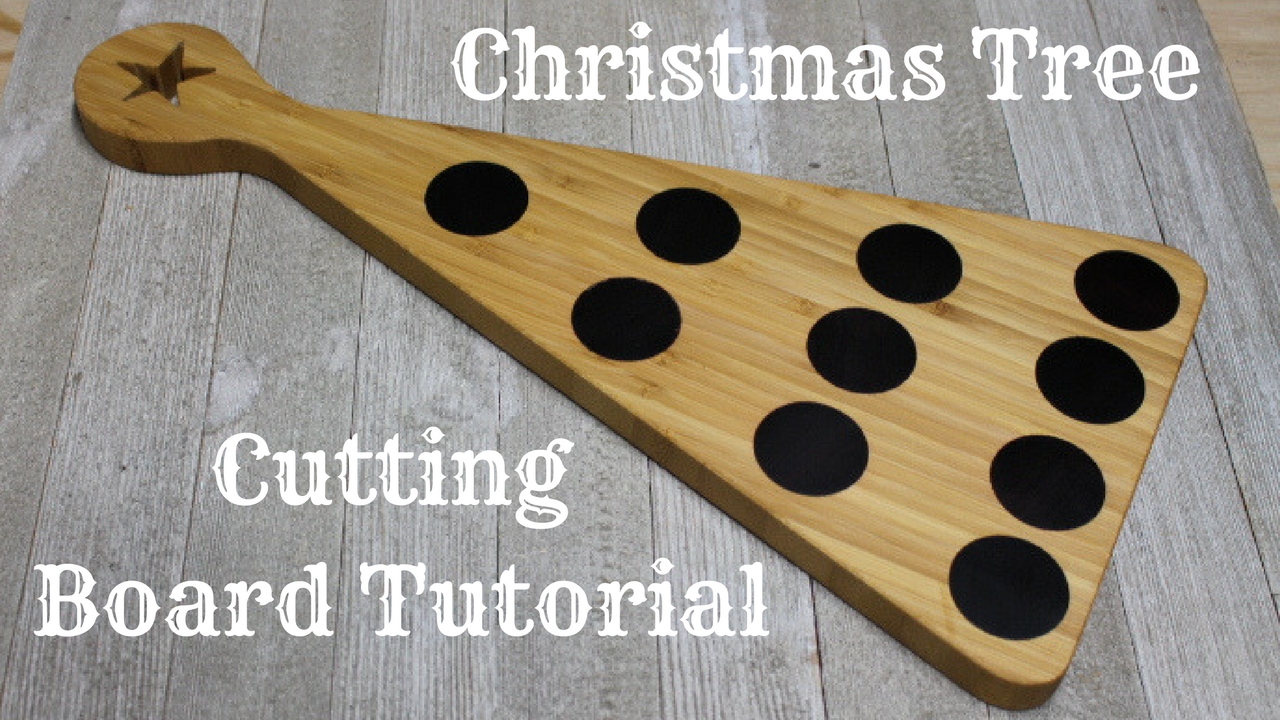
Cutting boards make great woodworking projects and great gifts. Recently, I came up with this Christmas Tree Cutting Board Project. I used bamboo for the main board and dark hardwood dowels for the “ornaments.” The dowels are rosewood and walnut.
You can follow my YouTube tutorial(click below) or see the photo-based tutorial below. Please subscribe to my YouTube channel.
Tools I Used (Affiliate Links included for your convenience):
DEWALT Jig SawDEWALT Variable Speed Orbit Sander
1 1/2 inch Forstner Drill Bit
Belt and Disk Sander
Wood Glue
My Beeswax Butter Recipe
Step 1 — Wood Selection & layout
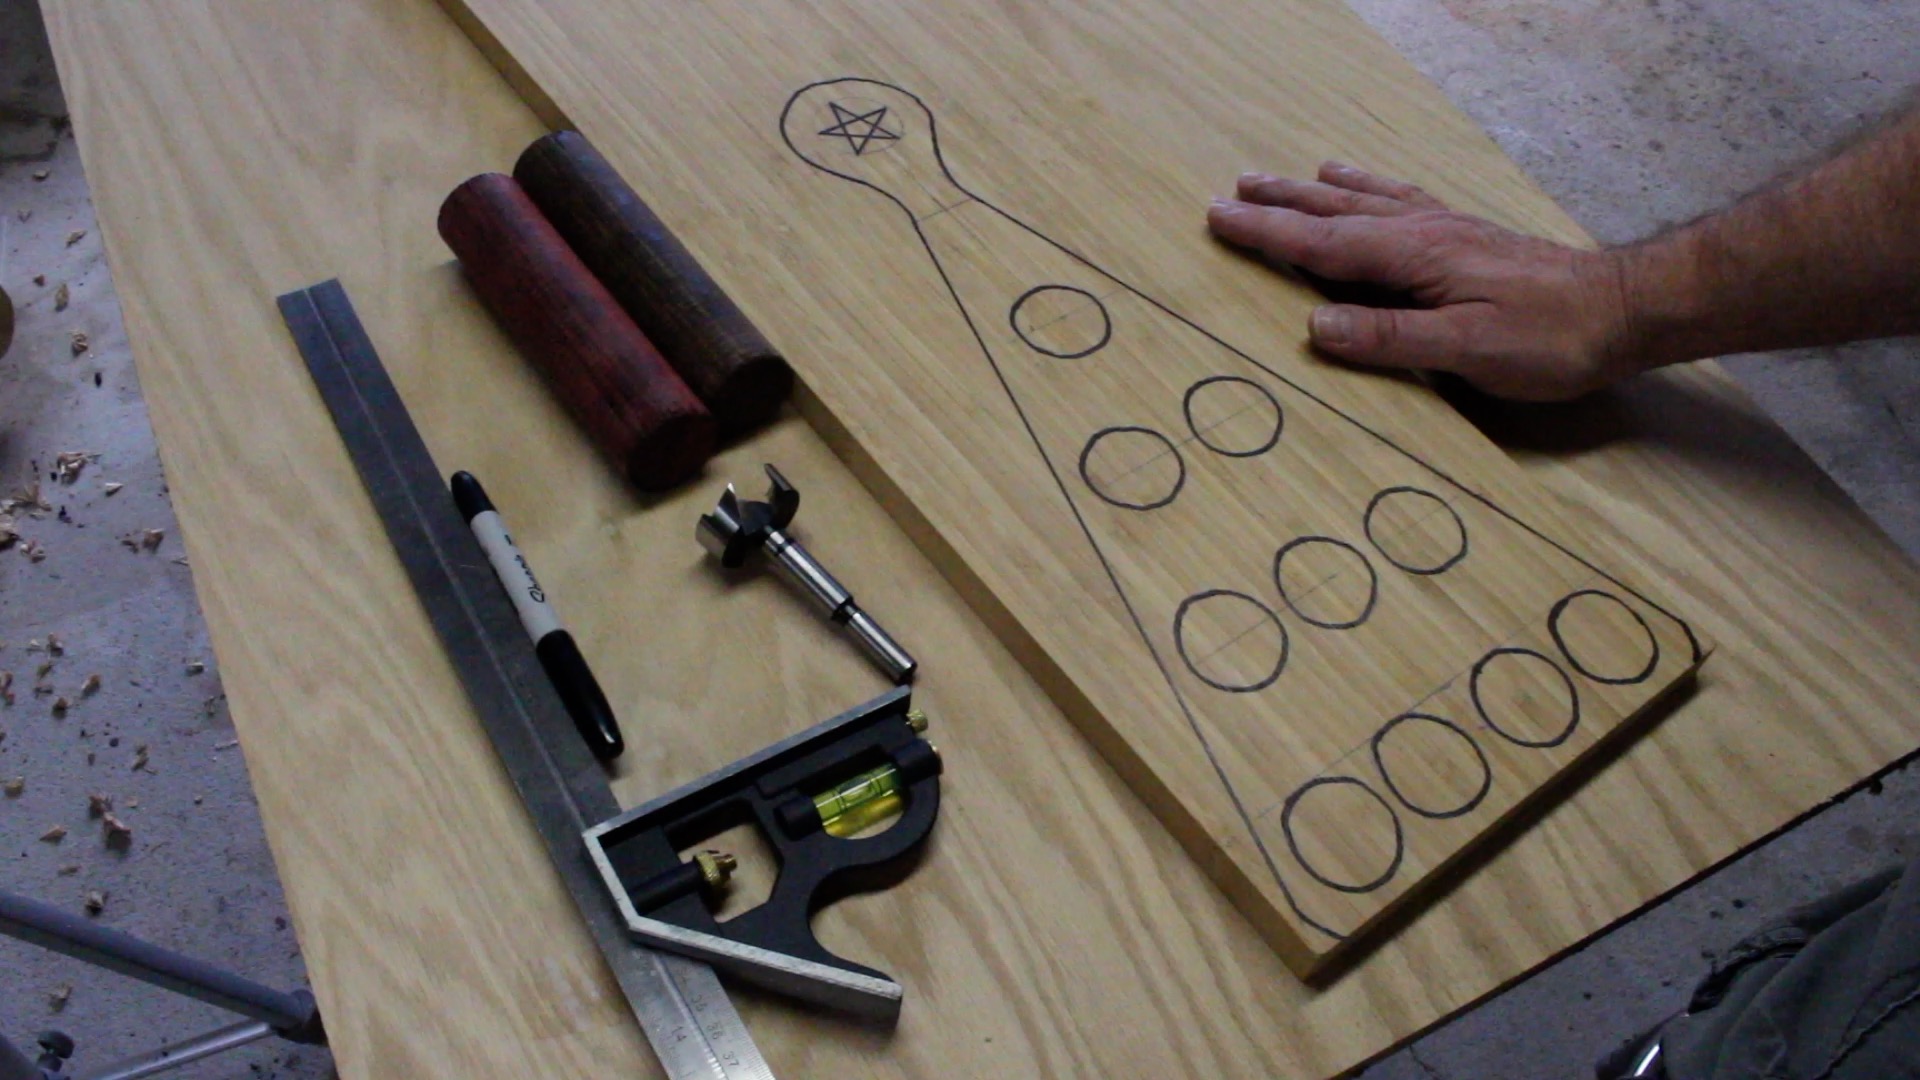
Used bamboo for the main board and hardwood dowels I got from the woodworking store. One dowel is rosewood and the other is walnut. Try to get the longest dowels possible. I’m going to cut out a star in the handle portion. Dowels need to be 1.5 inches in diameter.
I came up with my own design and freehanded the sketch onto the bamboo. A Christmas tree with 10 ornaments.
Step 2 — Cut holes for the ornaments.
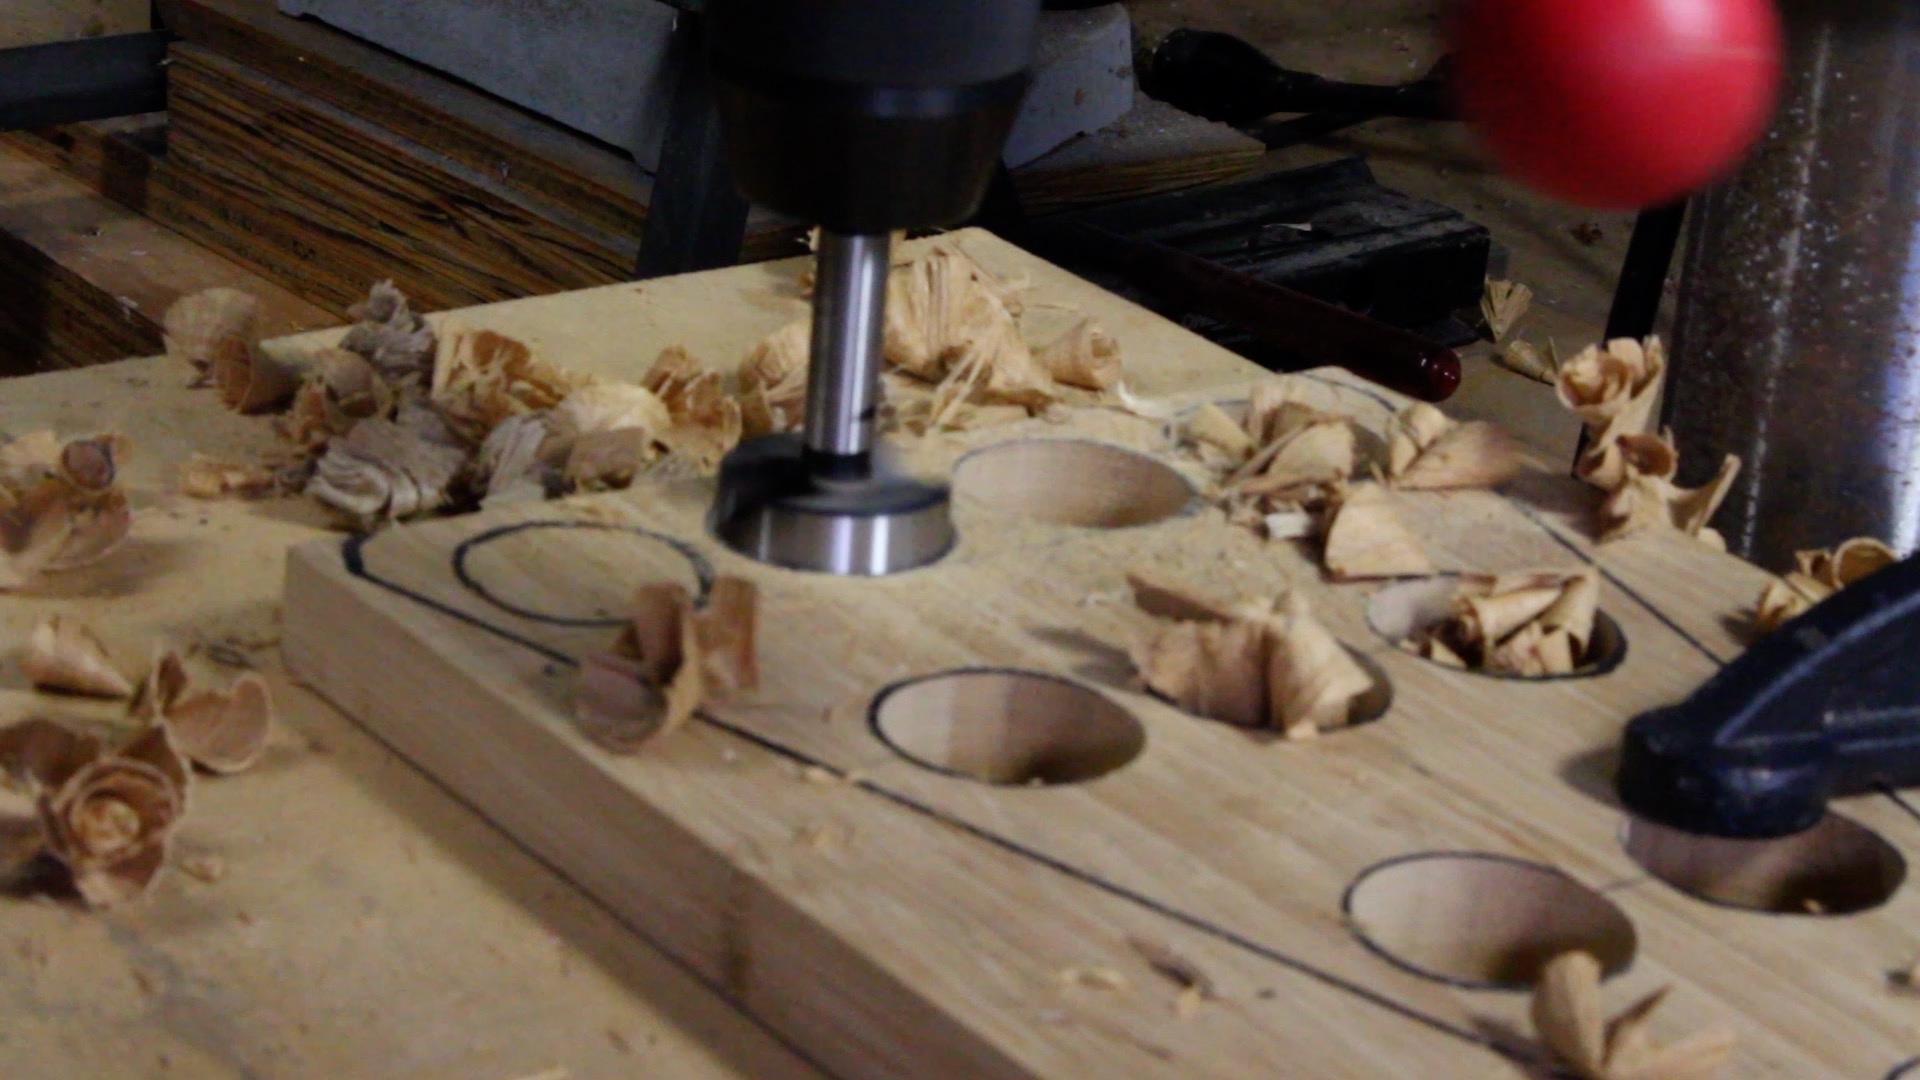
I used a 1.5 inch Forstner bit and set the drill press to the recommended RPM for drilling 10 holes. I always clamp the board down just in case.
Step 3 — Cut out the Christmas tree.
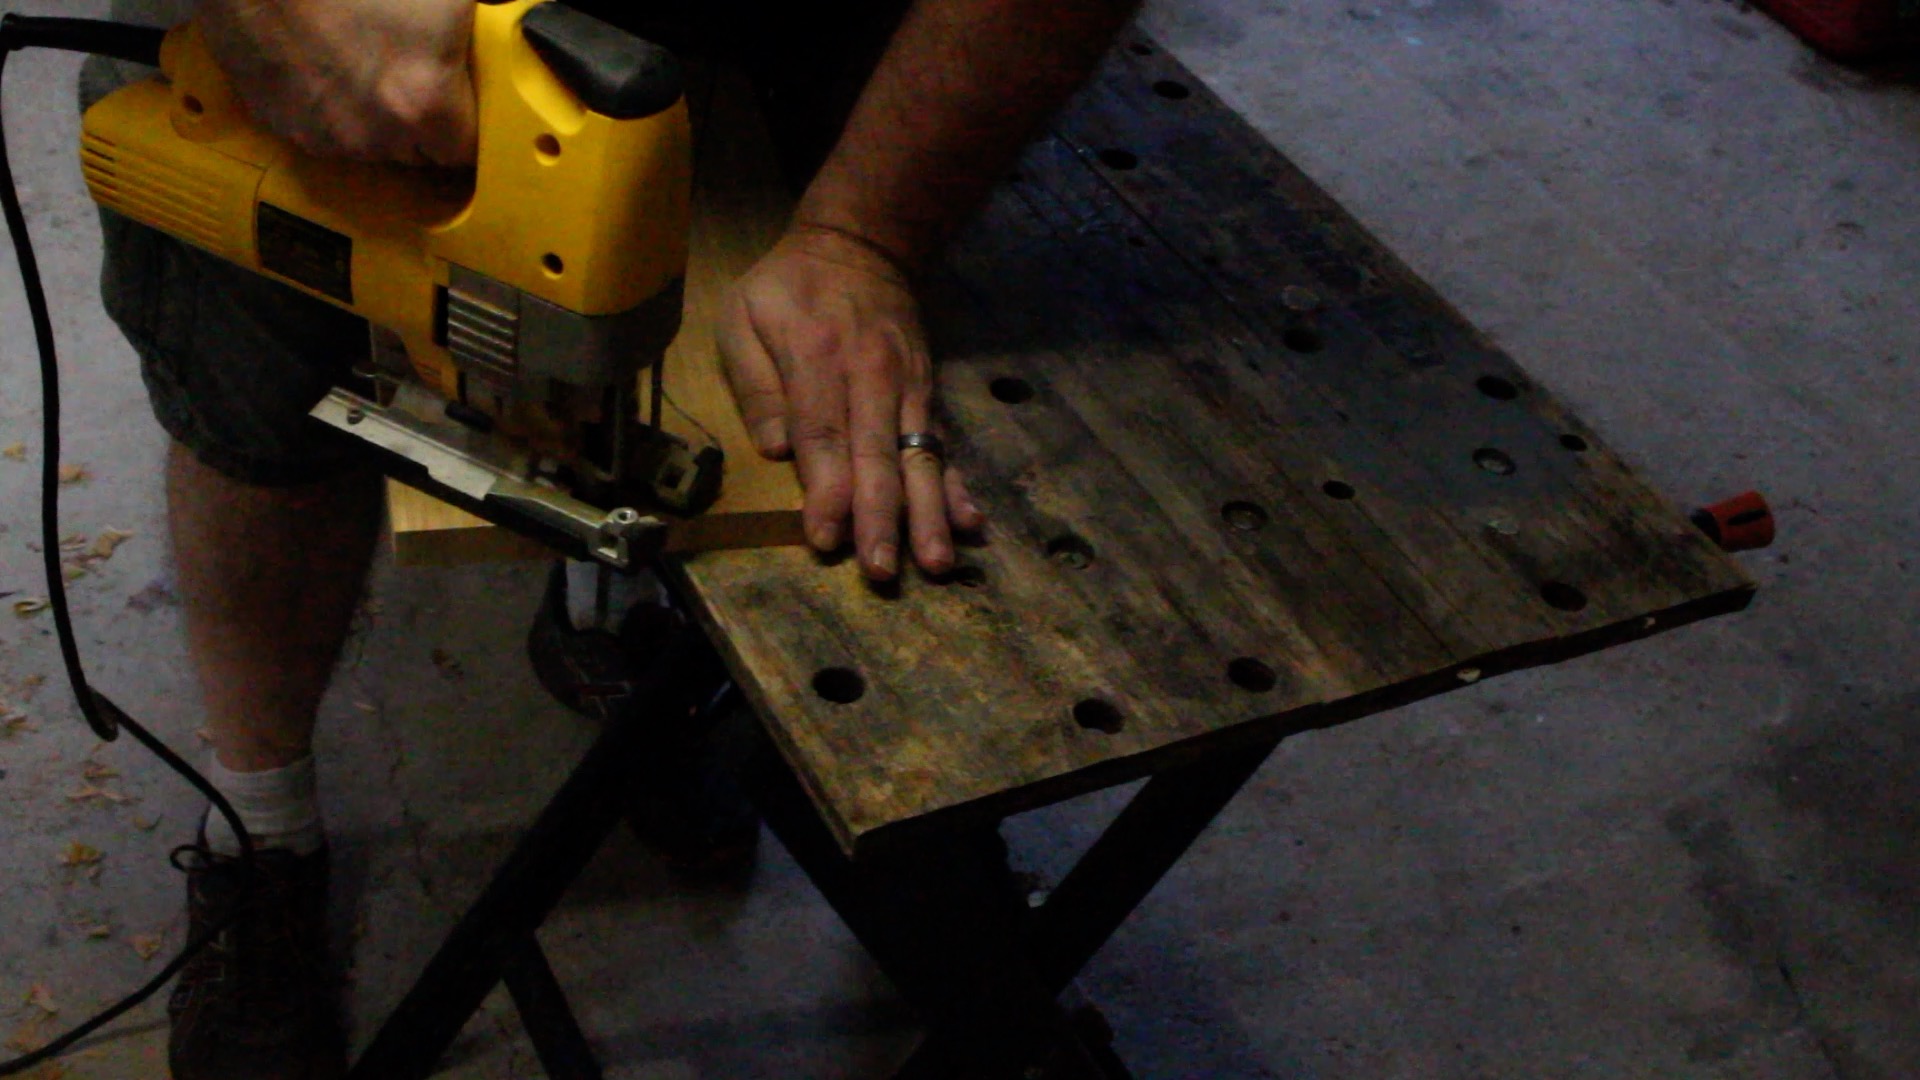
I used my jig saw with scroll-cut blades. A bandsaw would have worked just as nicely.
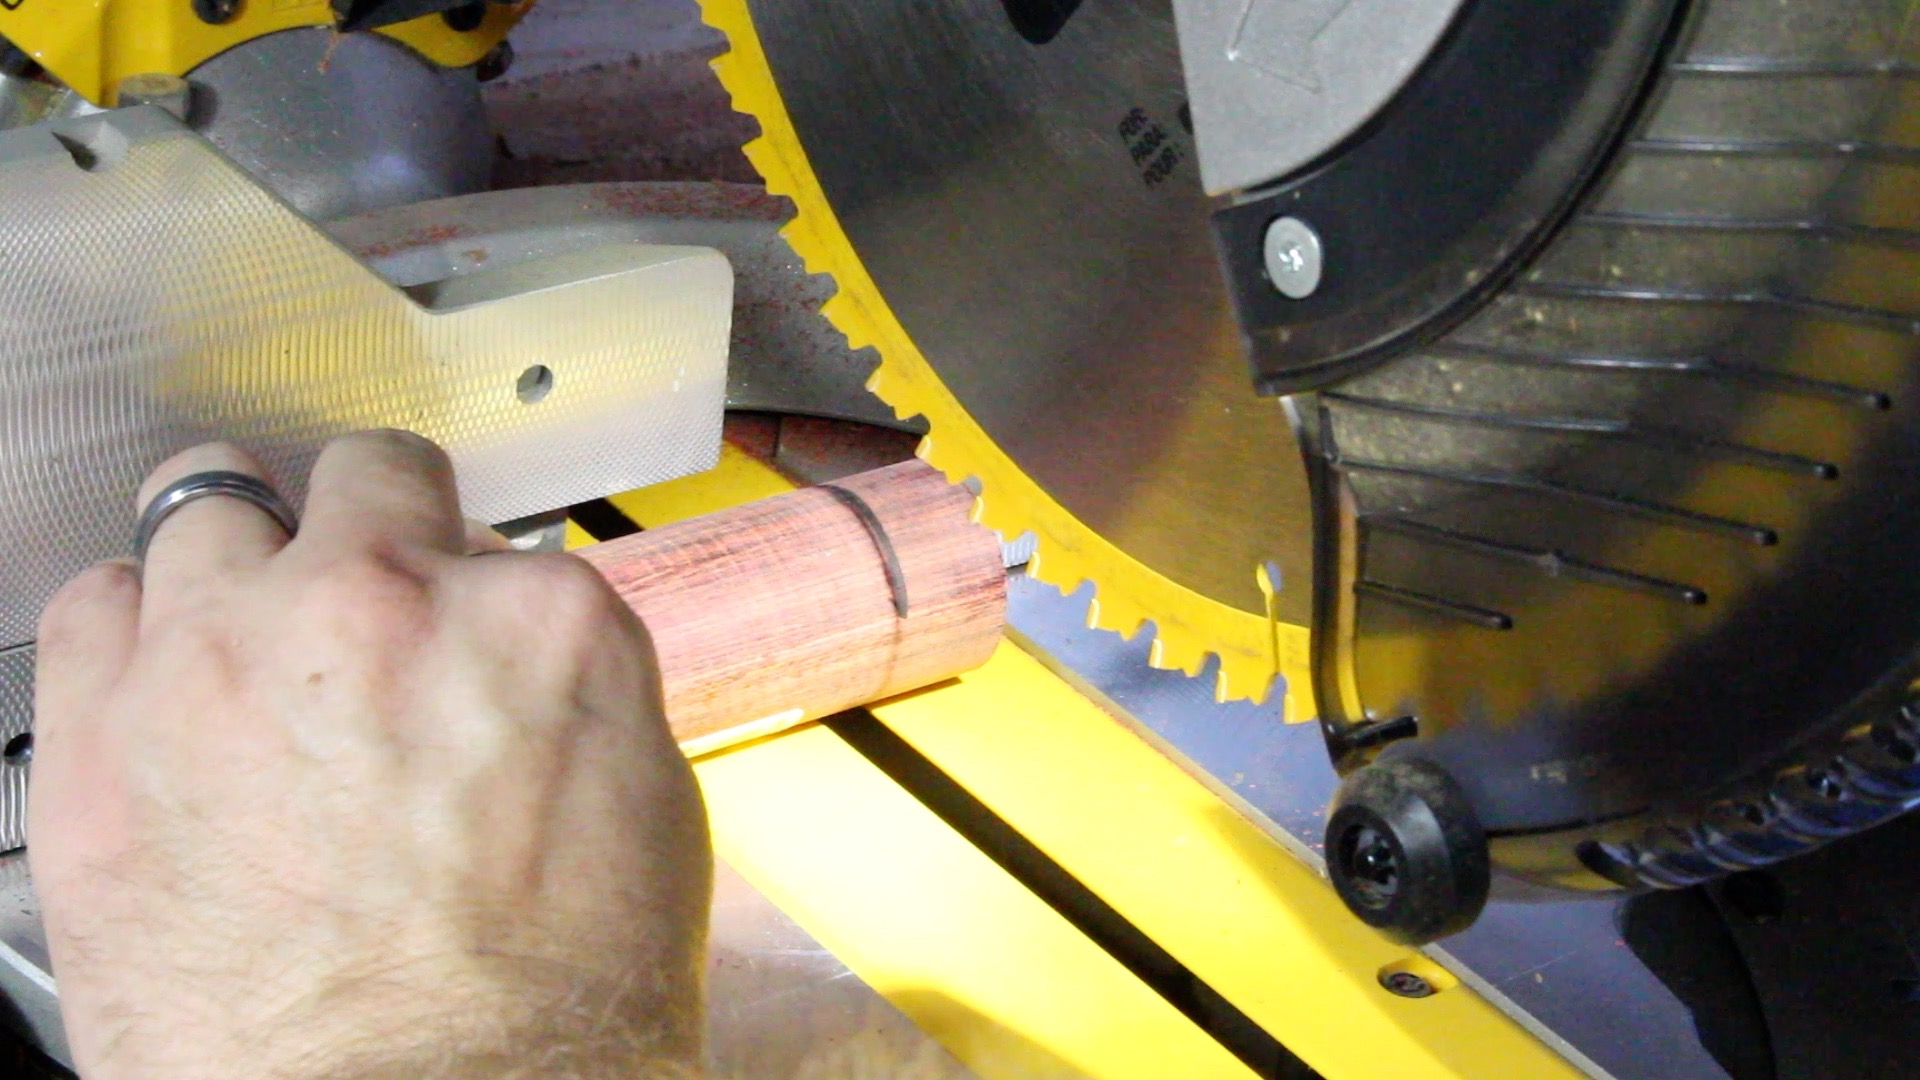
Step 4 — Cut the dowel pieces
I used a chop saw for this step. I cut them approximately the same depth / thickness as the bamboo board.
Had to be careful though. Once the dowels got fairly short, I swapped over to the bandsaw for safety. Always wear your PPE and make sure you have good support of the piece you’re cutting. Keep hands and finger well away from cutting blade.
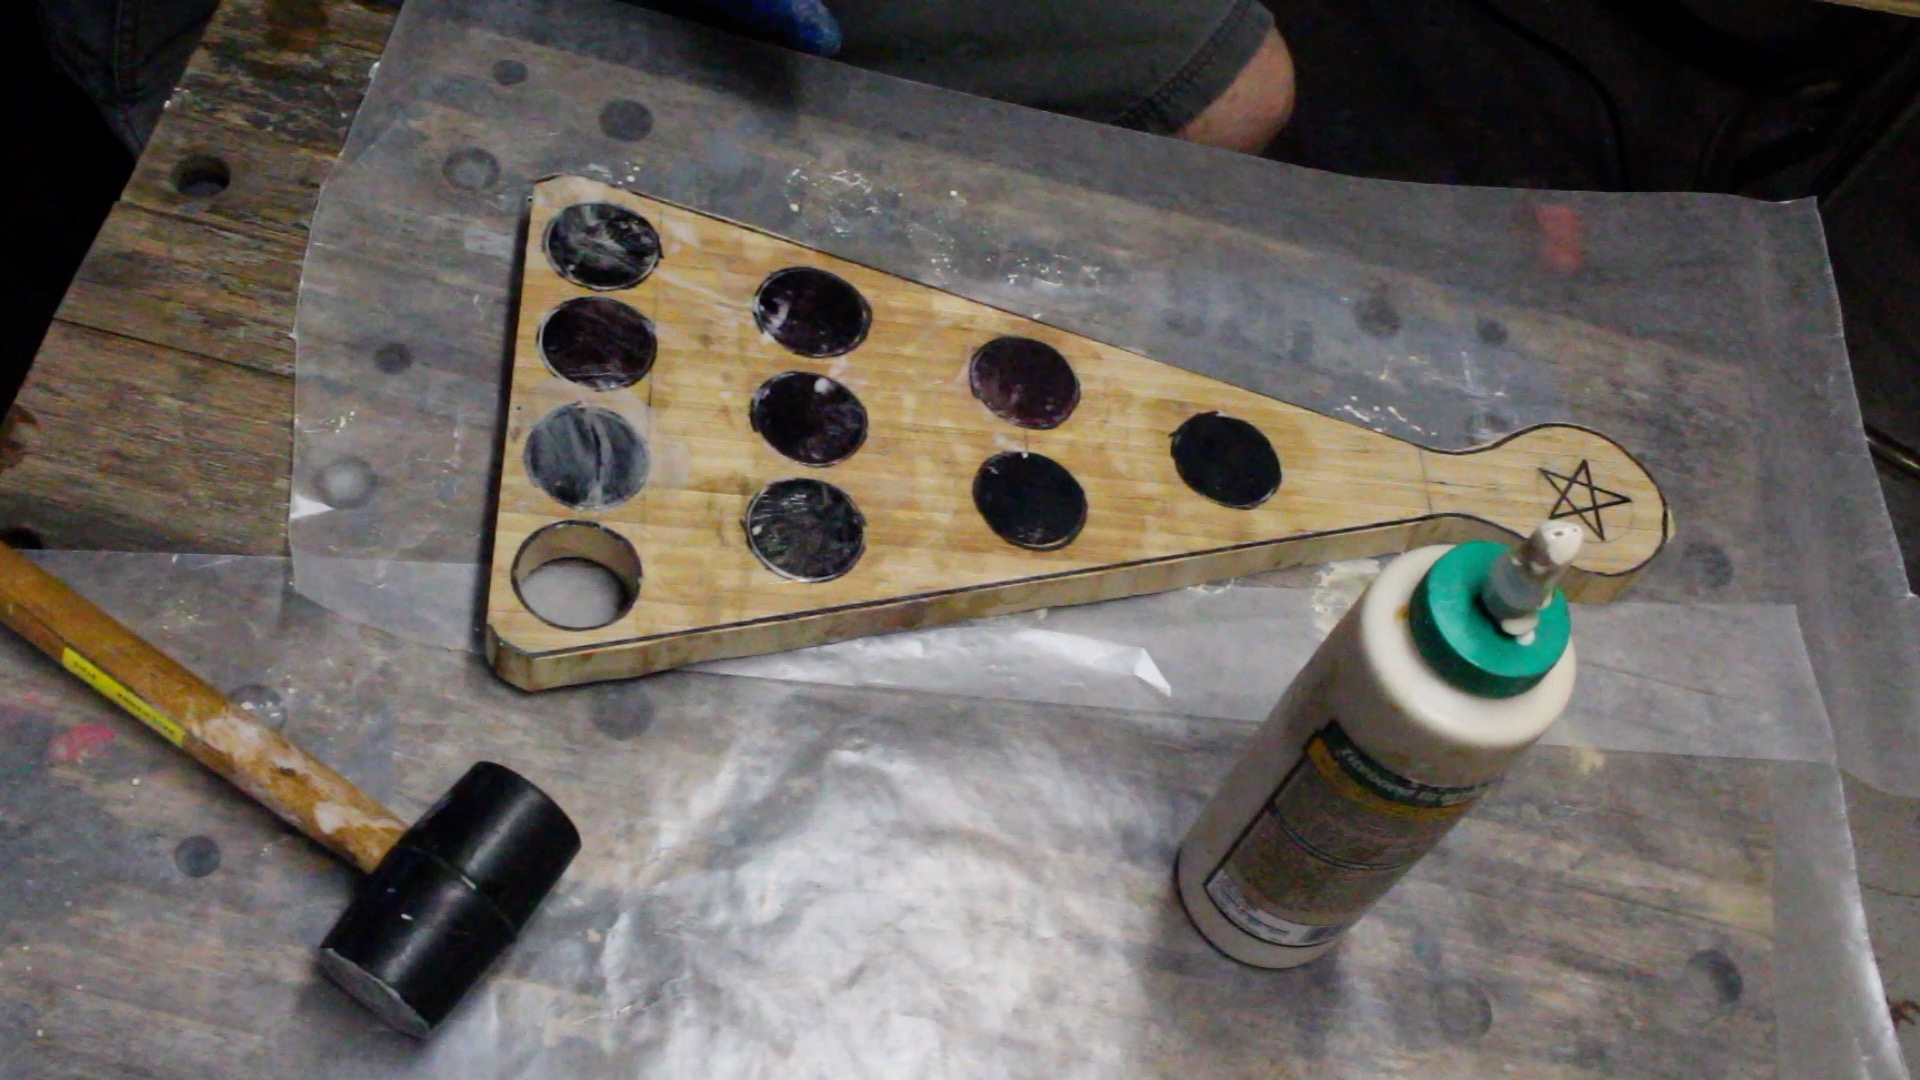
Step 5 — Glue the dowels.
Used regular wood glue and gently tapped the dowel pieces into place with a small rubber mallet. Wipe off excess glue. Allowed glue to dry overnight.
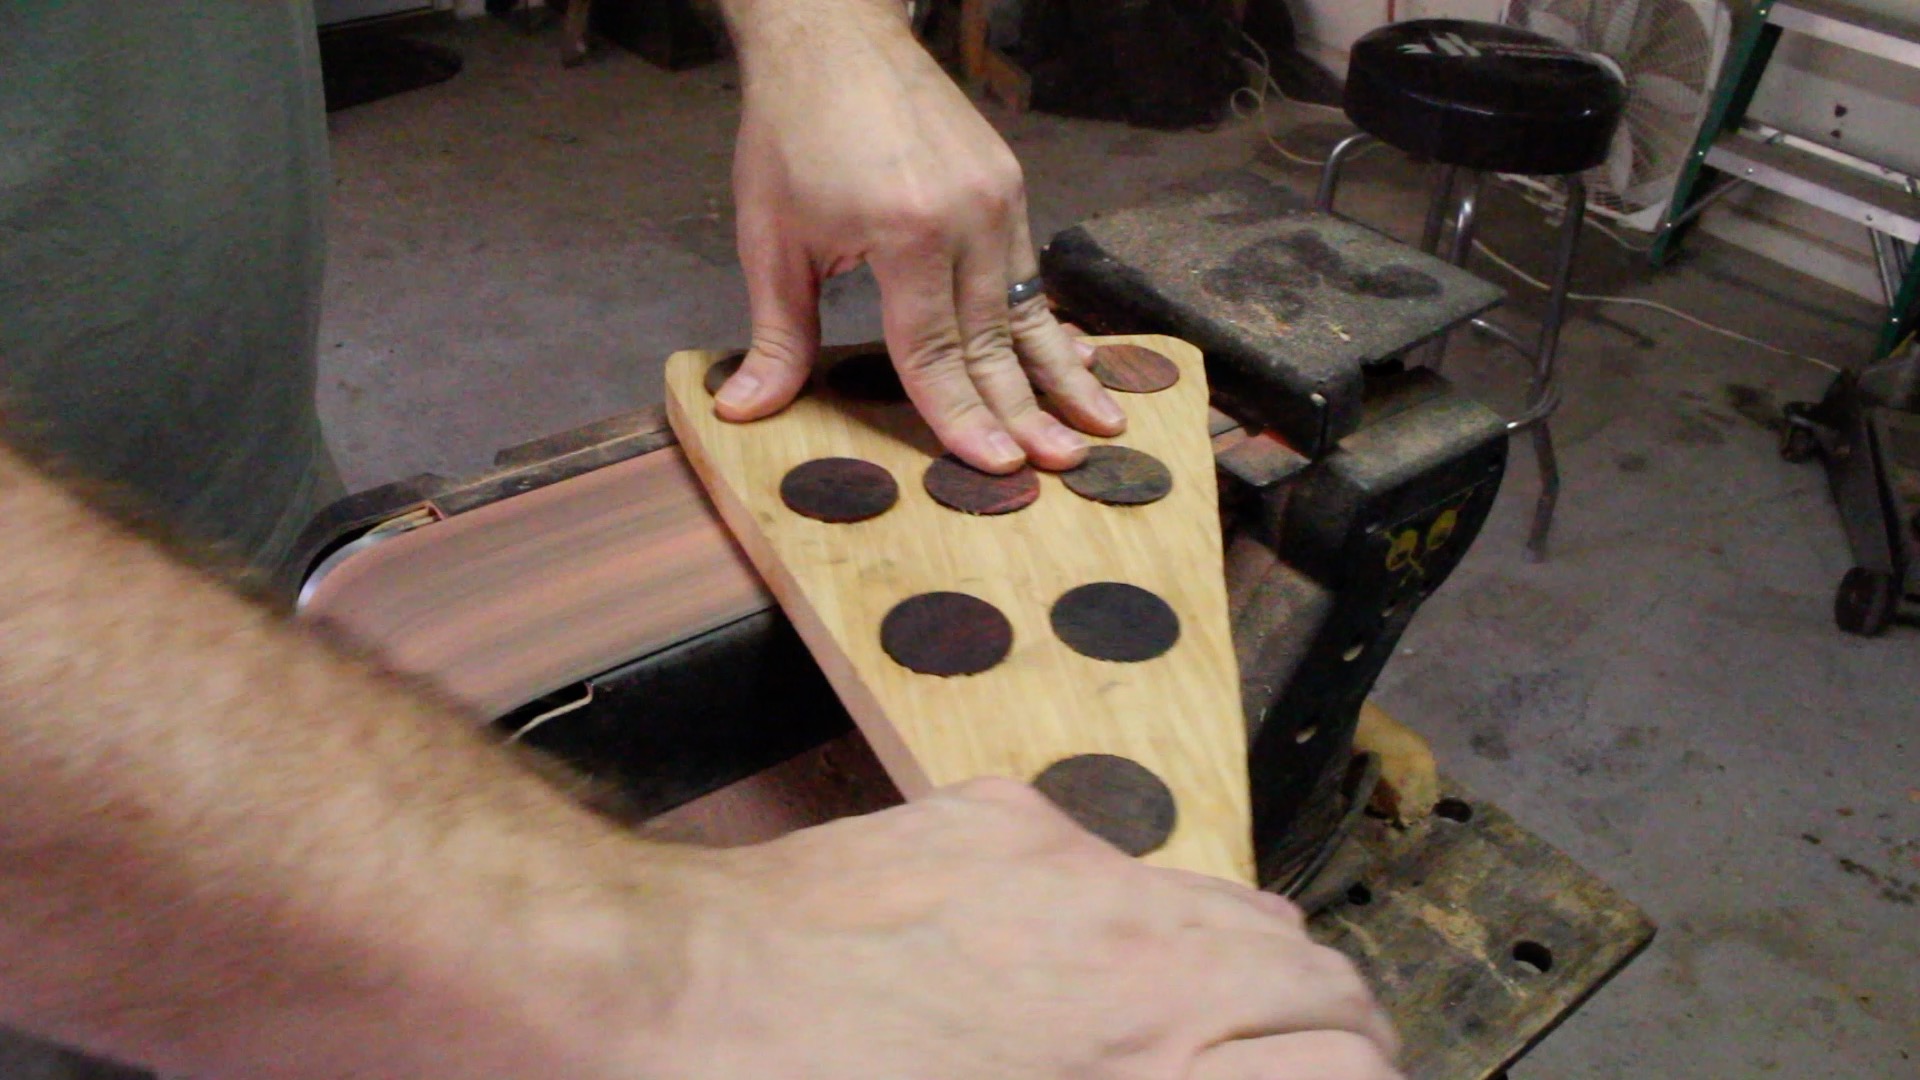
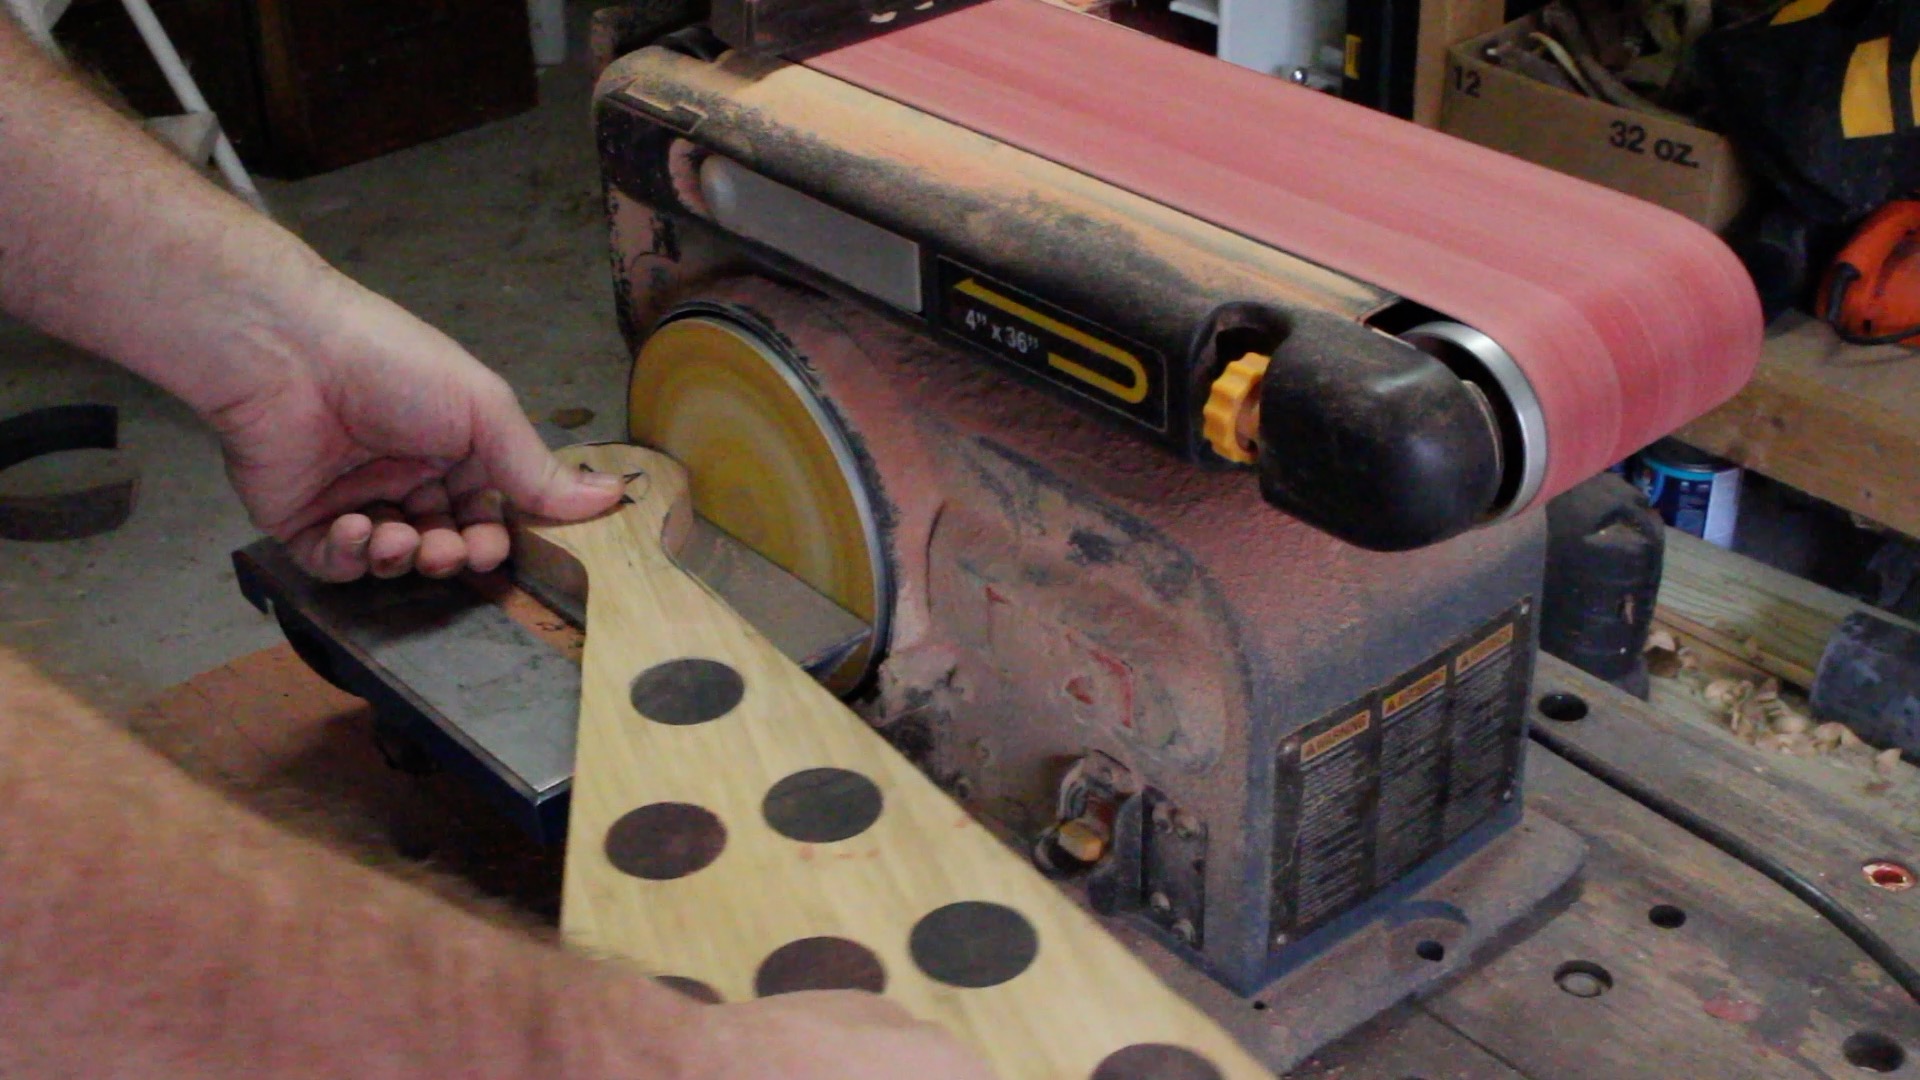
Step 6 — Sand surface and edges.
I used my disk sander for the edges and belt sander for making the surface flush.
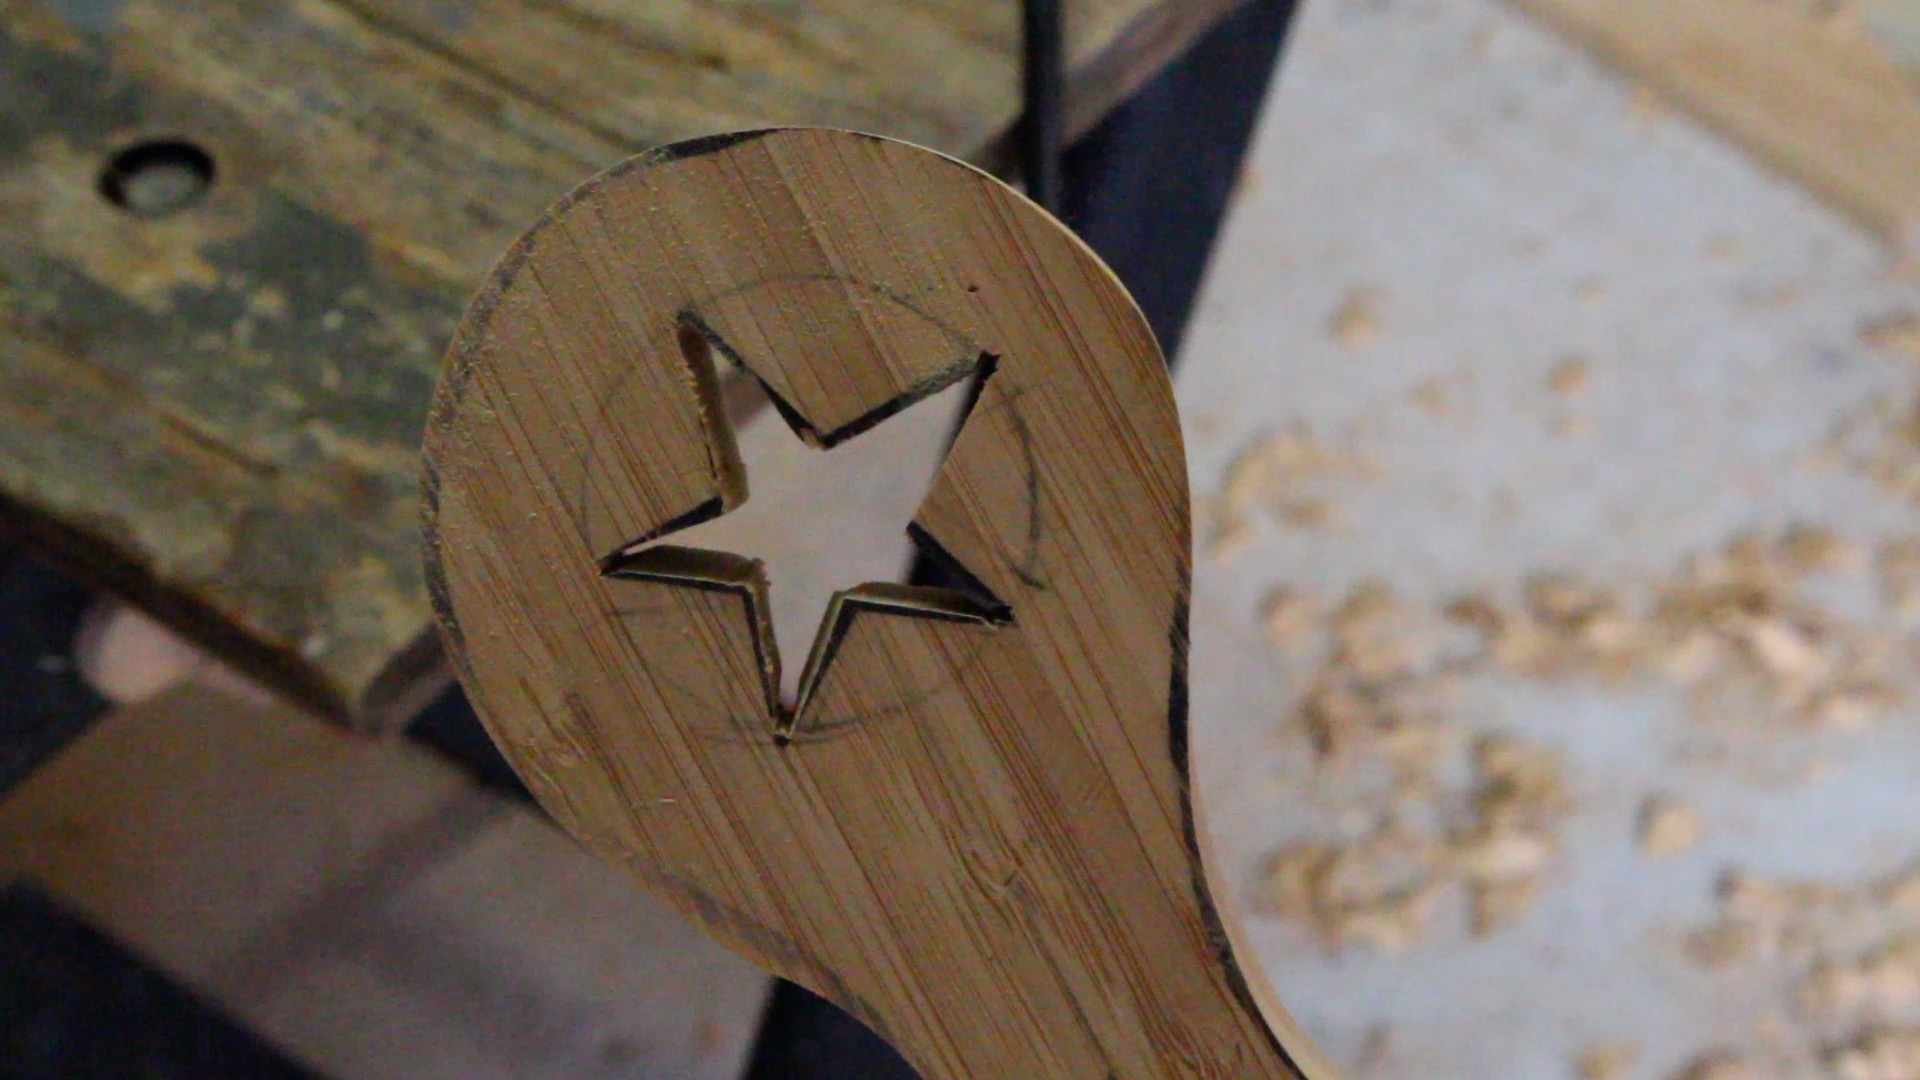
Step 7 — Cut out the star.
I used the jigsaw to cut out the star in the handle. Next time, I’ll probably use my scroll saw for this step.
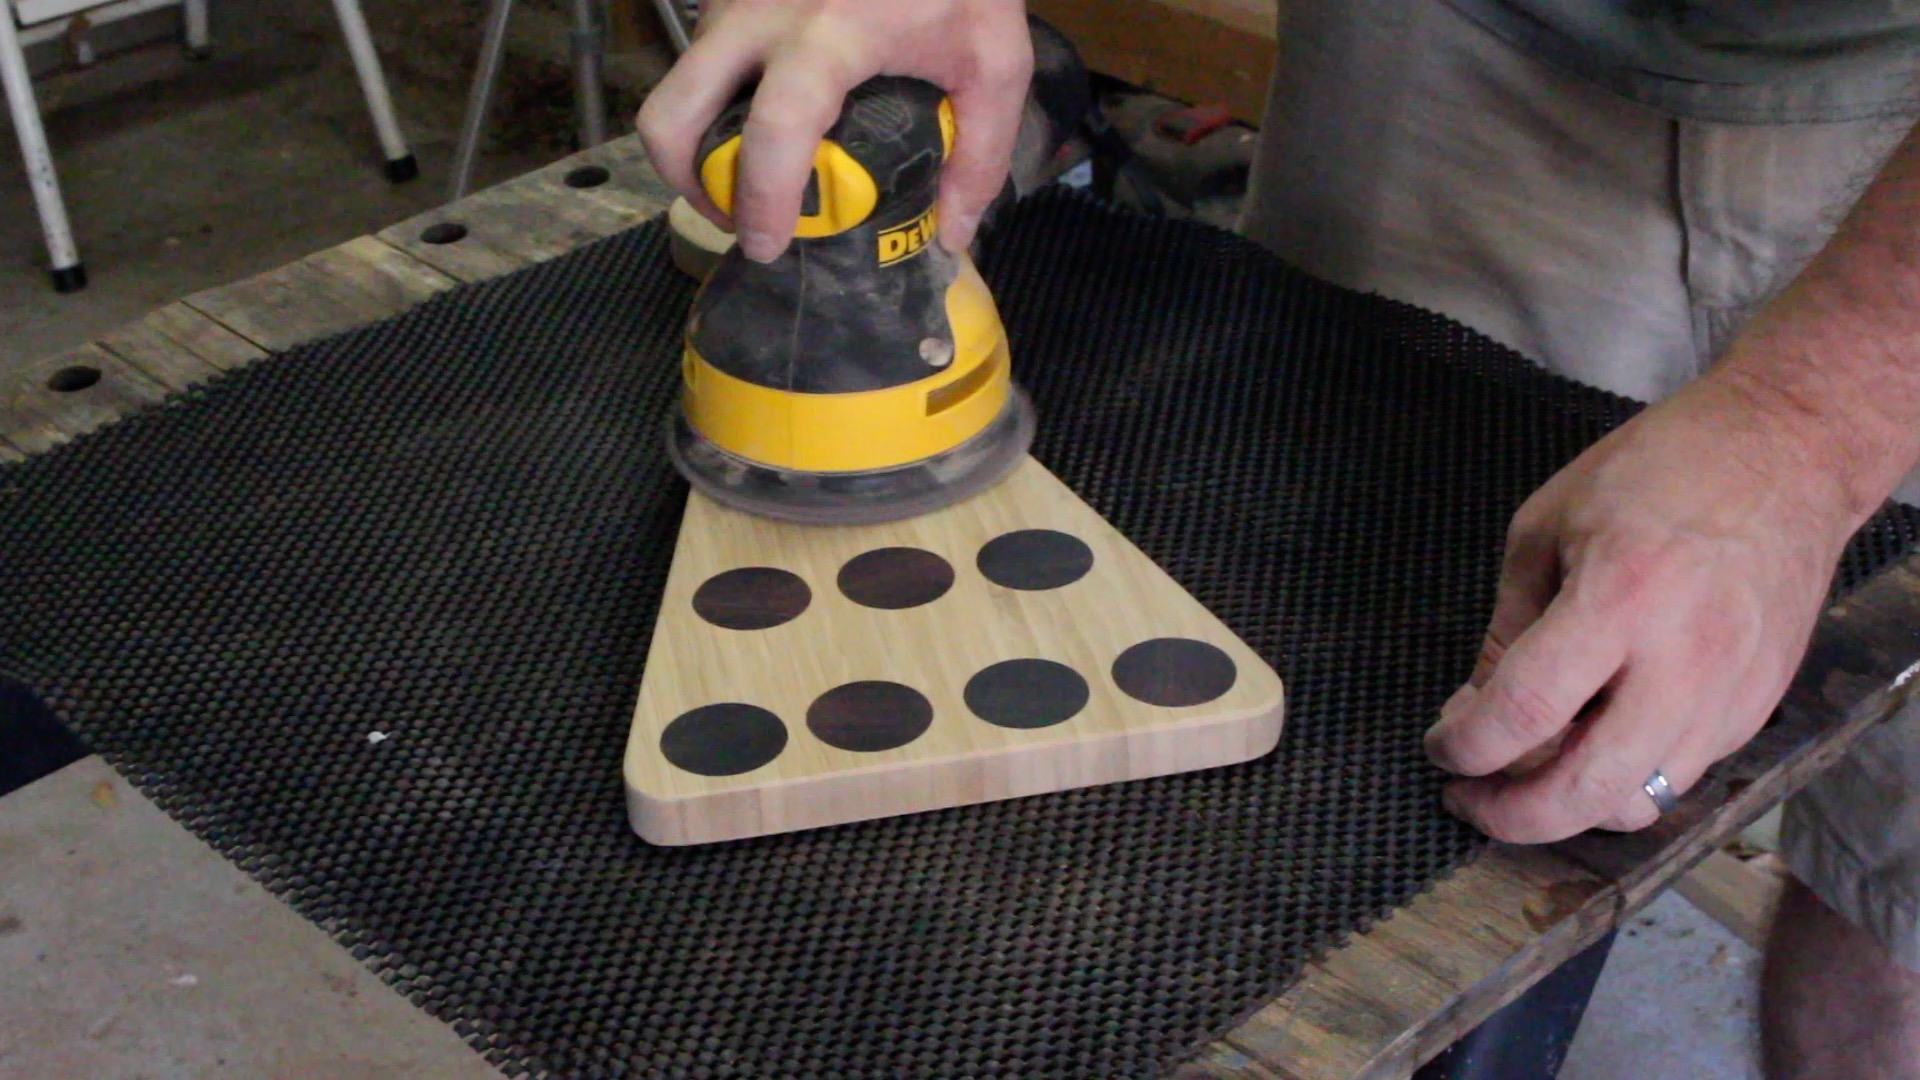
Step 8 — Finish sanding.
I used my orbital sander for this step. 120 grit then stopped with 220.
Step 9 — Apply a food-safe finish
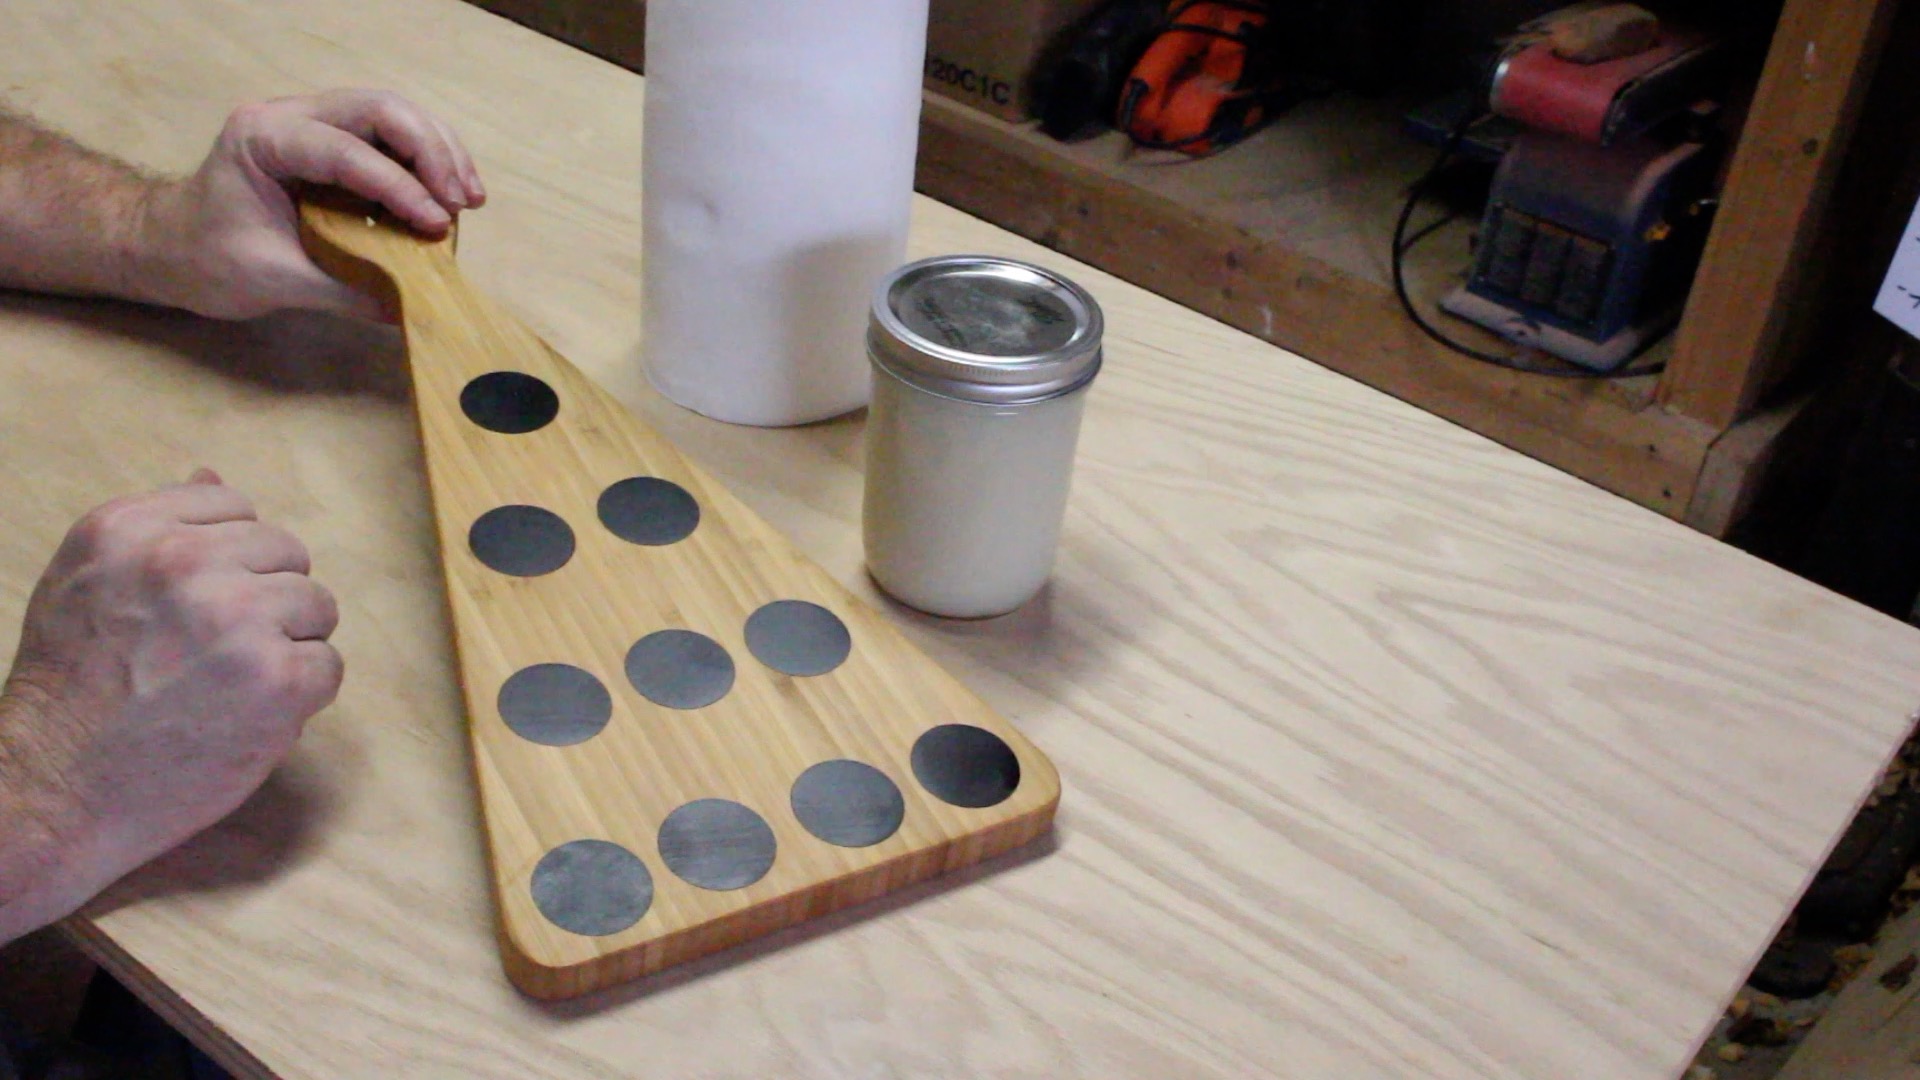
For the finish, I used my homemade beeswax / mineral oil mixture. You can get the recipe at this link.
Allowed the mixture to set in over night. Then wipe off excess with paper towels and buff by hand.
I hope you enjoyed this tutorial. Please consider subscribing to my newsletter (see sign-up form below). And if you subscribe, I will send you my Home Shop Safety and Tool Checklist for free.
Happy woodworking!
Stephen

Are you starting up a new shop? Want to work safer in your shop? To help you answer these questions I've put together a 2-part checklist -- Home Shop Safety & Tool Checklist.
I will also send you updates of my latest woodworking and DIY projects. You can get all this by subscribing to my free email newsletter.
