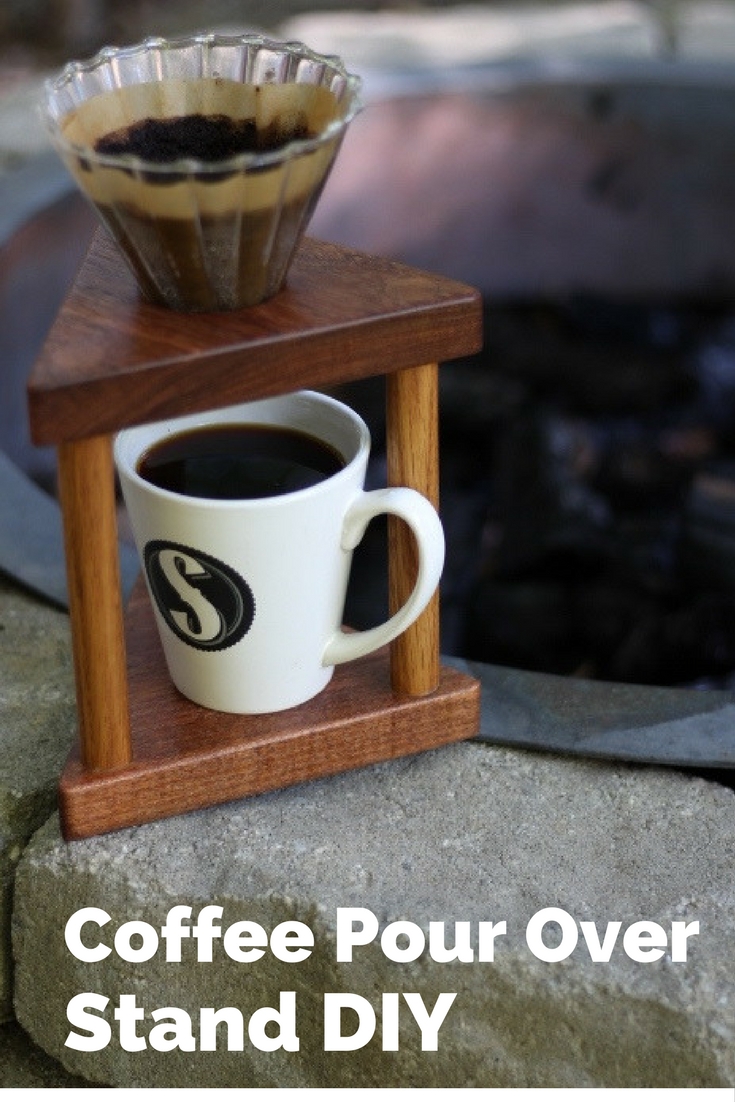
I recently saw several coffee pour over stands on Pinterest and thought this would be a cool and easy project to make. I hope you enjoy the coffee pour over stand DIY tutorial. I will show you step-by-step how to make one. Only a few tools are needed and the skill level is easy. A 1 to 2 day project.
What is a coffee pour over stand? It’s very simple. The stand holds a glass funnel which is where you place your filter and ground coffee. Boil some water and then slowly pour it into the funnel over the ground coffee. The coffee trickles down through the funnel into your coffee mug.
Does the coffee taste any better? Personally, I can’t tell a big difference. I’ll let you be the judge. But the pour over coffee maker might be fun to take on a camping trip or you can gift it to the coffee lovers in your life. Below, I’ve included a couple Amazon affiliate links for you convenience if you want to order the pour over funnel and coffee filters. However, you can also find them in your local department stores.
For my pour over stand, I used mesquite wood and red oak dowels. This project involves a few simple cuts and drilling four holes. I used forstner bits because they produce very clean holes. If you have a drill press, that’s a plus, but you can also drill the holes with a hand drill — just be careful and make sure you drill a hole perpendicular with the wood. Otherwise, your dowels will not align very well. And it’s very important that the hole positions matchup between both boards.
Click here to download the FREE Coffee Pour-Over Stand Plans
Tools and Supplies You’ll Need:
Drill
3/4 inch Forstner bit
2 inch Forstner bit
Orbital Sander
Wood glue
Sandpaper (120 grit & 220 grit)
Micro Mesh cloths (optional)
Food-safe mineral oil (or finish of choice)
Additional Coffee Supplies I Used:
Primula Seneca 1-Cup Pour Over Coffee Maker
Cone Coffee Filter 2 – 100 Count
Safety First
Take a minute to read my safety disclaimer. Just make sure you read and understand the safety instructions that come with your power tools. Secure work pieces as needed and make sure your tools are adjusted for the best performance. And wear all the appropriate personnel protective gear — safety glasses, hearing protection, dust mask, etc.
Step 1 – Select a design
I looked through Pinterest to find some design ideas and decided on the triangle layout. Mine is made with Mesquite wood (the base and top platform) and red oak dowels to connect the top and bottom section. I got the Mesquite from Woodcraft and the dowels from Home Depot.
What I was going for was a contrast in colors between the base/platform boards and the dowels. Next time I will try to make the contrast stronger. I’ll use a darker wood for the base and platform. Exotic woods might look cool too, and will probably cost more. But here’s where your creativity can shine — make it look the way you want it.
Click here to download the FREE Coffee Pour-Over Stand Plans
Step 2 – Measure and cut the wood
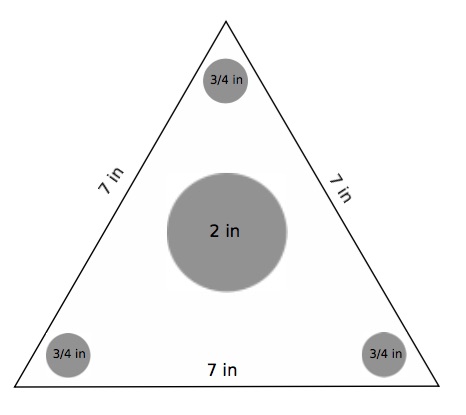
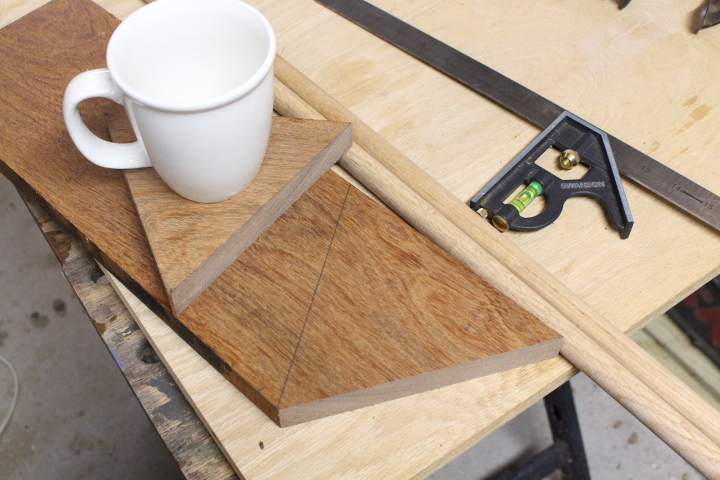
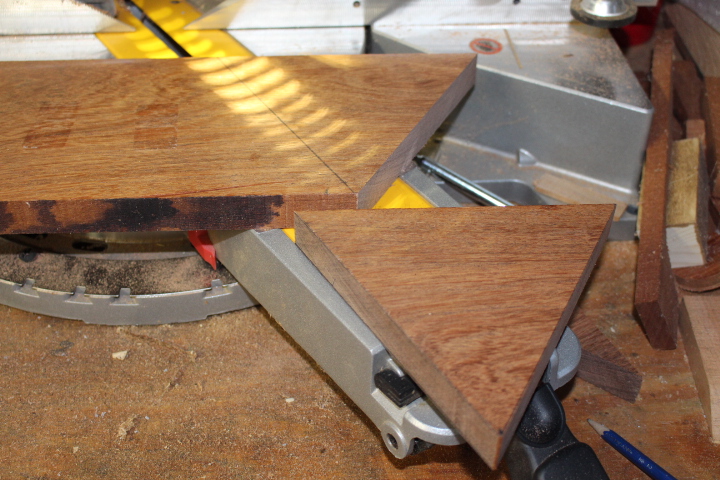
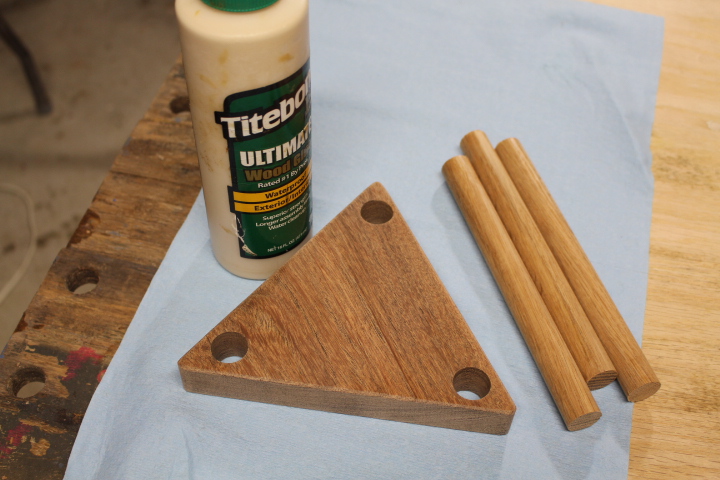
I used my miter saw to cut out 2 triangular-shaped boards, identical in size. One will be the platform to hold the pour over funnel. The other will be the base to hold your coffee mug. All 3 sides of the triangles are 7 inches. This gives plenty of room for installing the dowels and leaves enough space for the average-size coffee cup. The mesquite board is approximately 1 inch thick, but 1/2 inch is what I recommend for this project.
If you don’t have a miter saw, you could also use a jig saw or another kind of saw. Whatever you’re comfortable using.
The dowels are 3/4 inch in diameter, and I bought one that was 3 foot long. Out of that 3 ft. piece, I cut 3 sections, 7.5 inches long. You might want to adjust this depending on the size of your coffee mugs.
Step 3 – Drill the holes
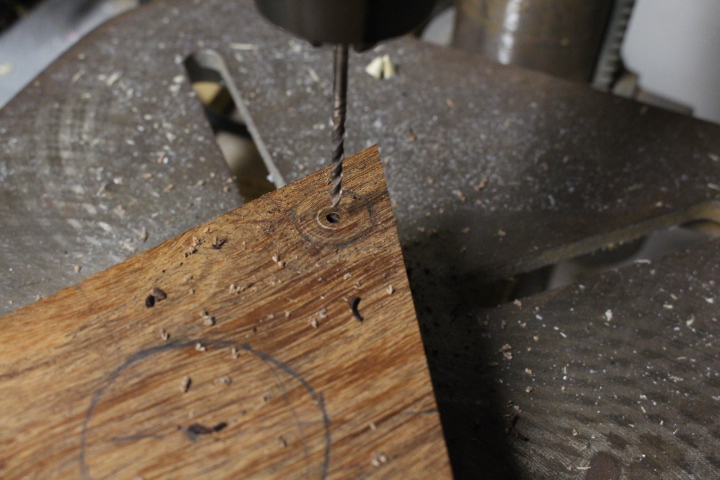
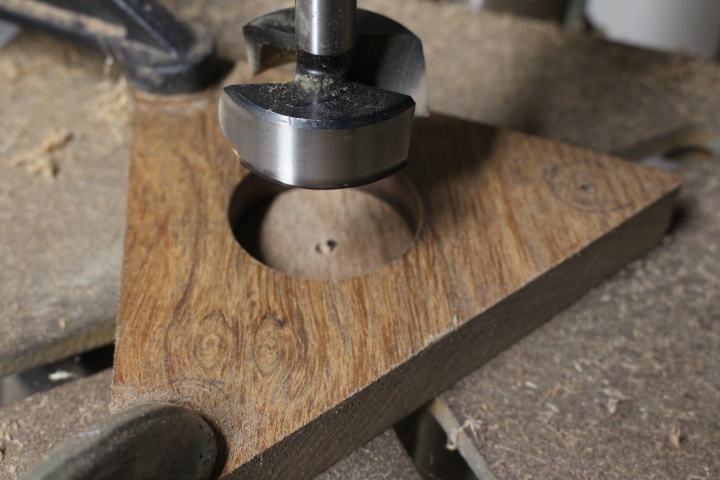
Pick out which triangle will be the top platform and find the center (center doesn’t have to be precise, but get as close as you can to center). Then drill a small pilot hole that will be a guide for the 2 inch Forstner bit. You can then go ahead and drill the 2 inch hole with the Forstner bit. Or you could drill this hole a little later.
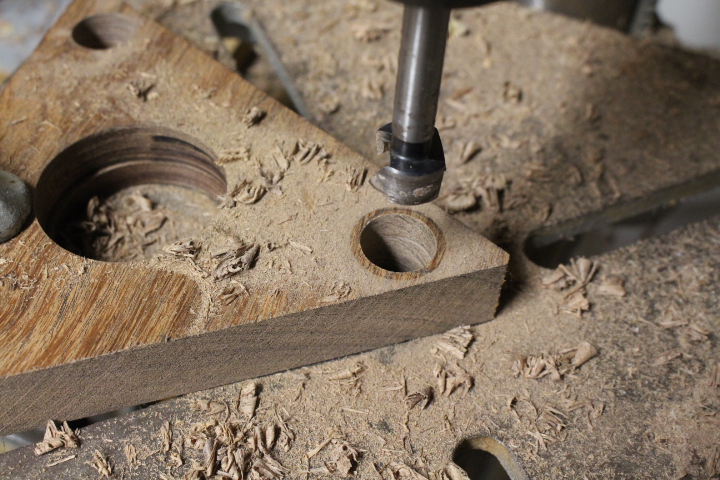
I used some double-sided tape to put the boards together for drilling the 3 corner holes. Then I drilled 3 pilot holes through the 2 boards. These pilot holes will guide my 3/4 inch Forstner bit, used for the dowel holes. Then I used the 3/4 inch Forstner bit to drill the 3 holes. Keep the boards taped together as you drill these holes.
Tips — Adjust the RPM of you drill to match the Forstner bit and clamp the workpiece down with a c-clamp or quick-grip clamp. Some people like to drill part way into the wood with the Forstner bit and then finish the hole from the other side. Hence the reason for the pilot holes. This has not always worked for me. If you drill one way all the way through, you do risk getting some tear out as the bit exits the board. Make sure you have a waste board underneath and that will help.
Step 4 – Do some preliminary sanding.
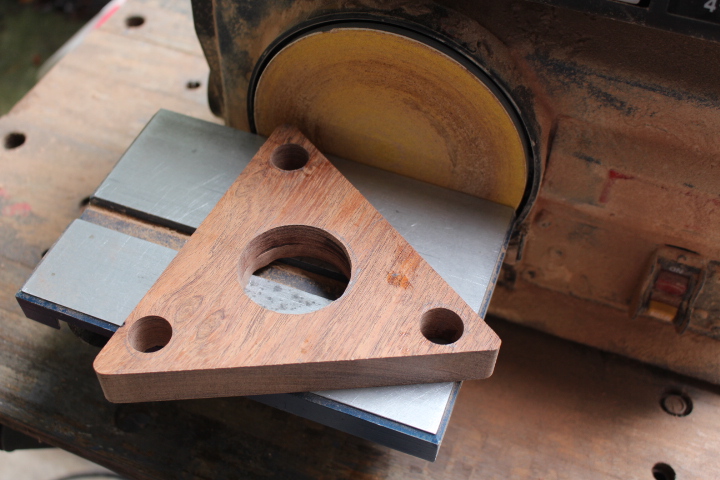
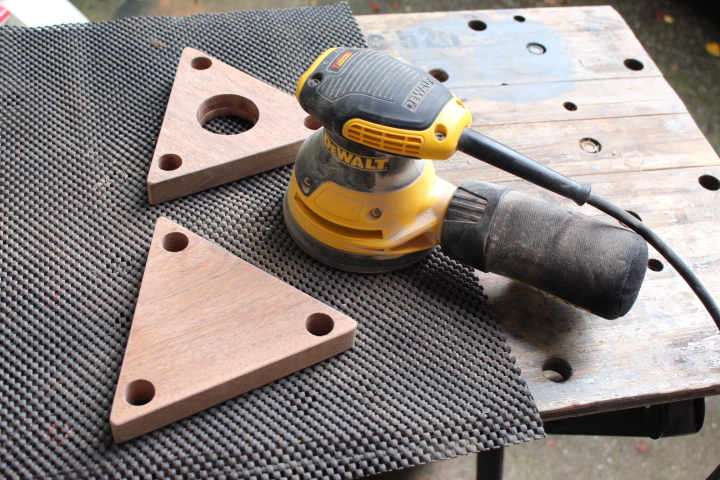
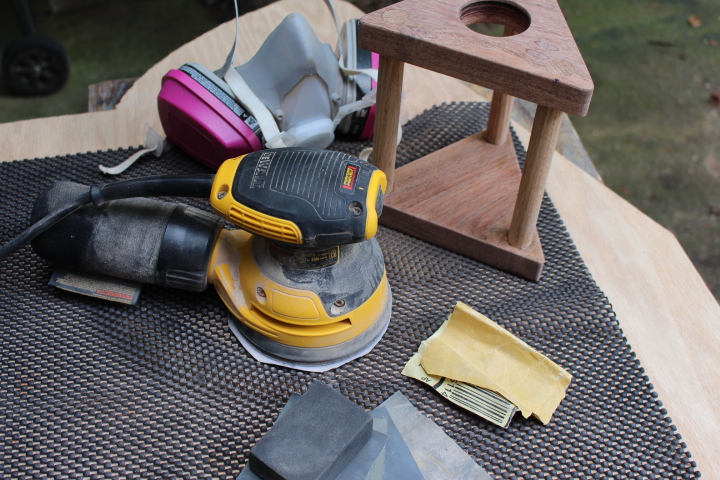
I went ahead and used my disk sander to clean up the edges of the 2 boards and my orbital sander (120 grit & 220 grit) on the surfaces. In this step, you could also do any true up between the two boards if necessary. And I decided to round over the corners. I’ll do more sanding later, after I assemble the coffee pour over stand.
Step 5 – Glue the dowels in place.
First, check the dowels & triangle boards for fit. The Forstner bits leave a very clean and exact hole, so the fit should be excellent. However, if it’s not, then you may need to sand the dowel some to improve the fit.
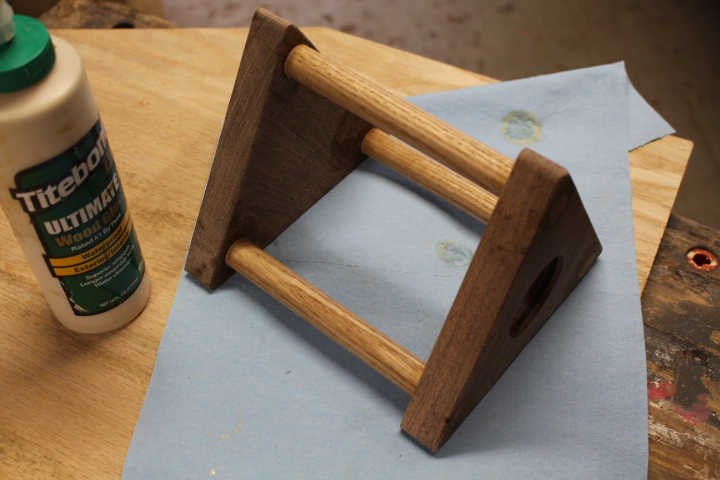
Using wood glue, I glued all 3 of the dowels in place, making sure that the base and platform were level. You could use a small level to check this. Be sure to check it on a level surface.
Wipe off any excess glue. I allowed the glue to dry overnight. But you can follow the instructions on your glue container.
Step 6 – Finish the sanding.
Again, I used the orbital sander for top and bottom of the pour over stand. And sanded by hand the hard-to-reach, inside areas. Sand the top & bottom surfaces so that the 3 dowels are flush with the base/platform boards. Also make sure to get rid of any leftover glue residue.
I finished the sanding by using my 1500 grit Micro Mesh sanding cloth. This gives it a very smooth finish, but you can probably stop at the 220 grit sandpaper.
Clean off the excess dust from your sanding.
Step 7 – Apply a finish of choice.
You could apply just about any finish to help protect the pour over stand. It doesn’t take much. I’d recommend something, that when it’s dried, is food safe. Danish Oil might work well here.
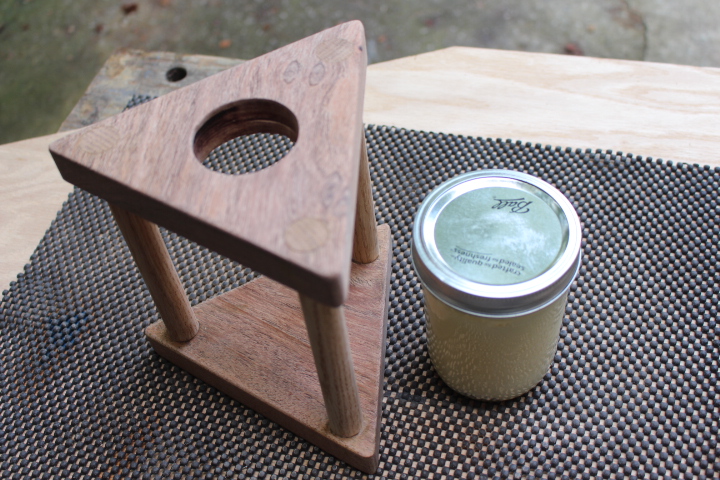
But I elected to use my beeswax butter for the finish. I worked it in good with my fingers and allowed it to sit for several hours. Then I wiped off the excess butter and buffed with a clean cloth.
I think it turned out great.
Thanks for reading the Coffee Pour Over Stand DIY tutorial. I hope it is helpful. Feel free to comment or ask any questions.
Click here to download the FREE Coffee Pour-Over Stand Plans
If you’d like to join my monthly newsletter, use the signup form below. I also have a free Home Shop Safety & Tool Checklist I will send you for subscribing.
Thanks and happy woodworking!
Stephen

Are you starting up a new shop? Want to work safer in your shop? To help you answer these questions I've put together a 2-part checklist -- Home Shop Safety & Tool Checklist.
I will also send you updates of my latest woodworking and DIY projects. You can get all this by subscribing to my free email newsletter.



You can save about $20 on this little device by using an ordinary kitchen funnel! And if you are really feeling chea— I mean thrifty, you can use a folded paper towel instead of the expensive filters. (I have used this method since my young-and-broke days just out of college, many years ago!)
Thanks for the tip! Yes, there are some cheaper ways you can do this with the funnel and filters. Although the glass funnel is a little more expensive, it’s probably appeals more to those interested in home decor. But you can use any kind of funnel really.