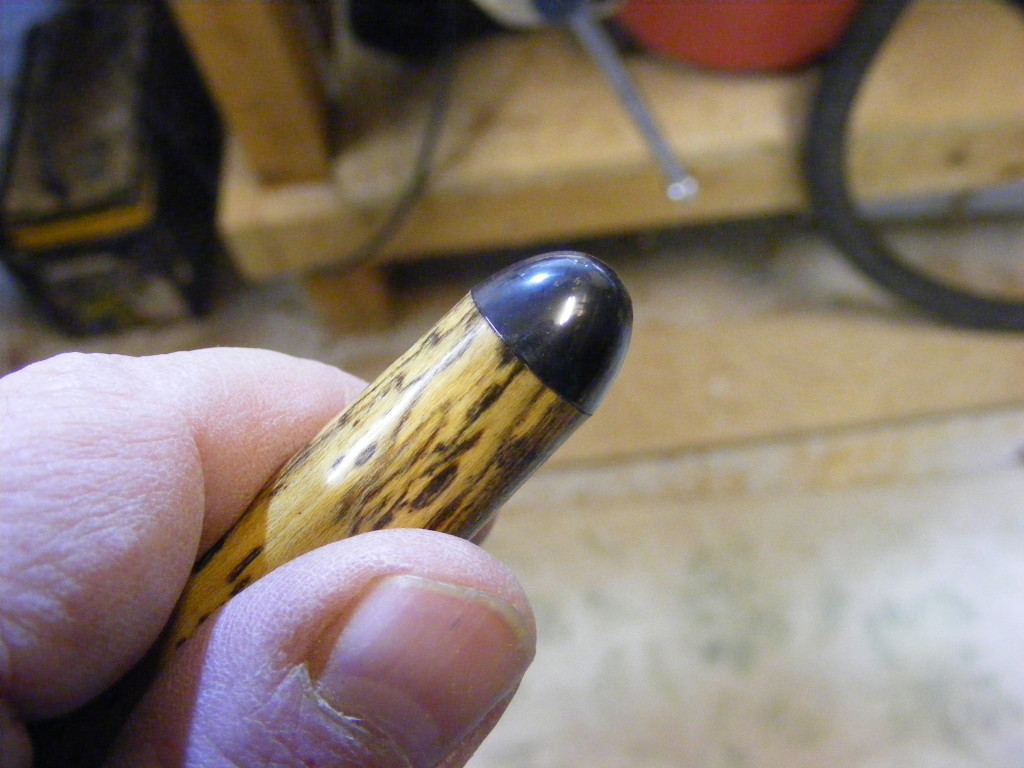
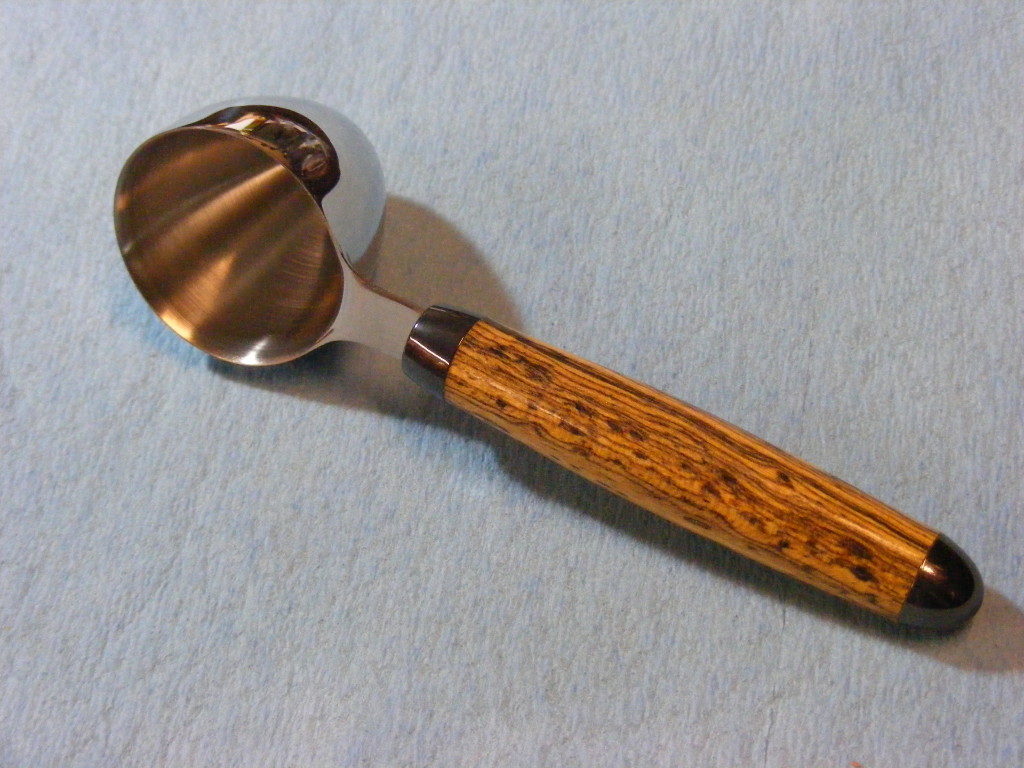
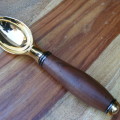
Here’s a project most of us can identify with – the everyday coffee scoop. In this post, I want to introduce you to the coffee scoop kit, and I’m furnishing a free tutorial on how to make this beautiful coffee scoop. They are super easy to make and easy to assemble. Would make a great gift for the coffee lover in your life.
You may have already checked out my walnut coffee scoop, made entirely from wood. But with the coffee scoop kit you only have to focus on making the handle. You could choose to use wood or other materials like antler or acrylic. That’s up to you. The scoop section is made of stainless steel and holds 2 tablespoons.
So, let’s get started. Materials and tools needed:
Material for handle – wood or acrylic blank.
Coffee Scoop Kit (PKCSCOOP2S from Penn State Industries)
Coffee Scoop bushing (PKCSCOOPBU – Penn State Industries)
7mm Drill Bit (PKTRIM7 – Penn State Industries)
Wood lathe, drill press, drill, barrel trimmer or disc sander
Sandpaper
CA glue (medium)
Nitrile gloves
Finish of your choice
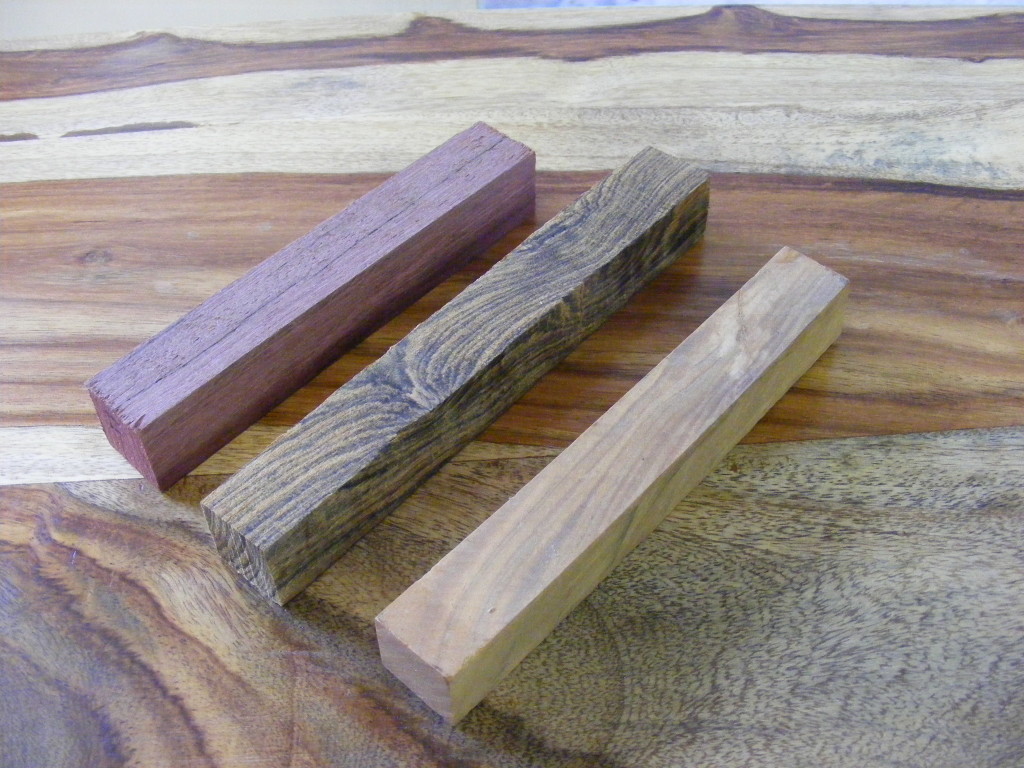
Step 1 – Choose a material for the handle. I made three different coffee scoops over the holidays. I used (from left to right) Purple Heart wood for one, Bocote for another, and Bethlehem Olive for the third. In this tutorial, I’ll be using the Bocote which is an exotic hardwood.
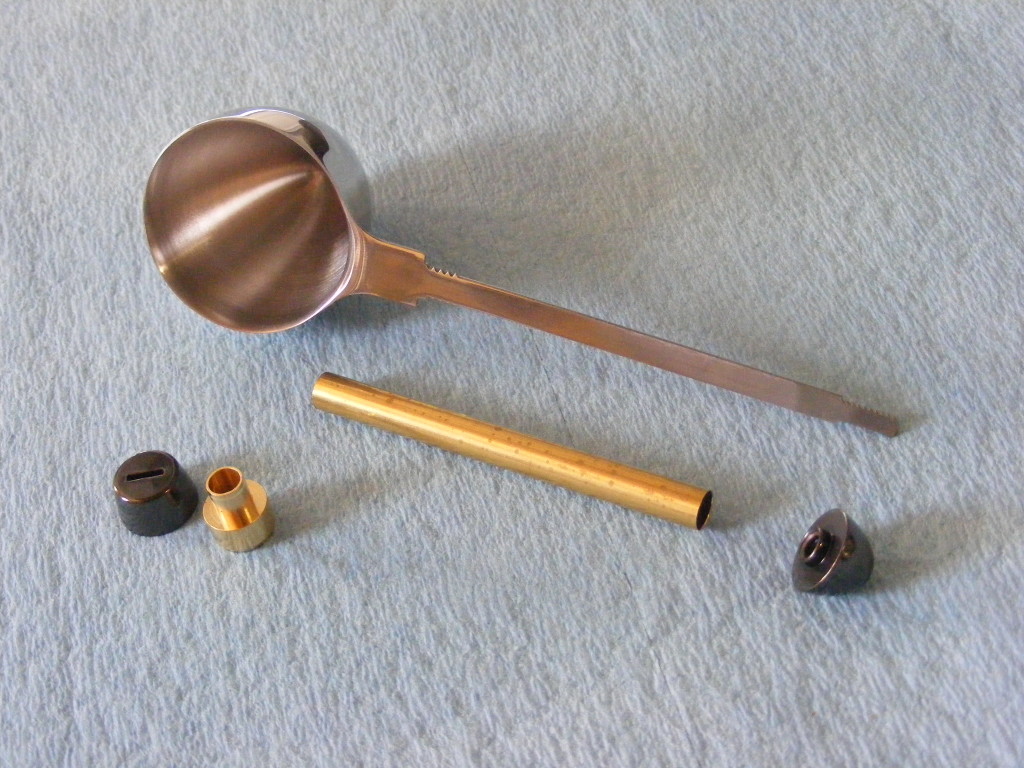
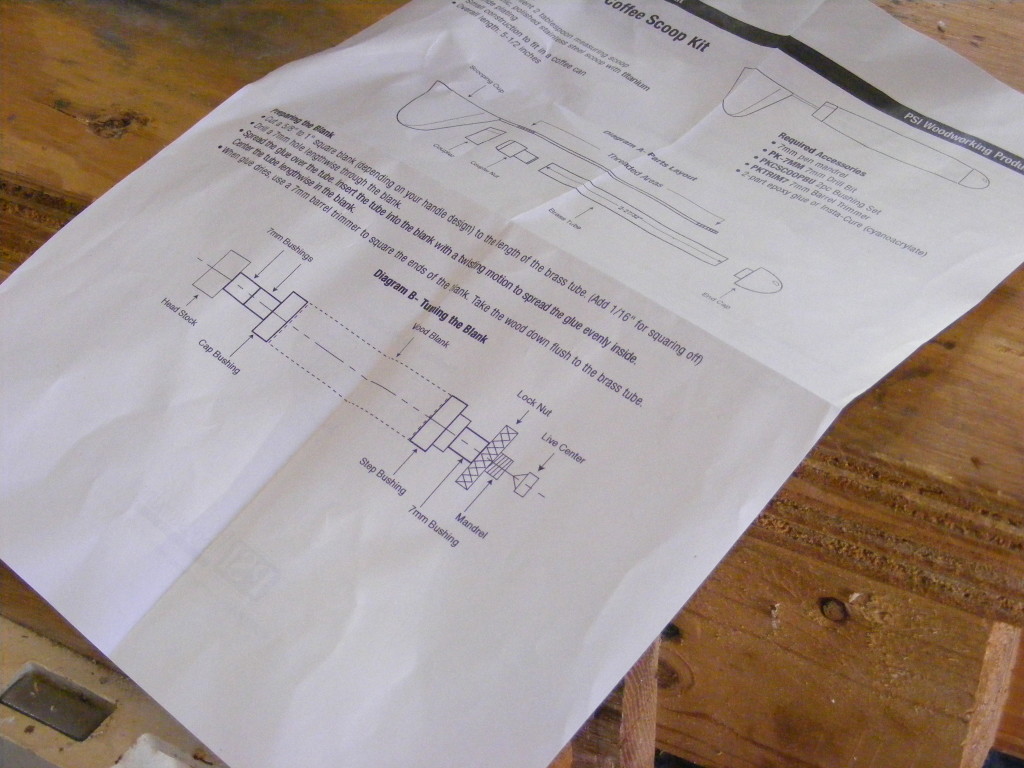
Step 2 – Check out your kit and get the instructions. I like to lay out my kit and make sure I have all the correct components. Grab a set of instructions from the Penn State Industries site. Let me stress that you need to read and reread these instructions to make sure you construct the coffee scoop kit correctly. Penn State industries apparently makes more than one type of coffee scoop kit. The one I’m using is Item PKCSCOOP2 which is the stainless still kit.
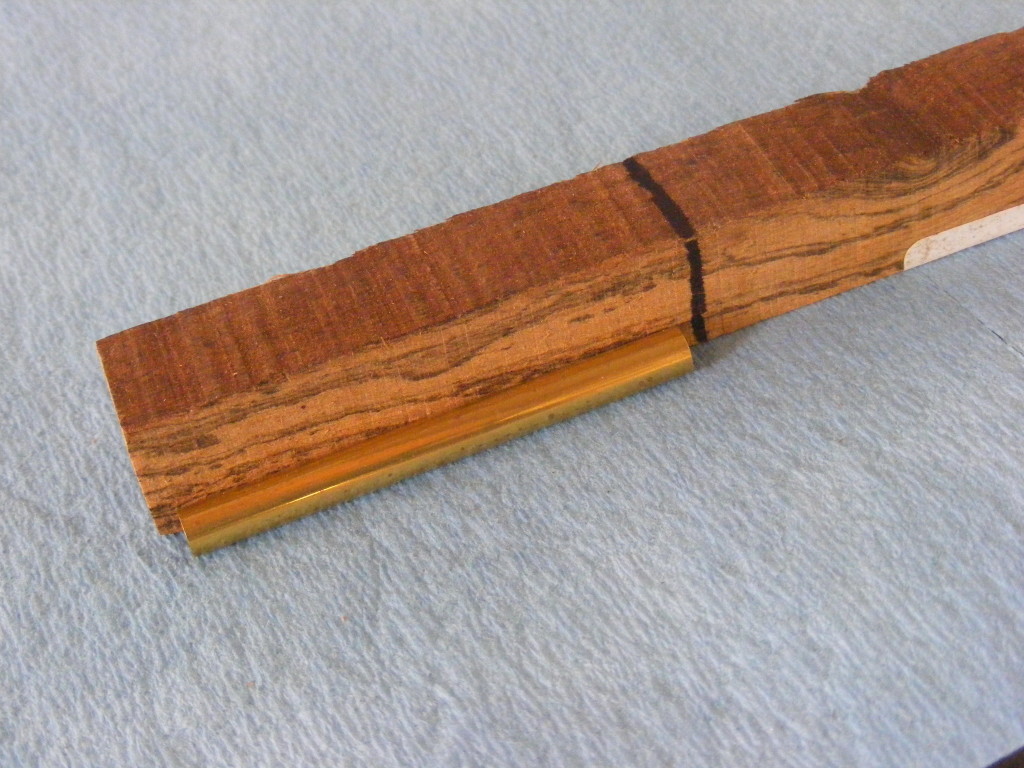
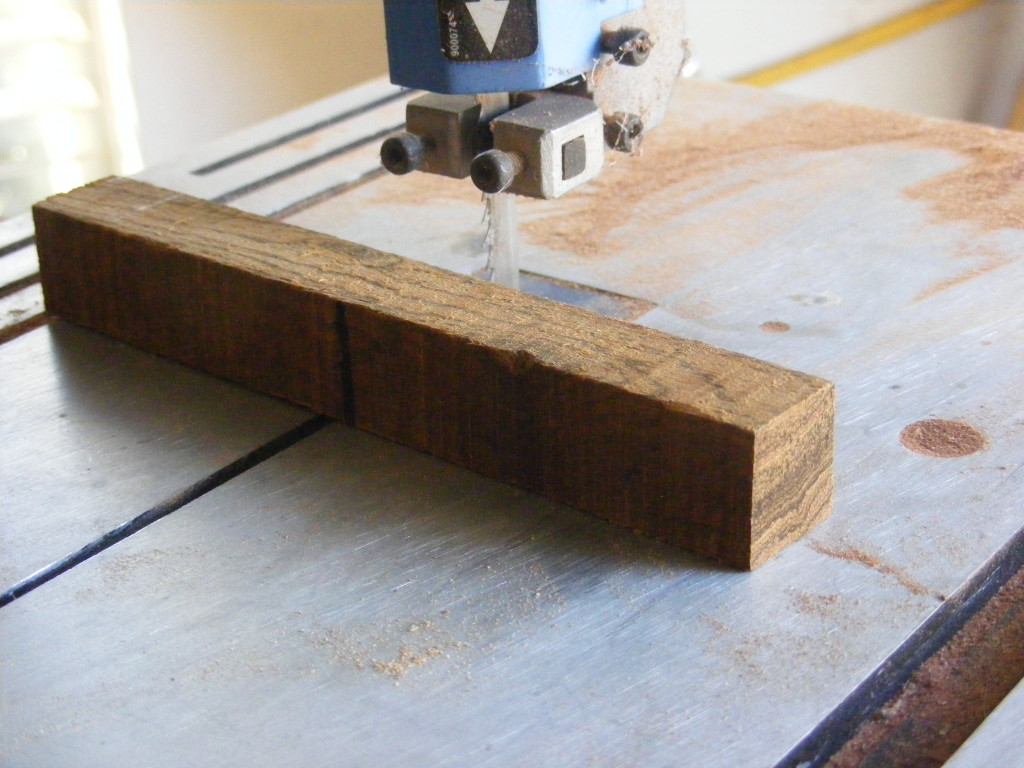
Step 3 – Cut the blank for the handle to correct size. Place the 7 mm brass tube that came in the kit against the wood blank and make a mark. I like to leave about 1/8 to 1/4 excess wood on either side of brass tube. I used my bandsaw to do the cutting, but you could use another saw. Remember to wear all the appropriate safety gear and read the instructions that come with you power tools. (Also, don’t forget to read my disclaimer)
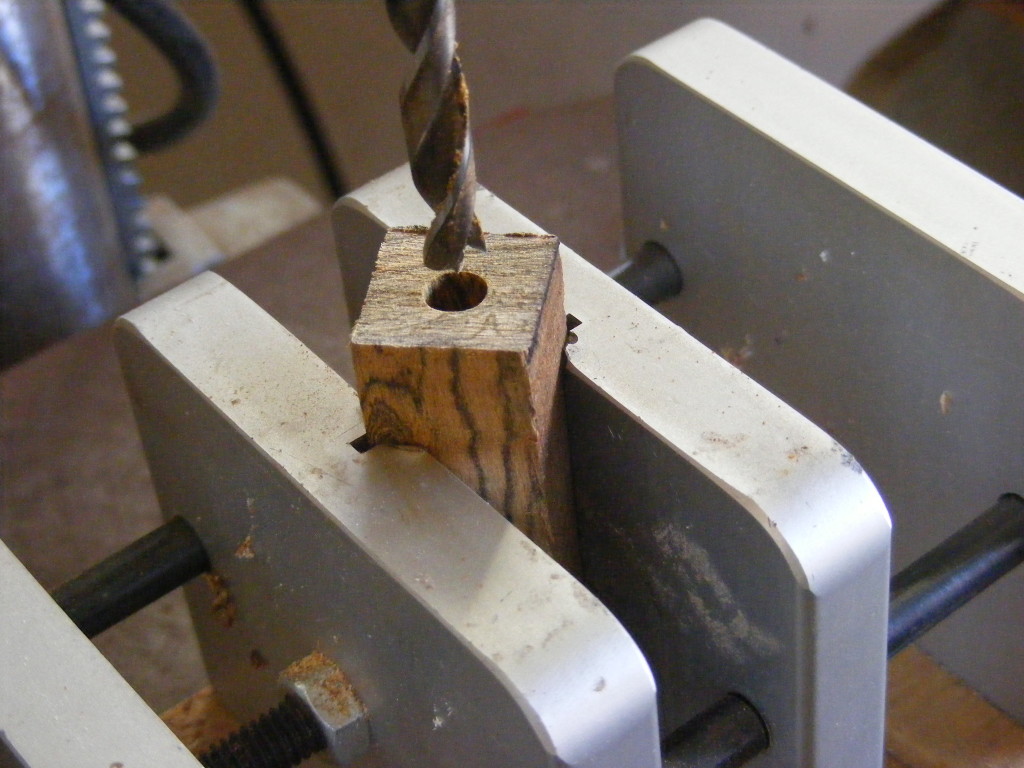
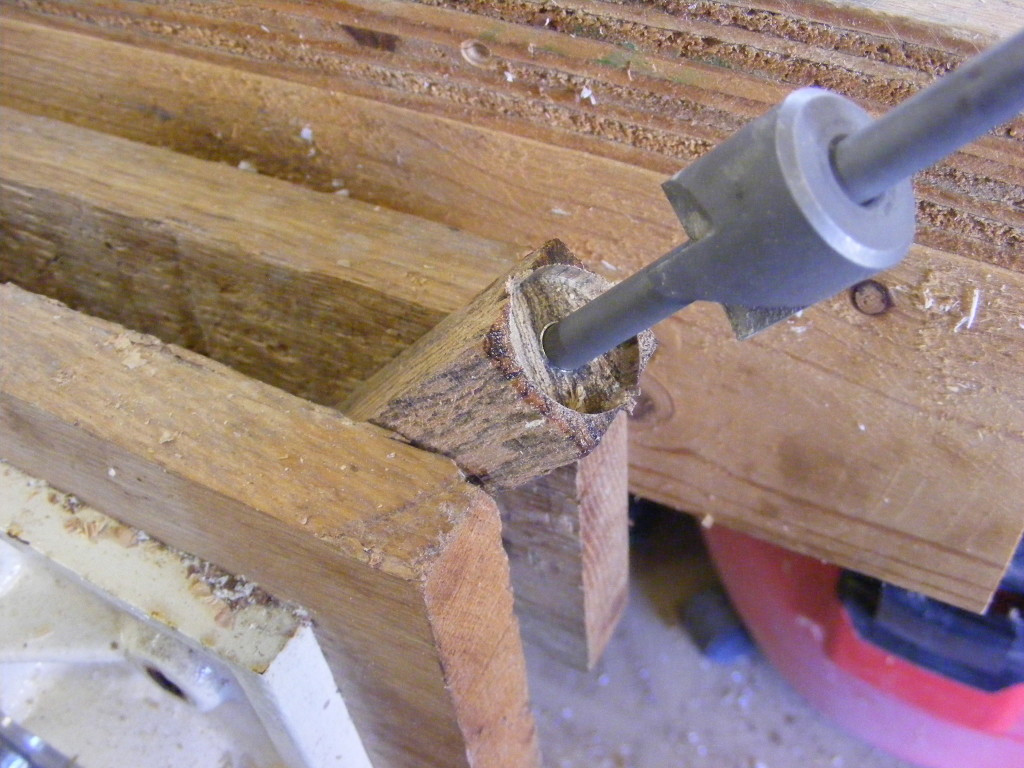
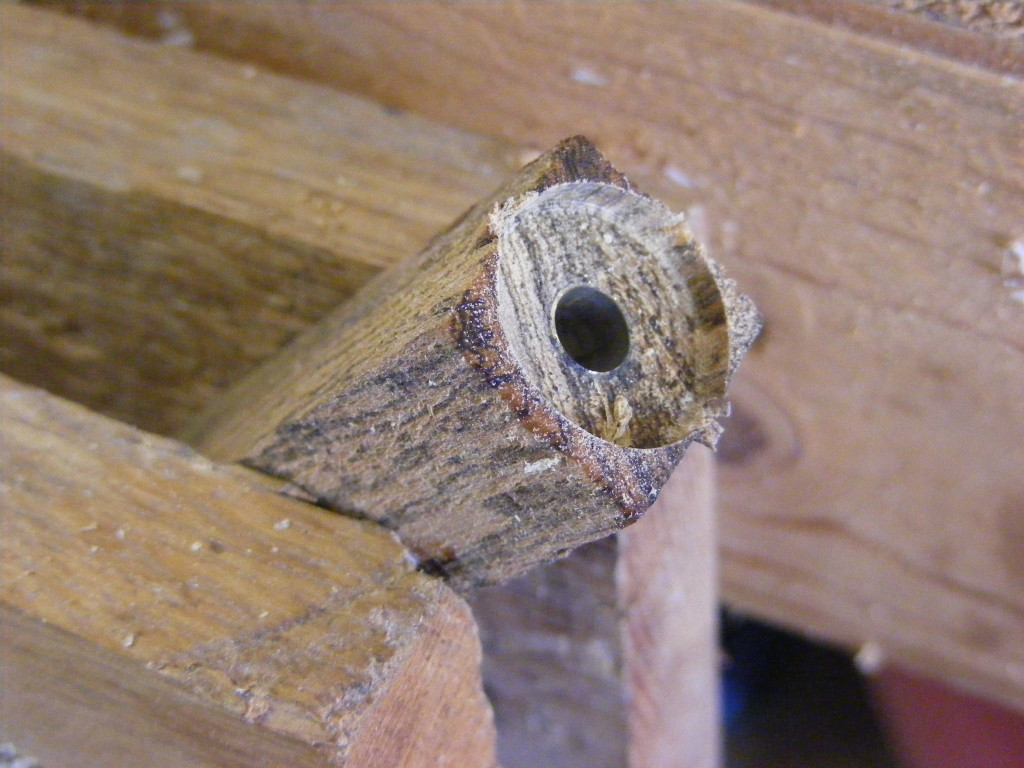
Step 4 – Drill a 7 mm hole through the center of the blank and along its length. For this step I clamped the blank in my centering vise and drilled the hole with my drill press.
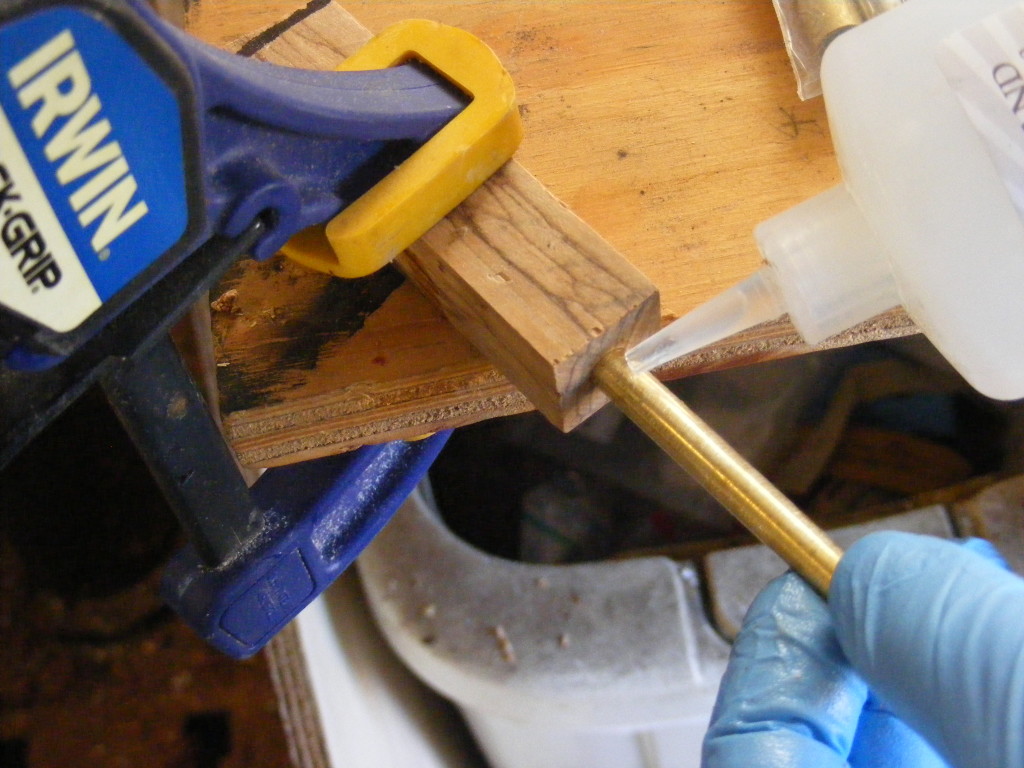
Step 5 – Glue the 7mm brass tube into the wood blank. I like to take some sandpaper and scuff up the tube first. Then take some medium CA glue and apply to the tube. Twirl the tube as you insert into the blank so the glue is evenly distributed. CA glue will dry fast so don’t fool around. Try not to get glue inside the tube and definitely wear nitrile gloves so glue doesn’t get on your skin.
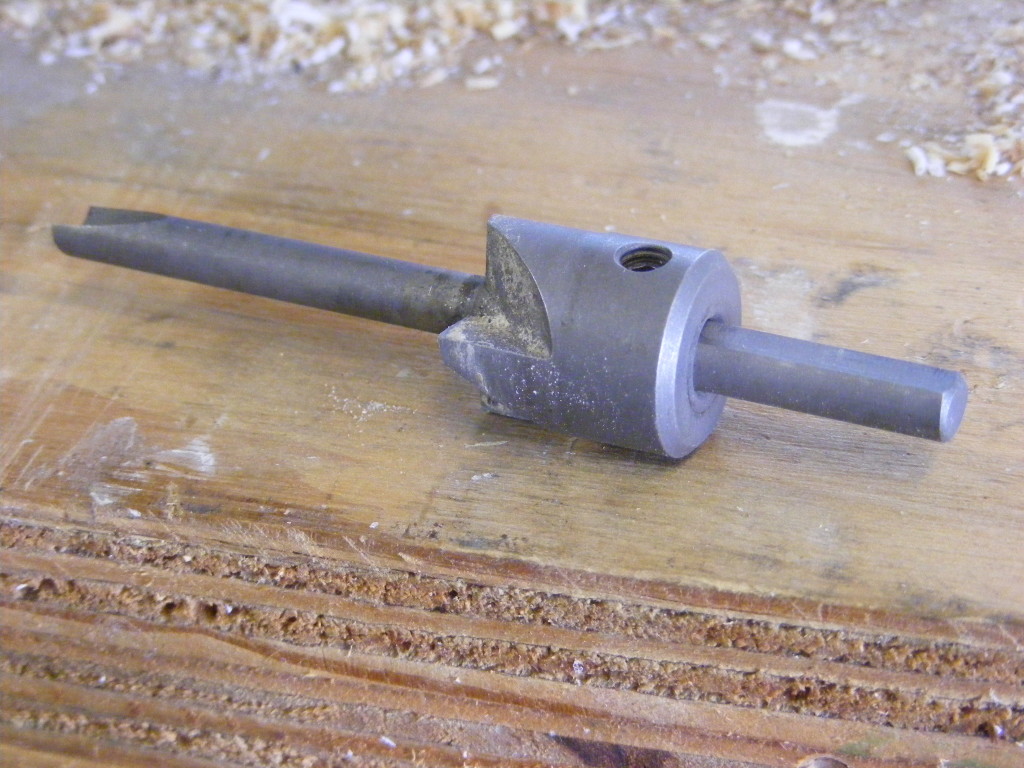
Step 6 – Trim the ends of the blank down flush to the brass tube. I like to use a barrel trimmer for this step. Some like to use a belt sander or some other method. The key is to get a flat surface on both ends that is perfectly square or flush with the brass tube. Try not to trim away the brass tube. Go slow. Trim a little at a time and check your progress. I like to apply the barrel trimmer carefully until I see a shiny brass tube staring back at me. Make sure your barrel trimmer stays sharp.
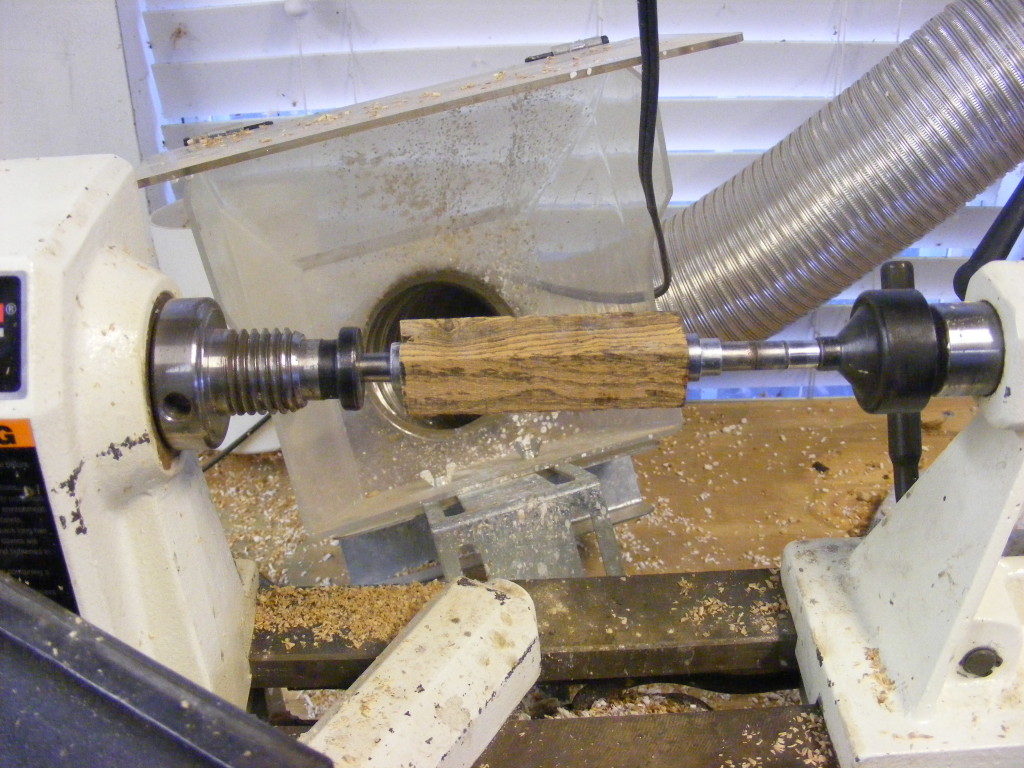
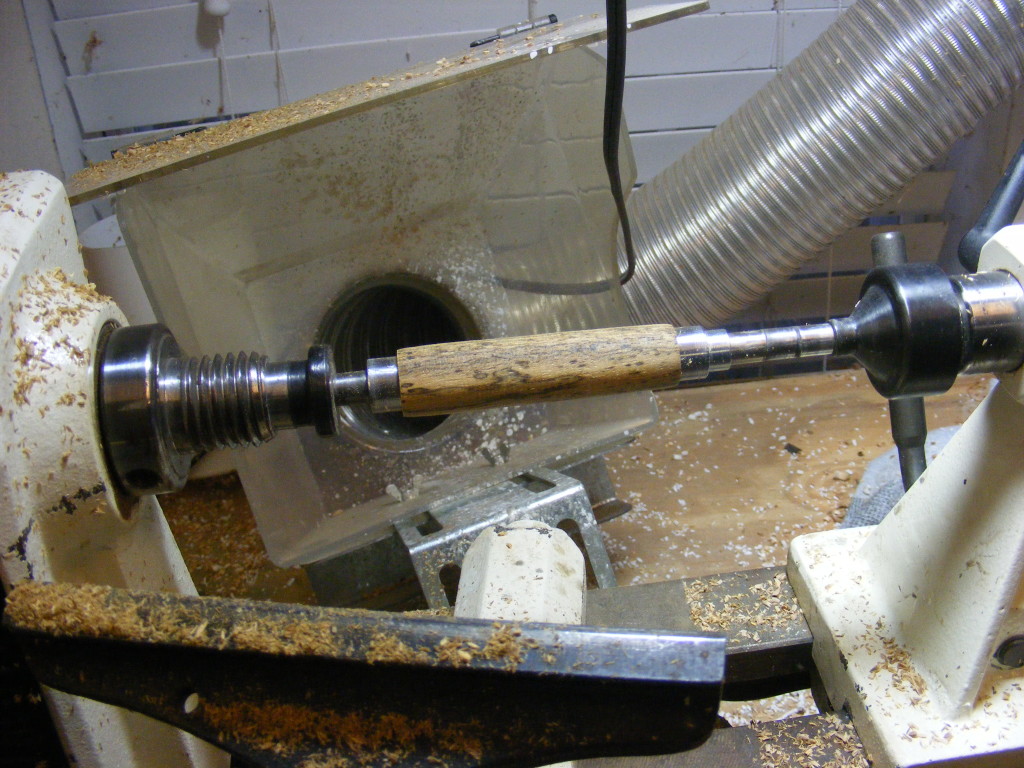
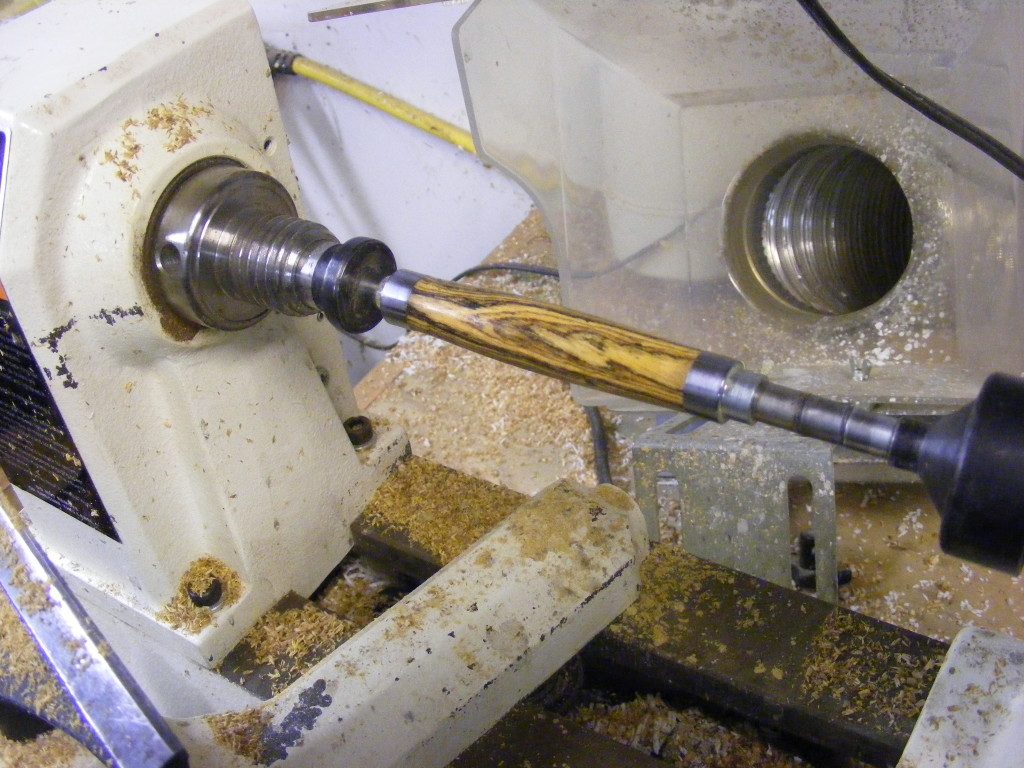
Step 7 – Begin turning and shaping the handle on your lathe. If just a beginner, you may want to stick with a basic profile like I have done here. I turn the blank down to a cylinder first, and then shape the handle with a slight curve just proud of the bushings on both ends. I used a roughing gouge to do my turning. The bushings for the coffee scoop kit are identical in diameter. Note that one bushing is a step bushing, but use the larger diameter end. The reason for this is that the other coffee scoop kit requires you to make a tenon. The kit I’m using doesn’t require the tenon.
I’m using a mandrel saver to hold my blank and the bushings. Later on when you’re more advanced, you might try turning between centers. But I’ve found that the mandrel saver works just fine. Don’t overtighten this mandrel or you could warp the mandrel which could cause your turning to not be even all the way around.
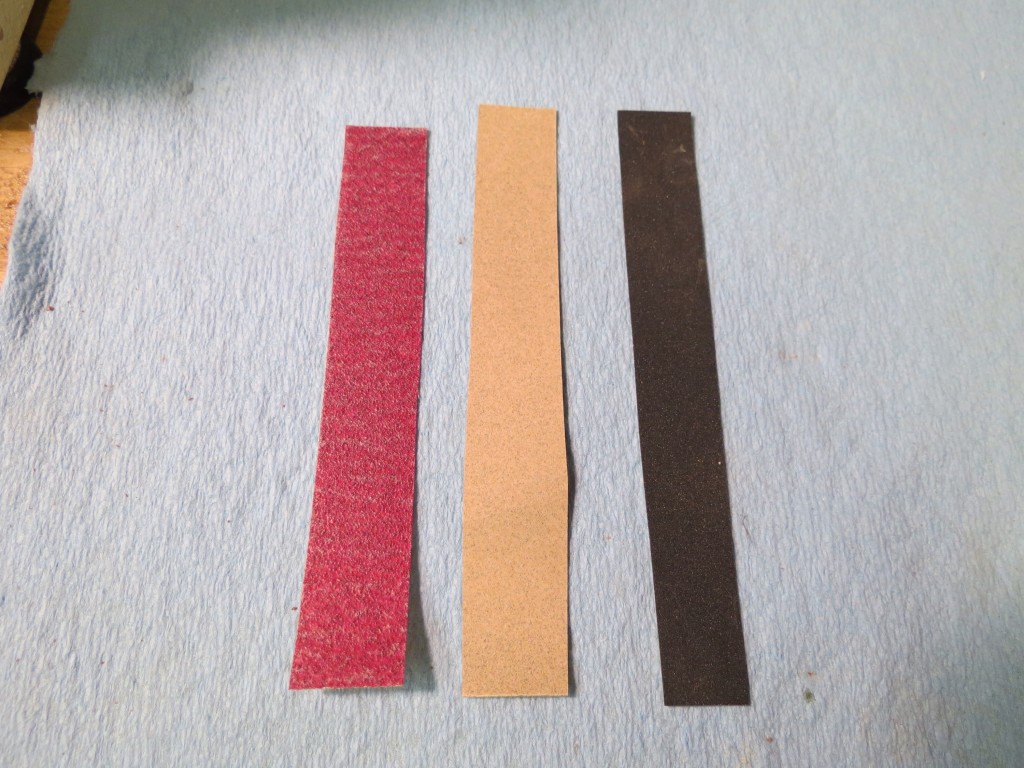
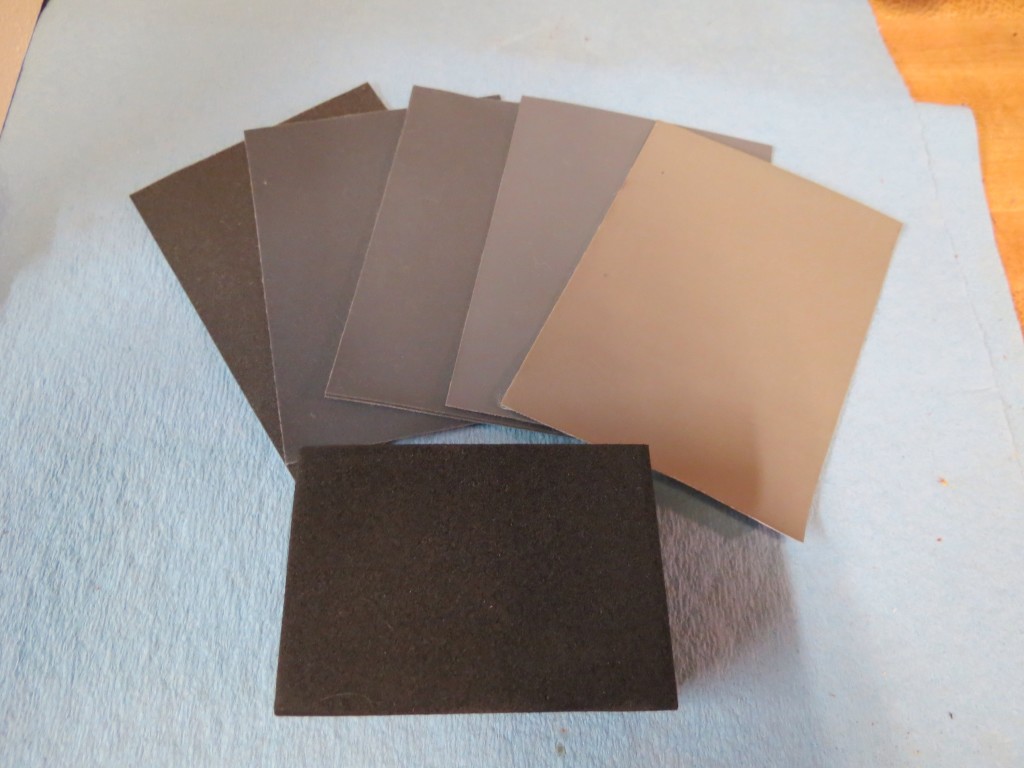
Step 8 – Sand the handle. I started with 120 grit sandpaper, then 220 grit, then 320 grit, then 500 grit. Inspect for fixable cracks, holes, or flaws. I continued my sanding, using micro mesh. Started with 1500 grit and went up to 20,000 grit.
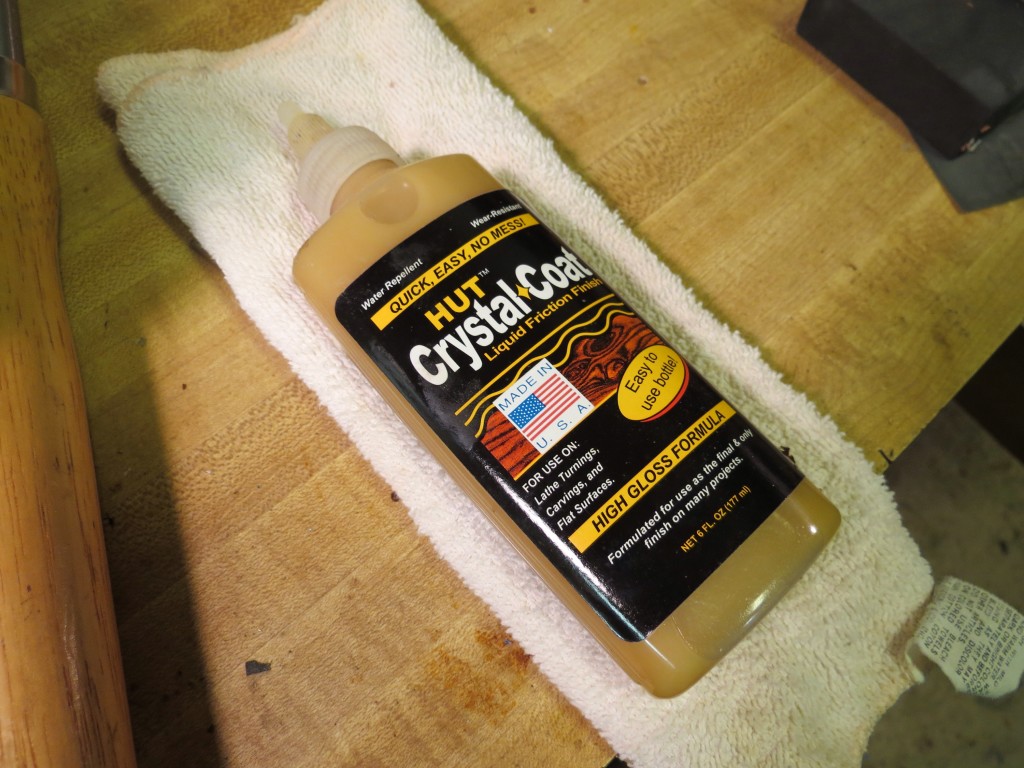
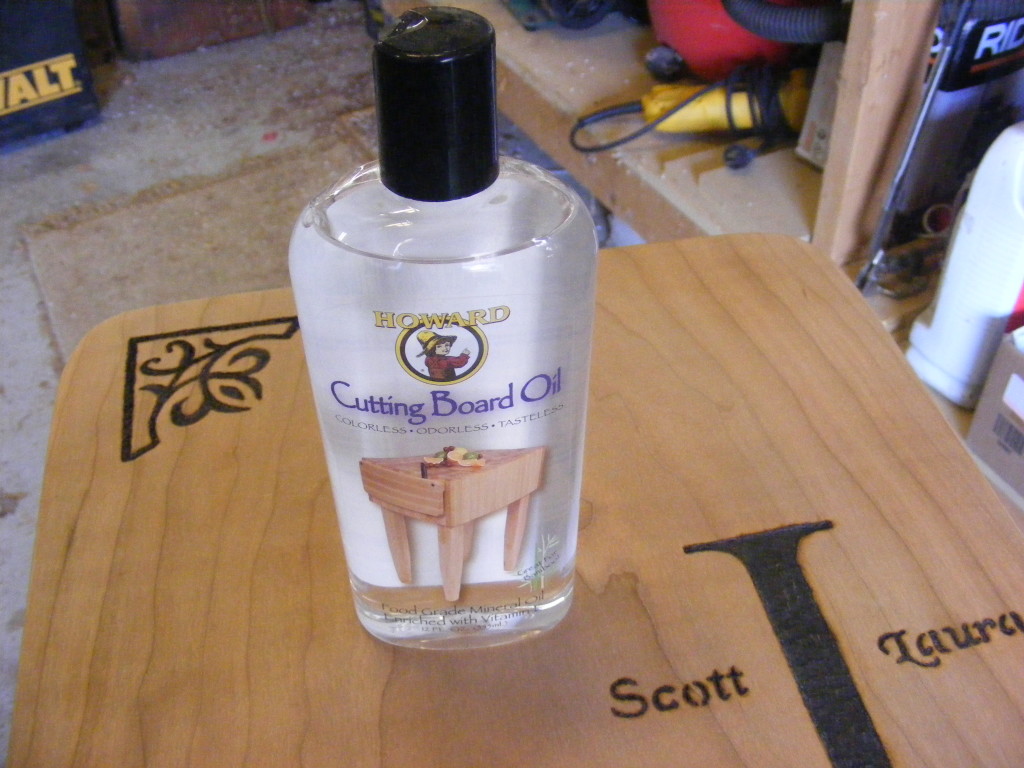
Step 9 – Apply a finish. You can use a finish of your choice, preferably something food safe, although the handle may not make that much contact with the coffee itself. I used a friction polish for mine, but you could also use food-grade mineral oil, wipe-on poly, or Danish oil. Follow the instructions on the container for application methods and dry times.
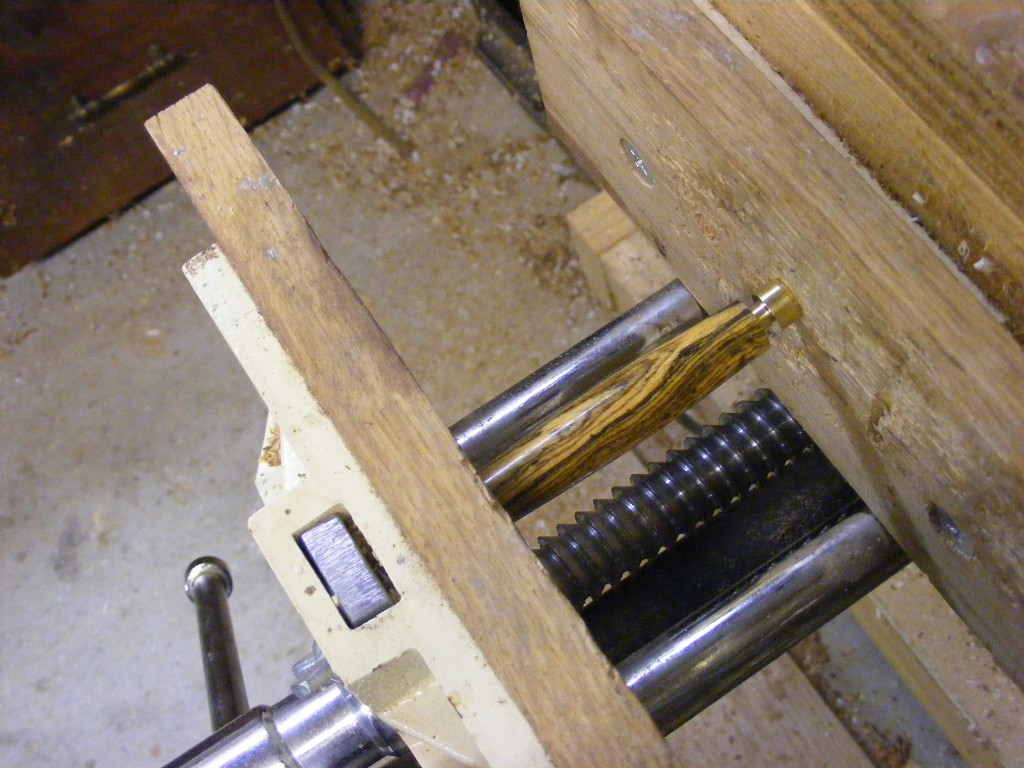
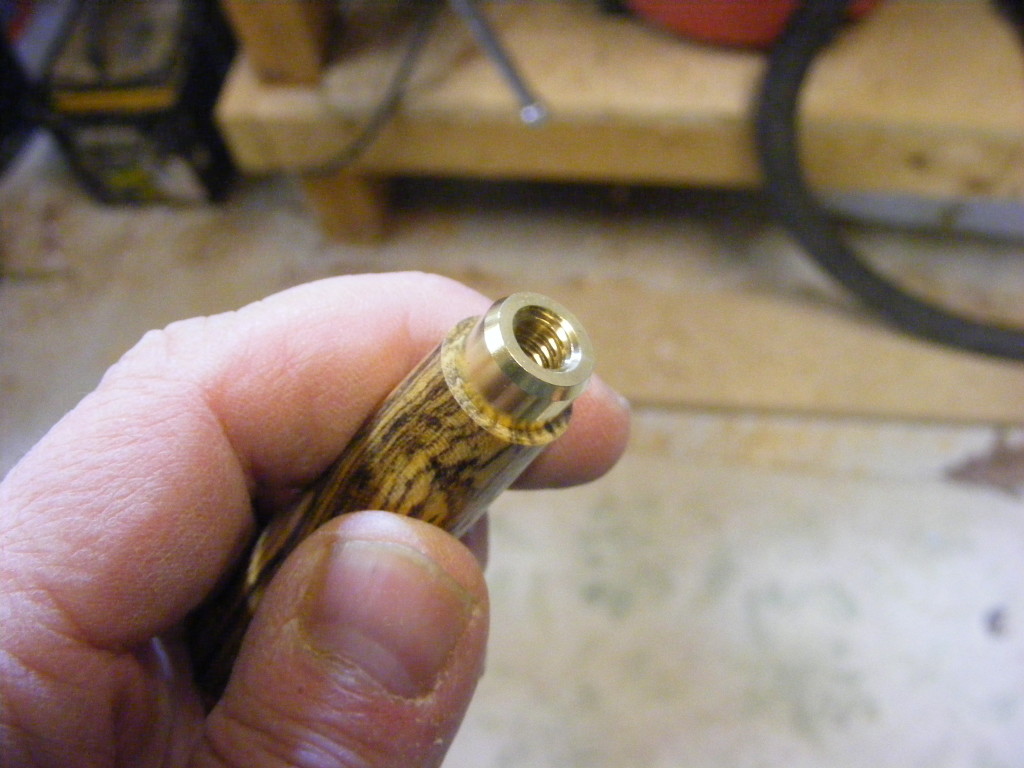
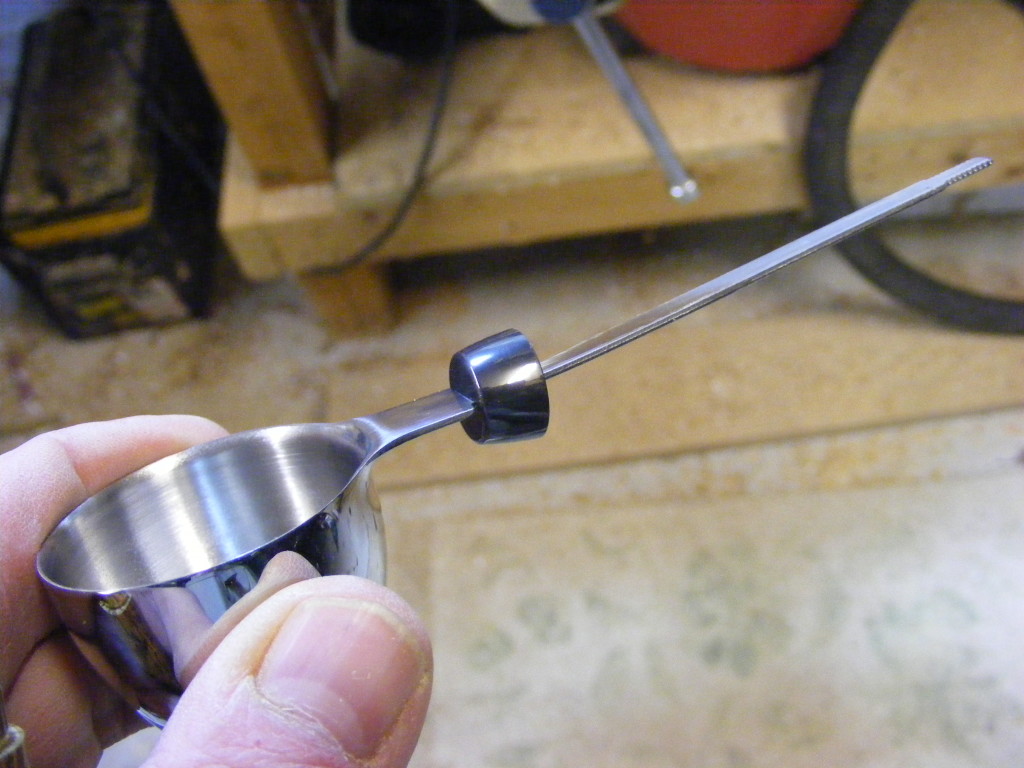
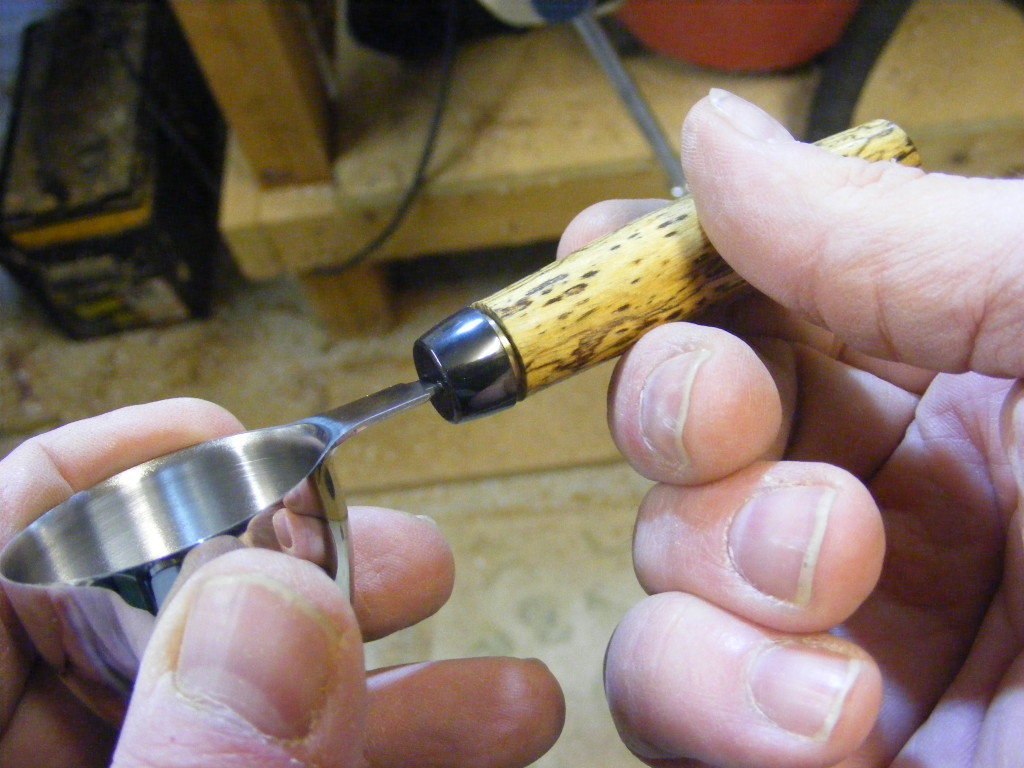
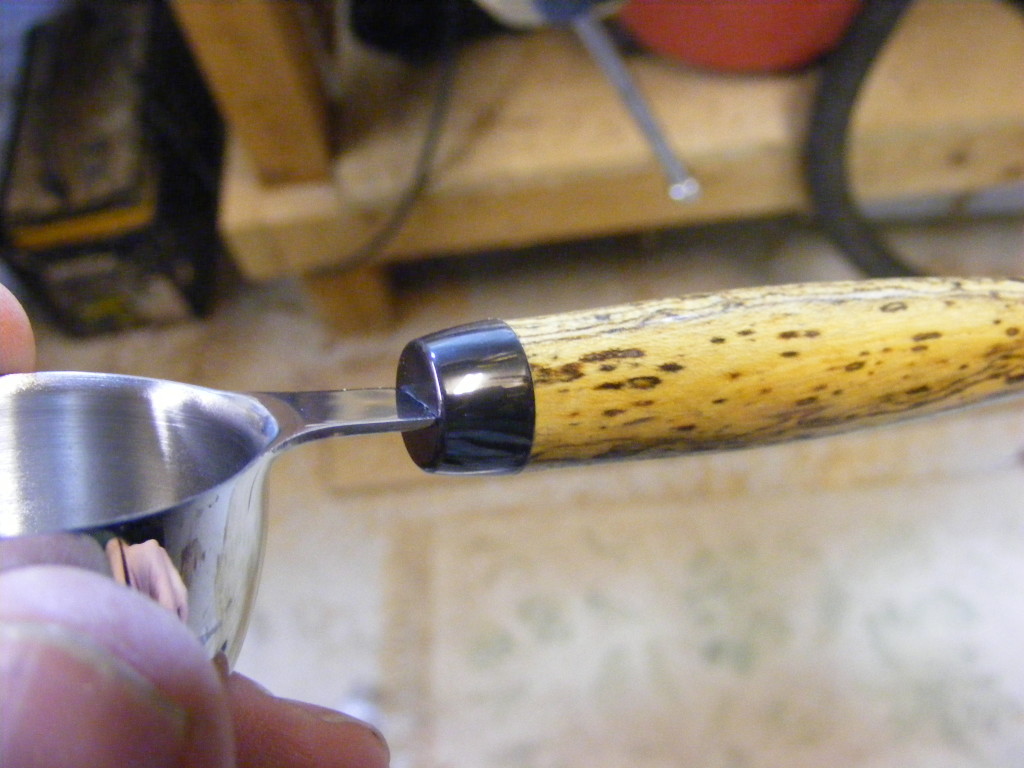
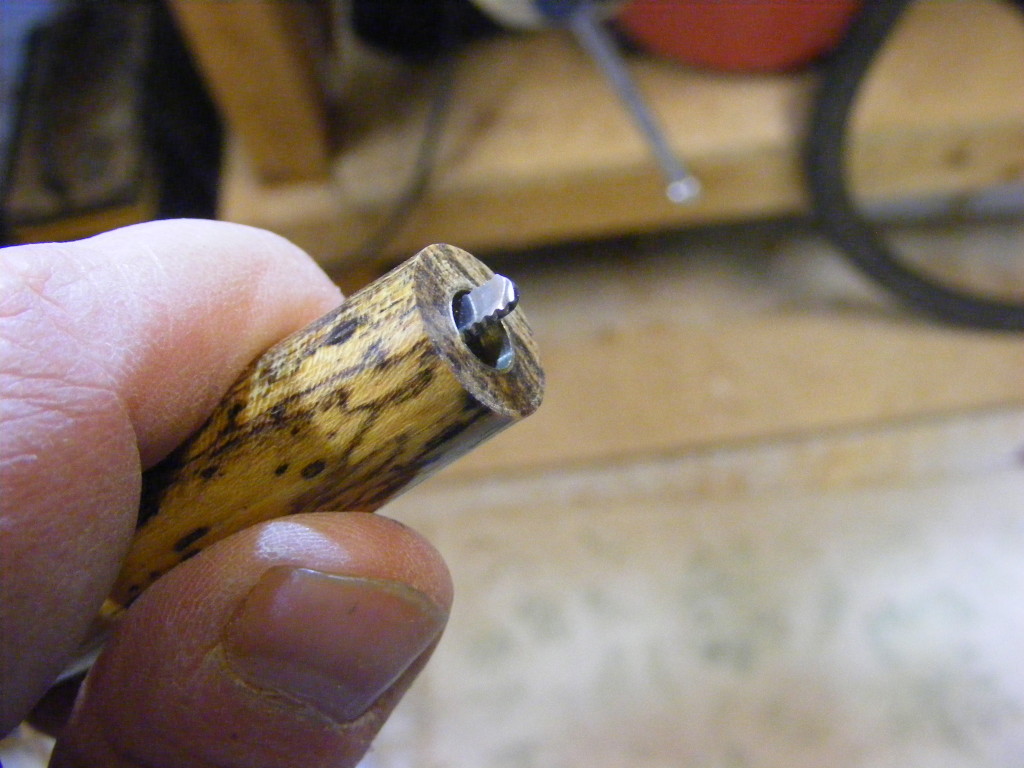
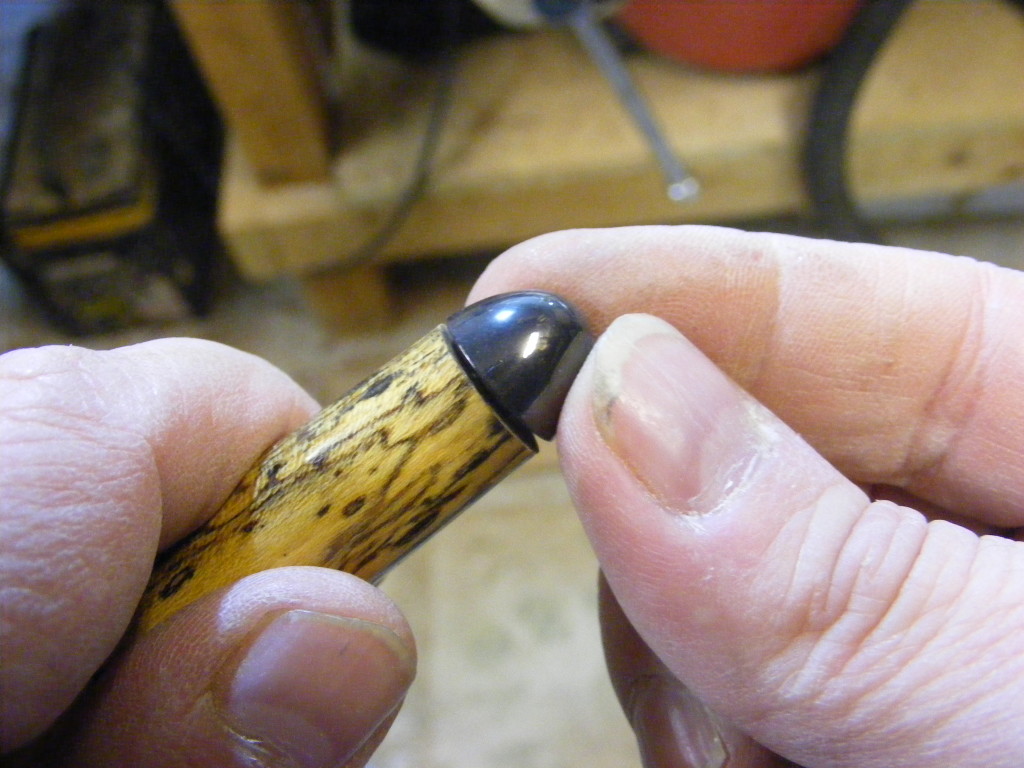
Step 10 – Assemble the coffee scoop kit. Assembly is so easy. There is only one component to press in, the coupler nut, and I used my vise to do that. The metal tang on the scoop has teeth or threads on both ends. The set of threads on the scoop side will thread through the coupler nut and the end cap will thread onto the threads on the end of the scoop handle.
So slide the coupler over the tang, then thread the handle (with coupler nut already pressed in to place) until it’s snug against the coupler. Thread the end cap on and tighten. Let me stress NOT to overtighten. I did that for one kit and ended up breaking the coupler nut. I would suggest you apply a drop of CA glue onto coupler threads and end cap threads when you attach and tighten.
And you’re done. I hope you enjoyed this tutorial. In just 10 easy steps you too can make this coffee scoop. I know you will enjoy making this project to show and share with others. These make great gifts and will compliment anyone’s kitchen accessories nicely.
Thanks again for stopping by. Please subscribe to my website or follow me on my FB fan page. Would love to connect with you and hear what you’re working on these days. If my tutorials have inspired you to make one of these projects, I’d love to post a picture to my FB page. Just send me an email.
God bless,
Scott

Are you starting up a new shop? Want to work safer in your shop? To help you answer these questions I've put together a 2-part checklist -- Home Shop Safety & Tool Checklist.
I will also send you updates of my latest woodworking and DIY projects. You can get all this by subscribing to my free email newsletter.

