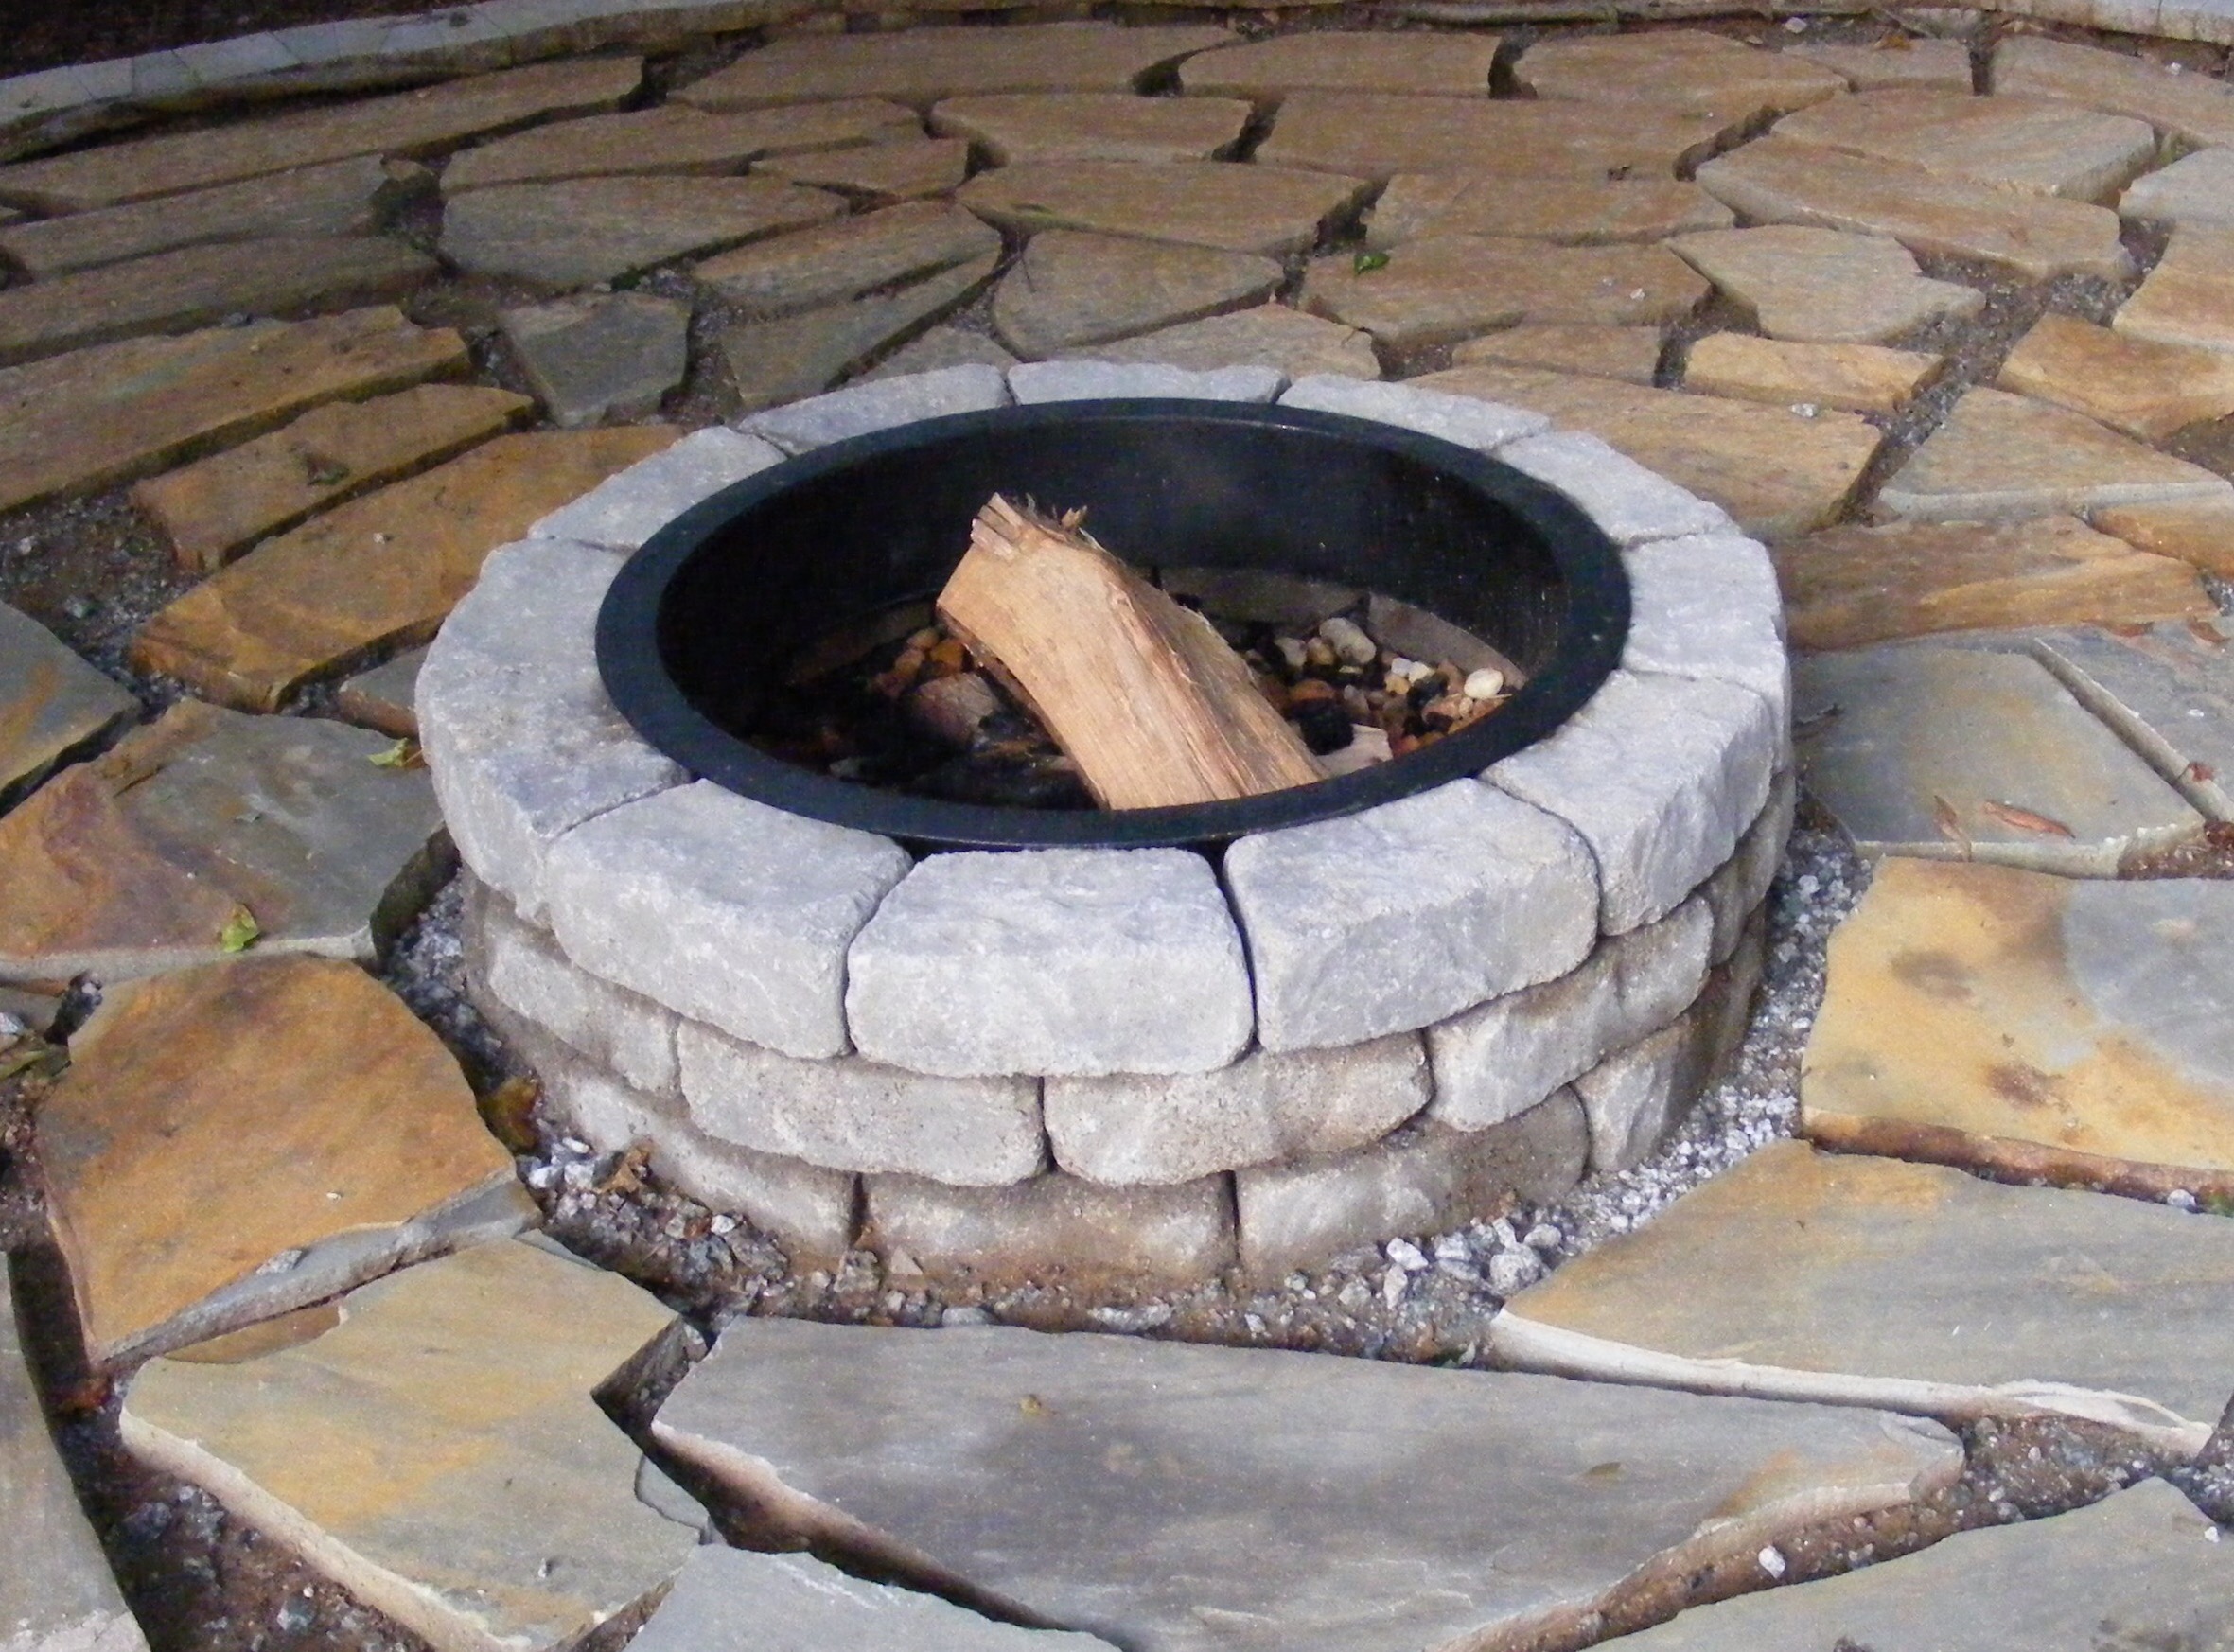
Does spending more quality family time around a cozy fire sound appealing? I will show you in 6 easy steps how to make a stone DIY fire pit that will bring your friends and family together. I’m building this firepit on top of a brand new flagstone patio, so I actually have 2 projects going on at the same time. I’ll write a separate tutorial about the flagstone patio.
I bought the fire pit kit from Lowes, and it cost me $200. The kit is packaged on a pallet which will easily fit into a truck bed. Total kit weight is right around 1000 lb. You could build a cheaper fire pit by using different stones and by leaving out the steel ring. But I liked the idea of having the steel ring. In the long run it will protect the stones and give your fire pit some additional structural integrity.
Things to consider before you build a fire pit.
Locate your fire pit well away from flammable structures like your house or deck. Stay away from dense brush or low hanging tree limbs. Observe any neighborhood covenants. Probably shouldn’t build it too close to your neighbor’s play or gathering areas. Preferably locate the fire pit close to a water source. Like within reach of your garden hose.
Materials Needed
Lowe’s Fire Pit kit – includes steel ring and 36 stones ($200)
Paver base – 6 bags ($3.82 per bag)
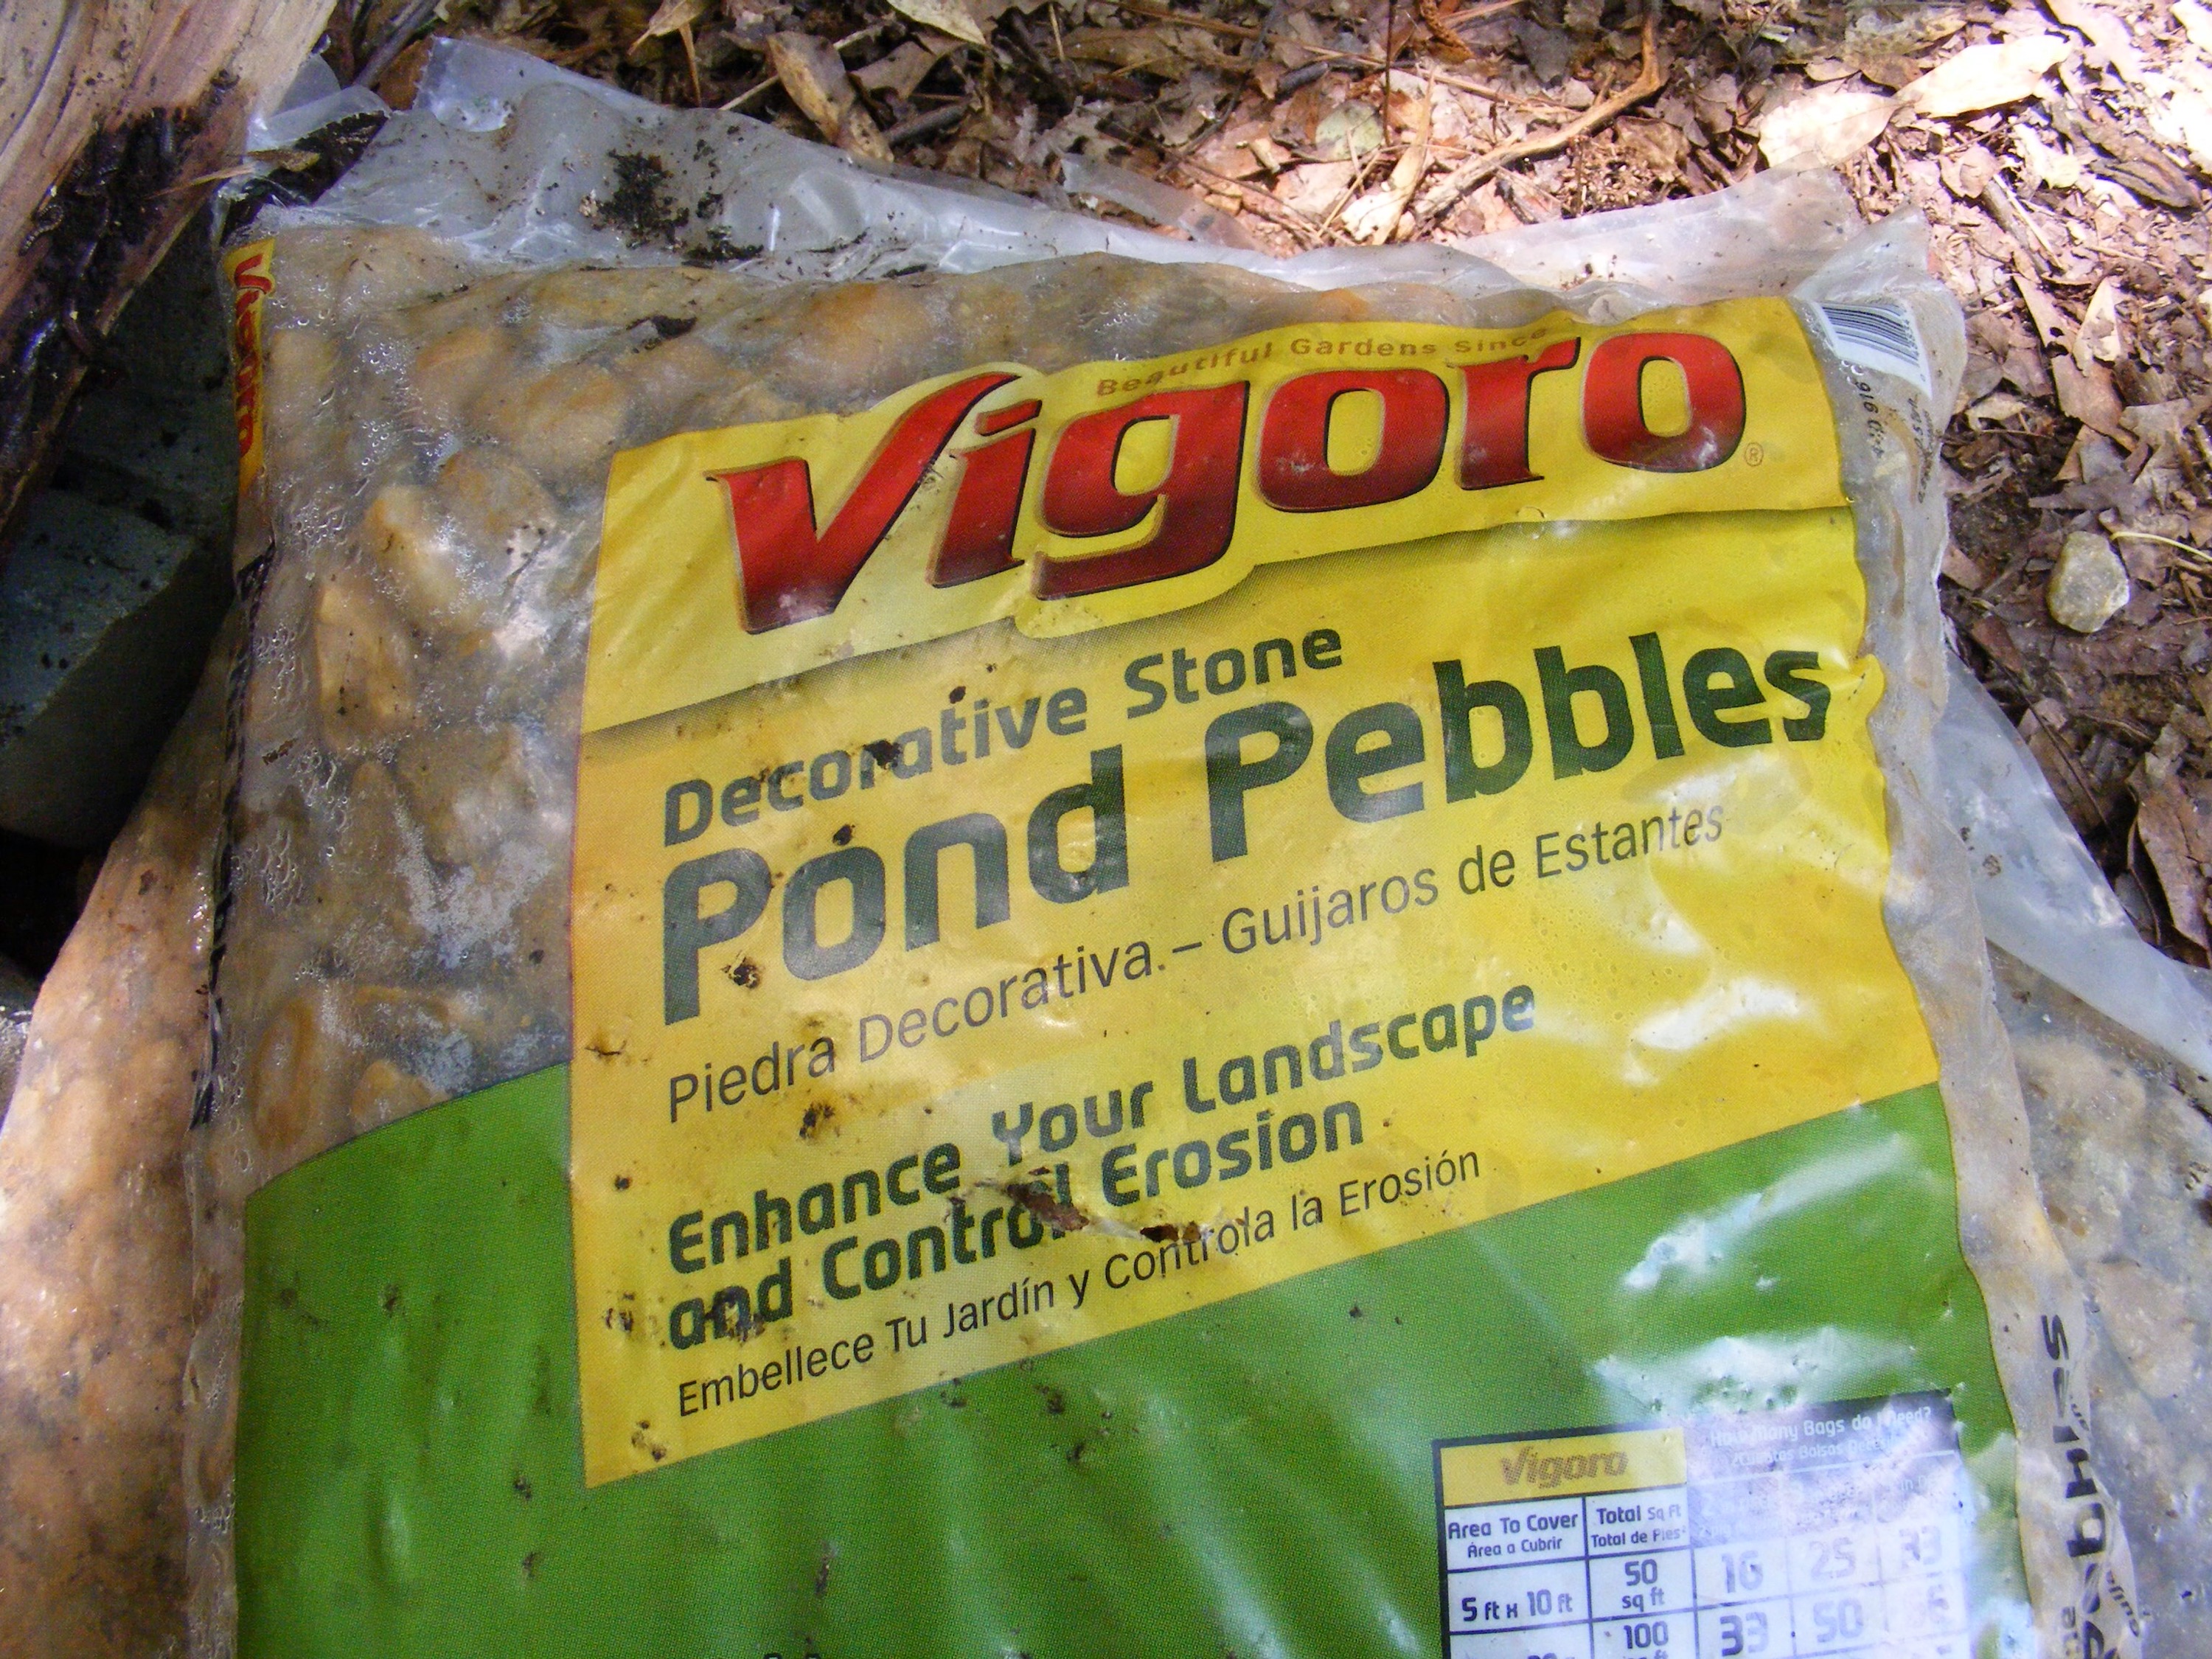
Pond Pebbles – 3 bags ($4.15 per bag)
Landscape Adheasive by Liquid Nails (optional) ($4.97 for 10oz tube)
Tools Needed
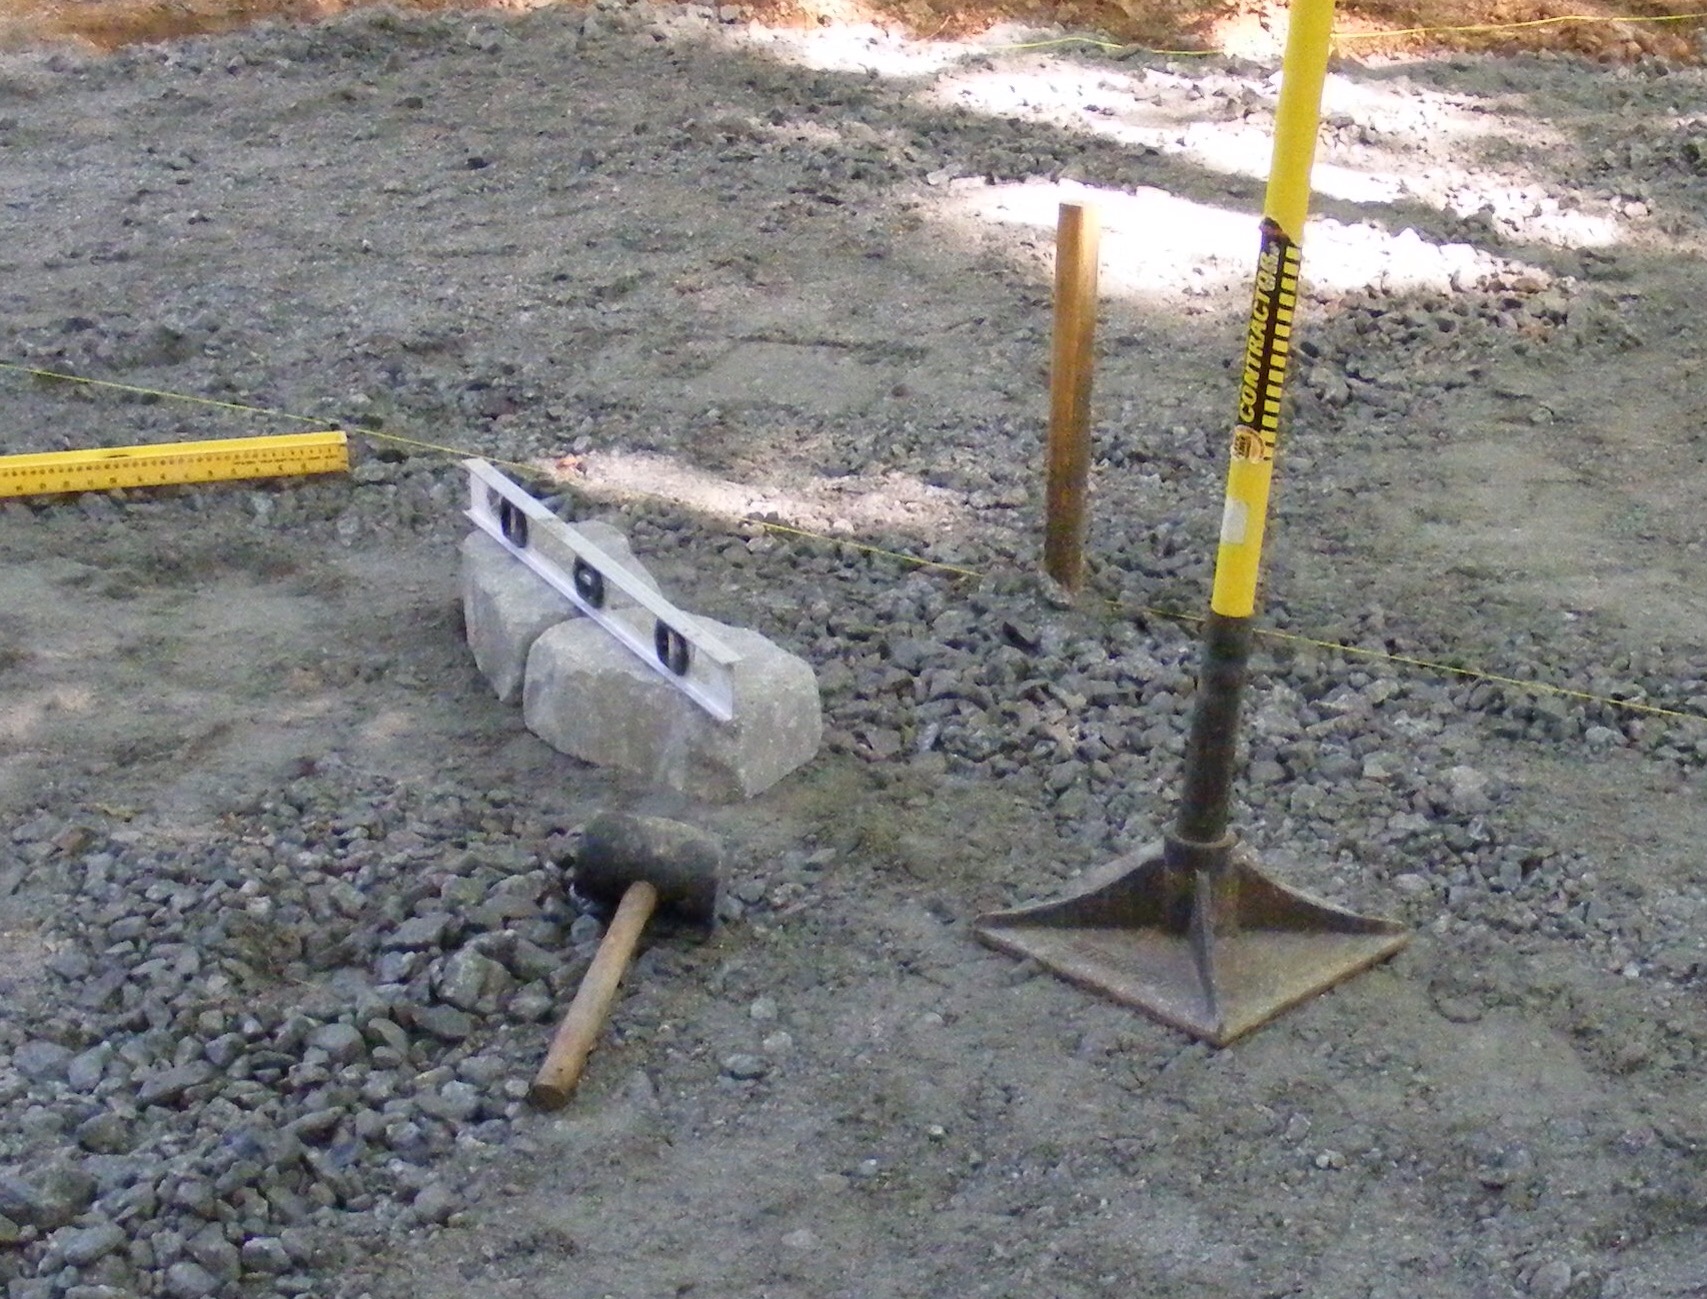
Metal tamp
Shovel
Level
Rubber mallet
Step 1
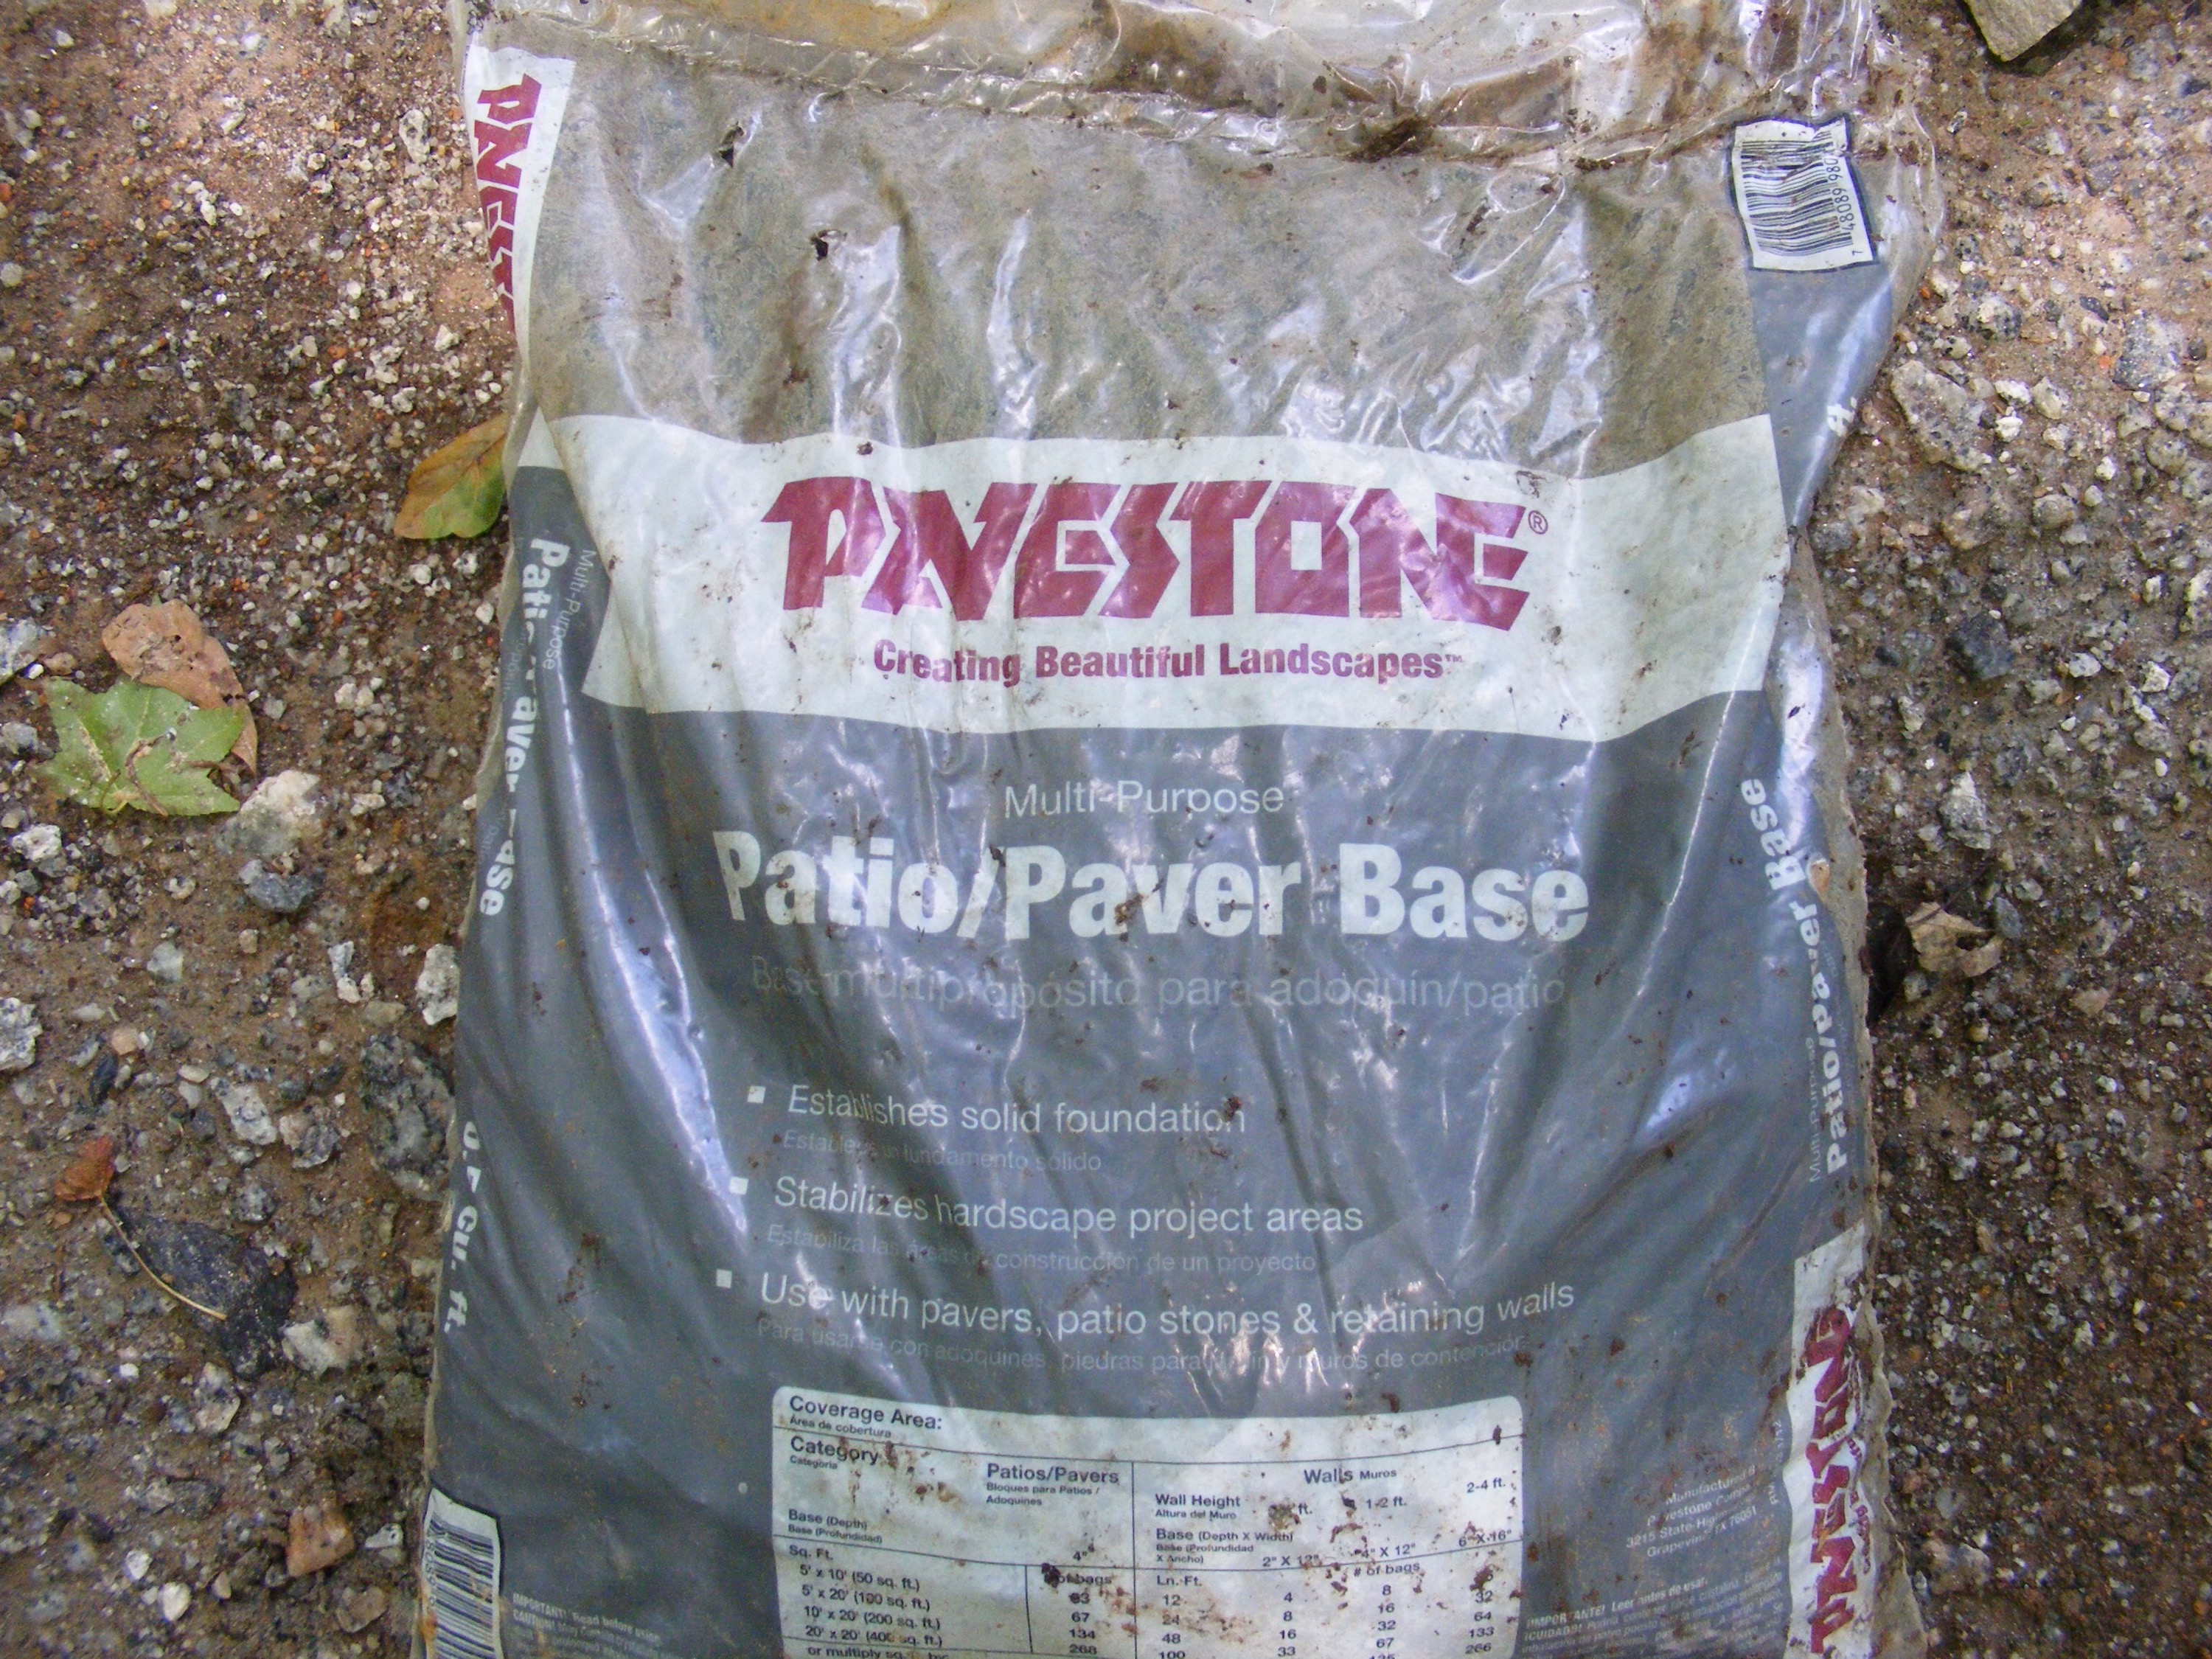
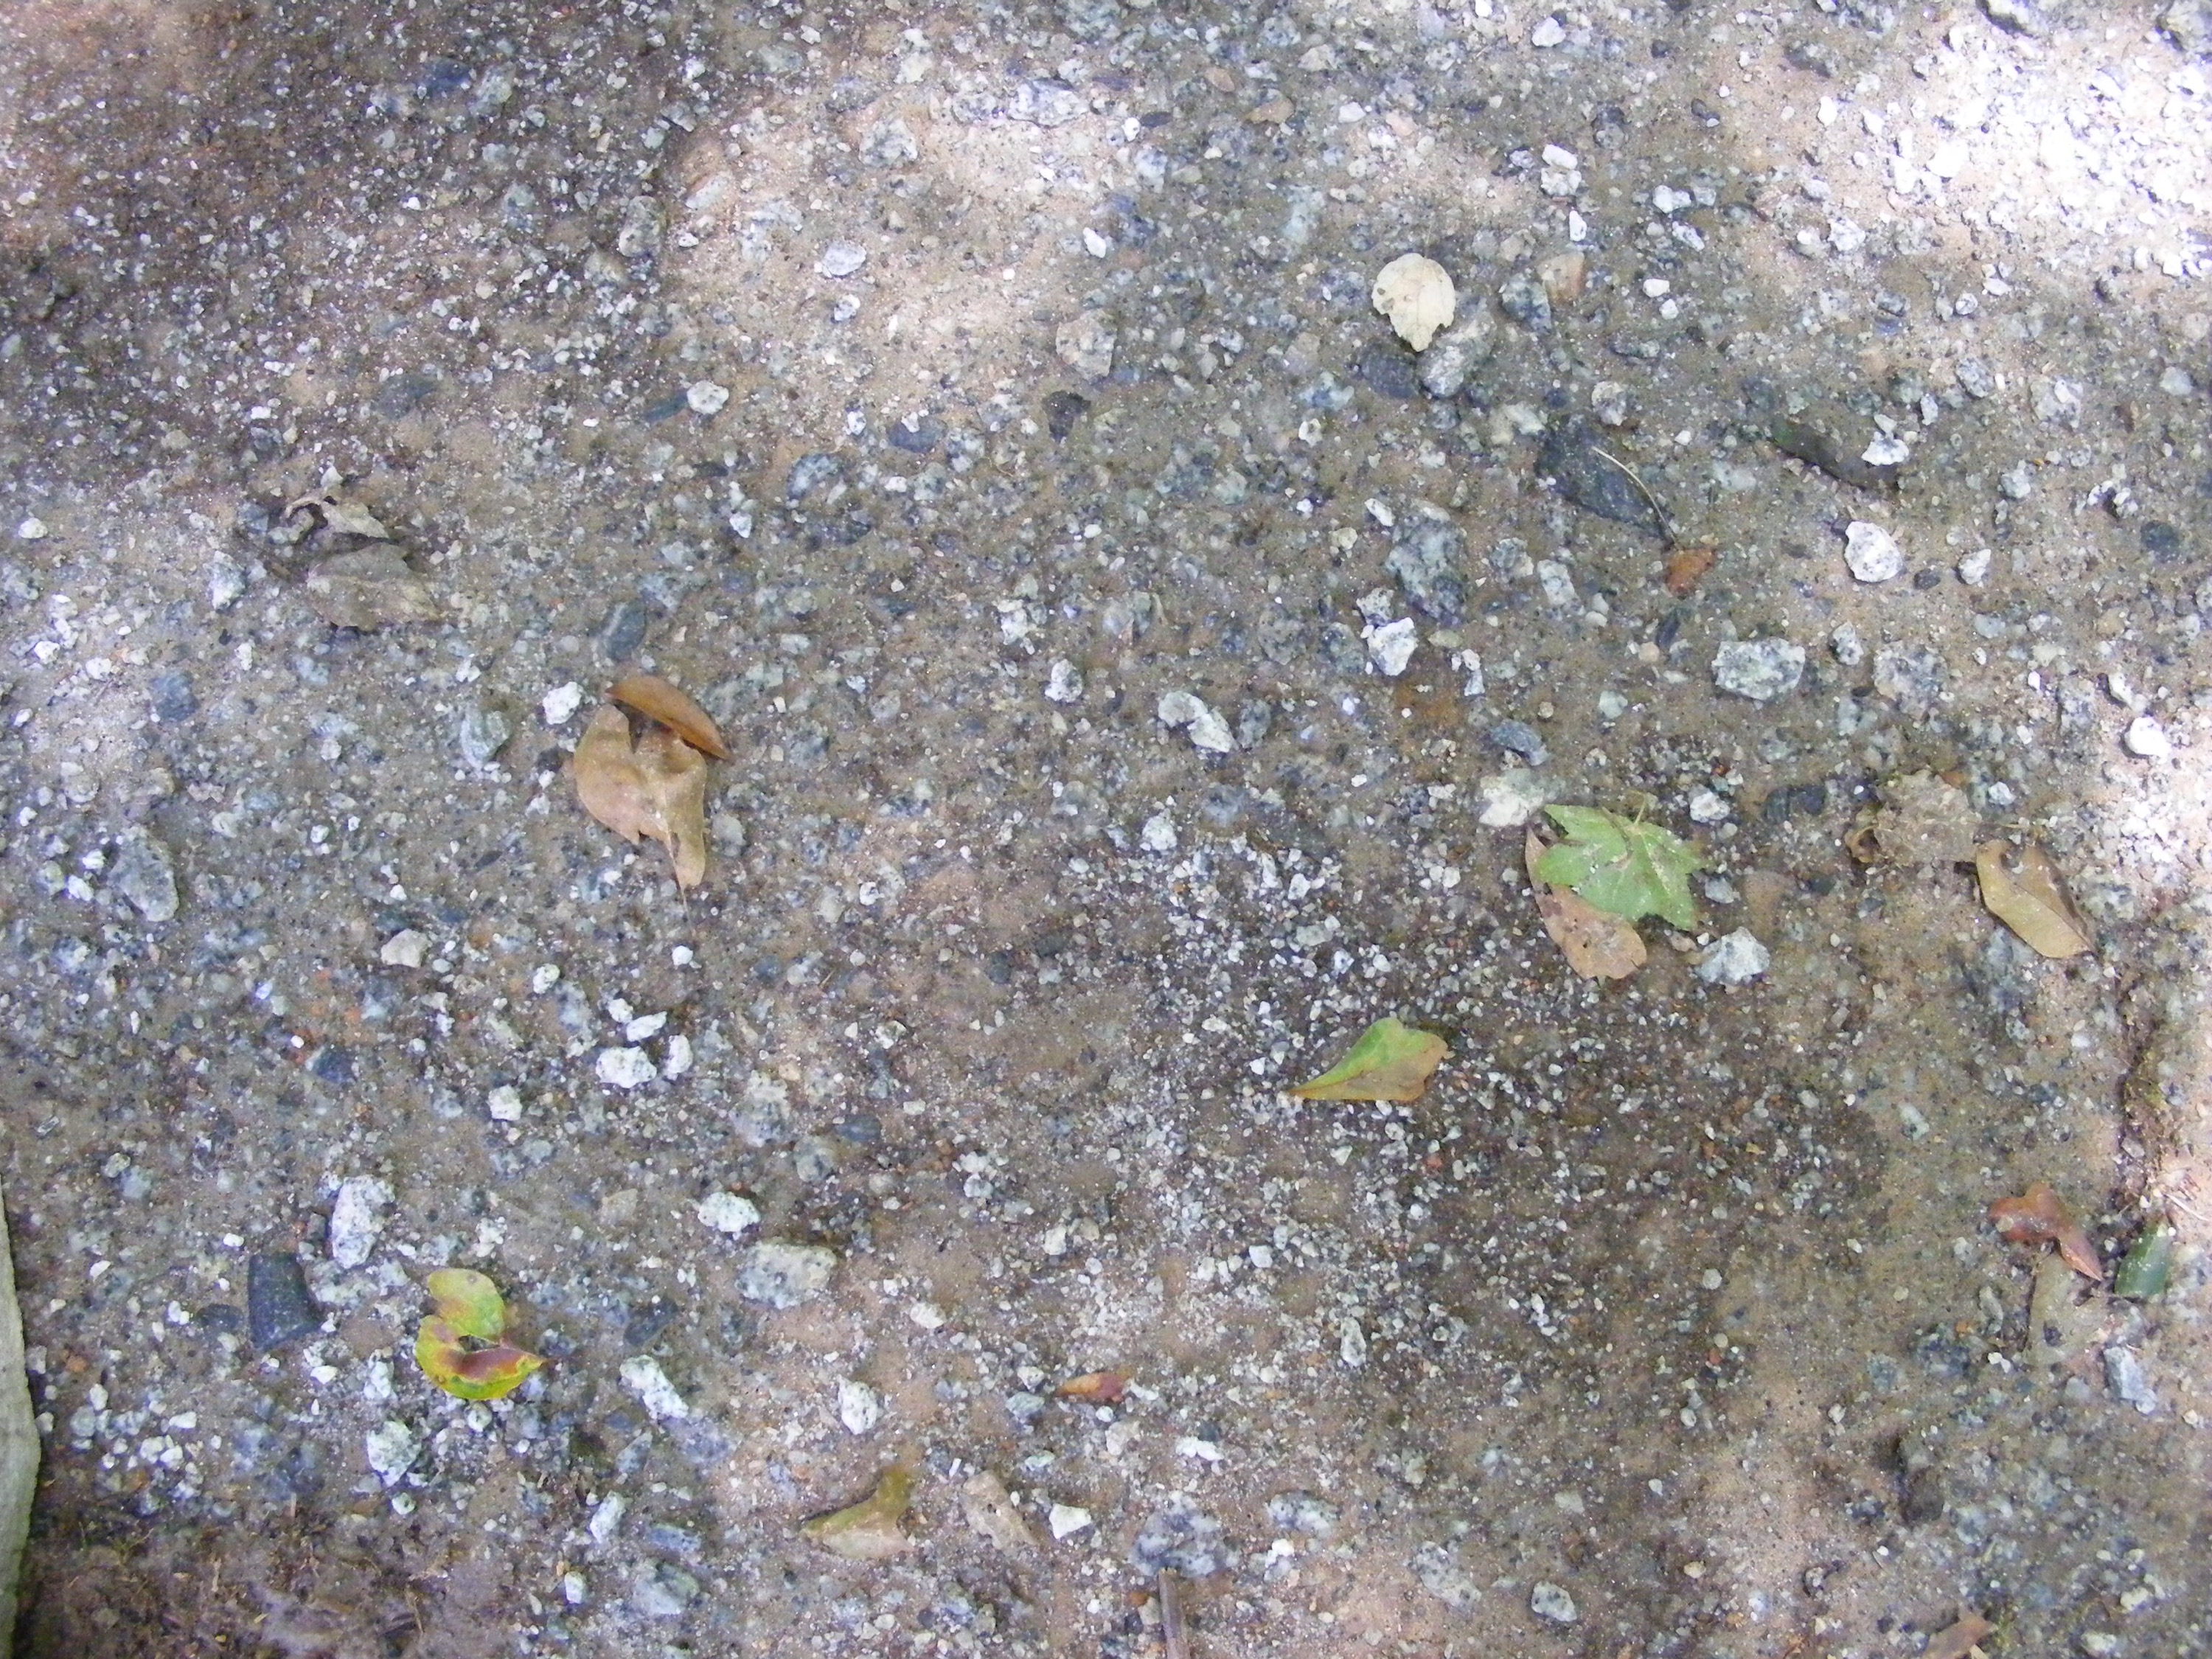
Start by creating an open, flat area to place your fire pit. Dig out a section in your yard slightly bigger than the fire pit’s outside diameter (which is 44 inches) and add about 6 to 8 bags of paver base. Create a paver base layer of about 3 inches. Make sure it’s tamped well and level. I had already put paver base down for the patio, and am building my fire pit in the center of the patio.
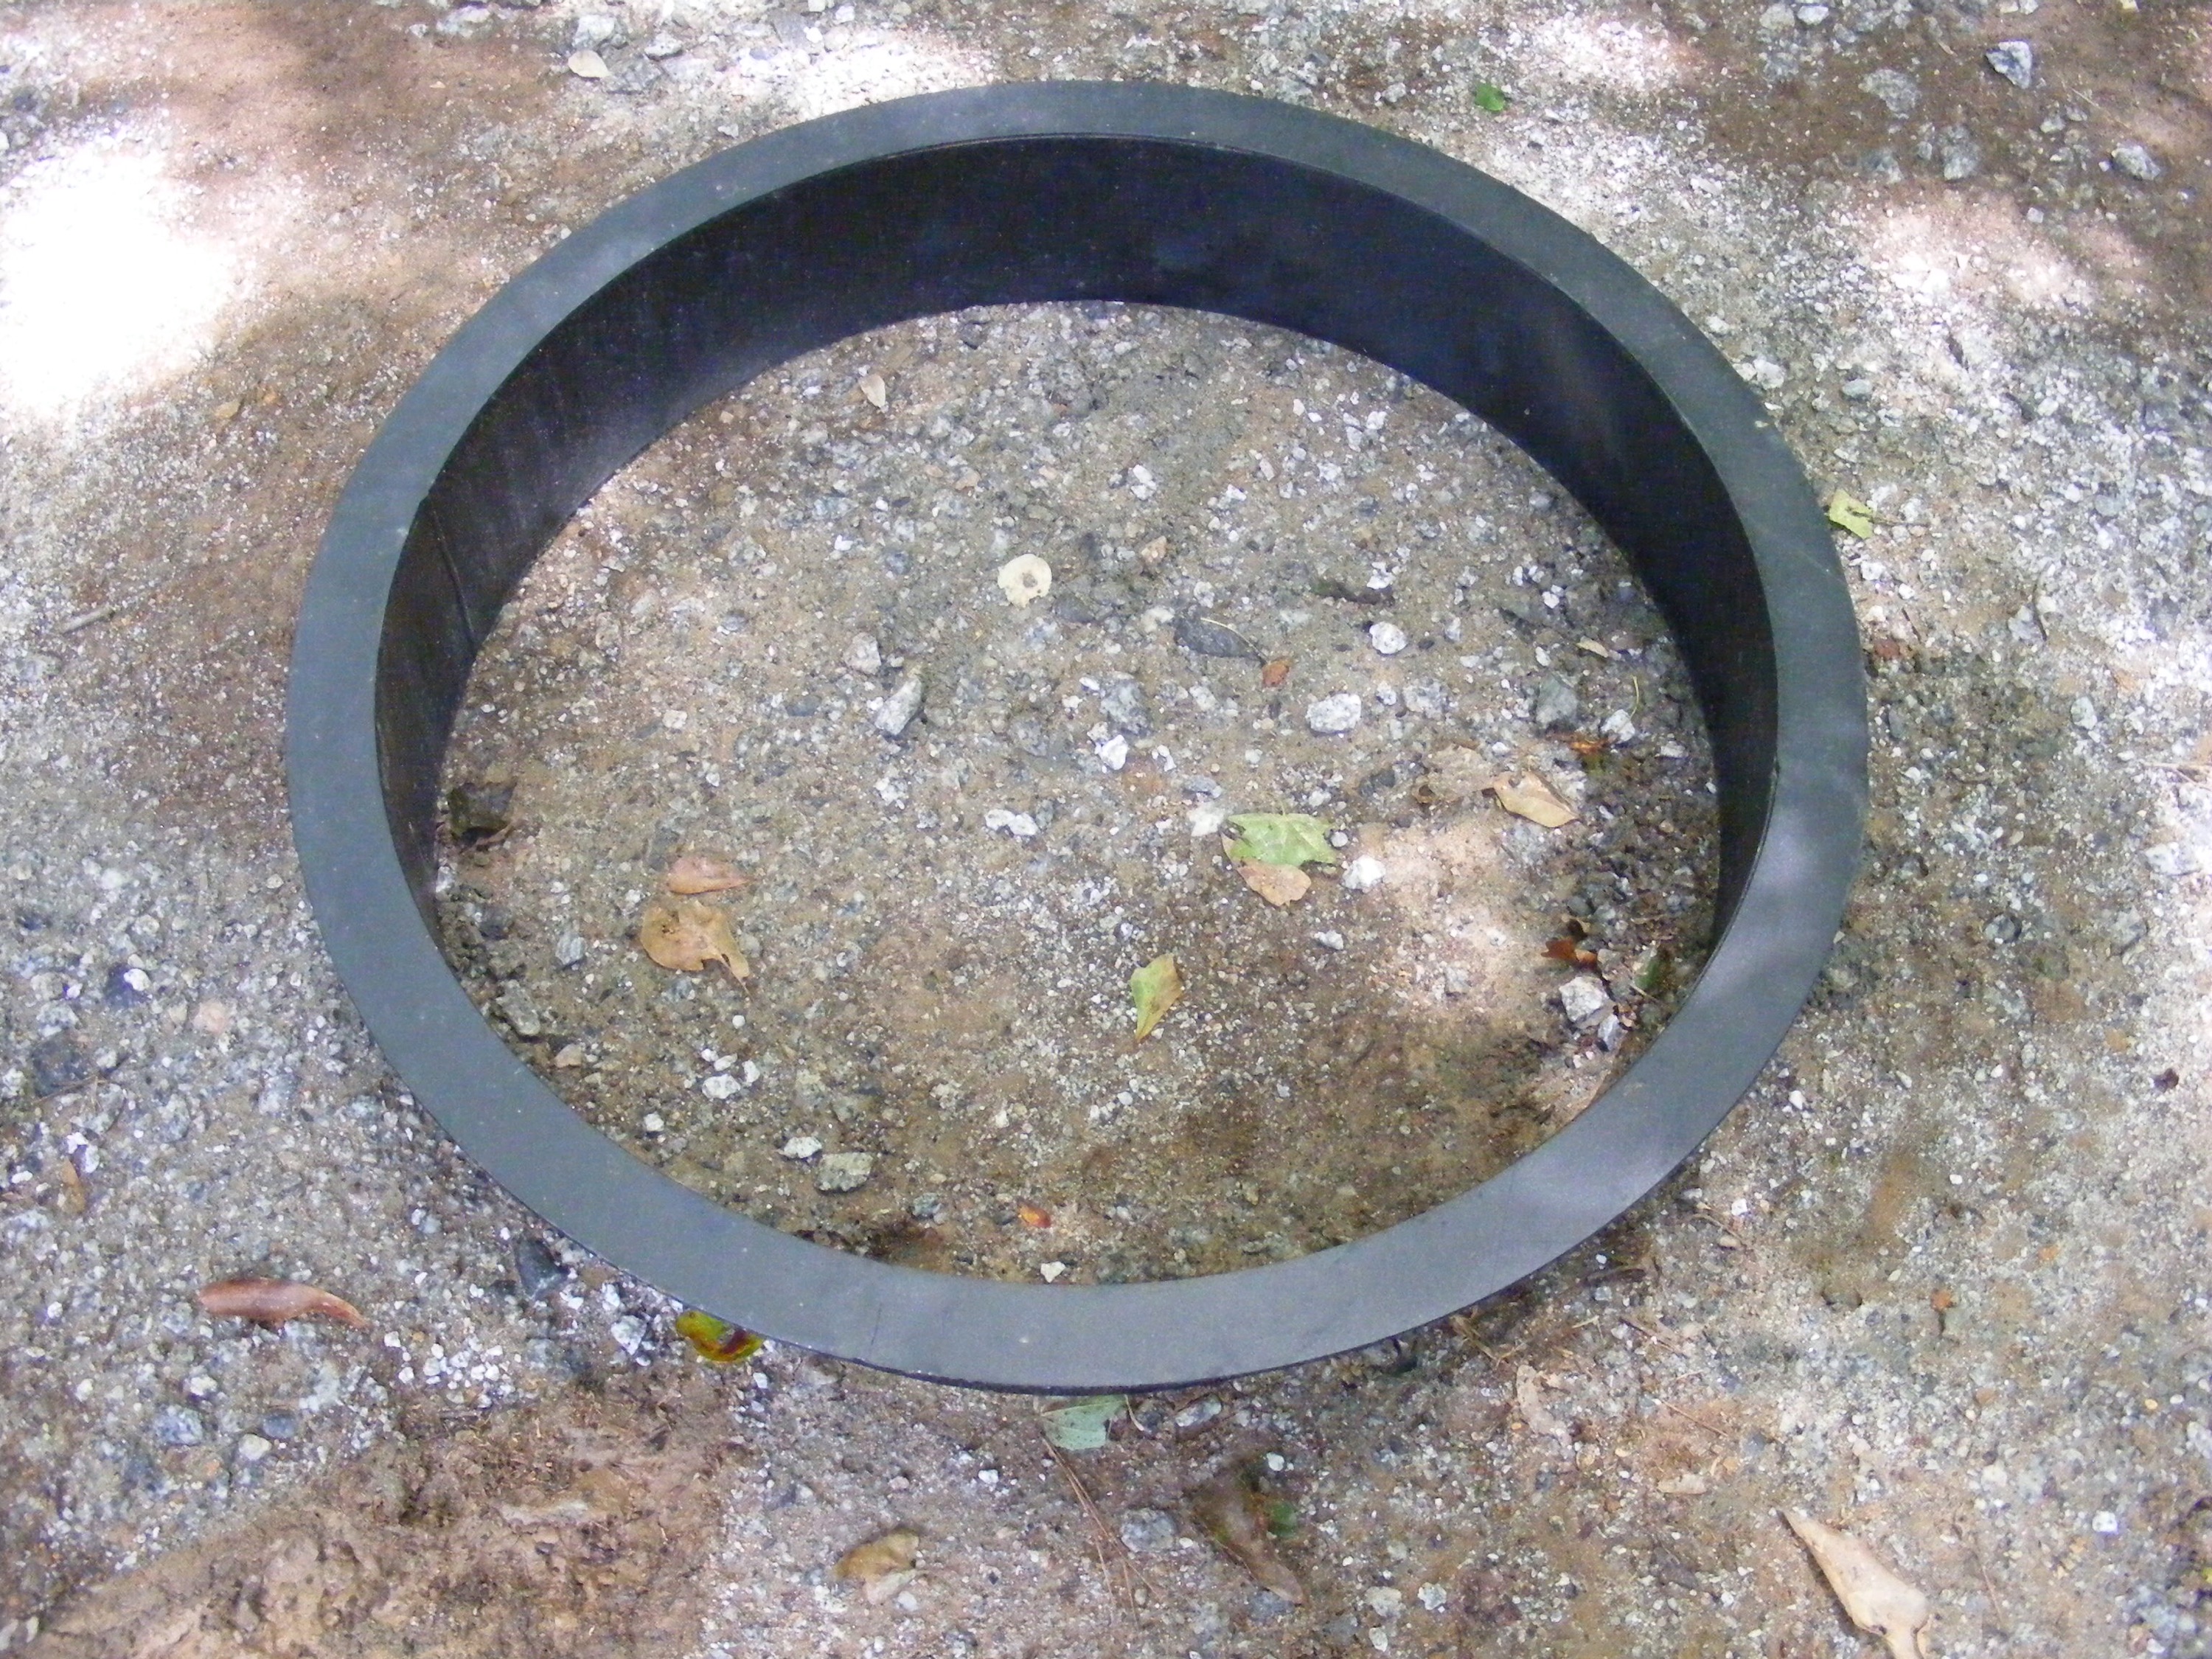
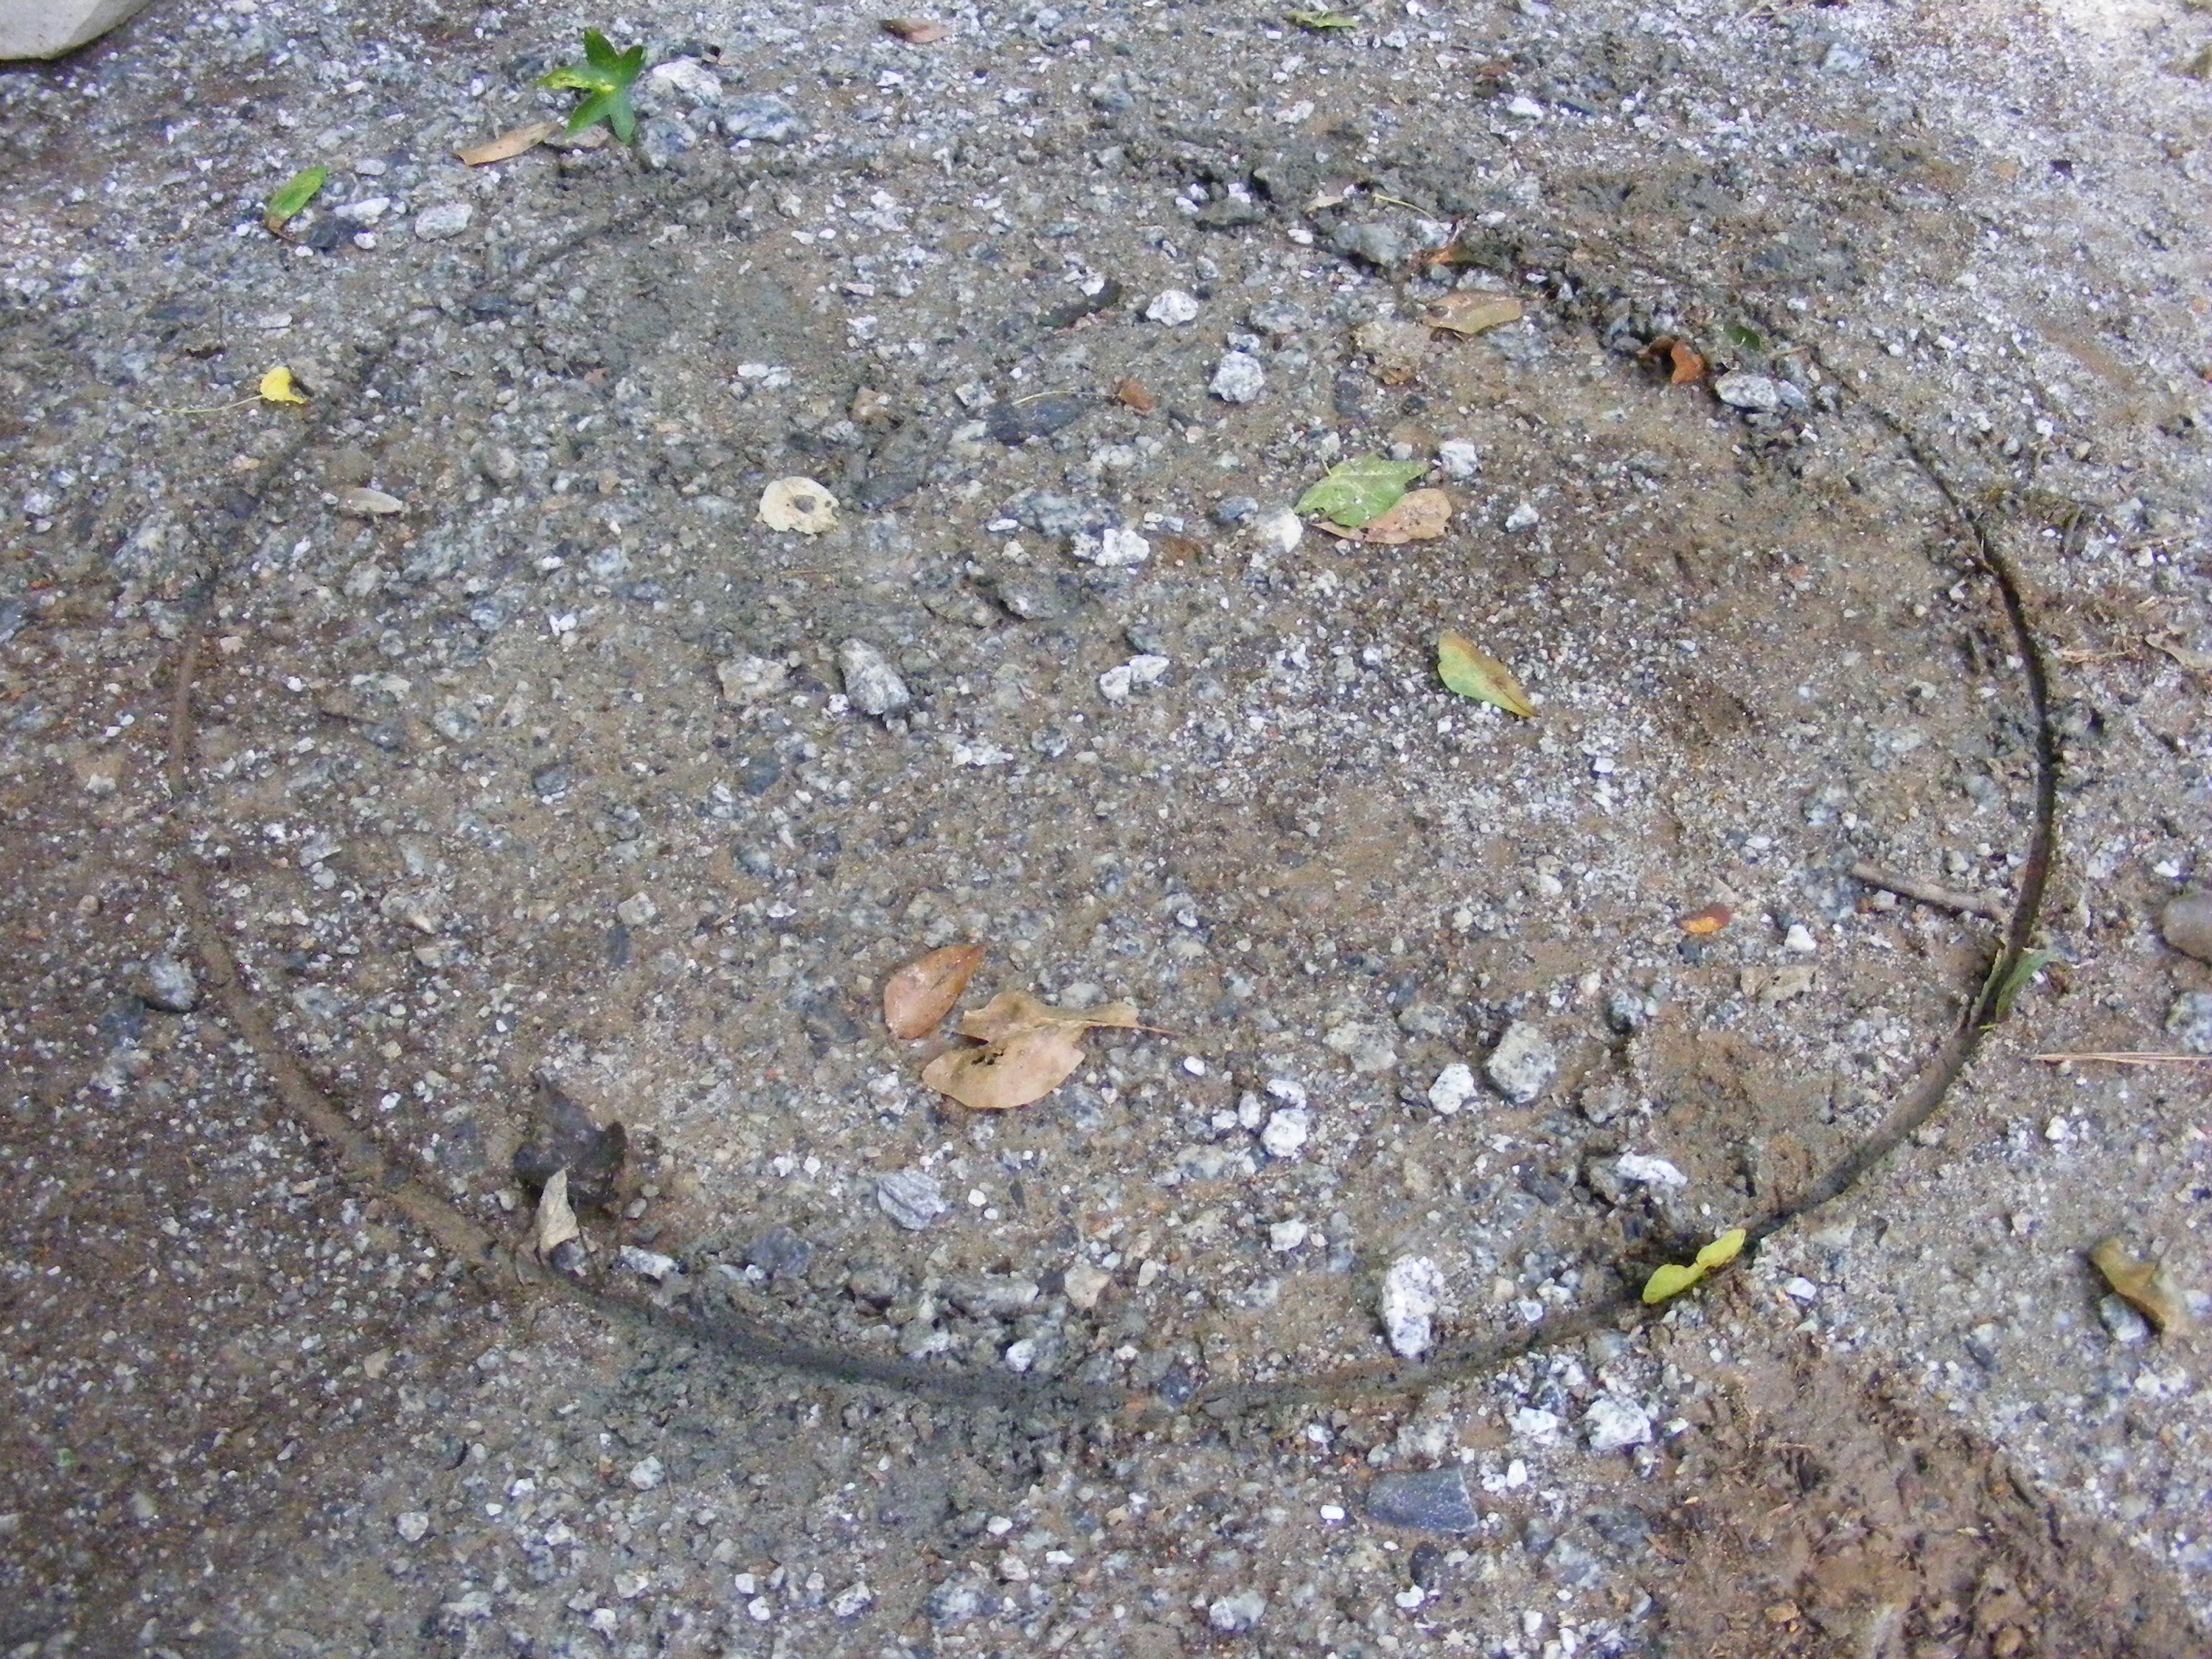
Lay out the steel fire ring that came with the kit and use it to make an impression in the paver base, which you put down in step 1. You can then use the impression as a guide for laying your stones.
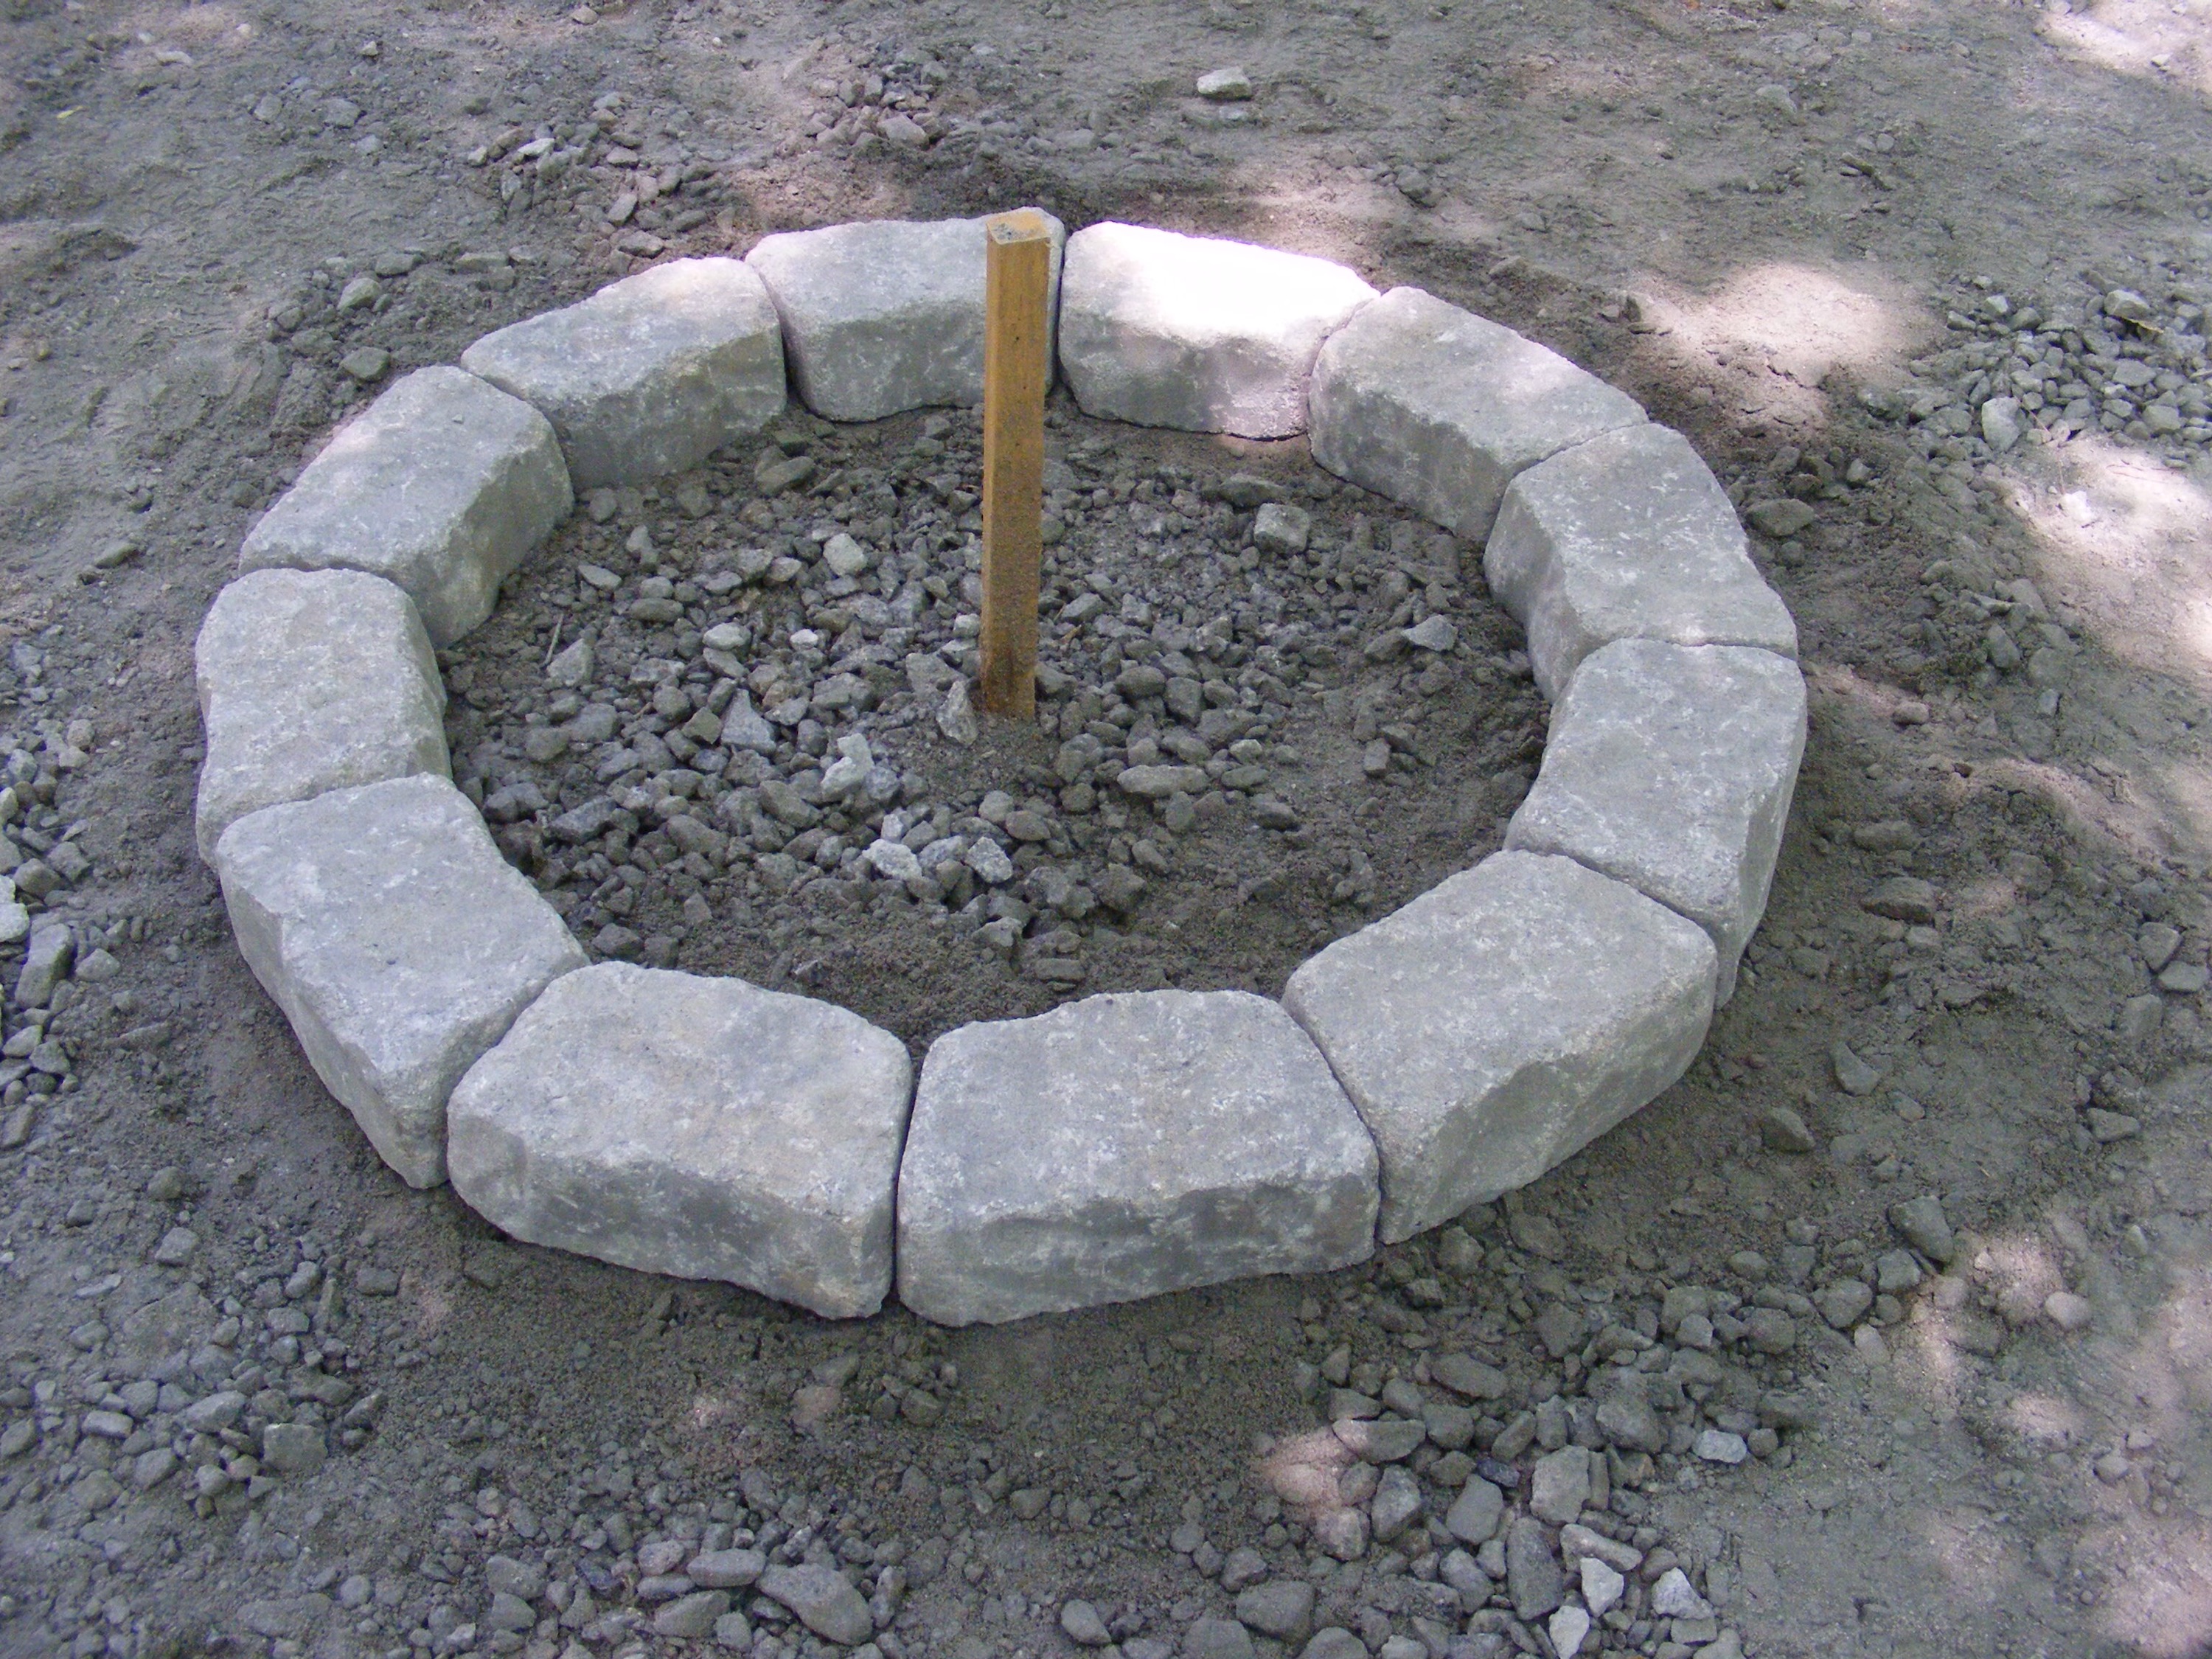
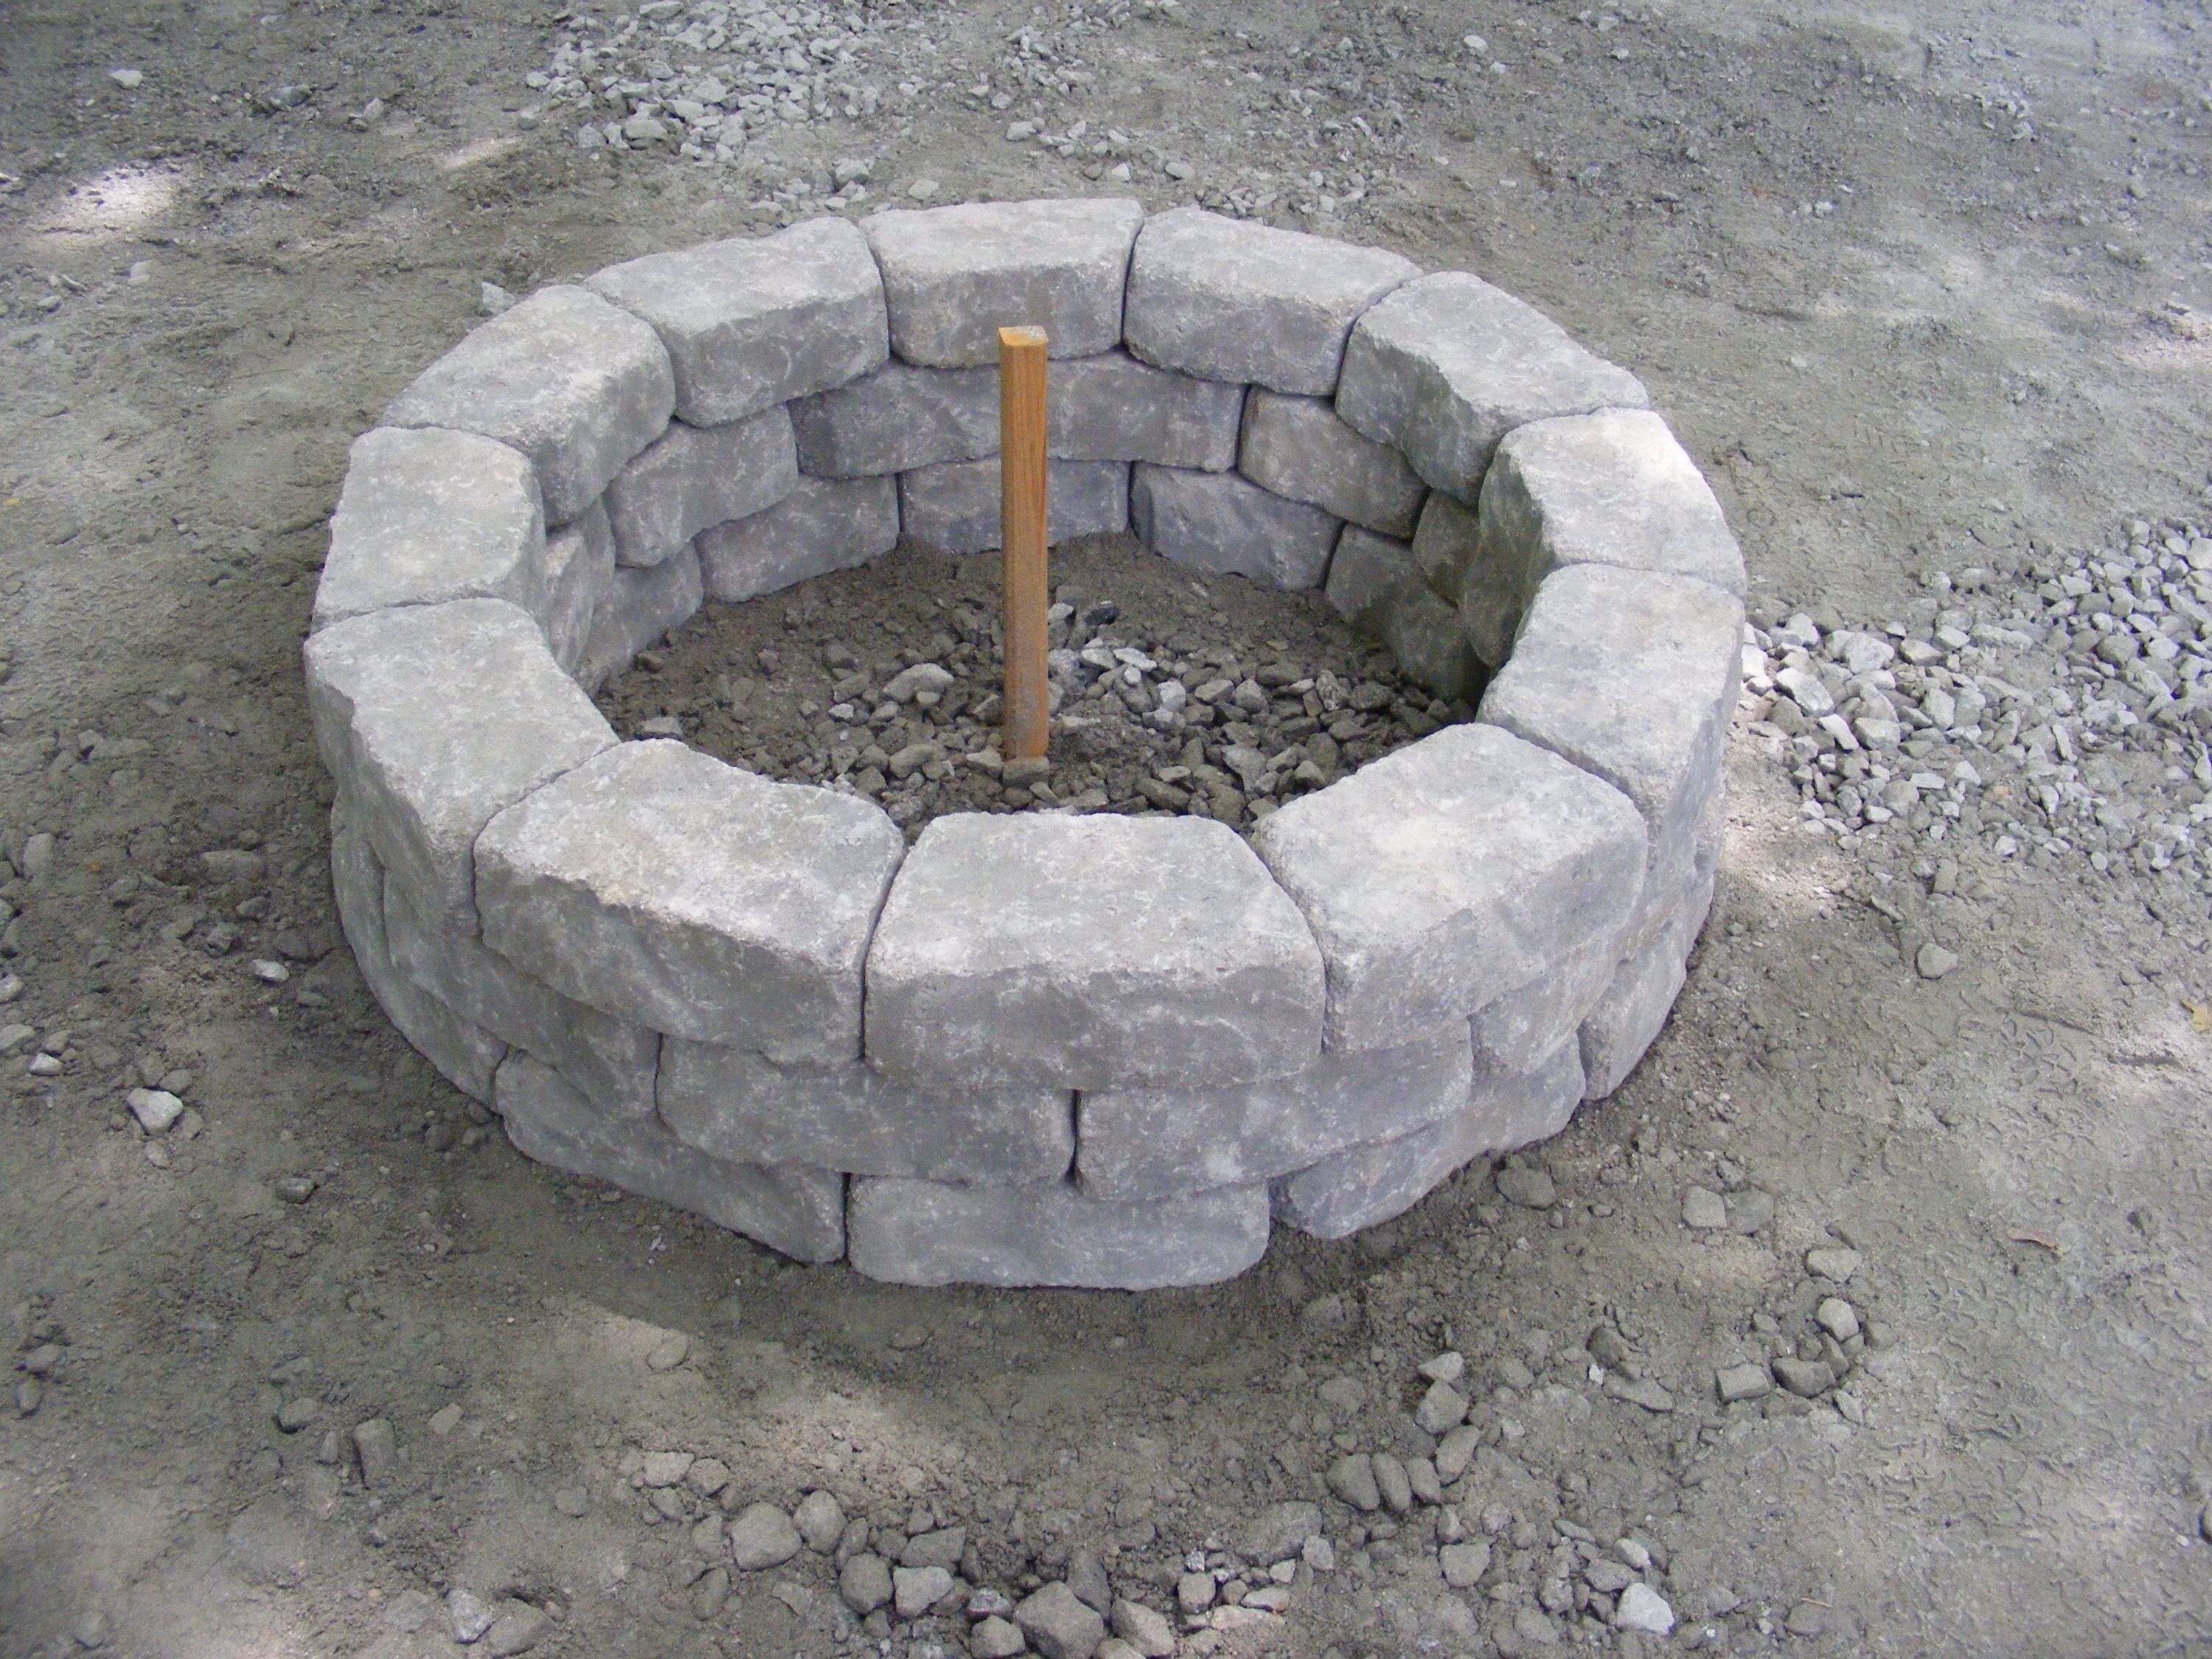
Begin laying your stones to create the first layer of your fire pit. Level up the stones and make sure they’re flush with each other all the way around the circumference of the circle. Use the rubber mallet to help seat and level each stone.
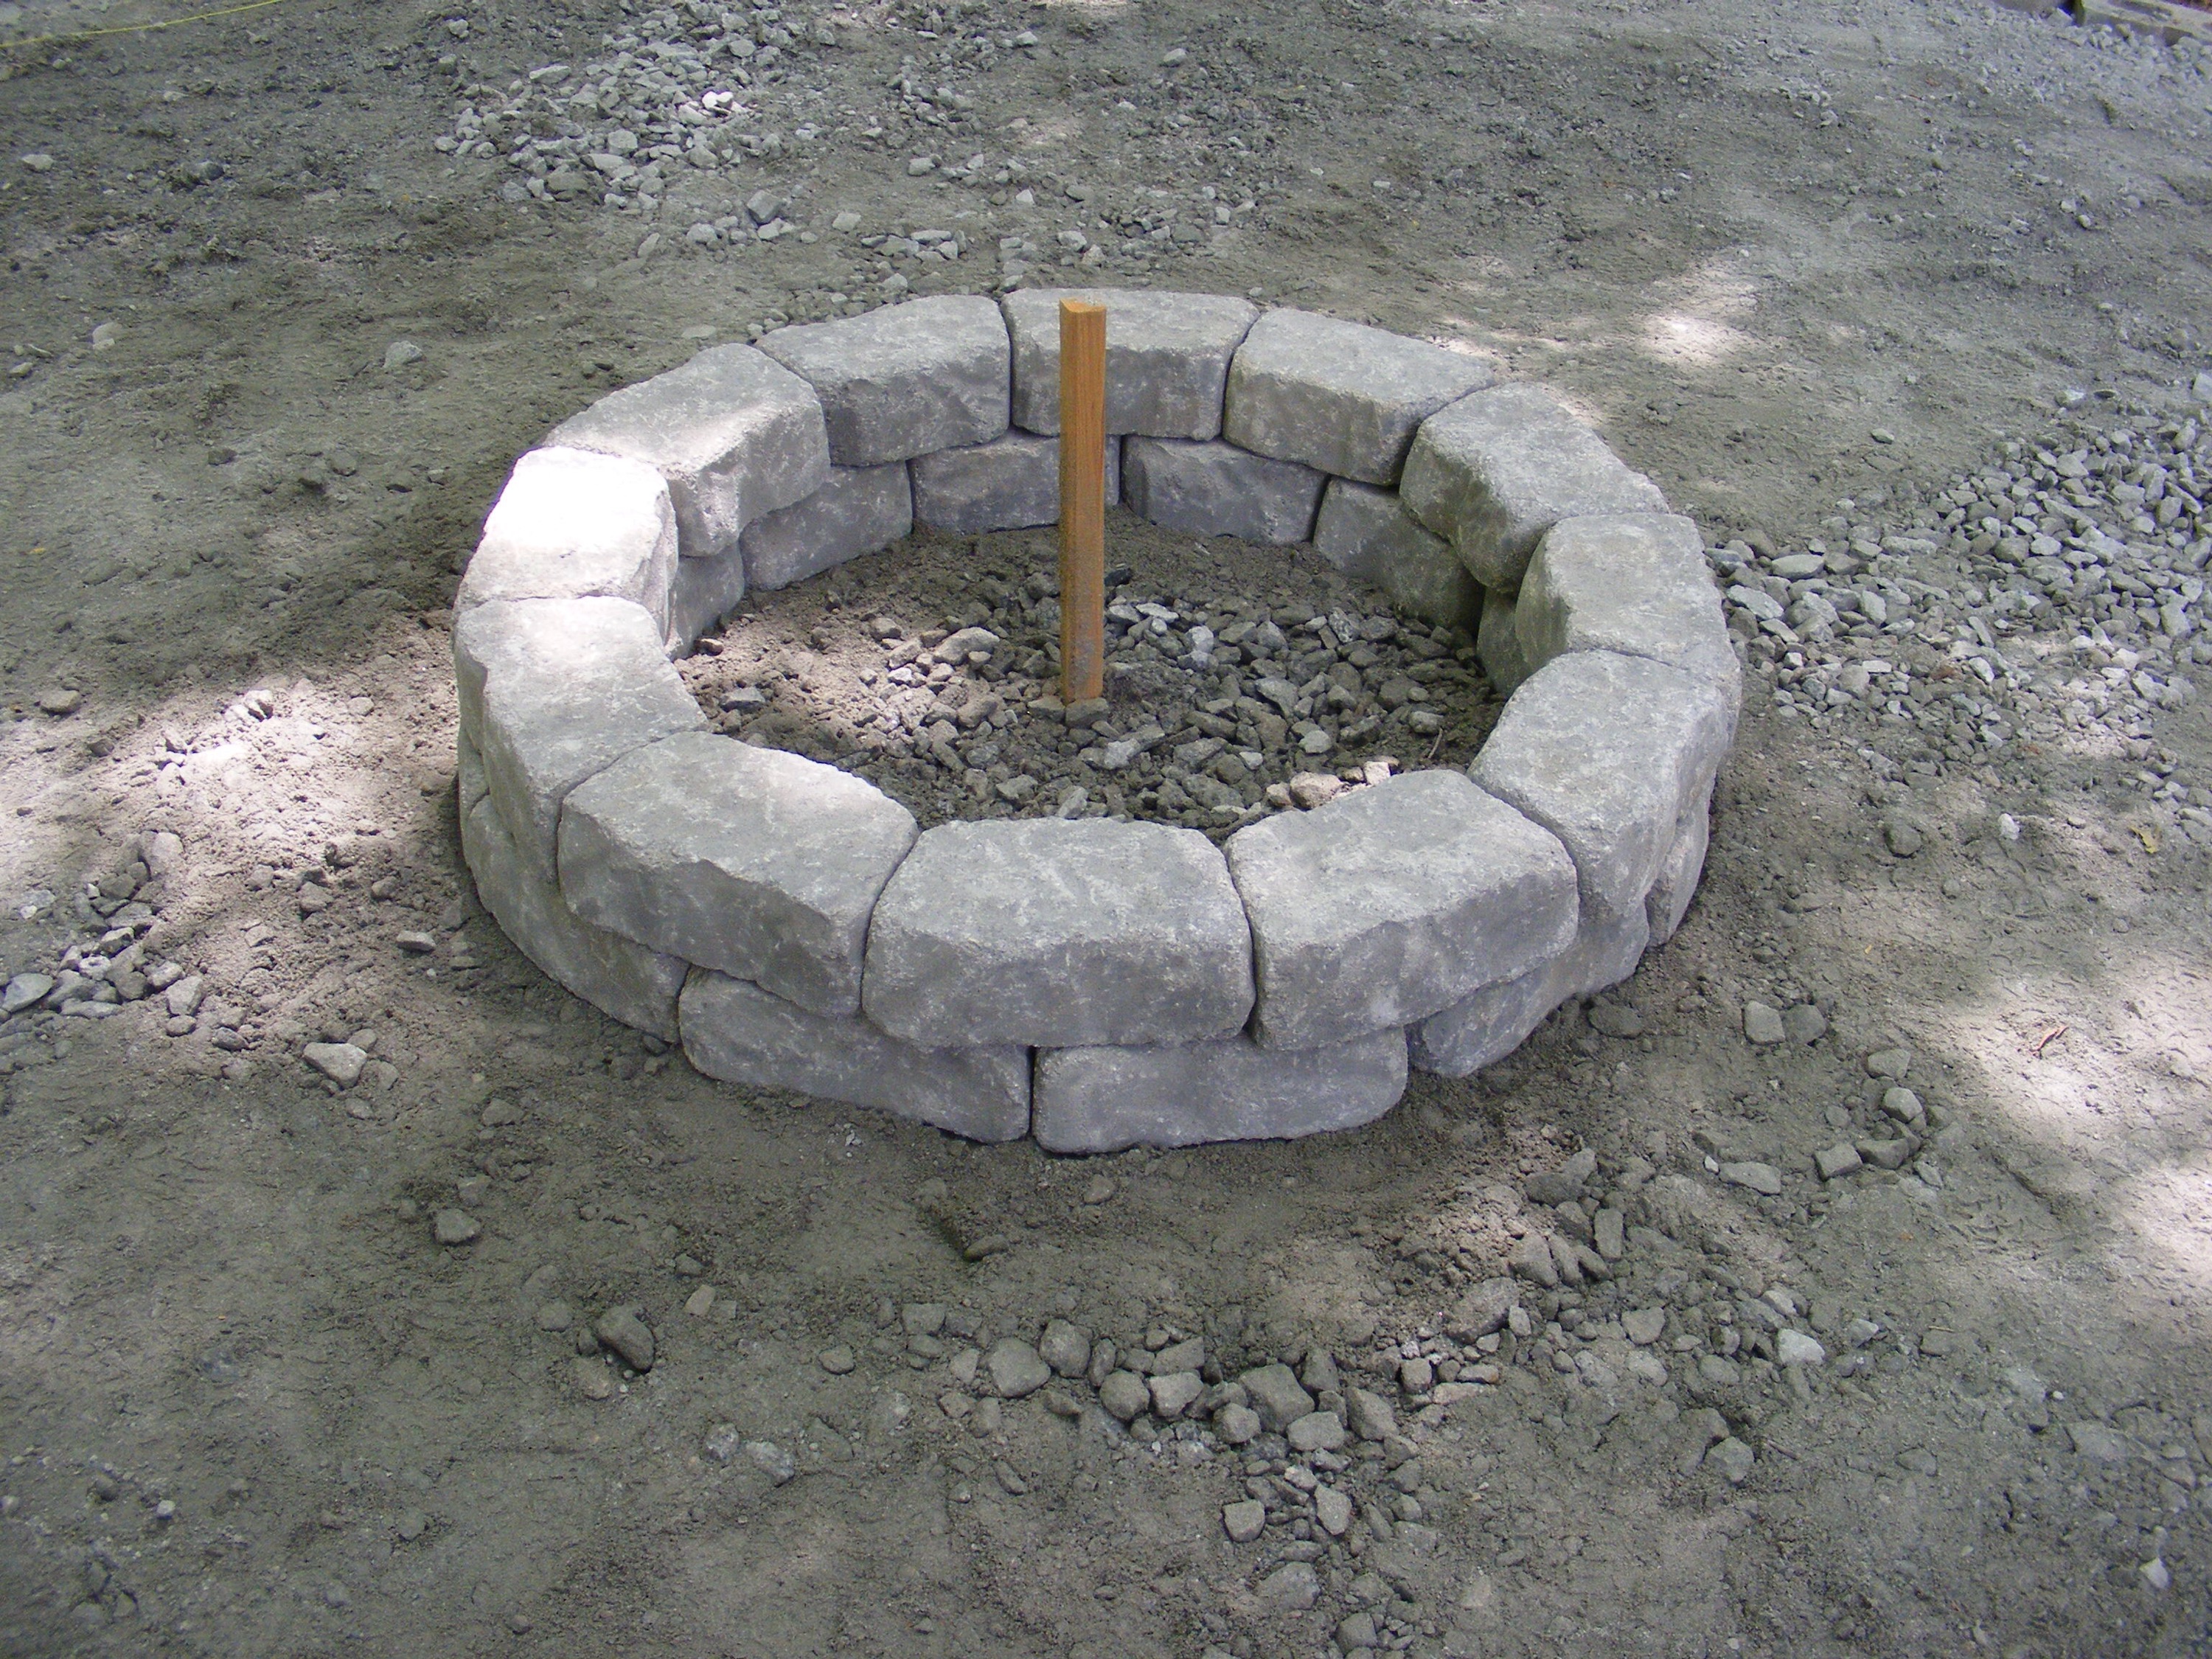
After you have made sure that first layer of stones is perfectly level, continue to stack a second and third layer. Make sure to stagger them like I’ve done in the pictures below. A total of 36 stones come with the kit, so each layer has 12 stones (thank you Captain Obvious). I did not glue my stones together. Some people do, but I don’t think it’s needed. Who knows—one day I may want to move the fire pit to a different location, or I may need to change out a damaged stone. If you decide to glue them together, you can use landscape adheasive made by Liquid Nails.
Step 5
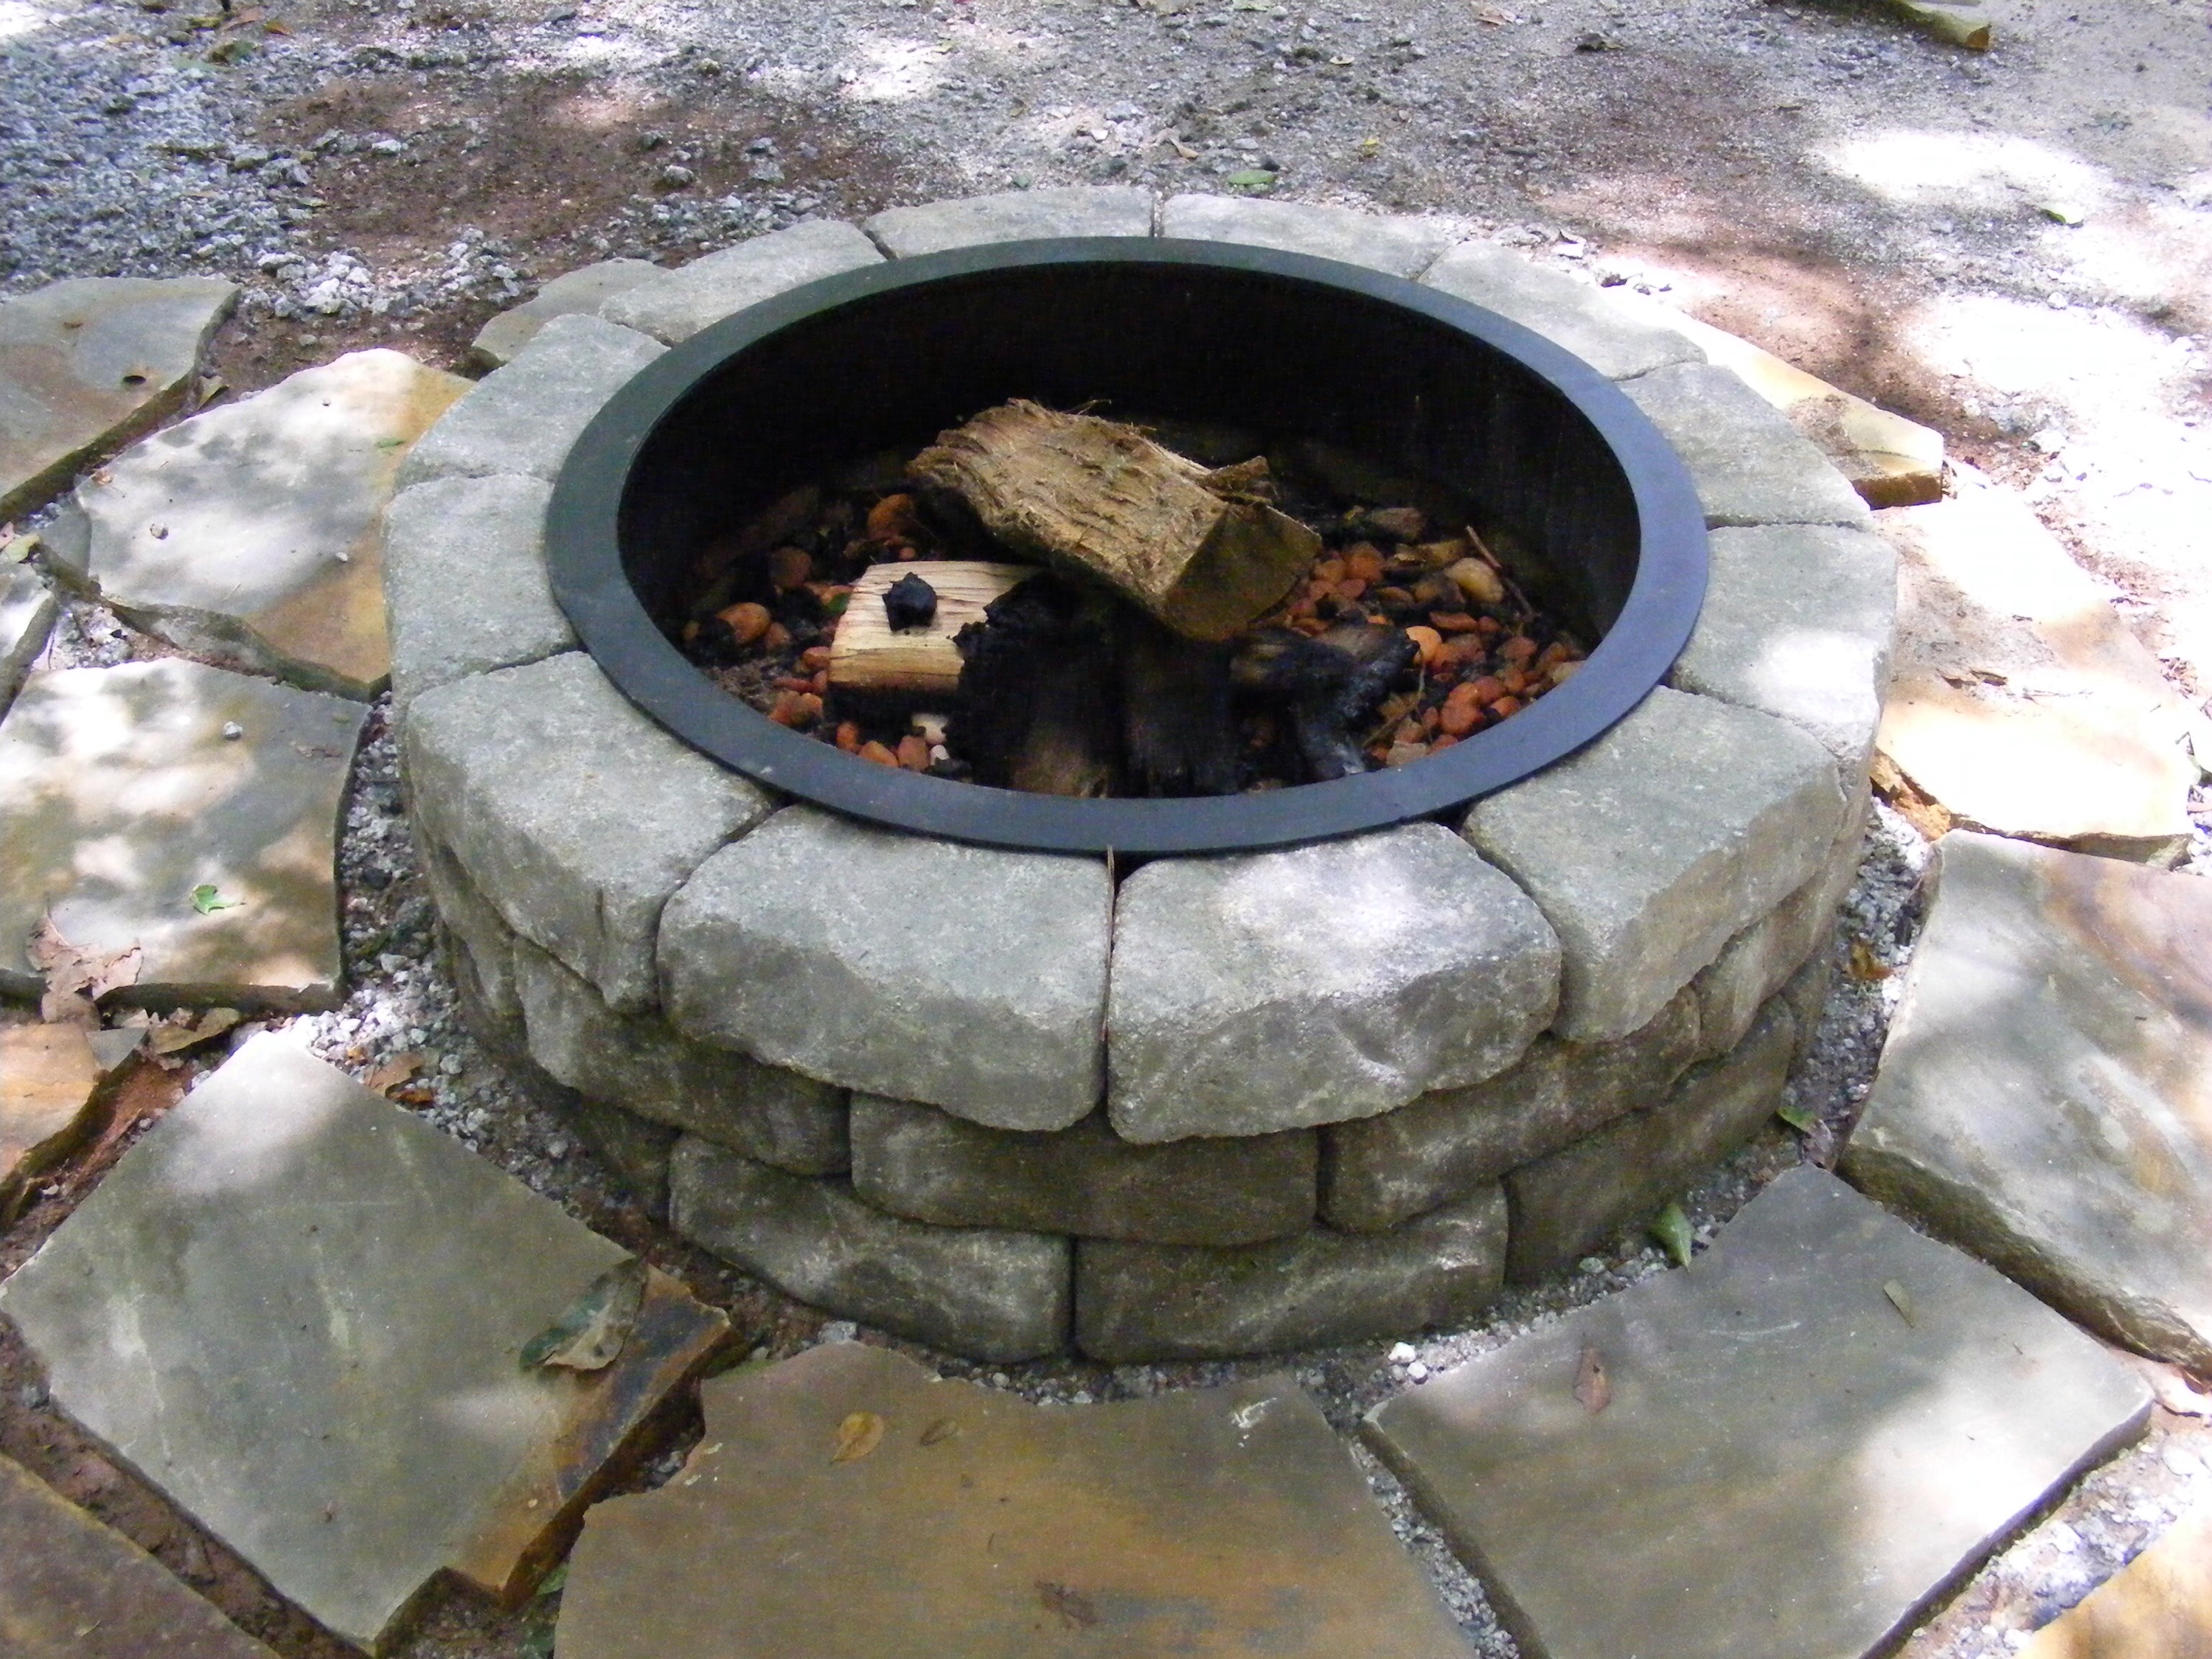
Add about 3 bags of pond stones (from Home Depot) to the inside of the fire pit. This will create a 6 inch layer on which to build your fire. This helps to move the base for the fire a little higher and improve air circulation and ventilation.
Slip the steel fire ring on and you are done. Let the campfire stories and family fun begin!
I hope you enjoyed this tutorial. And—enjoy your future fire pit. I know you can do it! Your family and friends will love you for it!
Remember to take fire building seriously. Never leave a fire unattended. Make sure you have adult supervision at all times. And don’t forget to put your fire out when you’re done.
Before you leave, please consider subcribing to this blog and/or following me on Pinterest.
God bless!
Scott


3 thoughts on “DIY Fire Pit”
Comments are closed.