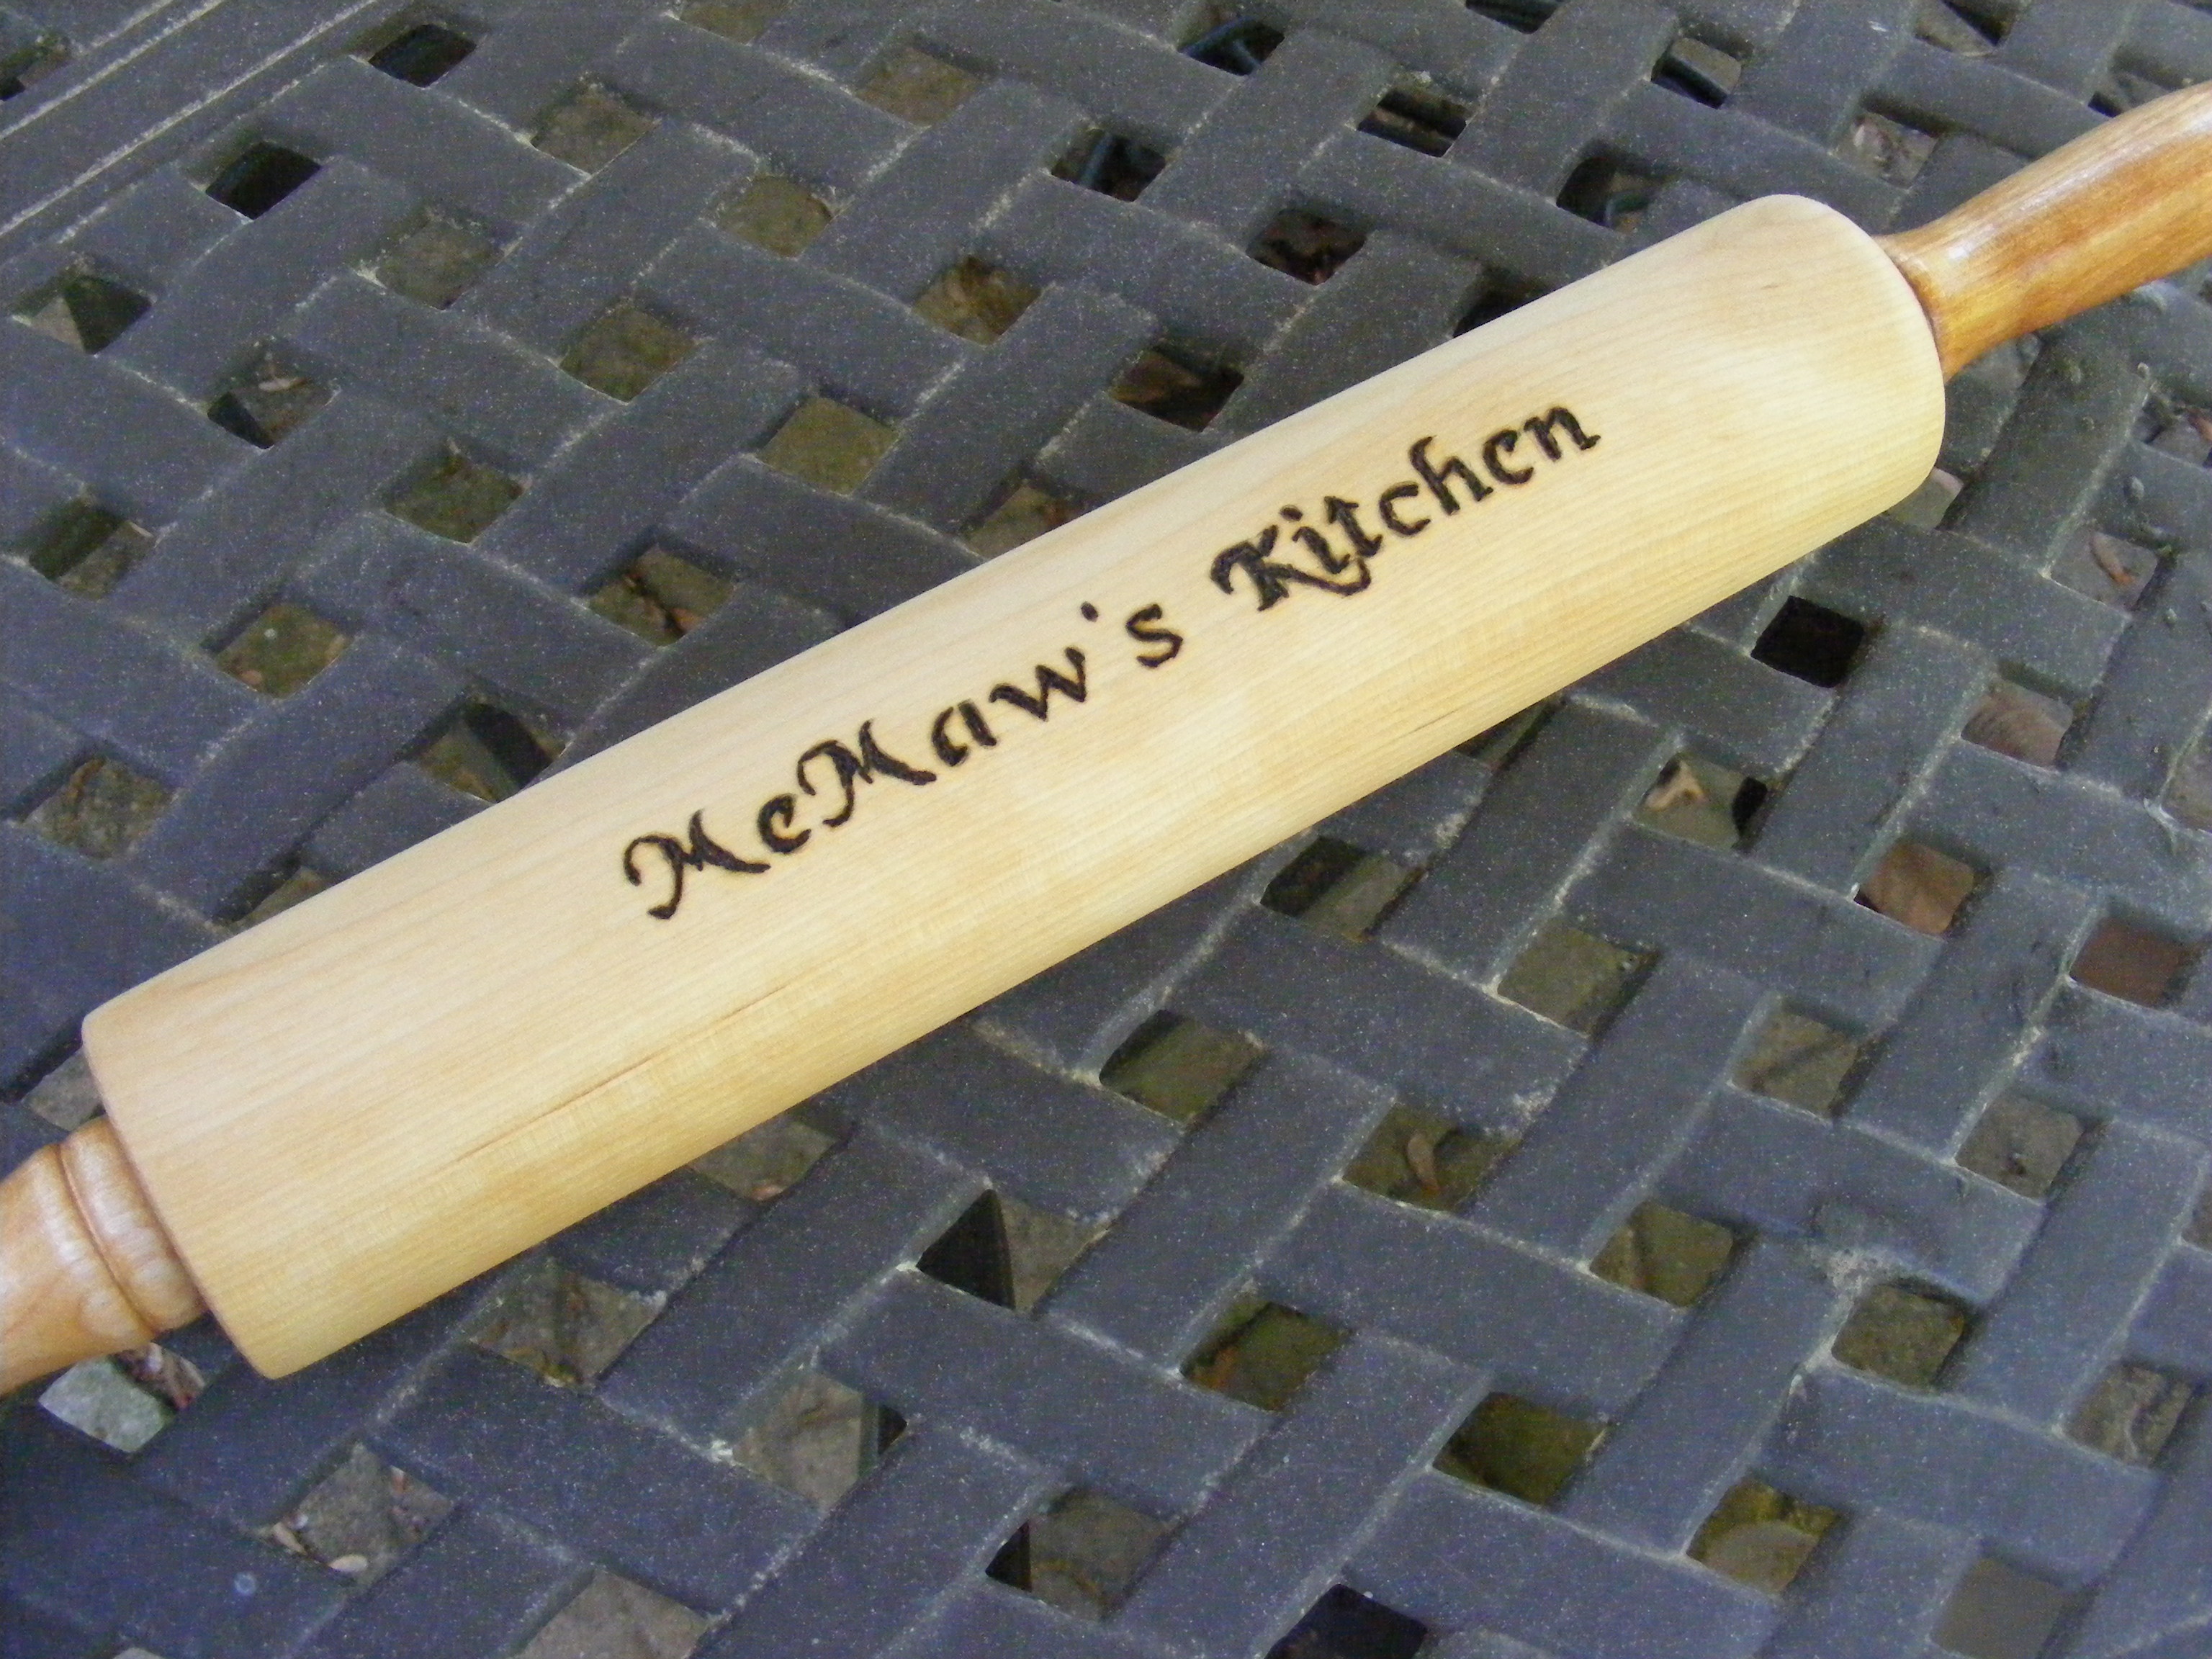
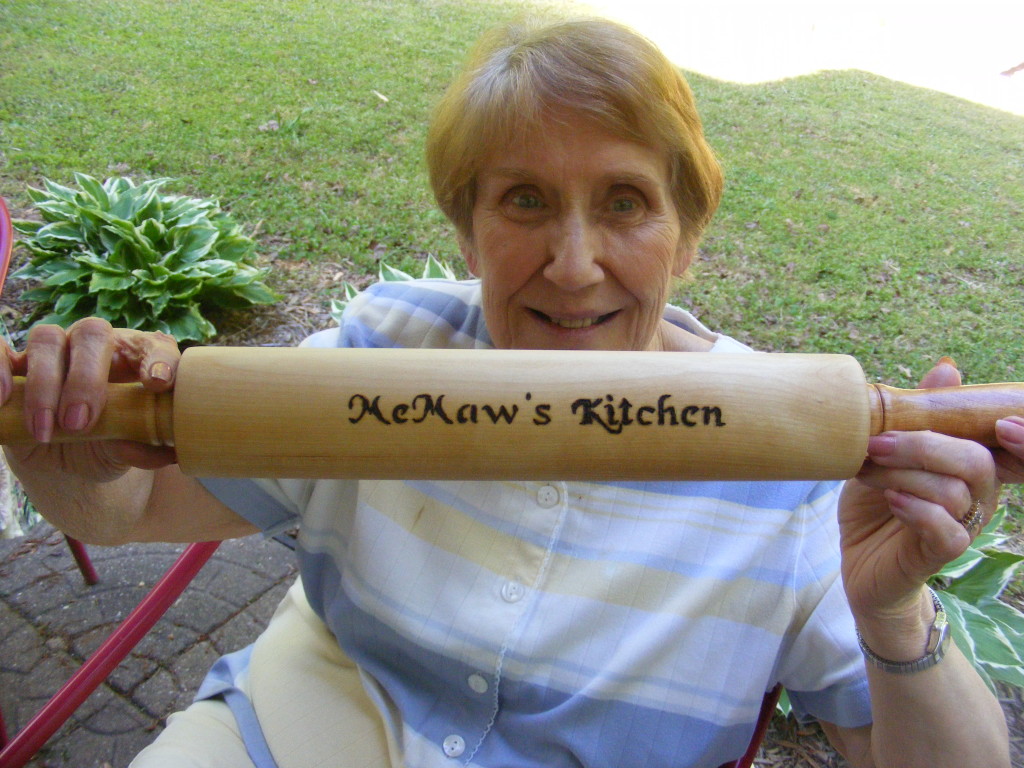
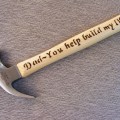
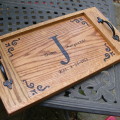
Mother’s Day is right around the corner, and I want to show you a short tutorial on a DIY gift for mom. I recently made this gift for my mom. Moms are special, so why not make her a special and unique gift. I love woodburning because you can take ordinary wooden items and personalize them with your own messages. I’ve done this with hiking sticks, tool handles, cutting boards,and this time I selected a wooden rolling pin for my mom. And last year, I did something very similar for my dad on Father’s Day. Check out my DIY Gift for my dad.
What you will need (affiliate links included for your convenience):
- Wooden rolling pin
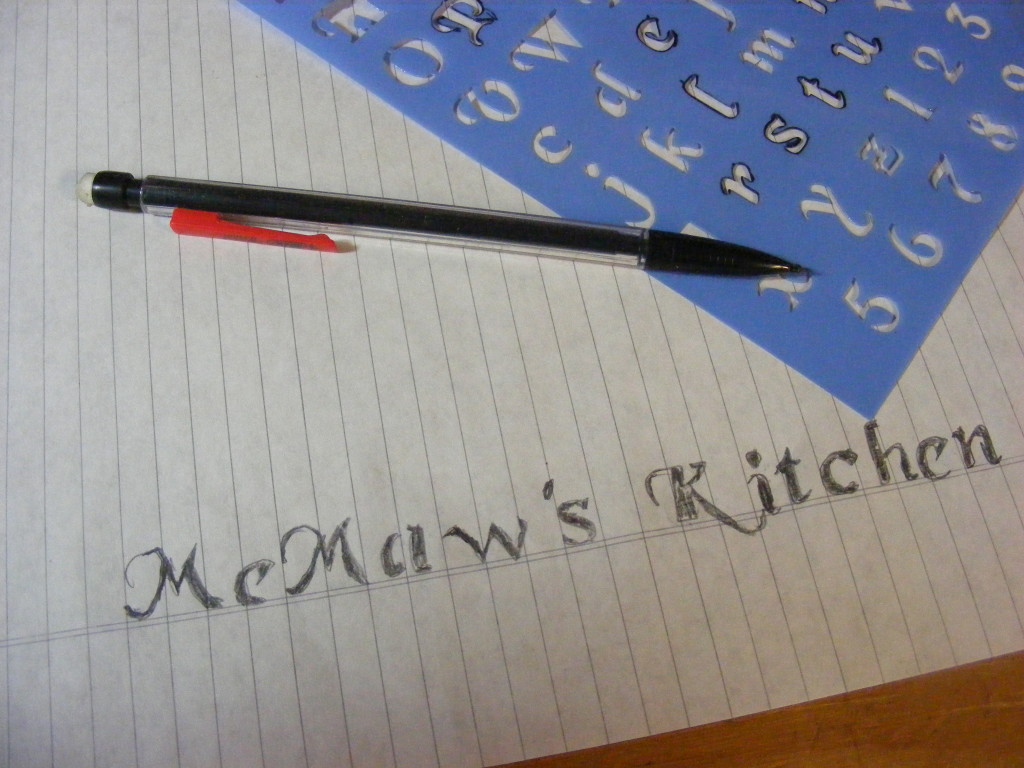
- Stencil for lettering (Hobby Lobby or Michaels)
- Wood Burner
- Mineral Oil
- Pencil
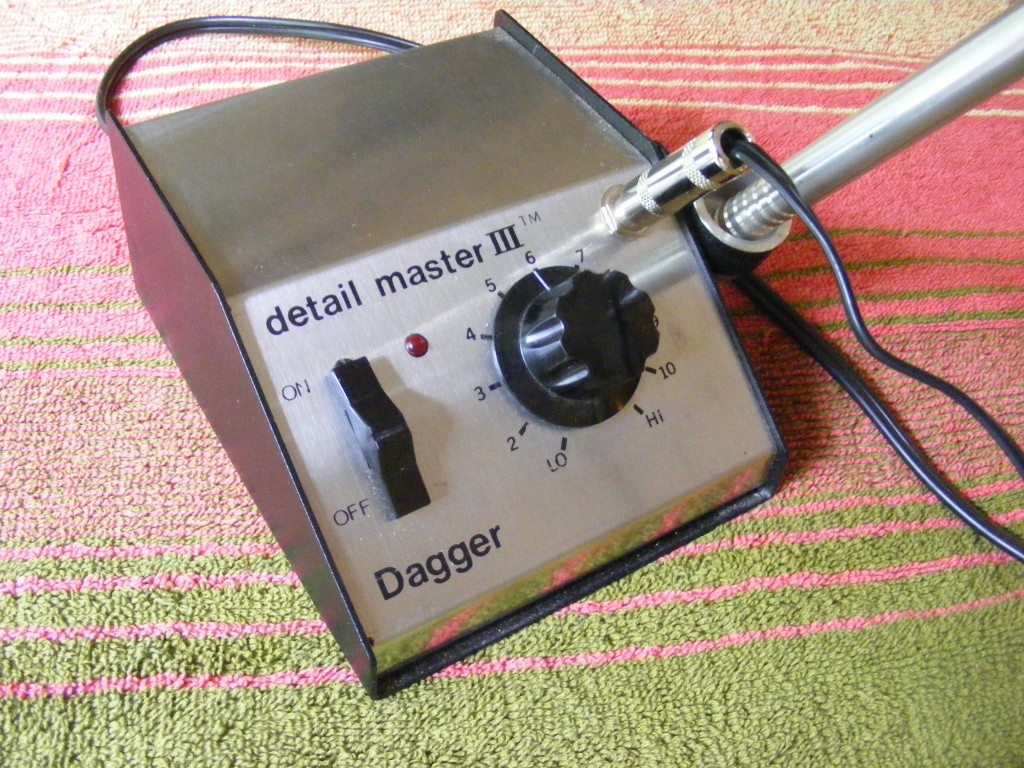
The main tool you’ll need?
Of course — a woodburner. I like to use my Detail Master III which I bought at Woodcraft. It’s a little pricey at around $140 and that DOES NOT include the tips. However, for about $20 you can get the Versa Tool Woodburner from Amazon. The Versa Tool also comes with variable temperature control and a few different tips.
And now on to the tutorial:
Step 1 – Decide on a personalized message. Take a few minutes to do some searching on Pinterest or Google to get some ideas. Feel free to steal my idea if you like. Keep it short but meaningful. I highly recommend you take your stencil and trace out your message on a piece of paper first. This way you can make sure the message will fit on the rolling pin. And you can get it centered on the workpiece.
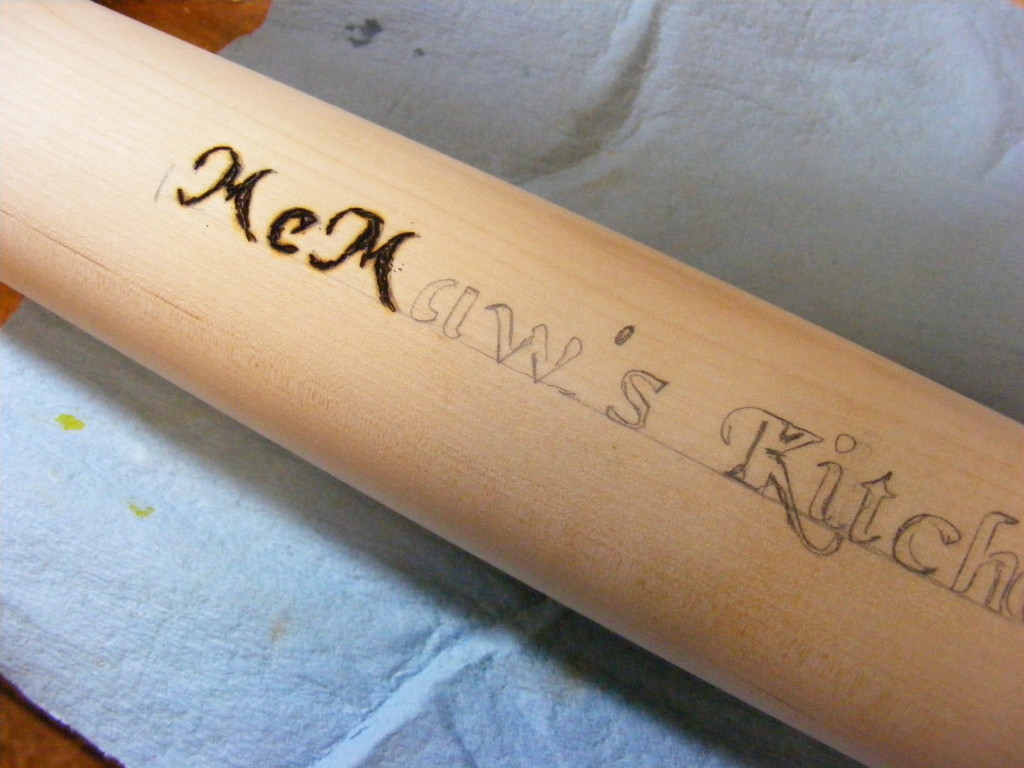
Step 2 – Transfer your message to the wood and start burning the letters. Use a pencil since it’s easy to erase if you make a mistake. Don’t forget to do a quick spellcheck. Draw a straight line along the wood so you have a reference point for the letters.
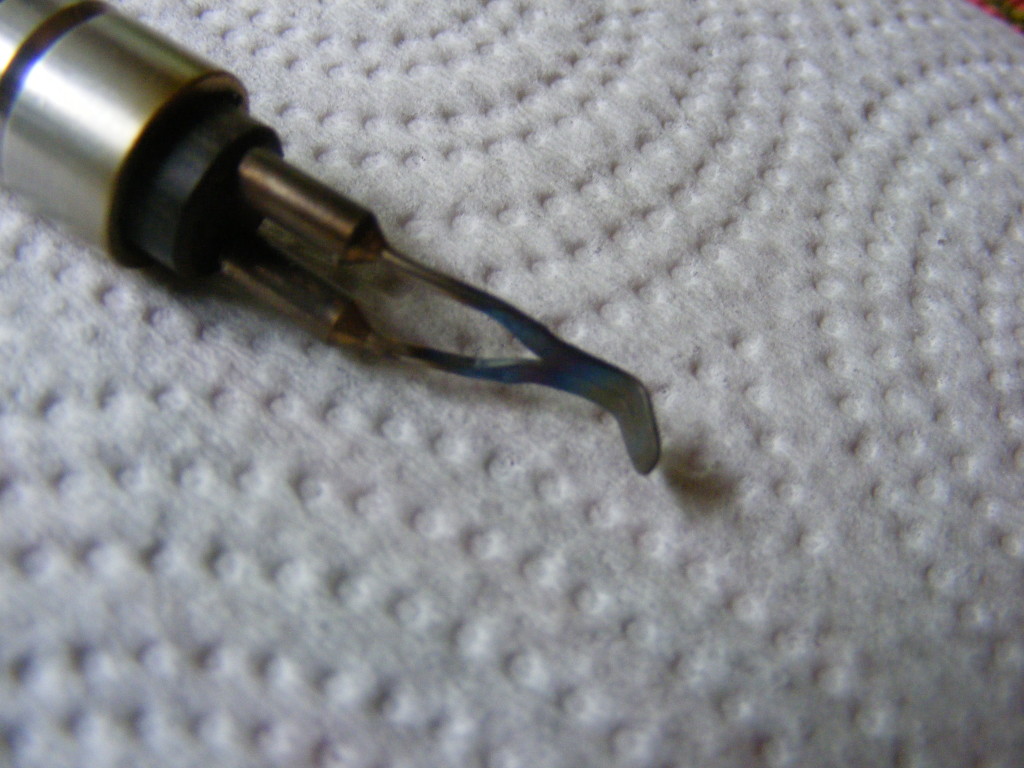
Use your wood burner and begin burning your letters. I love my wood burner because I can control the temperature, and it comes with several style tips. My goto tip is the one shown in the photo. It works especially well for burning letters. If you’re not experienced with a wood burner, it’s a good idea to practice on some scrap wood first. I’ve found it works best for me if I do this outside and use a fan to draw away the smoke. Believe me, it’s not good for your sinuses.
Read the safety instructions that come with your woodburner and never leave it unattended or next to flammable material. Be safe!
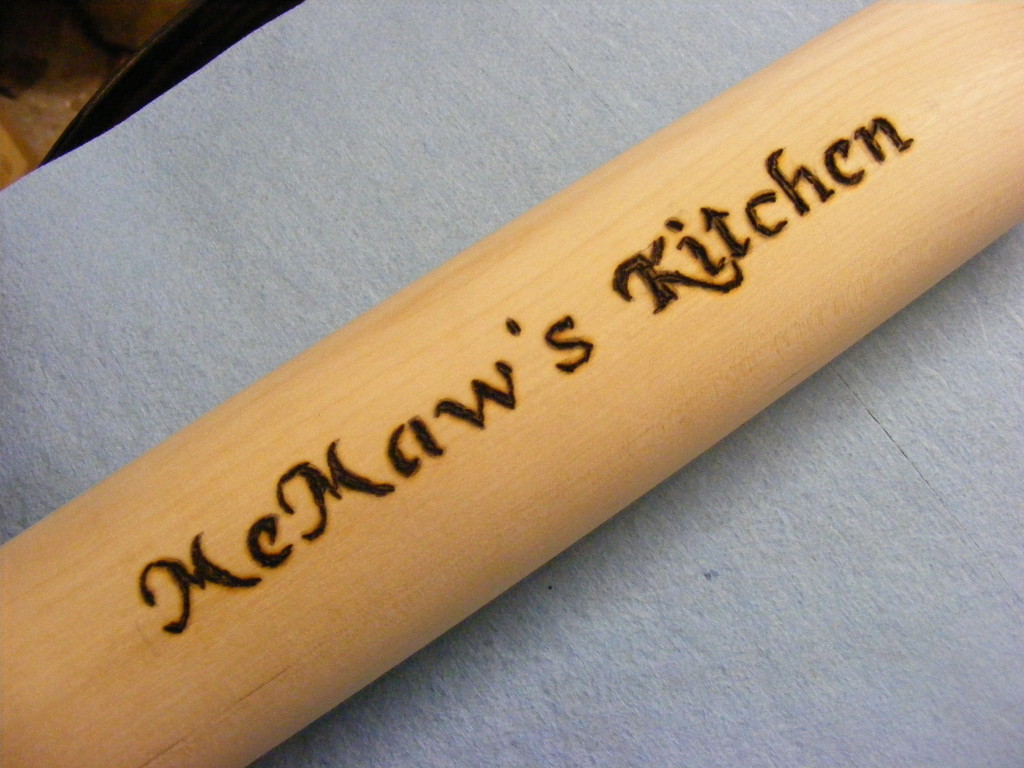
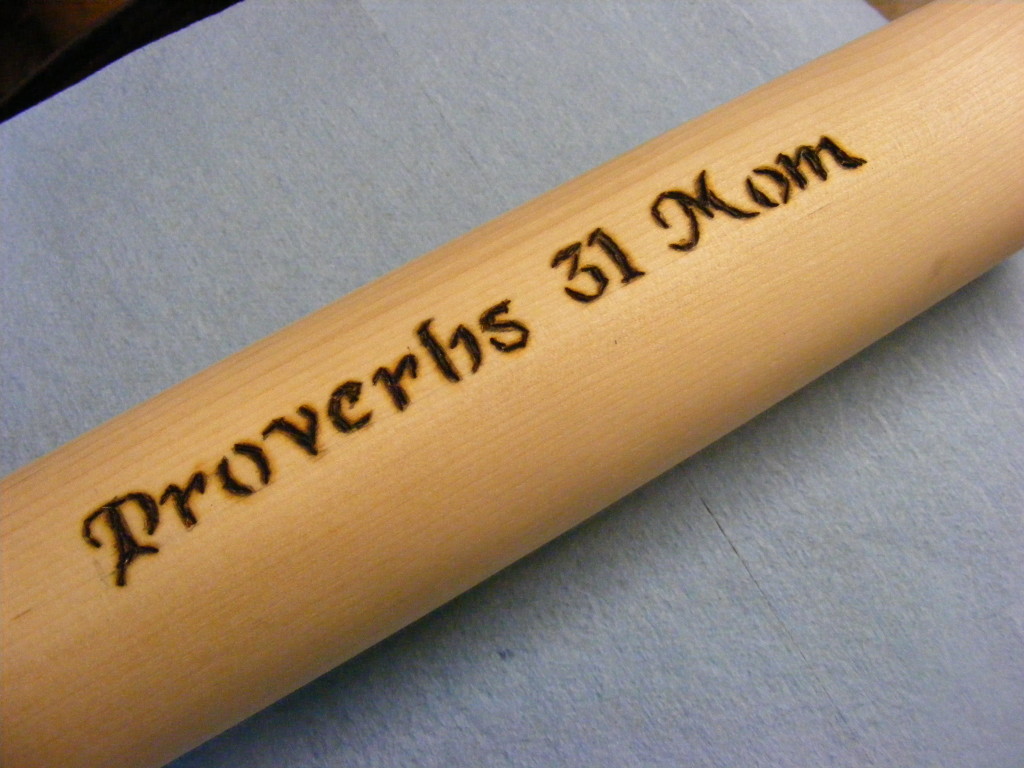
Step 3 – Finish burning your message to the wood and go back and erase any stray pencil marks. I decided to apply 2 simple messages on opposite sides of the rolling pin.
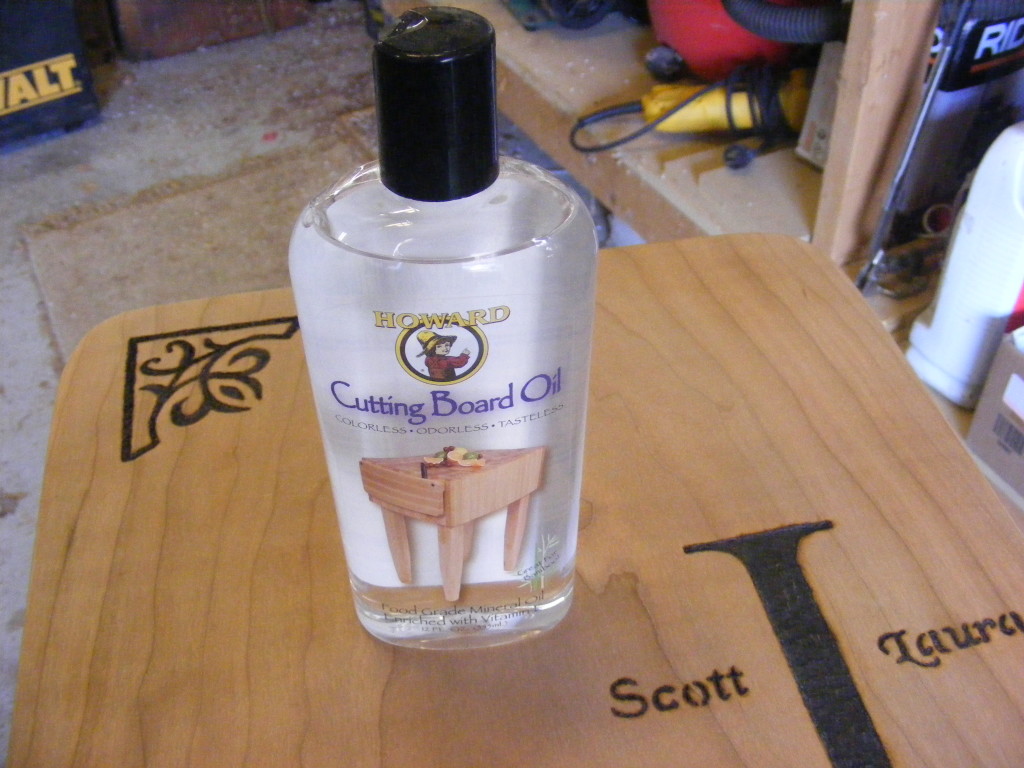
Step 4 – Apply some food-safe mineral oil. This will help preserve the rolling pin and bring out the color of the wood grain.
Step 5 – Give it to your mom for Mother’s Day. No, I did not time travel. We celebrated my mom and dad’s 50th anniversary this weekend, and I decided to give her the rolling pin as an early Mother’s Day gift. She cried a little, and I did too, but she loved it.
Thank you Mom for all you’ve done for me!
I hope you enjoyed this short DIY gift for mom tutorial. You might decide to use some other wooden item like a cutting board, serving tray, or wooden spoon. There are so many possibilities.
I hope you celebrate a wonderful Mother’s Day with your mom. Now go ahead and share this tutorial with your friends and family.
