Working with pallet boards or reclaimed lumber can be a love / hate relationship at times. But you can often create some pretty unique looking projects with these materials. In this dog feeder station DIY tutorial, I will show you how pallet boards can be recycled and put back to good use. And it’s always a major win if we can recycle rather than cutting down another tree. Your pets will love it! Hope you enjoy the tutorial!
“Heaven goes by favor; If it went by merit you would stay out and your dog would go in.” Mark Twain
You’ll need to have some pallets on hand that are in decent condition. I’m working on a pallet disassembly video which I’ll post here eventually. For now, do an online search and you’ll find several good videos on this. Basically, you’ll need a hammer and pry bar. A sawzall reciprocating saw comes in handy also.
I recommend using pallets that have an HT stamped on them which indicates they were heat treated. Based on my research the heat treated ones are probably the safest to use from a health standpoint. However, you are taking some slight risks with any pallets because you don’t know for sure what’s been stored on them or what environment they’ve been sitting in. So, be cautious!
Safety Precautions
Know your skill level and how to safely use your tools. Identify the hazards in your shop environment and wear your personal protective equipment. For this project, I used safety glasses and a respirator. For pallet disassembly, I highly recommend wearing gloves to protect your hands.
Tools & Materials I used (Some Affiliate Links added for your convenience):
Jig Saw
Sliding Compound Miter Saw
Random Orbit Sander
Electric Nail Gun
Handheld Metal Detector
Bar Clamps
Pencil and Sharpie Marker
Wood Glue
Pallet Boards (Free from used pallets)
“Run with the big dogs or stay on the porch.” A Southern Expression
Dog Feeder Station Tutorial
Below are the 8 major steps I followed to make the dog feeder station. Feel free to ask questions in the comment field below the tutorial. Enjoy!
Step 1 – Select pallet boards
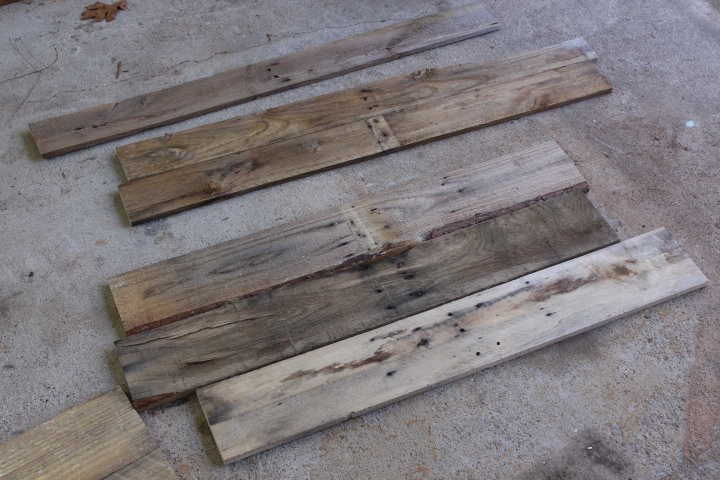
I had recently taken apart a couple pallets, and I kept the boards for each pallet together. That way, the boards have a better chance of matching for future projects I attempt. I went through all the boards and culled out ones that were badly warped or cracked. From the good pile, I selected some that happened to be 5.25 in. wide and some 3.75 in. wide and 1/2 in. thick. I used two boards for the top that would accommodate our two dog bowls.
I also chose boards that were very straight on the edges. The only cuts I will be making are crosscuts with the miter saw — no rip cuts on the table saw. I will also use the jigsaw for a few curved cuts.
If you’re not familiar with using pallet boards or don’t know how to disassemble pallets, I’ve made a video just for that. Check it out below:
Step 2 – Decide on the design and dimensions.
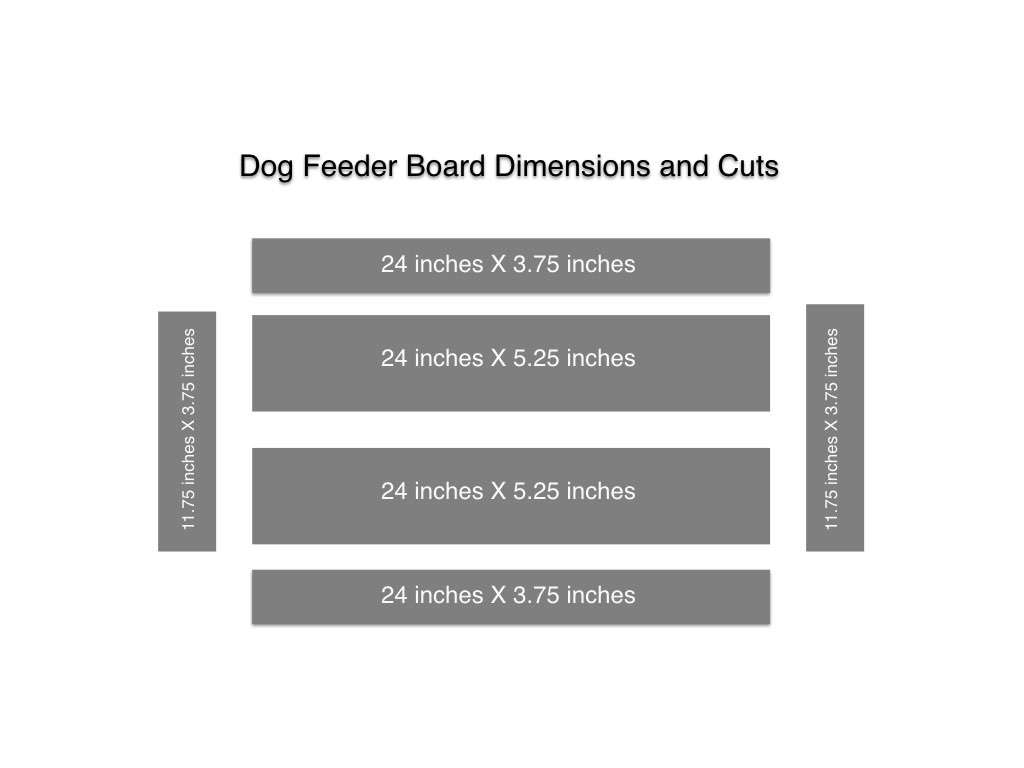
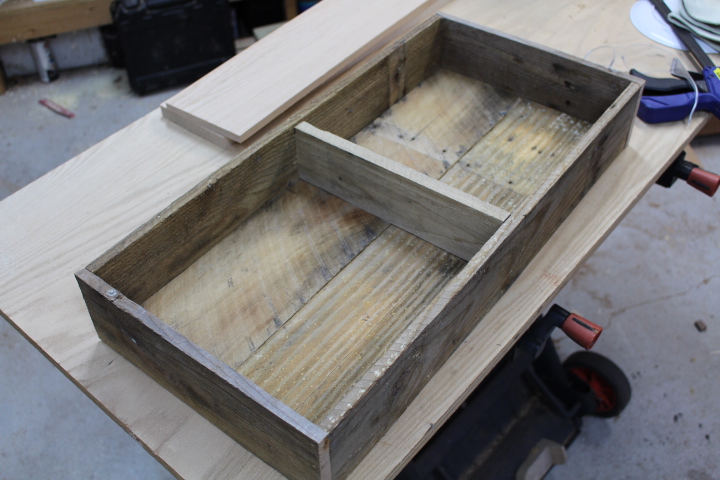
The design will be a simple box, with an open bottom. See my dimensions in the photo. Note — you may need to adjust your dimensions depending on your situation.
I have 2 small dogs, so I wanted the feeder station to be very shallow so they can reach the bowls comfortably. So adjust your feeder station to your dog’s size. Also, take measurements of your dog bowls to make sure they will fit correctly. If you have bigger dog bowls, you may need to increase your feeder’s dimensions beyond mine. Or maybe you can make your feeder station smaller than mine.
Chances are, your pallet boards will be different dimensions than mine. So do don’t stress over making one exactly like mine. Think of my plans as a guide. Just make sure you accommodate your dogs and the size of your bowls.
Step 3 – Cut out the boards
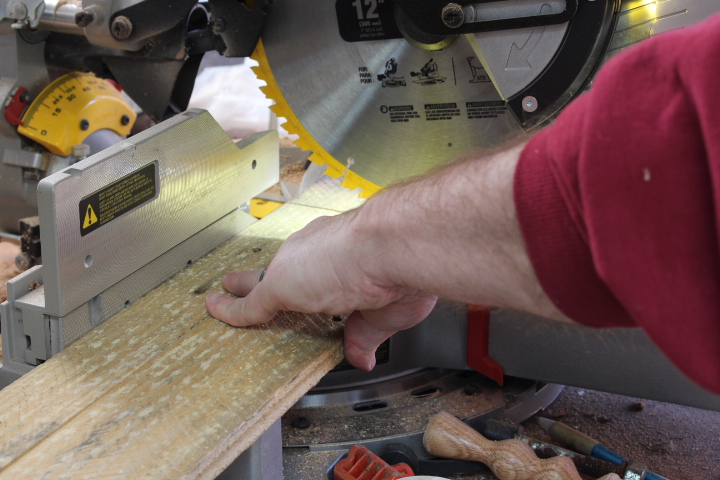
I used a miter saw to make all my cuts. Since the sides were already straight, I first cut a little off the ends so I could measure from an end that was already squared up. Then I cut all the boards to make sure their lengths matched perfectly.
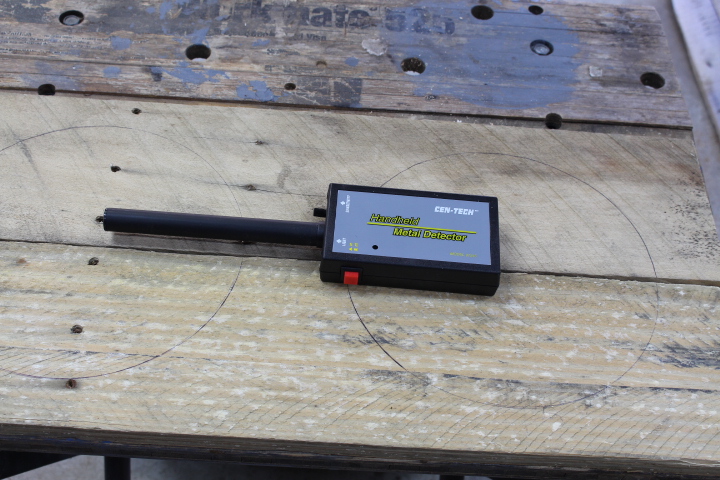
Before cutting, I would inspect the board for any leftover or embedded nails. Most of the time, I can eyeball this, but I also have a handheld metal detector that comes in handy for locating nails in the wood. You don’t want your blade hitting any metal, so do be careful. This is one of the downsides of using pallet wood or reclaimed wood.
In my opinion, it’s okay to keep some leftover nails (or nail holes) in place, as long as you’re not sawing into any nails. These just go with the rustic look of the pallet boards.
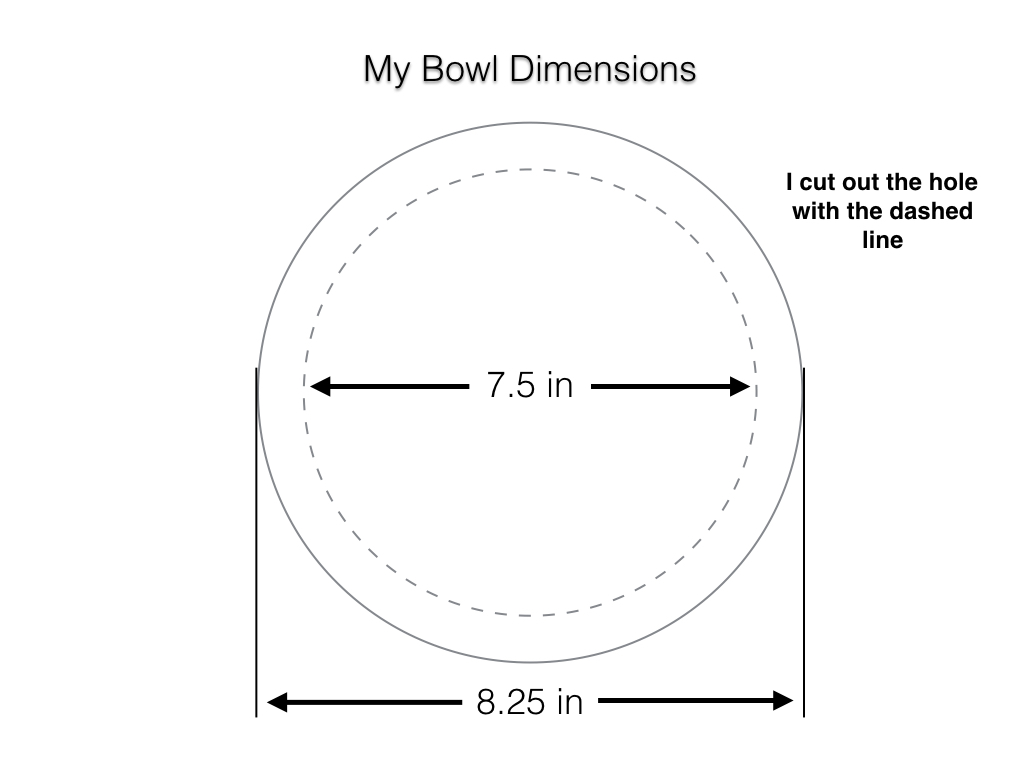
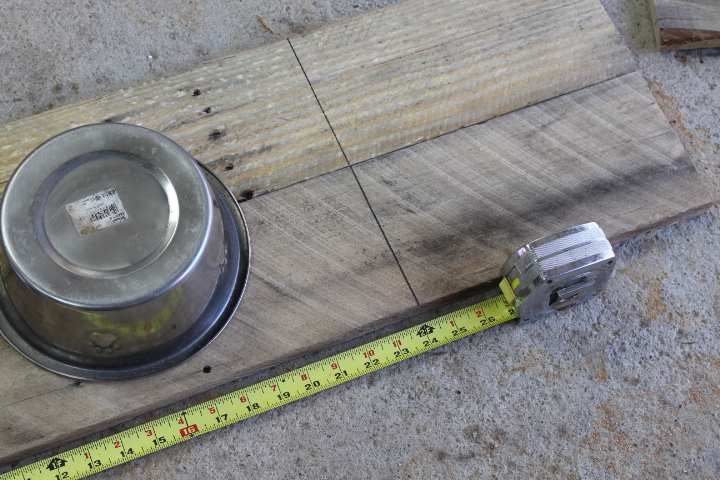
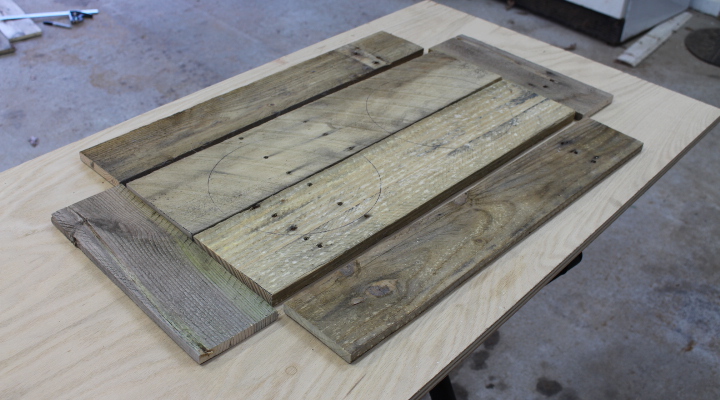
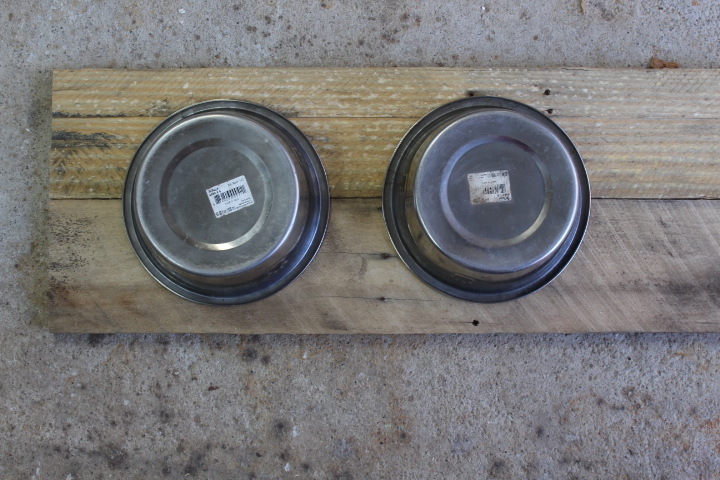
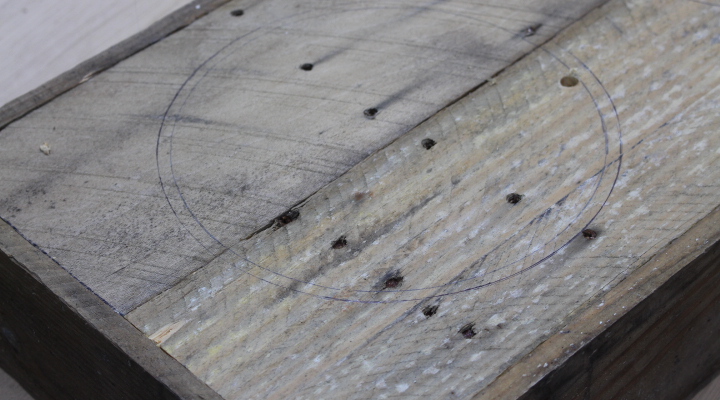
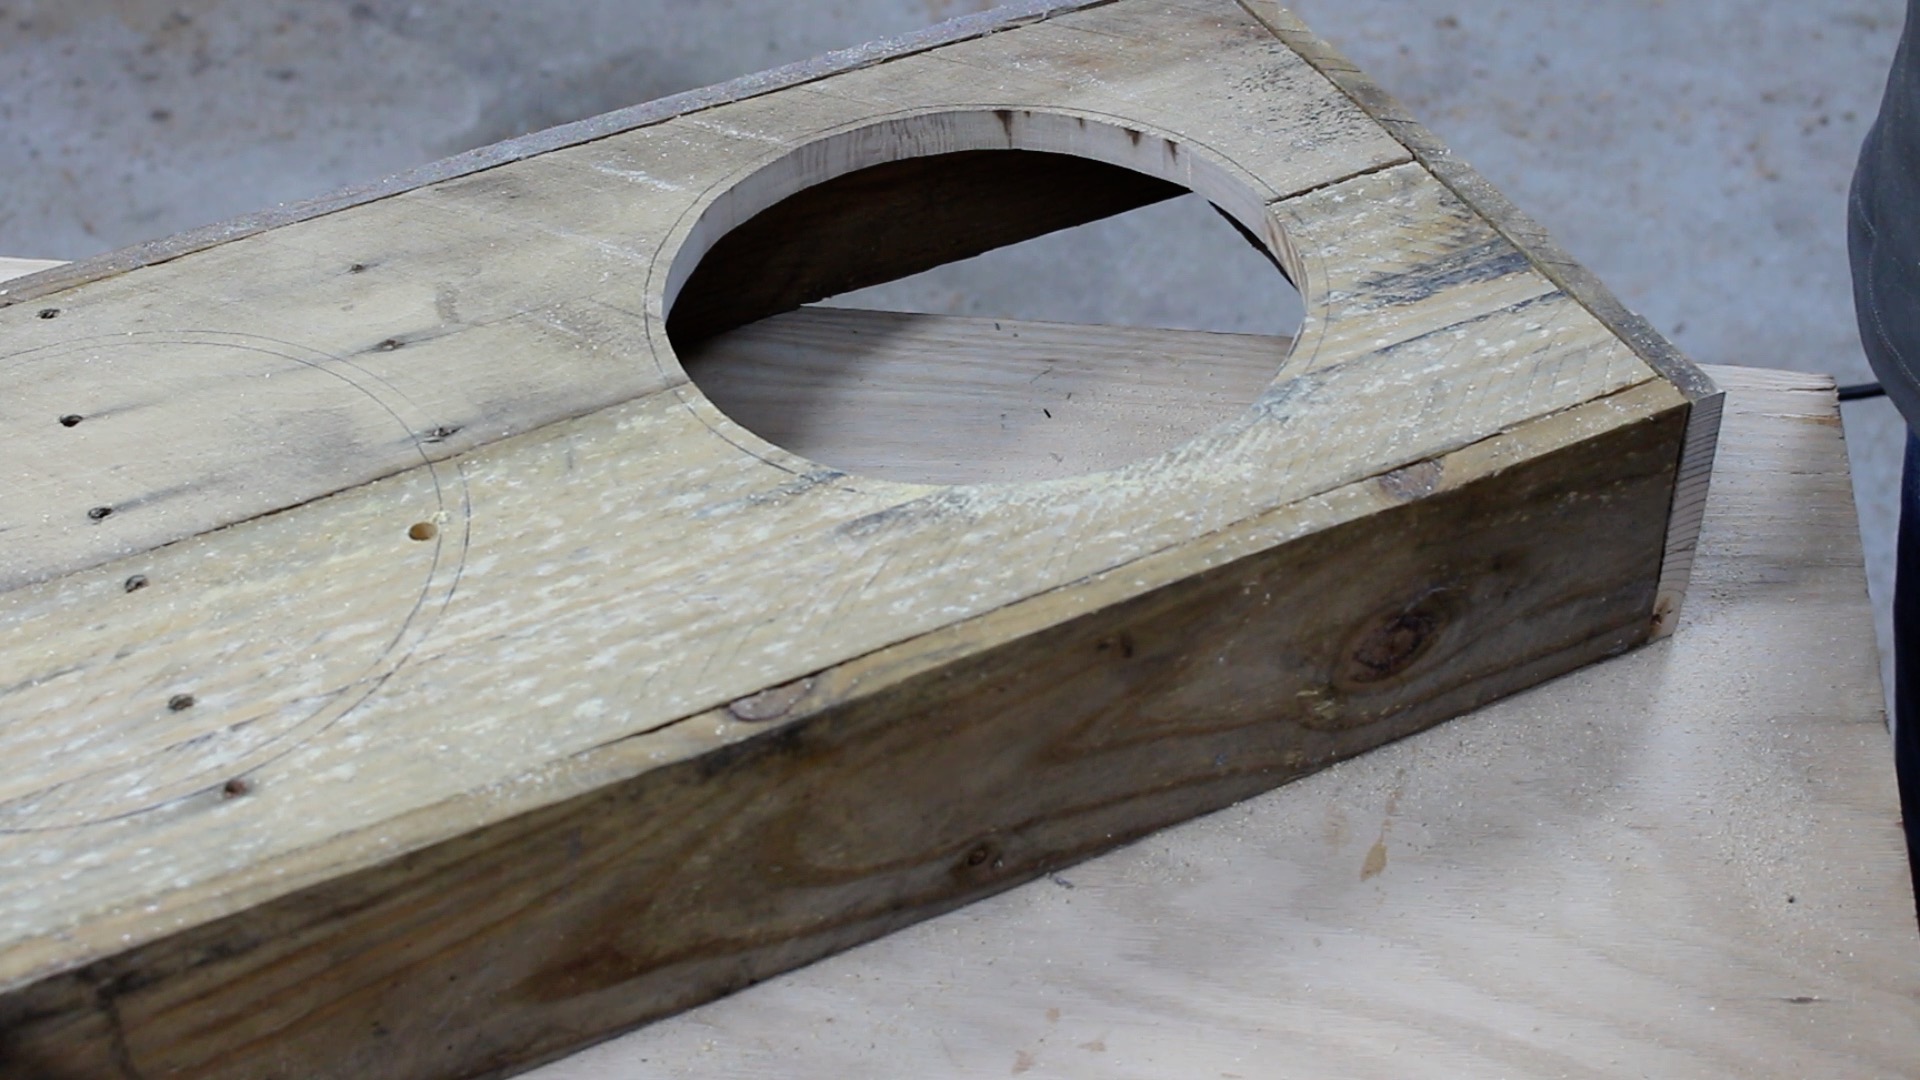
I also went ahead and traced out the bowl dimensions. Note that I will only cut that inside hole. See last two photos above.
Step 4 – Assemble the dog feeder box.
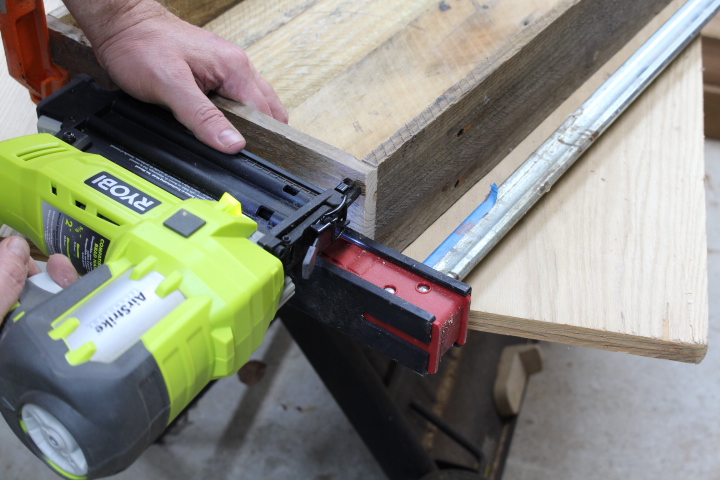
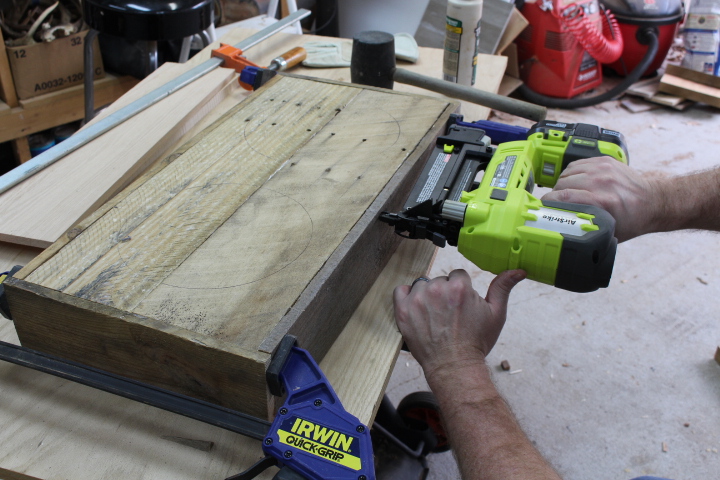
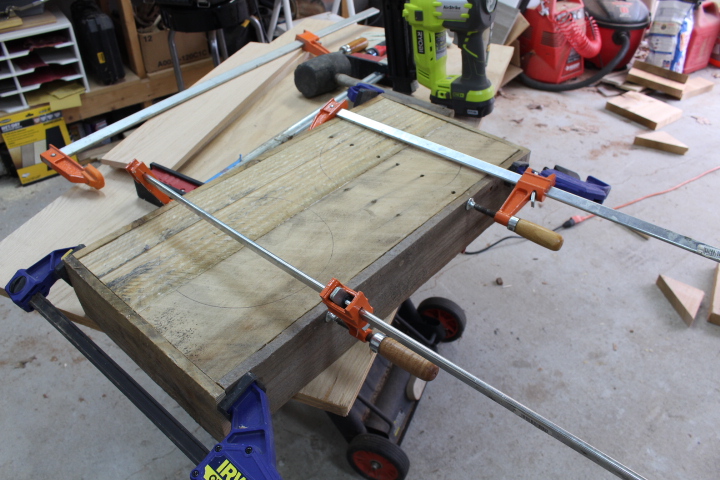
Now, I simply glued and nailed the boards together. I used clamps to hold and position the boards before nailing. I also placed a cross member in the center and two small cleats to give the station added support. Nobody will no they are there.
Step 5 – Cut out holes for the bowls.
First, I took both dog dish bowls, turned them over and traced pencil marks around the outside edges onto the dog feeder top. (It’s important that the dog bowls have a protruding lip around the rim.) I then traced another hole inside these holes (use a small plate or saucer). You don’t want to cut that outside ring because your bowl will just fall through the hole. The inside hole is what I cut, and it was about 3/4 inch smaller in diameter than the first holes I traced. This will all vary depending on the size bowls you have. So, you’re trying to get a hole size that will allow you to rest the bowl down into the feeder and not have the bowl fall through the hole. Kind of defeats the purpose of the feeding station … LOL.
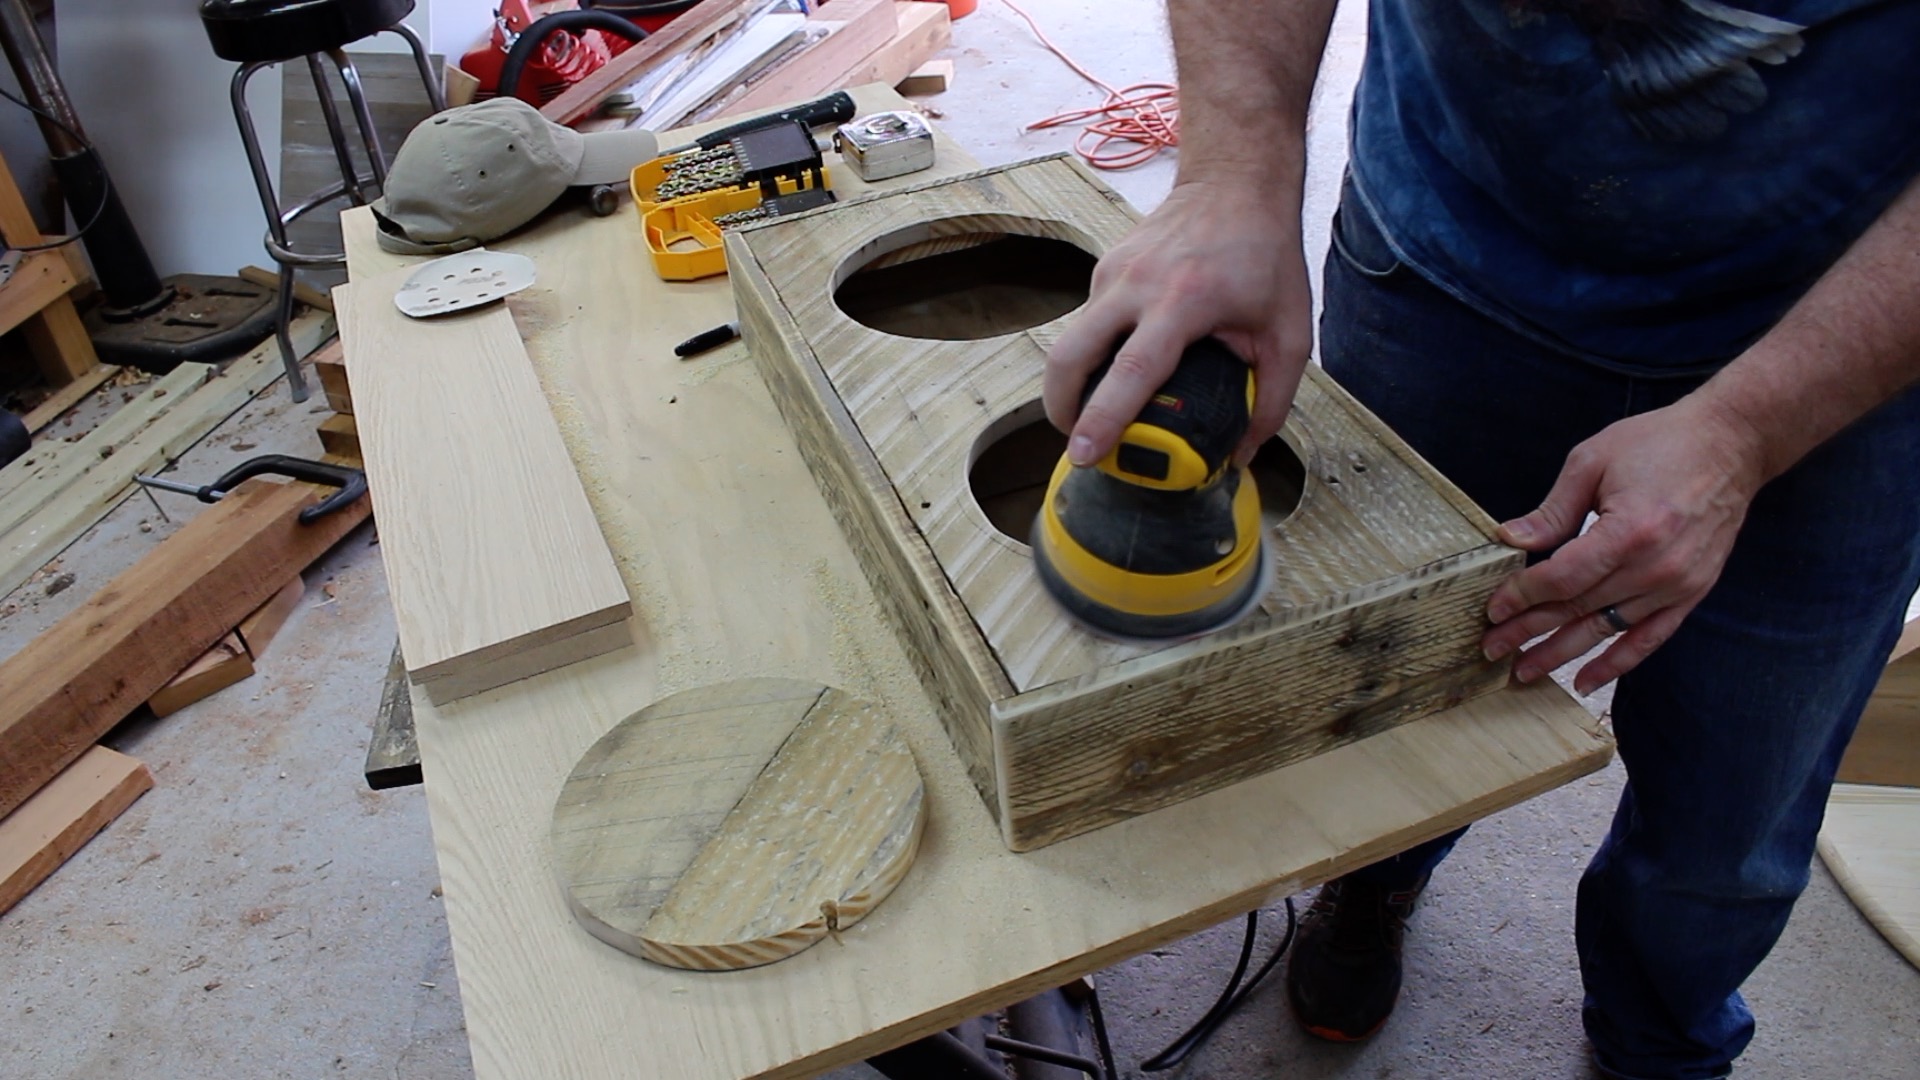
Step 6 – Sand the feeder station.
I used an orbital sander with 120 grit sandpaper, and I sanded all surfaces fairly lightly. The sanding will do two things. First, it helps clean up the surface, and it helps get ride of any sharp edges or catch points that might give dog or human a nasty splinter. Be careful not to sand too much or you might compromise that great weathered look of the pallet boards.
Step 7 – Add decoration (optional)
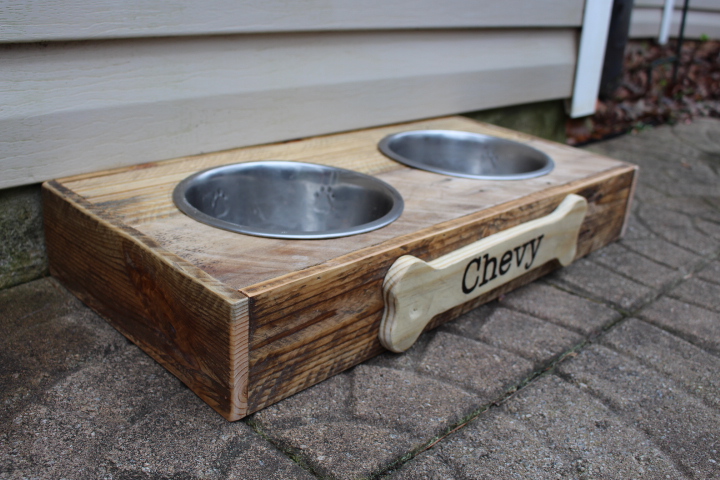
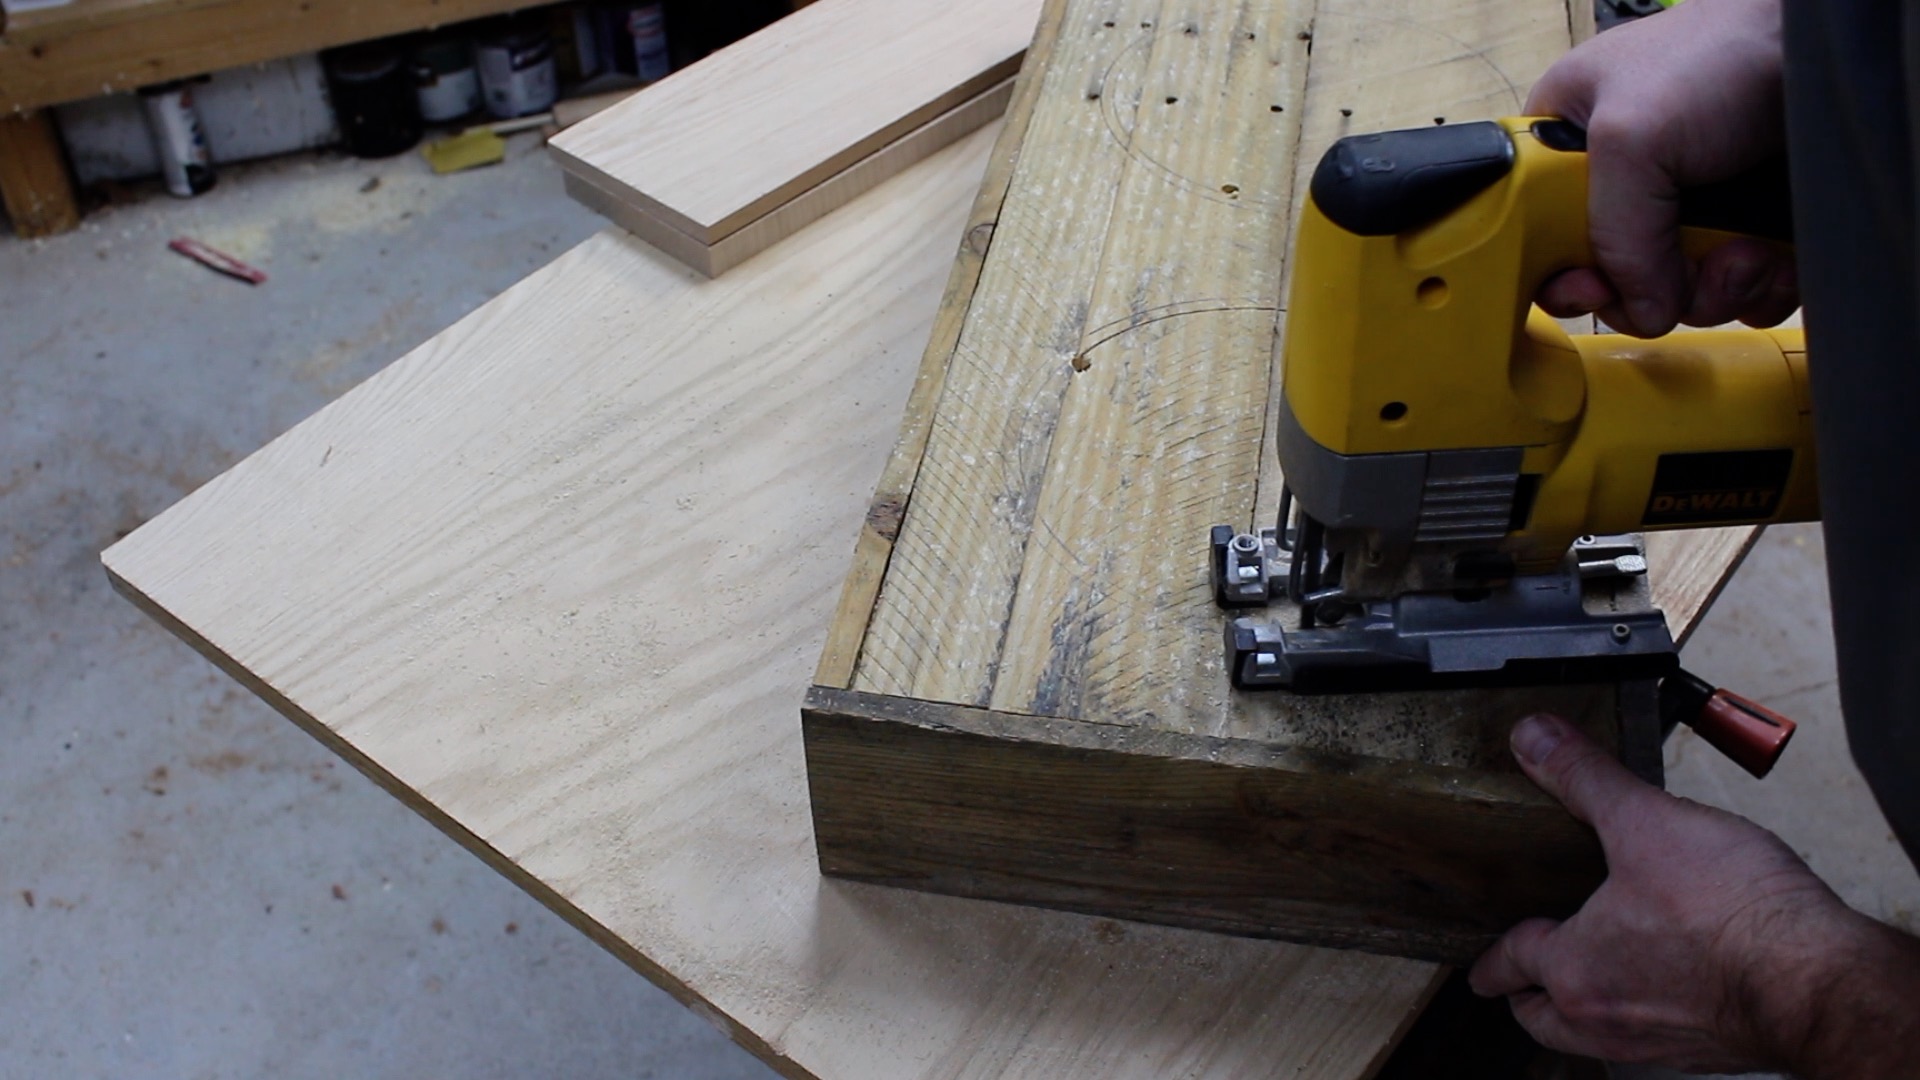
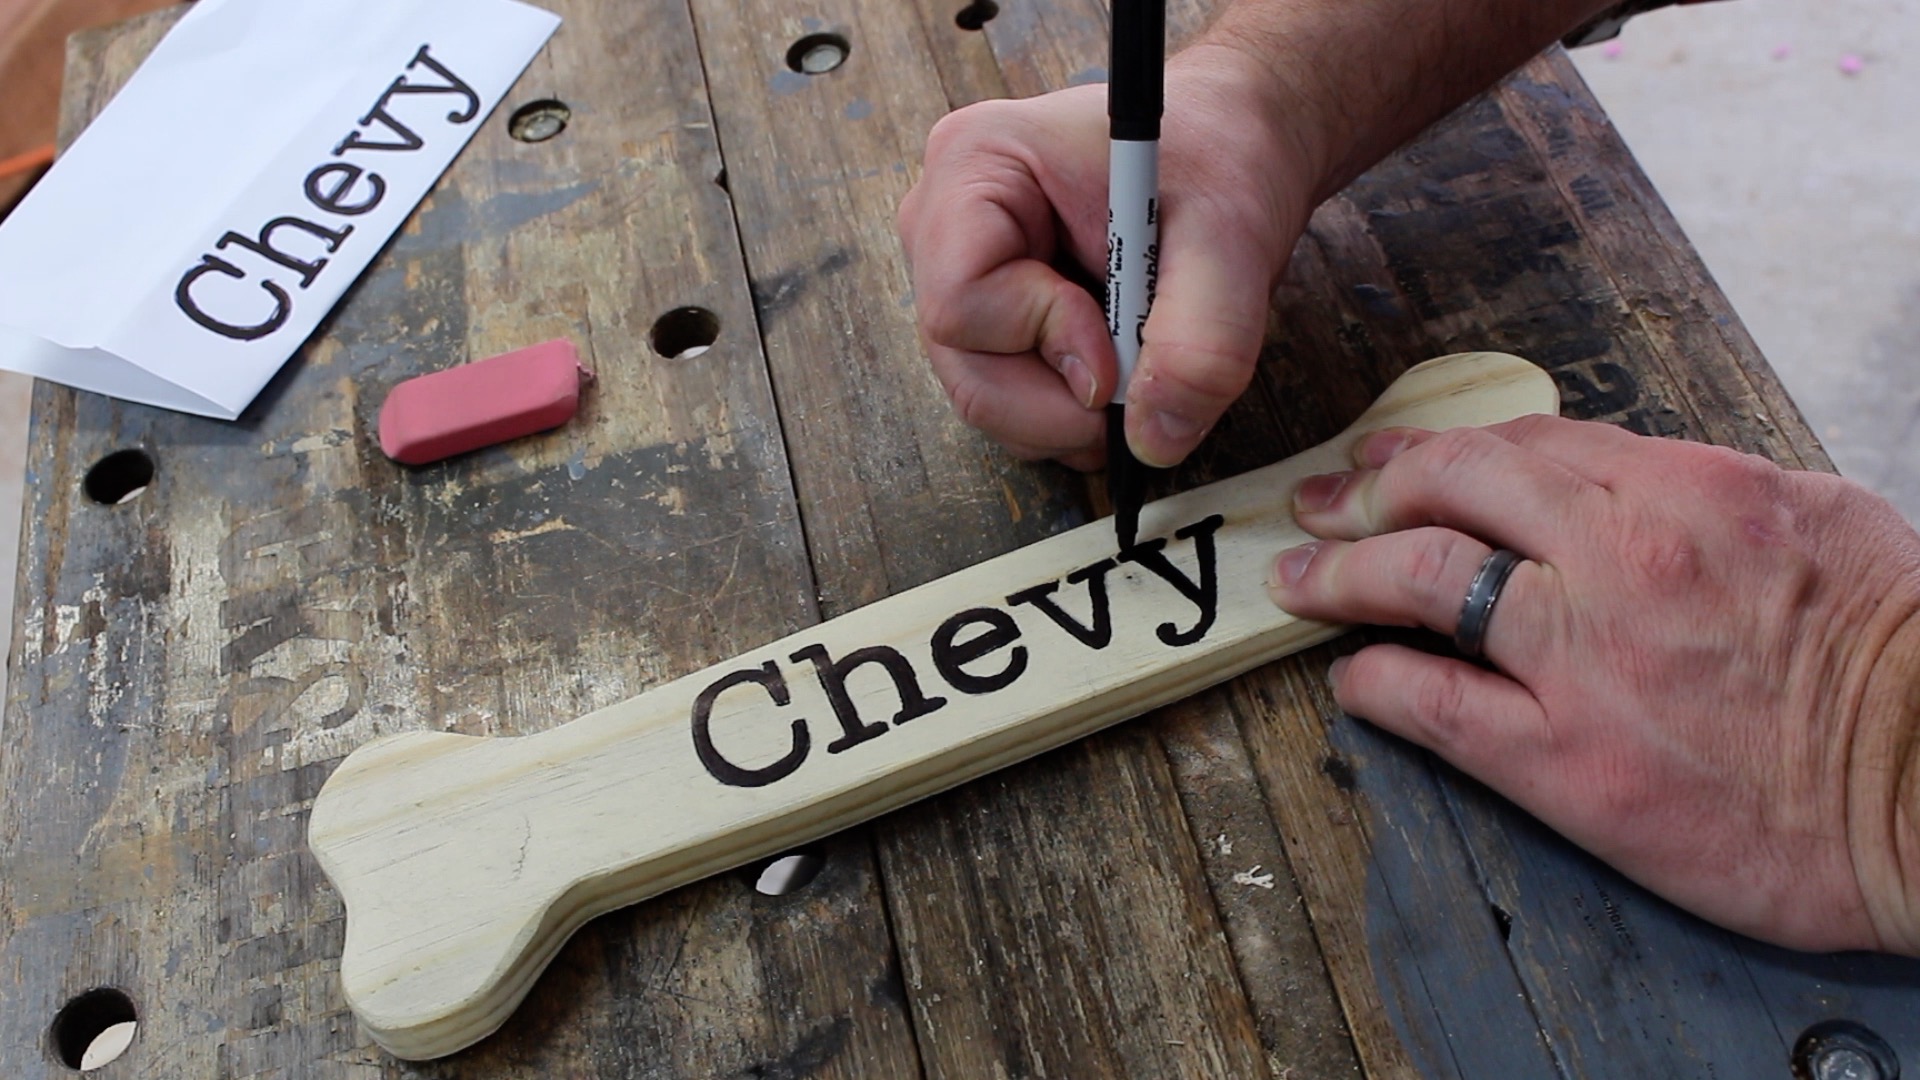
I found some inspiration on Pinterest and decided to make a bone-shaped sign for my dog feeder station. My DeWalt jigsaw came in handy for cutting out the curved sign. BTW, I just freehanded the bone outline onto another scrap piece of pallet board.
I used Pages on the Mac to print out my dog’s name — Chevy. Then I used tracing paper to trace the word onto the board. I used a Sharpie marker to fill in the letters. Give the Sharpie ink some time to dry before applying a finish.
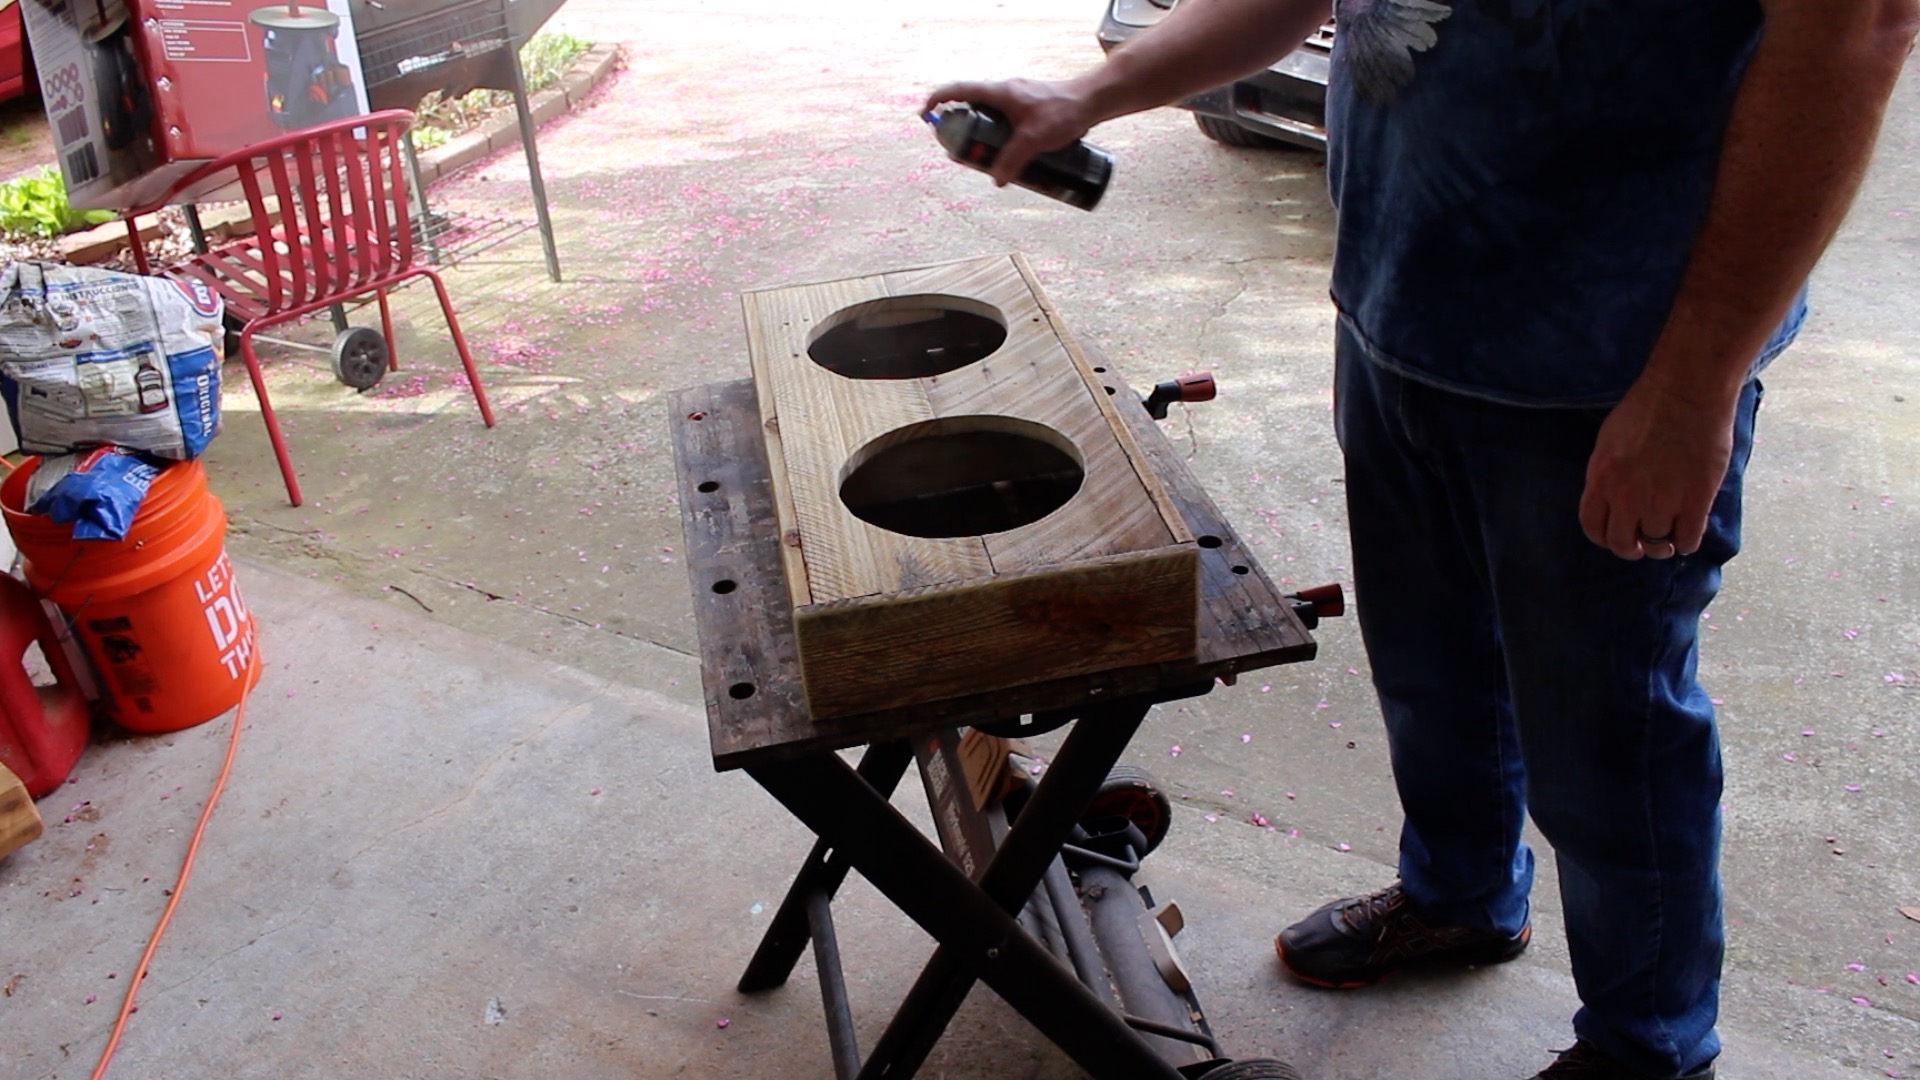
Step 8 – Apply a lacquer finish.
For the finish, I lightly sprayed on several layers of lacquer. I applied it especially light over the Sharpie ink, so the ink wouldn’t run. Follow the spray can’s instructions on dry time.
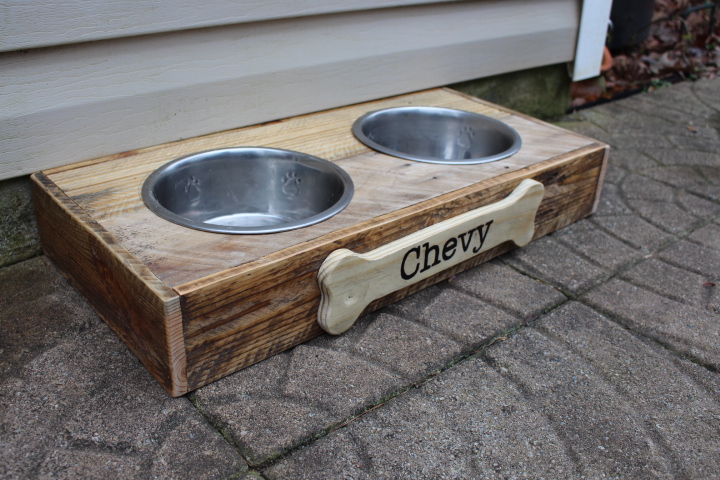
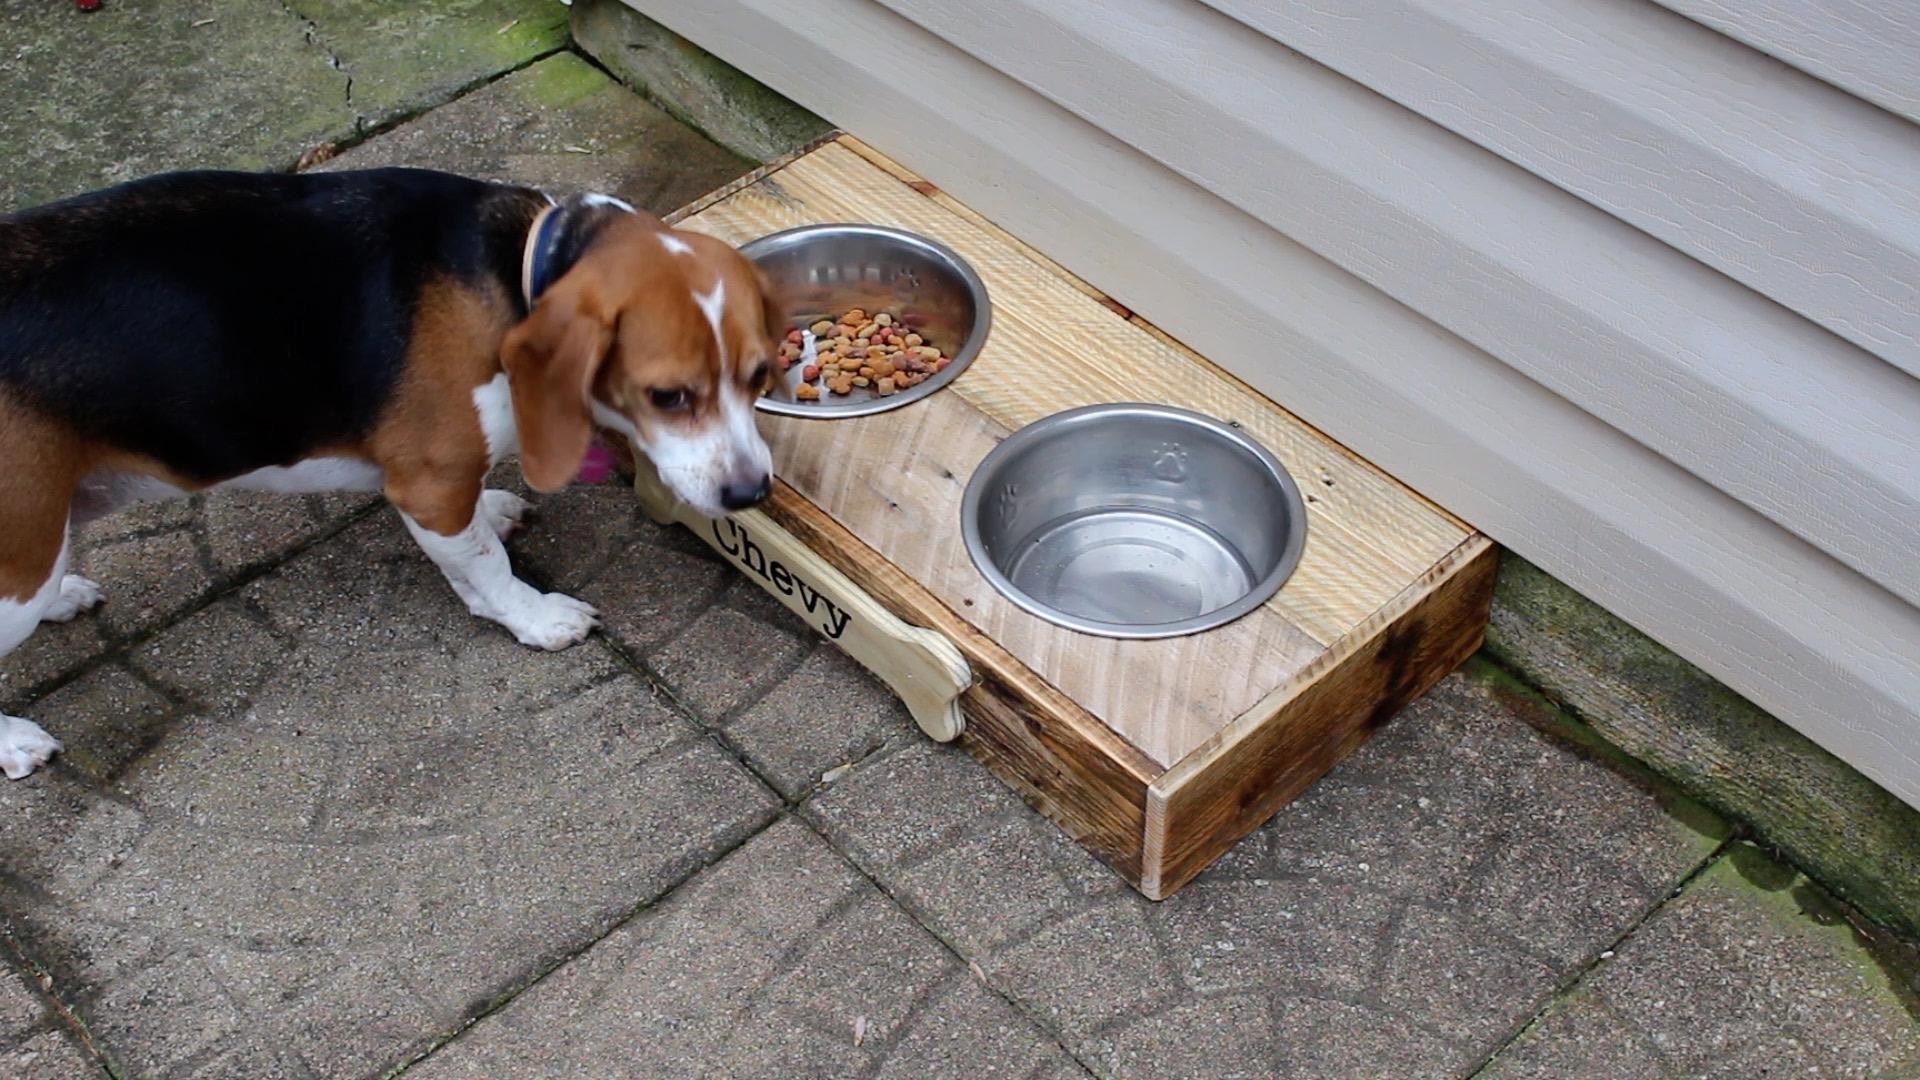
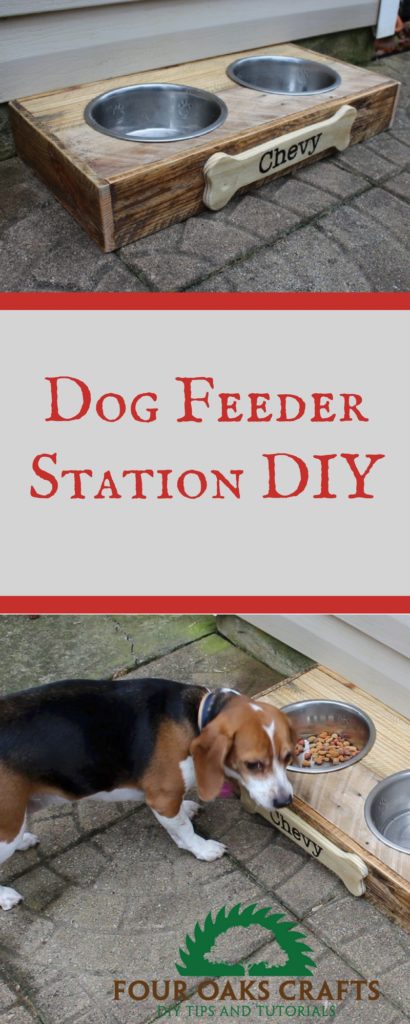
Pictured above is the finished dog feeder station and our lovely Beagle, Chevy.
I hope you enjoyed this tutorial and will share it with family and friends. Please leave a comment if you have any questions about the build. If you decide to build a dog feeder station, I would love to see it. Use the contact form and shoot me an email.
Thanks for reading this tutorial. Please consider subscribing so you won’t miss out on future tutorials and videos. See signup form below.

Are you starting up a new shop? Want to work safer in your shop? To help you answer these questions I've put together a 2-part checklist -- Home Shop Safety & Tool Checklist.
I will also send you updates of my latest woodworking and DIY projects. You can get all this by subscribing to my free email newsletter.




Thanks for this – gonna keep my eyes open for pallets now (“,)
Thanks for checking this out! Let us know if you try to make one.