You won’t believe how easy this project is going to be. In this easy peasy cutting board tutorial, I’m going to show you how I made a cutting board with only three simple tools. So, if you’re on a budget and don’t own or have space for many woodworking tools, you’ll love this project.
Wooden cutting boards are a favorite craft I love to make as gifts for friends and family. Various woods can be used and laid out in different color combinations, resulting in amazing looking cutting boards for your kitchen. Also, I like the fact that they come from a renewable source. Don’t we have enough plastic and synthetic materials in our kitchens already?
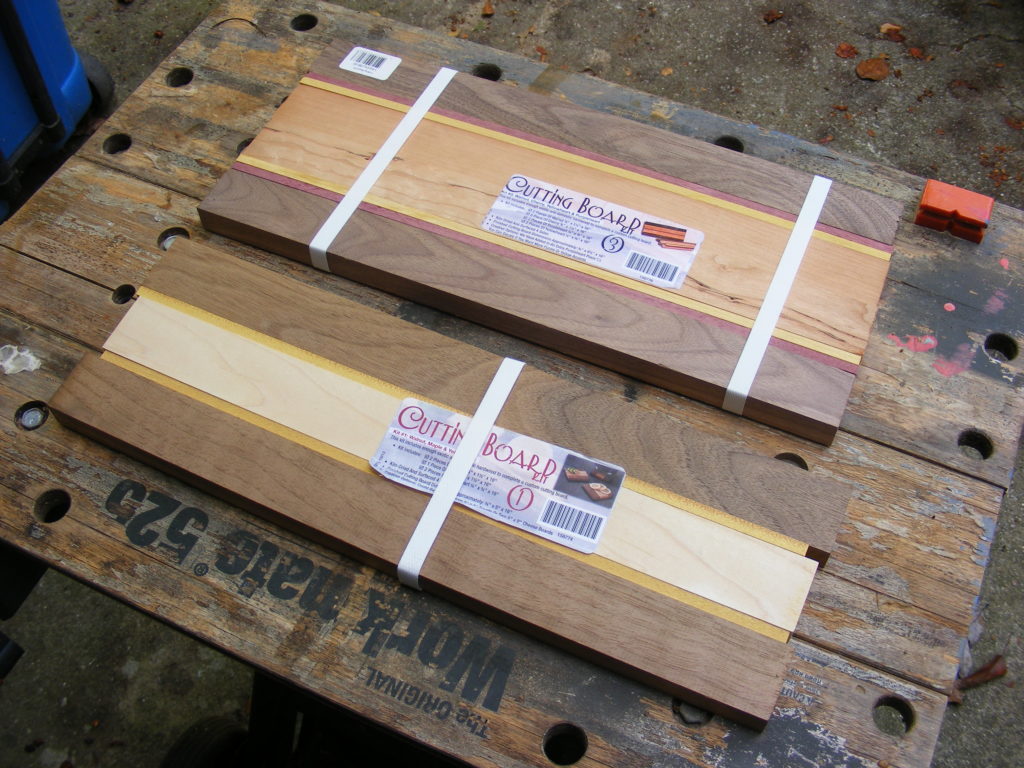
How did I get away with only three tools? The secret here is I bought the cutting boards as a Cutting Board Kit (Amazon link). The woods are all hardwoods, with different color variations. They were already planed and cut to almost the same dimensions. The kit I’ll be showing in this tutorial was around $28. The second one I bought was around $20. So, you’re paying for convenience here. If you sell cutting boards and are looking for a higher profit margin, this may not be the way to go. But it’s certainly a good approach for making occasional gifts and if you don’t have extra tools to cut your own boards.
Tools and Materials Used (Amazon affiliate links included for your convenience):
Cutting Board Kit No 3 (review on Amazon)
Ryobi Disc/Belt Sander
DEWALT Random Orbit Sander
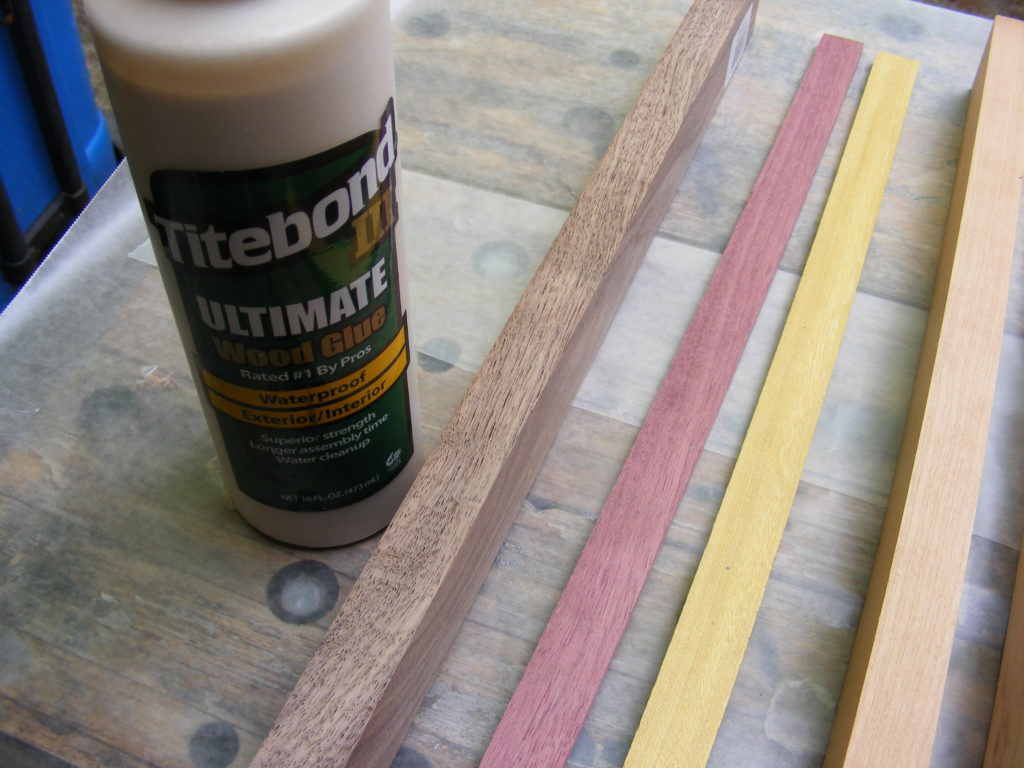
Titebond-3 Wood Glue, 16-Ounce
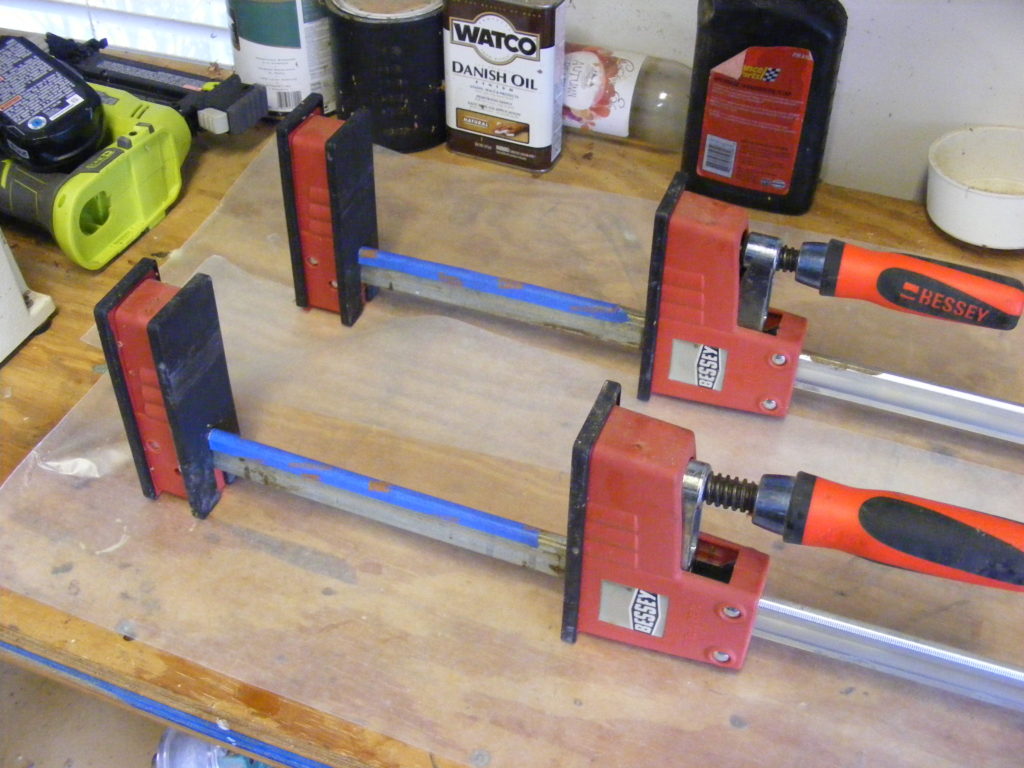
Bessey Parallel Clamp, 2-Pack
Cutting Board Oil, 12-Ounce
Safety Tips:
Read the safety instructions that come with your tools and follow those recommendations. Wear an approved dust mask or respirator. If you don’t have a dust collector, I’d recommend doing the sanding outside.
And, now on to the Easy Peasy Cutting Board Tutorial:
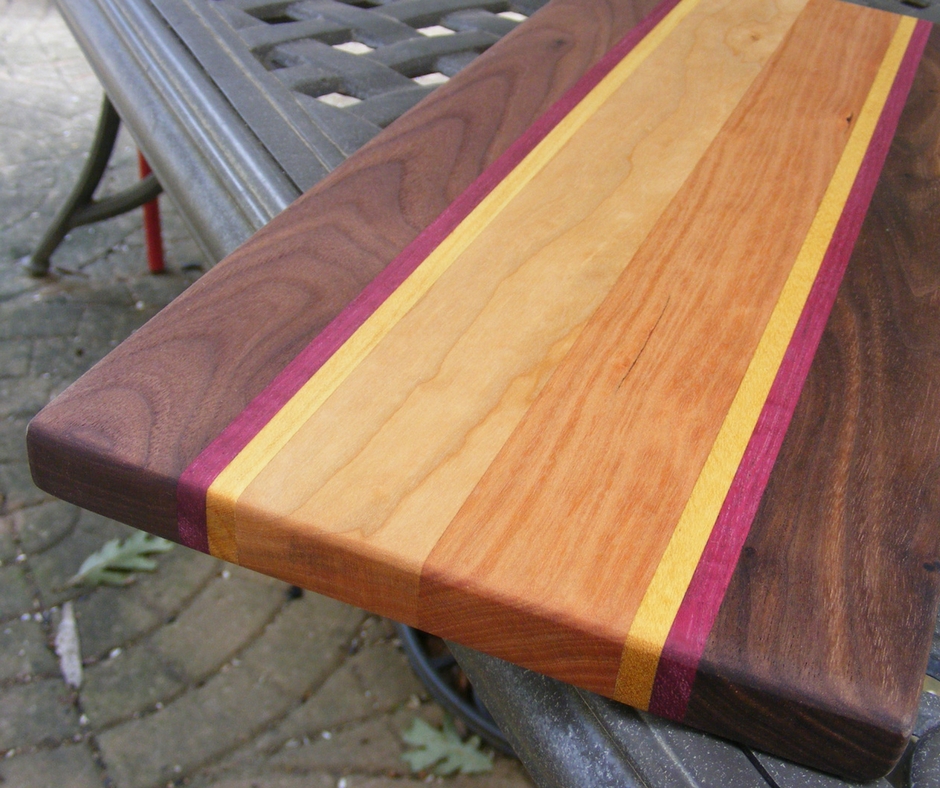
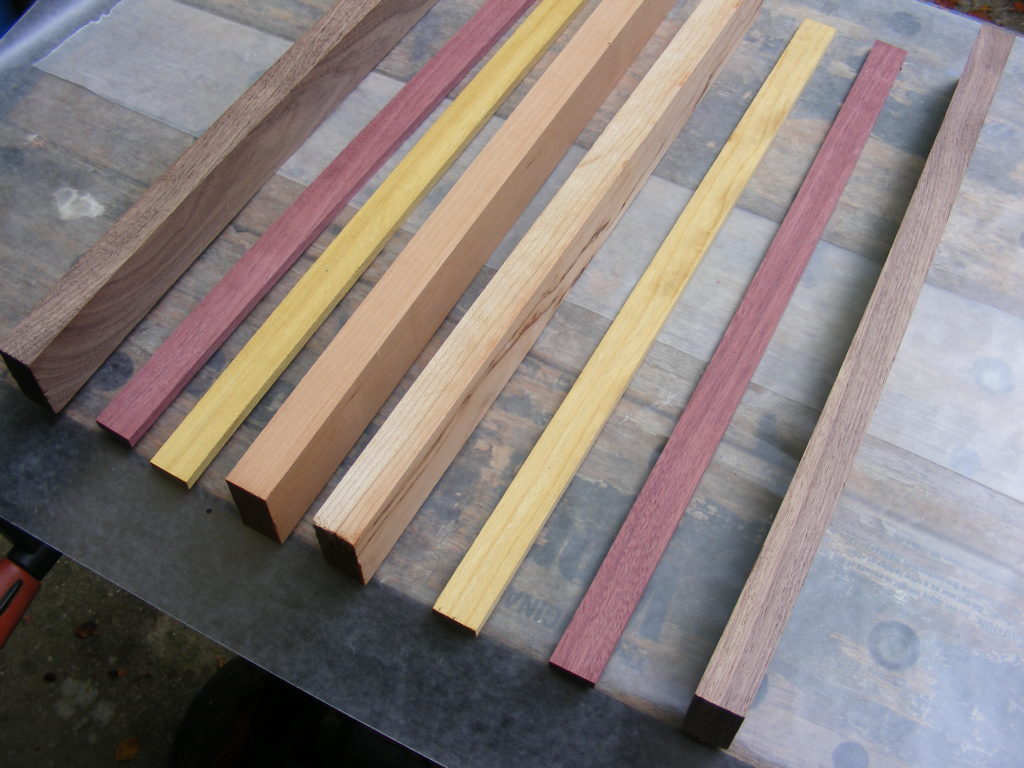
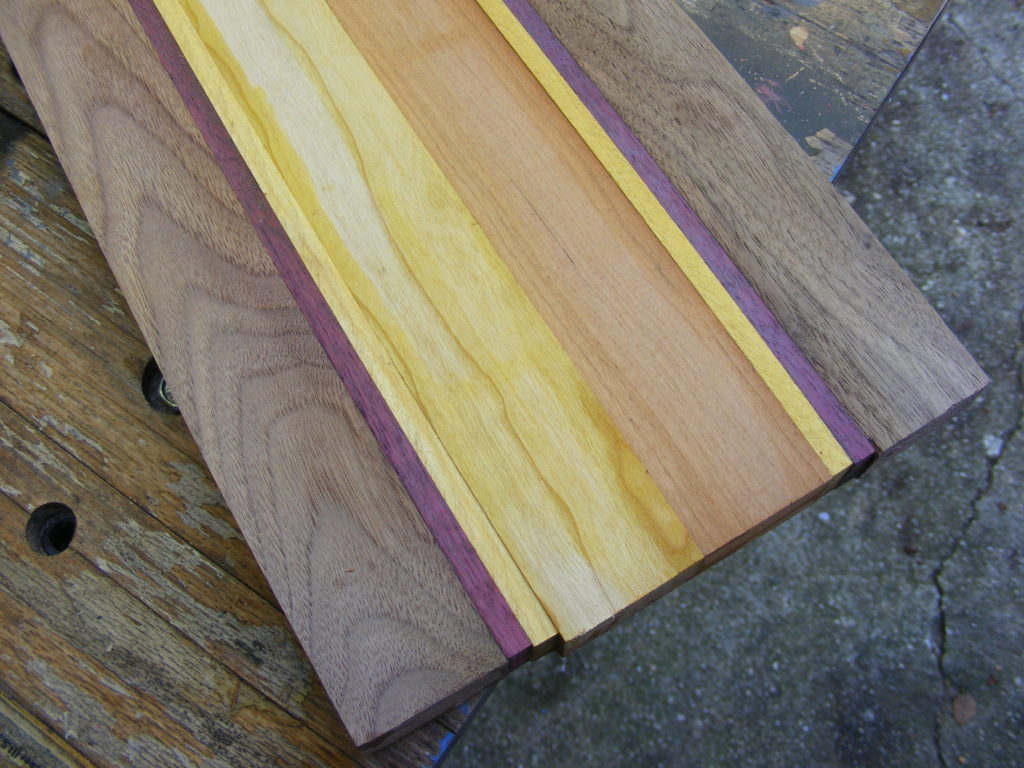
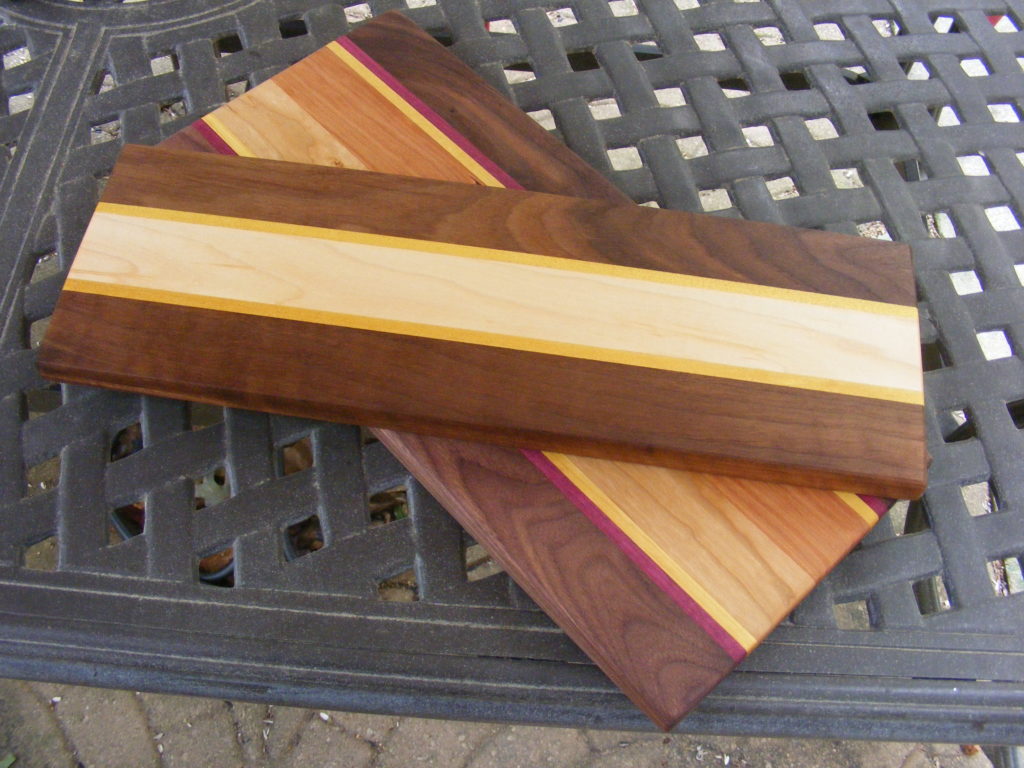
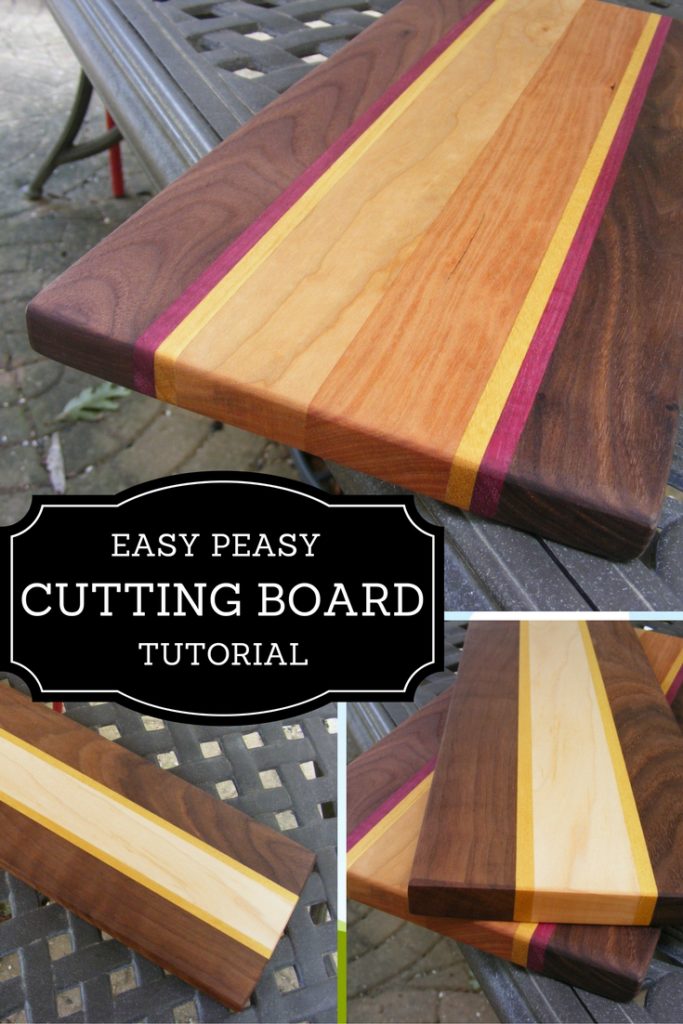
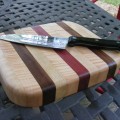
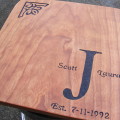
Step 1 – Order and unpack the cutting board kit. I ordered two kits, but for this tutorial, I’ll show how I made that top board in the photo above. The cutting board for this tutorial consists of walnut, cherry, maple, purpleheart and yellowheart. Hence, it made for a great color combination.
Both kits came in the mail in terrific condition. However, you should inspect your kits just to make sure you don’t have any cracked, warped or damaged boards. Send it back or get a refund if the boards aren’t in decent shape.
The dimensions of the finished board may vary, but my completed board came out to be 3/4 inch X 7 inches X 15 inches. Of course, the dimensions of the boards originally in the kit were different. Also, the cutting board kit you end of with may not be identical to Amazon’s product description photos. But it was very close.
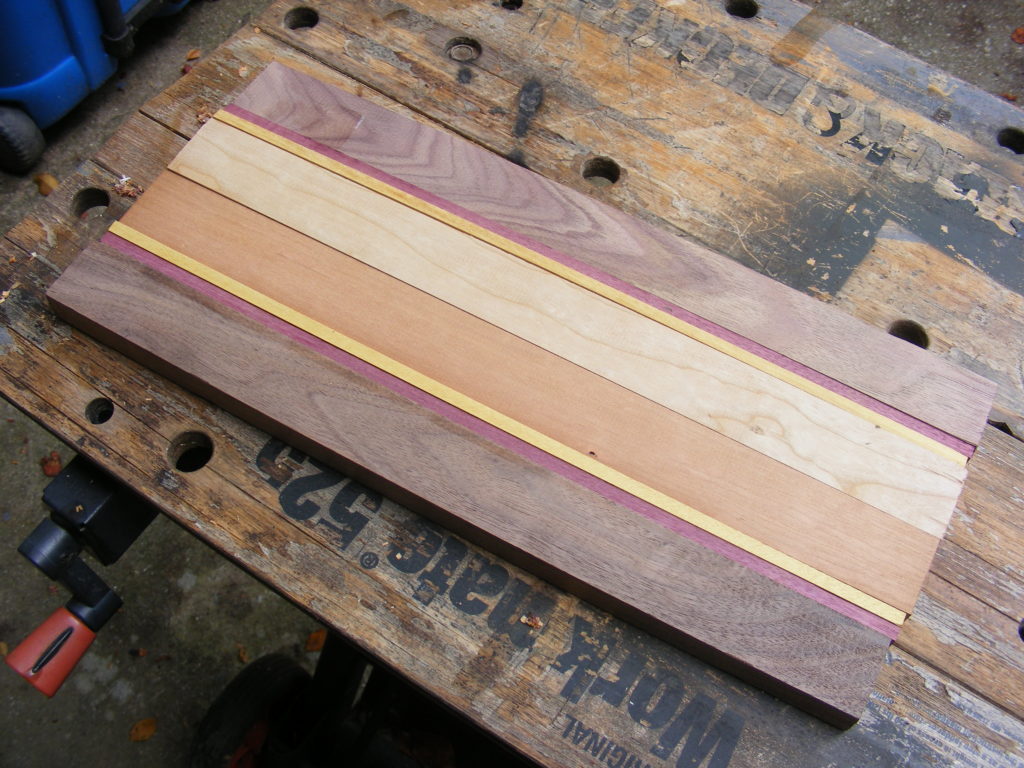
Step 2 – Lay out the cutting board. When you get the cutting board kit in the mail, the boards are already oriented for a pleasing design. You could rearrange the design, but I chose to keep the suggested arrangement.
As you can see here, walnut on the outside, cherry & maple in the middle. And then the two smaller strips — purpleheart and yellowheart — create an awesome contrast.
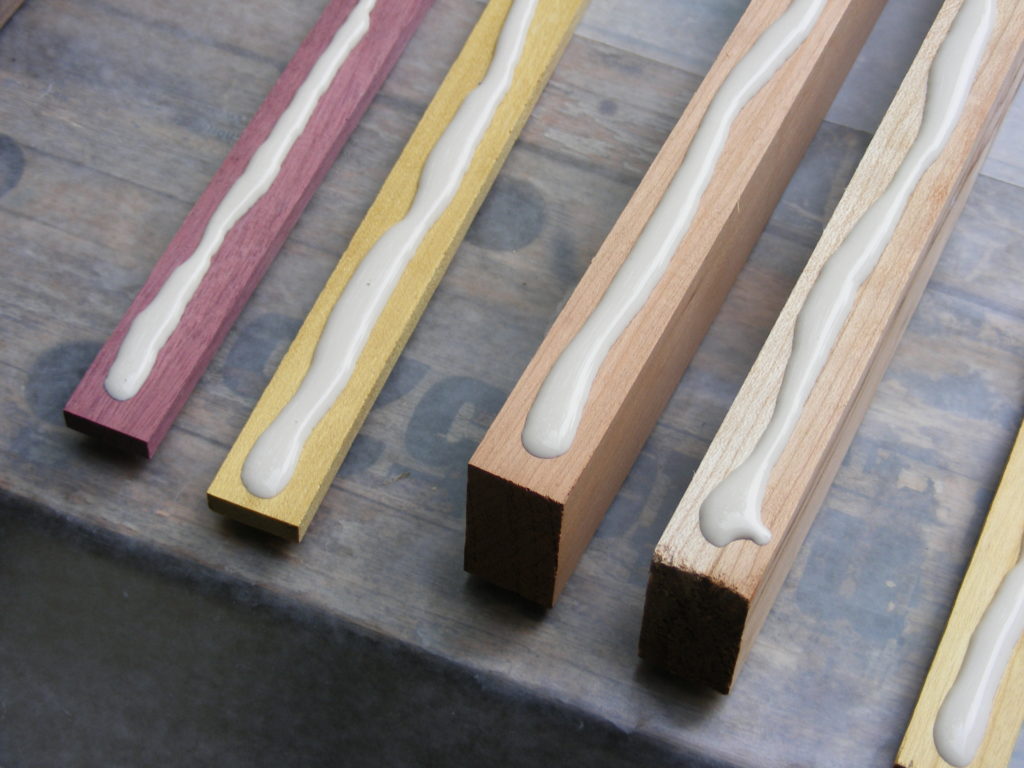
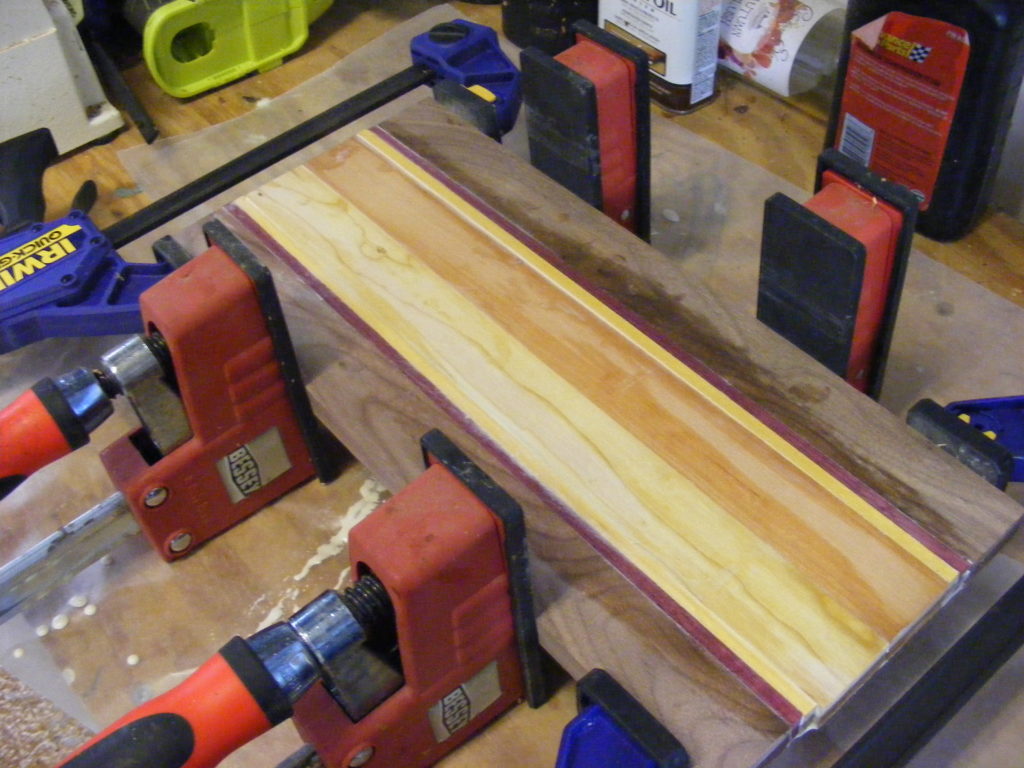
Step 3 – Glue the boards together. I like to place wax paper on my work surface which makes for easy cleanup later. Titebond III waterproof glue was my glue of choice, and I thoroughly coated one side of each board. Use your finger or a popsicle stick to spread the glue out.
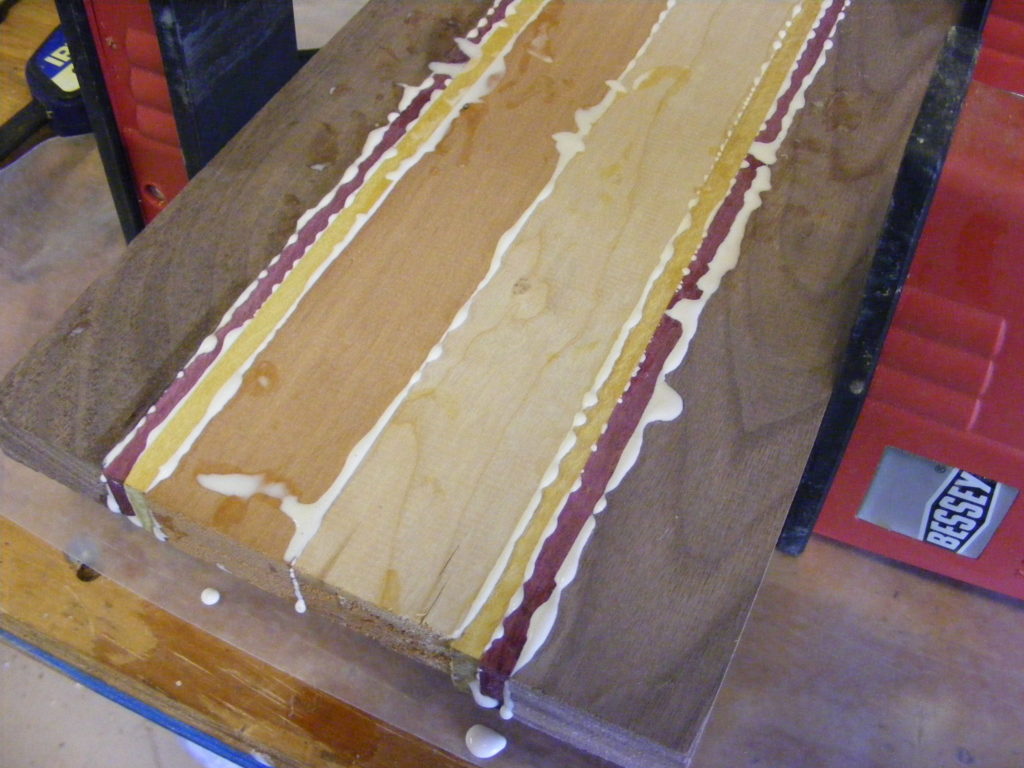
Then, I transferred the boards (in the same arrangement) to my Bessey clamps. Bar clamps are also a popular way to clamp the boards. I like to place some painter’s tape down on my clamping surfaces to protect the clamps and keep boards from adhering to the clamps.
Next, I like to check for alignment and make sure boards are spaced evenly and lying flat on the clamp surface. Squeeze the clamps fairly tight. Glue should be coming out of each joint which is a good thing. Then, I used a slightly damp paper towel to wiped excess glue away.
Allowed the glue to set up overnight.
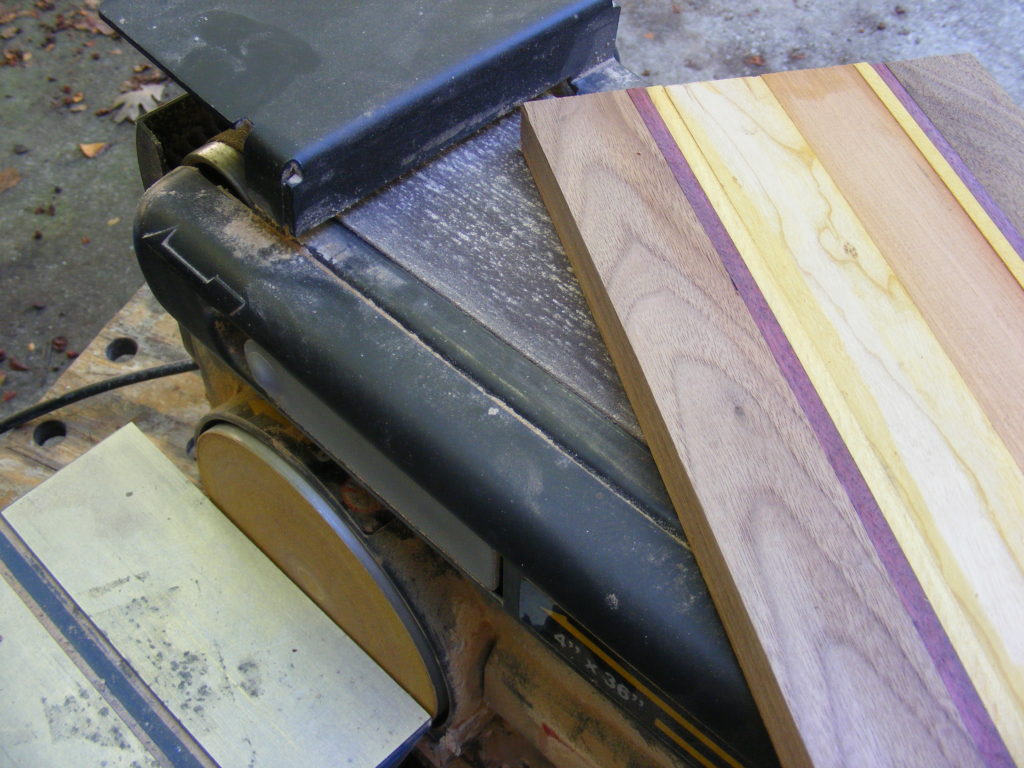
Step 4 – Sand the cutting board. I removed the cutting board from the clamps and took it over to my Ryobi belt sander. If you have an electric-powered planer, use that. I don’t have a planer so I used the belt sander. The beauty of using these kits is that the boards are so close to the same dimensions, a little bit of sanding is all I needed to do.
I laid the board flat on the belt sander and just kept working it until the surface was smooth and all boards totally flush. This probably took me 20 to 30 minutes. Make sure you keep the board moving though and don’t leave it in one spot for long. Sand in the direction of the grain. Wear your respirator or dust mask.
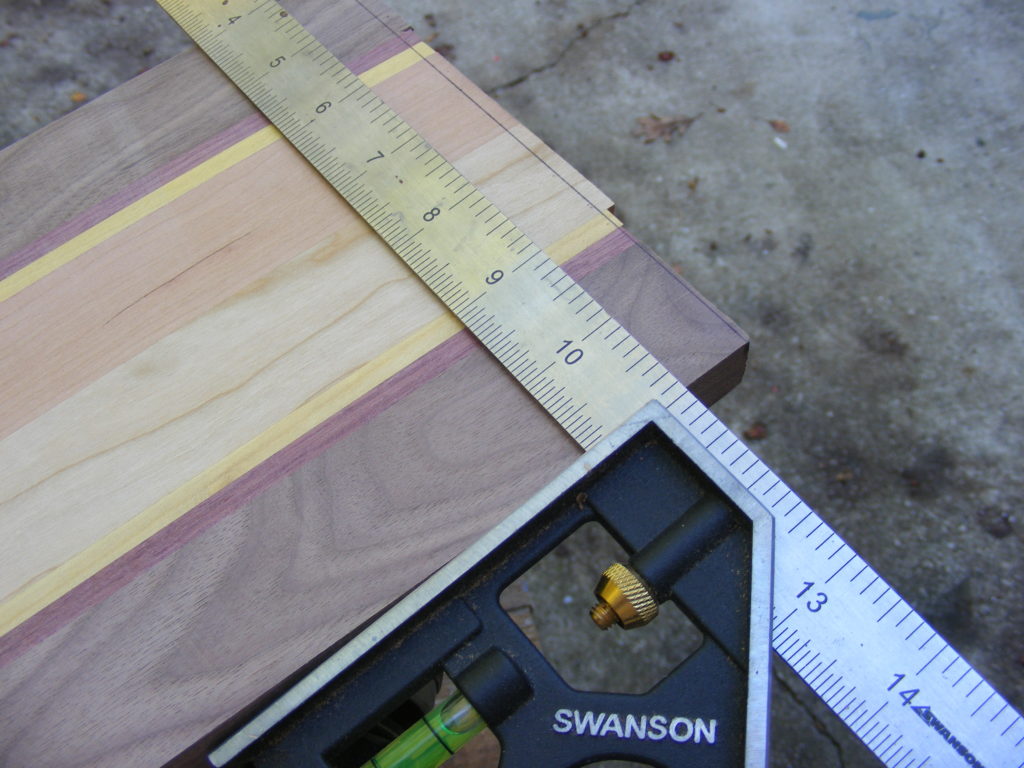
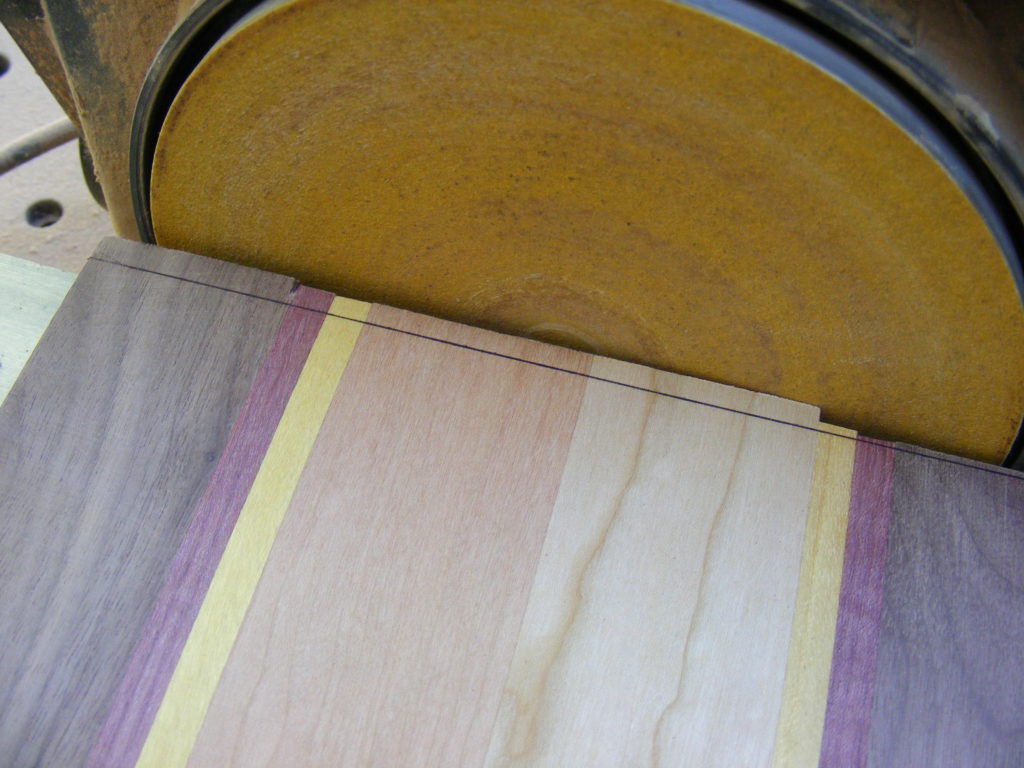
For the ends of the board, I used both the disc sander and the belt. I used a combination square to make a line close to the edge. This gave me a reference point to shoot for while sanding. Again, I kept the board moving and didn’t stay in one spot.
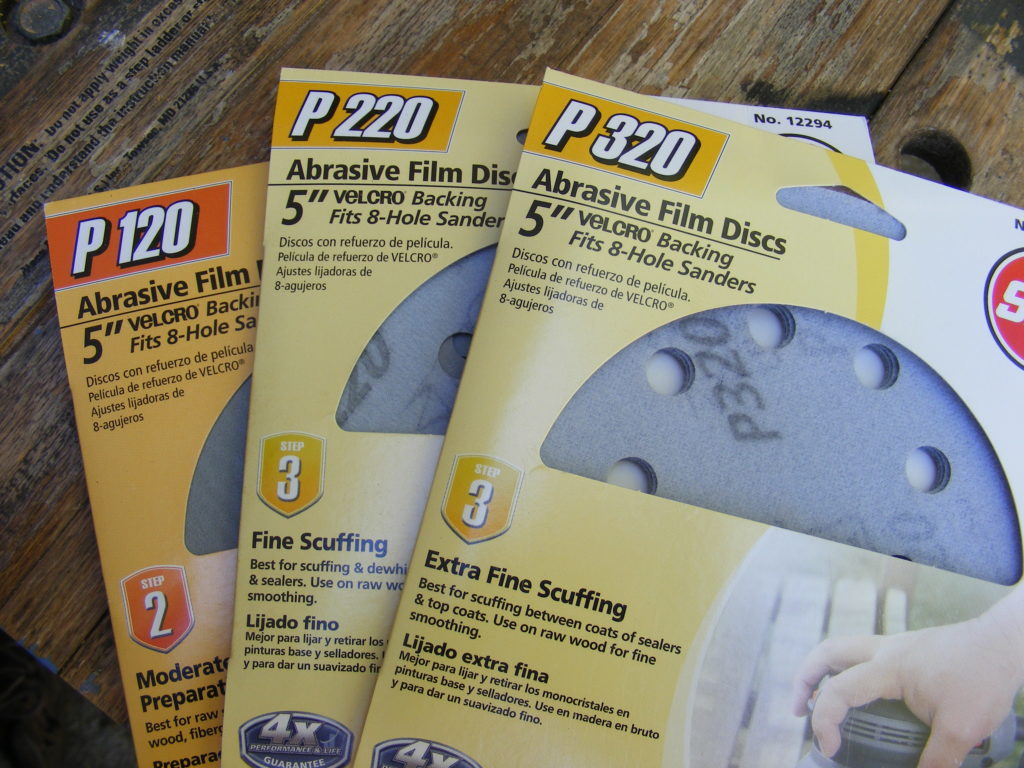
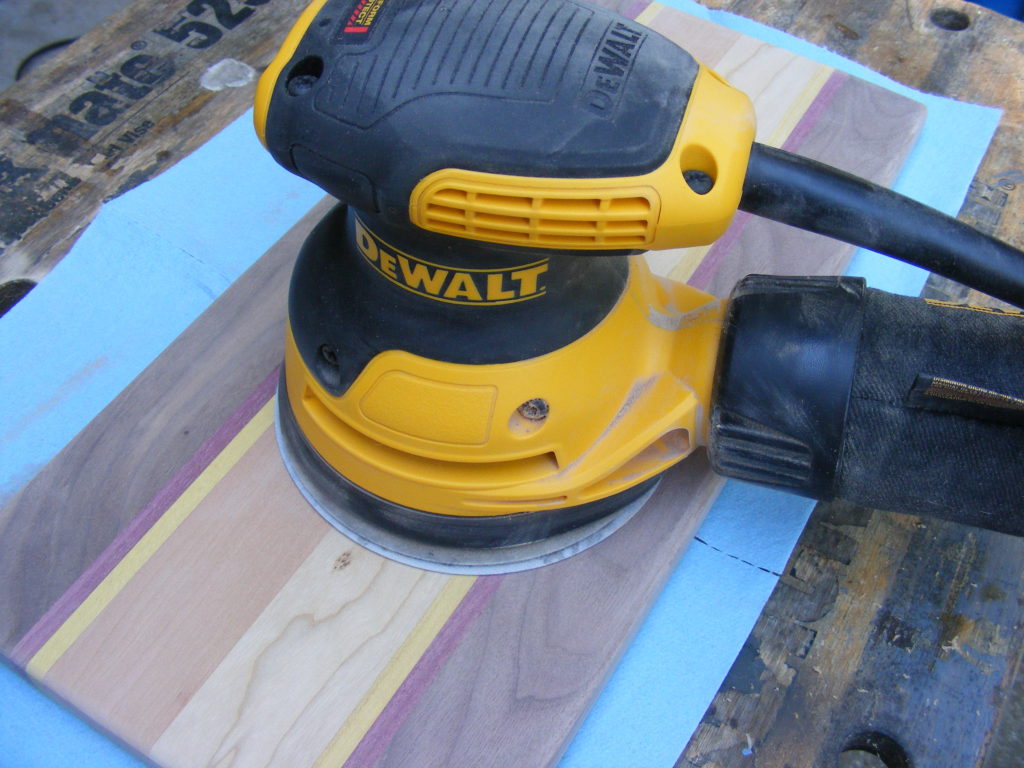
For the finish sanding, I used my Dewalt orbital sander. Started with 120 grit. The orbital motion gets all the scratches out that came from the rough sanding on the belt sander. I then moved to 220 grit and 320 grit. Stopping at 220 grit is probably enough. After all this is a cutting board, and it’s fixing to get cut up. But for presentation, I like to go one more grit to the 320.
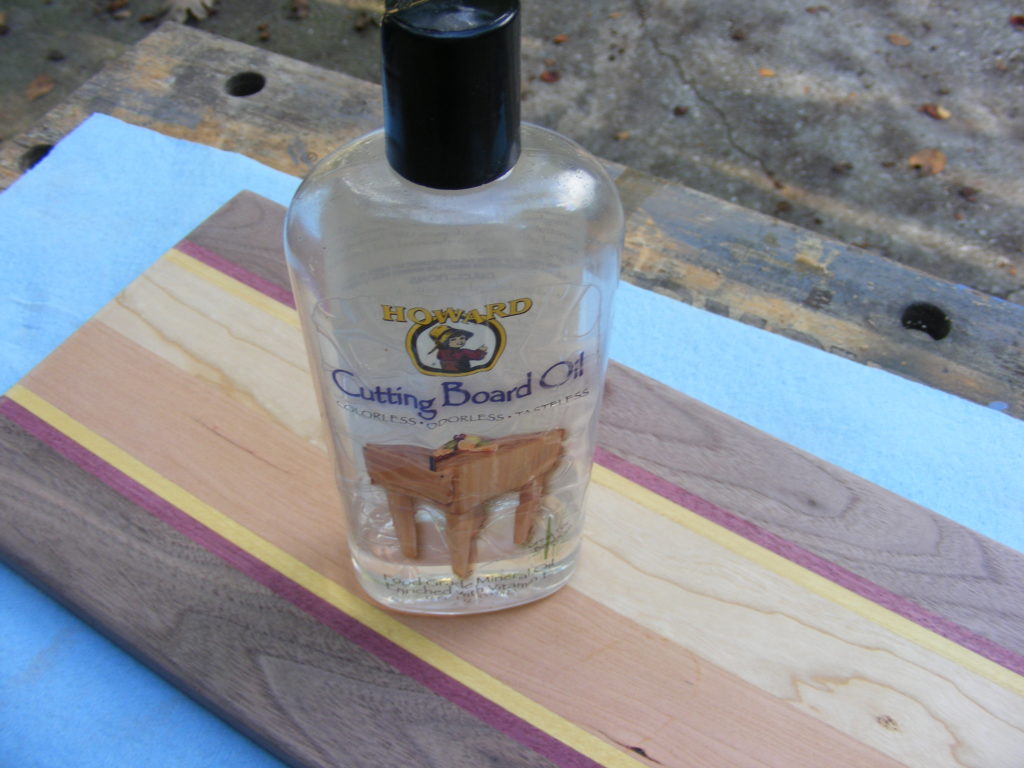
Step 5 – Apply a food grade mineral oil. I’ve always used a food-grade mineral oil for my boards. It’s easy to apply and really makes the wood colors and grain features pop. It also doesn’t turn rancid like some other oils. Follow the instructions that come with your mineral oil, but I like to apply 3 coats. Allow soak time between coats.
You can also check out my post on caring for your wooden utensils and get my recipe for making a beeswax / mineral oil mix. This looks great on cutting boards.
Some folks also like to add rubber footers to one side of the board, but I don’t do that. If you leave both sides as they are, then you can use both sides for cutting. If one side eventually gets too much wear & tear, then just turn it over and use the other side. If it slides too much on your counter while cutting, then place it on a rubber mat or clean cloth hand towel.
Now you have a beautiful cutting board to give away or keep for your kitchen. This board should last for many years. I hope you give this project a try. And if you do, please send me a photo of your finished board.
Here’s a quick video overview you might want to check out as well:
Bonus tips on caring for your board:
- Use warm soapy water to wash your board, but don’t soak it.
- Don’t place it in the dishwasher.
- Consider using one board for meats and one for vegetables. If you cut meats, you might want to clean the board with a mild bleach/water mixture.
- If it develops major cracks you might want to discard it. Food could get embedded in the cracks.
- Reapply mineral oil periodically.
- After many months or years of use, you can always take the board back out to the sander and redo the surface. Then your board will look like new again. Can’t do that with a synthetic cutting board.
To conclude, I hope you have enjoyed my Easy Peasy Cutting Board Tutorial. You should be able to make this project with a minimum set of tools. Even if you don’t own a belt sander, you could use a hand plane or spend more time using an orbital sander. Use what you have and don’t spend a lot of money.
If you want to go all the way and cut (assuming you have cutting tools) all your boards from scratch, then check out my other wooden cutting board tutorials — Make Your First Wooden Cutting Board and Make a Cutting Board. To find other ideas for cutting boards, I highly recommend you check out a website called Lumberjocks.
If you want to receive more projects like this in your inbox, please consider joining my newsletter. Use the form below to enter your first name and email. As a thank you for joining, I will send you my Home Shop Safety & Tool Checklist.

Are you starting up a new shop? Want to work safer in your shop? To help you answer these questions I've put together a 2-part checklist -- Home Shop Safety & Tool Checklist.
I will also send you updates of my latest woodworking and DIY projects. You can get all this by subscribing to my free email newsletter.
