I’ve been wanting to make a wooden spoon for some time now. With some much needed vacation time, I spent several hours in my shop cutting boards and creating saw dust. In this tutorial, I’ll show you an easy to make wooden spoon that requires only 7 steps to produce. This is super easy to make and only minimum tools and skills are needed.
Safety first – If you decide to make your own spoon, wear your safety glasses and start first with reading the instructions that come with your tools. A dust mask or respirator is another must for all sanding operations.
Recommended tools and material (For your convenience, I’ve included a few affiliate links):
Wood – preferably a closed-grain wood.
Bandsaw, or handsaw, or Jigsaw
Belt Sander (or sand by hand)
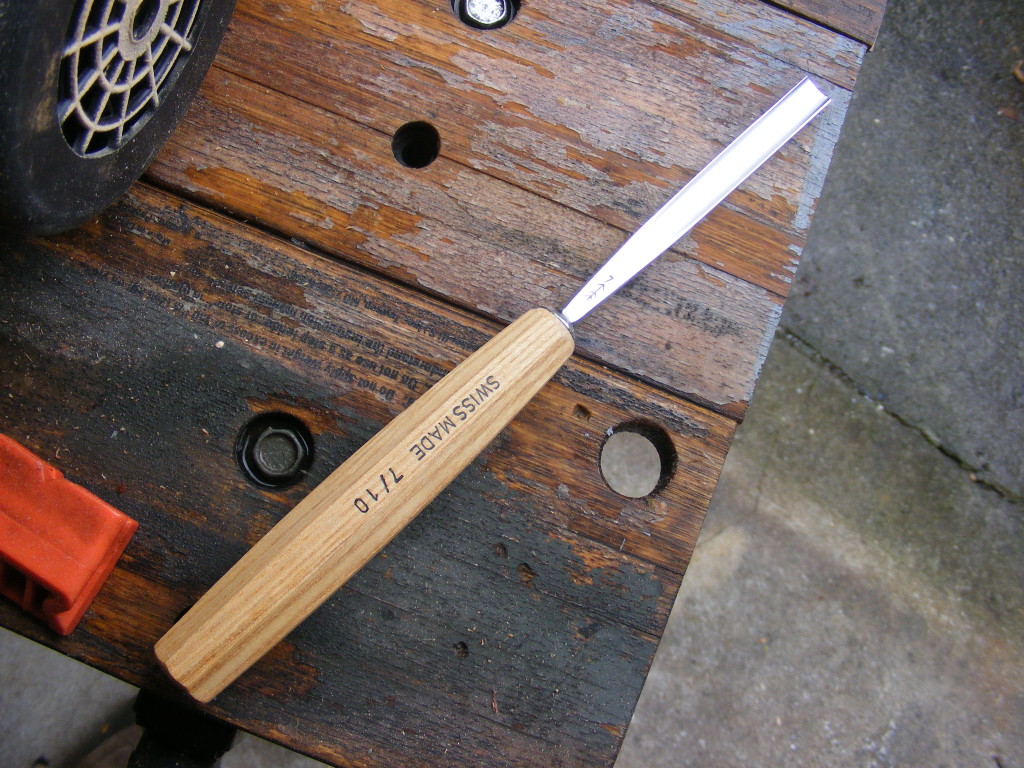
10mm, Carving Gouge, No. 7 (optional)
Dremel and carving bit
Sandpaper (120, 220, 320, 500 grit)
Food-grade Mineral Oil (or finish of choice)
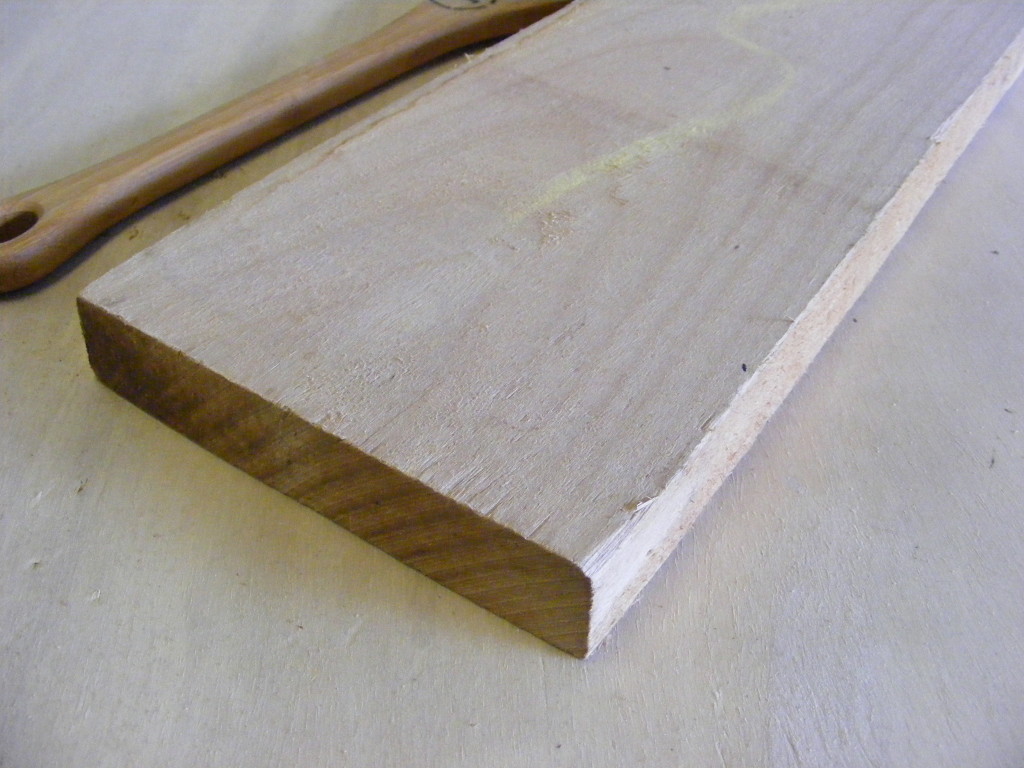
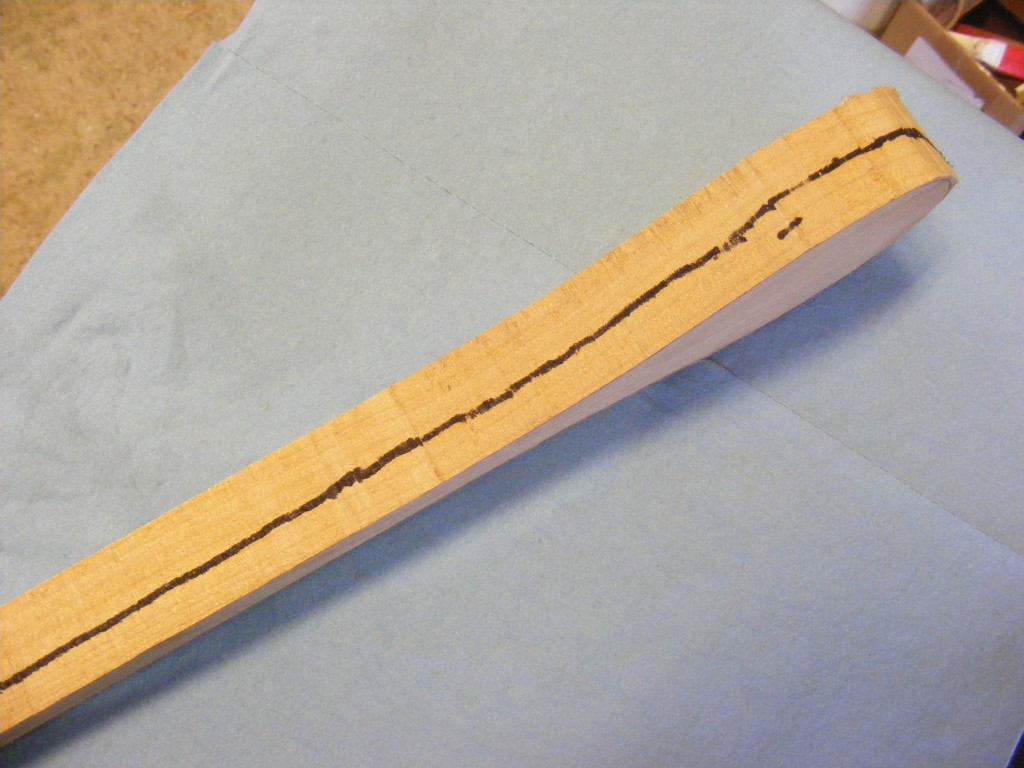
Step 1 – Pick out a piece of wood. I found some Alder wood at the Woodcraft store. It was in their cutoff bin and priced right. Not sure if this is the ideal wood for a wooden spoon, but it carves and sands nicely. I would think that a closed-grain hardwood (like cherry) might hold up better over time.
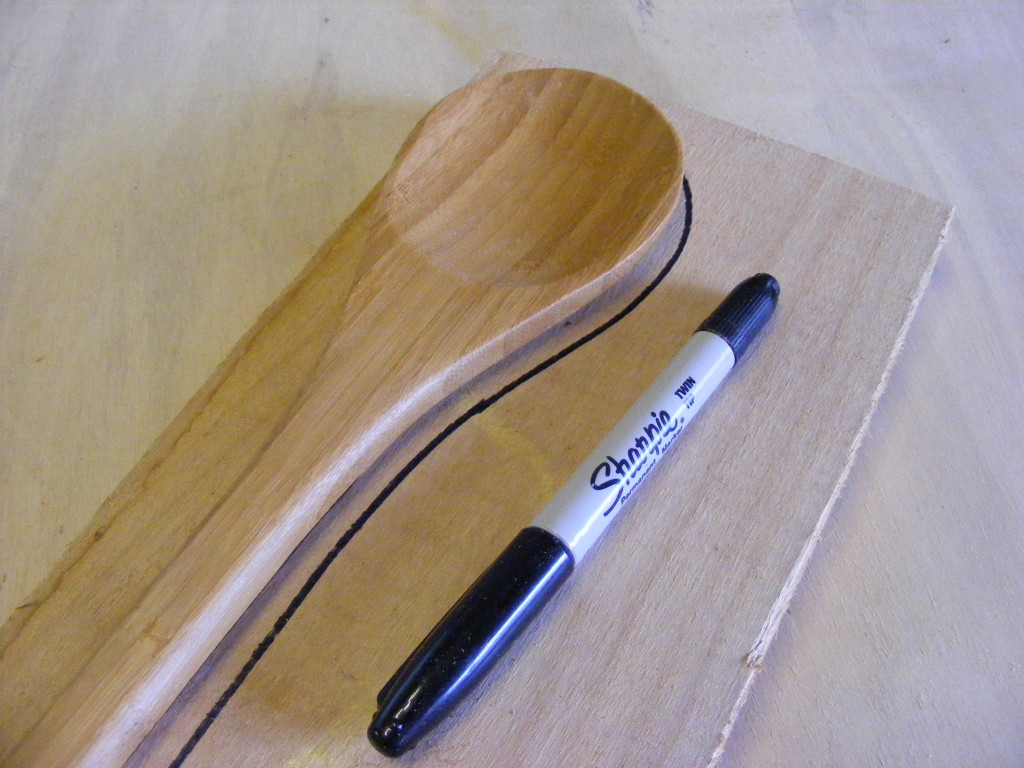
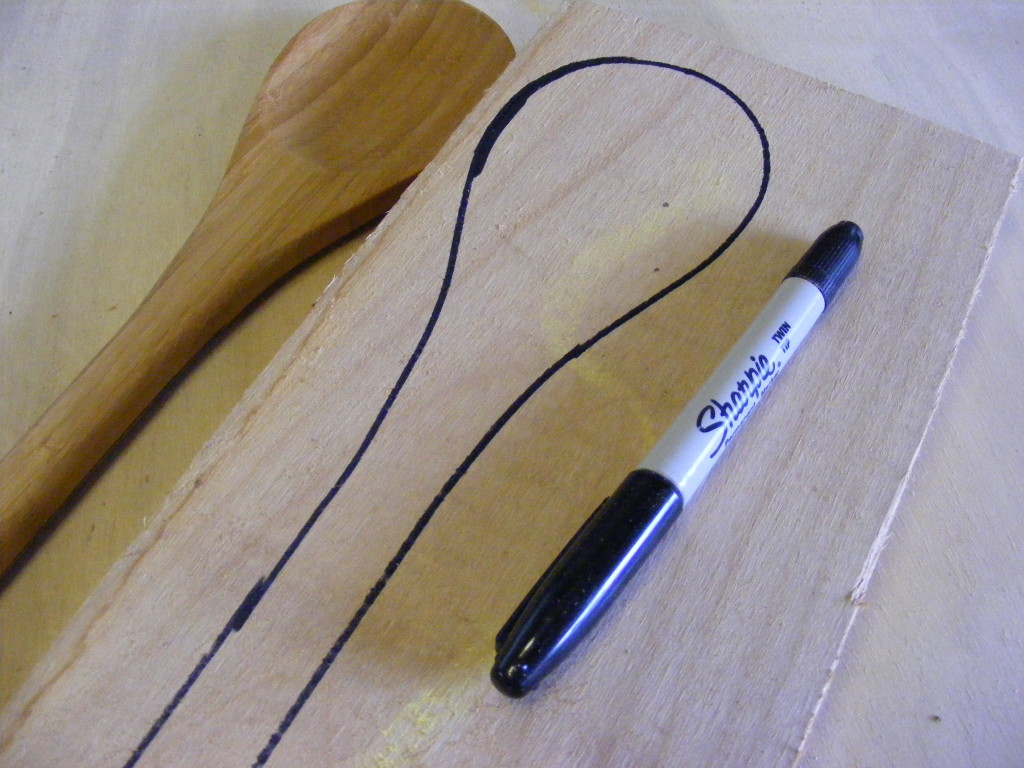
Step 2 – Trace the spoon pattern onto the wood with a pencil or marker. I used a store-bought spoon and used it to trace out the pattern I wanted. Pick a location on the board that will allow you to get multiple spoons. With the dimensions of this board, I should be able to make up to 4 spoons.
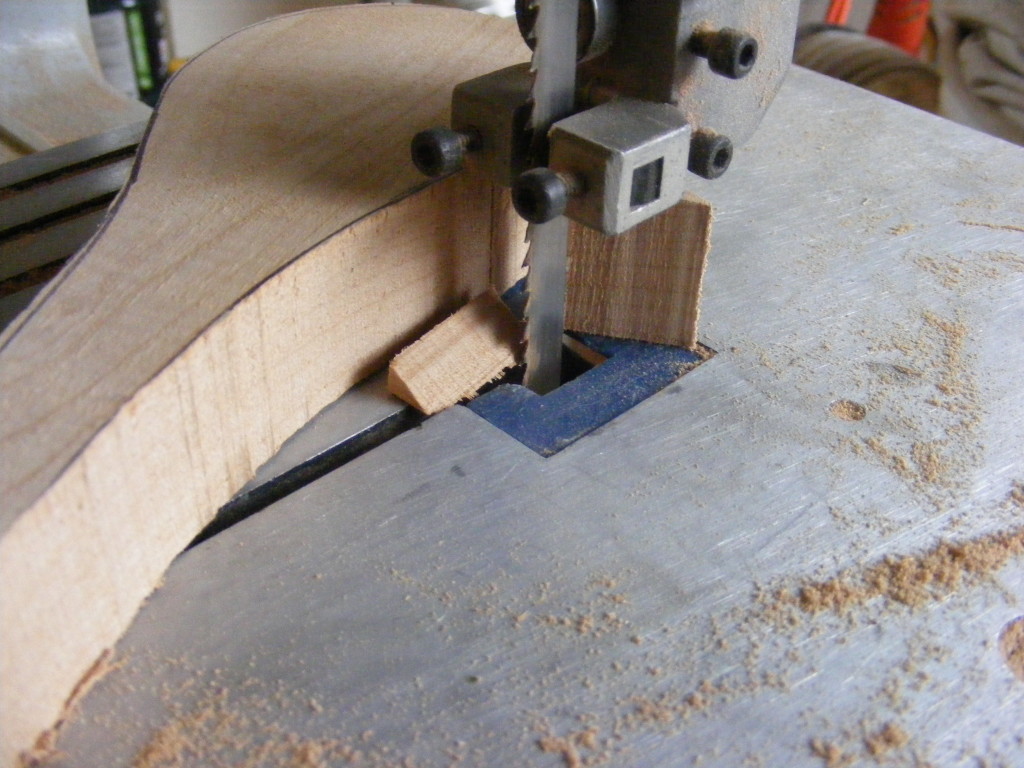
Step 3 – Cut the spoon out on the bandsaw. If you don’t have a bandsaw, you could do this with a handsaw or jigsaw. (Remember to read your tool’s safety instructions first). I like to cut just outside the line. Also, with the bandsaw, I made several cuts straight into the spoon from the edges of the board. This made it easier for the saw to cut the curved area. You don’t want to make tight turns with the bandsaw. I cut one dimension first, and then the other dimension. Go slow and allow the blade to do its job. Be careful and watch where you put those fingers.
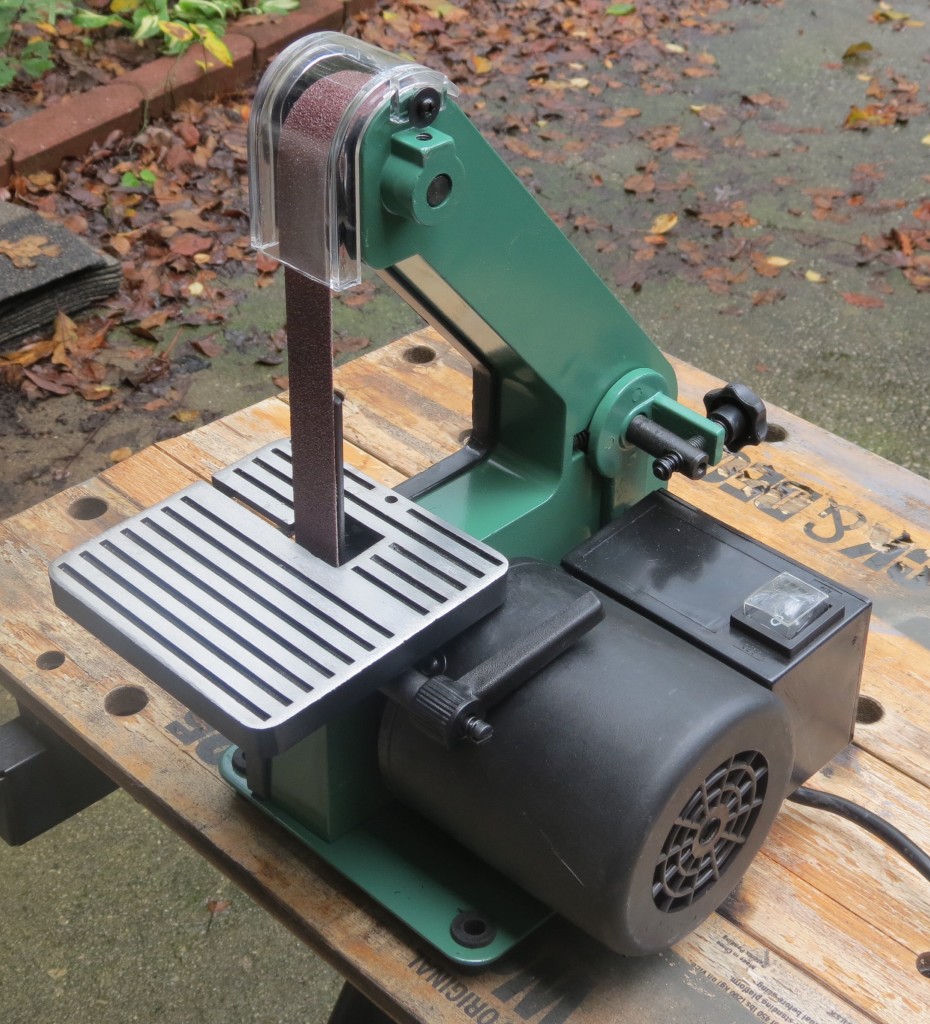
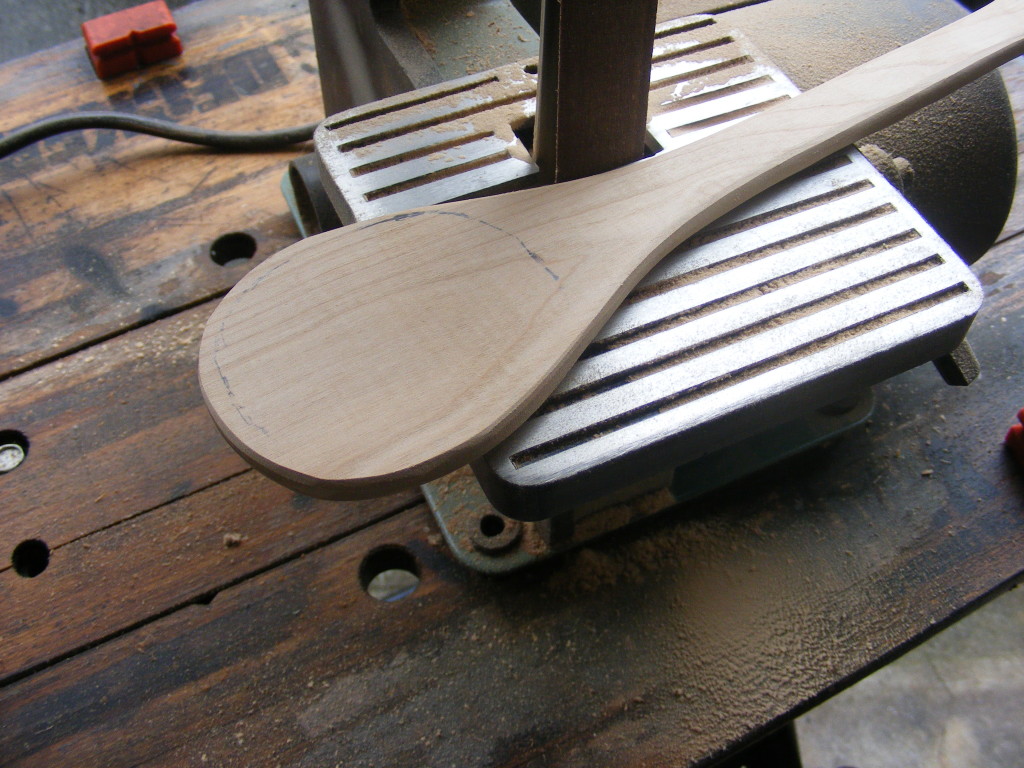
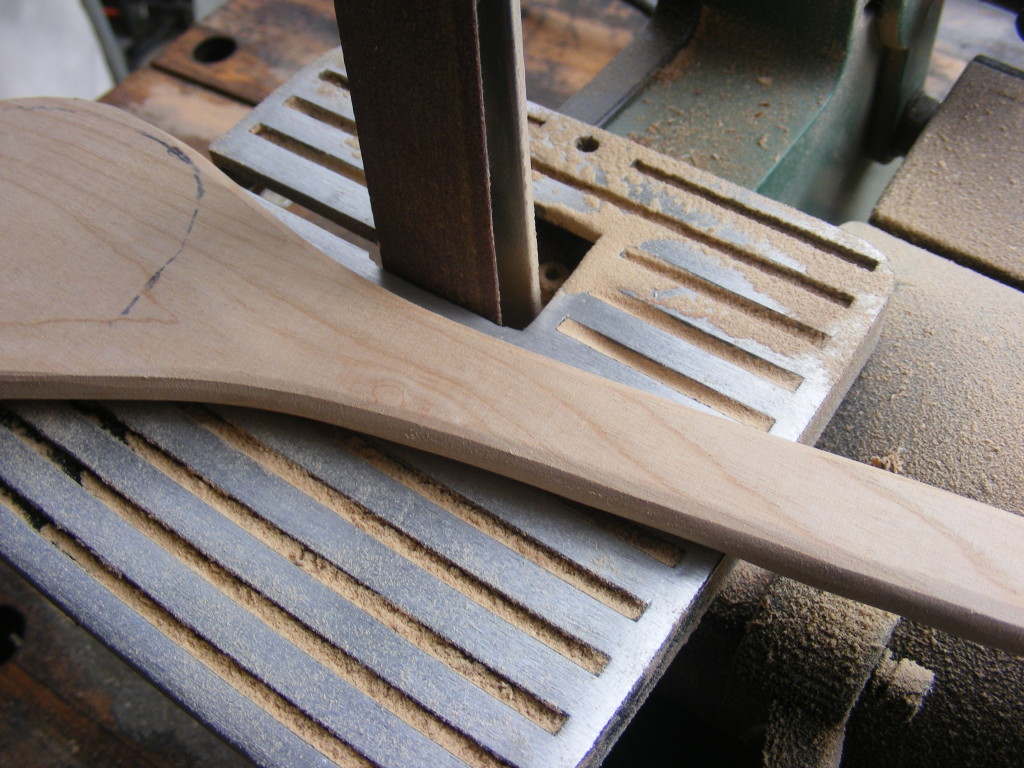
Step 4 – Sand and shape the body of the spoon. I used my Harbor Freight 1 inch belt sander (see my review) to do initial sanding and shaping for the spoon body. Keep the spoon moving and don’t allow it to sit in one spot for very long. (Don’t forget to wear a dust mask or respirator for all the sanding steps)
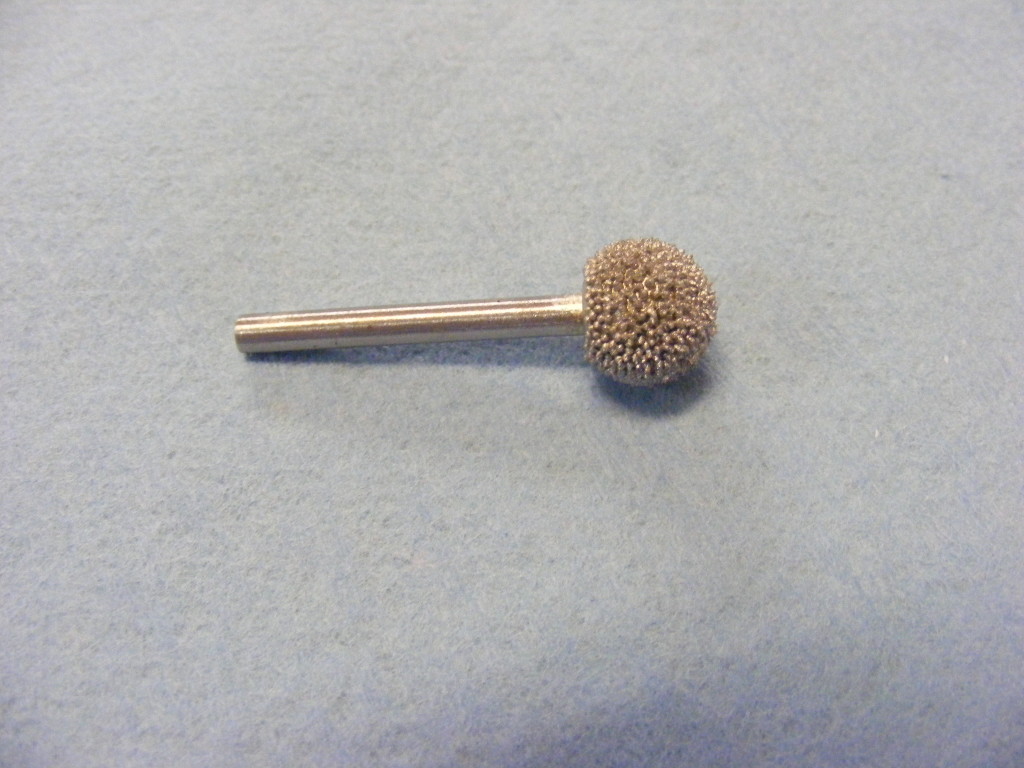
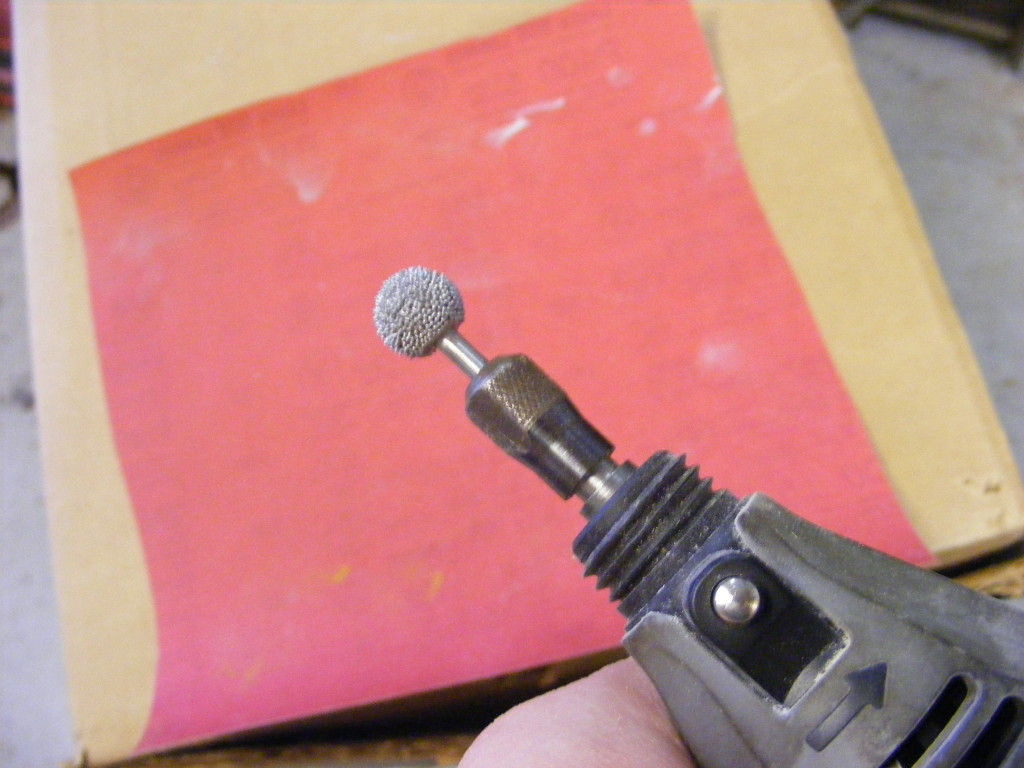
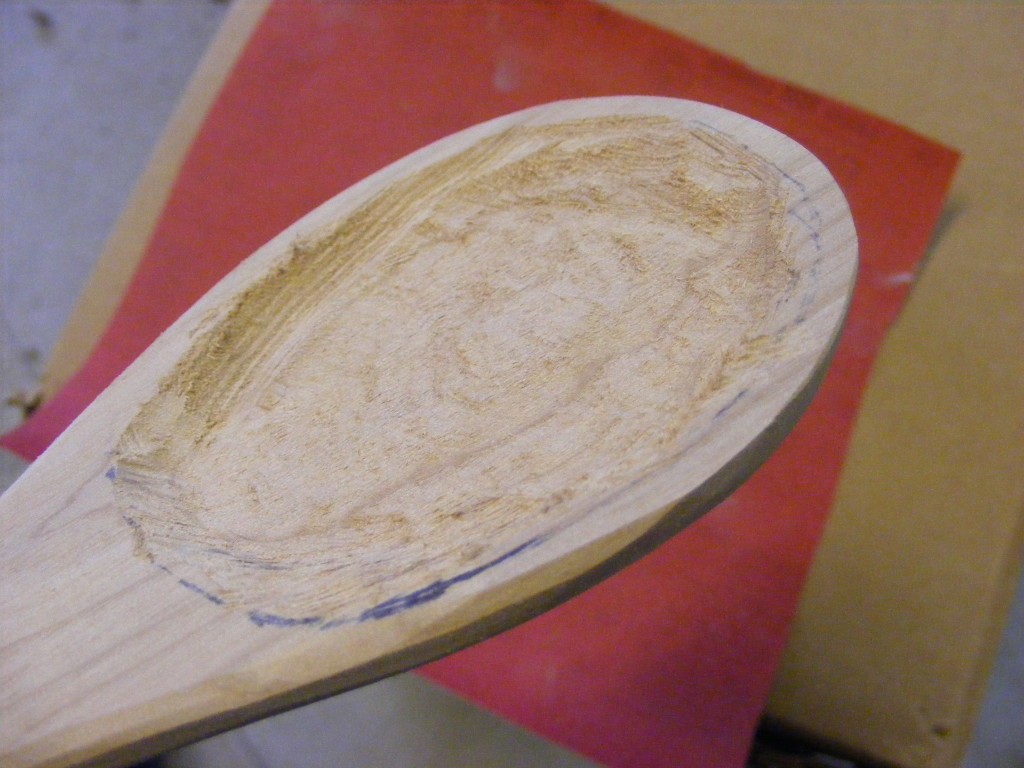
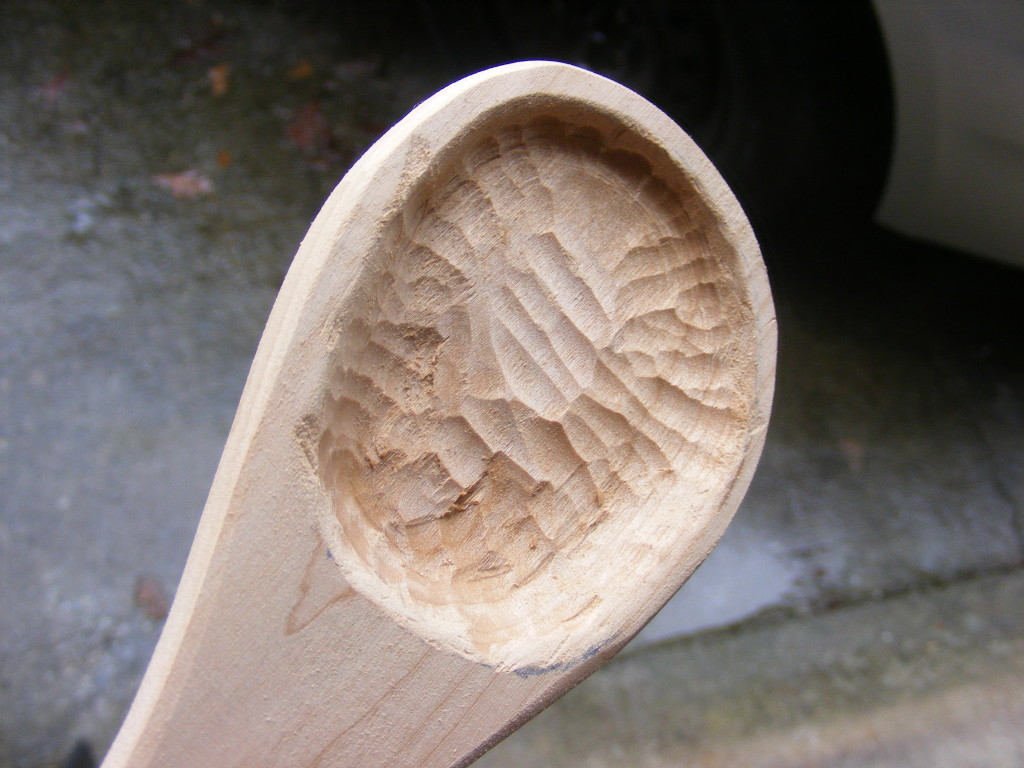
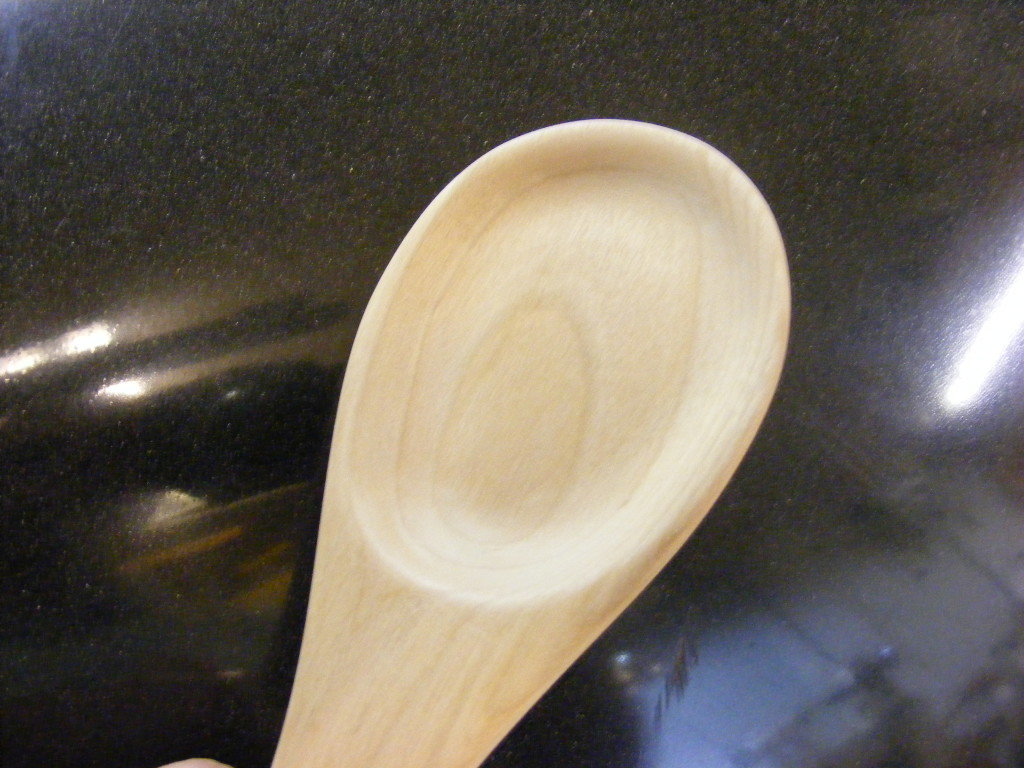
Step 5 – Carve and shape the spoon bowl area. I used a carving attachment recommended by a Woodcraft store associate. He told me I could used it in my Dremel (after I said no to the $300 power carver he was trying to sell me). This particular bit is made by Kutzall, called a sphere, S-38-E (Course). This actually worked very well on the Alder wood. However, be advised that the Dremel may not always produce enough torque with some woods and carving bit combinations. But I found this bit to work very well for this particular wood. Like I mentioned with the sander, you need to keep the carving bit moving or else it can cut deep gouges where you don’t want them.
I also used my Swiss-made carving spoon gouge to do some final touch ups before sanding. Note the last two pics. As another option, you could used the carving spoon gouge from the start. The pros – there’s no noice and no dust. Cons – takes longer.
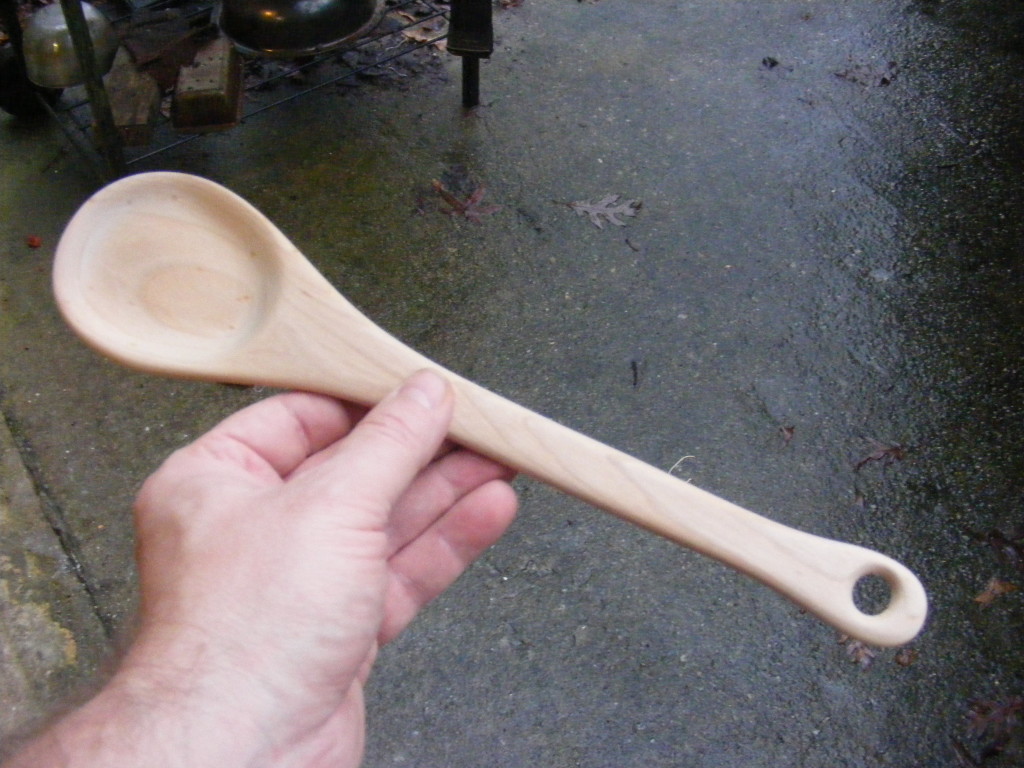
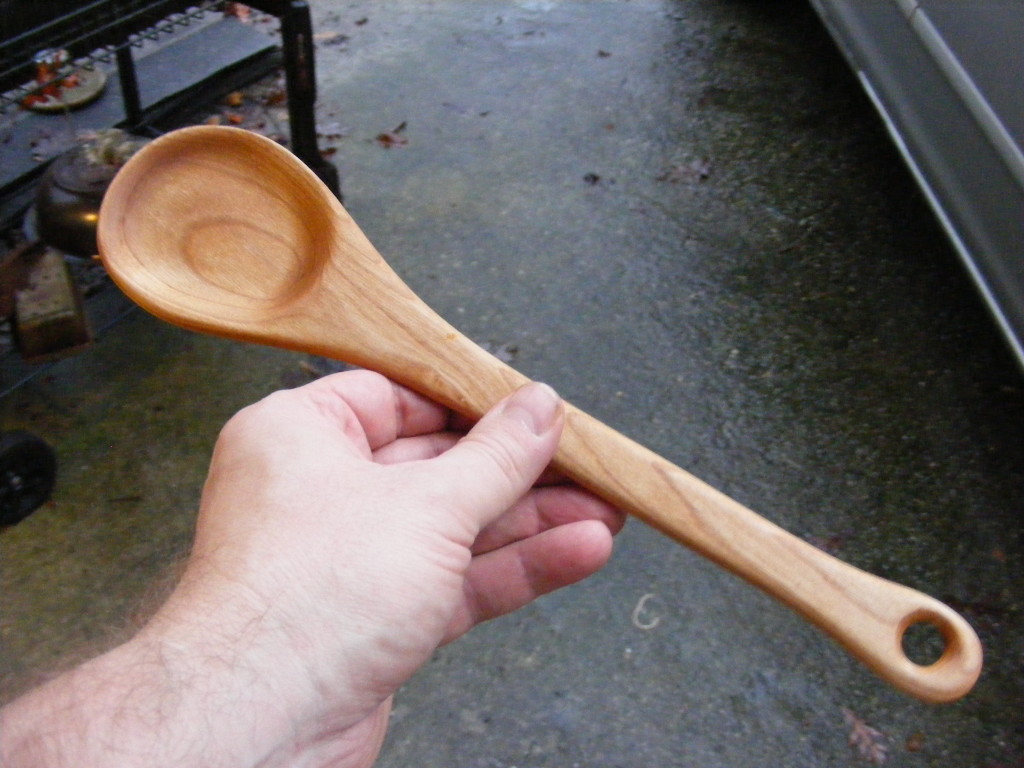
Note that I also added a hole in the handle so I could hang the spoon with my other utensils. I drilled a 3/8 inch hole and beveled/hand-sanded around the hole edges.
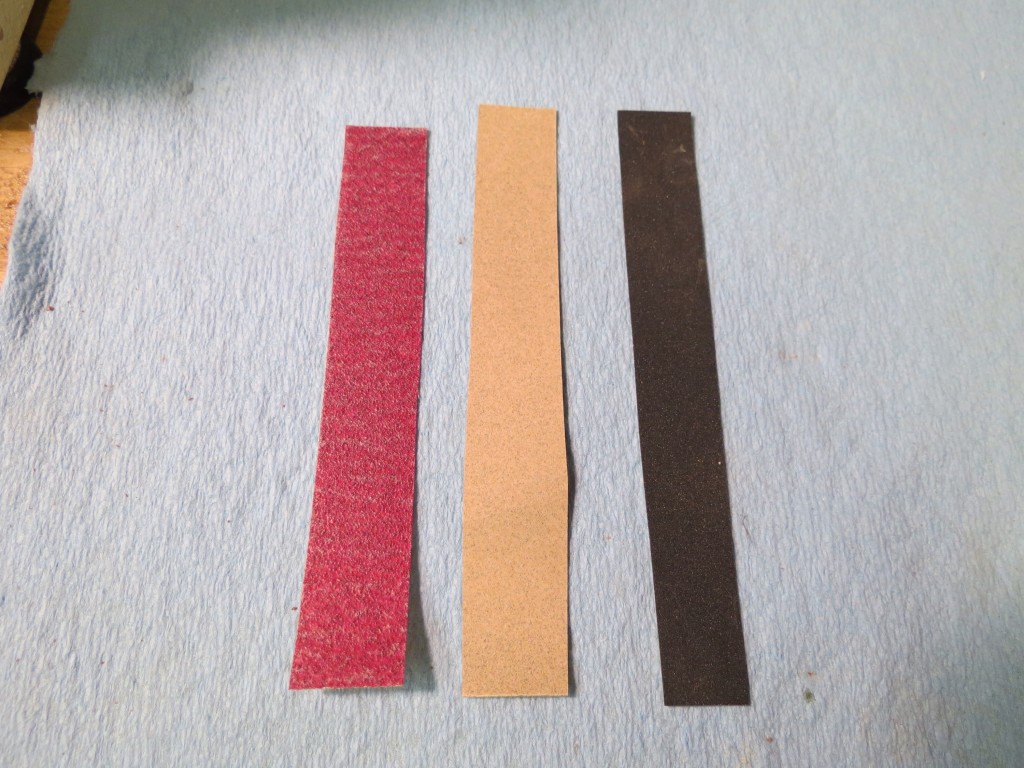
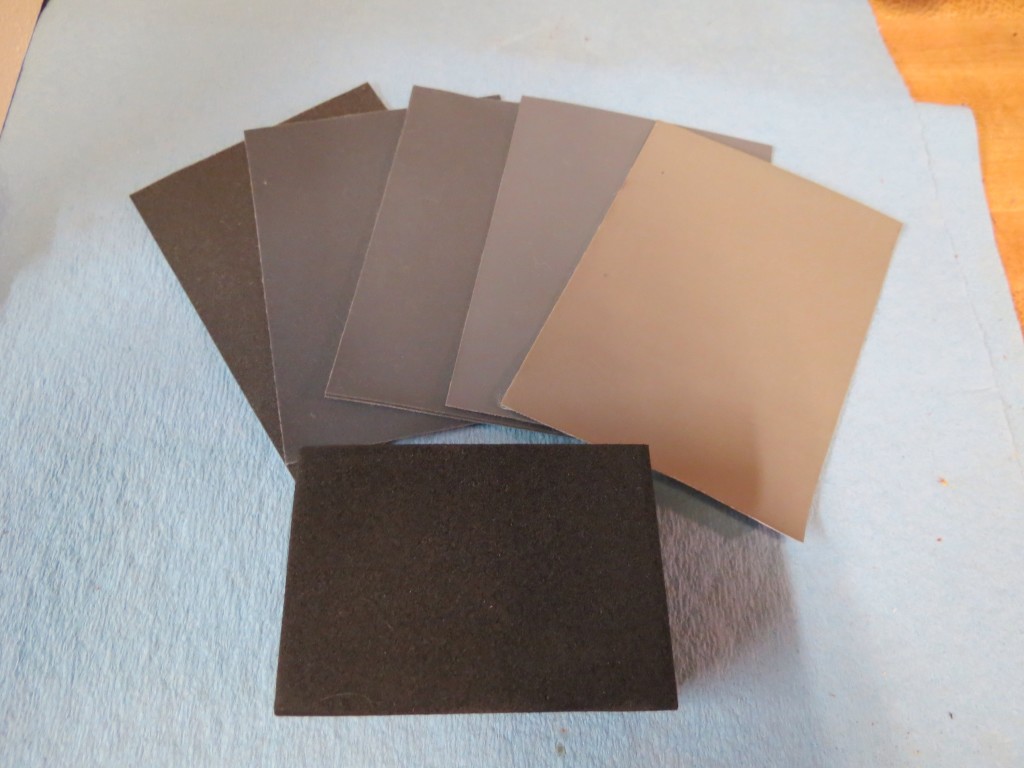
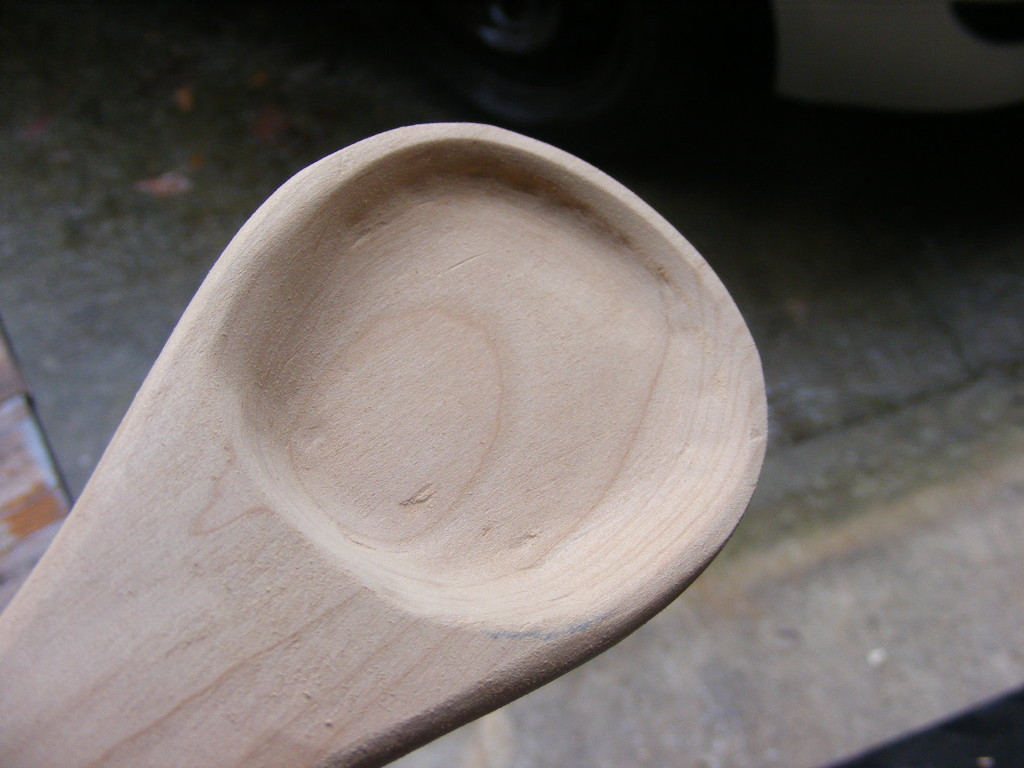
Step 6 – Finish sanding the spoon by hand. I used 120 grit, 220 grit, 320 grit and 500 grit sand paper. I finished sanding the spoon with my micro mesh – 1500, 2400, 3600 grit.
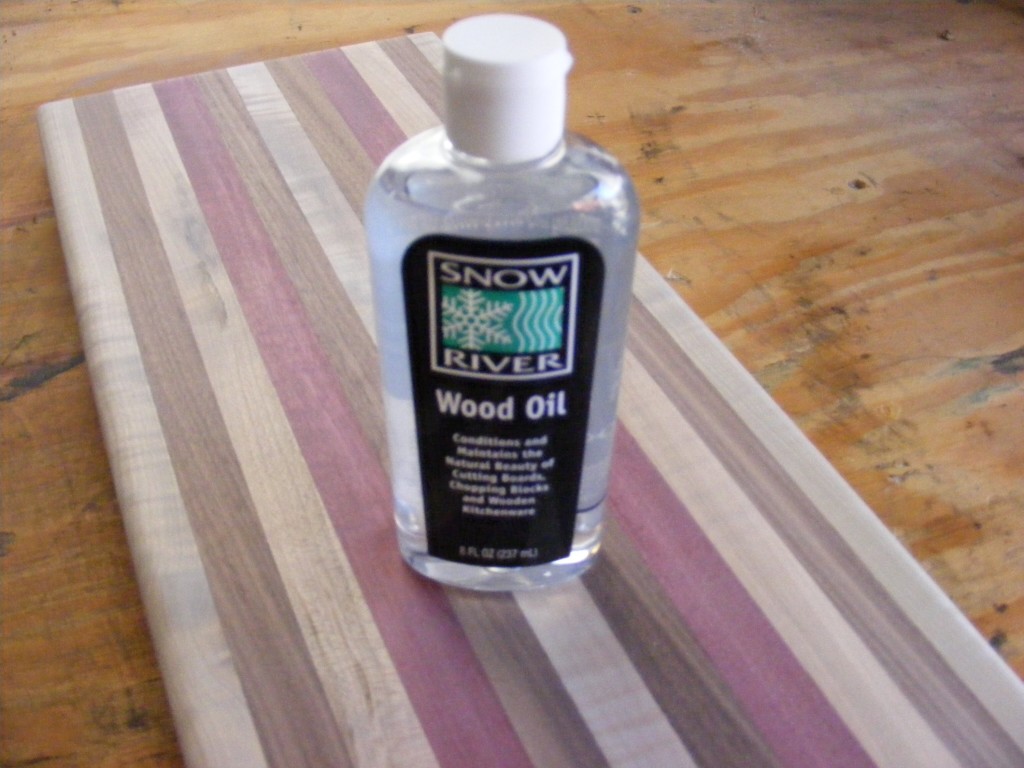
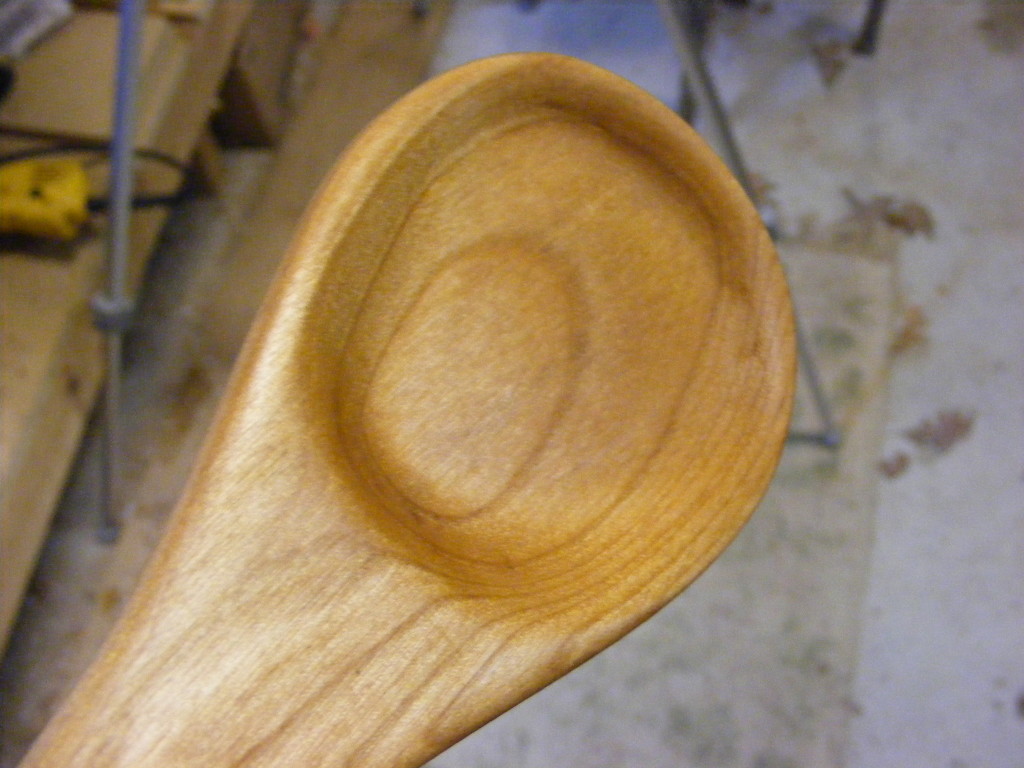
Step 7 – Apply a finish. I decided to go with 3 applications of food-grade mineral oil. Apply some to the spoon, wipe off excess and allow it to soak in for 30 minutes before applying more. I suppose you could also use Danish Oil or wipe-on poly, but both of these would need some drying time. Whatever finish you use, read the labels on the container for proper use and application method. The finish should help the spoon last longer and it really brings out the grain.
I hope you found this to be an easy tutorial. As you can tell, this project doesn’t require many tools, but be prepared to do some sanding. If you have any questions feel free to contact me or use the comment fields. I would also love to hear about your experiences with making wooden spoons.
If you’d like to connect with me and follow my woodworking tips and tutorials, then please subscribe and/or like my Facebook Fan Page.
God bless!
Scott



1 thought on “Easy to Make Wooden Spoon”
Comments are closed.