If you enjoy camping, survival techniques, and the outdoors, I think you will enjoy this tutorial. In 7 easy steps, I show you how to make a fire starter, using the fire starter kit and deer antler (for the handle). I know – it’s easier just to use a match or lighter to start a fire. But wouldn’t it be cool to go back in time and learn how our ancestors used to do it? (Check out the history of flint and steel in this article by Practical Survivor.)
I would also encourage you to check out a website called Geekprepper.org. Here are a couple of their articles you might find helpful:
A (Near) Complete List of Fire Building Techniques(+Tips and Tricks)
15 Best Fire Starters for Backpackers and Preppers for 2018
Before we get into the tutorial, let me list the tools and things you’ll need to produce the fire starter:
Fire Starter Kit (PSI Item #PKFS2000)
5/8 inch drill bit (PSI Item #PKSB58)
1/4 inch drill bit
15 mm (or 19/32 inch) Forstner bit (PSI Item #PKATOM-DB)
Electric drill (preferably a drill press)
Belt sander and regular sandpaper (120, 220, & 500 grit)
Micro Mesh pads (if you have some)
CA glue (Medium)
Safety first – If you decide to make the fire starter, please read my disclaimer and be aware of a few hazards. You definitely want to wear safety glasses and wear a respirator when working around deer antlers. Read up on the safety features of power tools you elect to use.
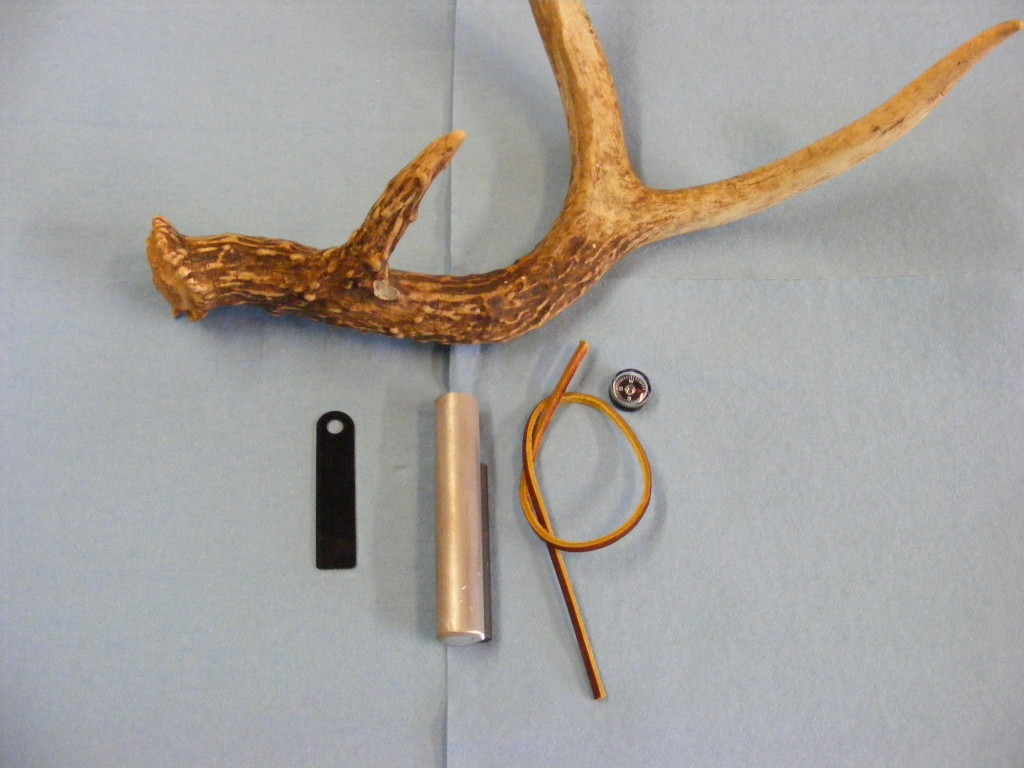
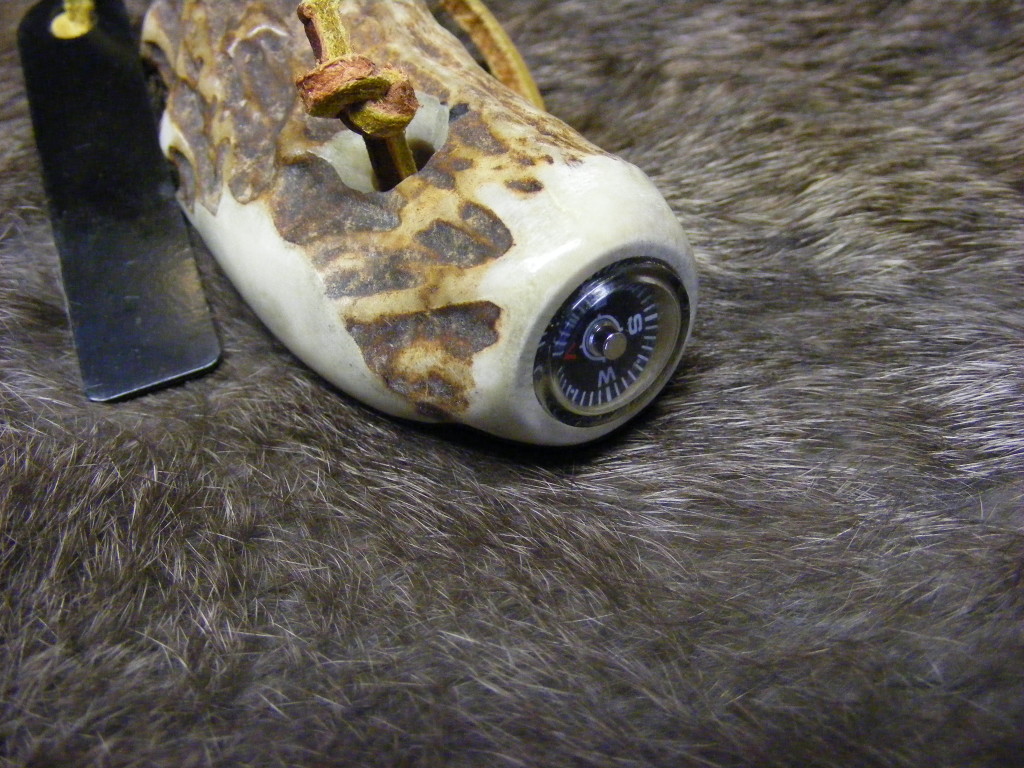
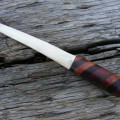
Step 1 – Acquire the Fire Starter Kit, kit instructions, and material for the handle. Pictured above are the items that come in the kit (except for the deer antler). Kit includes: magnesium/flint combo rod, striker, compass, and leather strap. Drill bits and handle material are not included. PSI sells 2 different kits. One is item #PKFS6000 (6000 strikes) and the larger kit is item #PKFS20000 (20000 strikes). I’m using the larger kit for this tutorial.
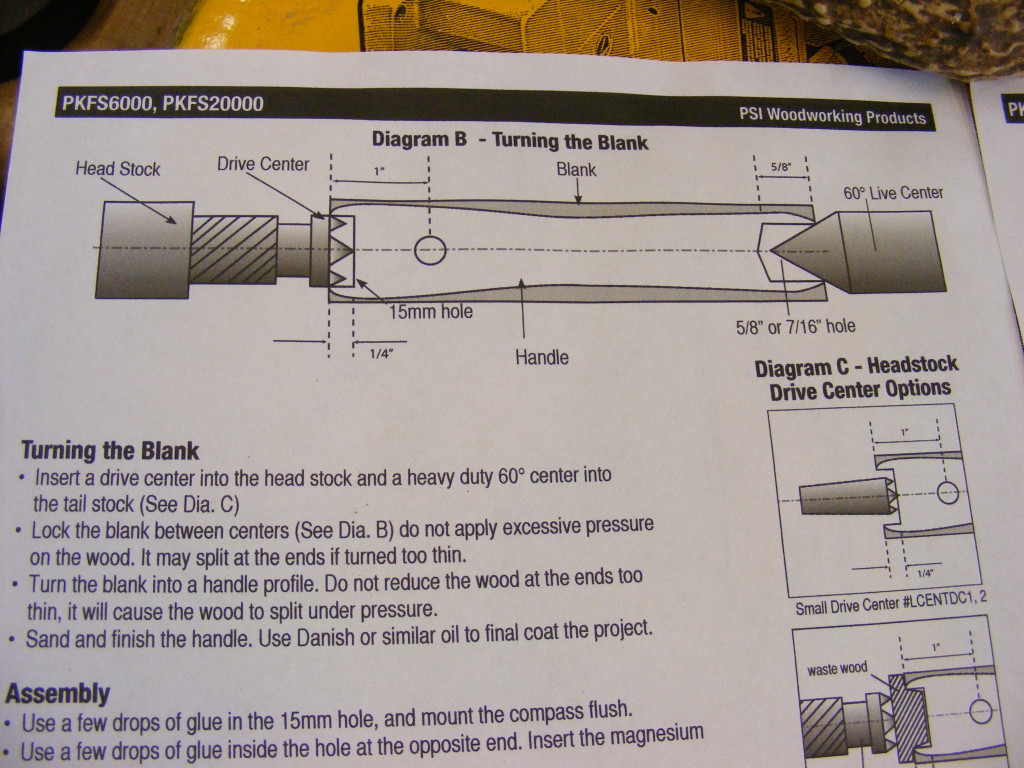
A set of instructions come with your kit, so be sure you read and follow those instructions.
The kit instructions will show you how to make the handle, using a wood lathe. For my tutorial, you won’t need a lathe which makes this project much simpler. Normally you’d be turning a wooden handle for this kit (spindle turning), but I chose to go with deer antler. I guess it helps me get in touch with my mountain-man self — I don’t know. But deer antler is such a beautiful and durable material to work with. It’s rugged like the mountain man of old.
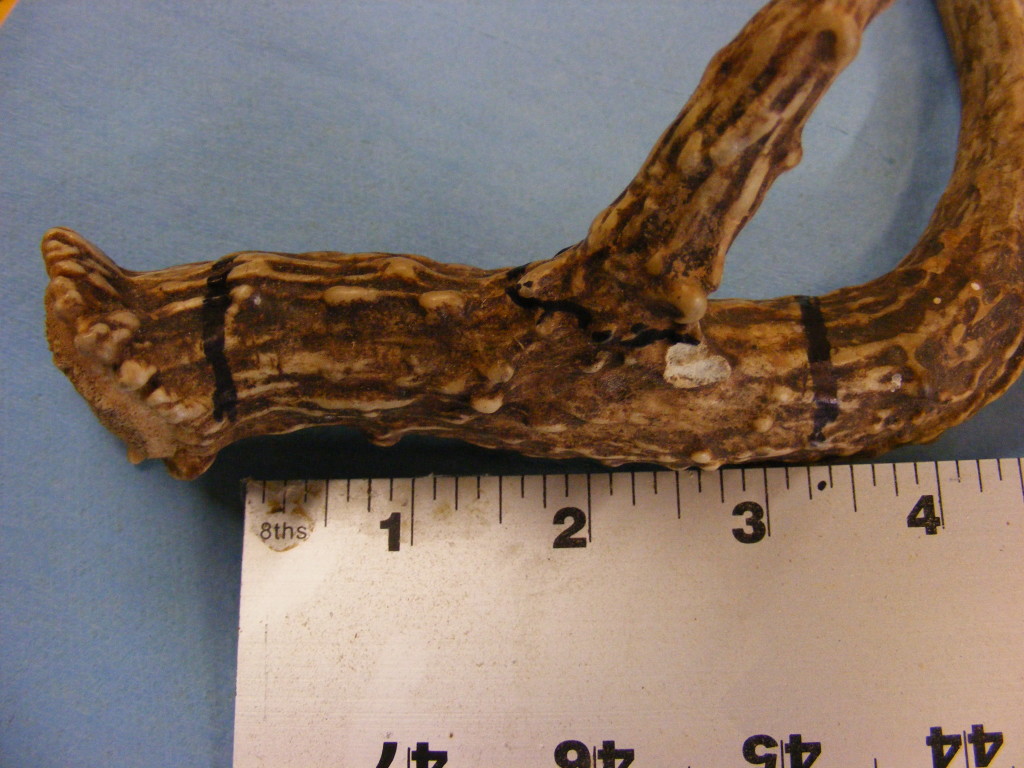
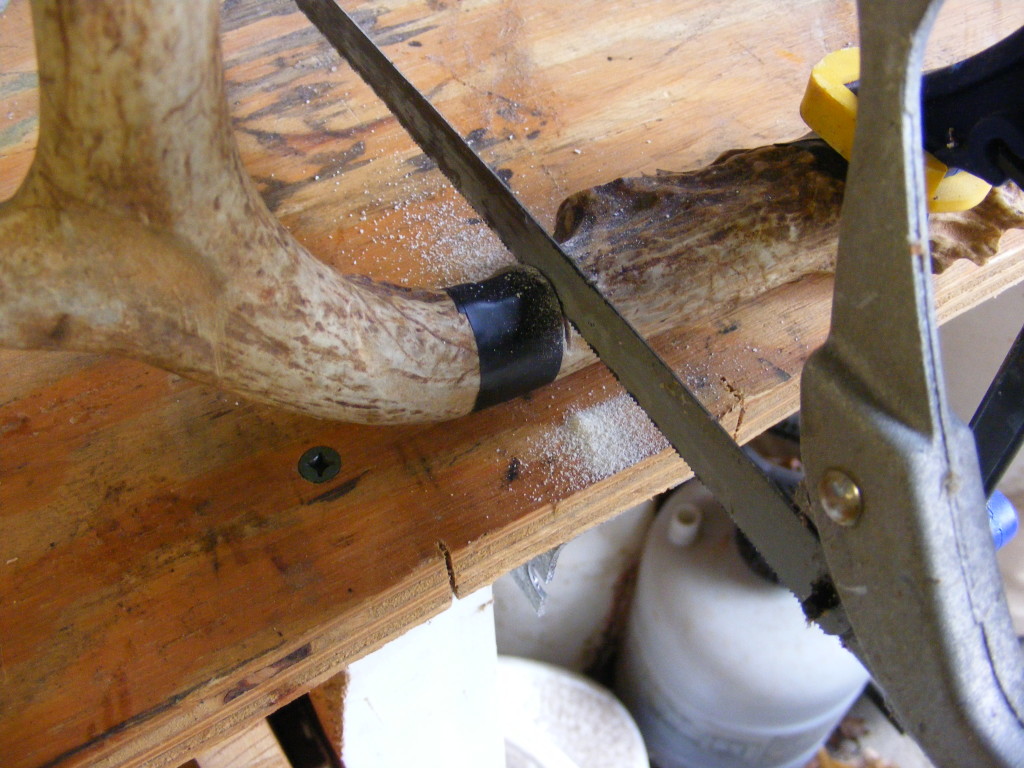
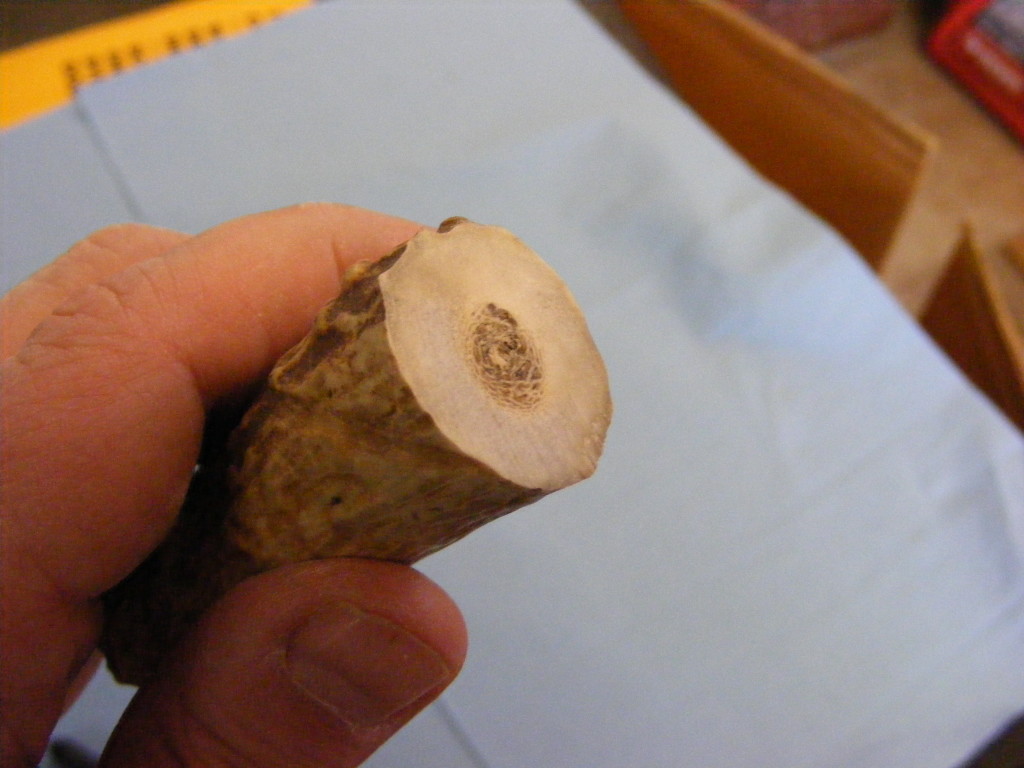
Step 2 – Cut out a section of antler for the handle. I chose an antler that had the typical color and character of great deer antlers. I followed the kit’s recommendations and cut out a section about 3.5 inches long. I purposely went to the base of the antler for it’s thickness. I highly recommend an antler thickness of 3/4 inch to 1 inch.
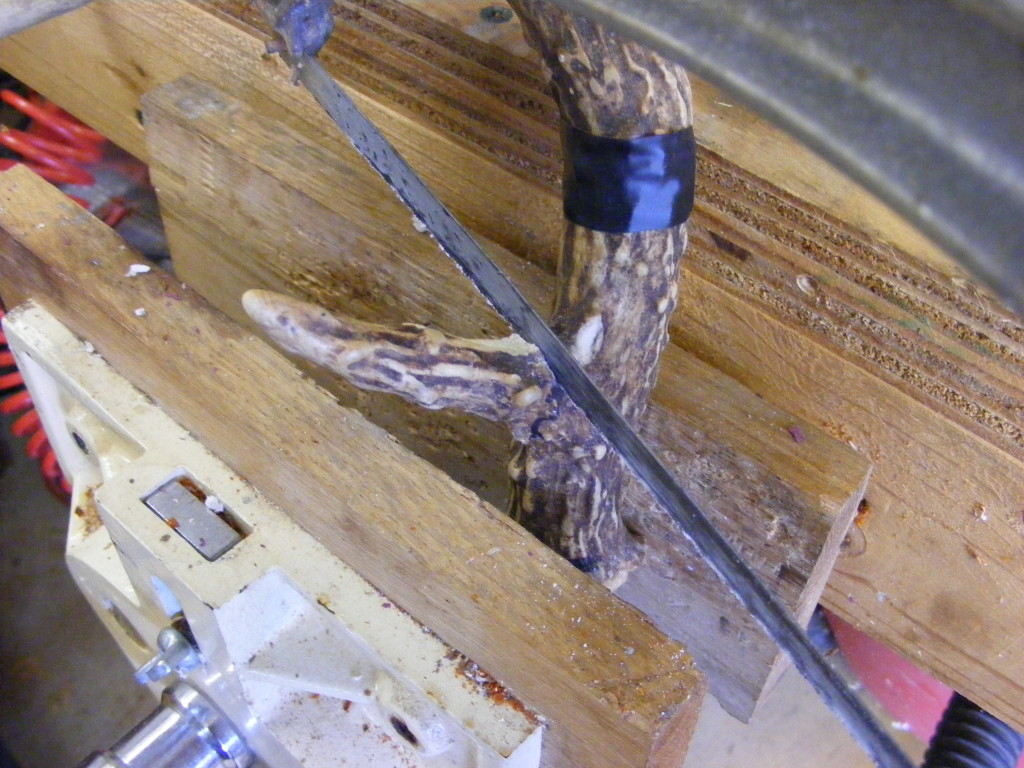
I used tape to create a uniform cutting guide around the entire antler. Then I clamped the antler down and made cuts with my hacksaw around the edge of the tape. I also cut off the middle tine, although it might have been cool to leave it on there. For some reason, I could just see me sitting on it — ouch!
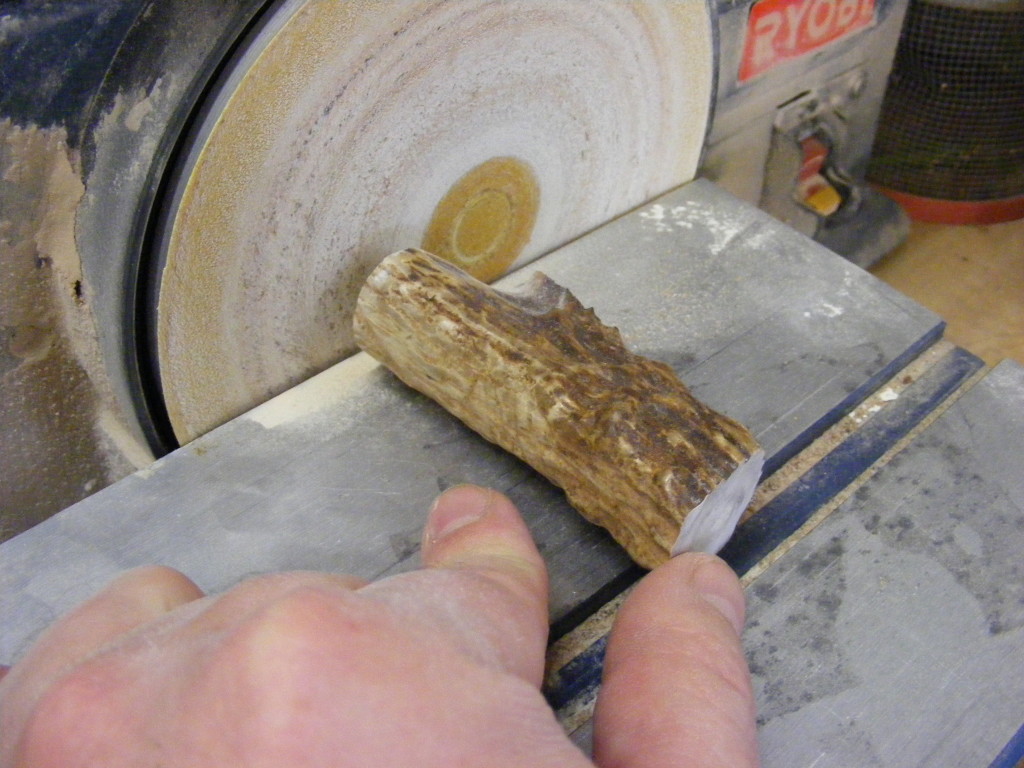
After cutting the antler, I took it over to the disc sander to make sure it was squared up like I wanted it. I also shaped around the tine that I cut off.
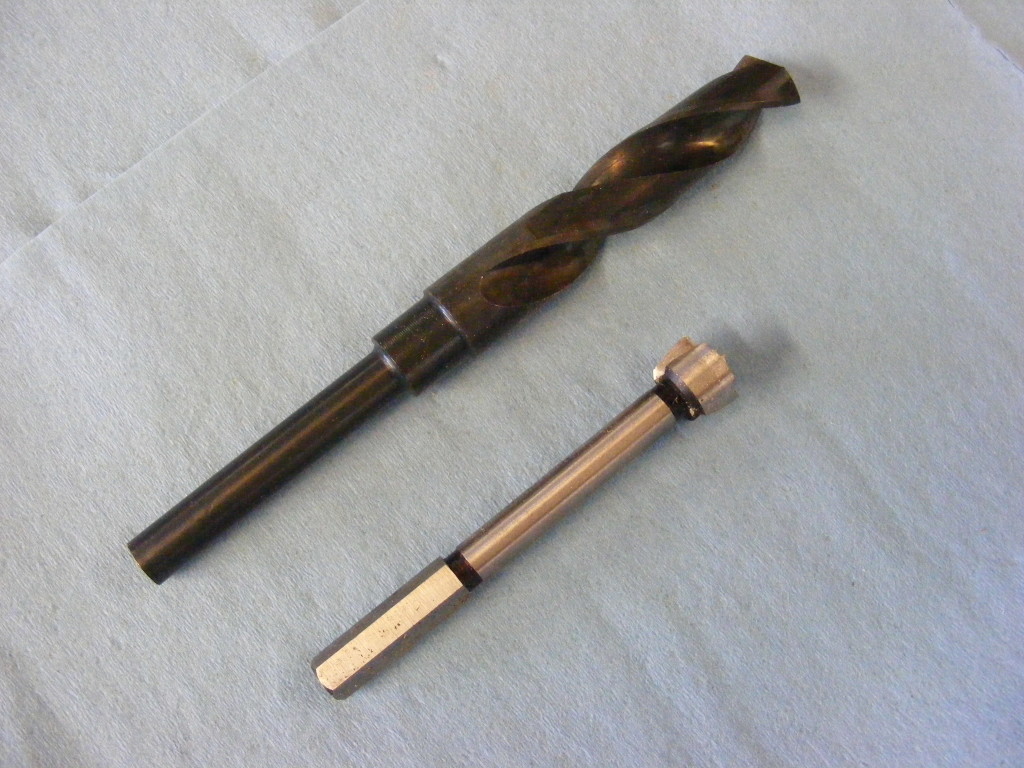
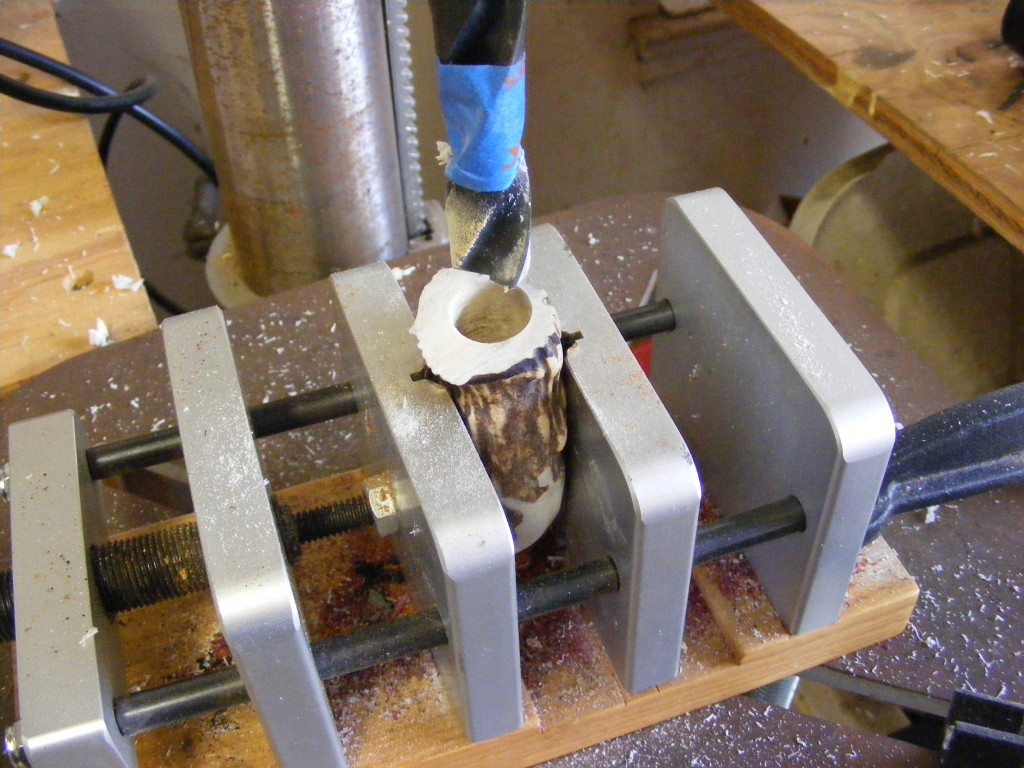
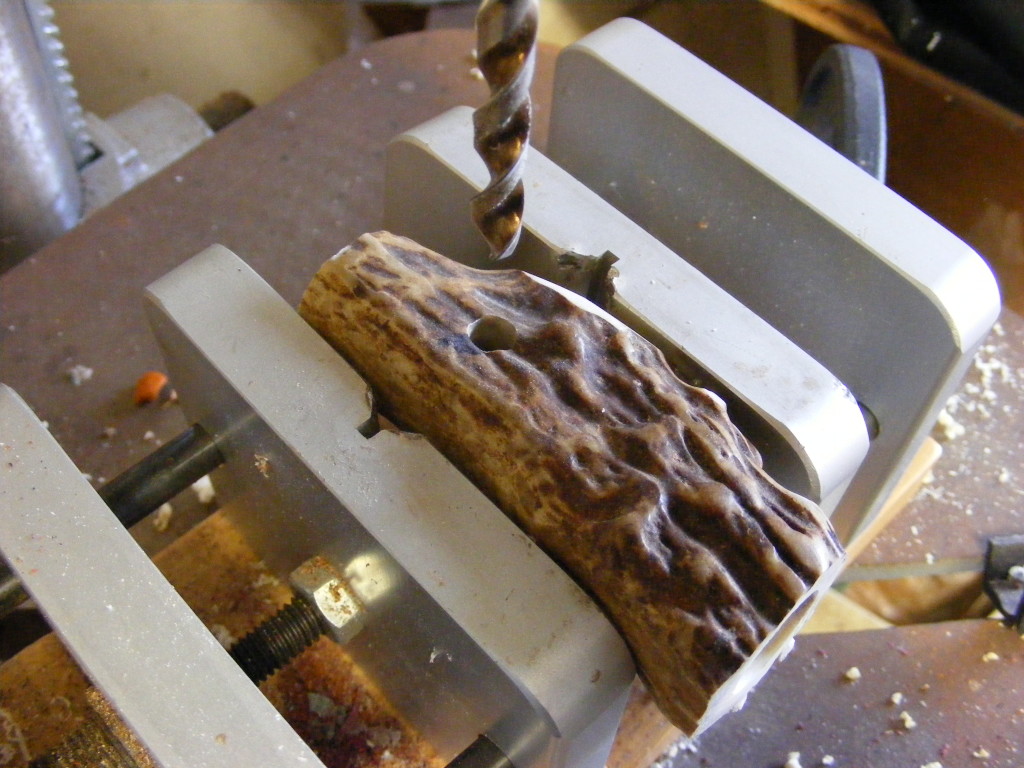
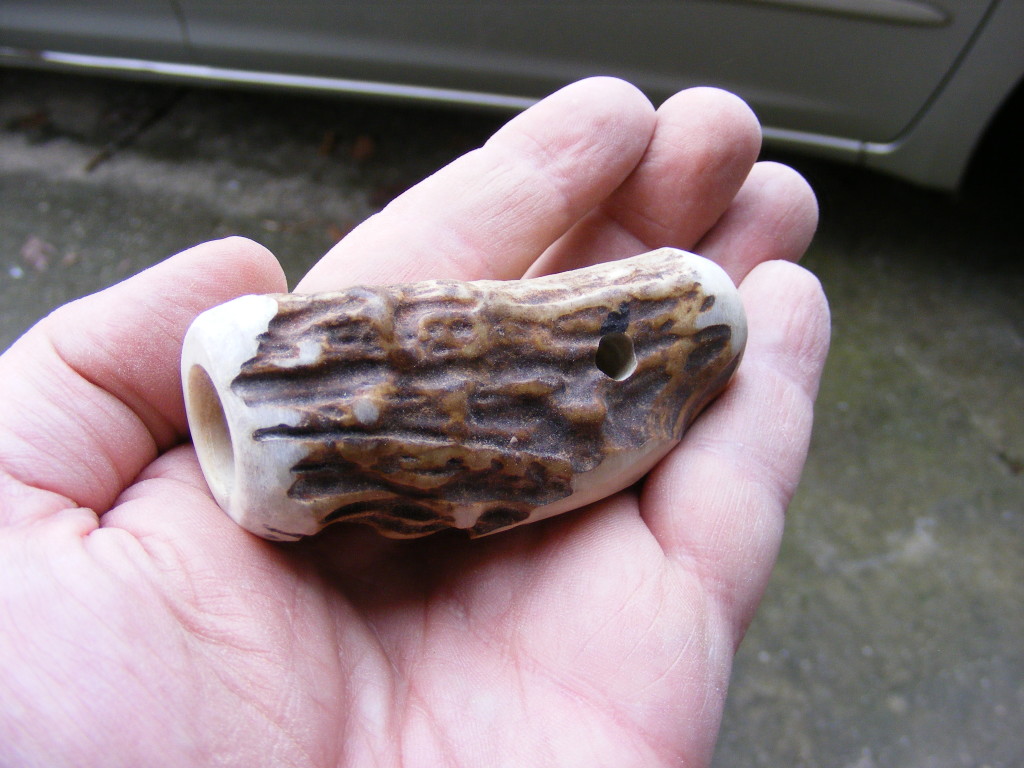
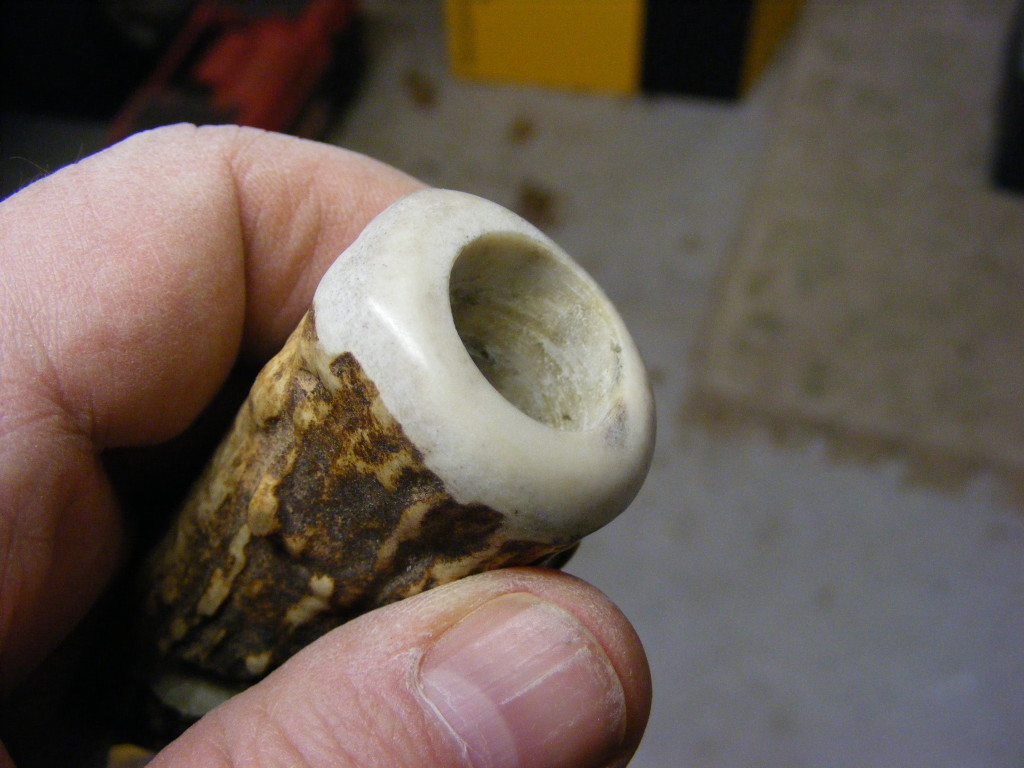
Step 3 – Drill the holes for the magnesium rod and compass. Using a 5/8 inch drill bit, drill down into the center of one antler end about 5/8 inch. Go slow and in and out with the bit so as not to overheat the bit and antler. I used some masking tape on the bit to tell me when I reached the correct depth. Make sure you have the antler secured well in some type of vise or clamp for all drilling operations. And, don’t forget to wear a respirator and safety glasses.
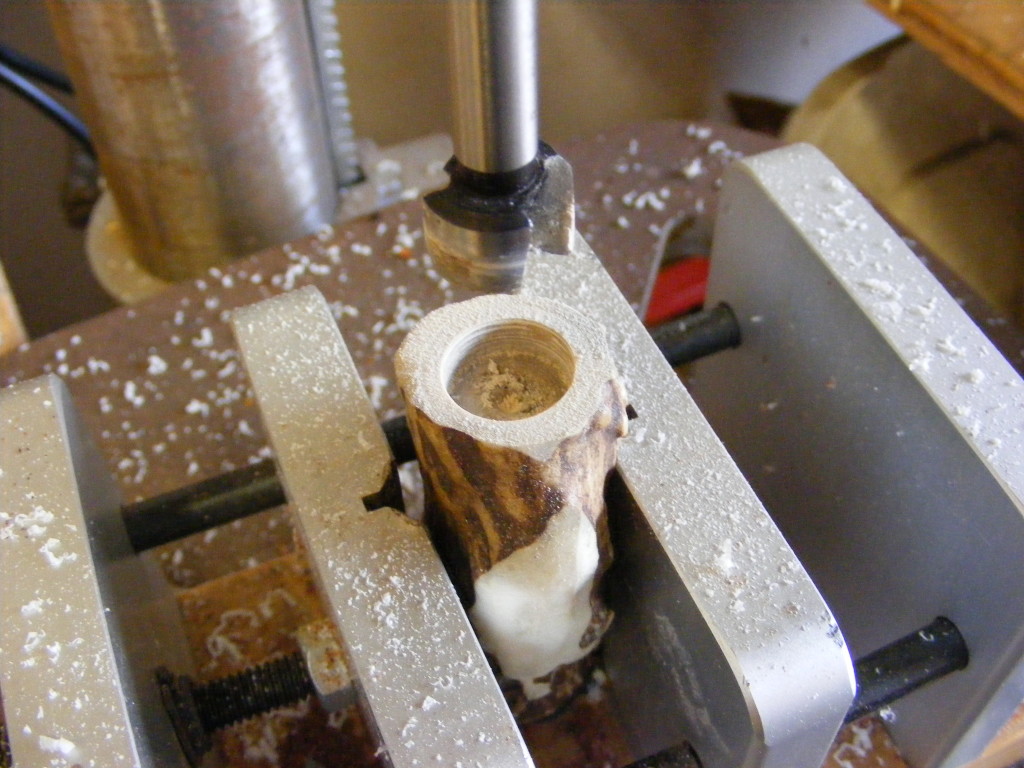
Next, turn the antler around and drill the 15 mm (or 19/32 inch) hole down to the depth of 1/4 inch.
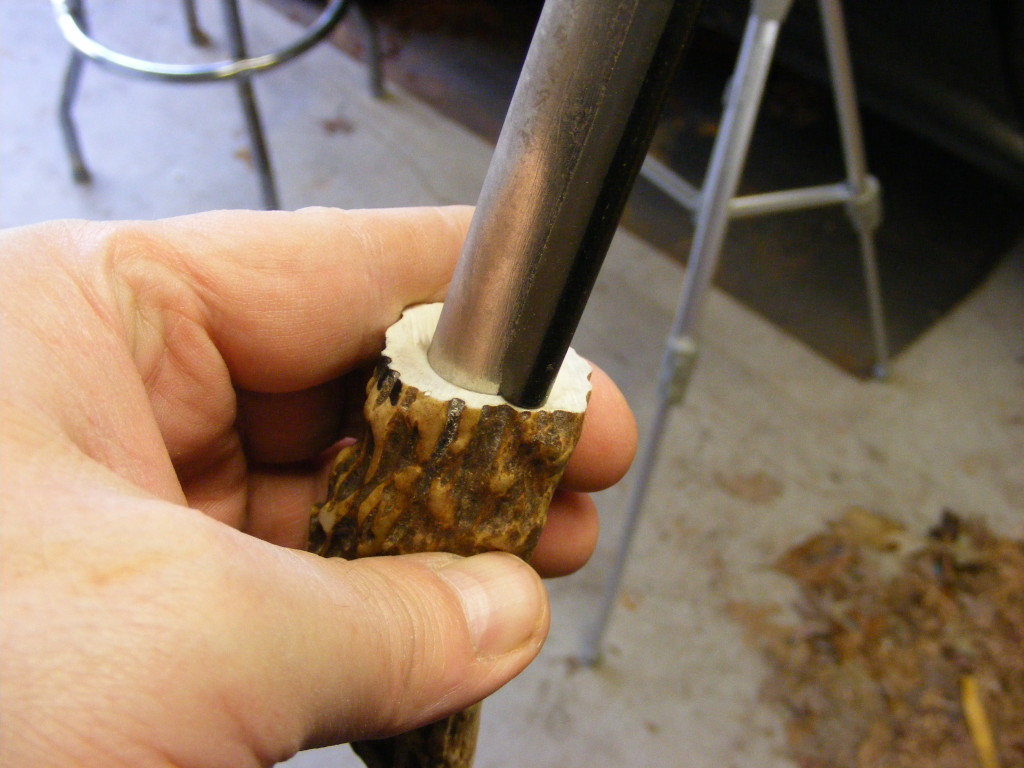
Finally, make sure your holes are clean and check to see that the magnesium rod and compass both fit nicely in the holes. Definitely check for fit before you perform the glueing step.
Step 4 – Drill the hole for the leather strap. The leather strap will attach to the fire striker on one end and the fire starter handle on the other. That way you won’t lose it or they won’t get separated. Use a 1/4 inch drill bit and drill through the handle, perpendicular to the other holes. Come down 1 inch from the compass side of the handle and drill the 1/4 hole. Check the hole for cleanness and see if the strap will feed through okay.
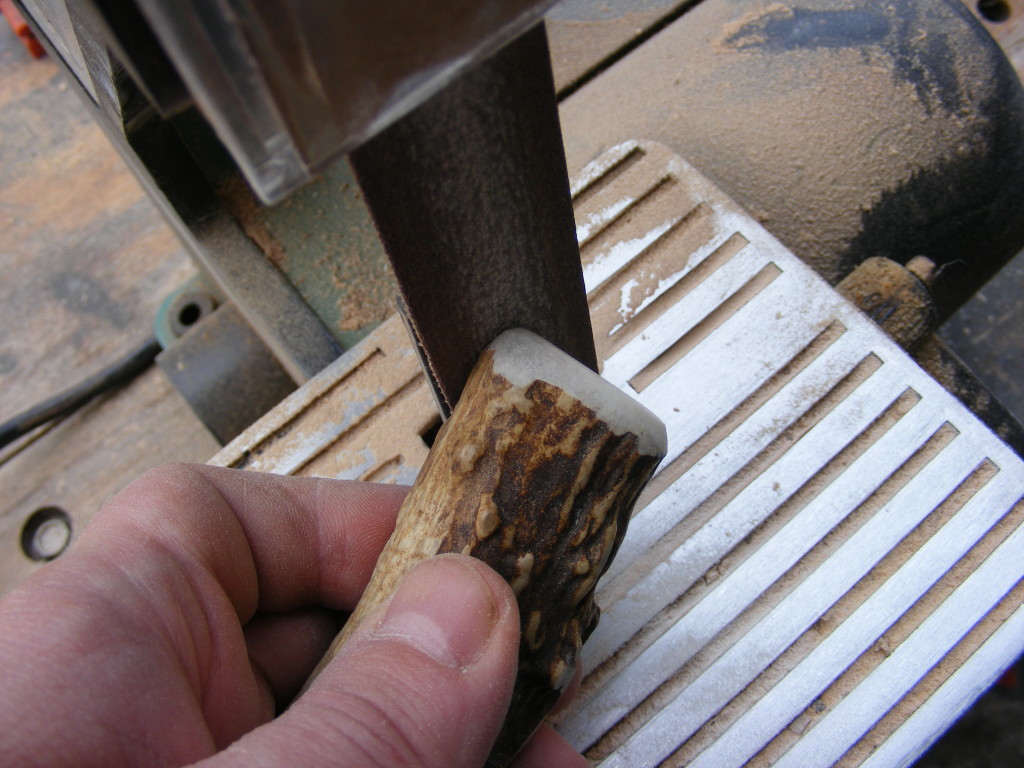
Step 5 – Do some final sanding and shaping. I didn’t want my antler handle to have any sharp edges that would cut me or chip, so I used my 1 inch belt sander to round off those edges. I also smoothed out the area where I cut off the tine. I focus my sanding ONLY on the cut parts of the antler. I didn’t sand the rest of the antler body, because I wanted to preserve Mother Nature’s beautiful work.
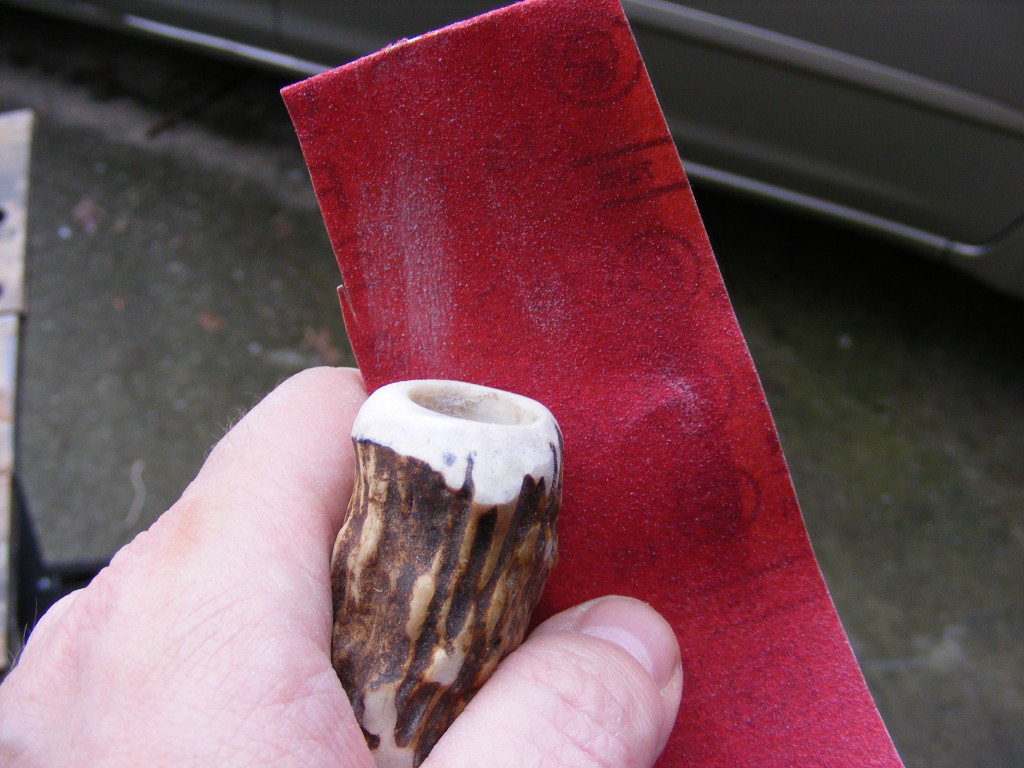
Next, I used 120 grit, 220 grit, and 500 grit sandpaper to hand sand the antler — JUST the cut parts and edges. Keep going with the finest grit sandpaper you have and the antler will take on a nice polished appearance. If you have some Micro Mesh pads, that’s even better.
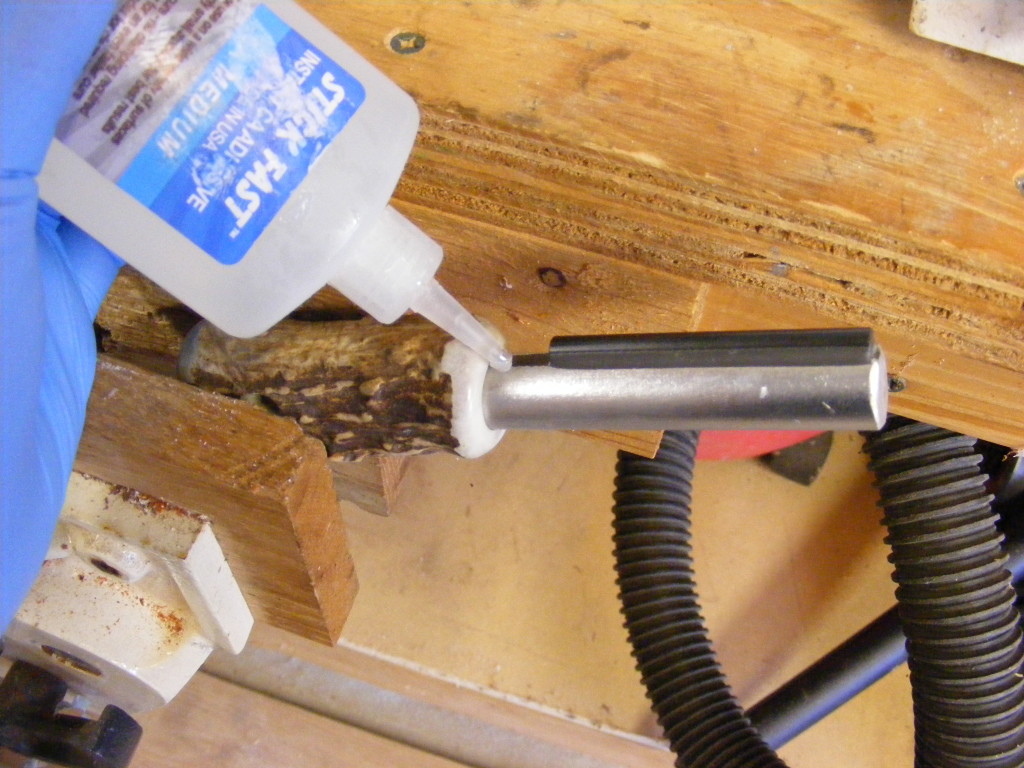
Step 6 – Glue on the magnesium rod and compass. Make sure you clean any debris out of the holes. Put on some nitrile gloves to protect your skin. Apply some CA glue in the 5/8 inch hole and apply some around the base of the magnesium rod. Twist it into the hole so the glue will get evenly distributed. Push it all the way in until the flint rod (already attached to the magnesium) touches the antler. Wipe away excess glue with a paper towel. Remember that CA glue dries quickly so make sure everything fits properly first and move fairly quickly getting the magnesium rod in place. Allow a few minutes to dry.
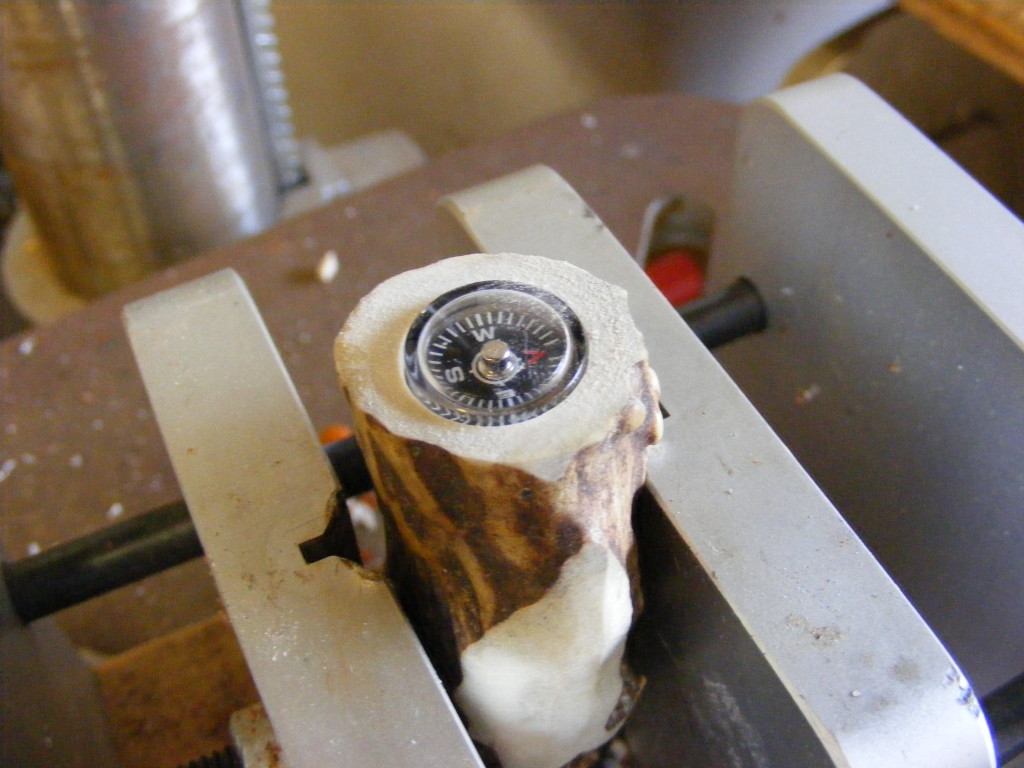
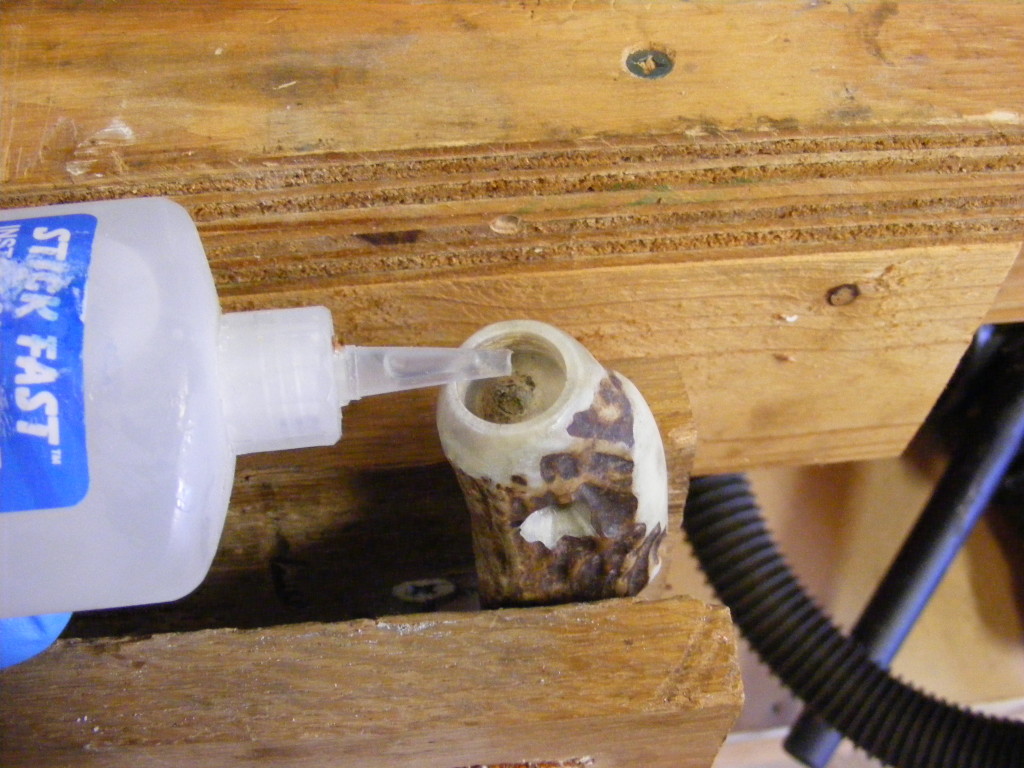
Next, glue the compass in place. Place 2 – 3 drops of glue in the hole and push down on the compass. Wipe away any excess with a paper towel.
I would recommend allowing the fire starter and compass to dry for about an hour or two before using it — even though the CA glue will set up within minutes.
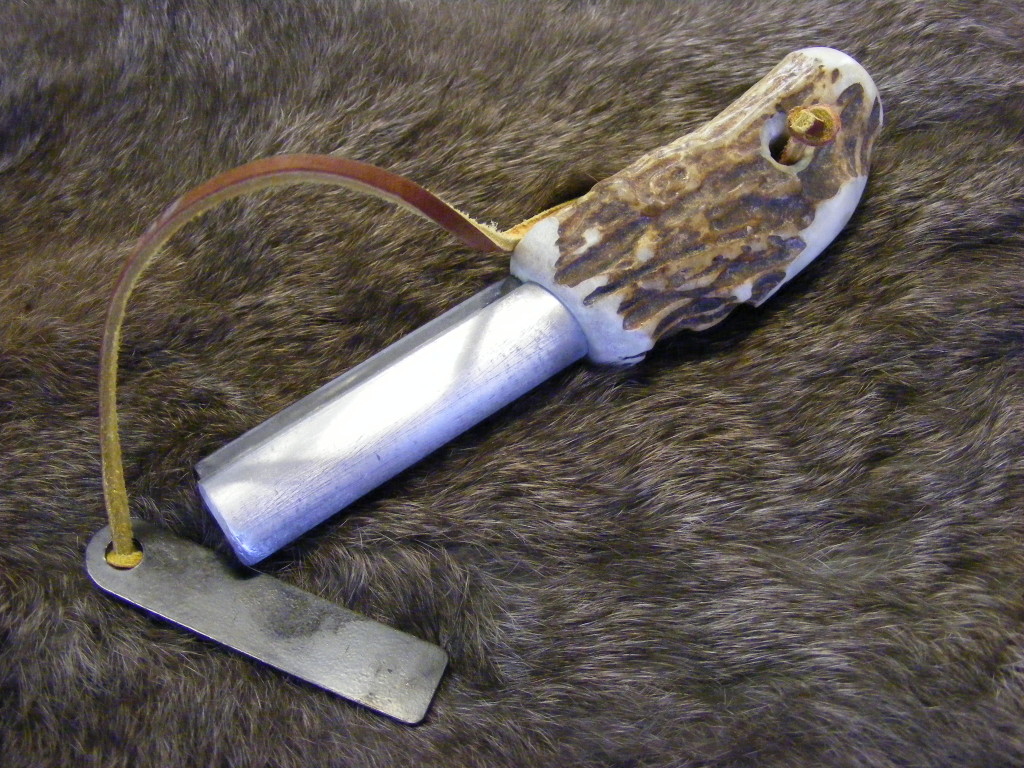
Step 7 – Attach the leather strap. Thread one end of the strap through the striker and tie an overhand stopper knot. Feed the other end through the hole in the handle and tie another overhand stopper knot.
Wow! That was easy. Well, I hope you found the tutorial fairly easy. Some drilling, cutting, and glueing. That’s about all there is to making this fine fire starter. Now, I can’t wait to try it out.
How to use the fire starter:
Set the tip of the rod down on your tender with the flint rod facing up.
Place the striker between your forefinger and thumb and slide forcibly down the flint rod toward the tender. By using this technique, the sparks will stay concentrated in one spot and won’t cool off quickly.
You should see some sizable sparks coming off the end of the flint rod and going into your tender. Sparks should ignite the tender and then add your already prepared kindling. Here is a great video from Survival Lilly called How To Use A Firesteel.
Use the Magnesium in wet or windy conditions. Simply scrape the Magnesium into shavings with a knife or the sharp edge of the striker. Pile these shavings up and use the flint rod to set on fire. The Magnesium will burn at about 5400 degrees.
Don’t allow children or inexperienced people to use this because of the fire hazard. And only use outdoors, under the right conditions and for the intended purpose. Practice your woodsman skills and tend your fire properly and safely.
Good luck with your newly made fire starter. I hope you get some good use out of it. Please drop me a line on how it works or send me some pics.
God bless,
Scott

Are you starting up a new shop? Want to work safer in your shop? To help you answer these questions I've put together a 2-part checklist -- Home Shop Safety & Tool Checklist.
I will also send you updates of my latest woodworking and DIY projects. You can get all this by subscribing to my free email newsletter.



1 thought on “Fire Starter Kit and How to Make It”
Comments are closed.