Pen Turning 101
Perhaps you’ve just retired and you’re looking for a fulfilling hobby to stay creative and productive. Perhaps you’re looking for a distraction from a busy, hectic life. Maybe you’d like to explore an additional income stream. All of these are valid reasons to turn to pen turning.
I’ve been turning pens now for over 10 years. I still get a kick out of creating beautiful unique writing instruments. The pen supply companies continue to supply new pen designs, which of course, feeds my passion.
This article will give you some steps and tips for breaking into pen turning. It is an overview, so I won’t dive into all the details. I hope the article will inspire you to pick up the hobby and then share the hobby with others.
It might help if you first review my short, picture-driven article on how to make a wooden pen.
You might also want to check out my new Pen Turning 101 YouTube video series:
Skill level needed
I was a complete novice to wood turning. I didn’t attend any schools, but I did read some books and watch a couple of DVDs. I started making pens using Slimline pen kits and had good results almost immediately. Honestly, it doesn’t take a high level of woodworking skills. But you can advance to more complicated pen turning that requires more experience and more techniques.
Tools & equipment you need to get started

The biggest expense is a wood lathe. A nice one will probably cost you $300 or more. I’ve written a separate article on selecting a wood lathe if you want more details. I purchased a JET mini-lathe and it’s worked well for me over the years.
Of course you need some basic safety gear like safey glasses or a face shield, and a good dust mask. Ear plugs are good too if you will be exposed to loud noises from your equipment. The costs of these are minimal.
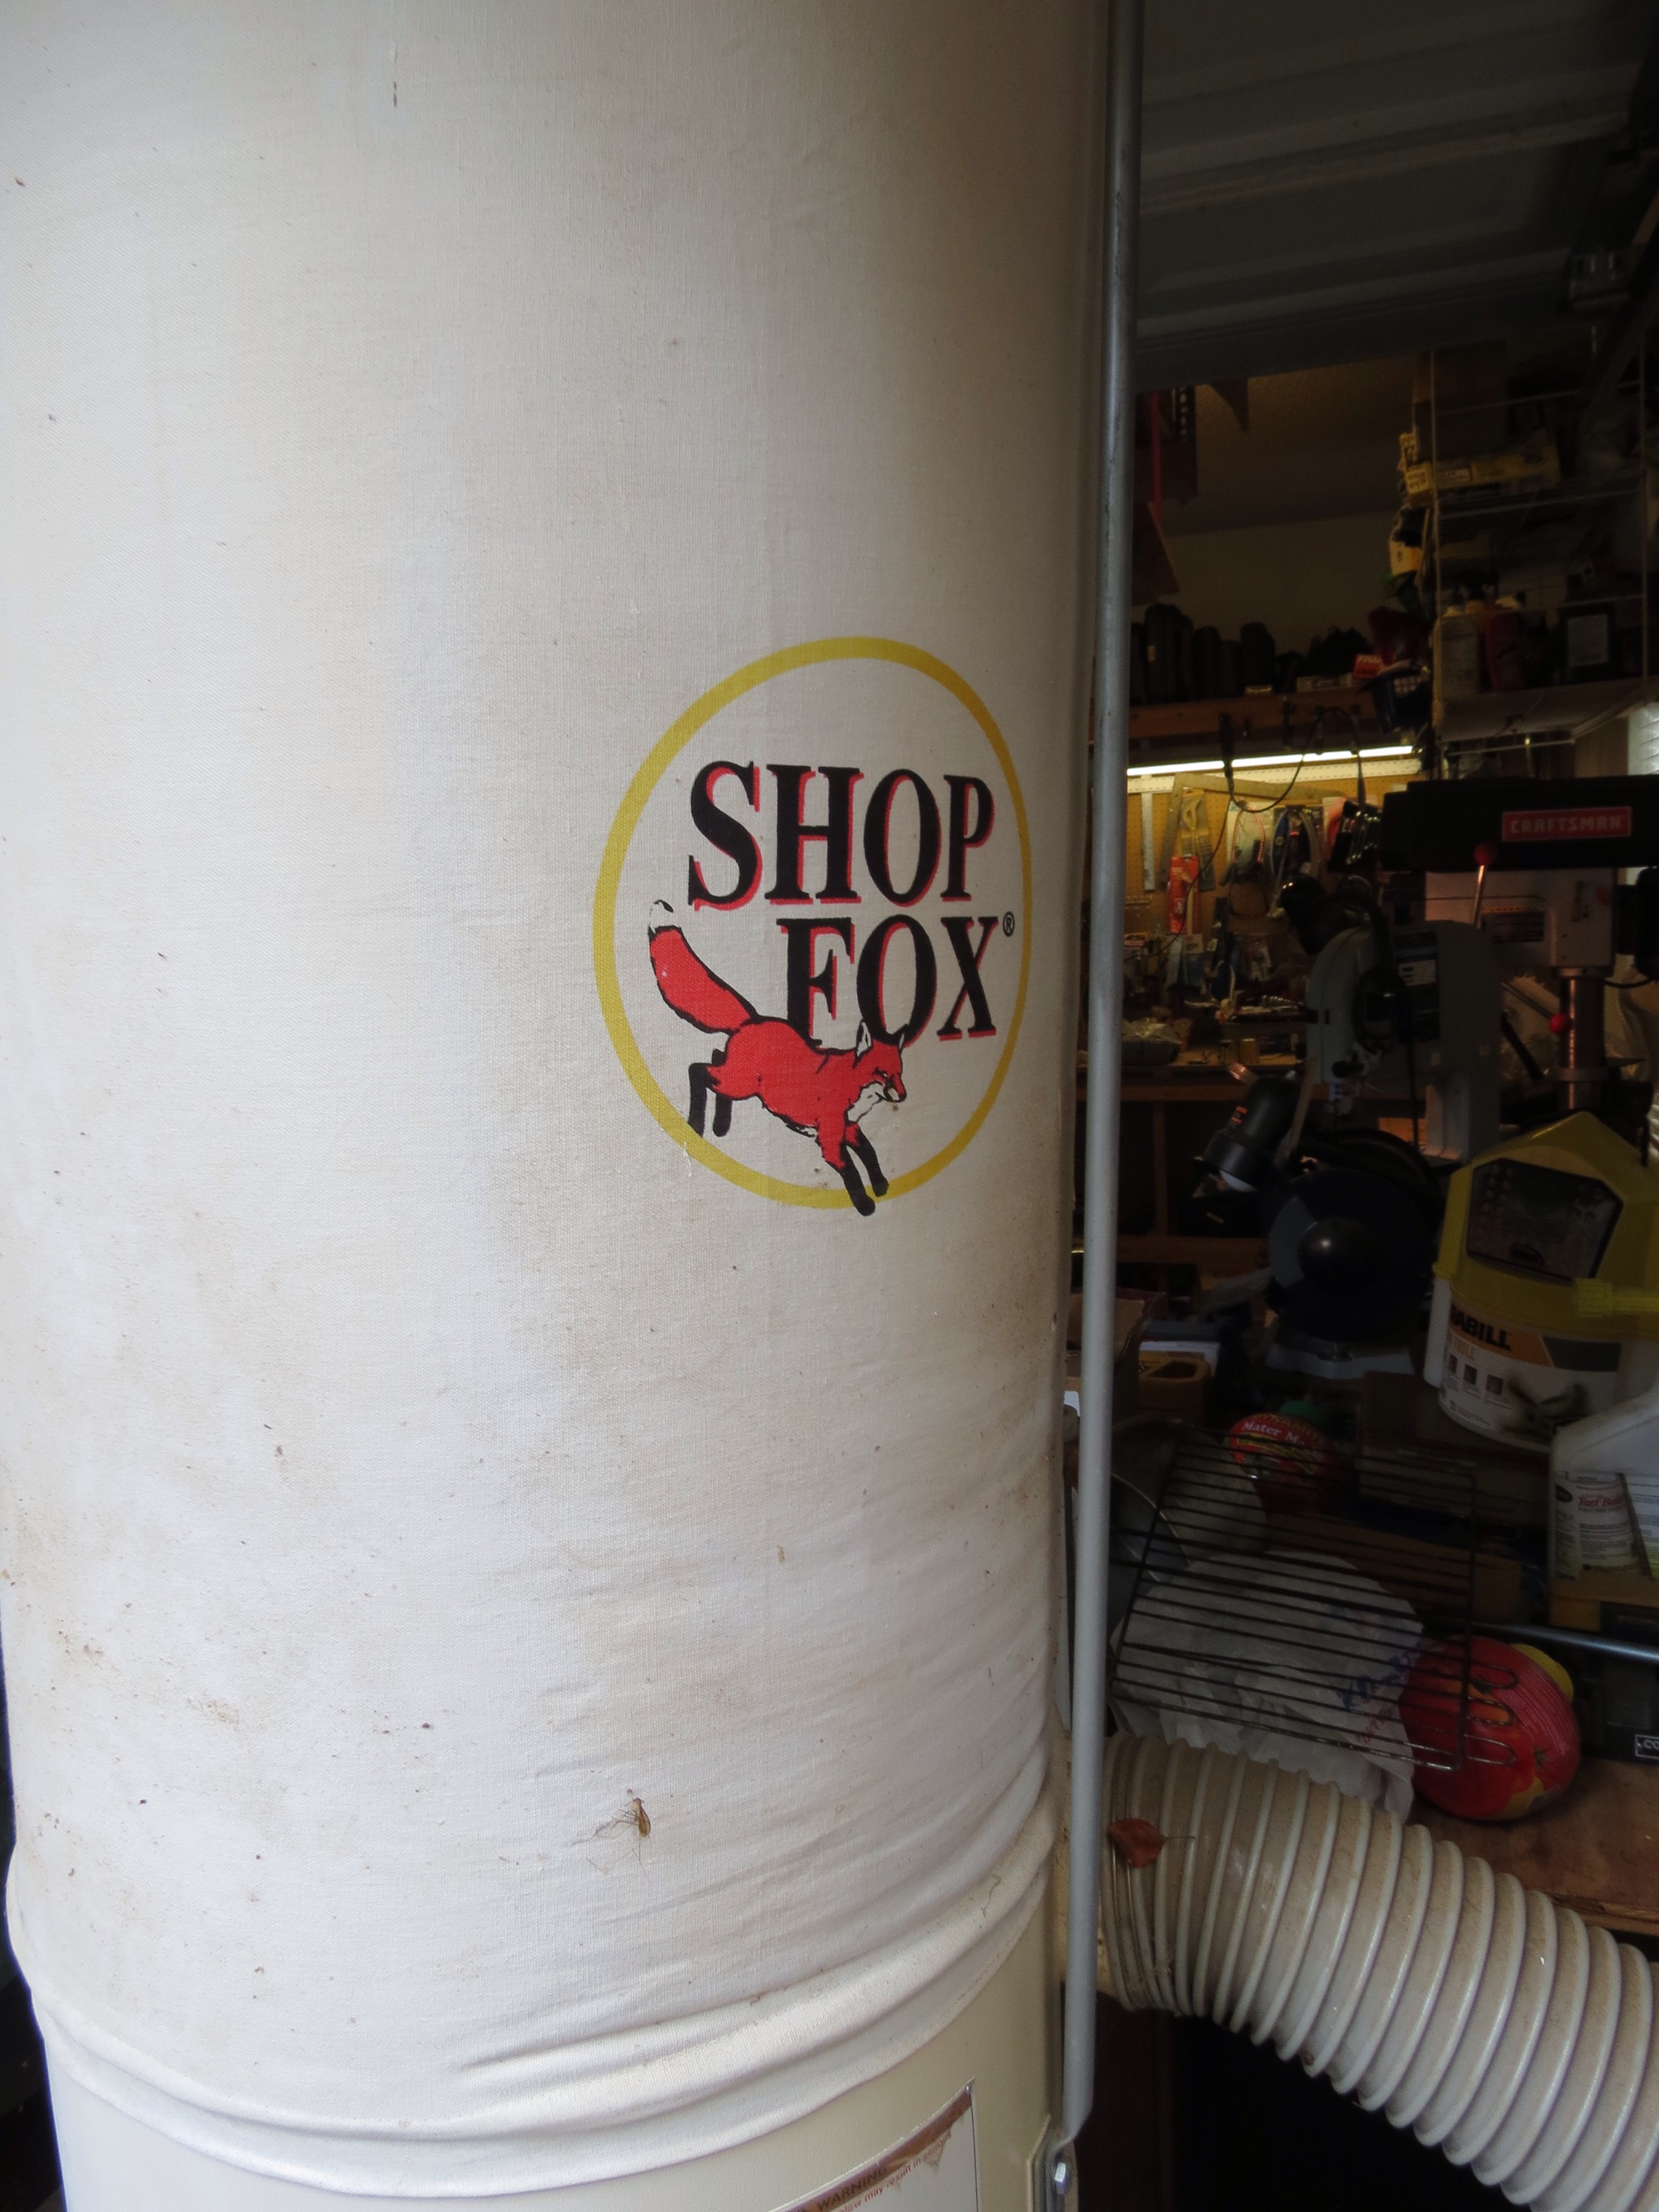
If you are planning on turning a lot of pens, I’d also recommend a dust collection system. You will probably want to turn some exotic woods (more on this later) and the dust from some exotic woods can be hazardous to your health. I own a Shop Fox dust collector (1 H.P.) and got it on sale for $200. I know that sounds expensive, but it’s well worth the investment. Shop around, because you might find something cheaper.
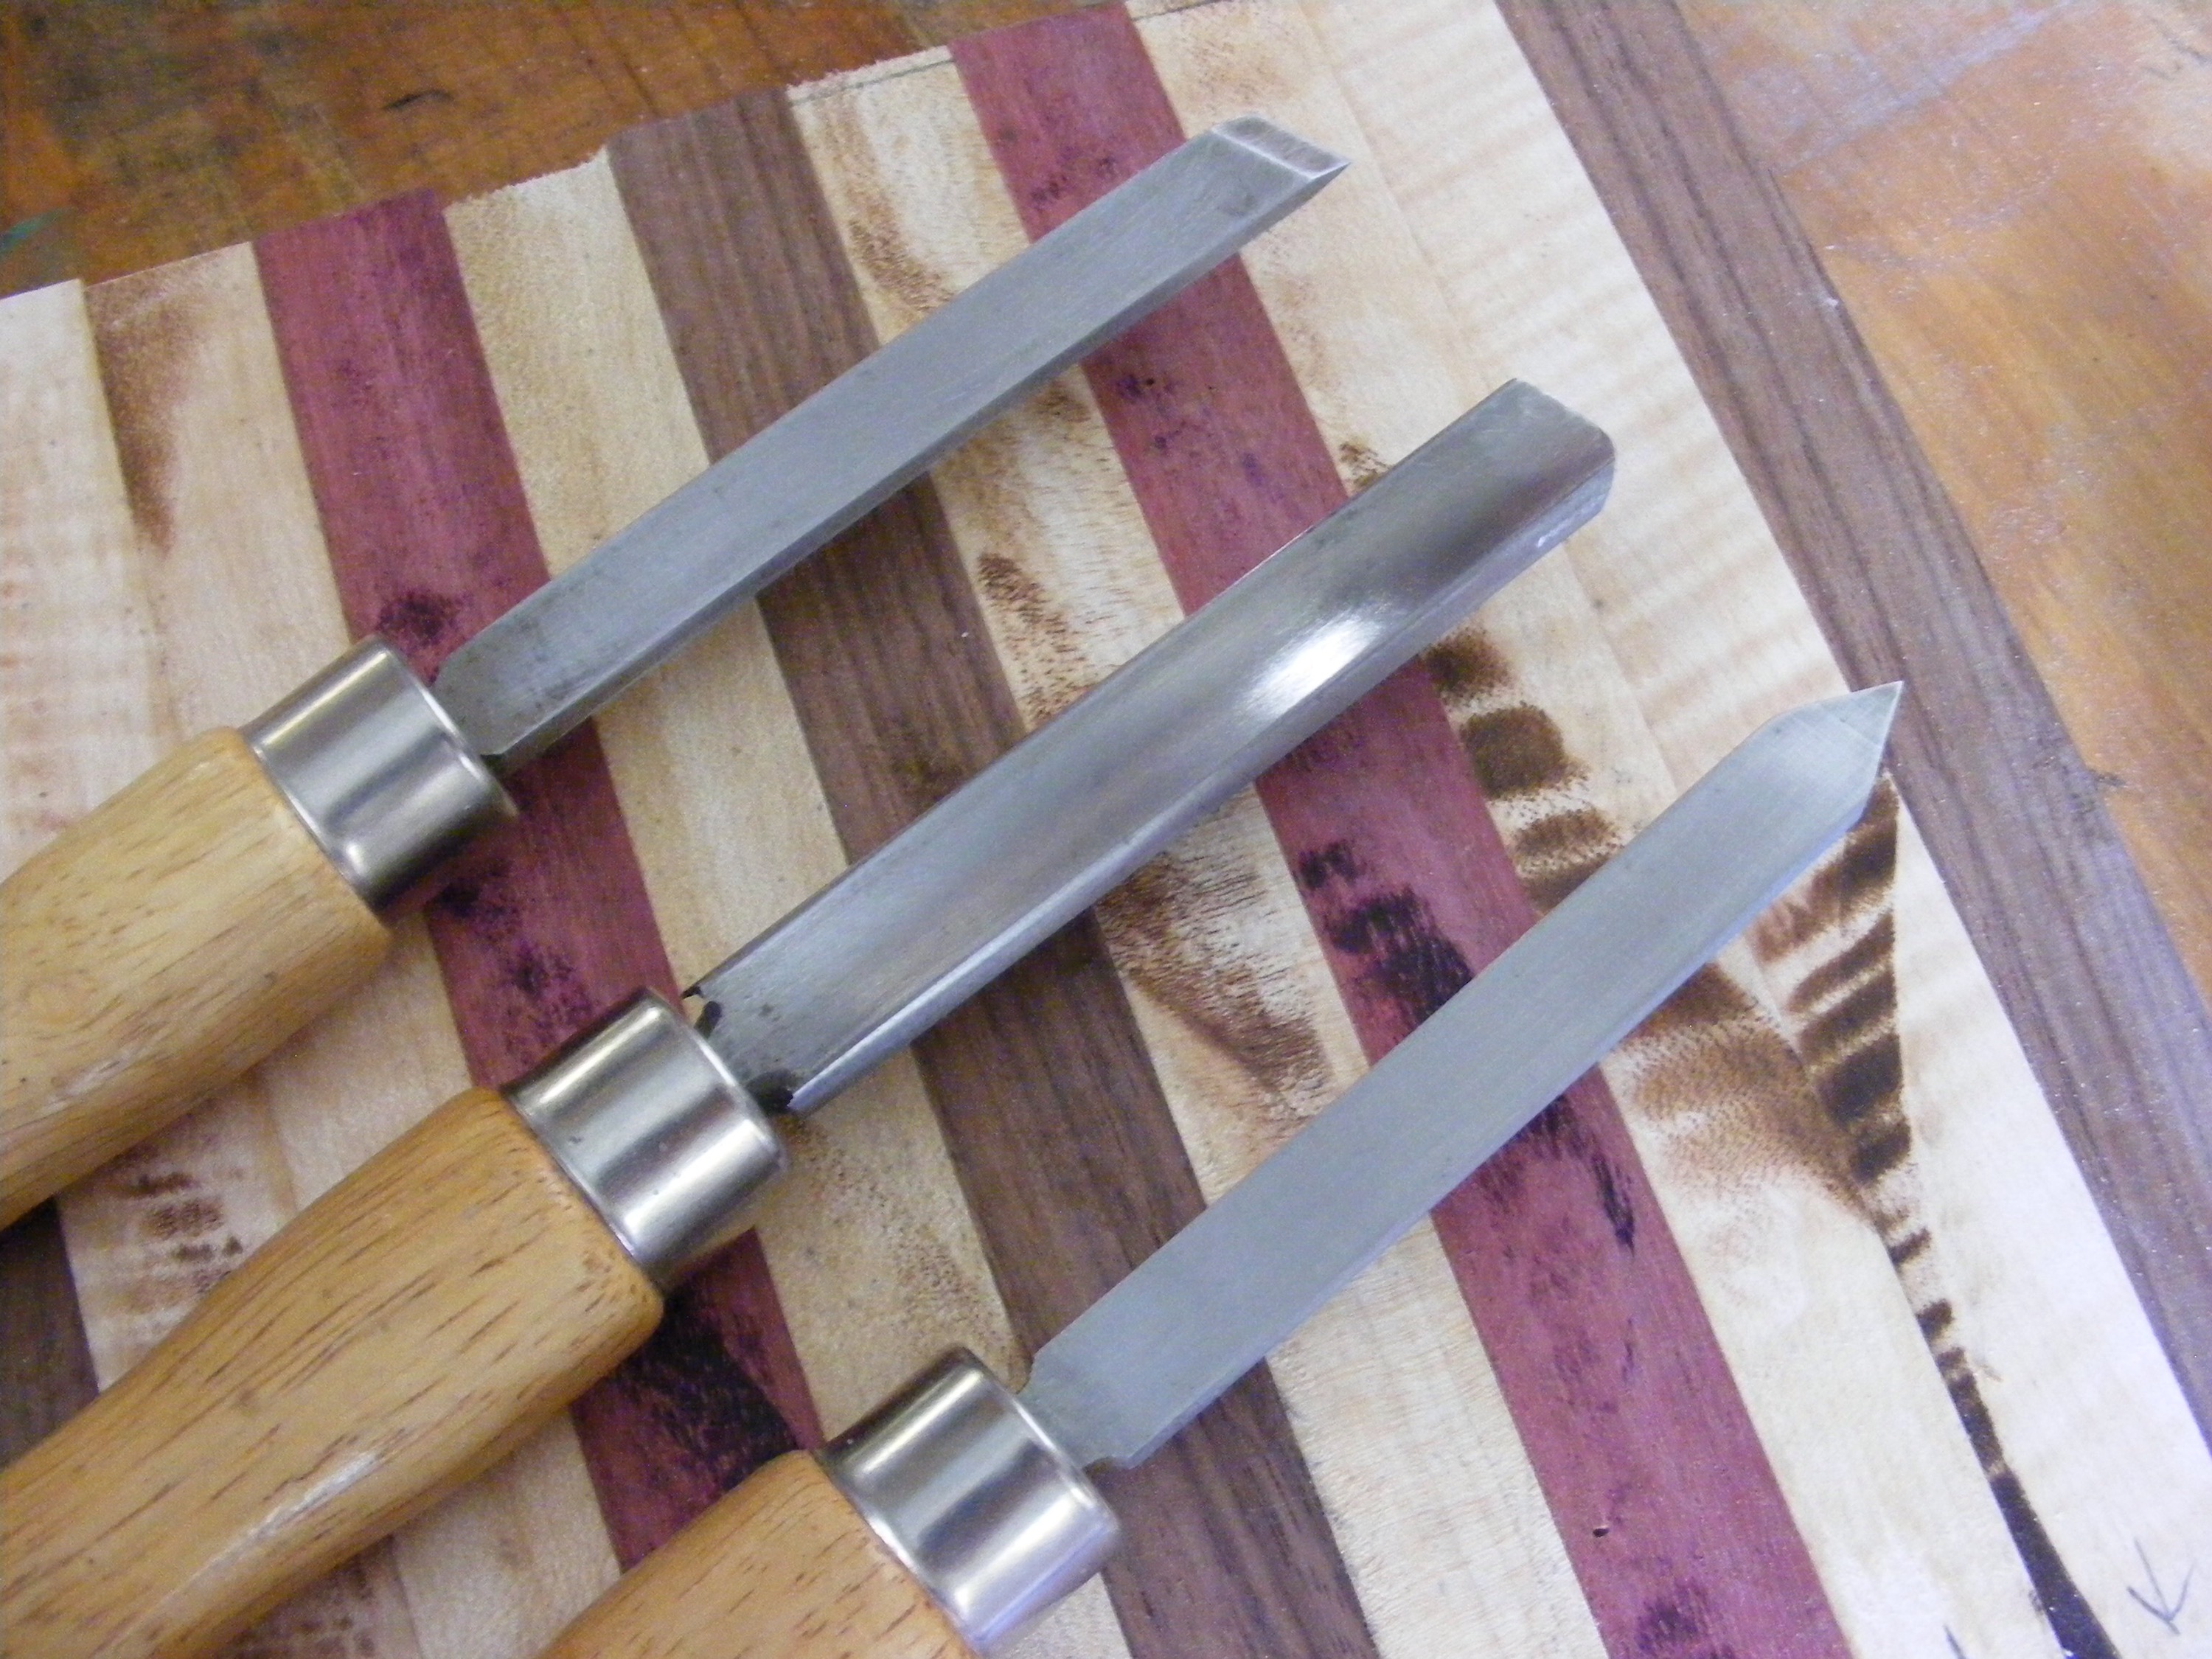
In order to turn the pens, you’ll need some basic chisels. Ninety percent of the time I use a gouge. I have three gouge sizes—small, medium, and large. I also use the skew and occasionally the parting tool. A good starter set of chisels for pen turning will cost around $70 to $100. Pictured above from top to bottom—the skew, the gouge, and the parting tool.
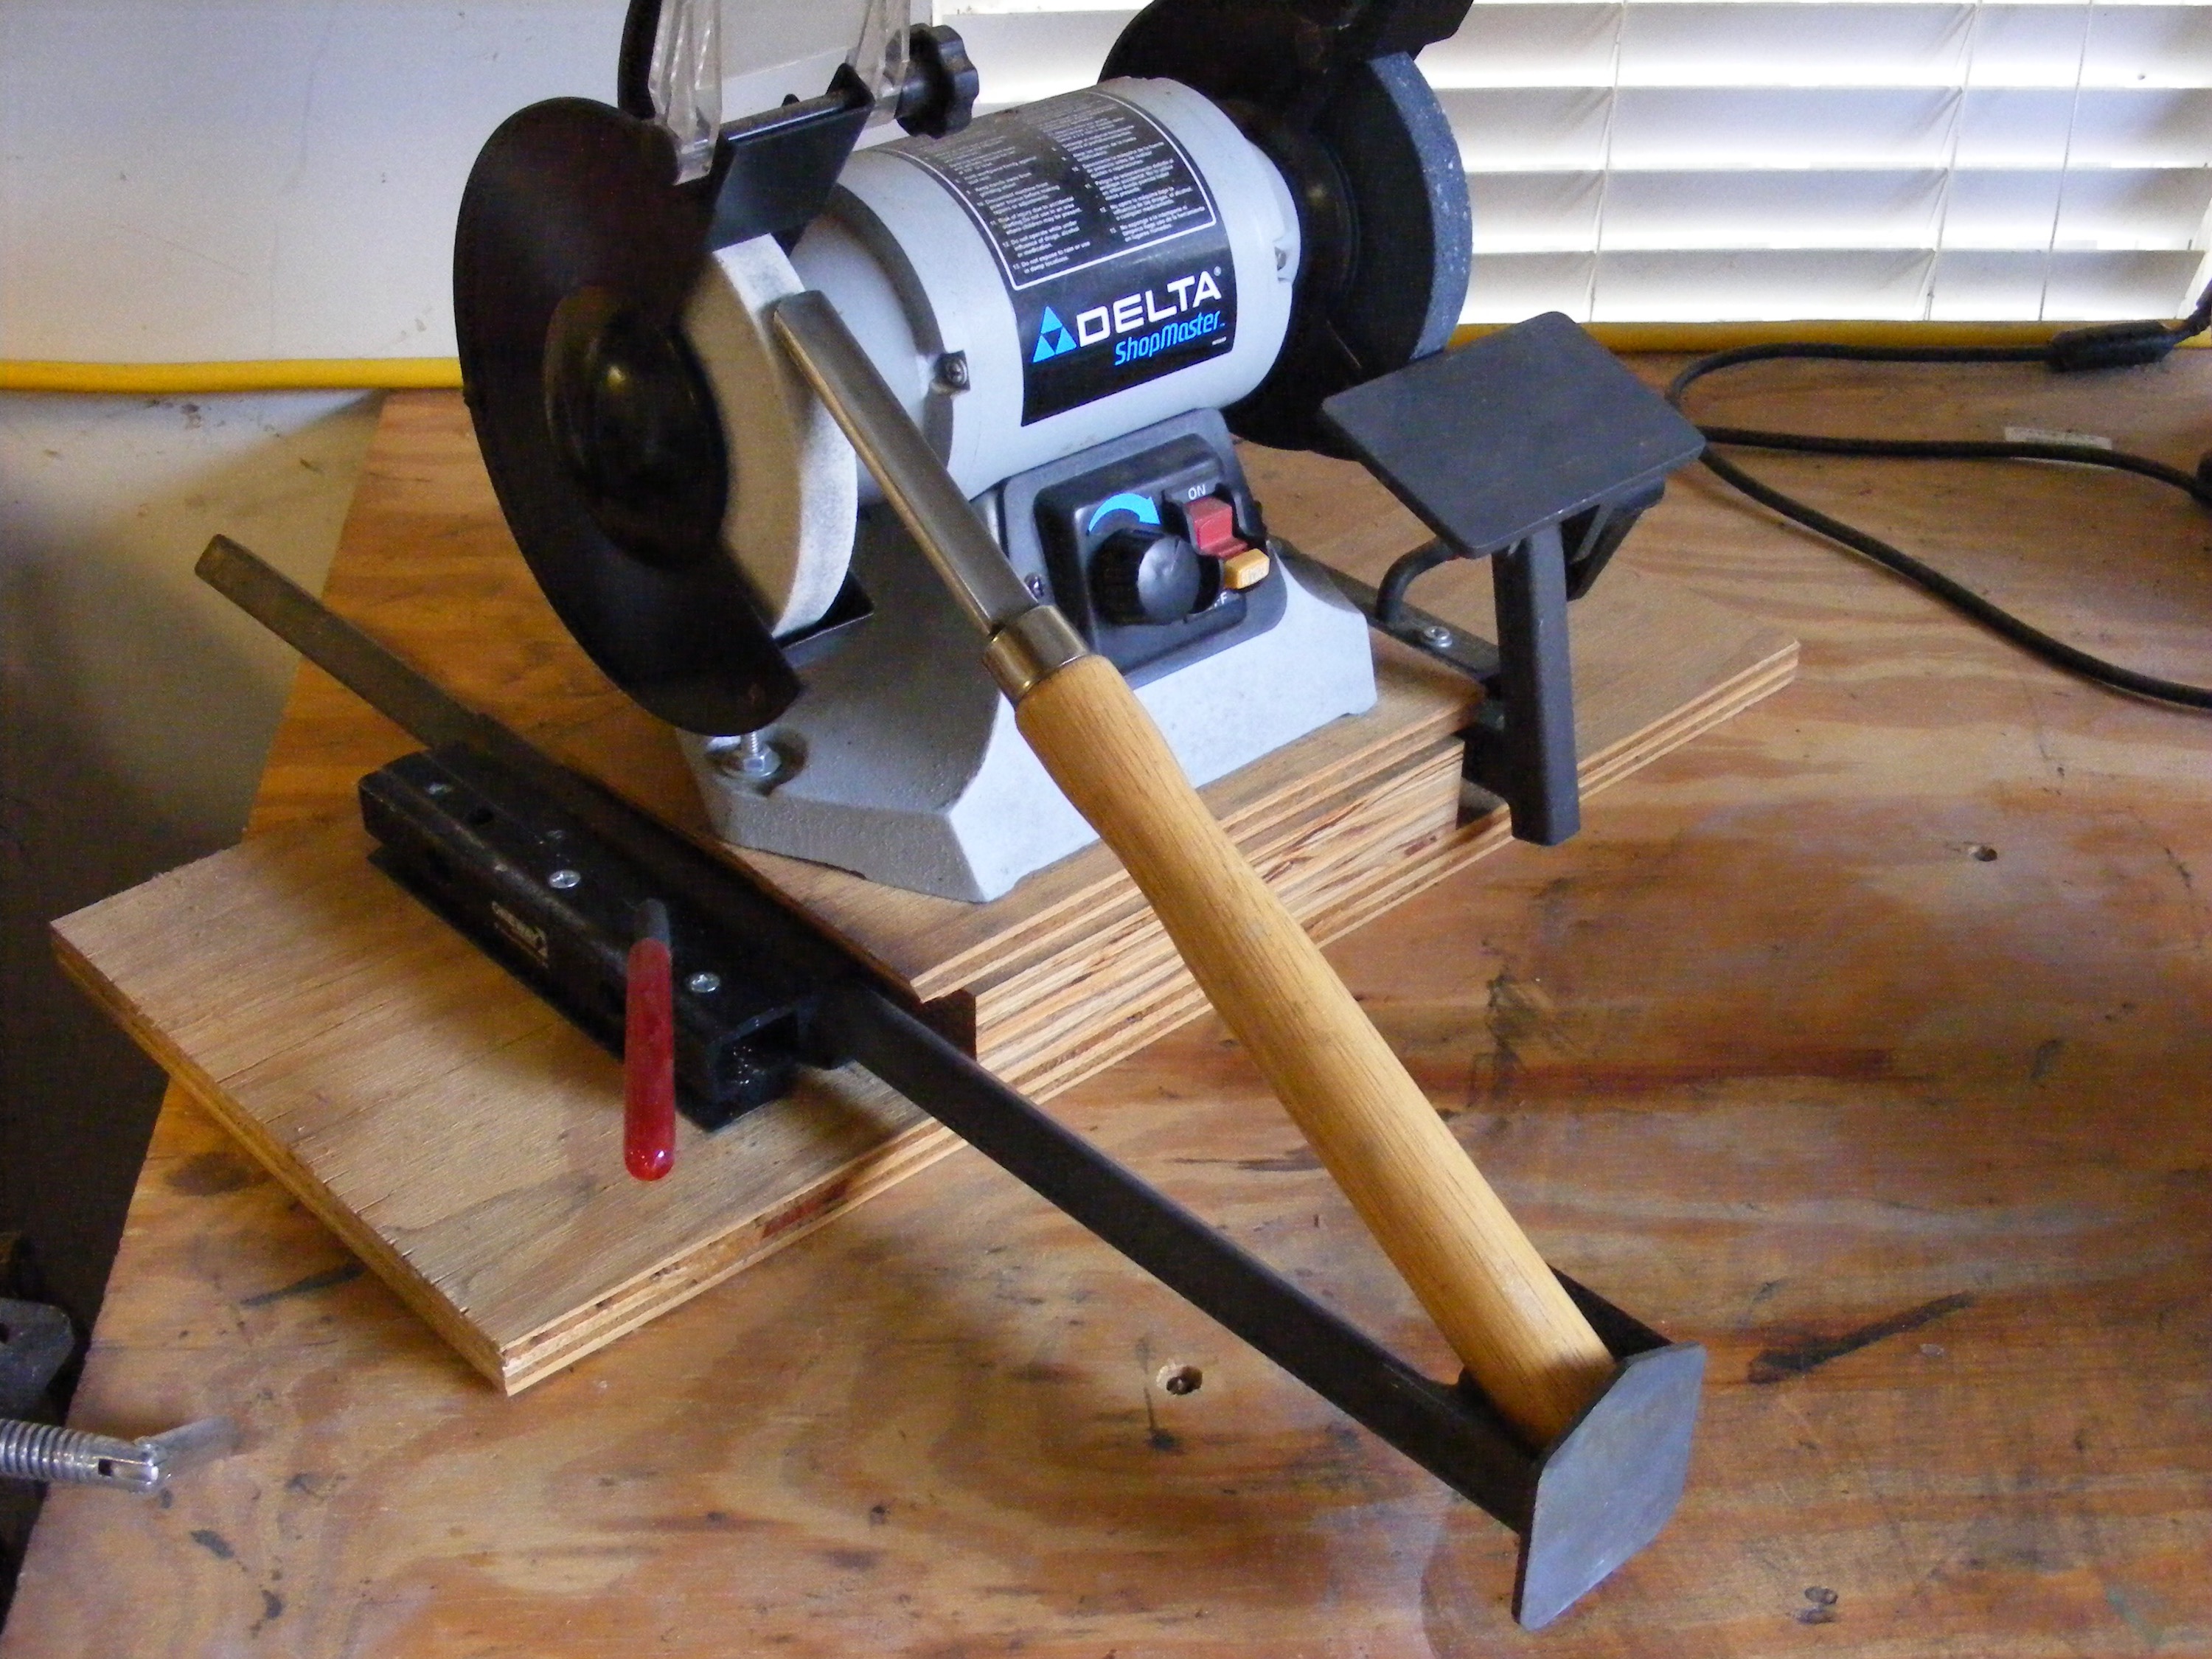
You’ll need a way to keep your chisels sharp. You can do this with a sharpening stone or a sharpening system. I already owned a Delta Shopmaster 6 inch grinder ($100), so I bought a grinding jig made by Wolverine ($90) which attaches to the base of the grinder. Some sharpening systems can be much more expensive than this. If you have more time on your hands and don’t mind it, you could use a sharpening stone or set of diamond tools which is a little cheaper.

Most people use a pen mandrel which mounts to your lathe, and it holds the pen blank(s) and bushings in place while you turn a pen. These costs somewhere around $20. I buy the majority of my pen turning accessories from either Woodcraft or Penn State Industries.

To square up the ends of your pen blanks you’ll need a barrel trimmer. They vary in size depending on kits and pen tube sizes. Go ahead and get a whole set for about $35.

A drill press comes in handy for making straight, clean holes in your pen blanks, but you can get by with a handheld, electric drill. I would highly recommend getting a drill press, because you can use it for so many other projects besides pen turning. I have a Craftsmen 15 inch drill press which cost me around $350. However, you can shop around and buy a bench-mounted drill press for a lot less.

Some type of saw for cutting your blanks. This can be done with a simple hand saw or an electric-powered saw. I use a Delta bench-mounted bandsaw, but I also use it for other projects.

Finally, you will need a way to assemble your pens. A simple vise will work, but you can purchase a special pen vise for around $30 to $40. A regular vise does the job well.
Finding Shop Space
The good news about pen turning is it requires very little shop space. The wood lathe itself will only take up a 2 ft. by 3 ft. space. My total shop space only takes up 1/3 of my garage. I’ve operated in a 6 ft. by 18 ft area for many years. That space has accomodated my lathe, my workbench, and all the tools mentioned above.
Pen materials and supplies

Another advantage to pen making is that you don’t need to invest in a large amount of wood blank materials. Exotic hardwooks make some very interesting looking pens. These woods would cost a lot in larger quantities, but you only need a piece that’s 3/4 inch by 3/4 inch by 6 inches long. And you can buy these pieces cheaply, already cut to that dimension. For a little more, you can even buy pieces that are pre-drilled. Here’s a tip—find a local cabinet shop, and they will probably give you their scrap hardwood pieces for free.
I also like to make pens from acrylic and antler, and these might cost a little more, but still it’s not a huge investment.
Another benefit is storage space needs. I only have two drawers where I store different exotic woods and native woods. That will last me for months to come.
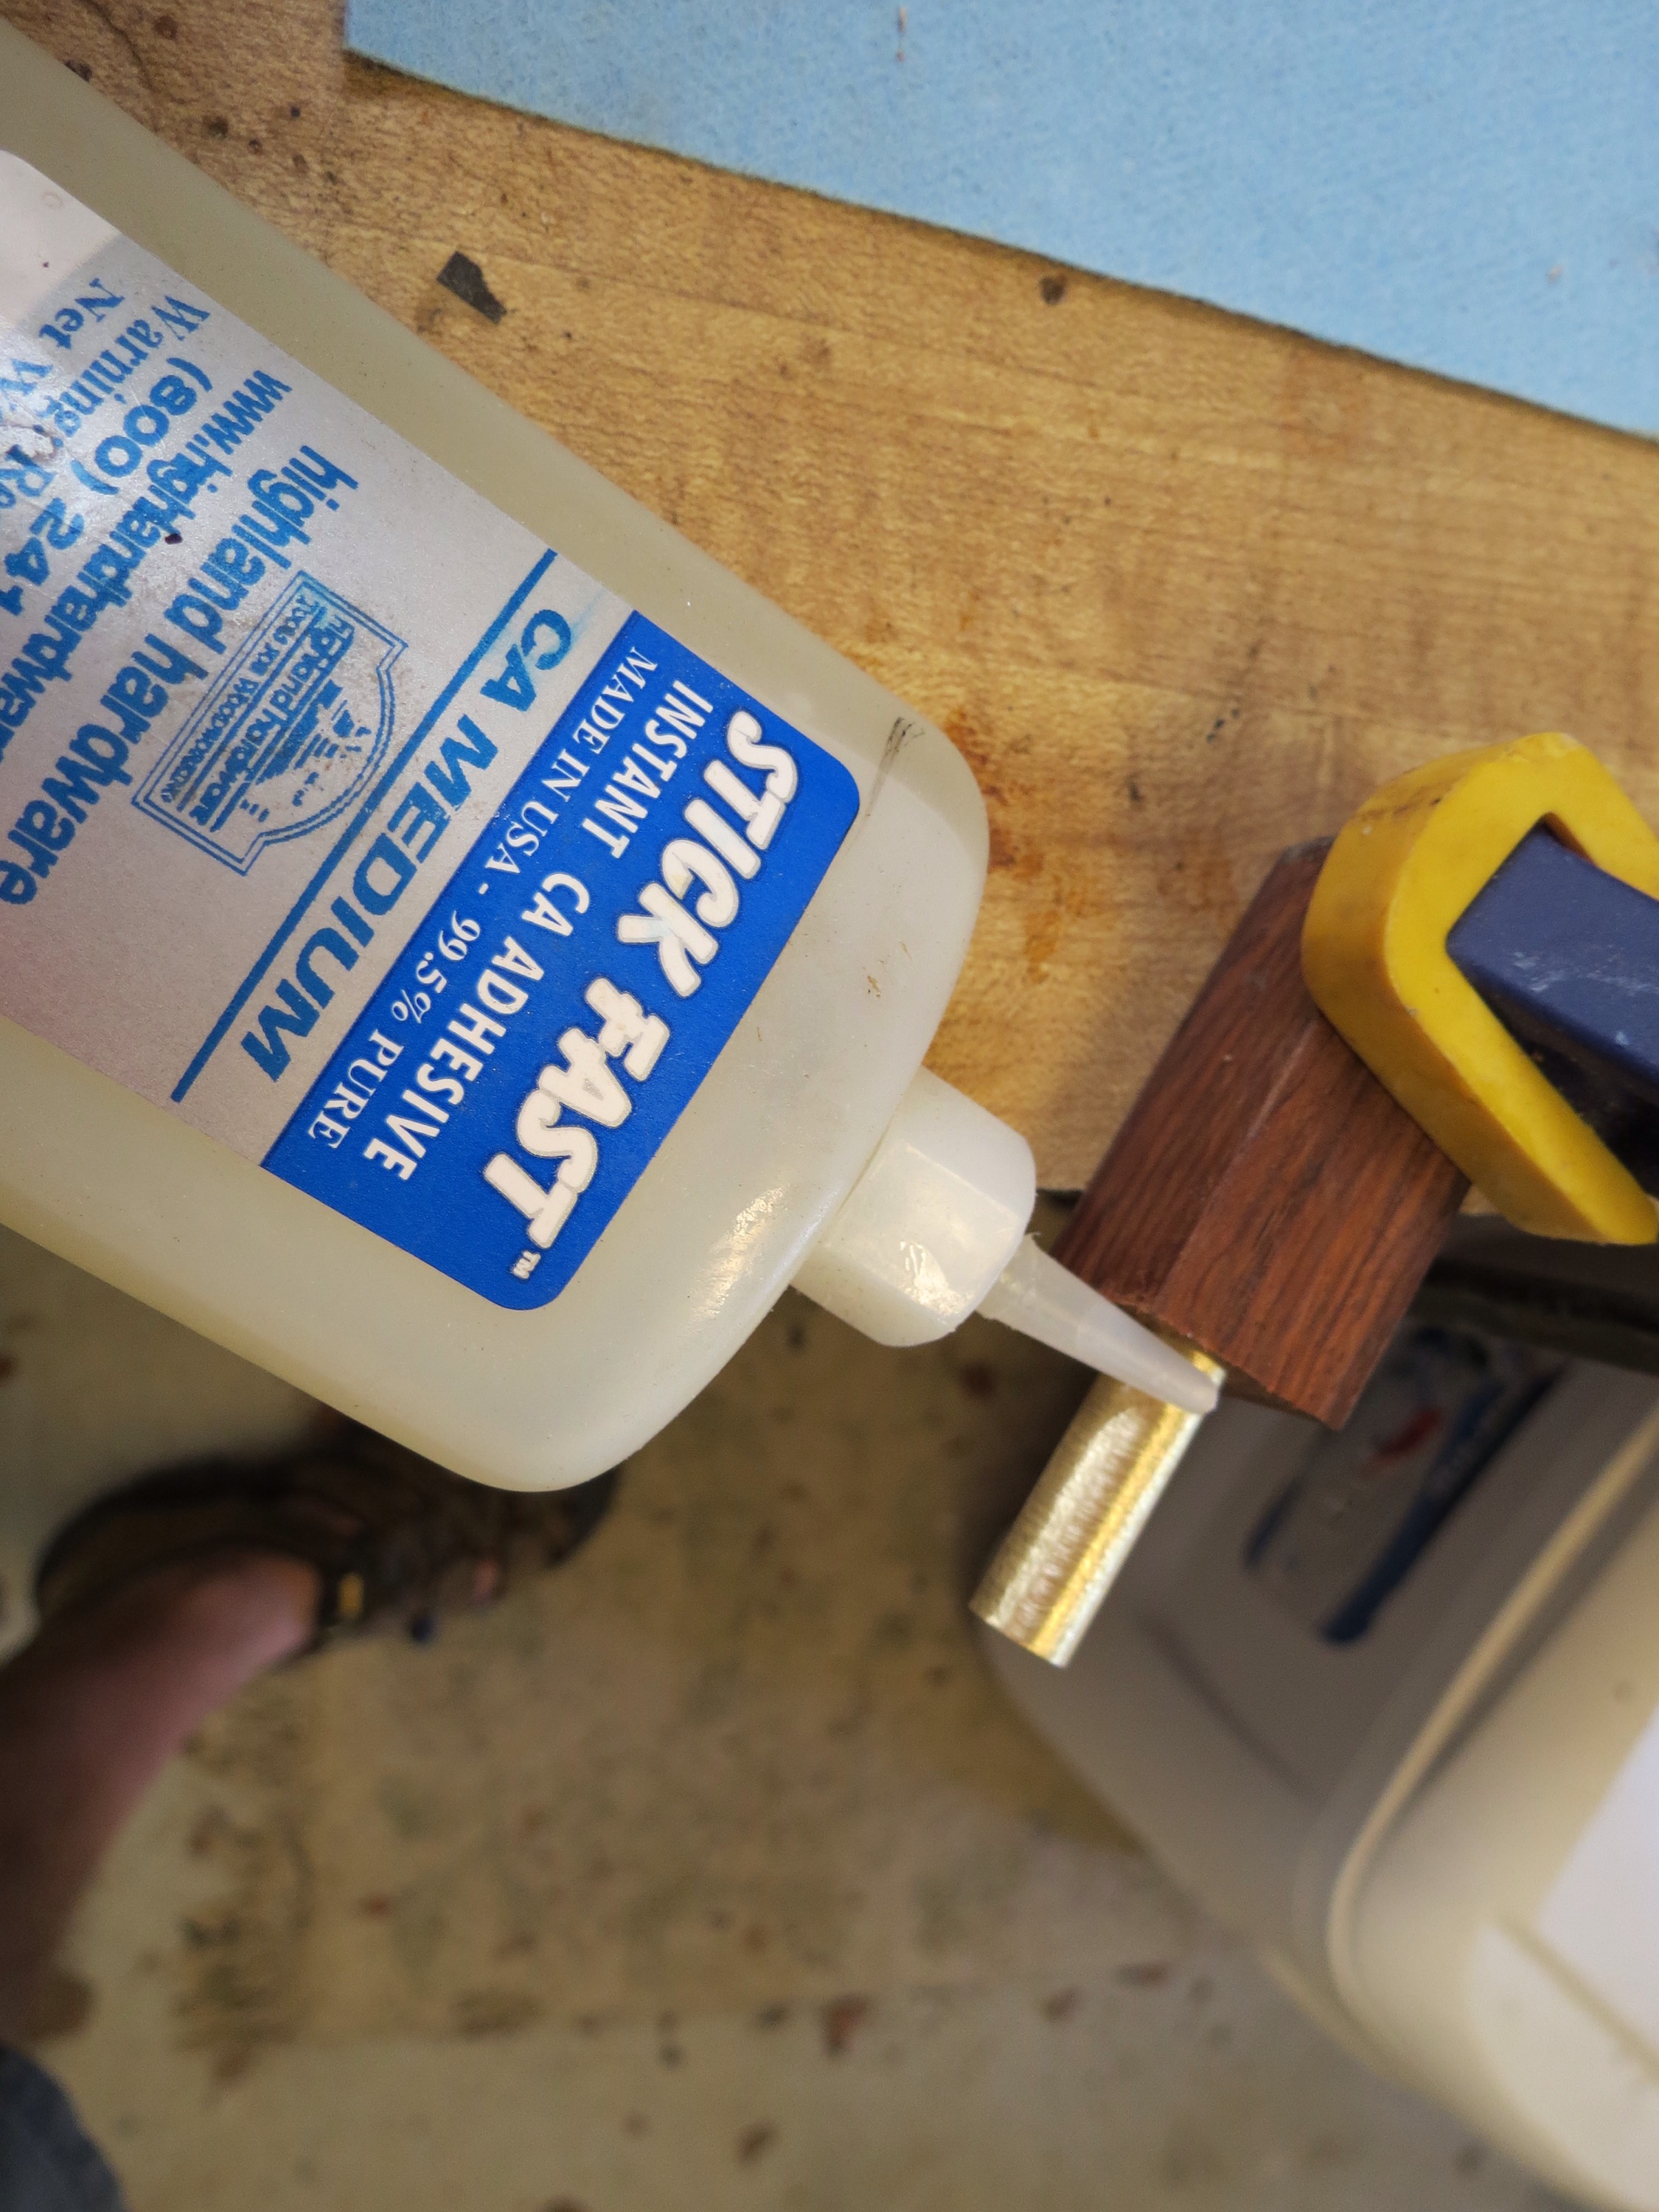
You will also need CA glue (aka super glue). I use medium CA glue 95% of the time. It’s primarily used to glue pen tubes inside your pen blanks, but it can also be used for making segmented pens. Some people also use it to finish their pens.

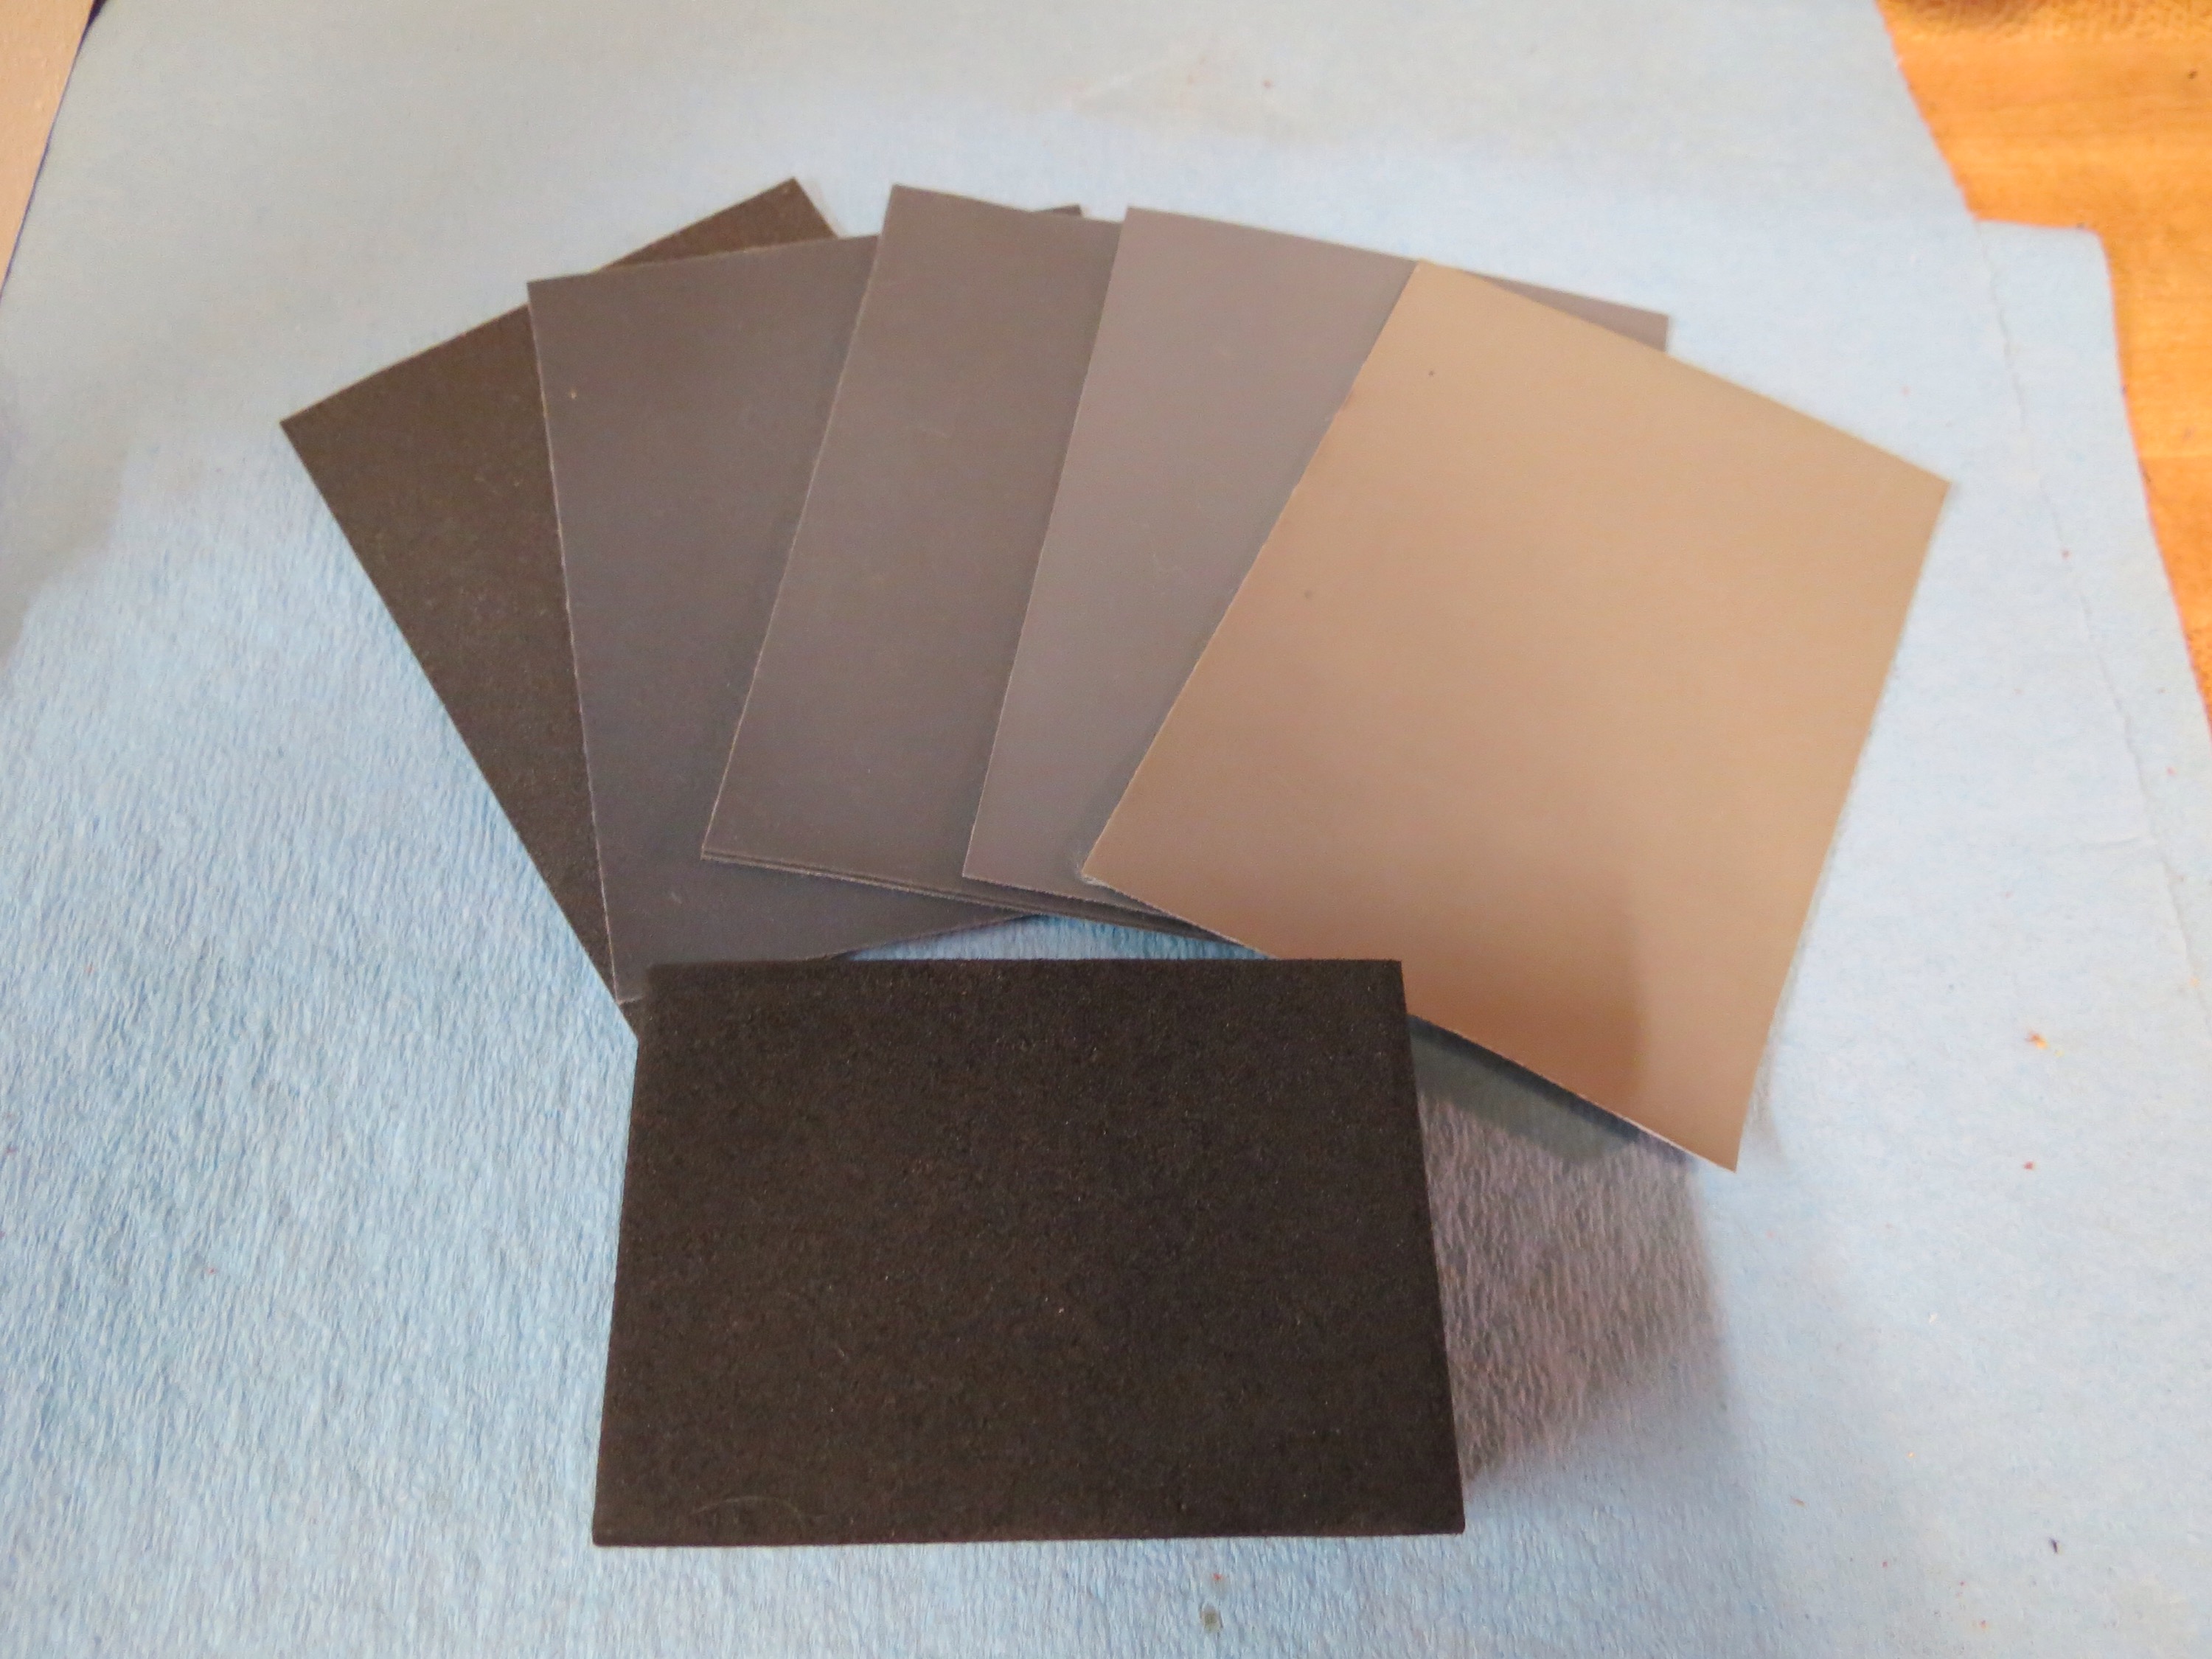
You will also need supplies to finish your pen. You will need various sandpaper grits–120, 220, 400, 600 or higher. You can find this at home supply stores, hardware stores, or local woodworking stores. Though not entirely necessary, I use something called Micro Mesh that comes with a range of grits 1500 up to 12,000. This stuff is durable and has lasted for a number of years.
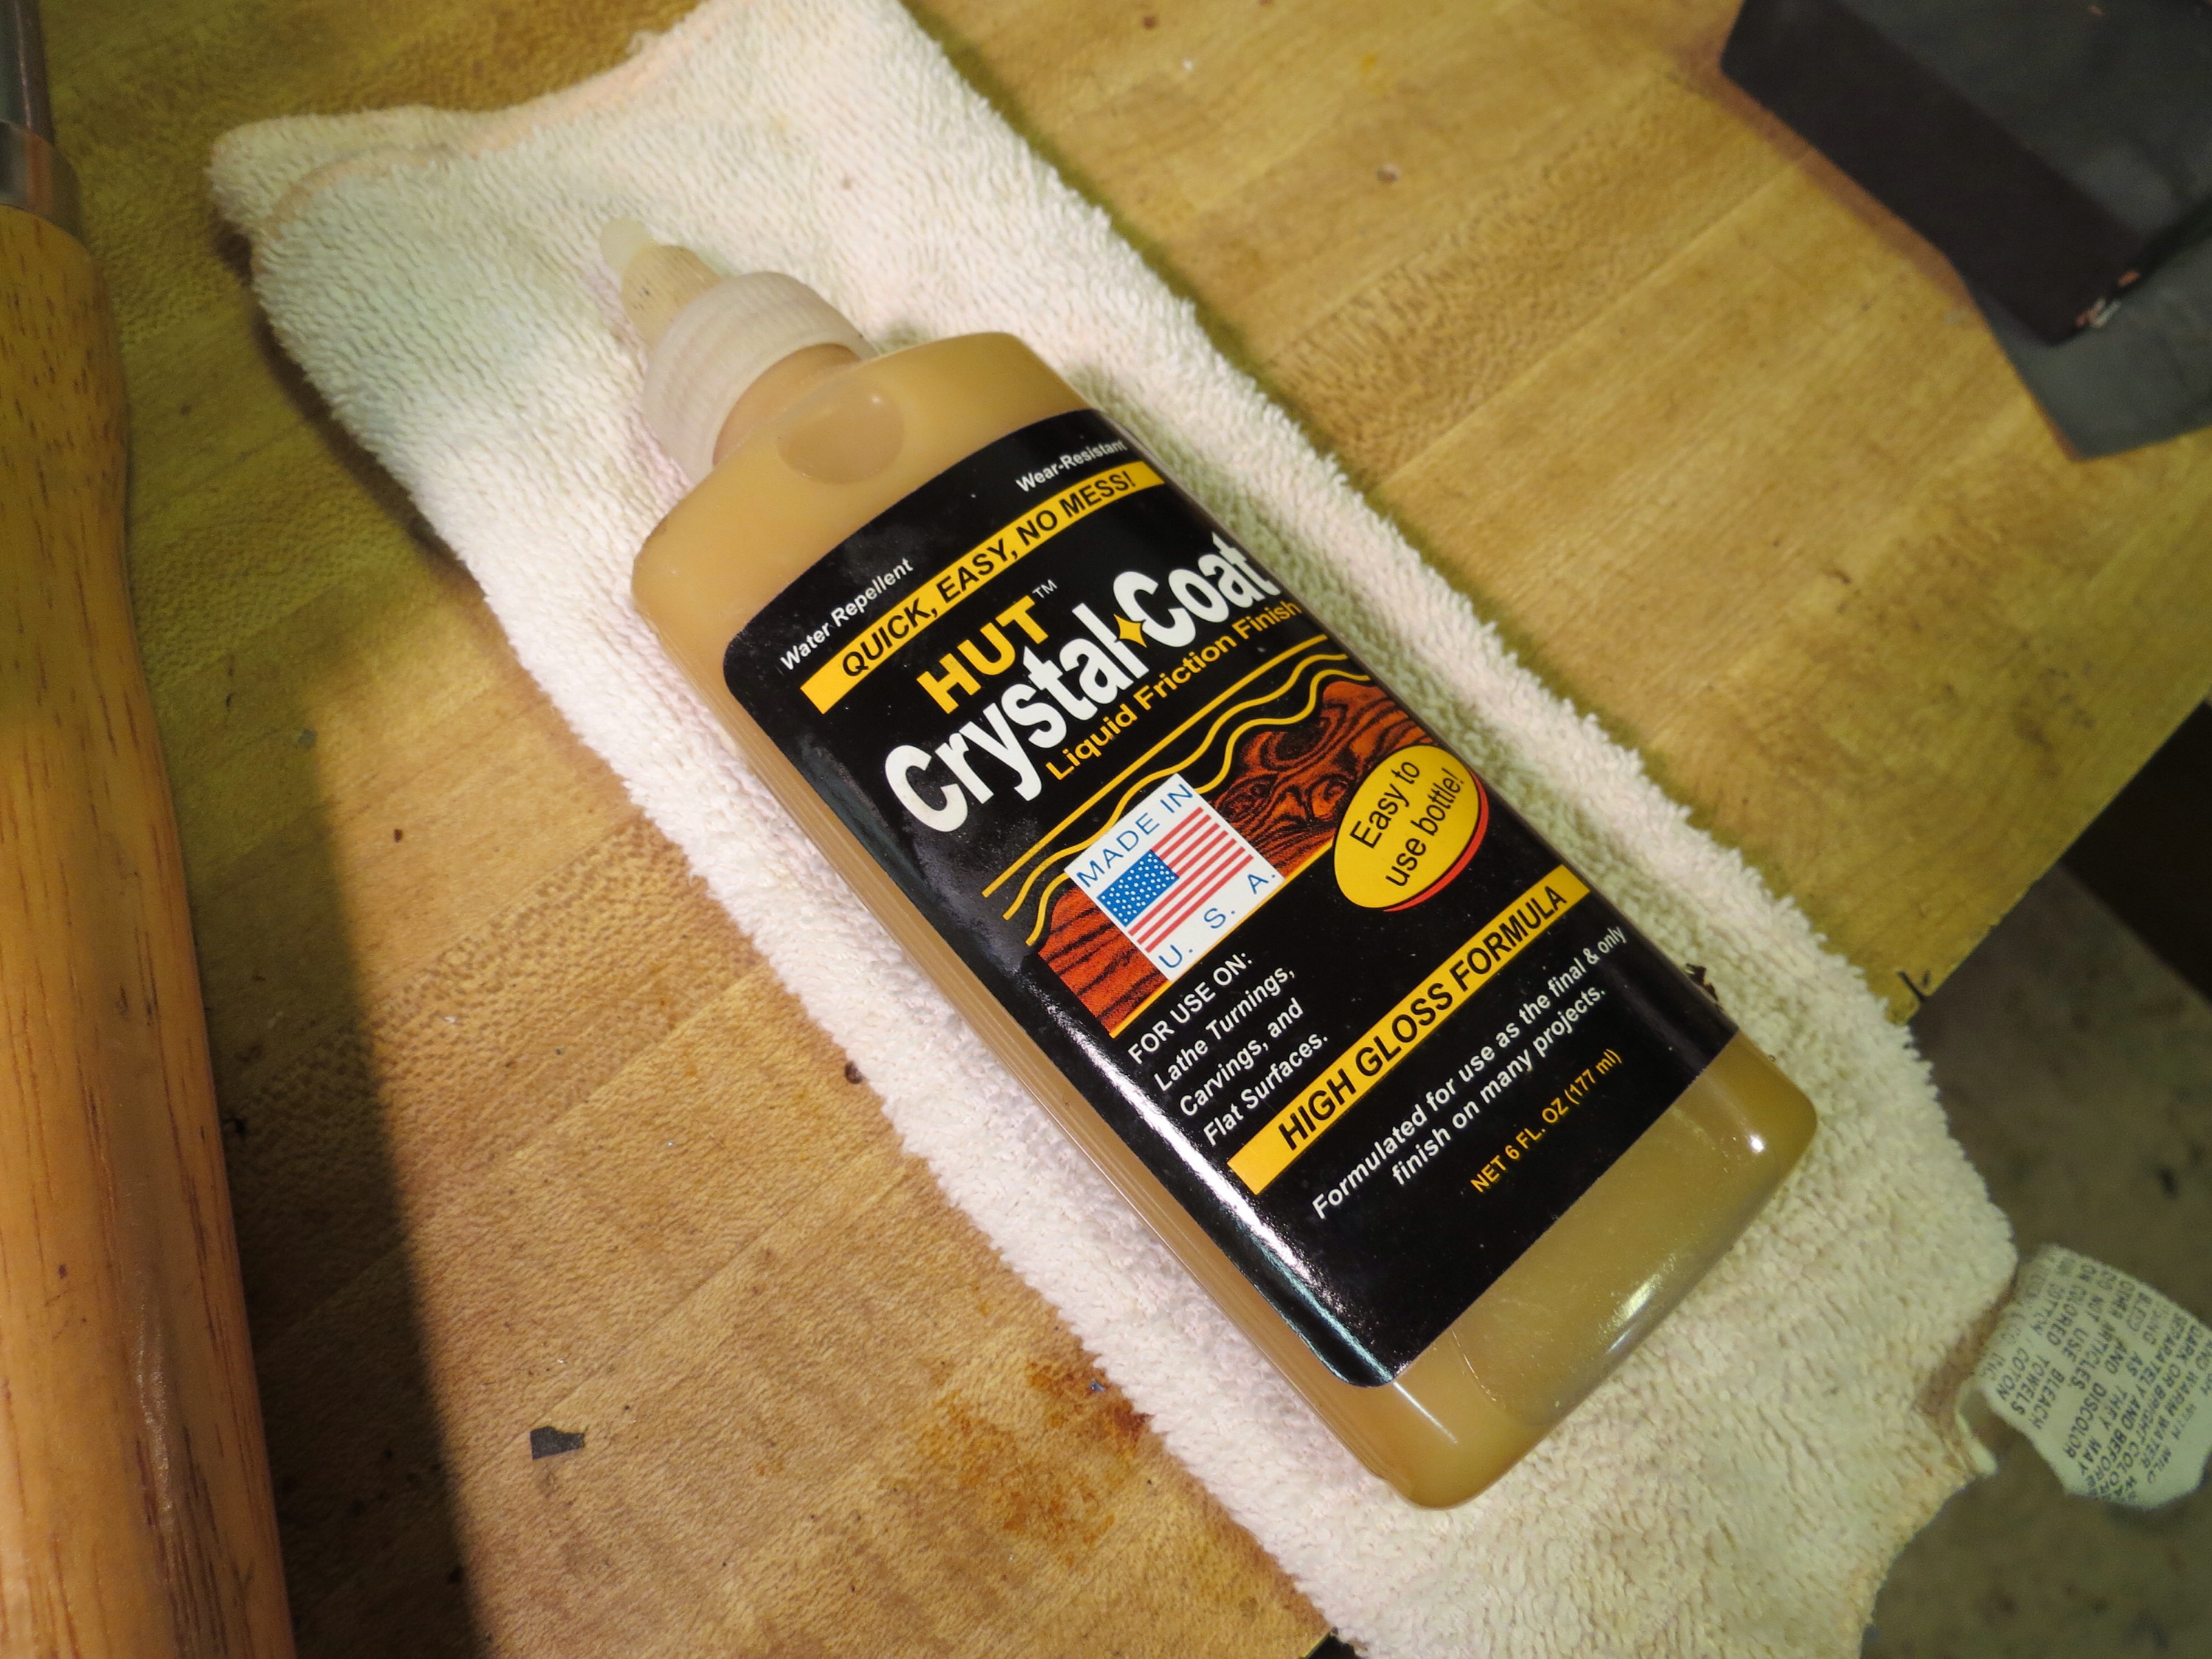
I like to finish my pens with friction polish. I believe it’s a mixture of shellac and wax. Using a clean cloth, I apply it while the pen spins on the lathe. The friction makes the polish adhere and bond with the pen’s surface. I use a product made by HUT.

Pen kits
Okay, so you will need some pen kits to make this all happen. I purchase the majority of my kits from Woodcraft or Penn State Industries. Each kit will come with the basic pen mechanism, a tip, a centerband, pen tubes, a clip, a cap, and an ink refill. You can download the PDF instructions for each kit from the website. Read the instructions carefully–hint, hint.
Here’s a tip: buy some high quality ink refills separately because the ones in the kit tend to be lower quality.
Some kits are real cheap and some will be more expensive. The expense of the pen has a lot to do with the style and/or the metal plating. A platinum plating, for example, will be more expensive, but it will last longer. I typically use metal platings like gold, titanium, satin or gun metal.
When ordering your kit, pay special attention to what bushing sizes are needed and what drill bit sizes are needed. If you don’t already have the correct size, you will need to order them separately. Bushings and drill bits don’t come with the pen kits.
If you are just starting out, I would highly recommend trying a few Slimline kits. They are easy to make and only one set of bushings are needed. The bushings are all the same size. You will also need a 7 mm drill bit and a small barrel trimmer.
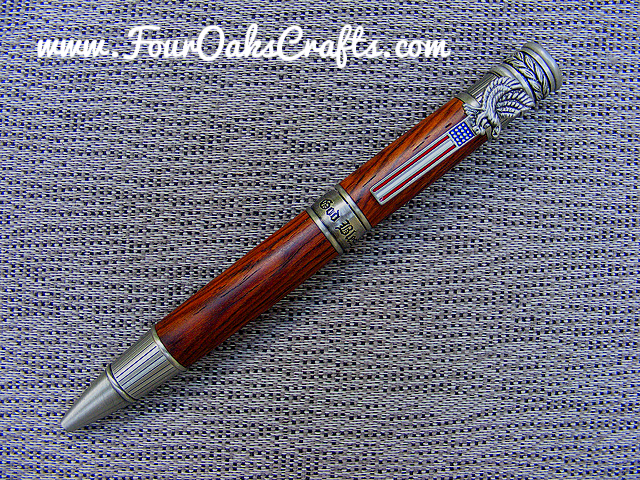
Some of my favorite kits have been: Slimline Pens, Trimline Pens, Patriot Pens, Cartridge Pens, Bolt-action Pens, Civil War Pens, Wallstreet II, and Circuit Board Pens.
Go make a pen
Good luck with this hobby of pen turning. If I can be of any help, feel free to use the contact link or email me directly at stephenjohnson713@gmail.com. Also use the comments field if you would like to leave a question or share your knowledge about this wonderful hobby.

Are you starting up a new shop? Want to work safer in your shop? To help you answer these questions I've put together a 2-part checklist -- Home Shop Safety & Tool Checklist.
I will also send you updates of my latest woodworking and DIY projects. You can get all this by subscribing to my free email newsletter.


you really made a thorough preparation. what you do really creative. I also regularly rotating the pen, and I feel addicted to it.
Thanks, and yes, it can be an addicting hobby!