In this hand carved wooden coffee scoop tutorial, I show you how to make a coffee scoop out of walnut. In recent months, I’ve fallen in love with carving and making wooden spoons and scoops. In this tutorial, I’ve set aside all power tools except for the jigsaw. Carving forces you and your hands to work more intimately with the wood. I’m surprised at what I’ve learn about wood and it’s different properties through this approach. Ultimately, this is fine tuning my woodworking skills, and I think it will do the same for you.
Spoon or scoop carving is a relaxing and enjoyable hobby. It calls for only a few tools and your workspace can be small — no big shop required. Some nights I’ll find myself sitting on my kitchen chair working away on my latest spoon. Or I might be sitting on the porch in my Adirondack chair with a box fan and glass of ice tea. Yes, I do have to remind the wife that I will sweep up the shavings later. But she’s always pleased when I show her a new spoon she can stir soup with. Anyway, I hope you enjoy the tutorial!
Recommended Tools & Materials (I’ve added affiliate links for your convenience and as recommendations):
Jigsaw (with curve-cut blade)
Mora 120 Straight Blade Knife (or something equivalent)
Mora 162 Hook Knife
7/10mm Carving Gouge
7/20mm Carving Gouge
Sandpaper (80, 120, 220, 400, 500 grit)
Micro-Mesh Cloths (Optional)
Food-safe mineral oil
Box of Bandaids (You probably will need them — LOL)
Step 1 – Wood Selection
Try to use hardwoods with a closed grain. Spoons or scoops are tools for your kitchen. You want them to be durable, somewhat water resistant, and as splinter-proof as possible. With carving, you also want a wood that won’t split as easily. Closed-grain hardwoods can help you accomplish these goals. Examples of closed-grain hardwoods: maple, birch, cherry, hickory.
Are some woods toxic? Good question. You can refer to this website to learn more about different woods’ toxicity. I’ve read several articles and forum posts about this topic, but, to be honest, I’m still confused. Personally, I don’t think wooden spoons will be exposed long enough to food to impart high levels of toxins (assuming you don’t leave them sitting in food). But I’m no expert, so use your best judgement and do your own research.
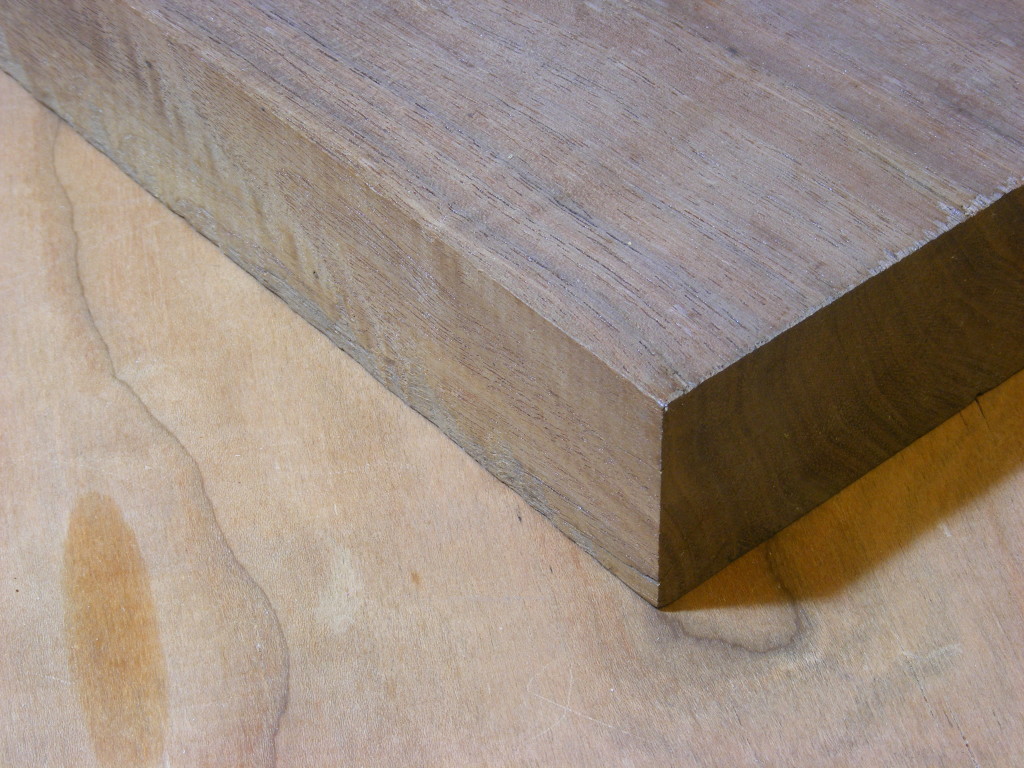
For this tutorial, I chose walnut. Technically, it’s considered open-grain, but it’s tough stuff, and I like its beauty. It carves well and will do just fine for a coffee scoop. As a general rule, when you select your board, look at the board’s face and side to make sure the grain is running straight. This will help you get the strongest spoon / scoop possible.
Step 2 – Trace Scoop Design On To Wood
I found a picture of a coffee scoop somewhere on the internet, and I printed it out. I traced it to some card stock as a template. Then, I used the template and traced around it with a pencil on to the walnut.
The rough dimensions of the scoop are:
1.0 inch thick
2.5 inches wide (bowl part)
5 inches total length
Step 3 – Cut the Scoop Body Out
You have a couple options here. Sometimes, I like to carve out the scoop bowl area before I even cut out the whole coffee scoop body. That way, you can clamp the board down and work the gouge with both hands.
For this tutorial, I’m going ahead and cutting out the scoop body first.
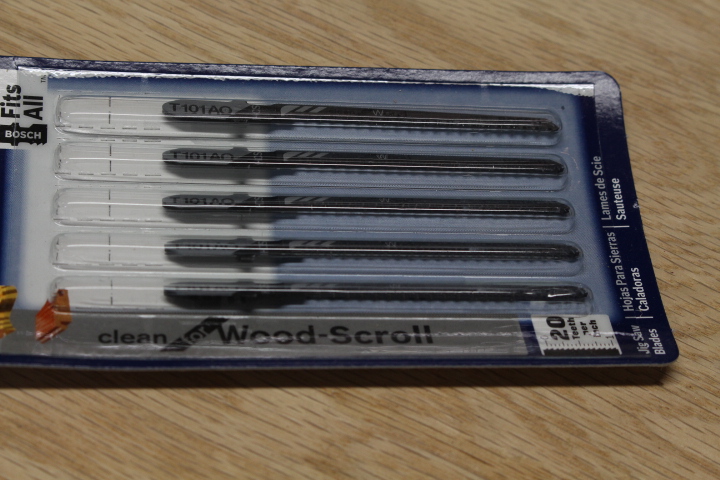
A jig saw is the only power tool you will need for making scoops and spoons. Be sure to get curve-cut blades. They may say “scroll” on the package. These blades will help you cut tight curves in the wood. Generally, the more teeth per inch on the blade, the finer cut you get.
If you are new to jigsaws, here is a great tutorial that steps you through the basics.
Step 4 – Carve Out Scoop Bowl Area
I used a c-clamp to hold the wood securely to my bench top. Start with one of the gouges to get most of the bowl material out. Try to make shallow, shearing cuts with the gouge, always working downhill (against the grain) and from the outside (marked line) toward the center. You can go either with the grain or across the grain, starting out. As I fine tune it and get deeper, I usually stick to moving across the grain.
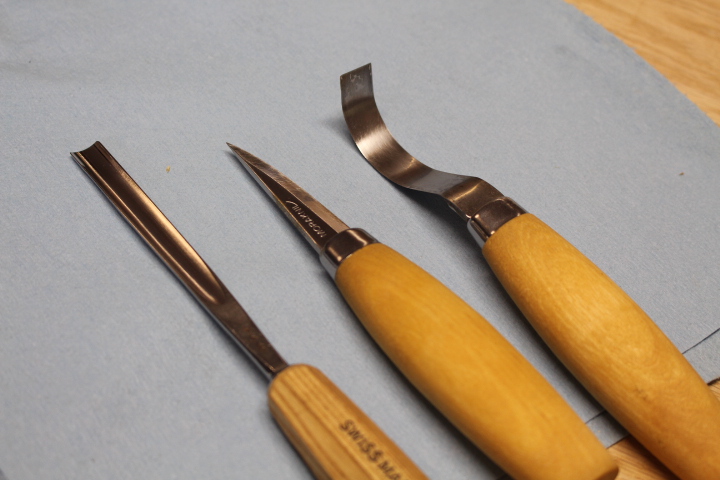
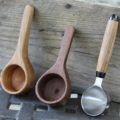
Either a #7/10mm or #7/20mm gouge(see top photo, 1st tool on left) works nicely for hogging out most of the scoop. The 2nd photo down, shows me carving out the bowl area with the 10mm gouge. The profile of these gouges work great for spoons. Your goal is to eventually get your scoop (bowl) profile to match up with your carving tool’s profile. Incidentally, the first number (#7) is called the sweep and has to do with the gouge’s profile/shape. The second number (#10 or #20) is the width of the gouge.
You could just do all the scoop (bowl) carving with the gouges, but I also like to sometimes use the hook knife (see top photo, 3rd tool to right). This knife has a curved shaped and a bevel on both sides. The stroke of this knife is like an ice cream scoop. Start at the outside rim of the scoop and sweep down like you’re scooping out the wood. See the 3rd photo down. You will need to keep the bevel of the knife supported as you do this. You can also use a push-cut, provided you get the right angle and a good grasp on the scoop. I like to use this knife AFTER I’ve don’t most of the rough work with the gouges. The hook knife will then help you refine the profile and smooth the surface more. The last photo is after I’ve used the hook knife to clean out the scoop area.
Be very careful with all of these tools, because they are VERY SHARP. Make sure you use controlled strokes or movement and always understand where the blade is headed after the cut. Make sure your thumb or other fleshy parts aren’t in that path. Until you master this craft, you might want to wear a glove or thumb guard. If you use a glove, make sure it’s the kind that will grasp the gouges and knives well and not slip. Otherwise, take your chances, but it’s good to have some bandaids on hand for minor cuts. It would probably be a good idea to practice techniques on scrap wood first.
Step 5 Carve the Rest of the Scoop
To carve the rest of the scoop, I use my Mora 120 straight blade knife. But just about any straight blade knife (suited for carving) will do. Obviously, you don’t want to use a big, clunky hunting knife.
To remove a lot of material, faster I would use the scissor cut as pictured above, keeping my hands and arms close to my stomach with the blade pointing away from my torso.
Once a lot of waste material is removed, I like to use short, controlled pull cuts around the bottom and rim and handle. For even more controlled cuts, I’ll use a push cut. Again, make sure thumb or other fingers are out of the blades path.
When cutting with the grain keep the blade tilted at a shallow angle and use light, shearing strokes. You don’t want to cut too far into the grain or tear the grain. Nobody likes to get splinters from their wooden utensils. If you feel that you might have dug into the wood too deep or are about to tear out some grain, then reverse the blade and cut from the opposite direction until your surface is smooth again. It takes some practice, but you’ll get use to it.
Once I got the scoop to the final shape I wanted (see last 2 photos above), it was time to move on to the sanding step.
Step 6 – Sand the Scoop
For the coffee scoop, it may not be necessary to sand the surface smooth. After all, it’s just scooping coffee and not going in anyone’s mouth. Some like to have a chip carved finished which also looks great. I prefer to have a smooth finish, so I hand sanded mine.
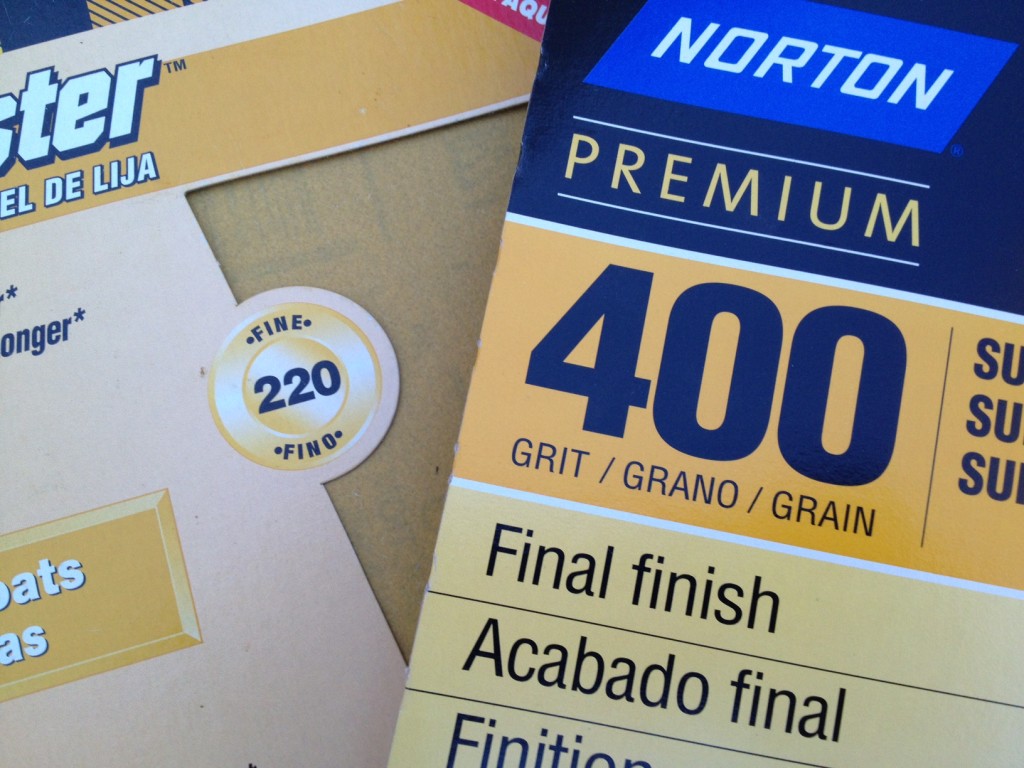
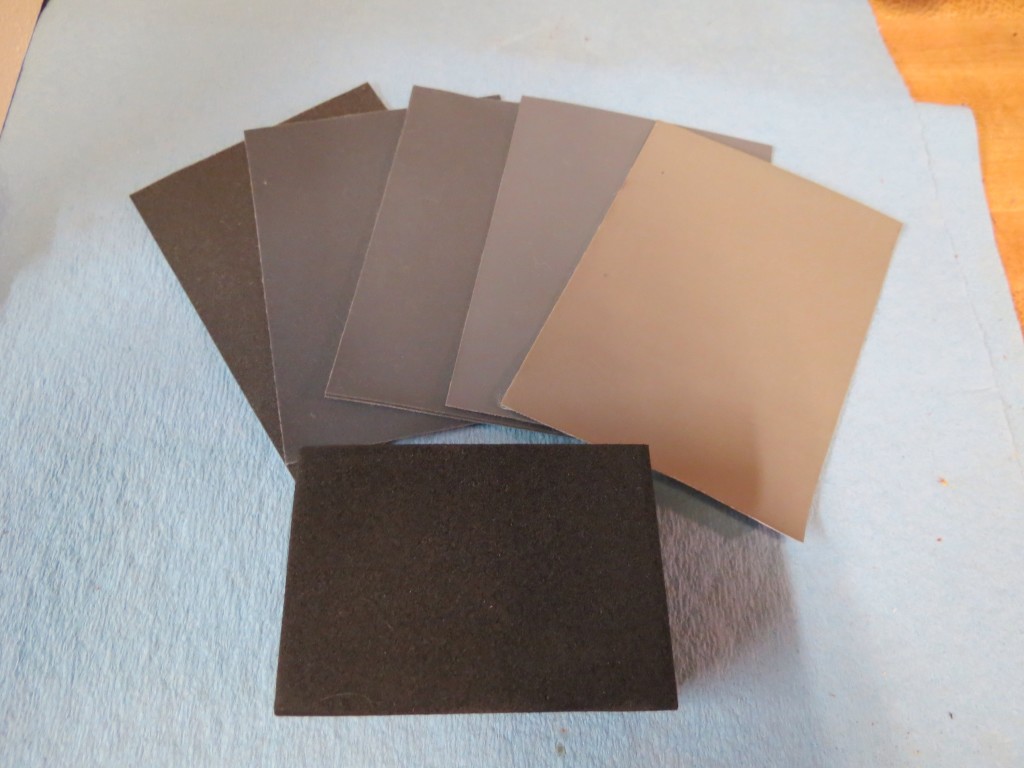
I start with 80 grit sandpaper, then on to 120, 220, 400, and 500. As much as possible, try to sand with the grain. The 80 grit will do most of the work of removing peaks and valleys. Obviously, the better job you do with the carving tools, the higher grit you can start with.
I like to go a step further and use the Micro Mesh cloths: 1500 grit to 8000 grit. See the middle photo above.
The Micro Mesh might be overkill, but it does leave a smooth, silky finish on the wood. I like to go this extra step, since I only use mineral oil for the finish.
Step 7 – Finish the Scoop
I like to use a food-safe mineral oil on my spoons and scoops. There are other food-safe finishes out there that are food safe when properly cured. And they may also give the wood grain some additional strength. Follow the directions on the container.
I like to apply a generous amount of mineral oil to the scoop and let it set over night and then apply another coat and let it set again 24 hours. Then wipe away excess.
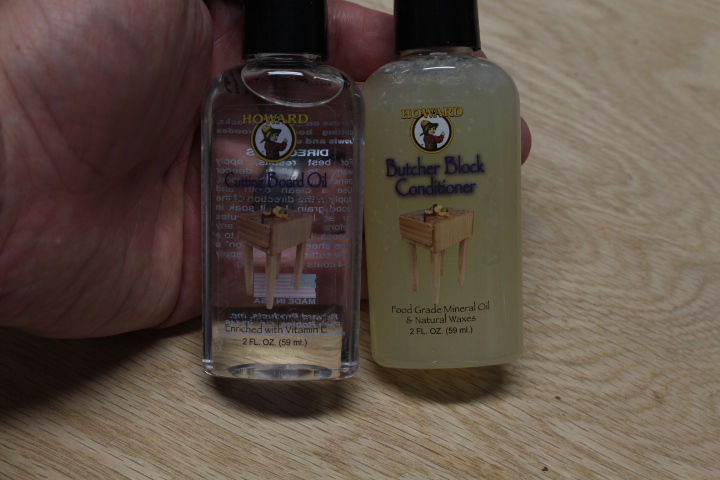
Some people like to apply butcher block conditioner (see photo above) after the mineral oil has fully penetrated. Just follow instructions on the back of the container. After the conditioner has had time to sit, you can buff the scoop. For this scoop, I just applied the mineral oil and not any conditioner.
I hope you enjoyed this tutorial! If you’d like to get more tutorials in your inbox, please consider subscribing. See the sign-up form below. If you subscribe, I will send you my free Home Shop Safety & Tool Checklist. You will also get my monthly newsletter.
Thanks and happy woodworking!
Stephen

Are you starting up a new shop? Want to work safer in your shop? To help you answer these questions I've put together a 2-part checklist -- Home Shop Safety & Tool Checklist.
I will also send you updates of my latest woodworking and DIY projects. You can get all this by subscribing to my free email newsletter.










This definitely makes me want to get out the chisels and relax with some wood carving. The spoon looks awesome! I still use the coffee scoop and pen you made me all the time. One of these days I’ll need to spare up some room in the shop to add a lathe and do some of your turning projects. Cheers!
Thanks Pete! I also think the carving is teaching me lessons about wood like grain pattern, grain direction, how the chisels cut in relation to the grain, etc. So I can definitely apply the things I’m learning to other non-carving projects. Glad you are enjoying the scoop and pen!