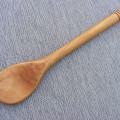
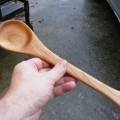
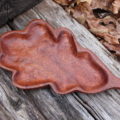
In this hand carved wooden spatula tutorial, I will show you how I transformed a piece of olive board into a beautiful kitchen utensil. All you need are a few carving tools and a jigsaw. A little time. A little patience. But, oh, what a reward when you’re done. This will be a great addition to your kitchen, or it would make a nice gift for a friend or family member.
For the tools listed below, I’ve included some affiliate links for your convenience should you decide to purchase tools through Amazon. Amazon will not charge you any extra for using the links, and it helps to support the expenses of keeping my website running. Thanks for your support!
Tool / Material List
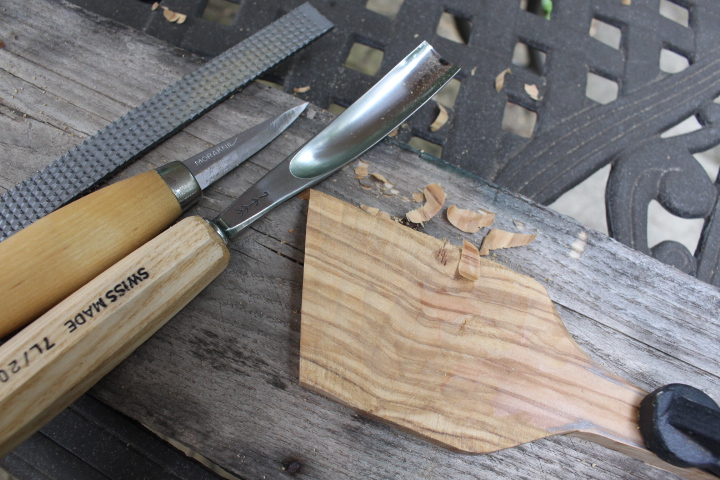
Morakniv Wood Carving 120 Knife
20mm 7 Sweep Gouge
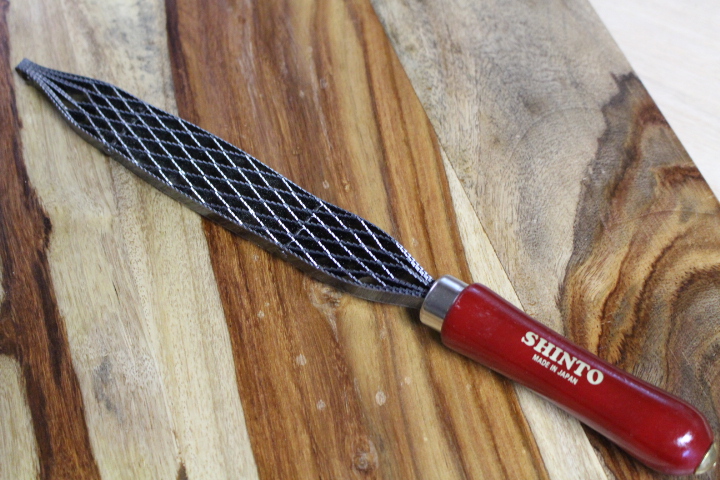
9″ Shinto Saw Rasp
Sandpaper (80 grit, 120, 220, 320, & 500)
Micro Mesh Sanding Sheets
Food-safe Mineral Oil
Beeswax Butter (optional — see my recipe)
Safety First
Carving is a delight, but remember to be safe. Should you decide to take up carving or do a project similar to mine, please get some training or read up on the craft. Use sharp tools that are in proper working order. Practice on scrap wood first. Don’t forget to use personal protective gear to keep you safe.
Let’s get started.
Step 1 — Select Your Wood
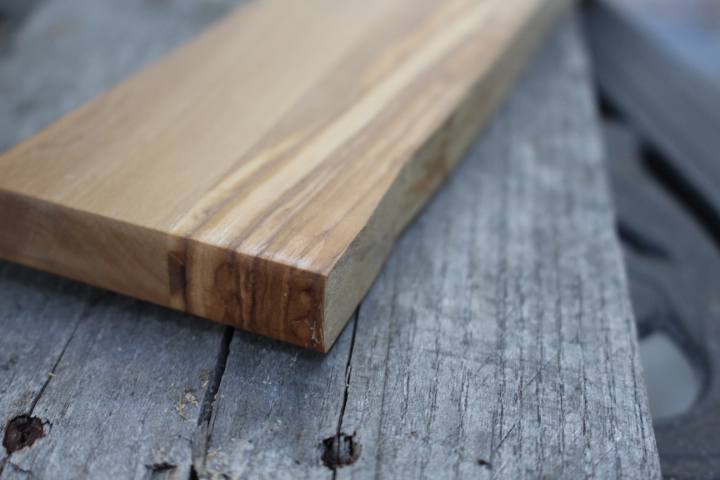
I like to use hardwoods for kitchen utensils and preferably close-grain hardwoods. For this project I chose Olive Wood which is a dense and oily wood and very durable. As you work with this wood, you’ll notice it has a wonderful aroma. I suggest starting with a piece that’s 3/8 to 1/2 inch thick. I happened to have an olive board in my stack that may have been a cutting board. Olive wood is also great for cutting boards.
Step 2 — Transfer the Design to the Wood
Pick a design you like or have seen somewhere. Perhaps you could model it after an old spatula laying around your kitchen. No need to be exact, but I used these approximate dimensions.
Spatula blade — 2.5 inches wide by 4 inches long (longest side), 3 inches long shortest side. When finished, the blade is 3/8 inch thick.
Handle — 1/2 inch diameter by 9.5 inches long.
Overall total length — 14.5 inches long.
All three edges have a slight bevel.
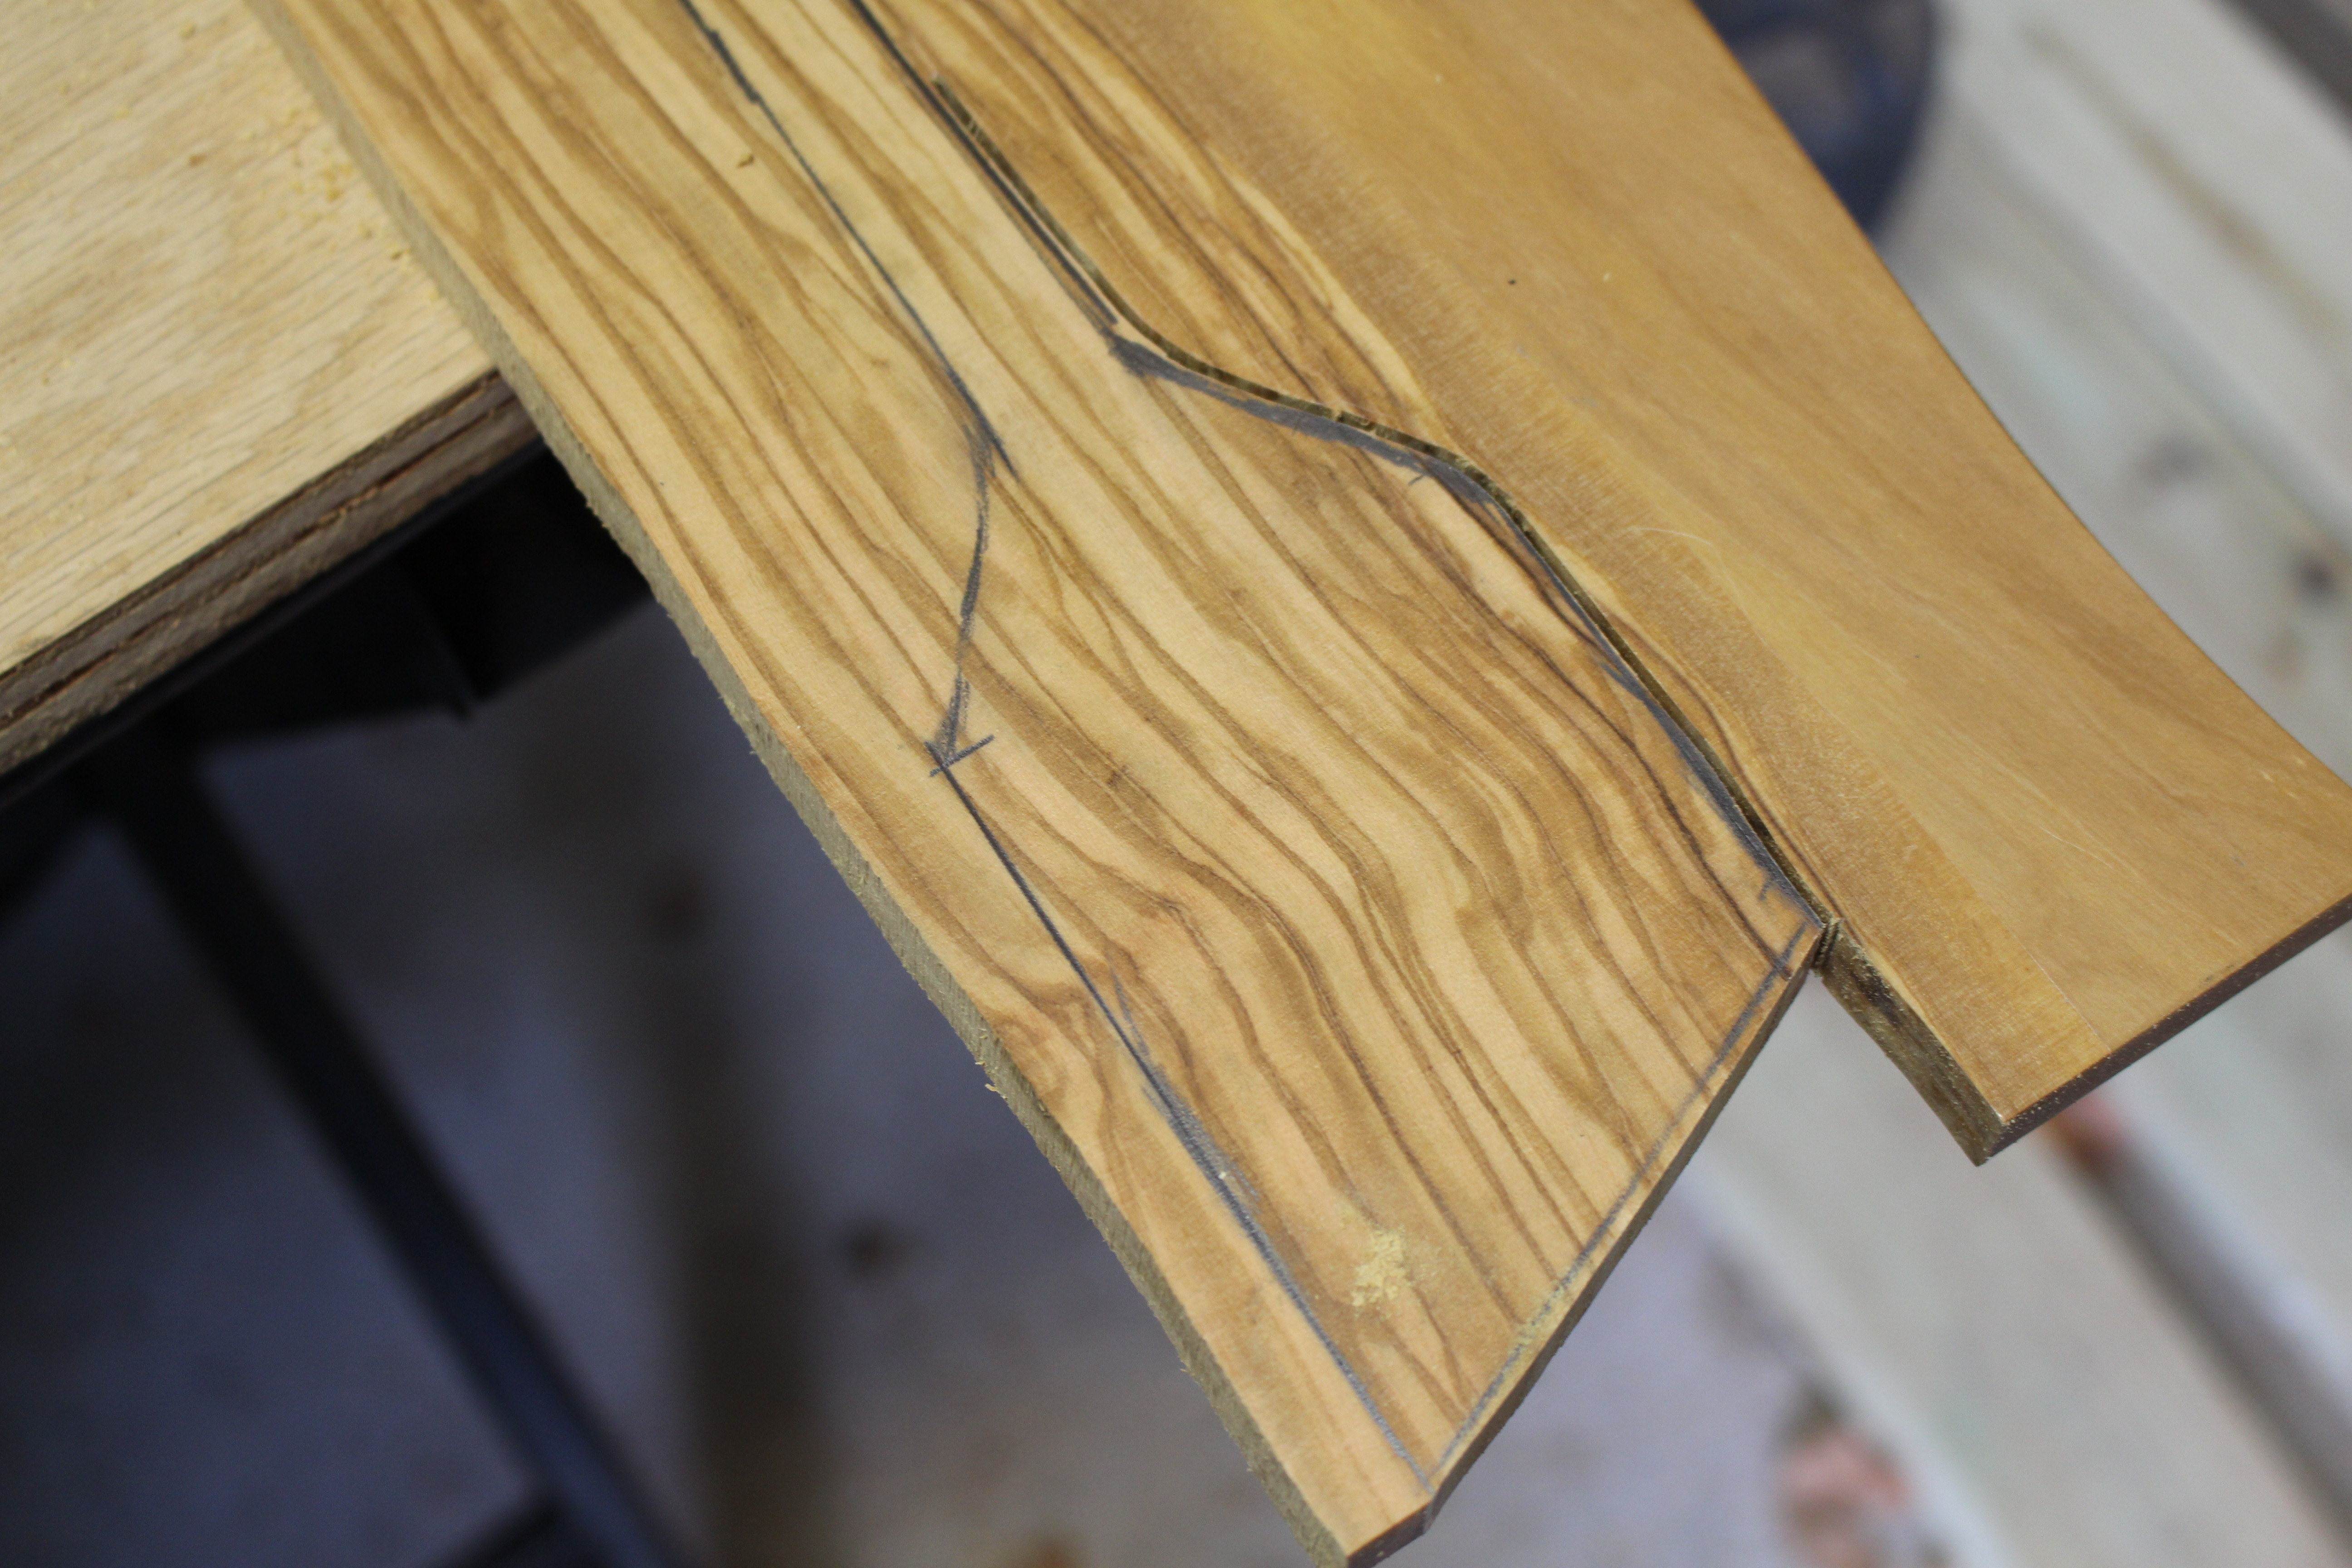
Use a shop pencil or marker to transfer the design to the wood. Place the design on the wood, while trying to accomplish 4 things:
Minimize waste — so you can make more.
Grain runs lengthwise throughout the spatula blade and handle.
Look for a grain pattern that’s interesting to you.
Try to avoid knots or visible defects. These will create weak points in the spatula.
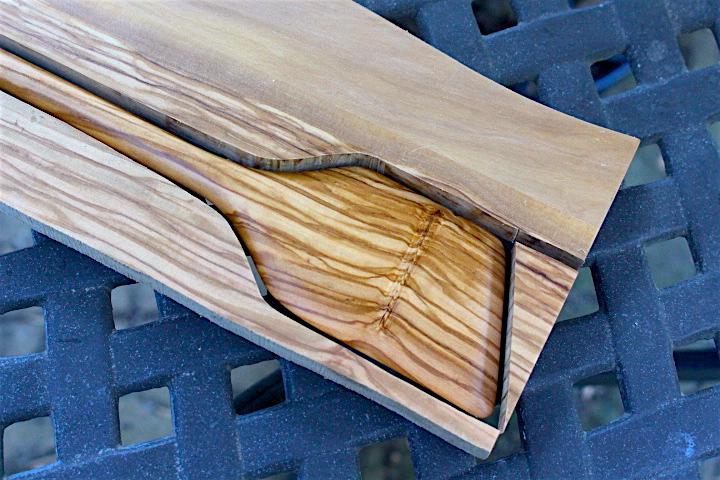
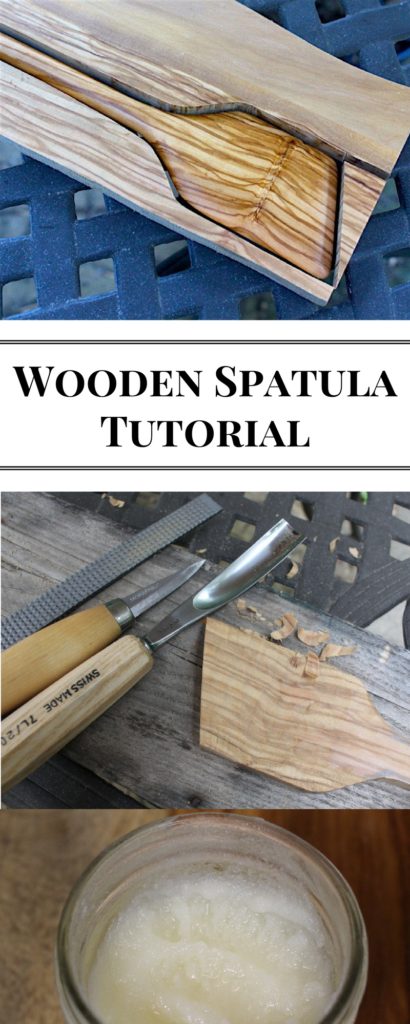
Notice in the picture above how the grain pattern looks different throughout the board. I traced the spatula on the side I thought looked more interesting.
Step 3 — Cut out Your Design
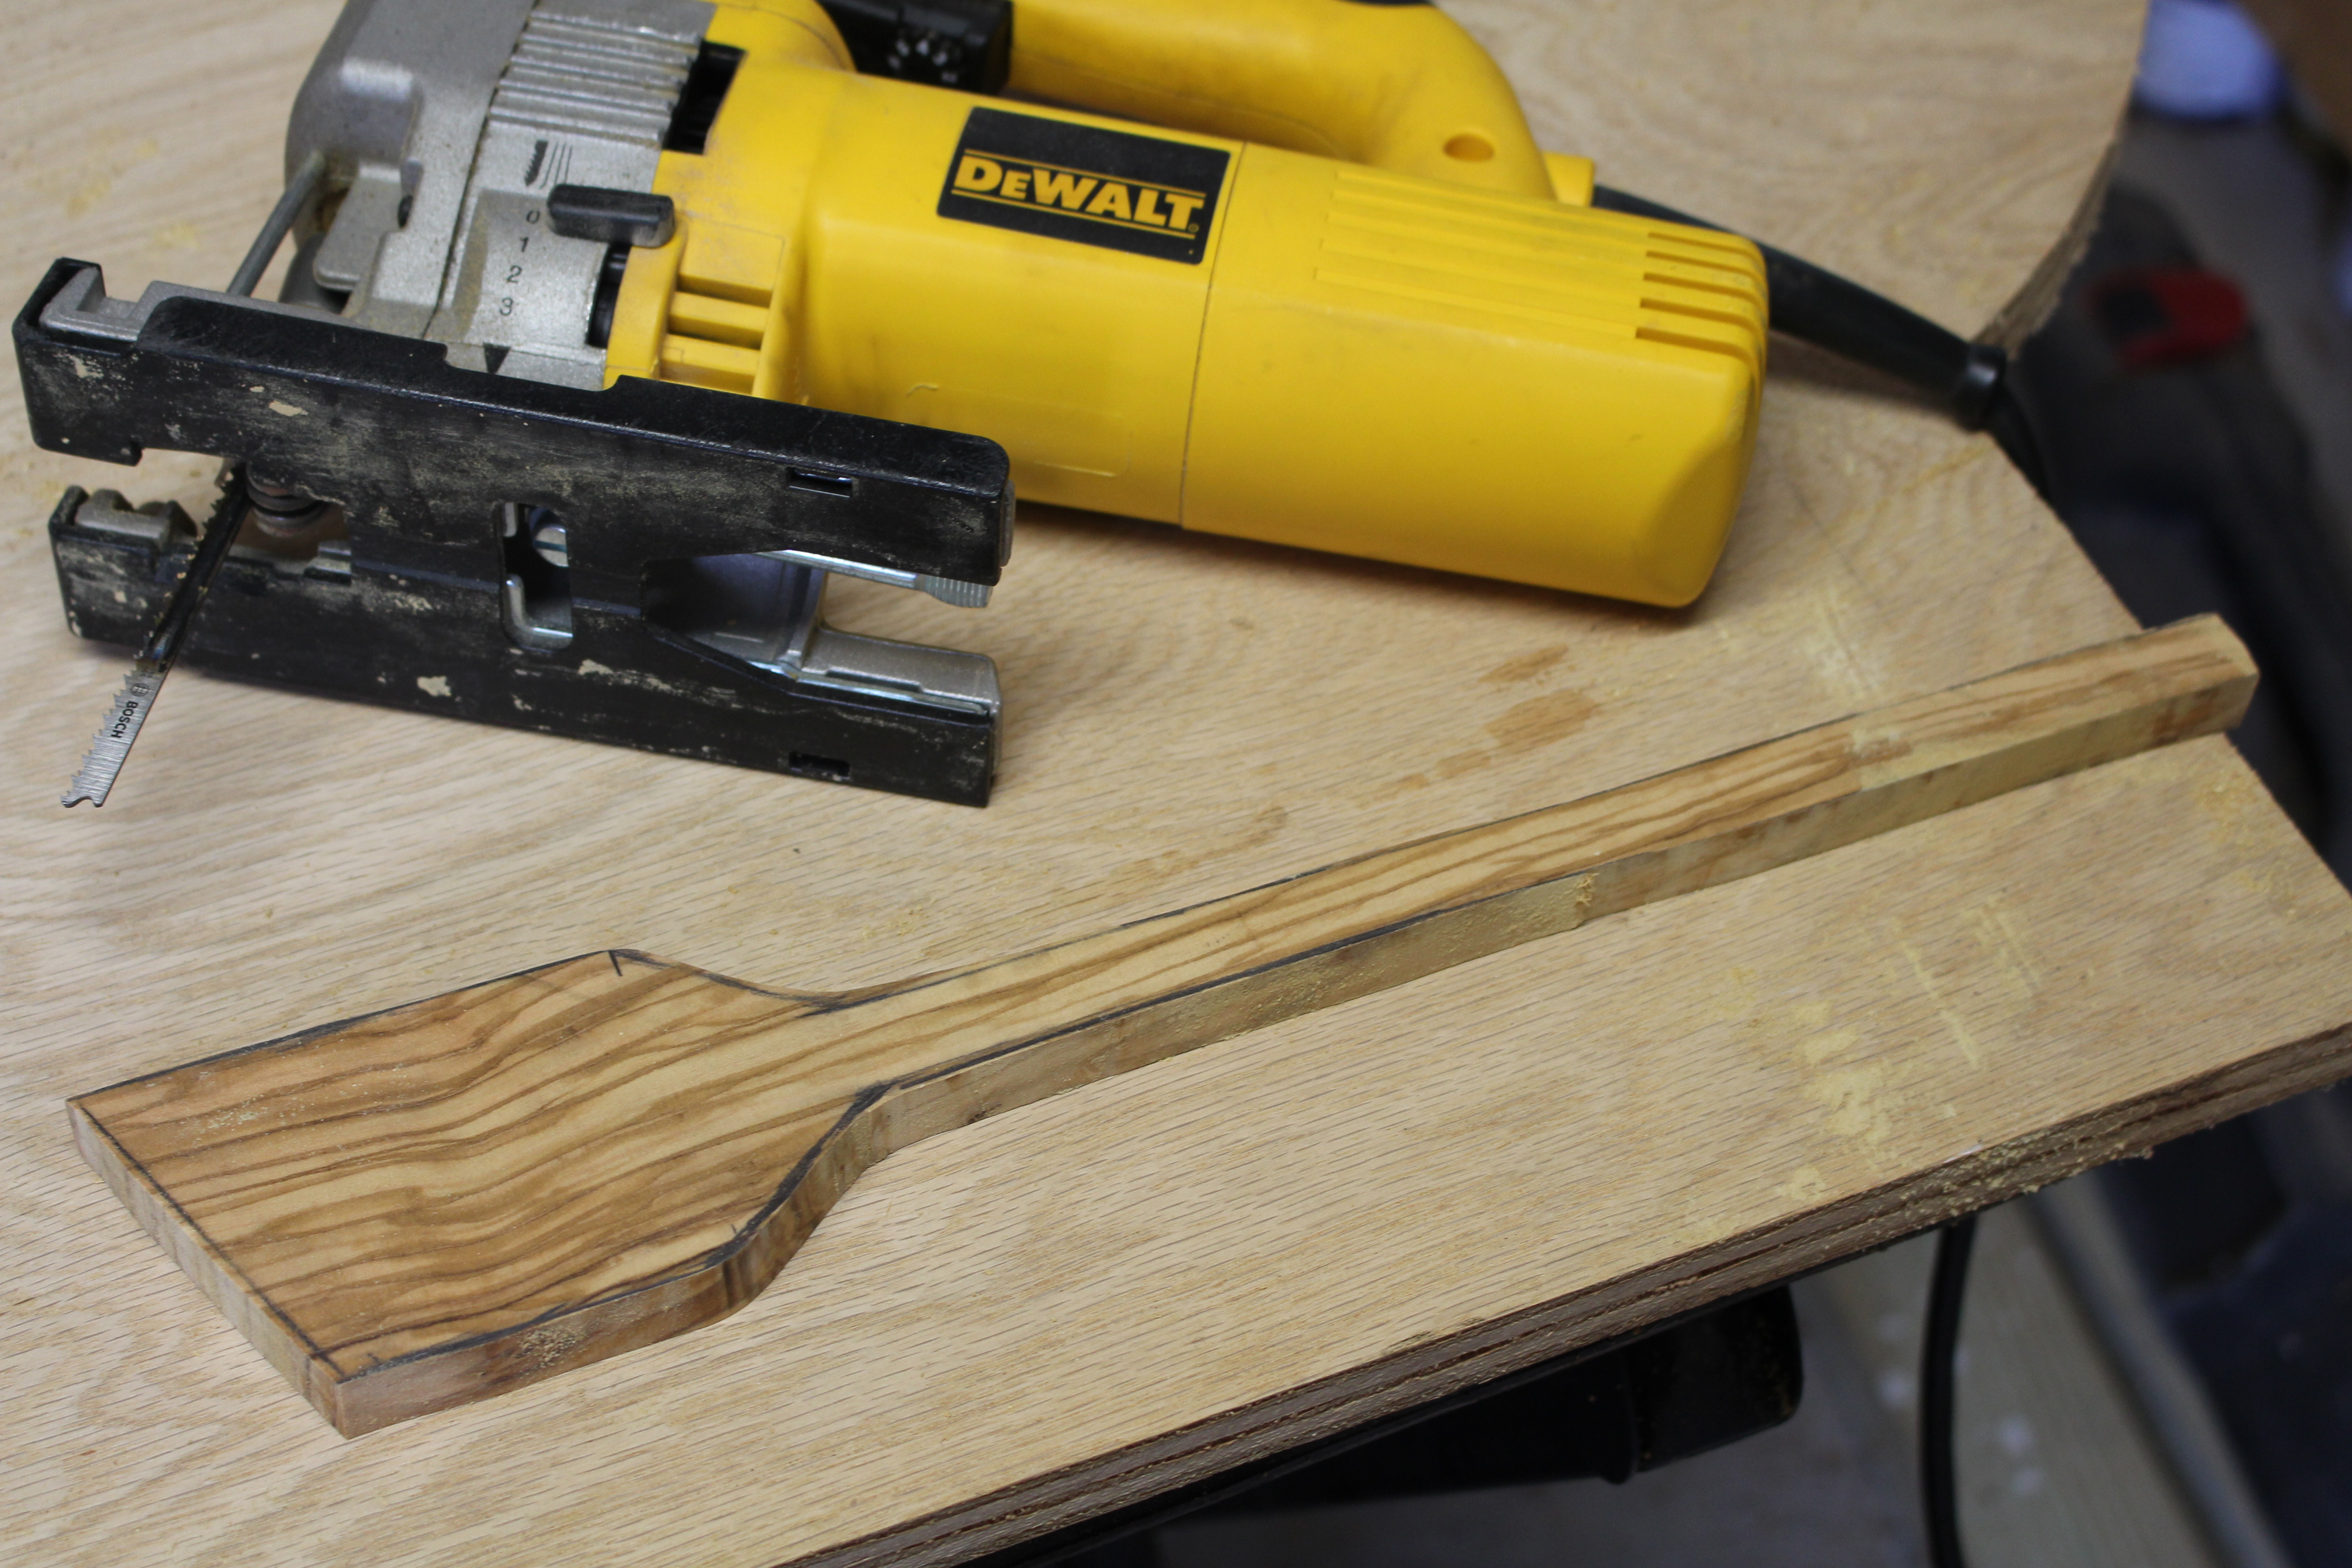
Clamp the workpiece to a secure surface and use a jigsaw (with curve-cut blade) to cut out the design. Cut to the outside edges of your mark. Make sure you understand how to safely use your jigsaw. If new to jigsaws, you might want to check out this video from Thrift Diving.
Step 4 — Carve the Spatula
For this project, I used my Mora 120 straight blade knife and my #7/20 mm carving gouge.
I used the Mora 120 straight blade to carve the handle. I safely used push and pull cuts, making sure the blade would not cut a finger or another part of my body. Always be aware of how the blade will travel and make sure it’s away from your body or other appendages.
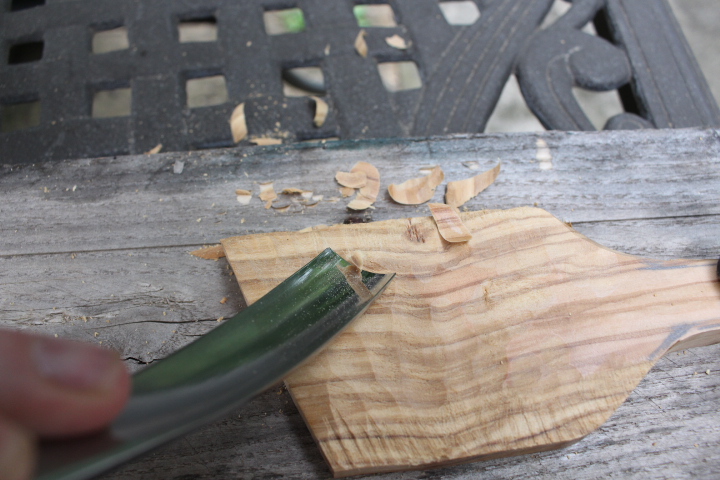
I used the #7/20 mm gouge to work on the spatula blade. This gouge is more commonly used for spoon carving, but I thought it did well for the rough carving on the spatula. To use the gouge safely, you’ll need to use a C-clamp and clamp the spatula to a secure work surface. This way you can use both hands to work the gouge. And always work it away from your body.
I like to work as much as possible across the grain. I find that the gouge works best when I apply a little twist motion as I push into the grain.
I’m going to be honest with you; olive isn’t the easiest wood to carve, but I enjoyed working with this wood. The aroma of the wood will make you smile.
Step 5 — Sand the Spatula
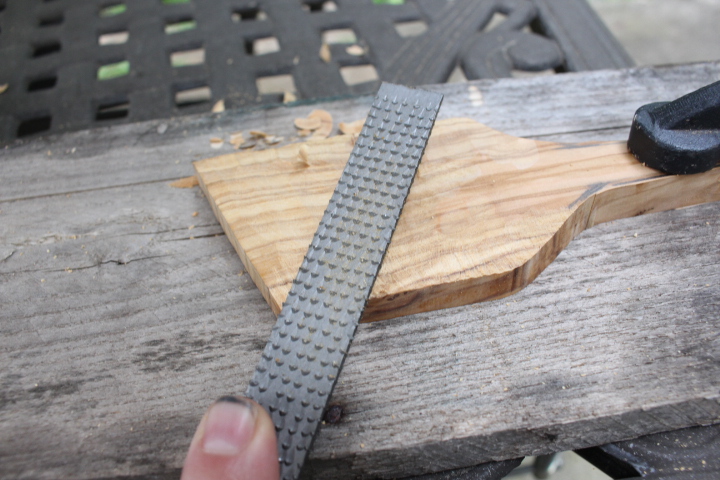
I used a regular wood rasp and the Shinto saw rasp to fine tune my carving. The rasps are a good prep for sanding, but be careful because they will remove a lot of material, fast. So don’t get too aggressive with them. The coarse and fine sides of the Shinto rasp worked great to create the bevel on the spatula.
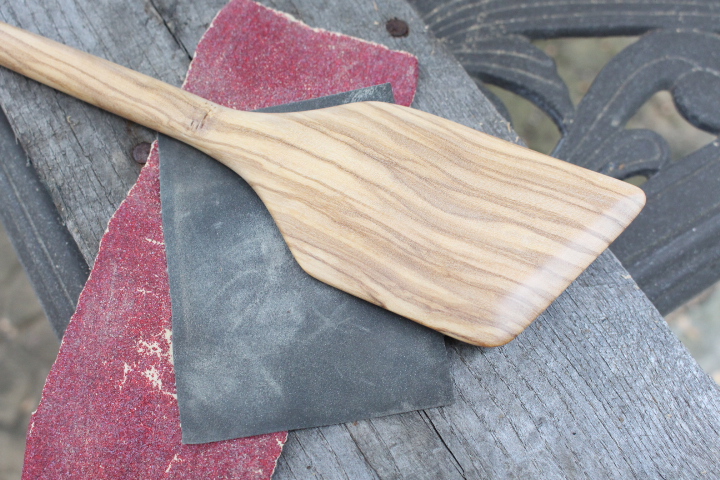
After using the rasps, I started sanding with 80 grit sandpaper, then 120, then 220, then 320, up to 500 grit.
Next, I like to wipe the spatula down with a damp towel and let it dry. This will raise the grain. Then I’ll hit it again with the 320 and 500 grit sandpaper.
Next, I used my Micro Mesh sanding clothes, starting with 1500 grit up to 8000 grit. The Micro Mesh will put a very smooth and silky finish on the spatula. For me this is important, because I will be finishing with a mineral oil and beeswax finish.
Before you go to Step 6, gently and carefully run your finger over the surface of the spatula blade and handle. Make sure it’s totally smooth and free of potential splinters or catches. Inspect for any cracks and try to sand those out.
I ended up with a small knot in my handle, but fortunately, it didn’t go all the way through the handle and didn’t create a weak spot.
Step 6 — Apply a Finish
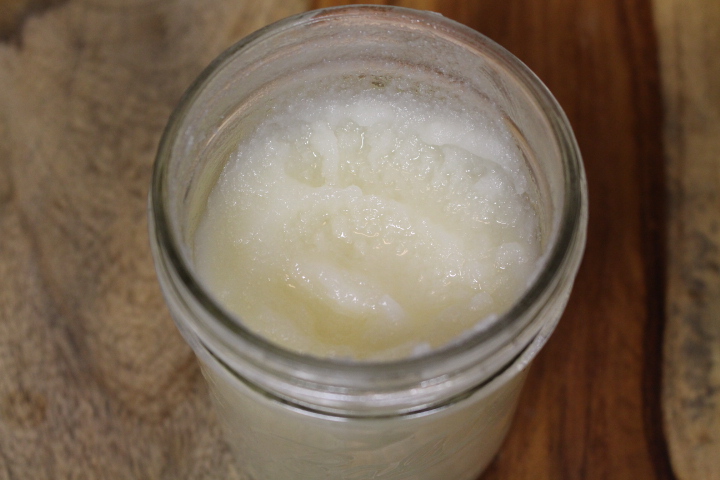
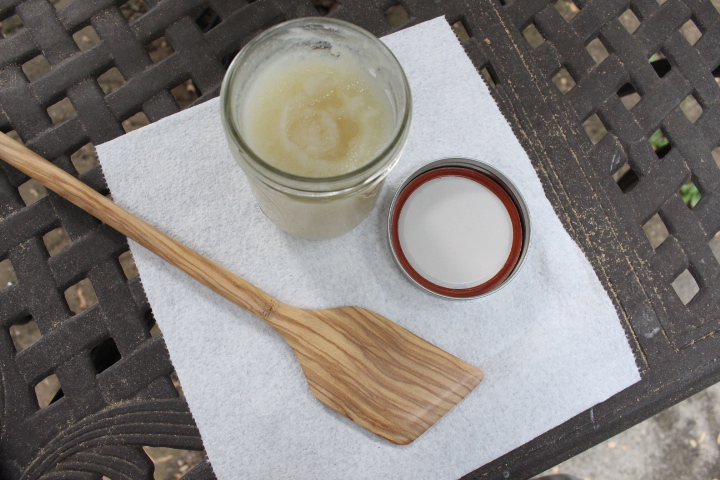
For the finish, I used my own recipe for a mineral oil and beeswax compound. I like to apply a liberal amount and work it into the wood with my fingers. Then allow it to soak in overnight. Next day, use a paper towel to remove the excess compound. Then buff the spatula with a clean cloth.
Too be honest, I don’t know if the olive needed much of a finish due to its oily nature, but I don’t think adding the beeswax compound will hurt anything.
Well, thanks for checking out my hand carved wooden spatula tutorial. I hope it was helpful. Stay tuned, because I plan to post some other carving tutorials in the near future.
Want to get more tips and DIY tutorials like these in your inbox? Look for the signup form below where you can subscribe. If you do, I’ll send you my Home Shop Safety & Tool Checklist for free.
Until next time — happy woodworking!
Stephen
Pin It!!

Are you starting up a new shop? Want to work safer in your shop? To help you answer these questions I've put together a 2-part checklist -- Home Shop Safety & Tool Checklist.
I will also send you updates of my latest woodworking and DIY projects. You can get all this by subscribing to my free email newsletter.
