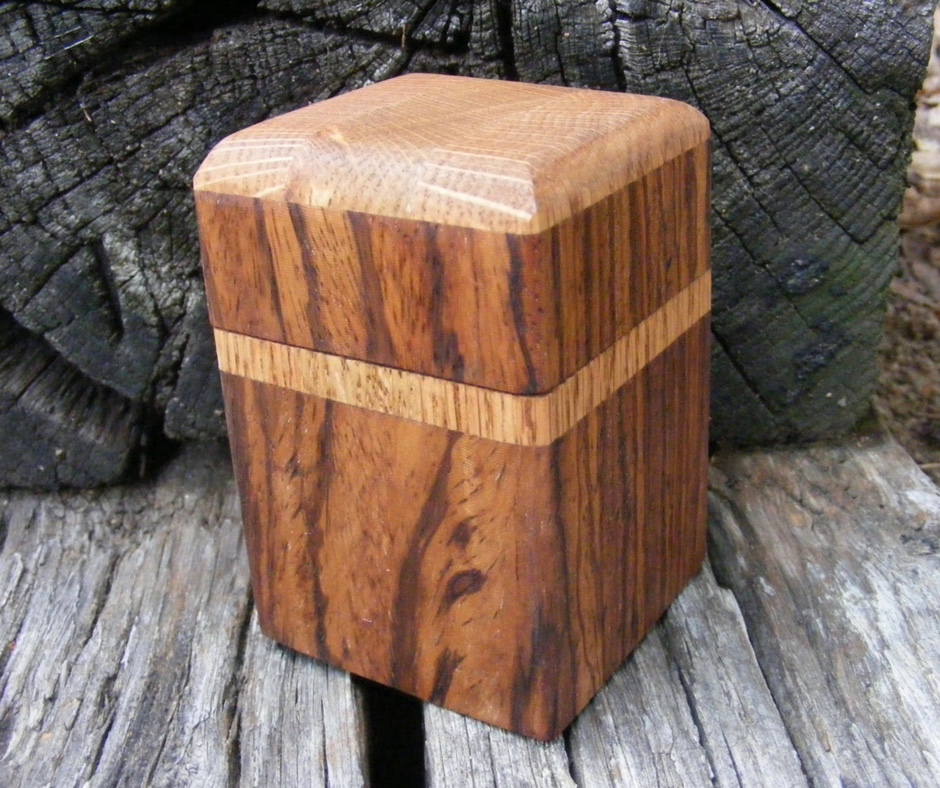
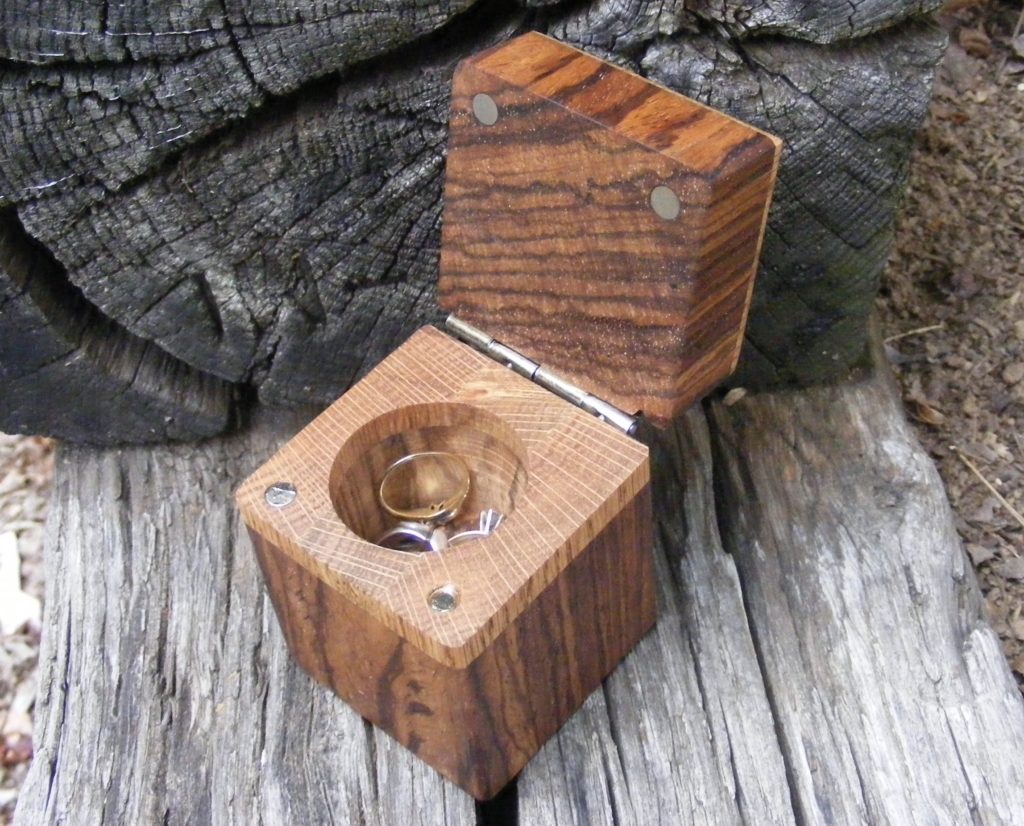
I recently built this handmade ring box for my wife. I used a few basic tools and no tricky woodworking techniques were required. A fun project that can be easily completed on a Saturday afternoon.
First, let me confess. This was one of those projects where I kept running into glitches. Yes, it was frustrating. The good thing is I learn a lot in the process. But this is one of the exciting points about woodworking: Not everything has to conform to the original plan. And often you can improvise as you go.
In this post, I’ll share a quick tutorial for making the handmade ring box. And — I will share my frustrations lessons learned along the way.
Here are some of the tools/materials I used:
DEWALT 12 Inch Sliding Compound Miter Saw
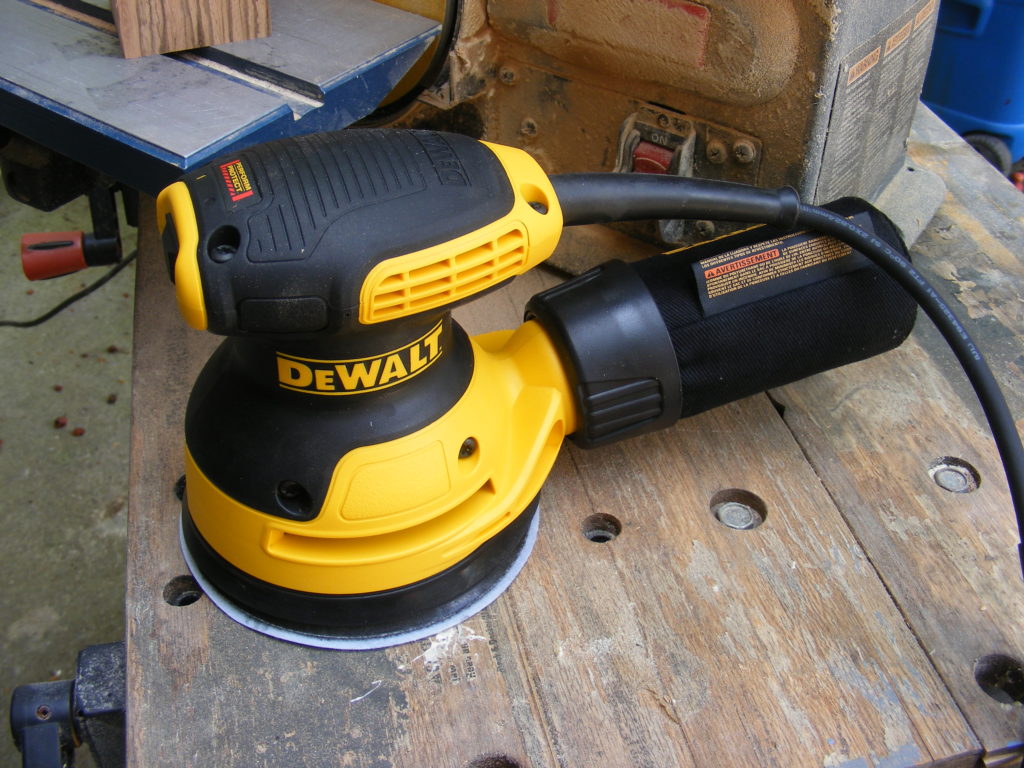
DEWALT Random Orbit Sander
Forstner Drill Bit 1.5 Inch
1 decorative hinge (from Michaels)
Walnut Danish Oil Finish
Belt and Disk Sander
Safety Always
Wear your safety gear. Read your power tool manuals. And don’t do something you’re not comfortable doing. Stop and get help or ask for advice — if you don’t feel safe.
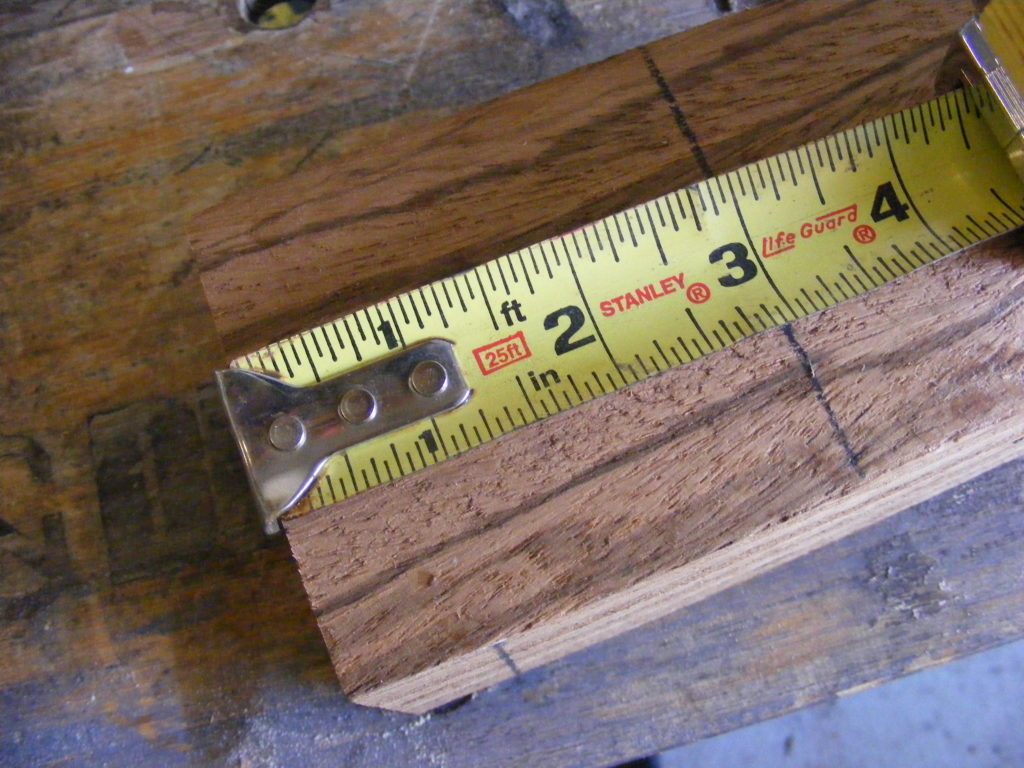
Picking a piece of wood for the box. I decided to use this leftover piece of Zebra Wood. This is one of my favorite exotic woods. A hardwood is always a great choice for durability and beauty. This Zebra board was 3 inches by 3 inches wide. And I cut the length to 3 inches also. Basically, a cube.
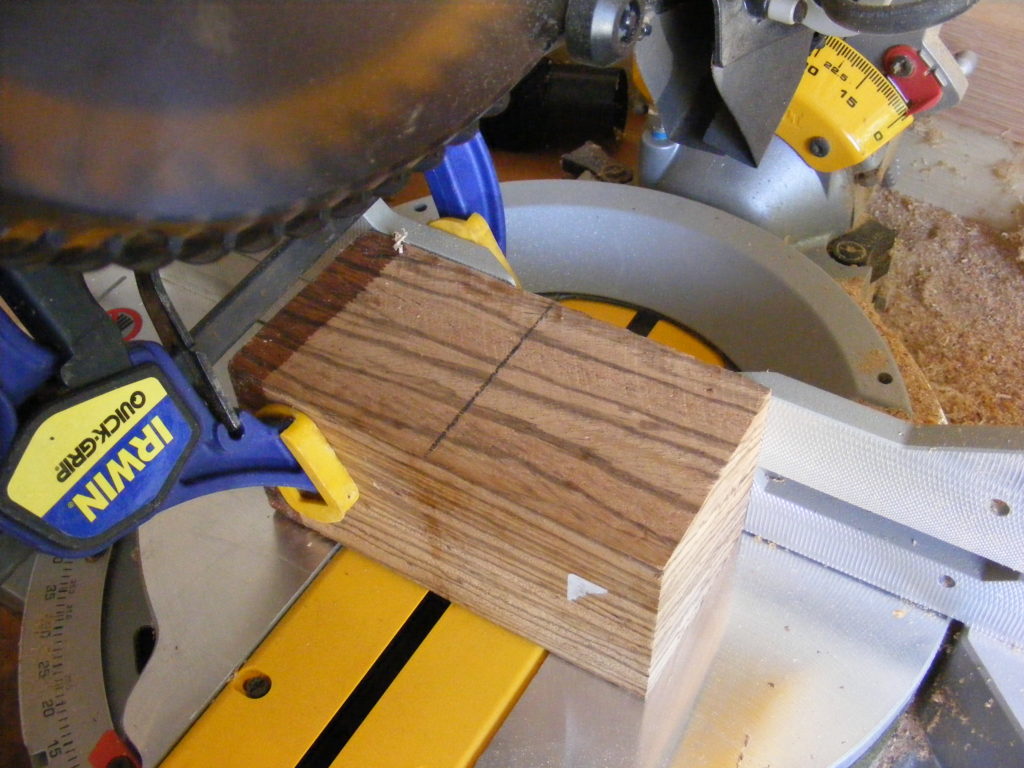
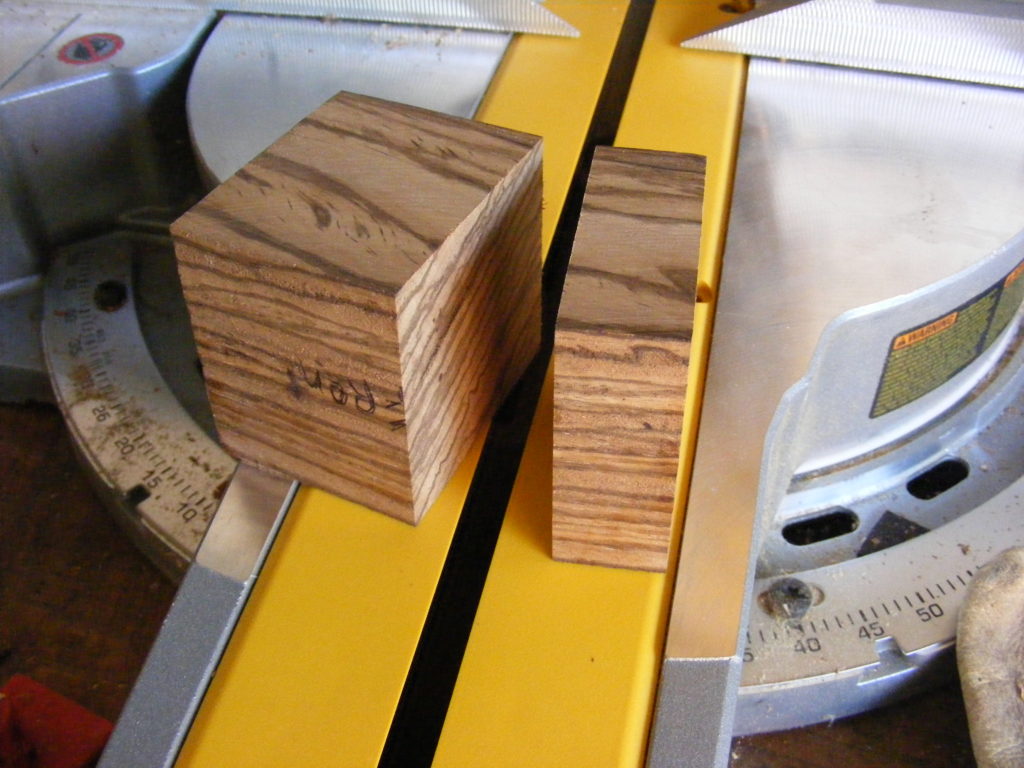
Made some initial cuts for the box lid, using my miter saw. Note that since the piece is on the short side, I used a clamp to hold the wood in place. I never like to get my finger too close to the blade.
I didn’t go for any magical dimensions, but what I thought looked good. So, I decided to make my lid about 1/4 to 1/3 of the total box height.
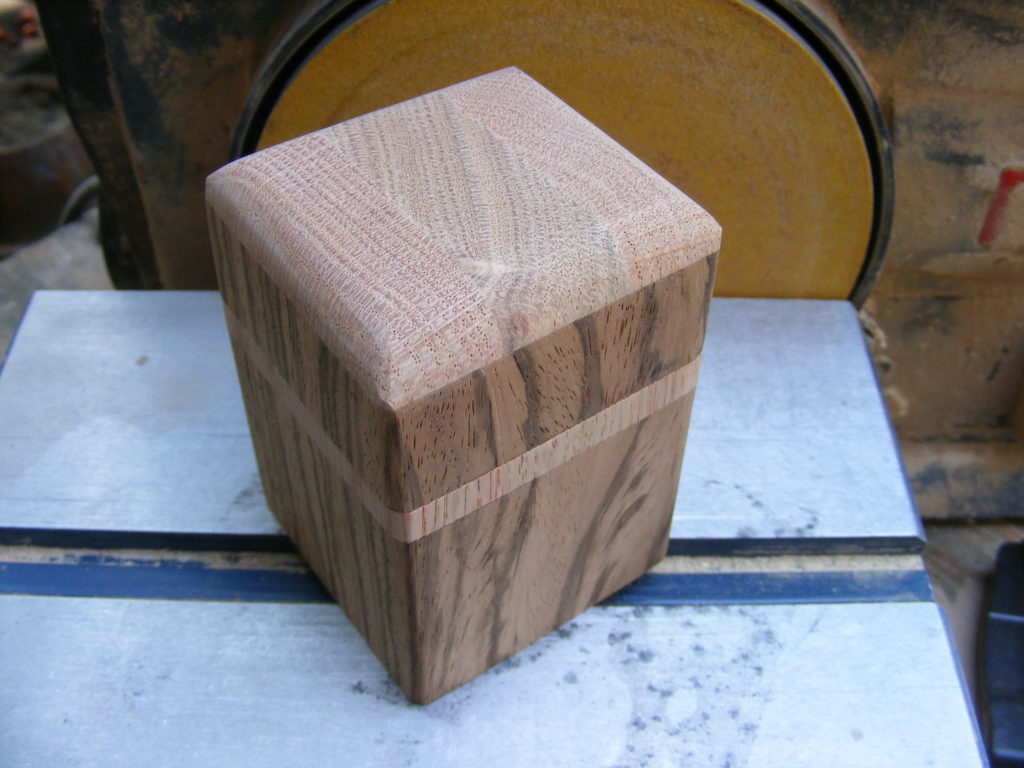
After looking at other boxes over the internet, I decided half-way into the project to laminate a different wood for contrast. I really wanted to use a darker wood like walnut, but all I had on hand was red oak. So I cut out a piece of oak close to the same dimensions of my box and between 1/2 to 3/4 inch thick.
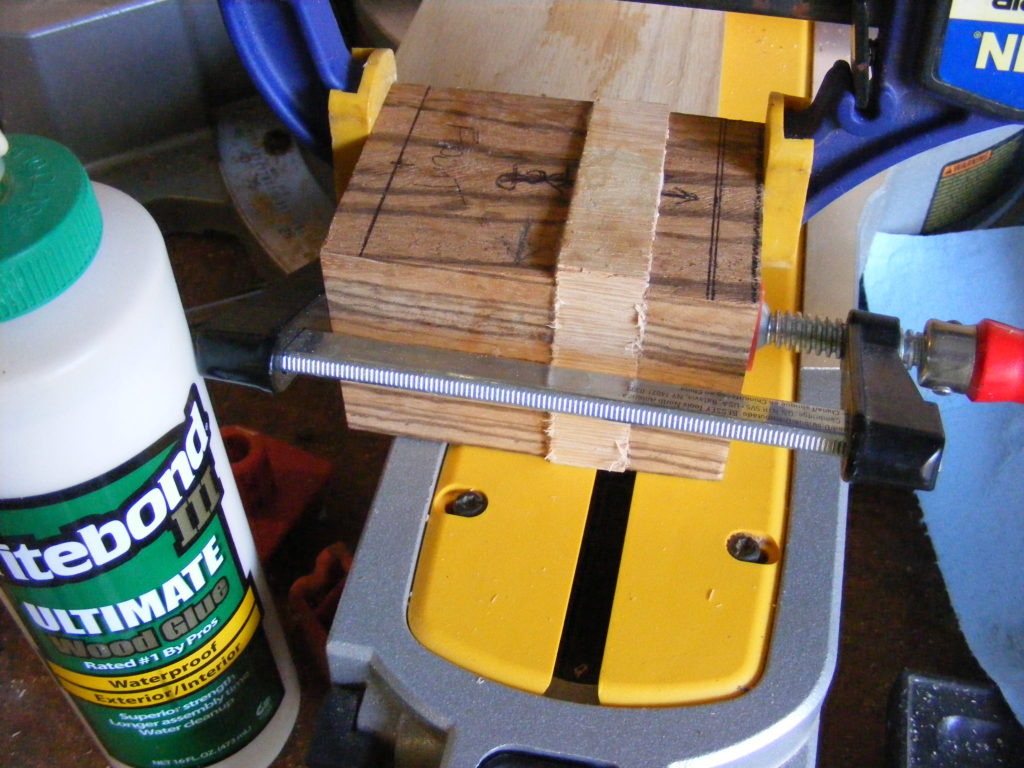
I used Titebond III glue, but any yellow wood glue will do. I made sure the glue was spread thoroughly around the wood and then used a c-clamp to press the wood together. Not super tight since I didn’t want to put dents in the woods.
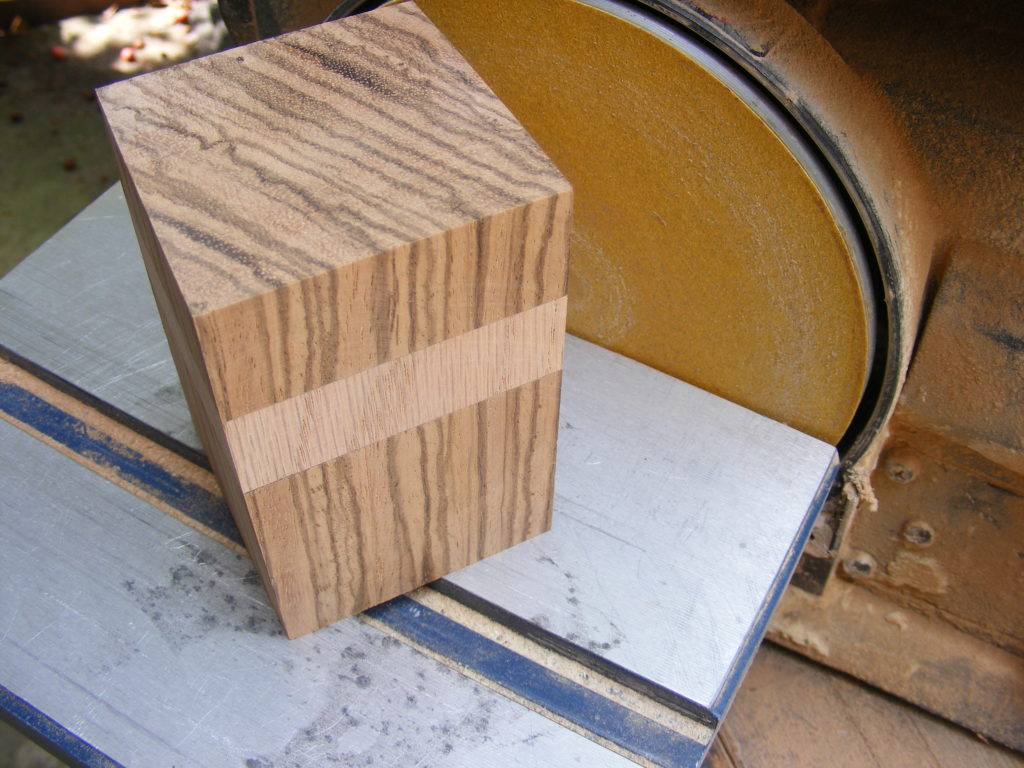
After the glue had completely dried overnight, I took it to my Ryobi belt sander to square and even things up. Hey, now it’s starting to look like something! My next step is to use the chop saw to cut straight through the middle of the oak layer.
Here is where I learned another valuable lesson for the next time I make a box, using a chop saw. I should have inserted a zero clearance plate or made my own. As I went to cut through the oak, the free piece got caught in the blade and shot toward the back of the saw.
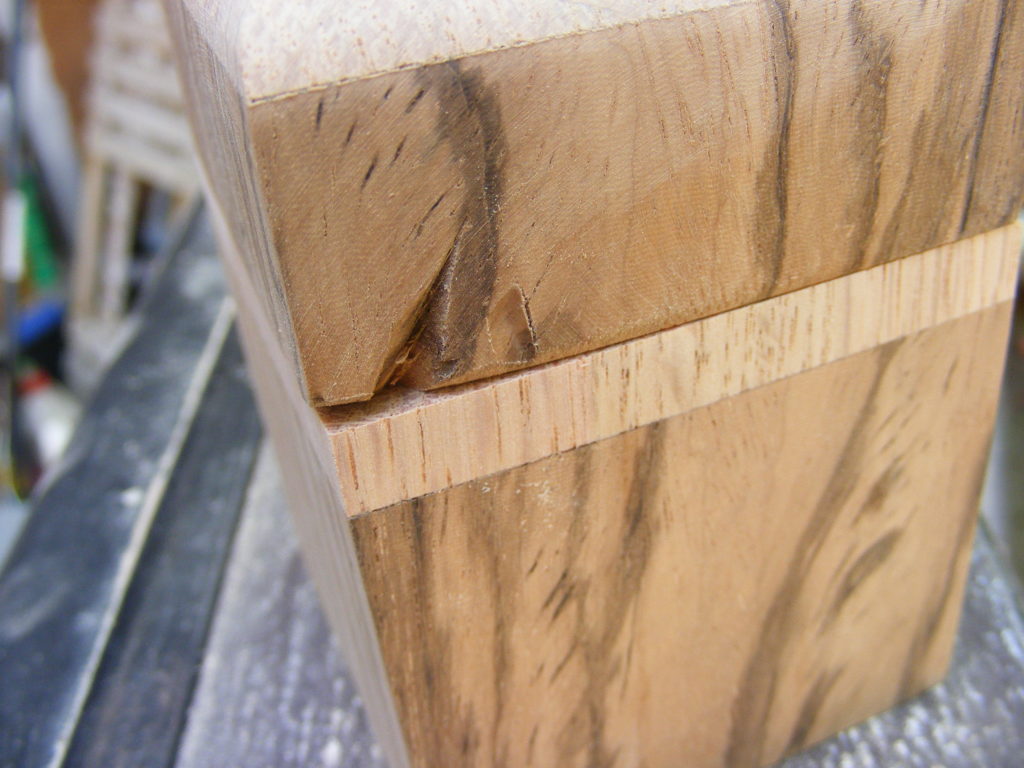
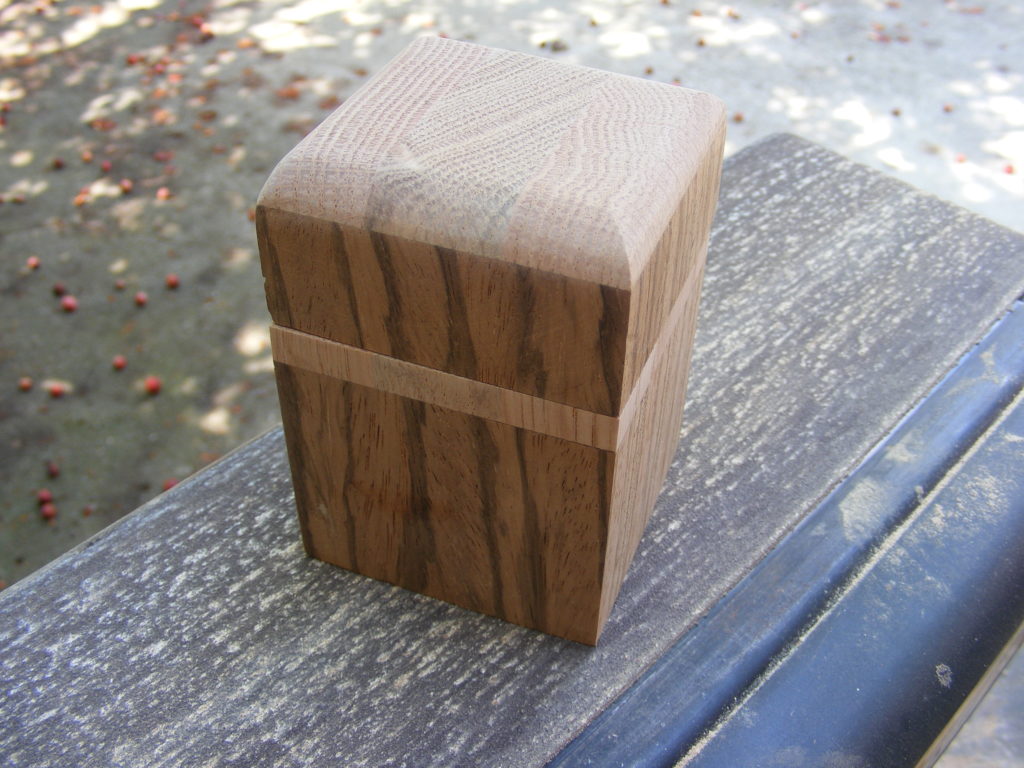
This resulted in parts of the oak and Zebra getting chipped up and splintered (see 1st photo above). At this point, I almost decided to give up, but then I thought about turning the lid over. Amazingly, the grain pattern lined up somewhat — maybe not perfectly. I took the lid back to my disk/belt sander and rounded the oak edges which were messed up (see 2nd photo). Now I’m on to something. Let’s not give up just yet.
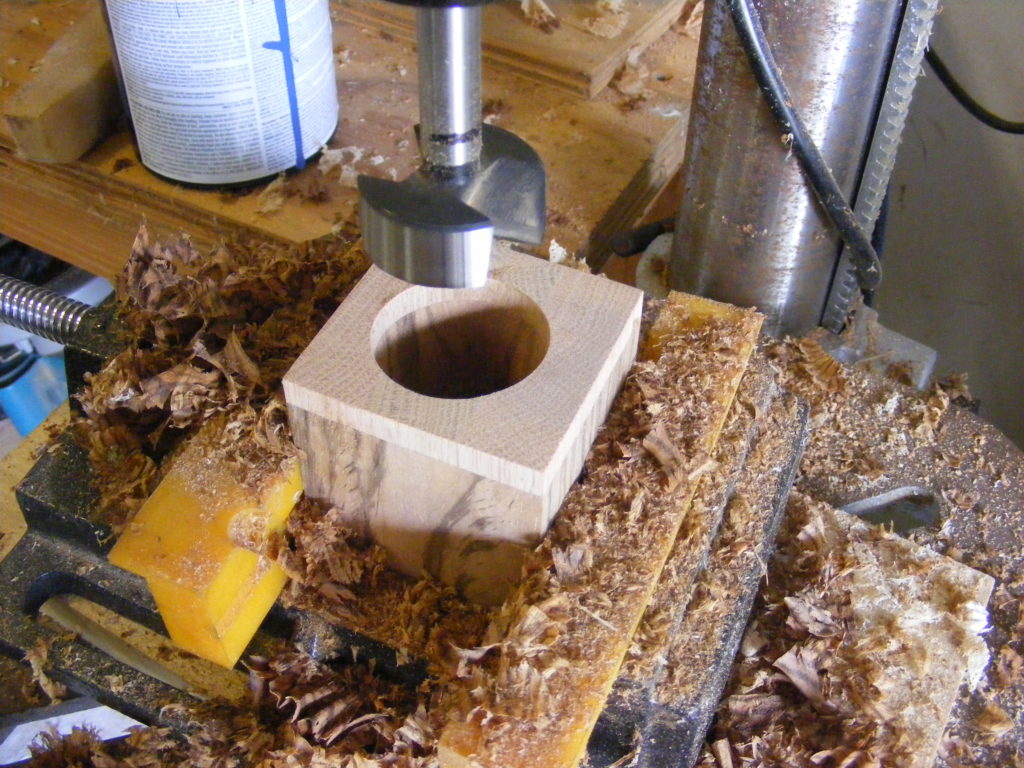
Next step was to drill the hole for the ring compartment. My first thought: use a 2 inch Forstner bit. But decided that might be getting a little too close to the edges of the box. Instead, I used a 1.5 inch Forstner bit. I drilled to a depth of about 1.5 inches. Again — no magical dimensions here. Went with my gut.
Obviously, you don’t want the hole too deep so it’s hard to get the ring out.
At this point, I used my Dewalt orbital sander to do some finishing sanding. I progressively moved through 120, 220, and 320 grits.
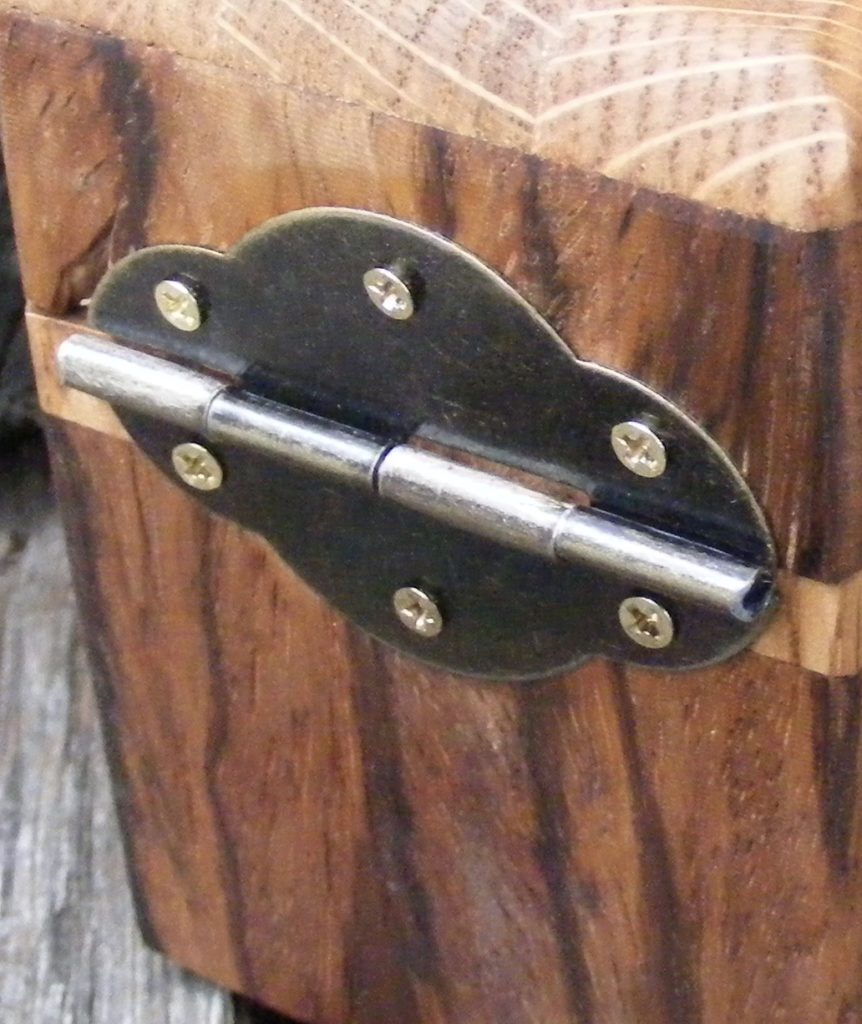
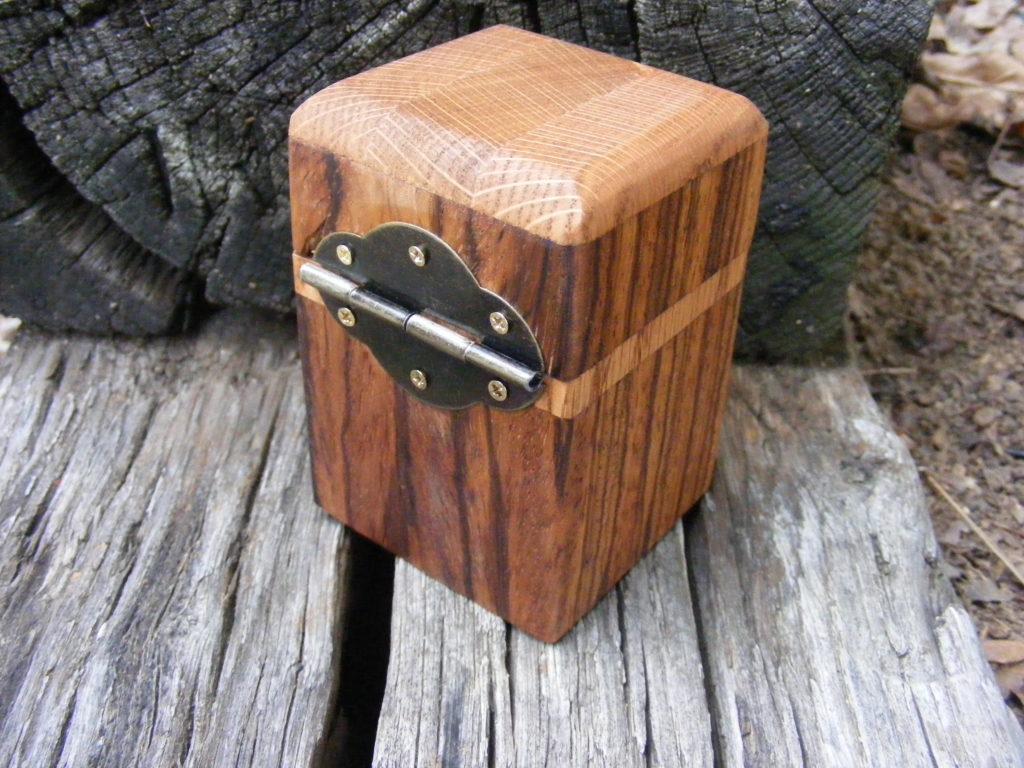
Next, I added a simple decorative hinge I got at Michaels for a few bucks. And, I decided to use it on the side where the Zebra Wood was chipped out. Now, I have a way to cover up my mistake.
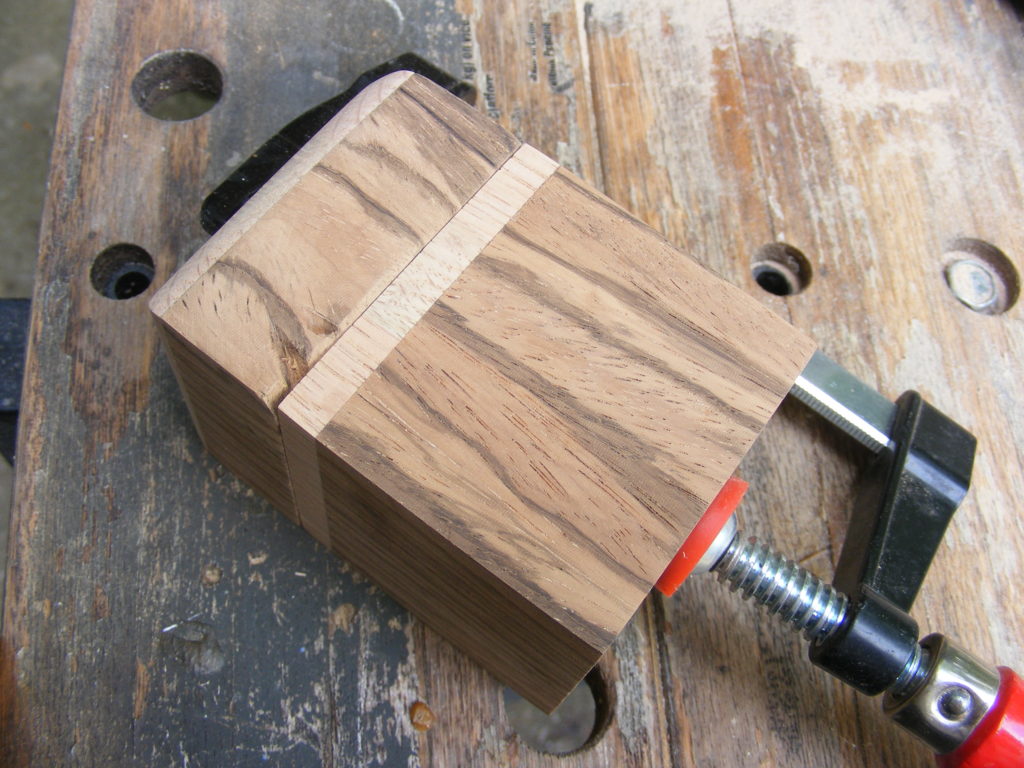
In that first picture, you can see how I’m using a clamp to hold the lid and body in perfect alignment while I screw in the hinge. I had to go back and make a few adjustments on the hinge, but I learned that you need to make sure the center of the hinge is lined up with where the lid and base meet or maybe slightly higher. If the hinge isn’t centered, then the lid may not close completely.
My next box will probably be more advanced, and I’ll try making a wooden hinge.
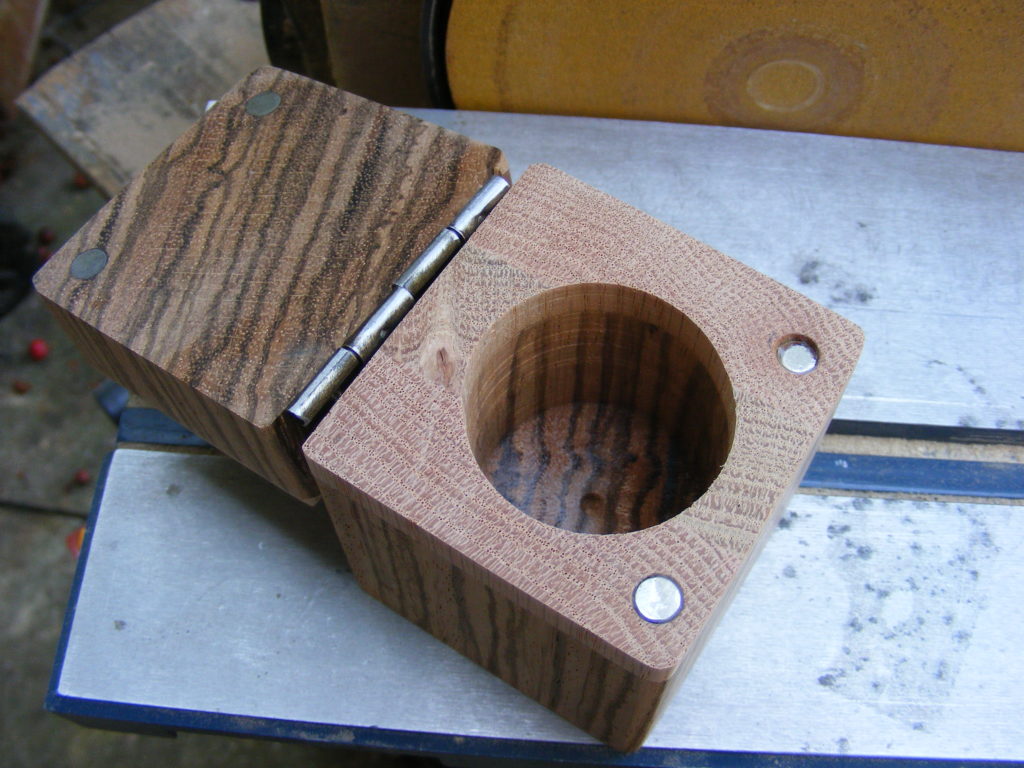
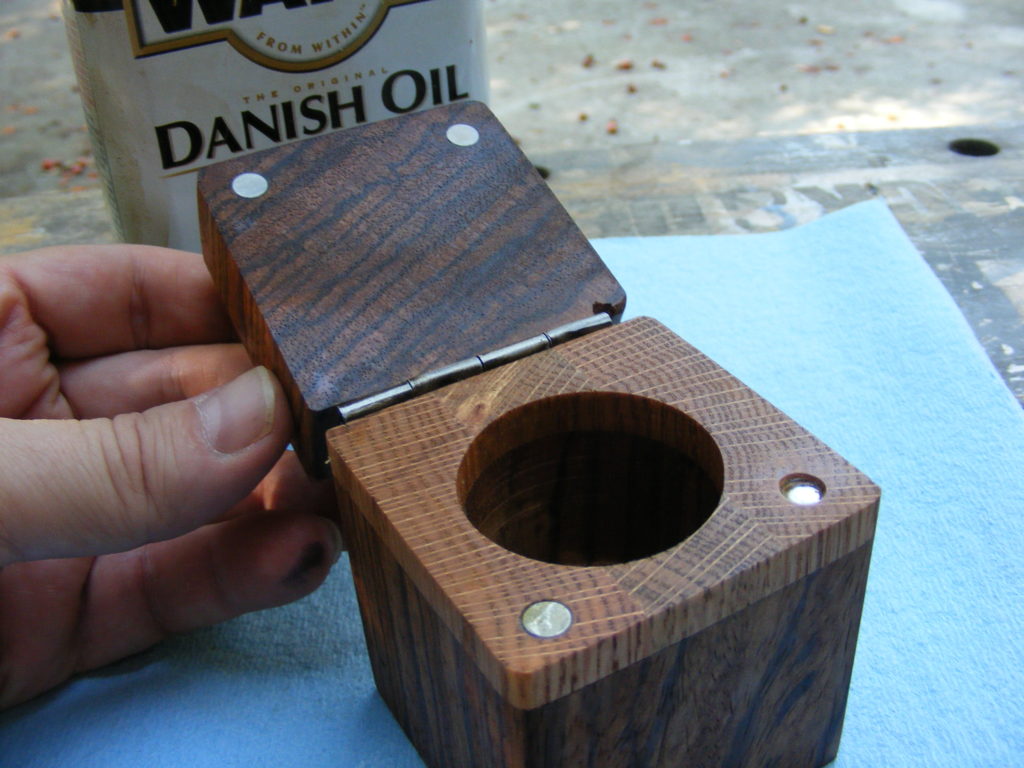
Okay, now it’s time to add the magnets to assist the lid with closing. I probably didn’t need to do this step, but I know about the strength of these little neodymium magnets and thought they would help give the box a little more stability.
You may be wondering how I lined up the holes for lid and base. At first, I kept wondering the same thing. Then it hit me if I took a magic marker and marked the base hole, then quickly closed the lid before the ink dried it would leave an impression on the lid. I did this one hole at a time. Worked like a champ.
For the holes, I used a 9/32 inch drill bit and made a deep enough hole to accept the little 1/4 inch-wide magnet and keep it flush with the wood. I didn’t get all the magnets exactly flush with the wood. I realize I could have easily avoided this problem by setting the drilling depth stop on my drill press. That would have made all 4 holes equal depth. I also made some test runs on scrap would first before I drilled into the box.
After drilling the holes, I placed a drop of CA (aka superglue) in the hole and dropped the magnet in place. I then gave it a few minutes to dry.
You can get these magnets at Hobby Lobby or Michaels.
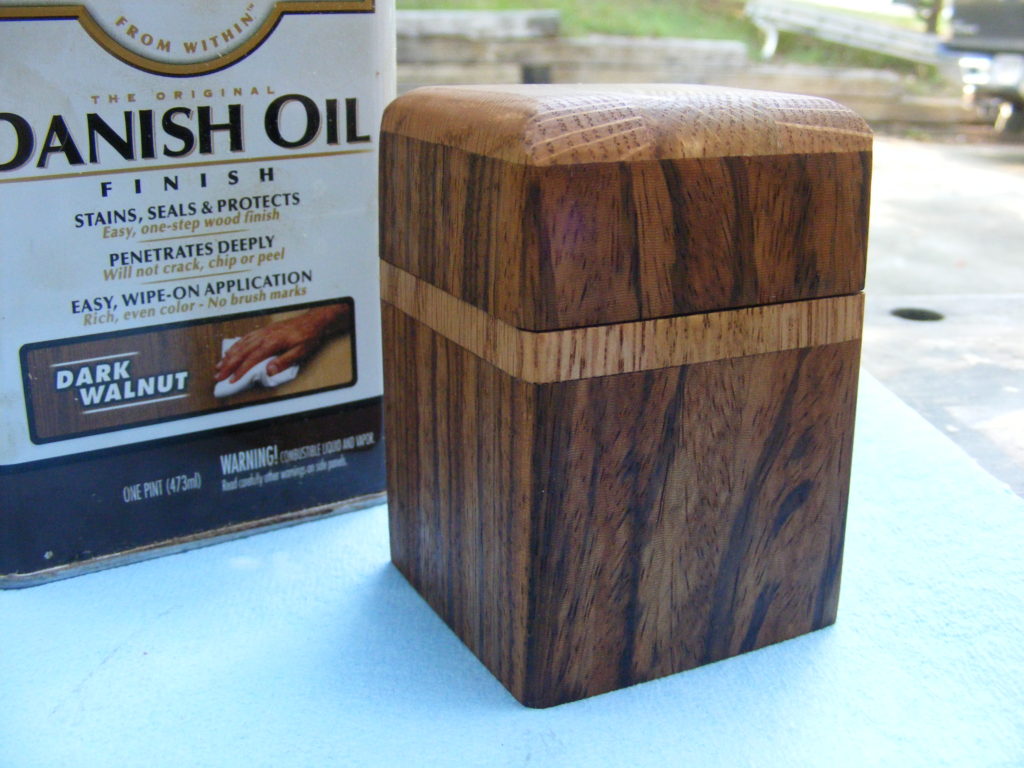
Applied 2 coats of Danish Oil. I followed the directions on the back of the container and applied the layers. This definitely helped bring out the color of the grains. I let it dry overnight. After the Danish Oil had dried for a sufficient time period I could have also applied a clear finish. But I decided not to go that far.
Last step — I gave the ring box to my wife. She loved it!!
So–the big takeaways I learned from this project:
- don’t beat yourself up if you make mistakes. Instead, try to improvise.
- use zero clearance plates especially when making cuts on small stock or if you suspect splintering or chip out.
- use clamps for safety purposes when cutting small pieces.
- hide your flaws by altering your design.
If you enjoyed this tutorial, please consider signing up so you can get monthly updates, tutorials, and other exclusive resources like: The Home Shop Safety & Tool Checklist. I’ll send this PDF checklist to you for free when you subscribe. Look for the subscribe form below this post.
Happy Woodworking!!

Are you starting up a new shop? Want to work safer in your shop? To help you answer these questions I've put together a 2-part checklist -- Home Shop Safety & Tool Checklist.
I will also send you updates of my latest woodworking and DIY projects. You can get all this by subscribing to my free email newsletter.


1 thought on “Handmade Ring Box”
Comments are closed.