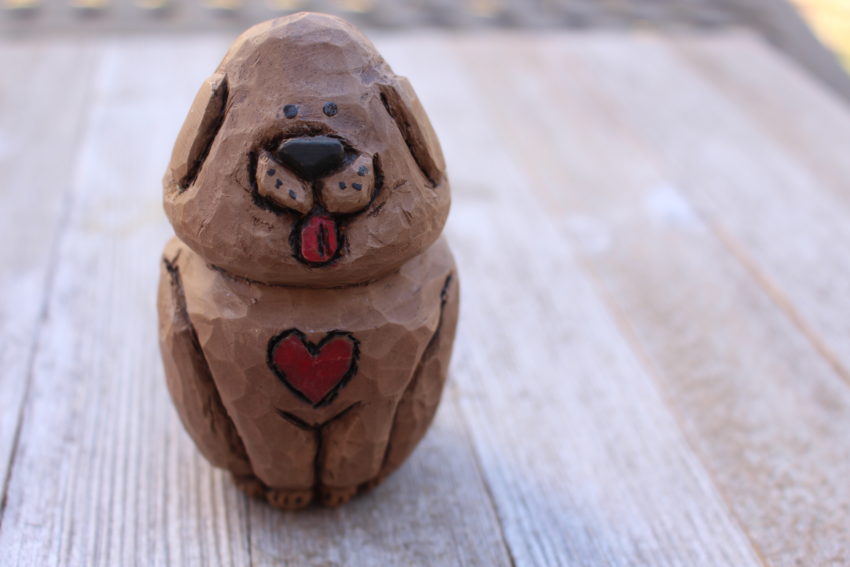
In this demo, I’ll be showing you how to carve a dog using an egg blank. It’s such a fun project for beginners or experienced carvers. The egg blank lends itself to the dog’s shape. Depending on how you paint your dog, you’ll be able to make every variation of a dog you can think about.
I need to credit this idea to the book: Quick & Cute Carving Projects by Lorie Dickie. I changed my carving up by adding the heart. This will be a gift for my wife for Valentine’s Day.
I found the Basswood egg blank at Michaels and the dimensions are 3 3/4 inches tall by 2 1/2 inches wide. For me, it was easier to freehand the outline for the dog onto the egg blank. I used the template published in the book as my guide. I would encourage you to buy the book since it has many other carving projects for beginners. Each project comes with photos, instructions and templates.
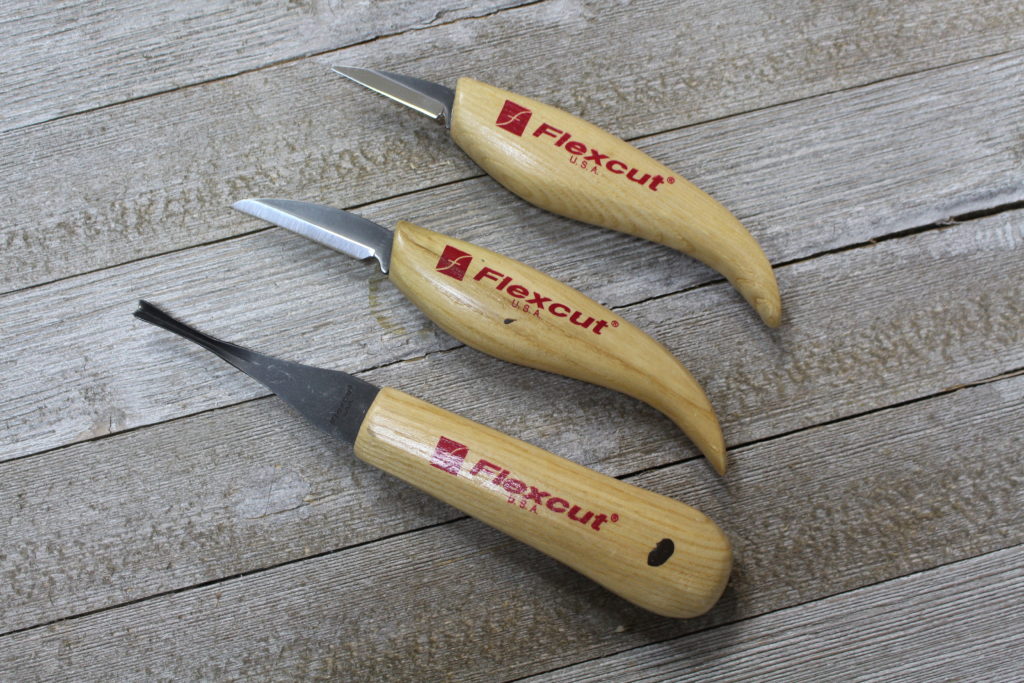
The Flexcut knives have become my favorite tools for carving. From top down, I use a detail knife, a roughing knife, and then the V-tool. I don’t use the V-tool often, but it comes in handy to sometimes clean up my cuts.
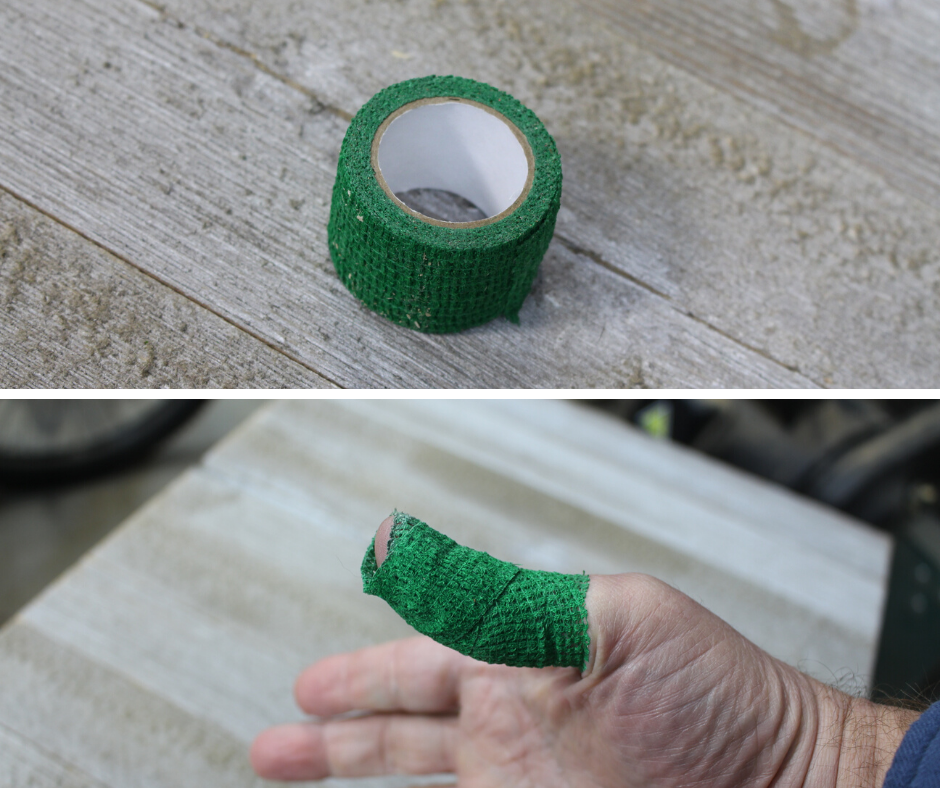
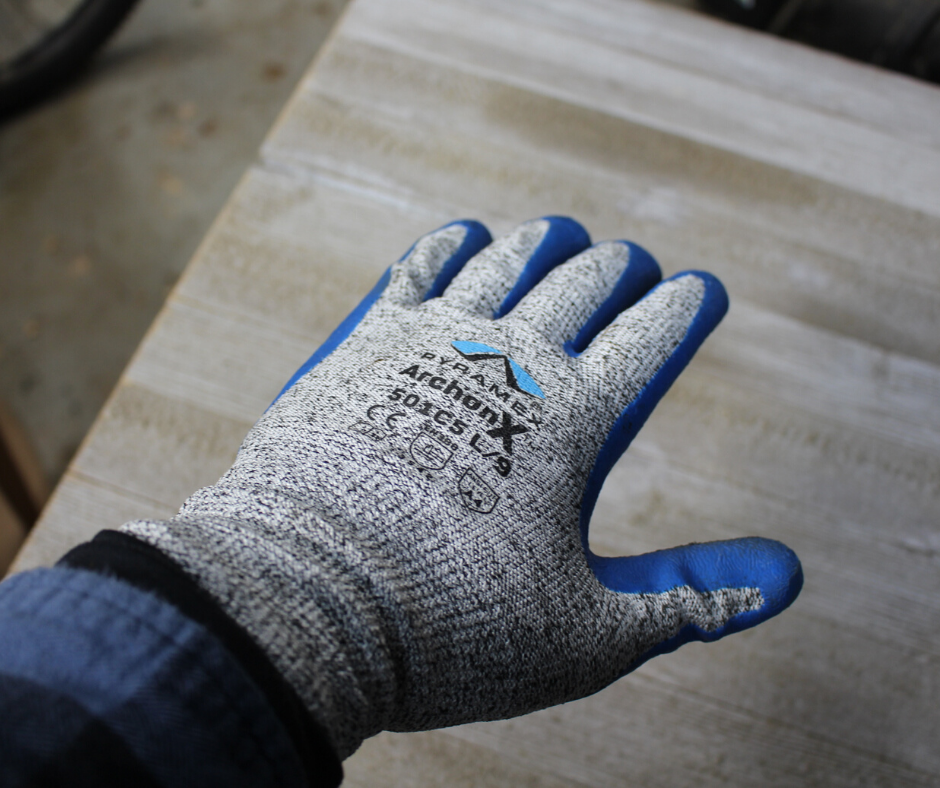
For safety, I will wrap carving tape on my right thumb, and I’ll wear a carving glove on my left hand.
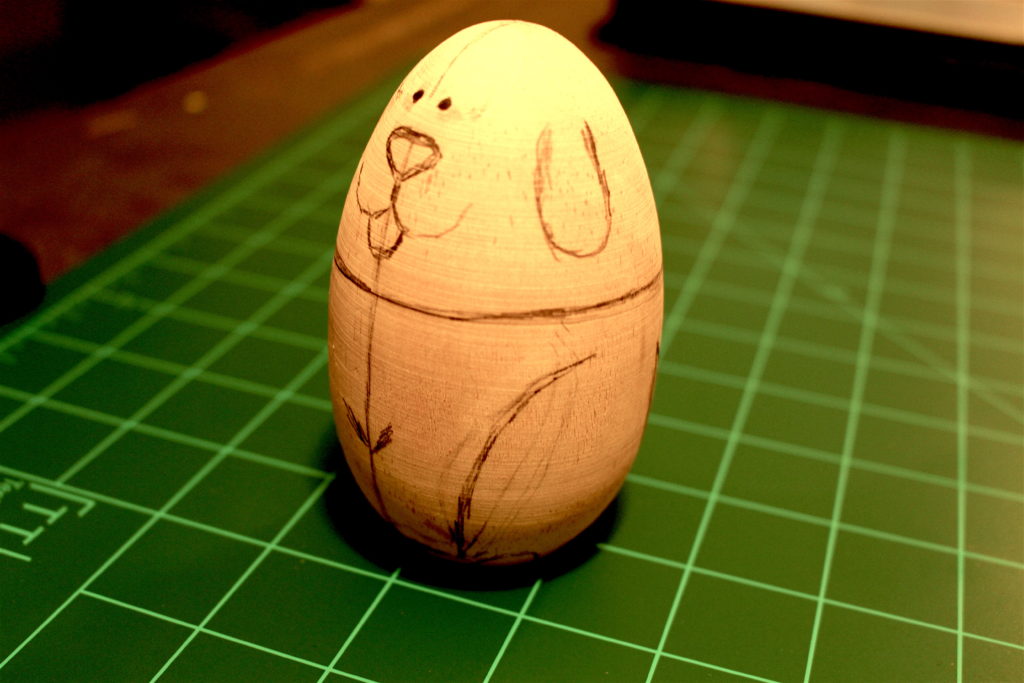
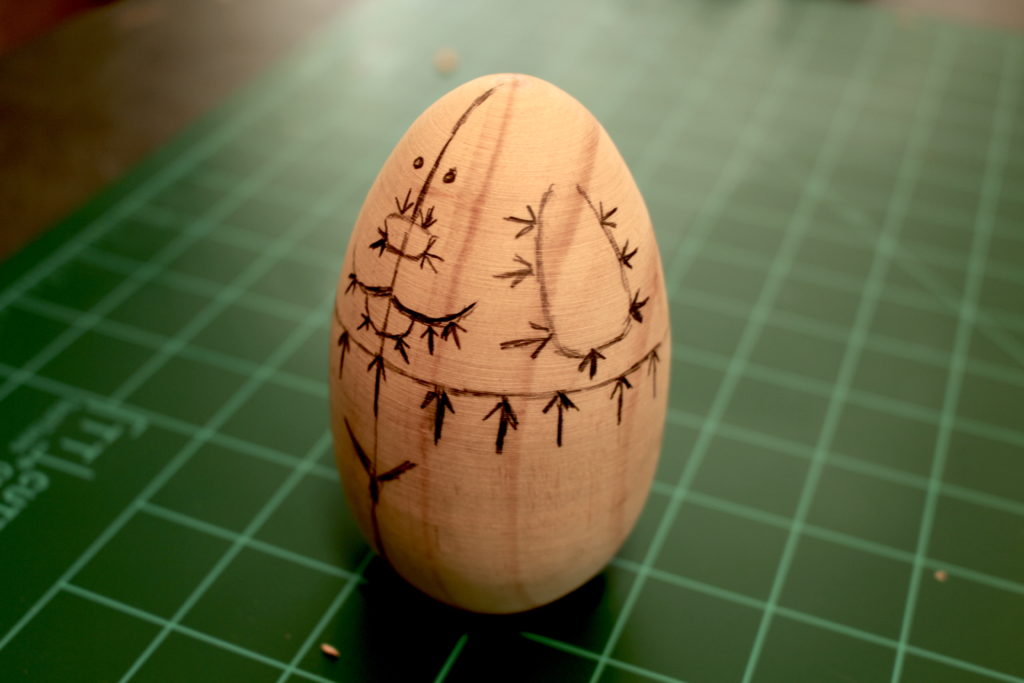
The method for carving the dog is fairly straightforward. Everywhere you see a line, you will first press your knife straight down to create a stop cut. Then you will carve up to the stop cut.
Notice the arrows in that second photo. Those arrows indicate the direction you want to cut to the stop cut. First, do the stop cut, then cut in the direction of the arrow to the stop cut. (see the short video clip below as I demonstrate this method)
If needed, I would also use the V-tool to clean up the cuts.
The first thing I did was separate the head from the body. In the video clip above you will see me making stop cuts and then carving to the stop cuts. I gradually define the head from the body. What you see me doing in the video clip is identical to the other cuts I’ll make to define other features of the dog.
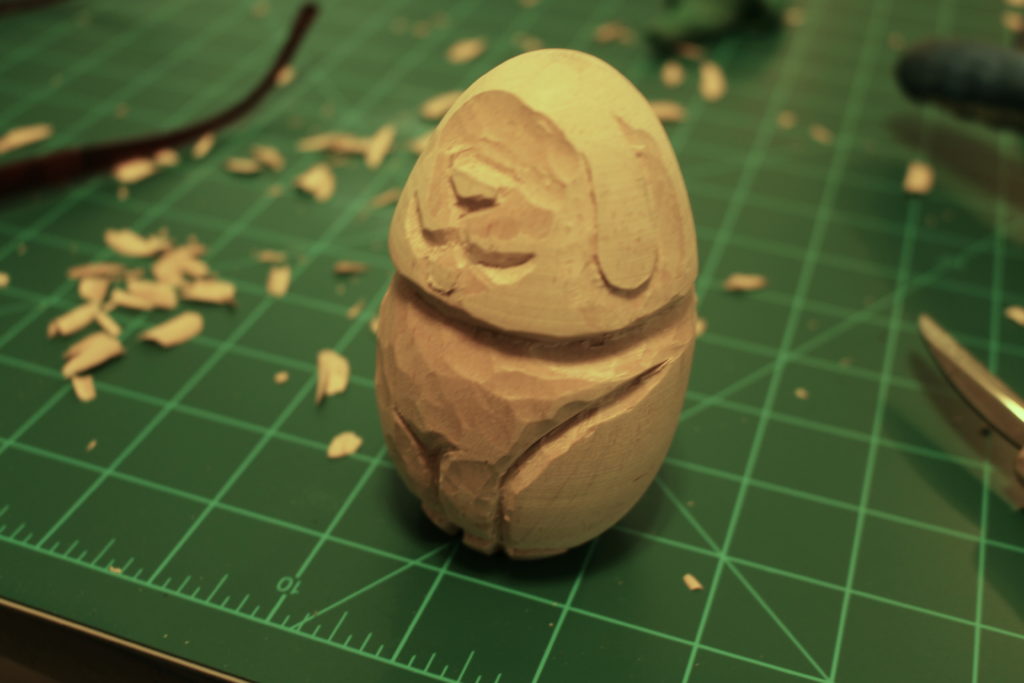
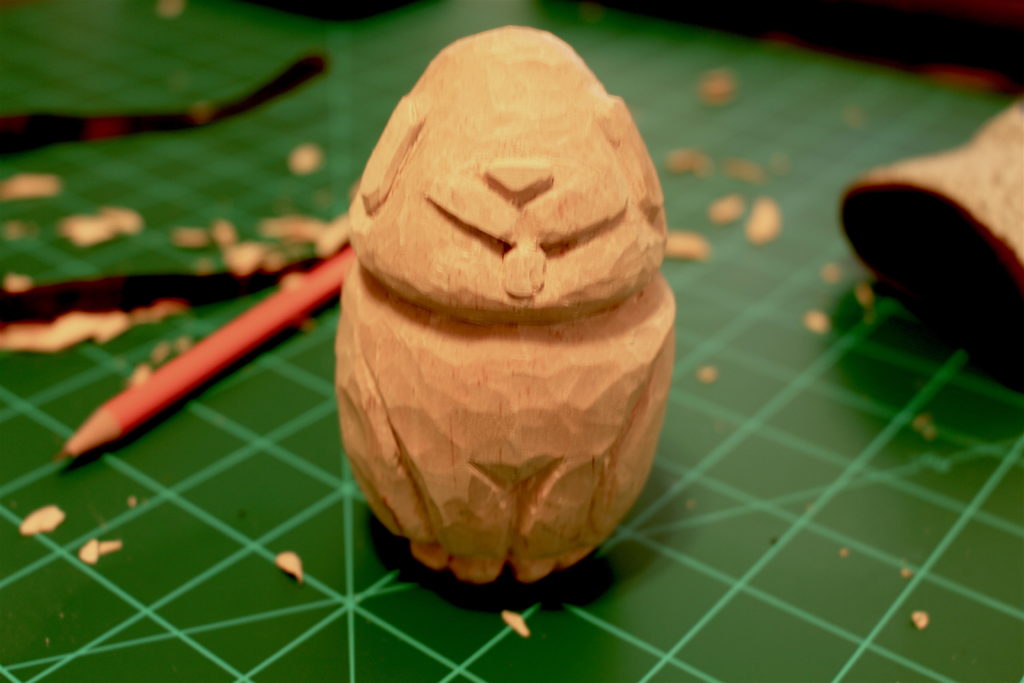
In the two photos above, you can see how I’m bringing out the different features: the ears, the nose, tongue, snout, legs. For the area above the nose, I sloped the carving back some. This will give additional shape to the head / face. I didn’t slope it by very much though.
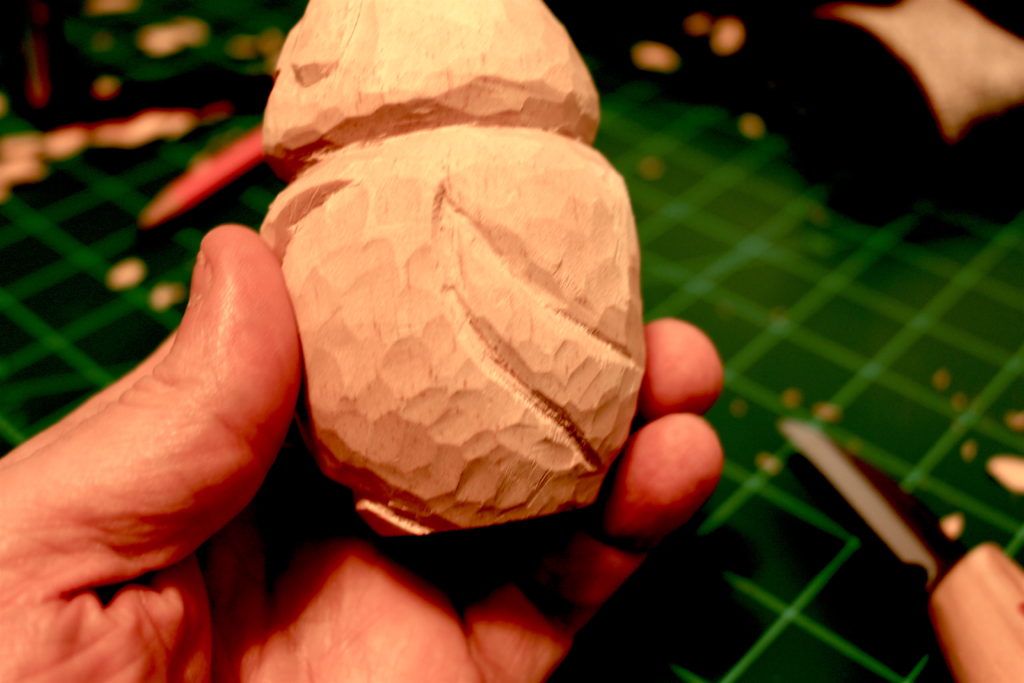
In the above photo, I am defining the tail.
You can also see how I’m carefully carving the rest of the smooth surface of the egg blank. I recommend you do this for all of the remaining smooth surfaces on the egg blank. You don’t need to take off much, but you just want to leave the texture as seen in the photo.
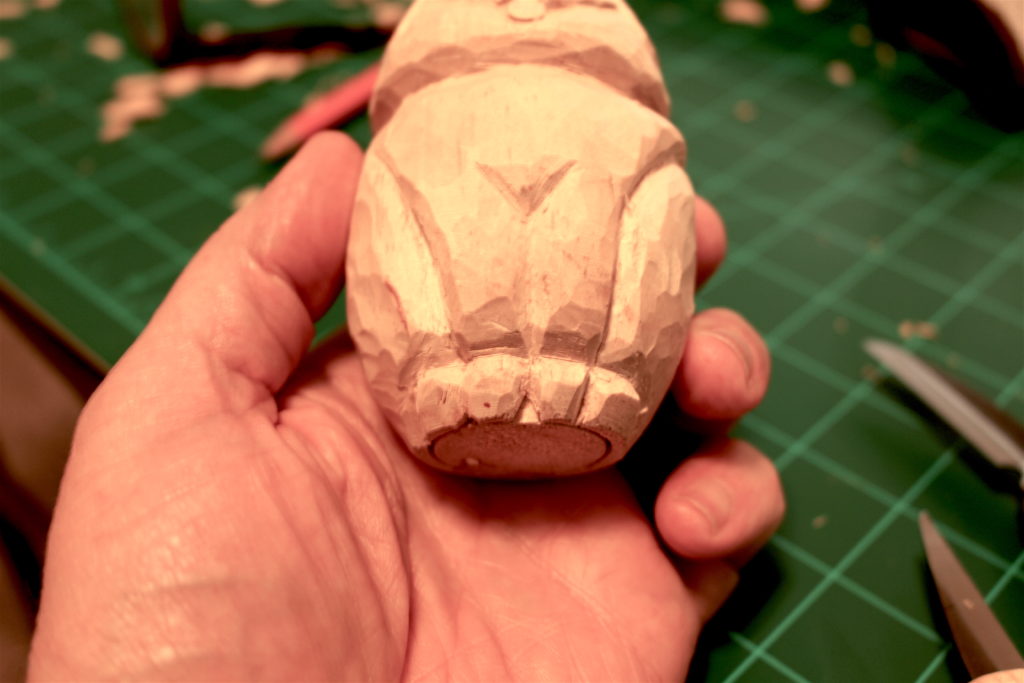
Above, I’m showing the details of the legs and paws. Later, I will use the wood burner to add claws to the paws. Obviously, the dog is in the sitting position.
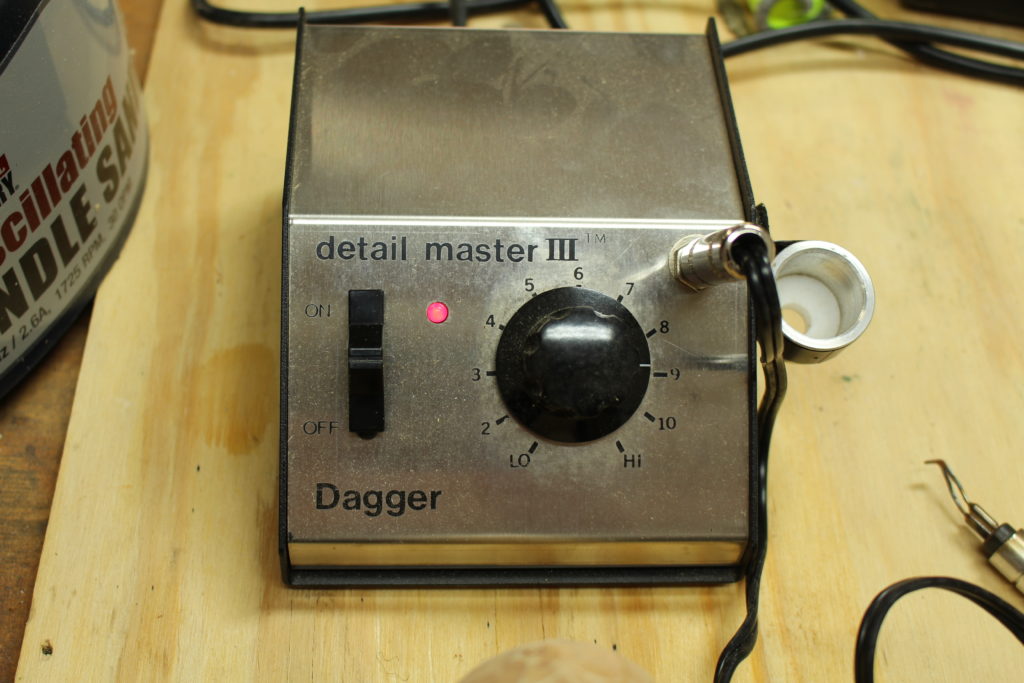
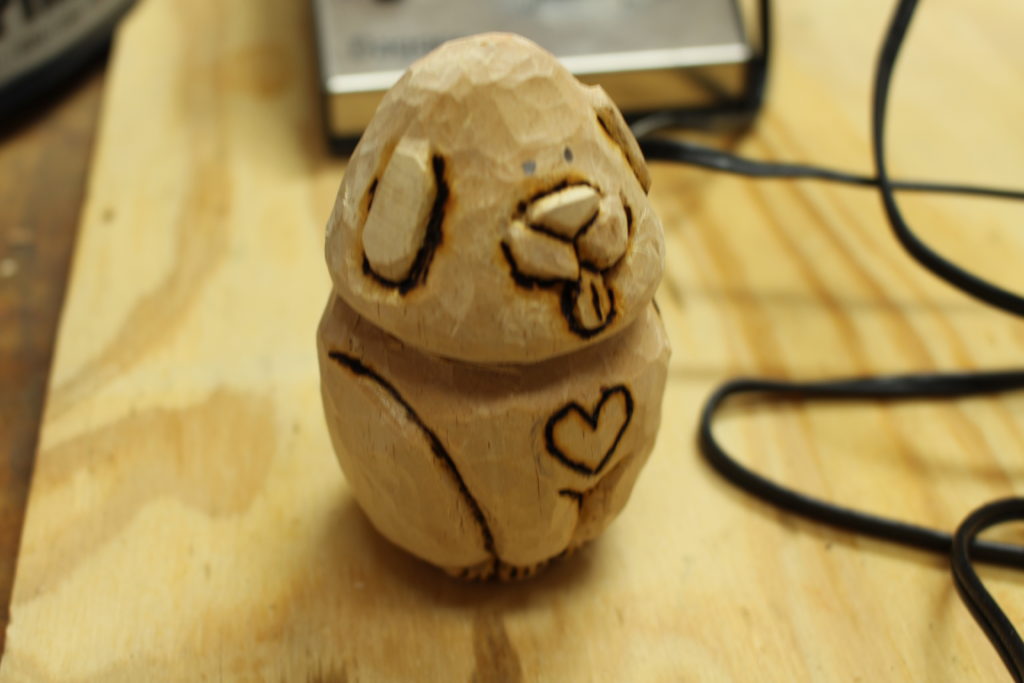
Using the wood burner is optional, but it does help bring out the details and it helps to outline features like the heart. As you can see in that first photo, I used a very fine tip. I say this step is optional, since I will also be using an antiquing wax for the final finish on the carving. That antiquing wax will fill in the crevices and darken those areas. For this tutorial, I’m doing both which I thought turned out well.
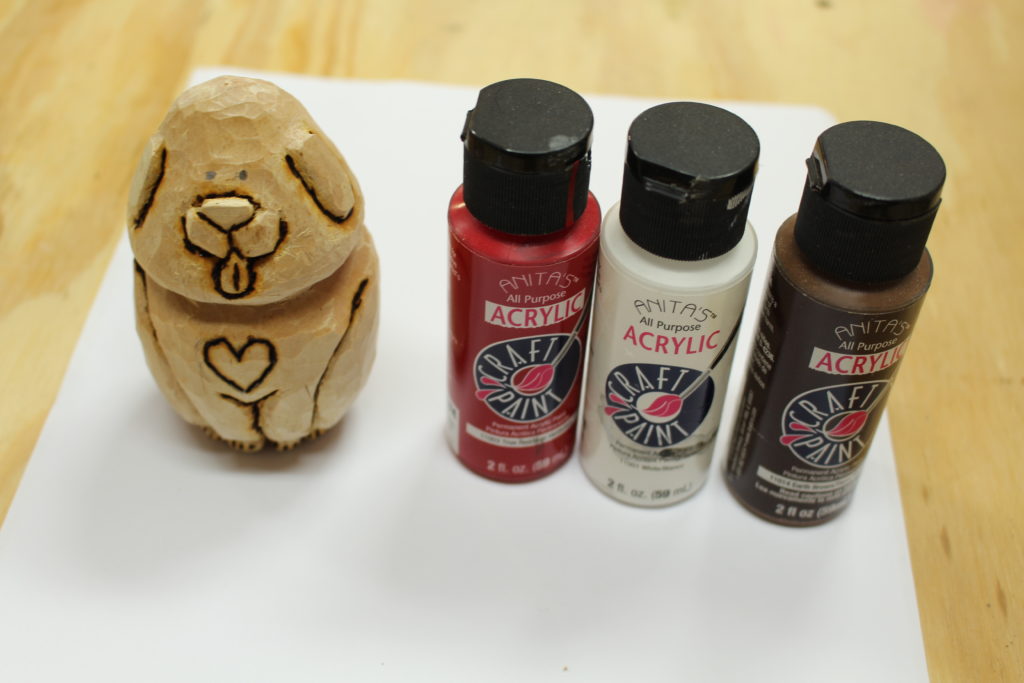
I used four different paints for the carving: red, white, brown, and black. For the body of the dog, I mixed equal amounts of the white and brown which results in a tan color.
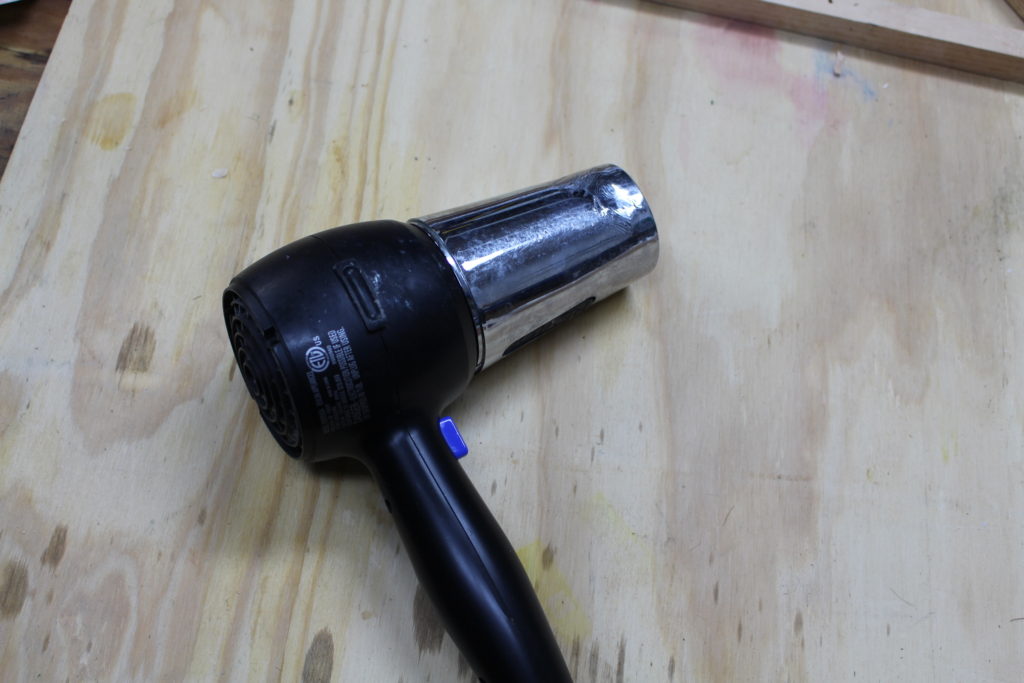
A hair dryer comes in handy for speeding up the paint drying process.
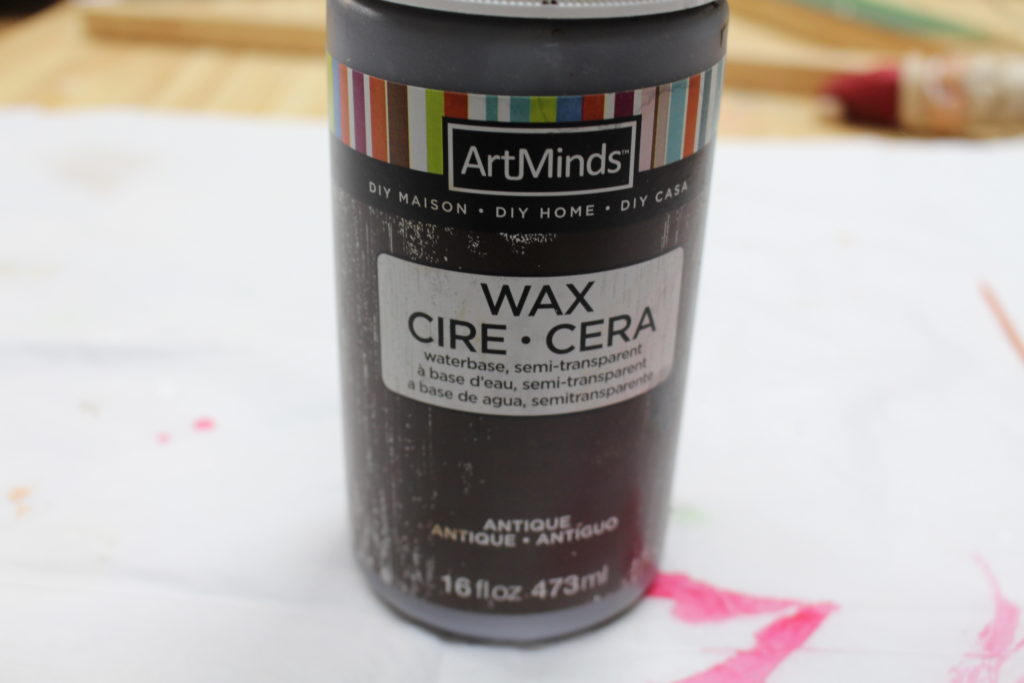
Above is the antiquing wax I use on most of my caricature carvings. This is made by ArtMinds. Once I’ve finished with my acrylic paints and they have dried, I brush on the antiquing wax and then immediately use a paper towel to wipe it off.
I like this wax because it gives the paint an antique look and it fills in and darkens the crevices you couldn’t get paint into.
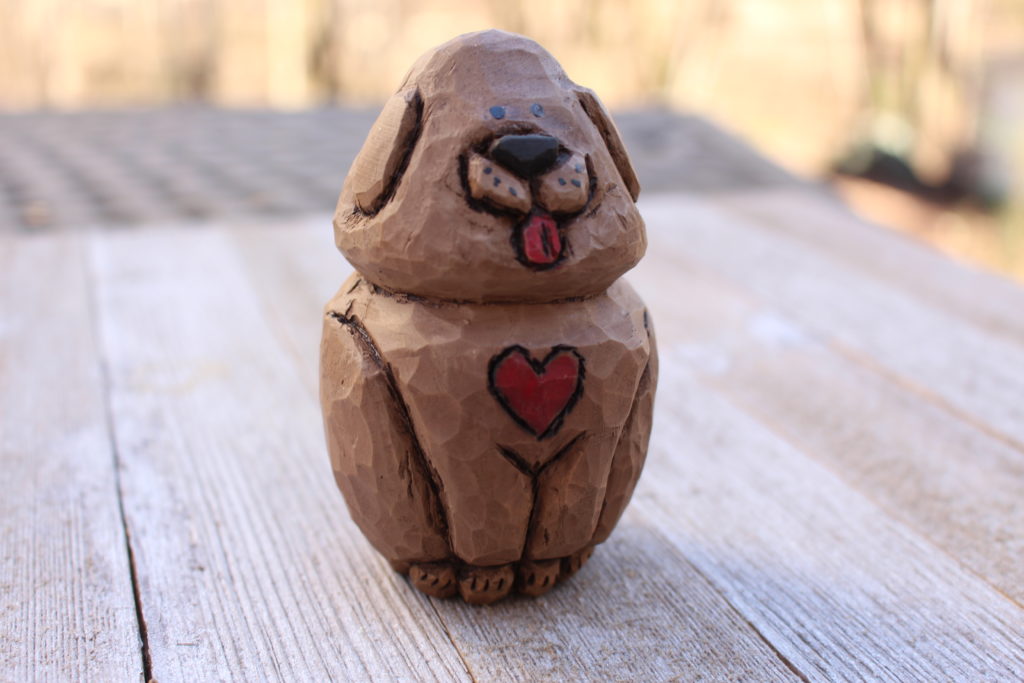
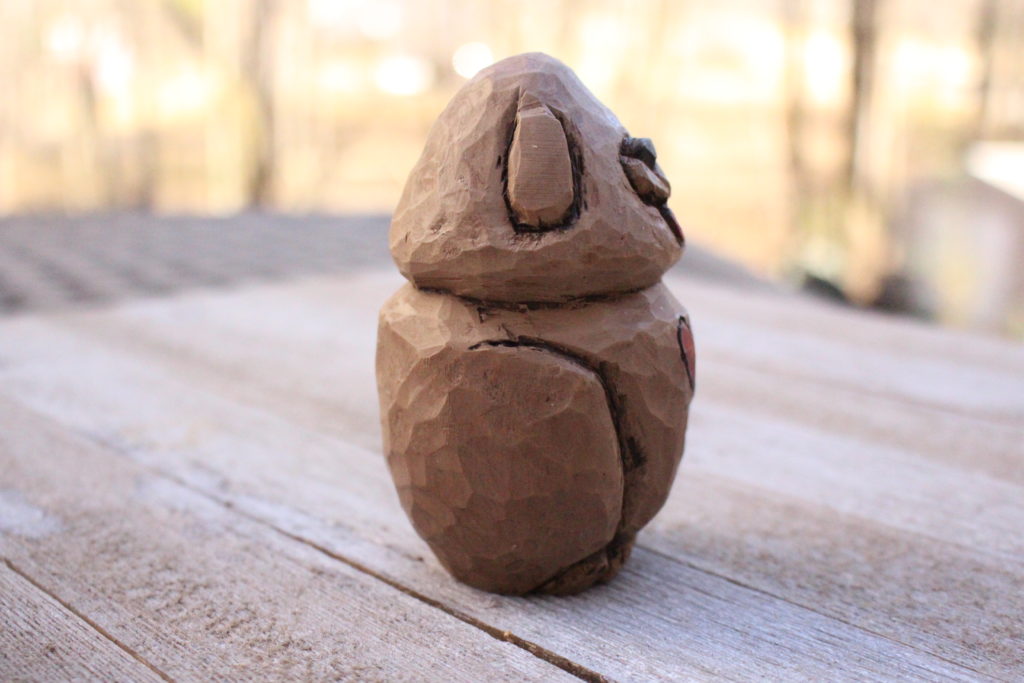
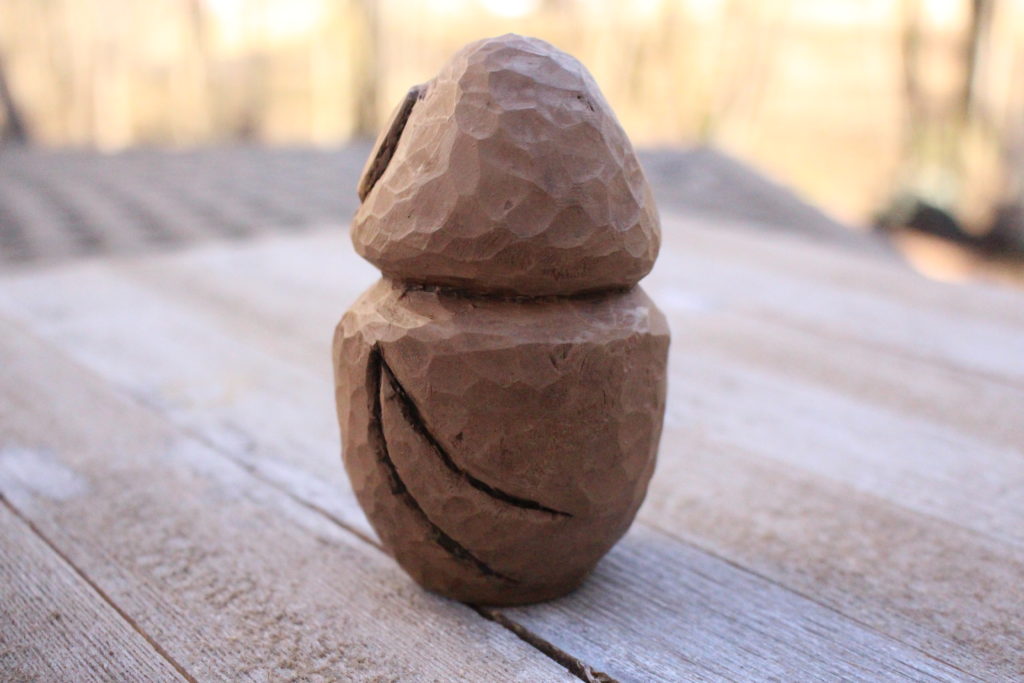
The above 3 photos show different views of the finished project. I know this is a basic carving, but this little guy really makes me smile. And it made my wife smile.
If you get paint into an area that messes up a burn mark, don’t worry. I did that a couple of times and just went back after the paint dried and applied the burner over the paint. The antiquing wax will also help darken some of those crevices that define the features of the carving.
I hope you’ve enjoyed this tutorial: How to Carve a Dog Using an Egg Blank. If you like this tutorial, please consider joining my newsletter. Look for the signup form below or in the sidebar.

Are you starting up a new shop? Want to work safer in your shop? To help you answer these questions I've put together a 2-part checklist -- Home Shop Safety & Tool Checklist.
I will also send you updates of my latest woodworking and DIY projects. You can get all this by subscribing to my free email newsletter.
