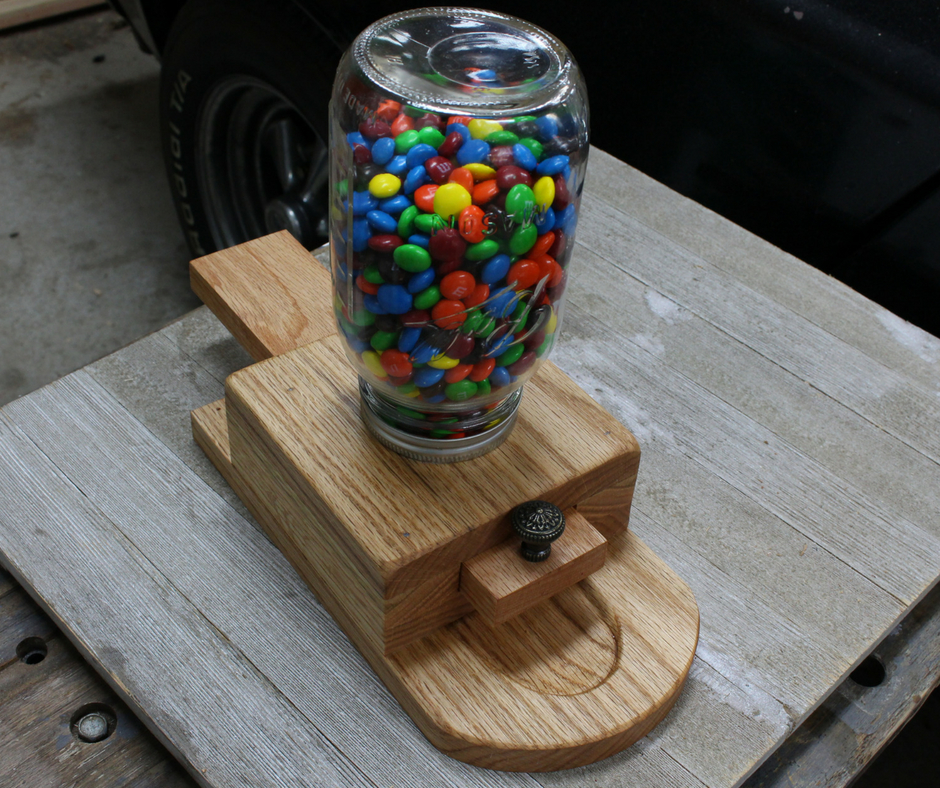
I have a sweet DIY project for you in this tutorial. I’m going to show you how to make a candy dispenser. I used red oak from my local home improvement store.
This might be a cool project to make for the kids or the grandkids. Only takes a few tools and a few hours of your afternoon.
Below, I’ve created a pictorial tutorial, but you might want to check out the youtube video to see a few more details. If you like the video, I’d love for you to subscribe to my channel.
Be safe: Wear your safety gear, know your limitations, and read the instruction manuals that come with your tools. Have fun and be safe!
Get the Free PDF Plans
Tools and Materials:
Red Oak Boards (local home improvement store)
Mason Jar
Decorative knob (Hobby Lobby)
Nail Gun
Wood Glue
Belt Sander
Orbital Sander
Screw Driver
Drill Press (or hand drill)
1 Inch Forstner Bit
Miter saw (or other saw)
Candy (hard and round)
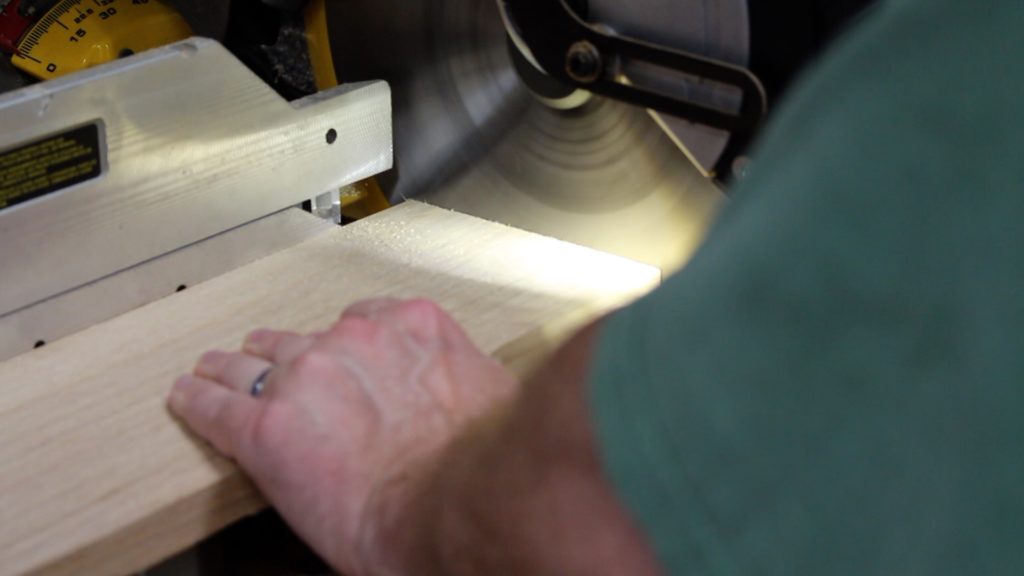
Used the miter saw to make the cuts. I didn’t have to make any rip cuts since I decided to use the board widths from the store. The red oak was already cut to some very convenient dimensions for this project.
You could also use poplar or pine, but I like the oak best.
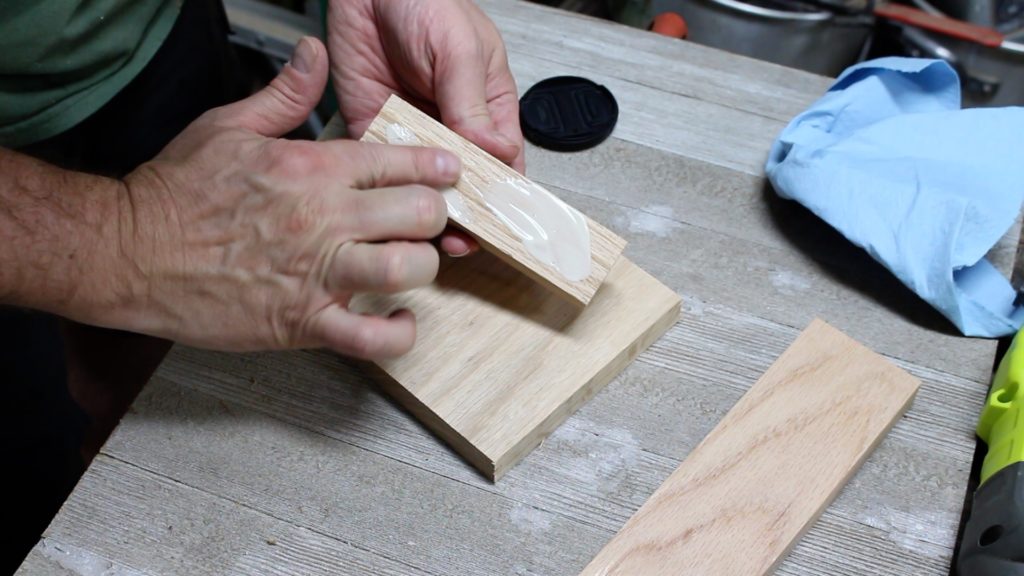
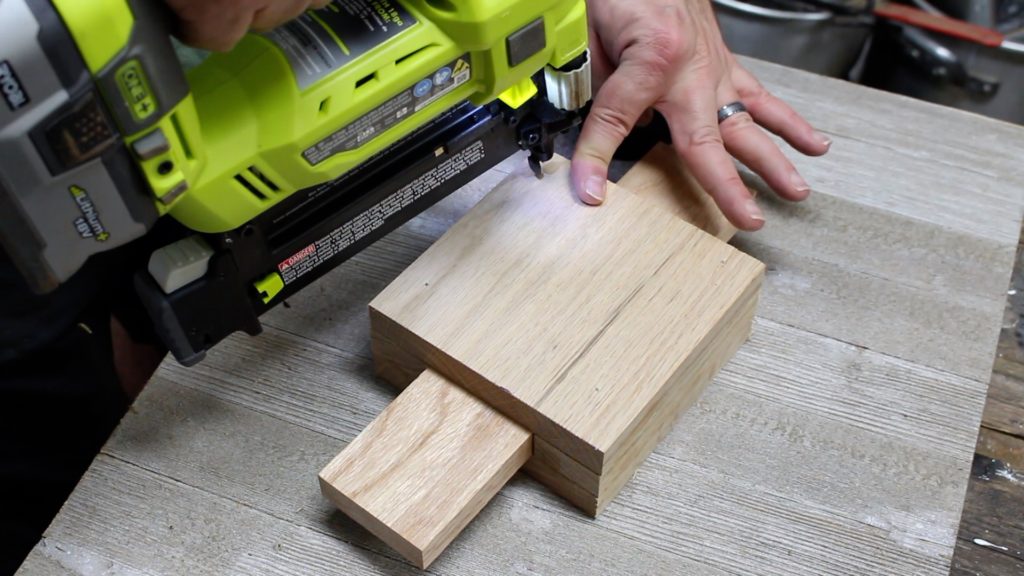
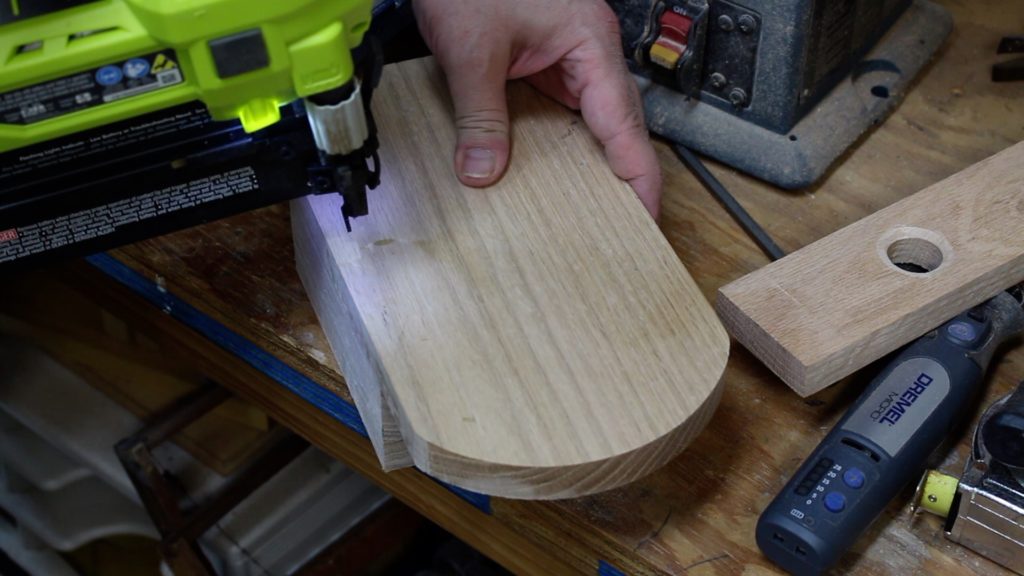
In the 2 photos above, I’m using wood glue and my nail gun to begin assembling the candy dispenser.
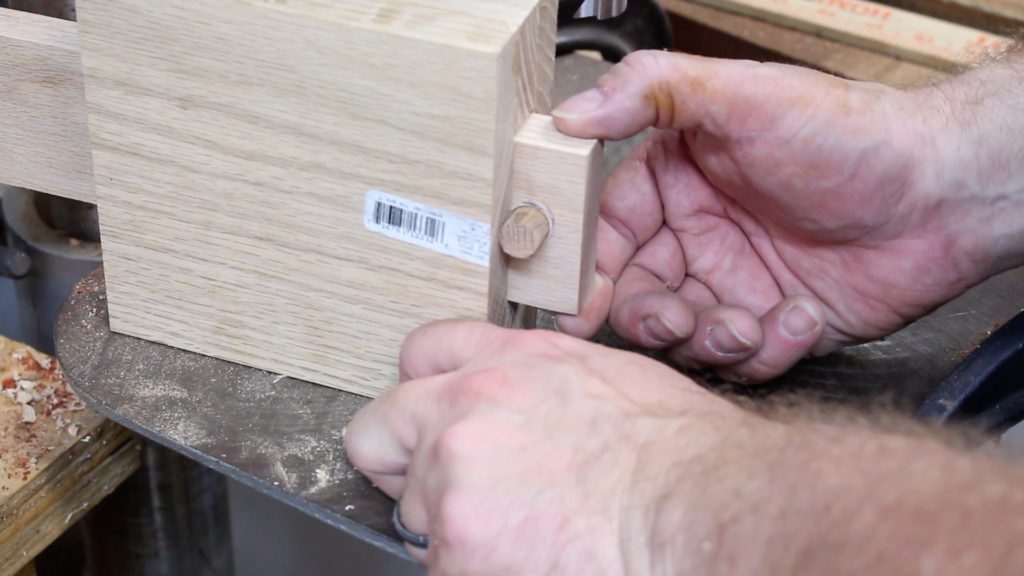
Here I drill a 1/2 inch hole about 1/4 inches depth and glued in my first 1/2 inch dowel stop.
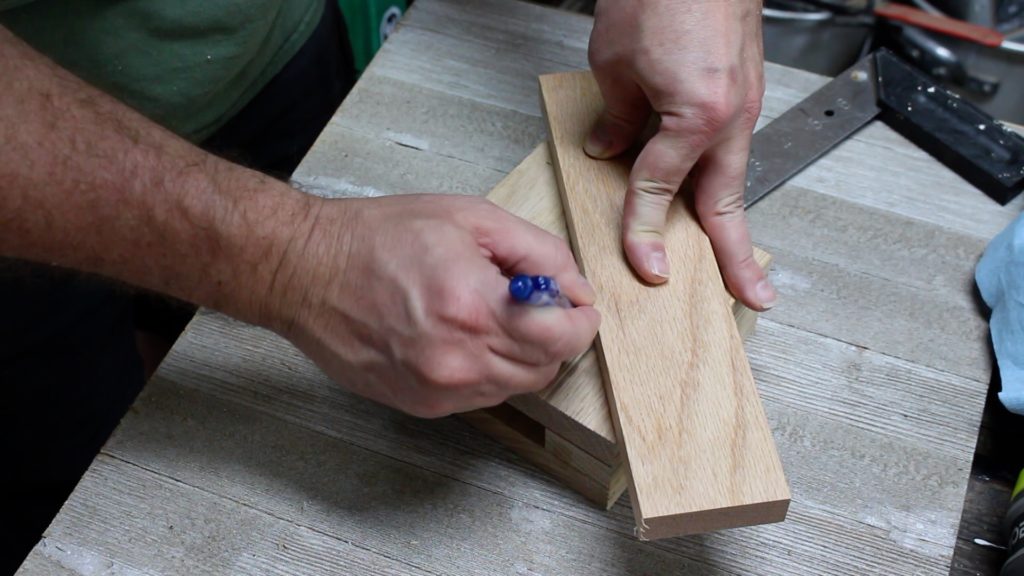
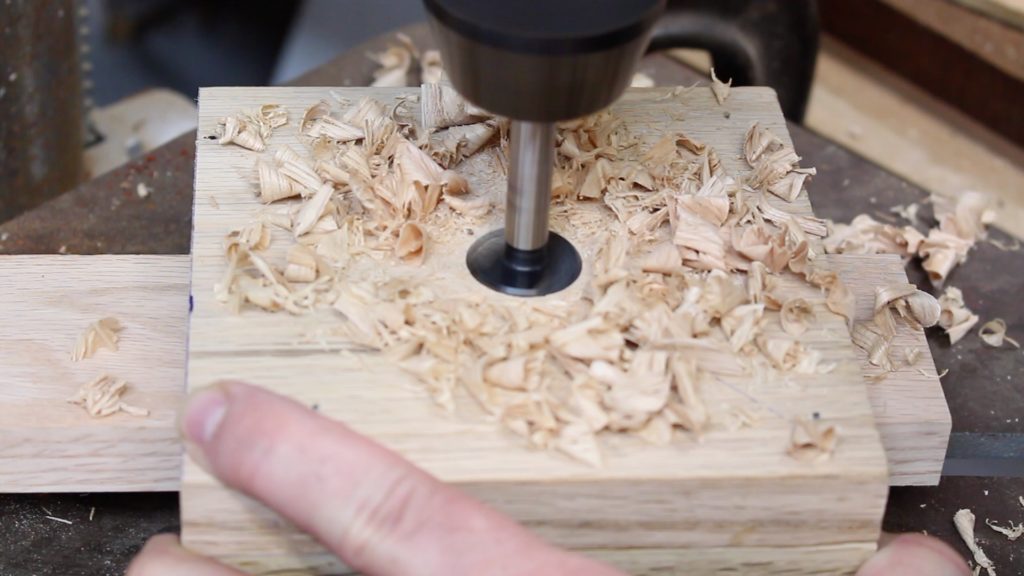
With that front stop in place, I can now mark the center candy dispenser hole. I used a 1 inch Forstner bit, and I drilled (with the slider pushed all the way in to that front stop) all the way through that top board and partially into the slider.
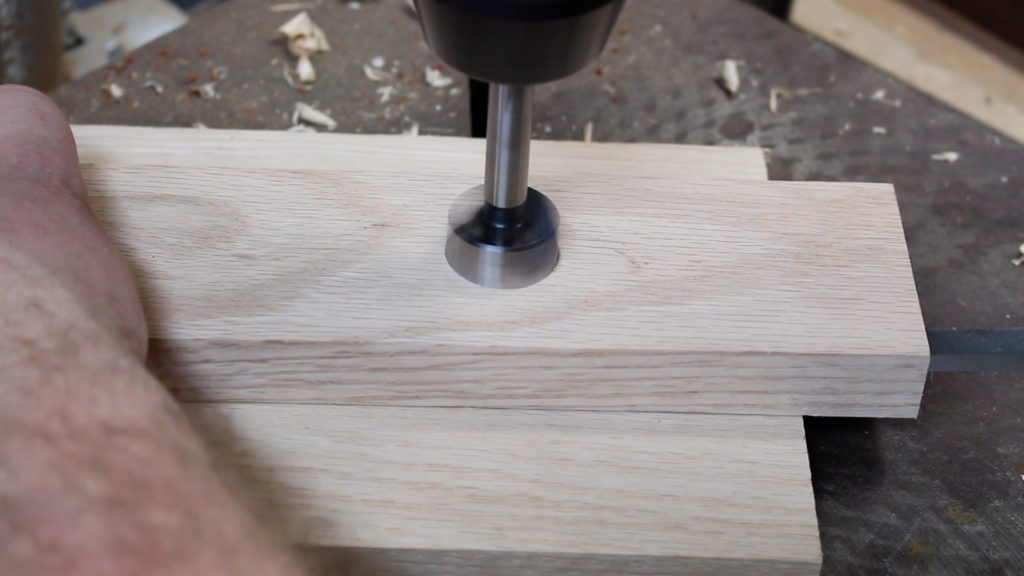
So, I took the slider out of the candy dispenser and finished drilling the 1 inch hole all the way through the slider. Use a waste backer board when you do this.
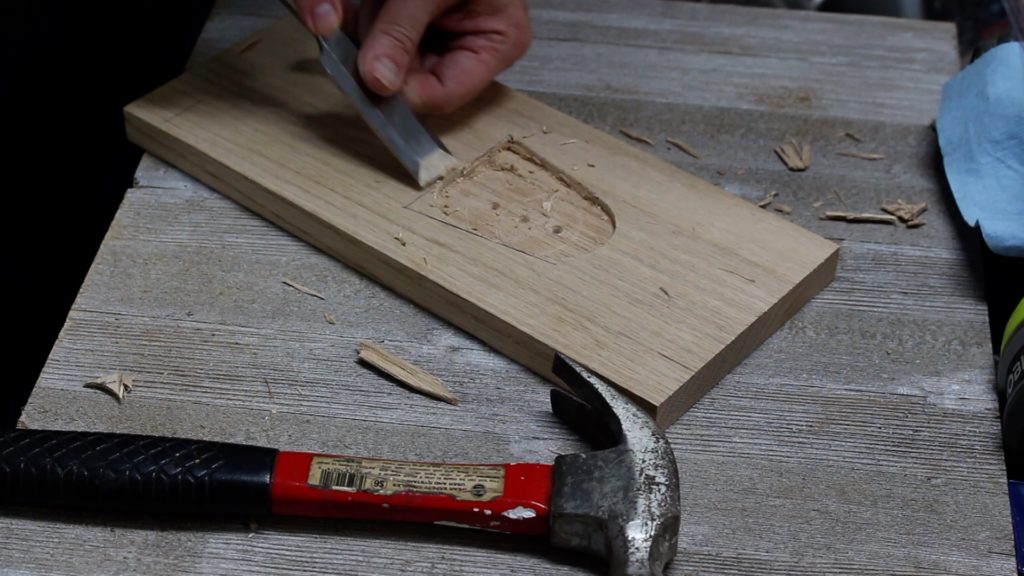
I used some chisels and gouges to carve out a recess in the base board. This will be a tray for the candy to fall into from the slider. Hindsight, I might use a router to do this next time.
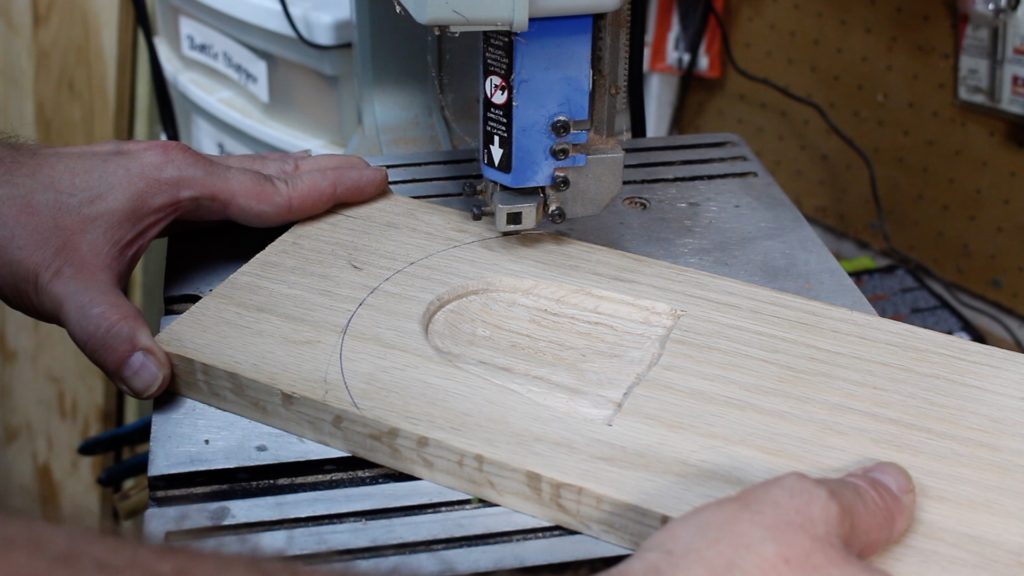
I used a regular dinner plate to trace out a curved profile on the front of this base board.
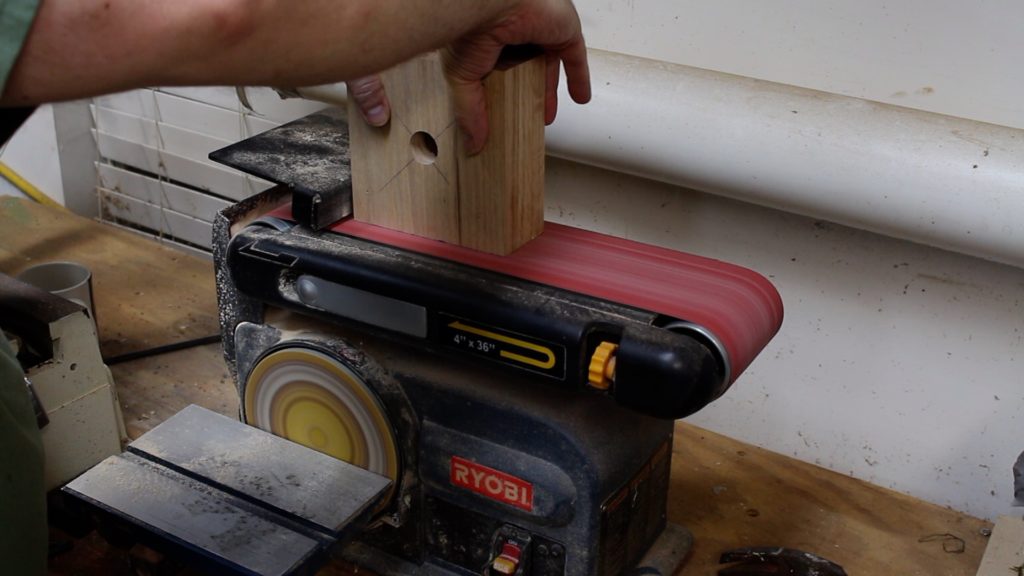
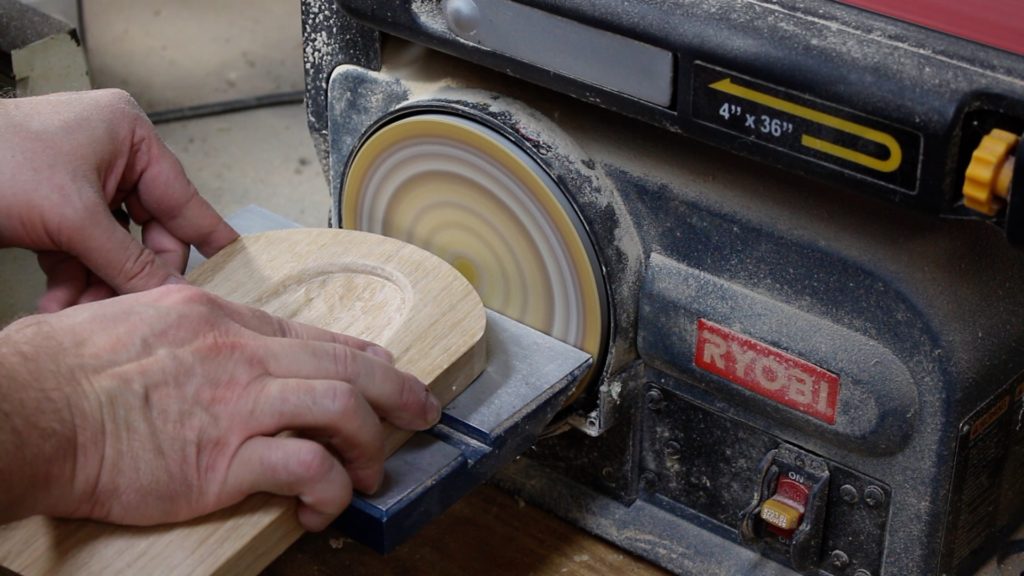
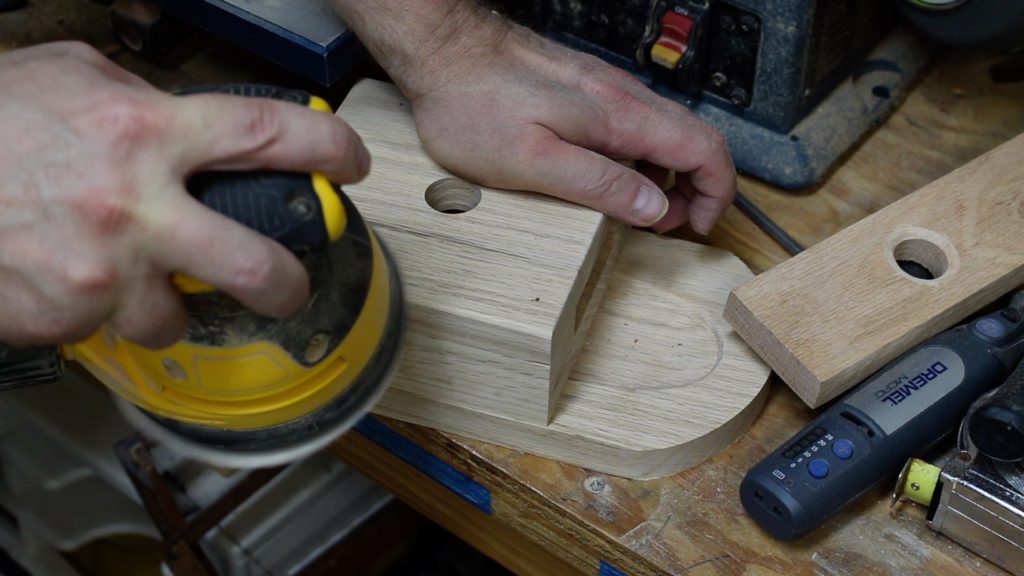
Now I’m doing a little rough sanding, trying to get everything flush and sand off blade marks.
Time to attach the base. I used wood glue and my nail gun with brad nails.
Now, I’m going over everything with the orbital sander to finish up the sanding.
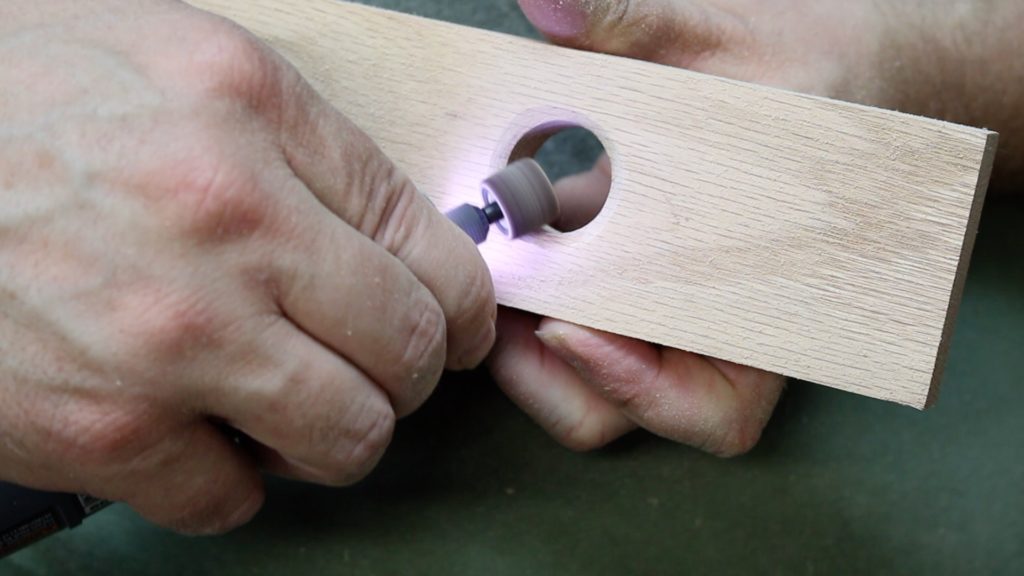
In the photo above, I’m using the Dremel and the drum sander attachment to add a 45 degree bevel to the dispenser hole in the slider. This will help the slider mover easier and dispense the candy better.
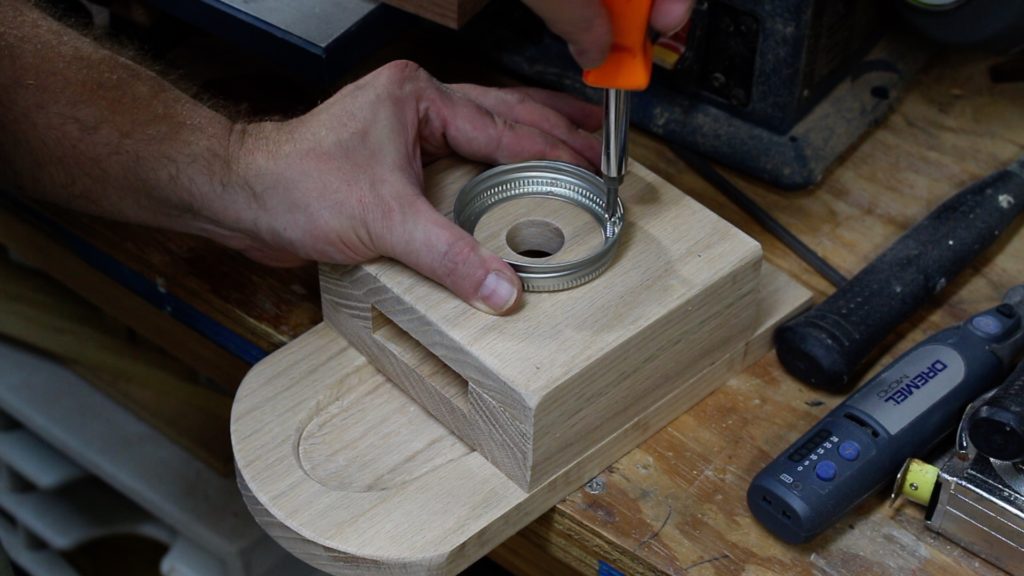
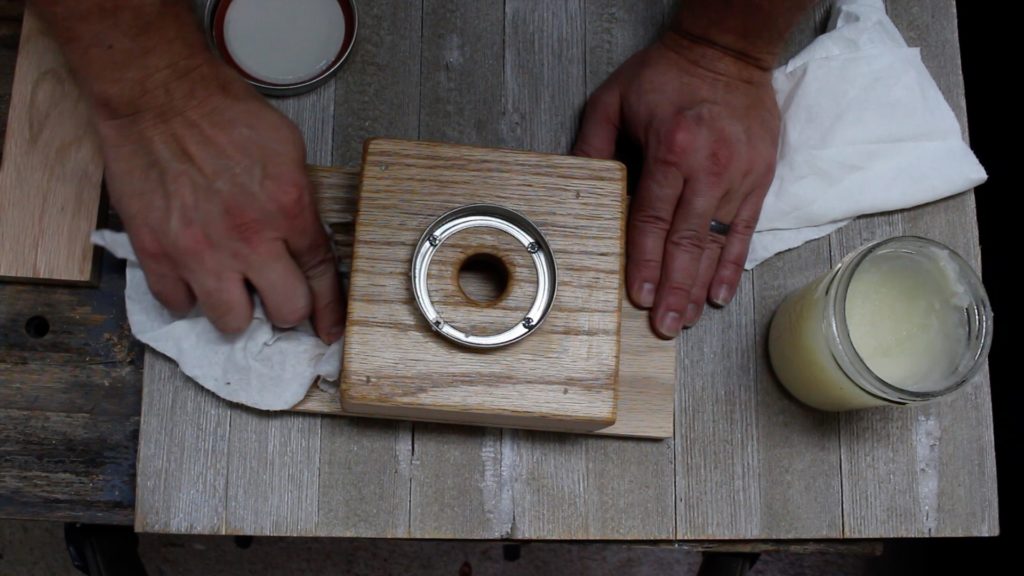
Now, I’m attaching the mason jar lid. Remove and discard the center part of the lid. I drilled 4 holes and used small wood screws that were in my junk parts container. Make sure the lid is lined up and centered over the dispenser hole.
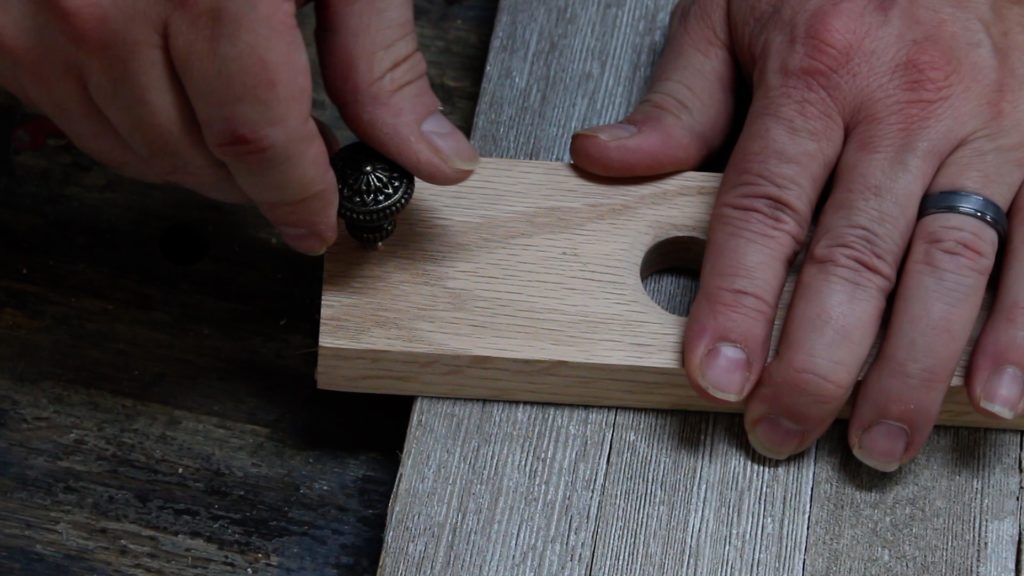
Next up, I’m going ahead and attaching a decorative knob just ahead of that front stop. Remember, the front stop is there to insure the 2 holes line up exactly.
I decided to use my homemade mineral oil / beeswax mixture to finish the candy dispenser. You could probably use other types of finishes, but use something that’s food safe.
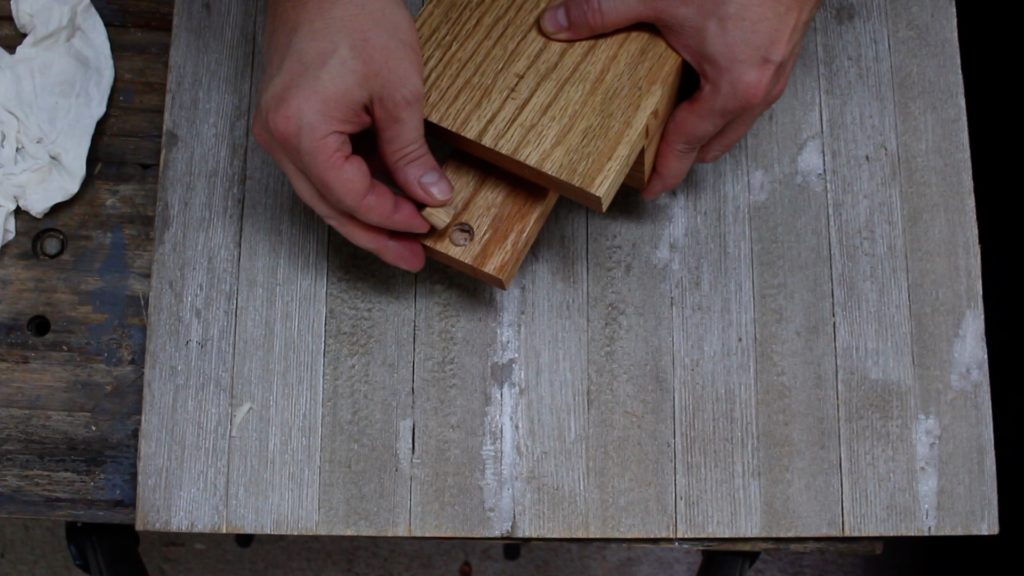
Now I’m glueing in the 2nd stop in the rear of the slider. This will keep the slider from pulling all the way out of the dispenser.
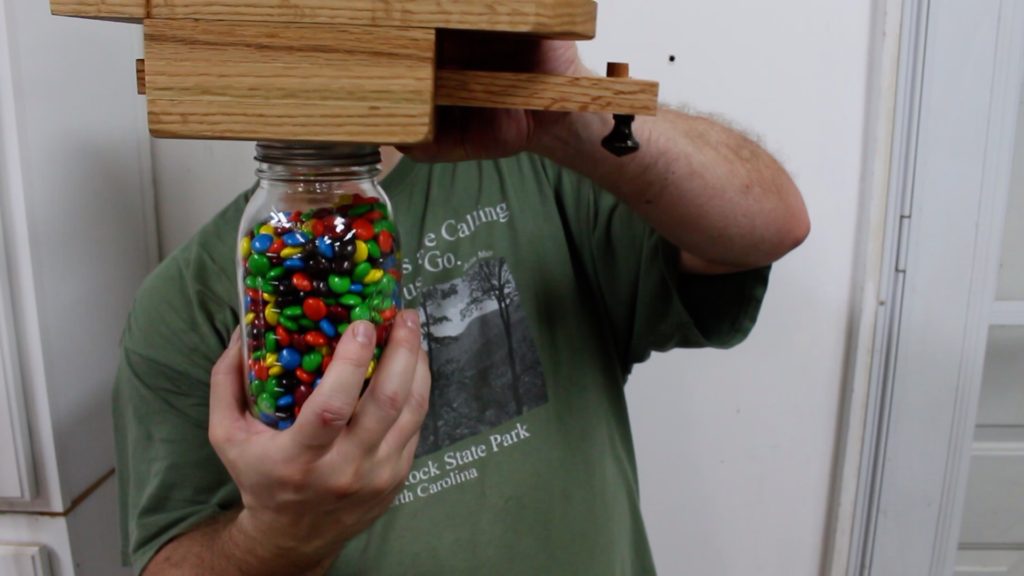
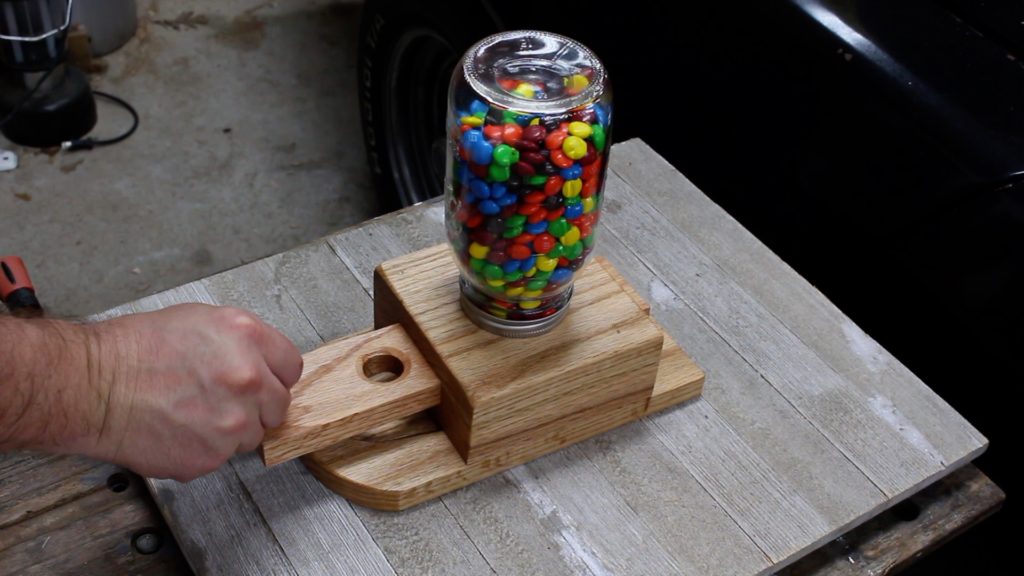
Add candy to the mason jar and turn the dispenser upside down to attach the mason jar.
I recommend using hard, round candies. They seem to work best. These M&Ms worked pretty well.
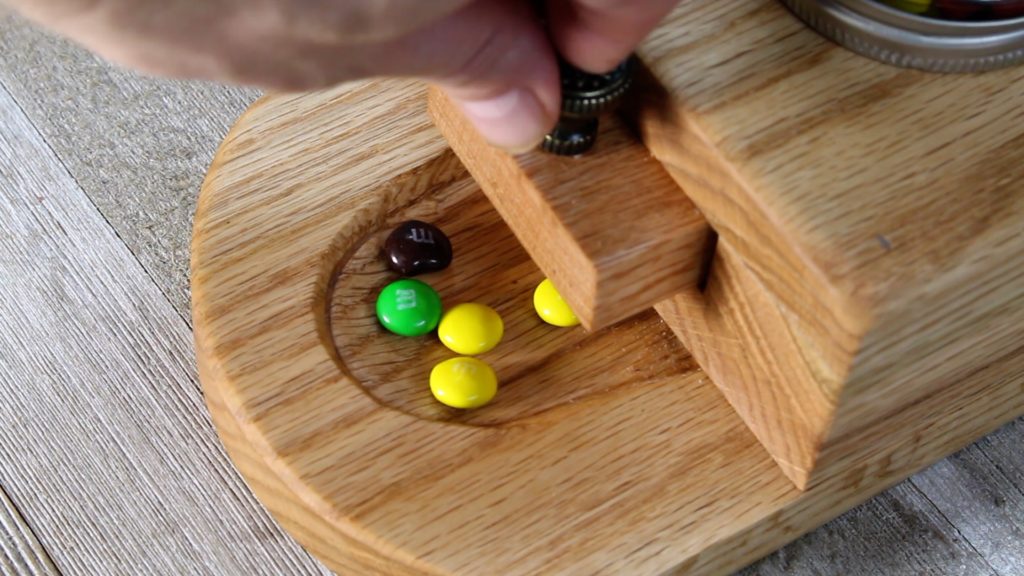
The above photos show me demonstrating the candy dispenser. Push the slide in, the candy drops down in the hole. Pull the slider out and it dumps into the tray. It works really well. However, sometimes the candy gets a little jambed up in the jar. Not sure how to prevent that, but I occasionally have to shake it to loosen up the candy.
Click here to Download the Candy Dispenser Plans
I hope you enjoyed this tutorial. Please take a minute and leave a comment. Ask questions or share your knowledge.

Are you starting up a new shop? Want to work safer in your shop? To help you answer these questions I've put together a 2-part checklist -- Home Shop Safety & Tool Checklist.
I will also send you updates of my latest woodworking and DIY projects. You can get all this by subscribing to my free email newsletter.
