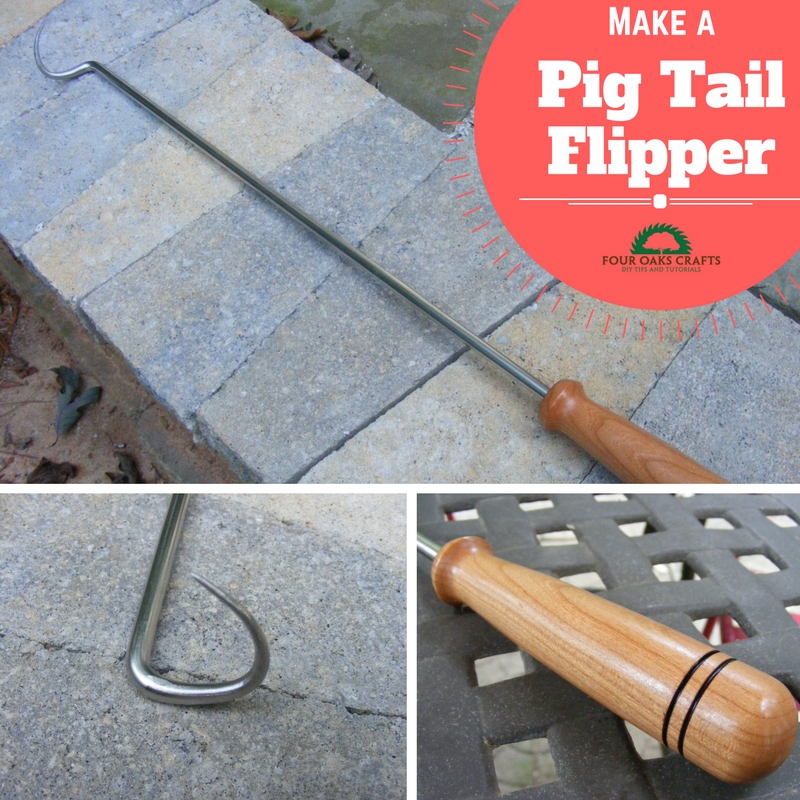
As the head grill master in our family, I’ve been using a pig tail flipper for over two years now and absolutely love it. In my humble opinion, it’s much better than using tongs or metal forks. The sharp, curved (like a pig’s tail) metal tip allows me to easily grab meat, flip it, and smoothly extract the tip. I was excited to see that I could buy a pig tail flipper kit and make a handle for one myself. So, in this How to Make a Pigtail Flipper Tutorial, I will show you how I turned the handle and attached it to the pig tail flipper.
As a bonus, at the end of this post I’ll share a tenderloin marinade you can use for your next family cookout. A whole tenderloin is a favorite here around the holidays and you can easily feed 10 to 12 people on one tenderloin.
Materials and Tools I Used:
Jet Mini Lathe
Wood River Pig Tail Flipper Kit
Bottle Stopper Mandrel
Micro Mesh Sanding Sheets
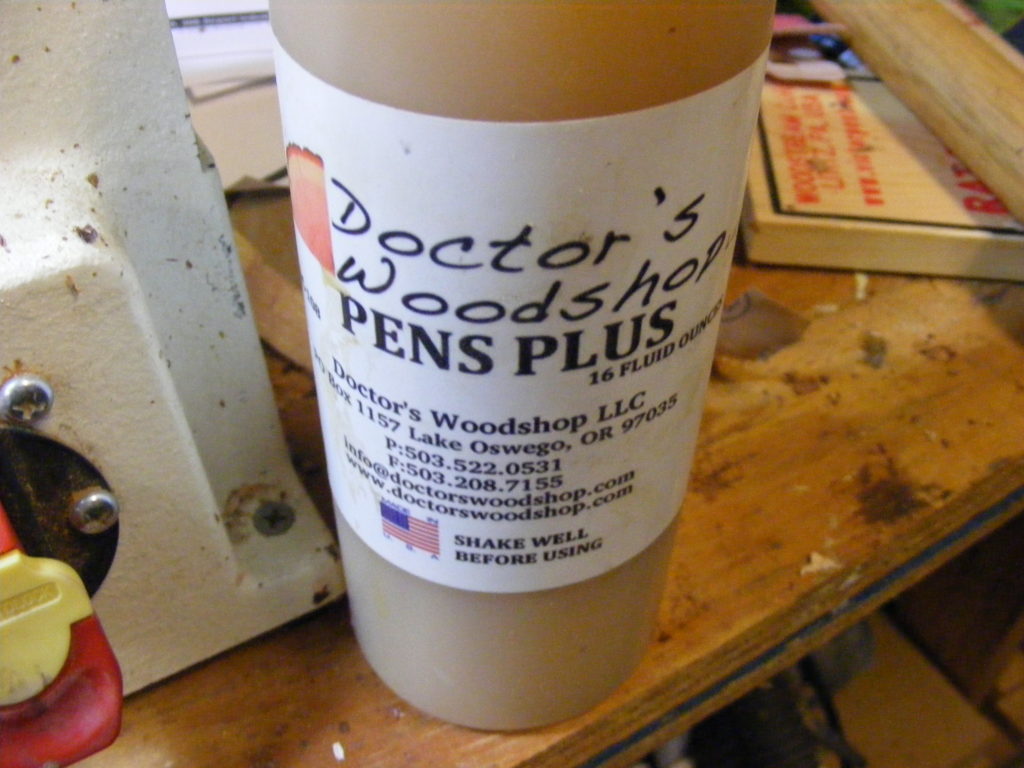
Pens Plus Friction Polish
23/64 wood drill bit
Sand paper (120, 220, 400 grit)
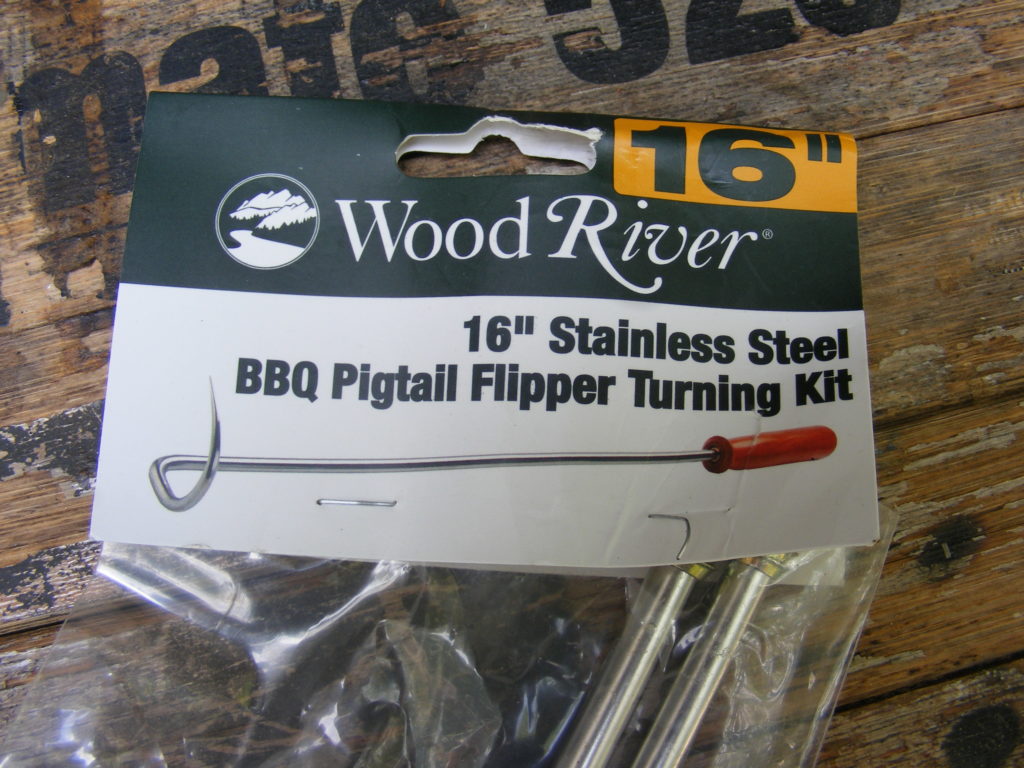
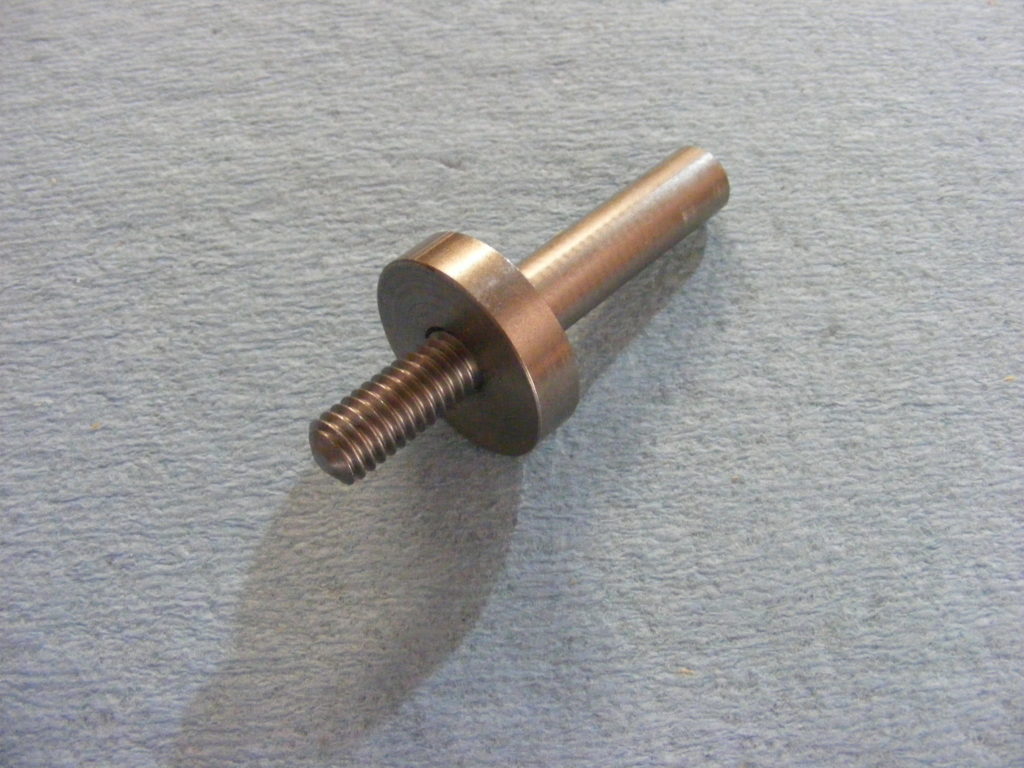
The kit I used was made by Wood River. It’s stainless steel and comes in two lengths — 10 inch and 16 inch. I purchased the 16 inch which is great for grilling. If you’re knowledgeable about metal work or black smithing, you could fashion your own pig tail flipper and glue into your turned handle. For me, buying the kit was a lot faster and more convenient.
How to Make a Pig Tail Flipper Tutorial
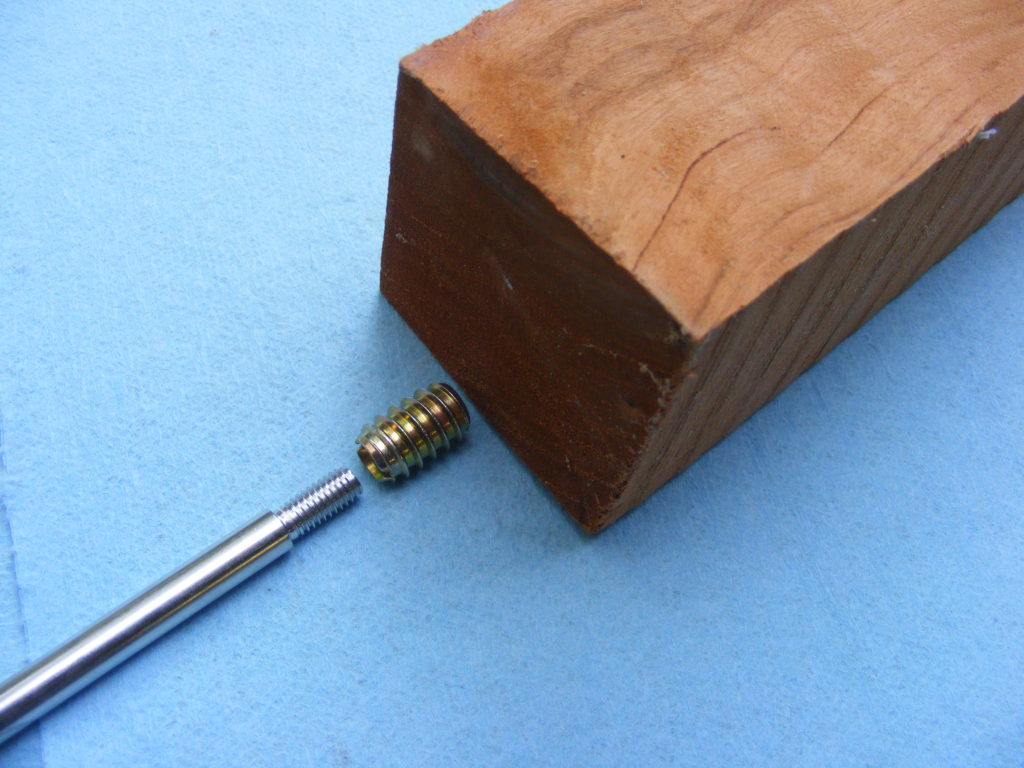
Step 1 – I used a piece of Cherry wood I had on hand. Cherry is hard and durable — great handle material. Although I used a 2 X 2 X 6 inch blank, you could use 1 X 1 X 6 inch instead. I bought this blank from Rockler. The pig tail flipper kit is a Wood River product, and I ordered the 16 inch. The kit simply contains a metal insert and the pig tail flipper part. Wood comes separately.
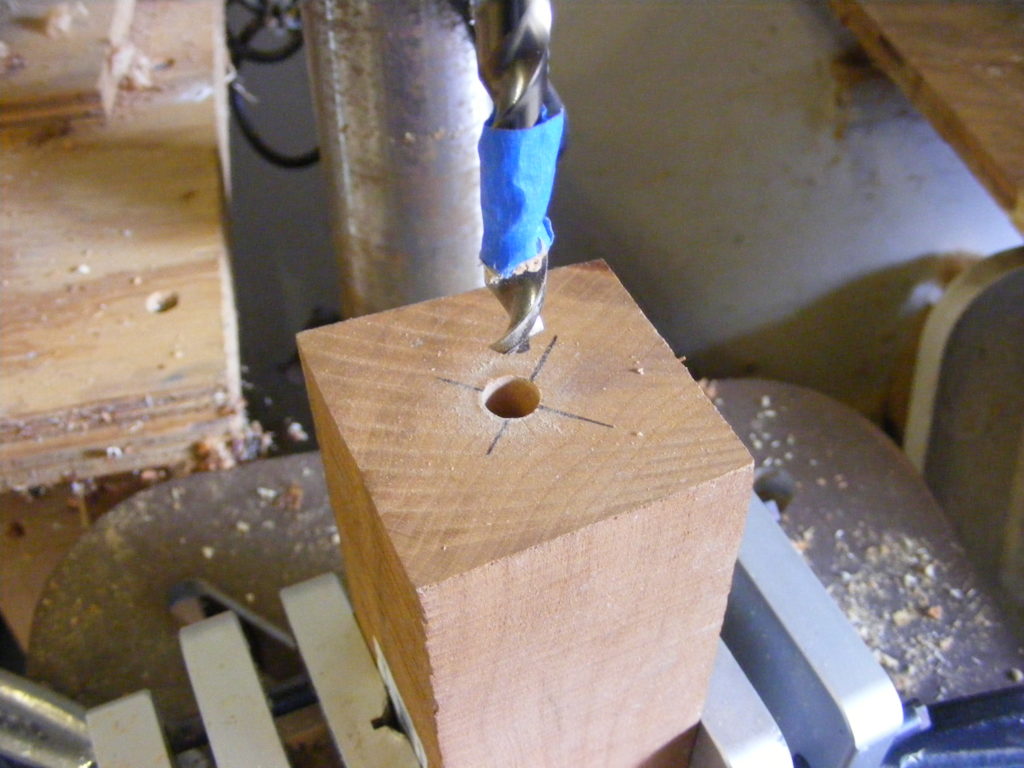
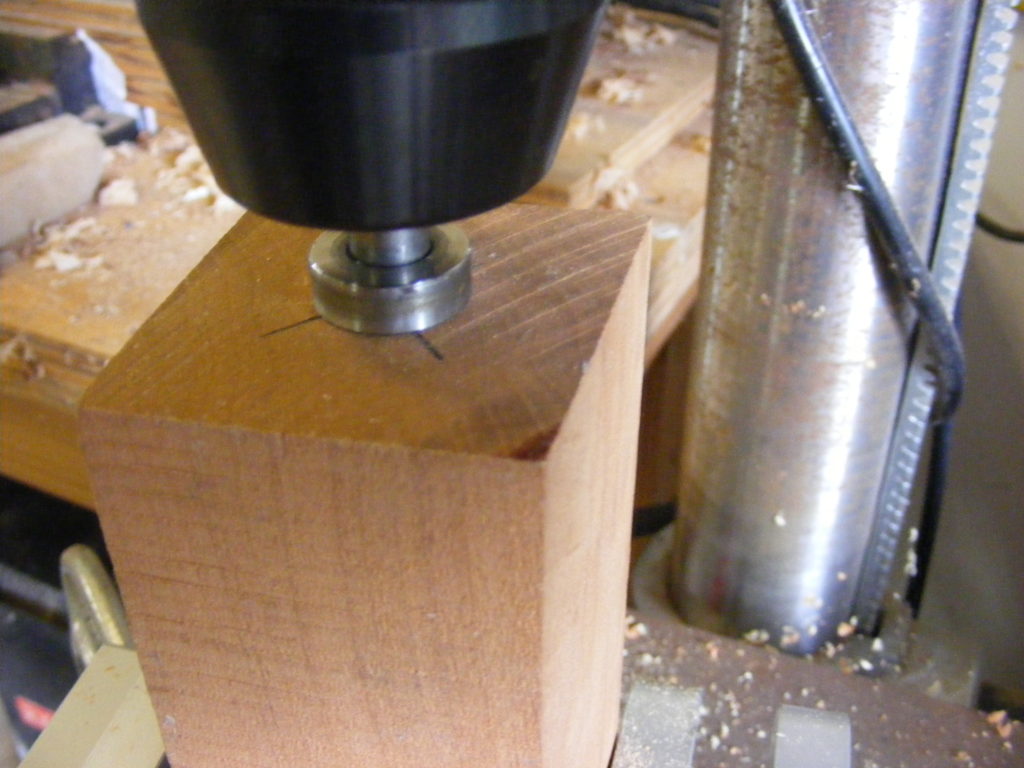
Step 2 – Drilled the hole for the insert. I used a 23/64 inch drill bit for the kit’s metal insert. Note how I used my drill press and used tape as a depth gauge. I made the hole depth about 1/8 deeper than the insert.
(NOTE — the kit instructions says to drill a 3/8 inch hole. I tested that on a scrap piece of wood and felt like the insert was too loose in that size hole. That’s why I went with the 23/64 inch hole. I suggest you experiment on scrap pieces to make sure what will work with this kit)
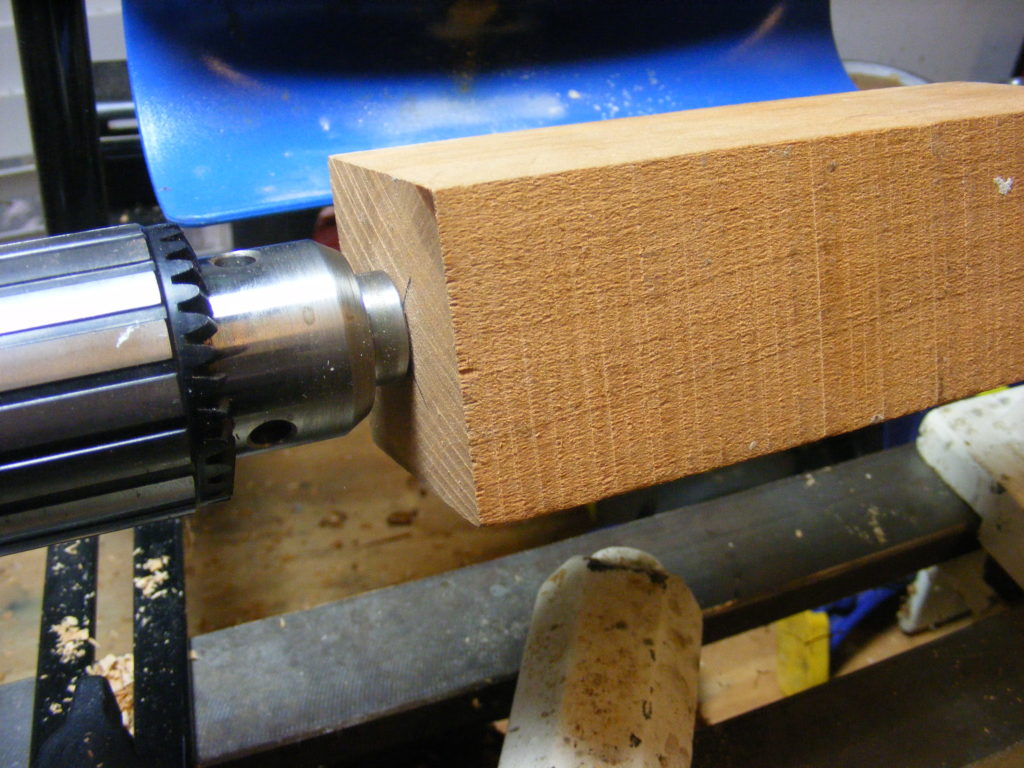
Step 3 – Next, I screwed the bottle stopper mandrel onto my cherry blank. Unfortunately, I did not have a mandrel that would fit the metal insert.As it turned out, the mandrel’s threaded end was very close to the size of the metal insert. So, I decided to screw the bottle stopper mandrel directly into the drilled hole. I used my drill press to assist me with screwing the threaded end of the mandrel into the wood. Of course I did this manually with the drill press turned off and unplugged.
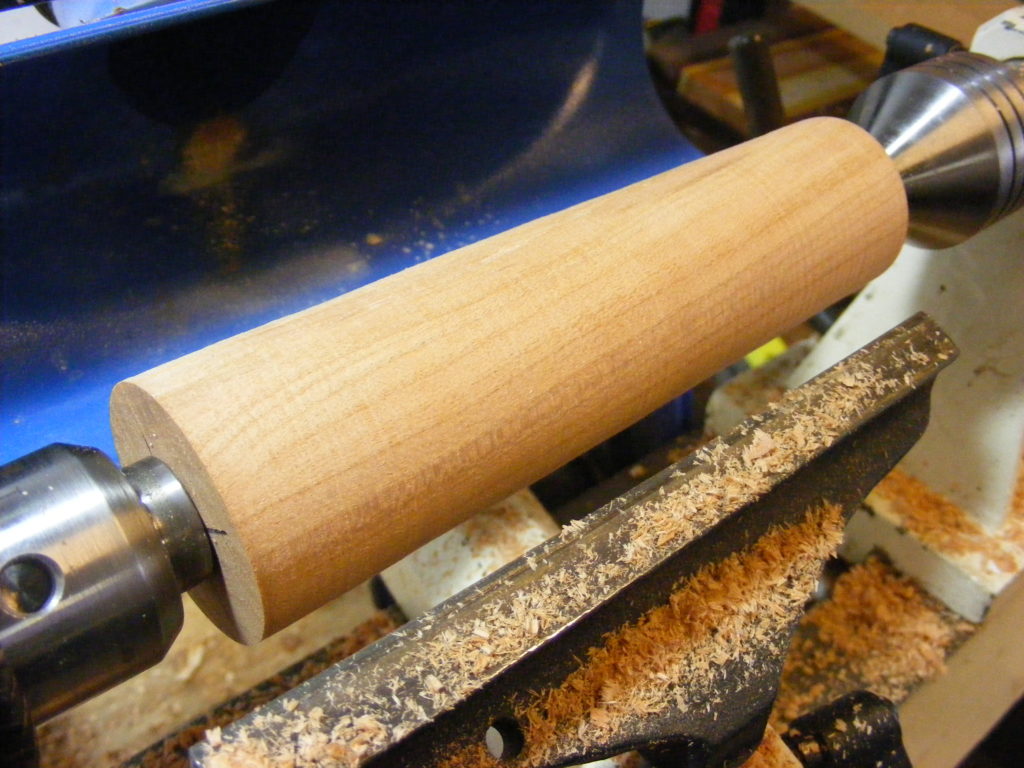
I’m going to turn this blank between centers, so the mandrel will be attached to the headstock end via my Jacob’s chuck.
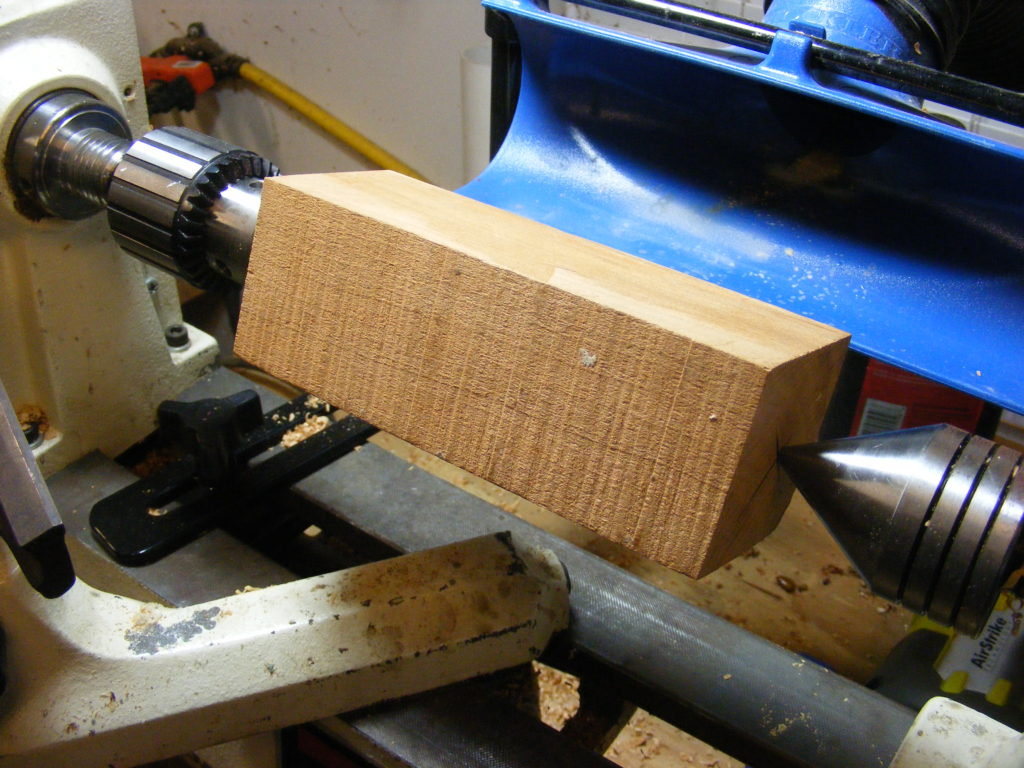
Step 4 – Next, I attached blank to the lathe. Notice how the headstock end is held in the bottle stopper mandrel which is held by the Jacob’s chuck. The other end is held by my 60 degree-tapered live center. Note that it’s not super critical that the live center hits the center of the other end exactly. Once you start turning the work piece it will begin to true up as you turn it round.
As always, make sure the workpiece is secure and clears the tool rest. Adjust the RPM to a reasonable speed.
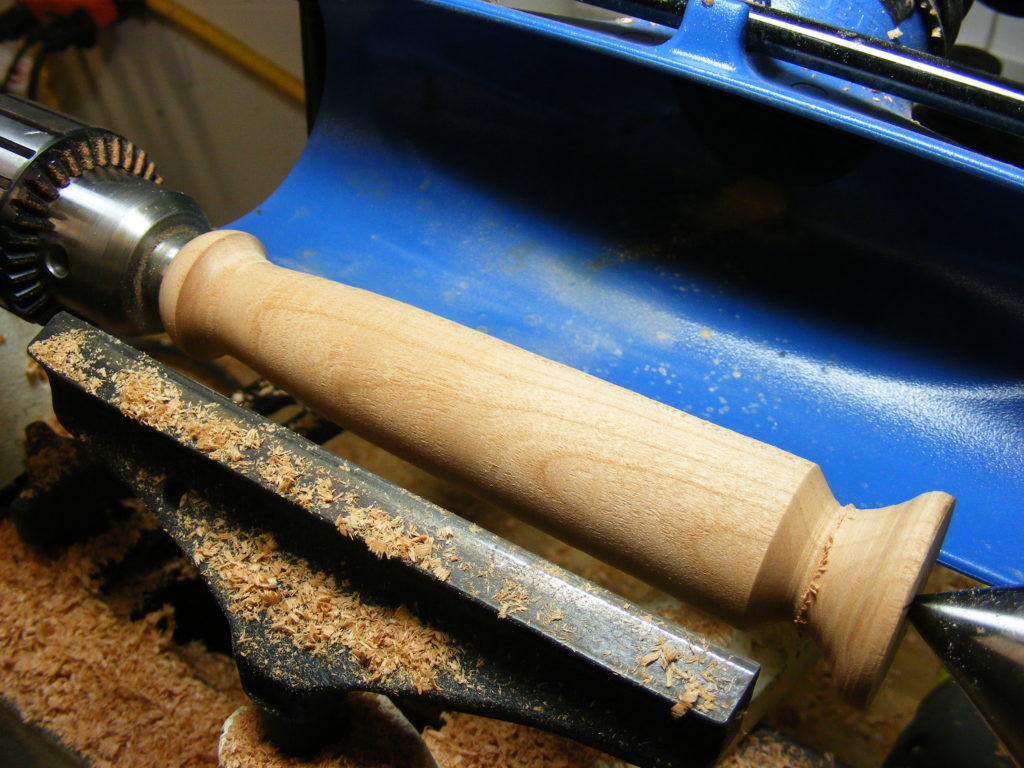
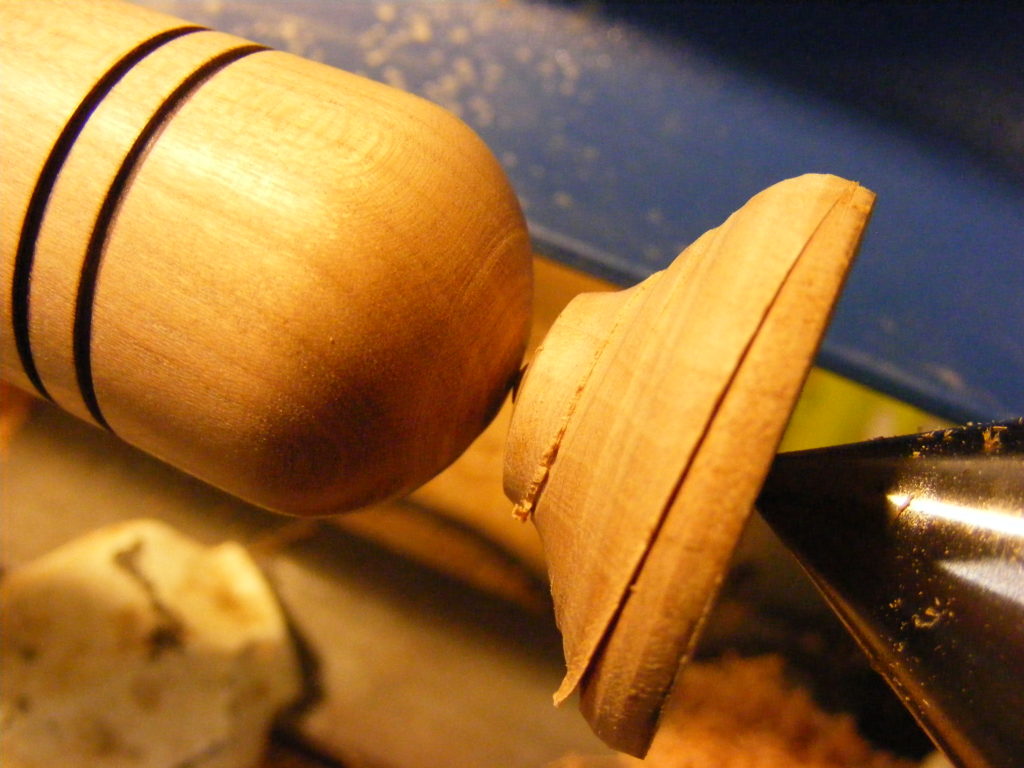
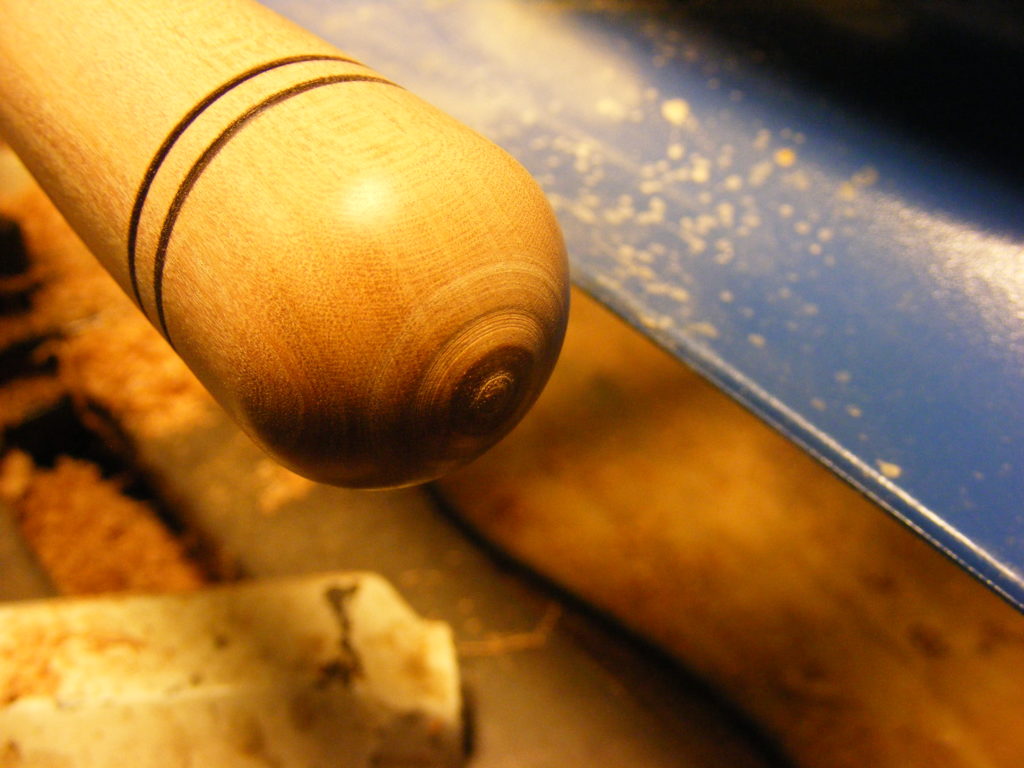
Step 5 – Next, I turned the blank on the wood lathe. Using my roughing gouge, I turned the work piece until it became a cylinder. Then I used a spindle gouge to add some shapes (second photo). If you try adding shapes to your piece, make sure you have practiced and are somewhat proficient with turning coves and beads. As you get better at wood turning, you’ll learn how the different chisels react to the spinning wood. There are different techniques you need to learn to add various shapes. If you don’t feel ready, then just stick with a very simple profile.
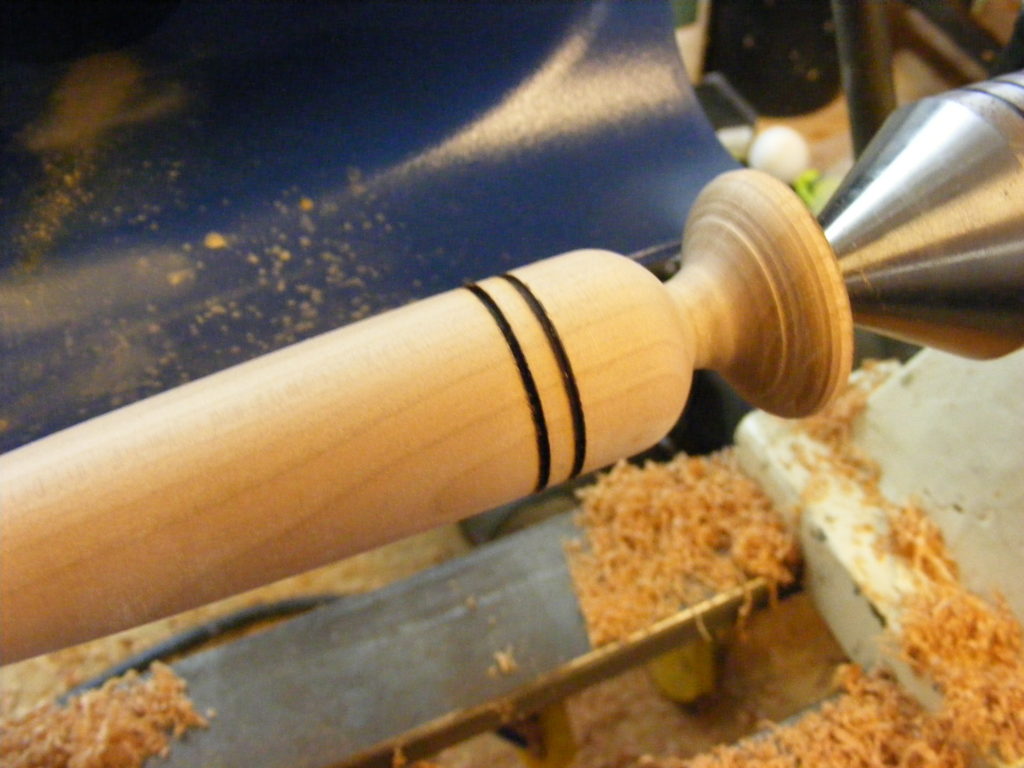
I used store-bought wire burners to add a couple of accent lines. I used my skew first to add some grooves, then carefully placed the wire in the grooves with lathe turning. I was careful and followed the instructions that came with the wire burners.
Then I used a skew to start shaping the handle end and getting prepared to cut it from the waste piece.
Follow the safety rules that come with your lathe. Always wear a face shield, not just safety glasses.
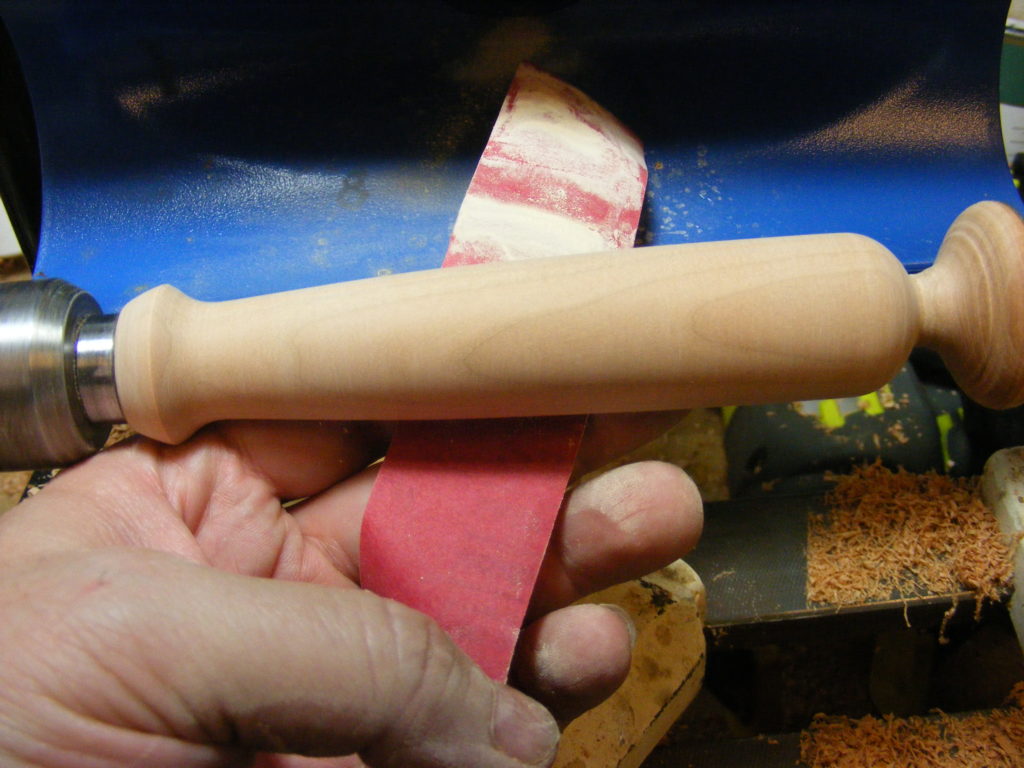
Step 6 – For this step, I sanded and finished the handle. I started sanding with 120 grit sandpaper, then 200 grit and then 400 grit. I also used 1500 grit up to 2400 grit micro mesh. This really smoothed the handle nicely. (Don’t forget to remove the tool rest and get it out of the way)
For the finish, I used a friction polish called Pens Plus. I applied the Pens Plus with pieces of Viva paper towels. I squeezed out a quarter-sized amount on the paper towel and rub it all over the handle with the lathe turned off. Then I turned the lathe on and moved the paper towel back and forth along the wood. I let friction build up between the paper towel and the wood. You can feel the heat coming through the paper towel, which is a good thing. The heat helps the polish cure. Three coats were applied.
If you don’t like the friction polish, then use a finish of your choice.
Step 7 – Next up, I cut off the waste piece. As I mentioned earlier, I used a skew to shape the end of the handle. With most of the handle finished from step 6, I stopped the lathe and used a fine kerf saw to cut the waste piece from the handle.
Once cut through, I removed the waste piece and slid the tail stock back out of the way. This left the end of the handle suspended, now held in place only by the bottle stopper mandrel. (As a safety precaution, I made sure the Jacob’s chuck was secure in the head stock so it would not come out – read the instructions that come with your Jacob’s chuck.)
Now I repeated step 6 for the end of the handle. I used 120, 220, & 400 grit sand paper, along with 1500 to 2400 grit Micro Mesh. I then used the Pens Plus again for the handle end.
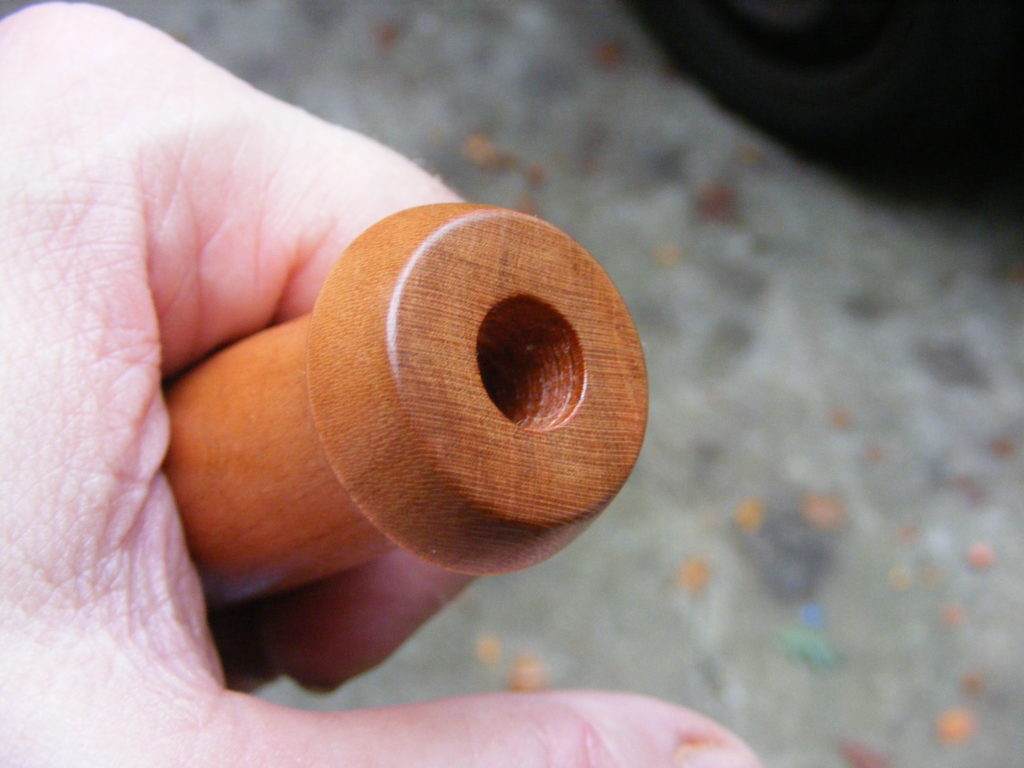
Step 8 – Then, I unscrewed the handle from the mandrel and finished pig tail flipper end (this is the end that will receive the metal insert). When I unscrewed the handle from the bottle stopper mandrel, I realized I still needed to sand and finish the portion of wood that was covered up by the mandrel. I hand sanded using 120, 220, and 400 grit sand paper. I also used the 1500 to 2400 grit micro mesh. I added a couple drops of friction polish and rubbed swiftly by hand with a Viva paper towel. It turned out nice.
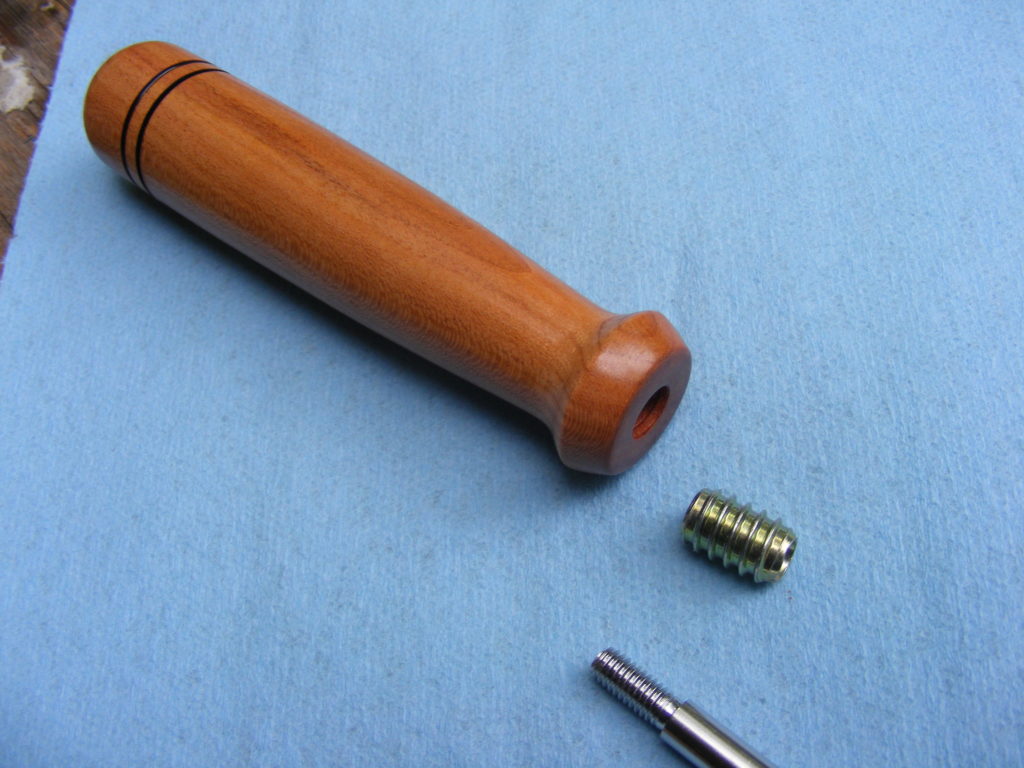
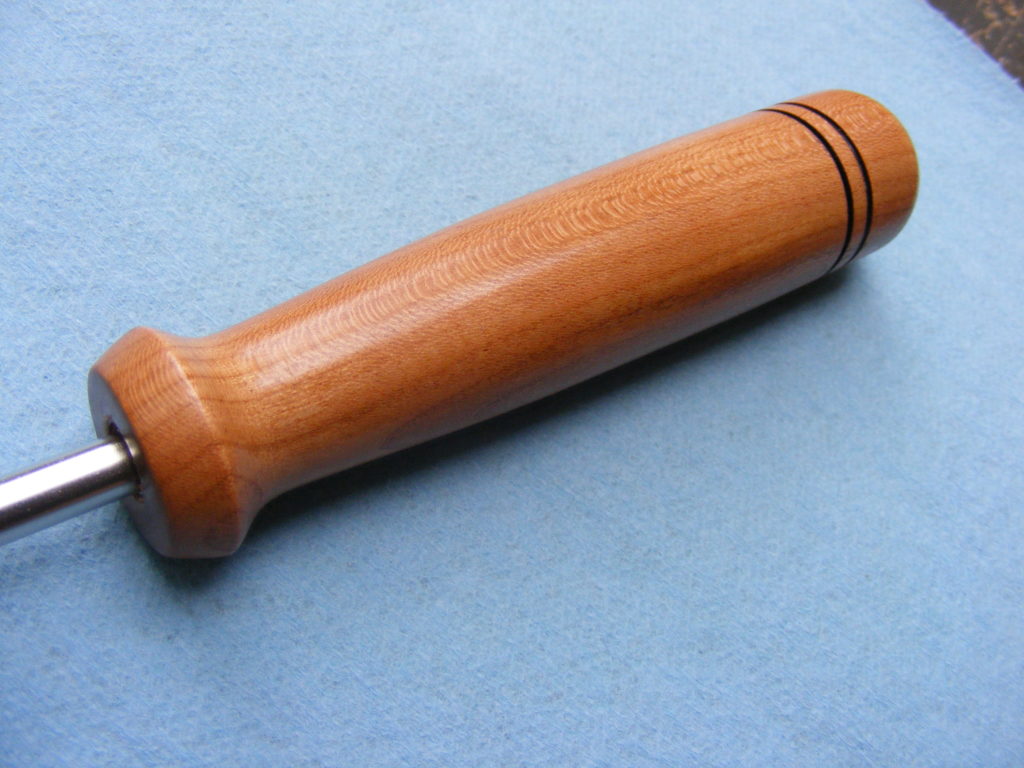
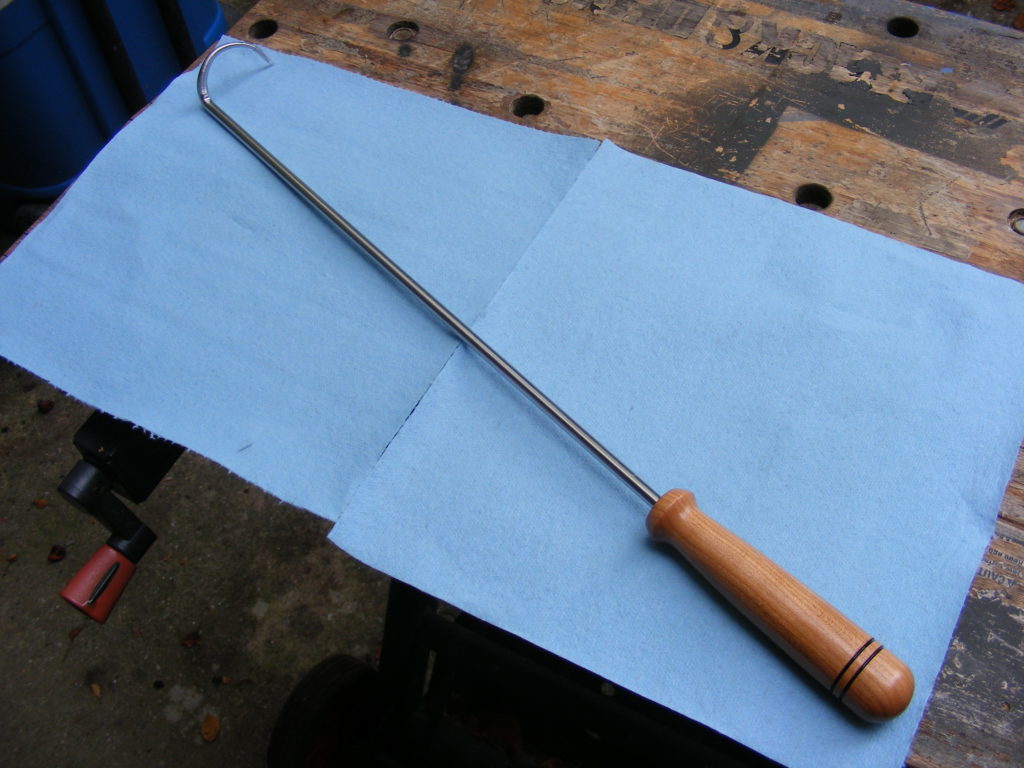
Step 9 – As a final step, I assembled the pig tail flipper. That means I attached the pig tail flipper to the handle. The insert comes with a slot for a large flat head screw driver, which is one way I could have screwed in the insert. But I decided to screw the insert onto the metal pig tail flipper first, and then I just screwed the whole thing into the wood. Be careful to keep the pig tail flipper aligned with the wood handle as you screw it in place. The 23/64 inch hole was a little tight fit, but it worked.
I kept screwing it in until the metal insert was below the surface of the wood. Too bad they don’t provide something more decorative on the pig tail flipper end that would totally cover up the insert. However, the insert doesn’t show that much.
One final adjustment I made with this kit was to make the pig tail tip a little sharper so it will grab and release meat easier. I used a metal file to do the sharpening. When not in use, I’d suggest putting a cork or something on the end to preserve the point. Do not allow children to handle the pig tail flipper.
Okay, that concludes my How to Make a Pig Tail Flipper Tutorial. I hope you enjoyed it. Feel free to comment. If you’re unsure about any of the steps, please contact me or leave a comment. If you’d like to get more tutorials delivered to your inbox for free, please consider joining my newsletter. Signup form is below.
Happy woodworking!
Oh, I about forgot — here is a wonderful marinade you can use for steaks, beef tenderloin or venison.

Are you starting up a new shop? Want to work safer in your shop? To help you answer these questions I've put together a 2-part checklist -- Home Shop Safety & Tool Checklist.
I will also send you updates of my latest woodworking and DIY projects. You can get all this by subscribing to my free email newsletter.


The threaded wood insert slots are not intended to be used as a screwdriver slot. They go into the predrilled hole first to relieve shavings as the threads are made. I am not a know it all. I use to think the same thing but recently learned differently. 🙂
Thanks for that tip! I couldn’t find any detail instructions for this particular kit, but what you say makes sense. I started to use the slots with the screw driver to start with, but it didn’t seem like I was going to be able to screw it in all the way without messing up the insert, so I stopped. How did you screw the insert in place? Did you thread the pigtail part on like I did or use a mandrel mounted in a drill press?