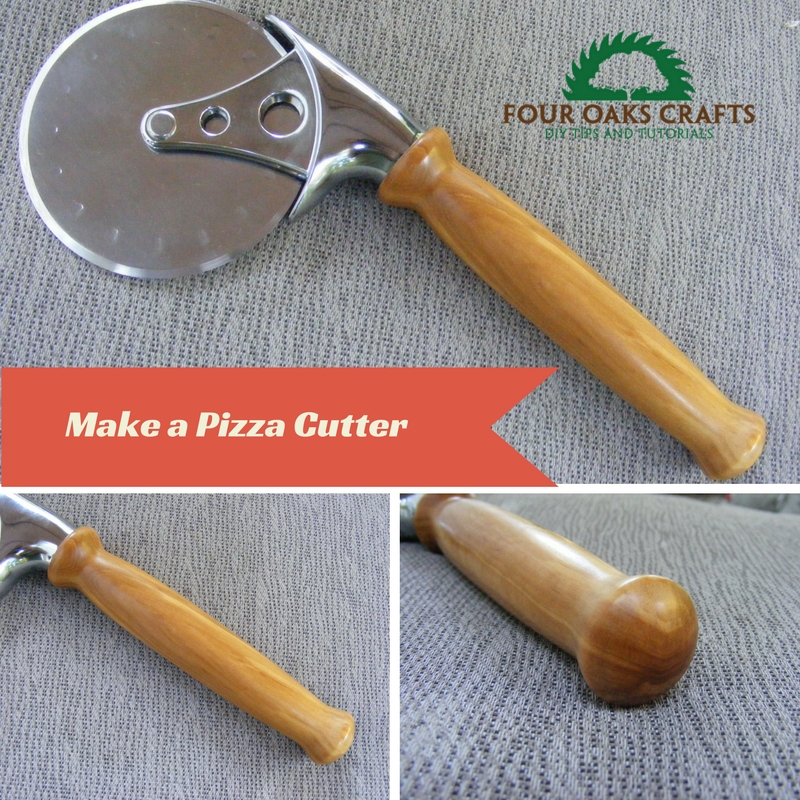
How do we get a handle on this? That’s a question we woodturners are always asking. Adding a handle to something means we get to use our lathe and show off our woodworking skills. In today’s, How to Make a Pizza Cutter tutorial, I’ll share another turning project that’s a fun afternoon adventure and great enhancement for your kitchen.
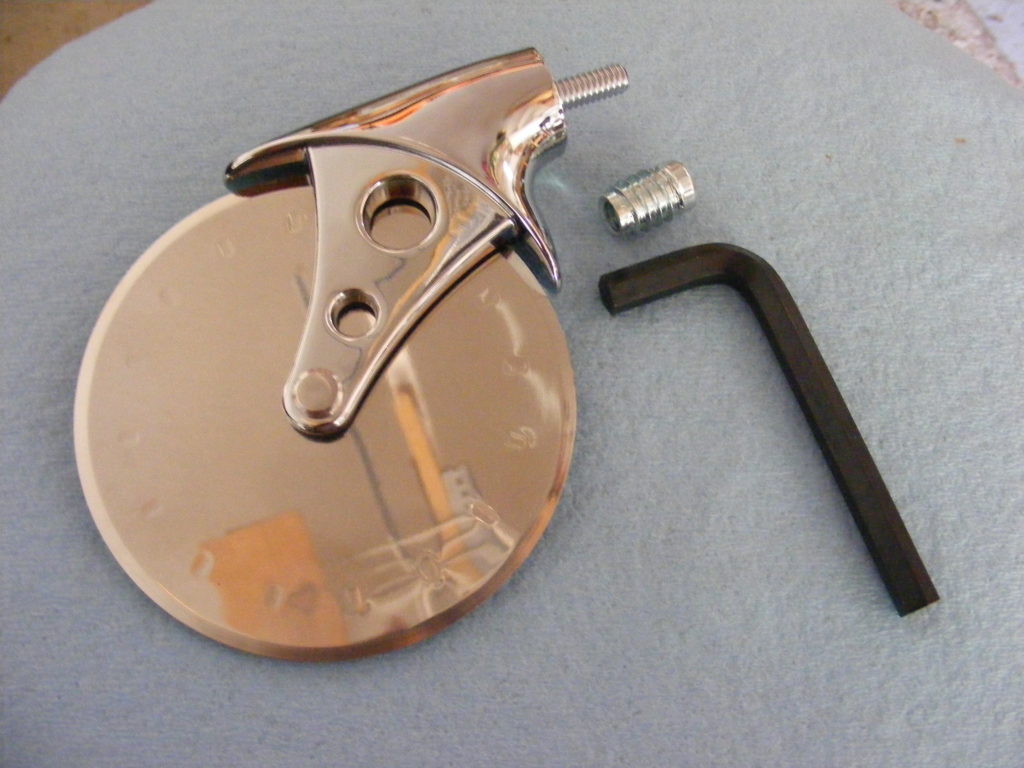
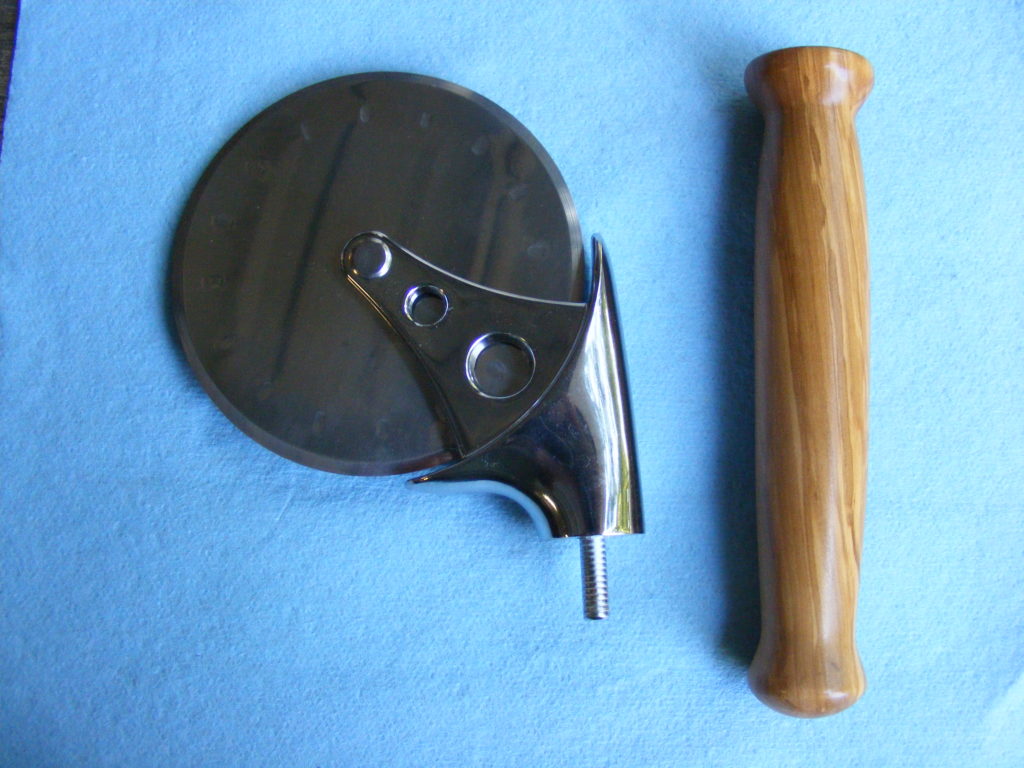
I used a kit for this project, and it’s a very simple one. It’s composed of the pizza cutter 4 inch diameter stainless steel blade and a metal 5/16 inch threaded insert for mounting the cutter into the wooden handle. The allen wrench is included and can be used to install the insert. However, I will show a different method for installing the insert.
Of course, the handle and/or wood blank is not included in the kit. That’s what I’m going to make in this tutorial.
Materials and Tools I Used
Jet Mini Lathe
Craftsman Drill Press
Pizza Cutter Kit
Pizza Cutter Turning Mandrel
1.5 X 1.5 X 6 inch block of Olive
Sandpaper
MICRO MESH Sanding Sheets
Pens Plus Friction Polish
1/2 inch drill bit (for hardwood)
Safety Always
Take a minute and read my safety disclaimer. Wear all the appropriate safety gear. Read and follow the safety instructions that come with all your power tools. Get additional training if unsure about something or think you need it.
How to Make a Pizza Cutter Tutorial
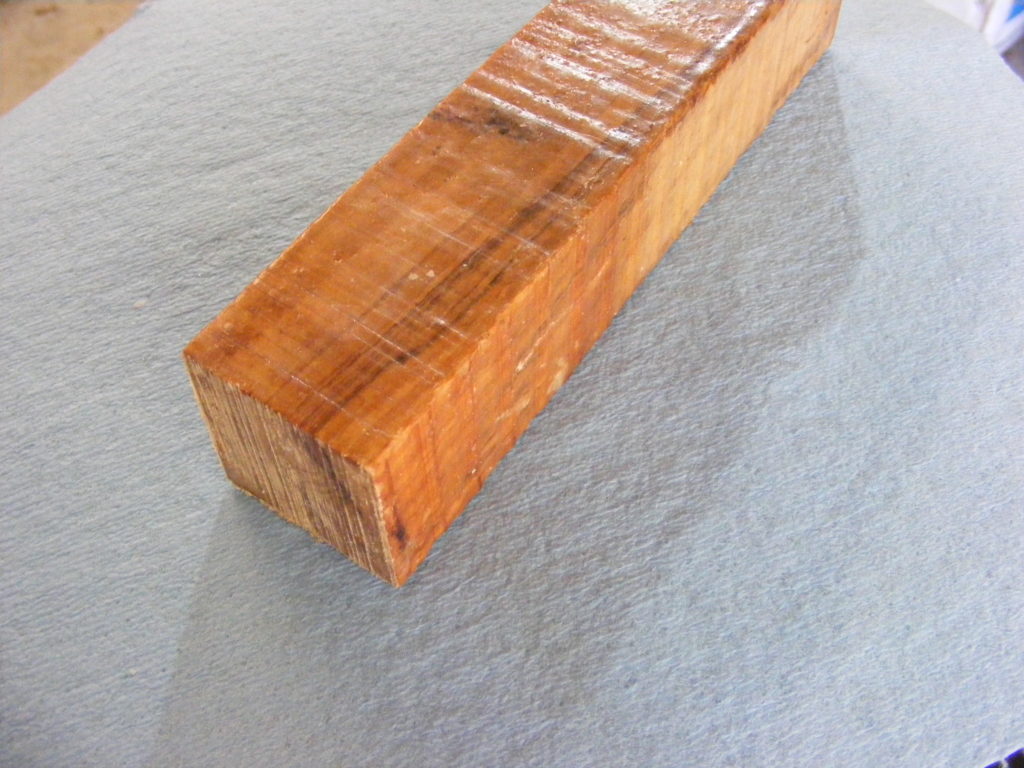
Step 1 — I picked my favorite wood. I went with olive wood on this project. It was a pleasure to turn since it’s so aromatic.
This blank is approximately 1.5 X 1.5 X 6 inches.
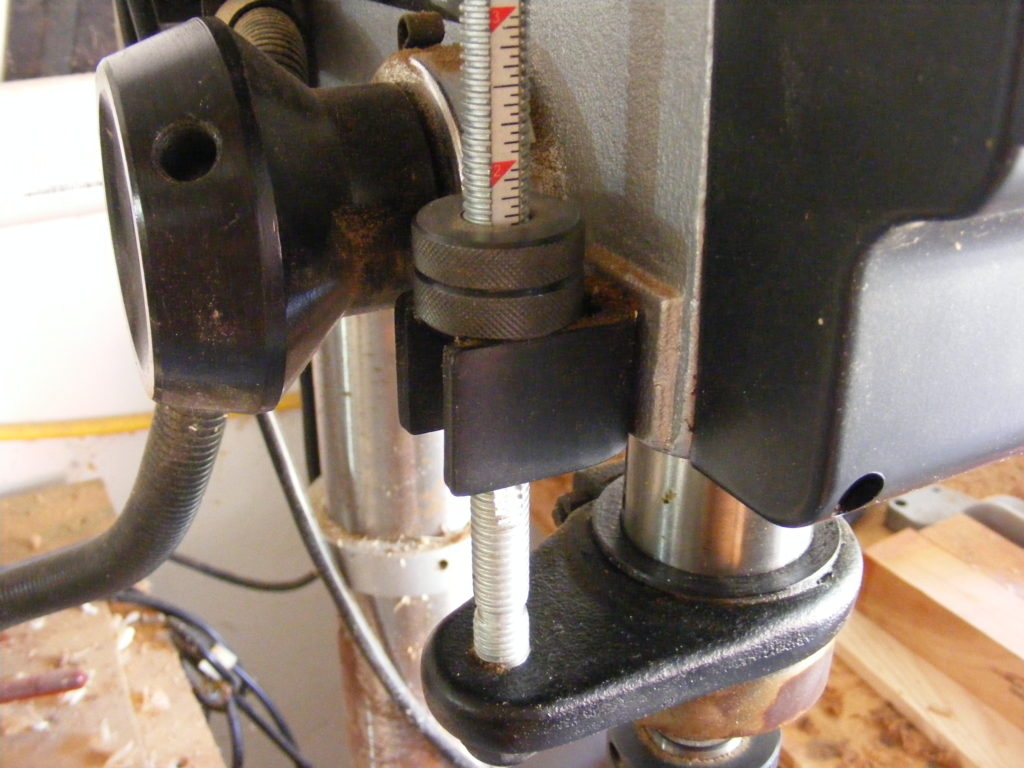
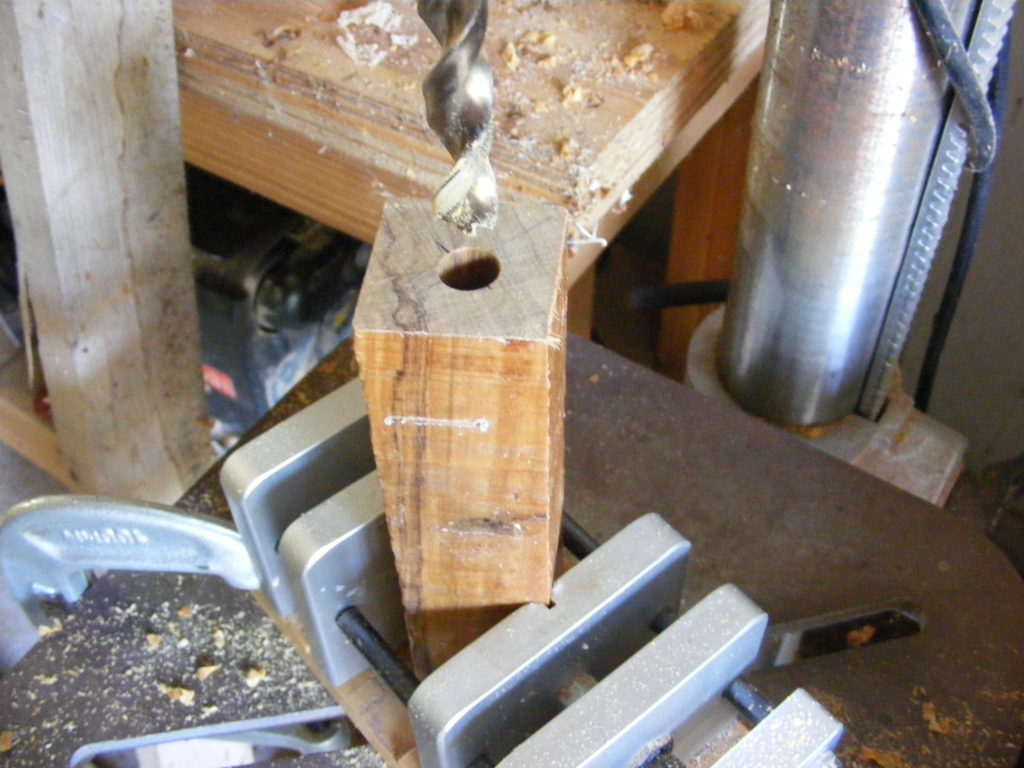
Step 2 — I drilled the hole for the metal insert. I marked the center on my blank and drilled a 1/2 inch diameter hole to just the below the depth of the insert (approximately 1 inch deep). The first photo shows me setting the drill stop so I drill the right depth.
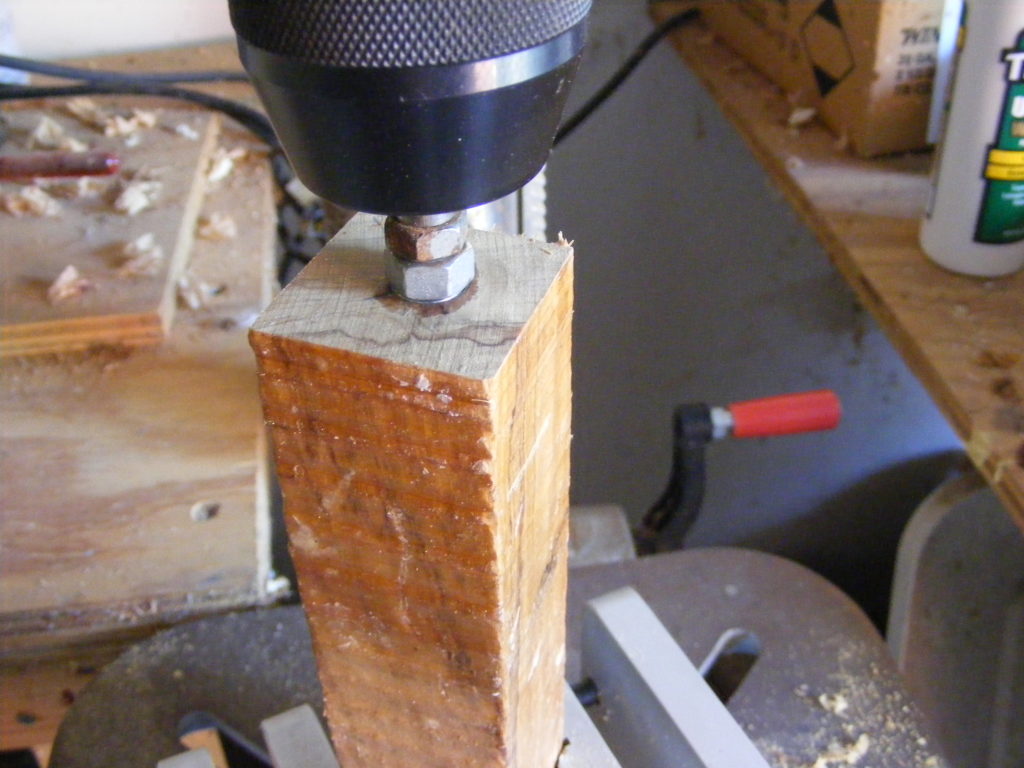
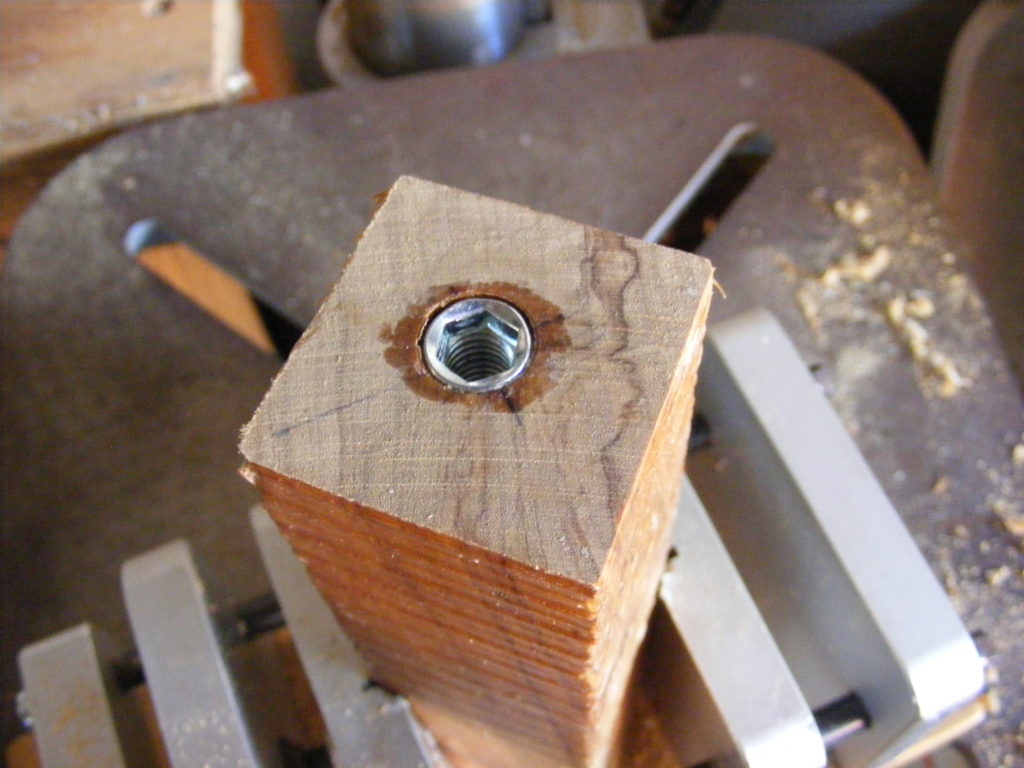
Step 3 — Installed the insert. With my drill press off and unplugged, I used it to manually screw the insert into place.
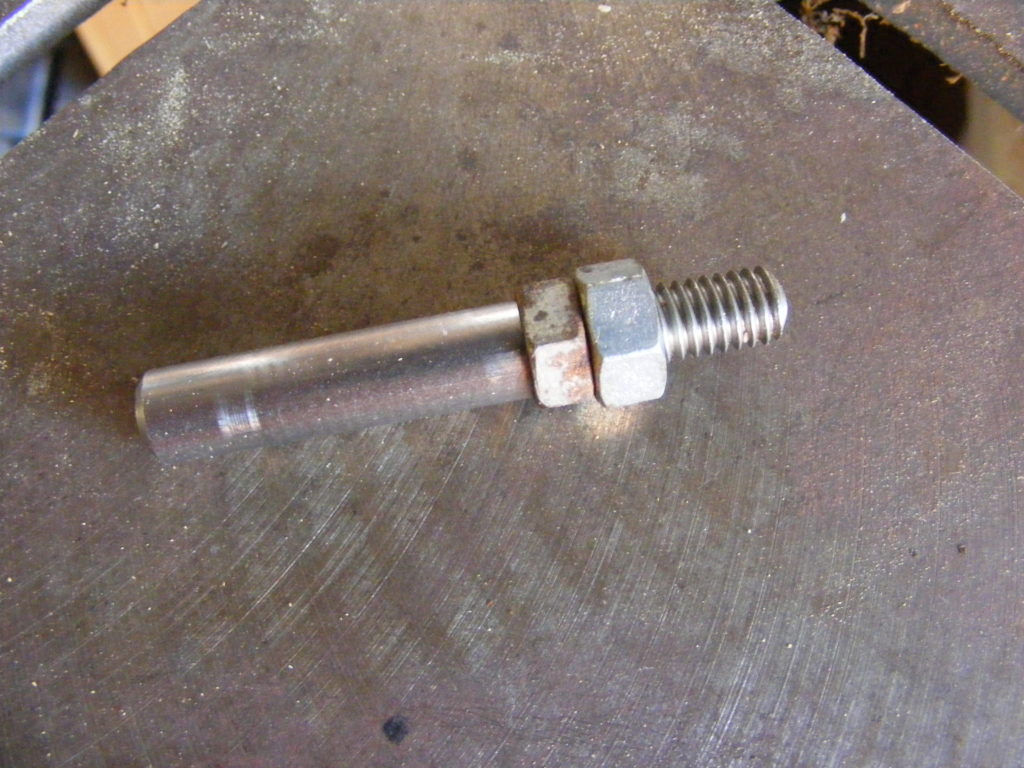
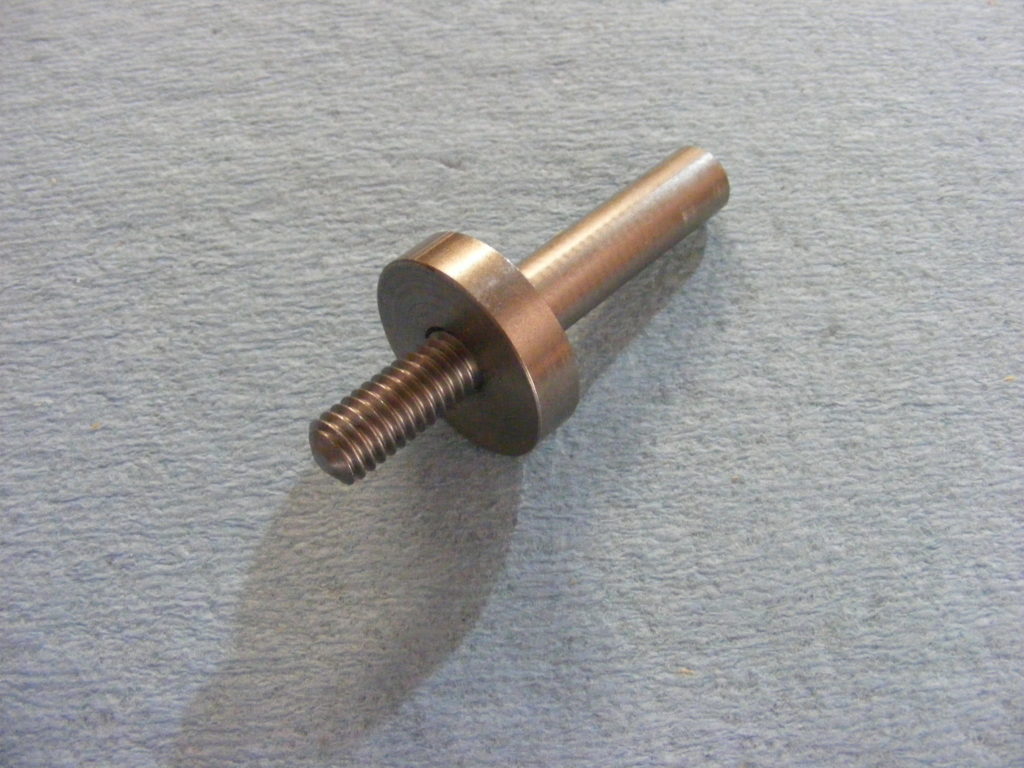
I disassembled the pizza cutter mandrel and screwed on two nuts as spacers. Then I threaded on the insert. That way I could easily use the drill press and mandrel to help me screw the insert in and properly seat it. I went an extra step and put 2 drops of thick CA glue on the insert threads.
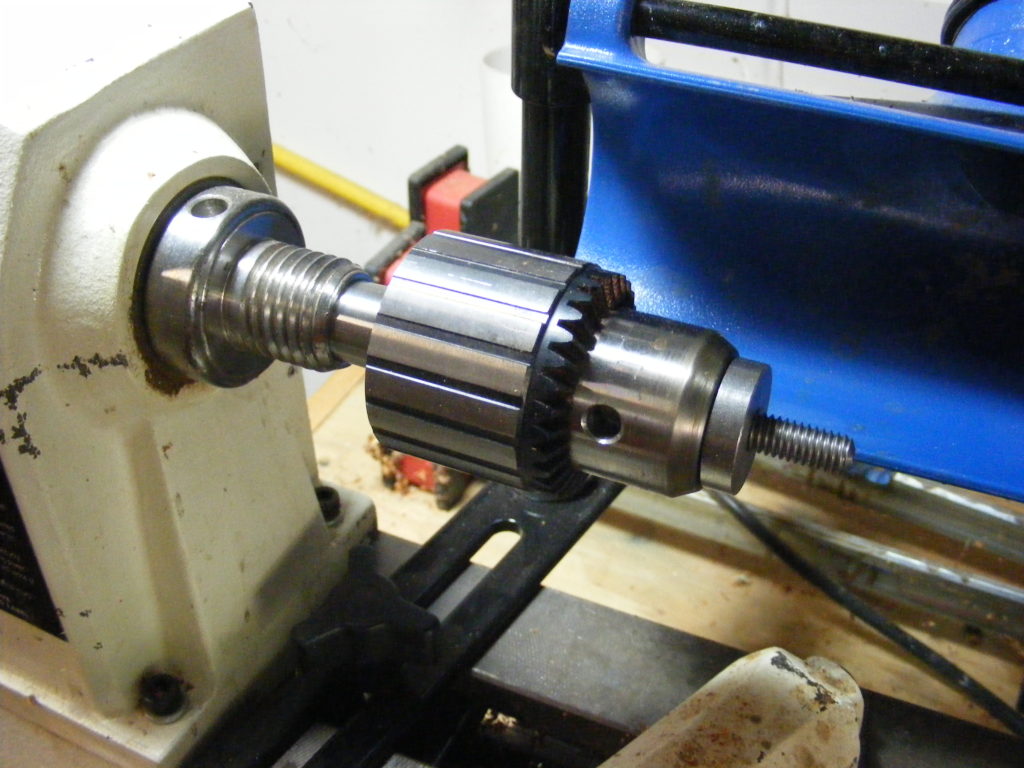
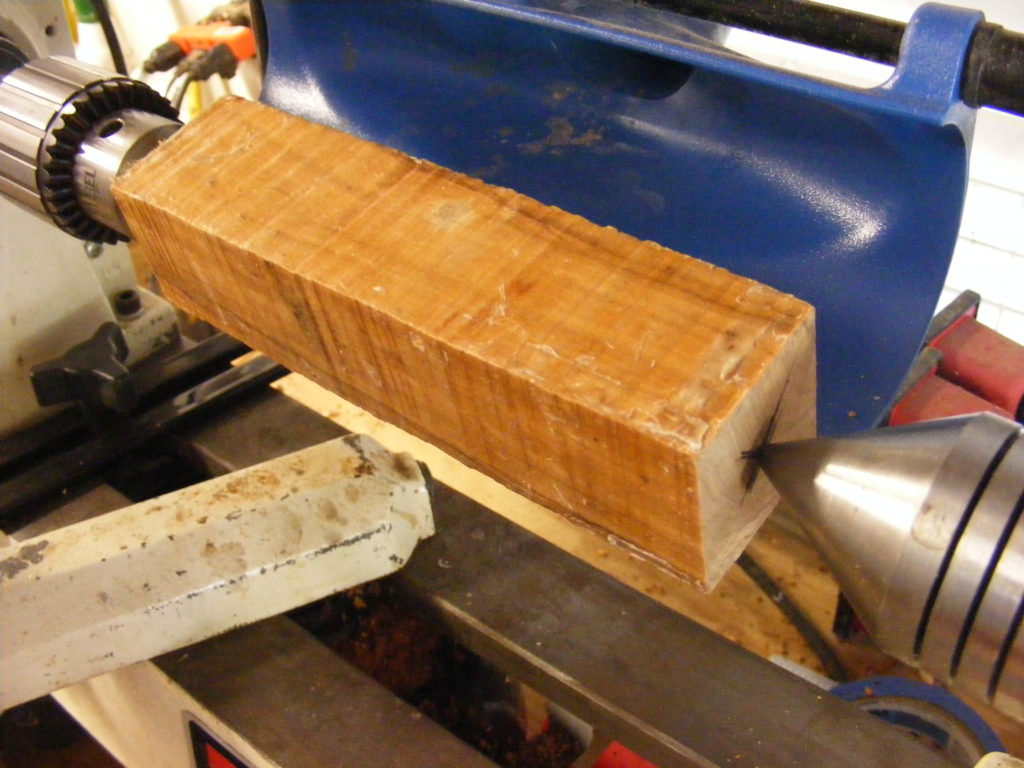
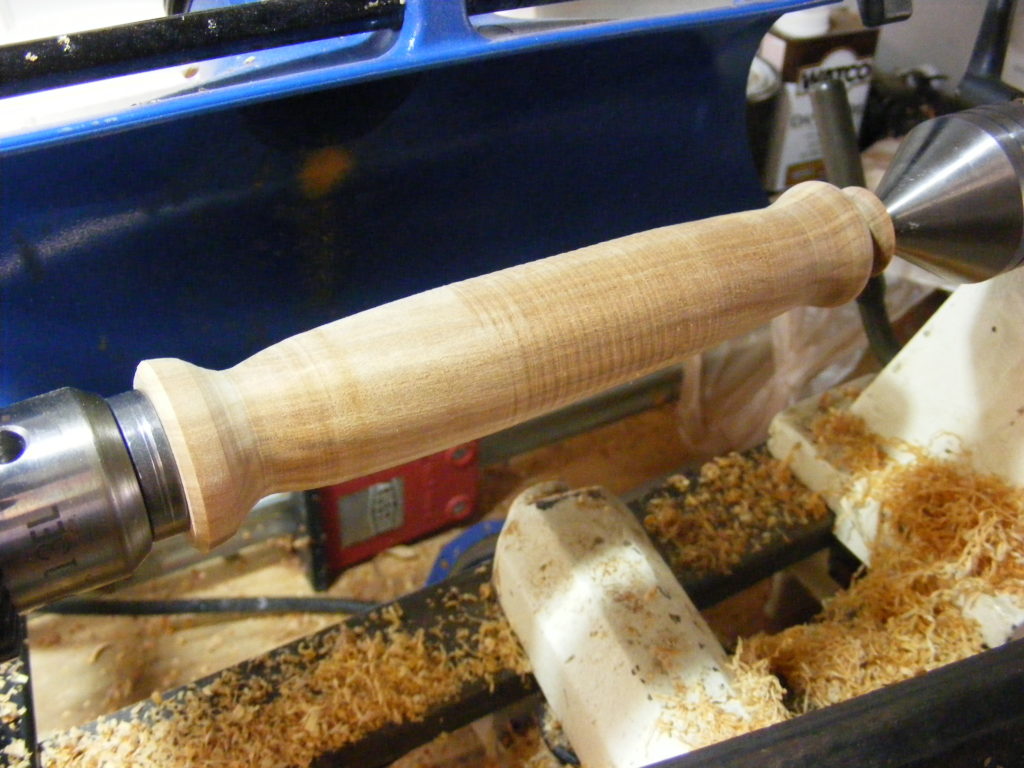
Step 4 — I mounted the olive wood blank to the lathe. I used the 5/16 inch threaded mandrel (with 1 inch bushing reattached) to hold one end and it was mounted in my Jacob’s chuck which was inserted in the headstock. The other end was held in place by the 60 degree-tapered live center.
Make sure everything is secure and clears the tool rest. Follow the safety procedures that come with your lathe. And wear a face shield.
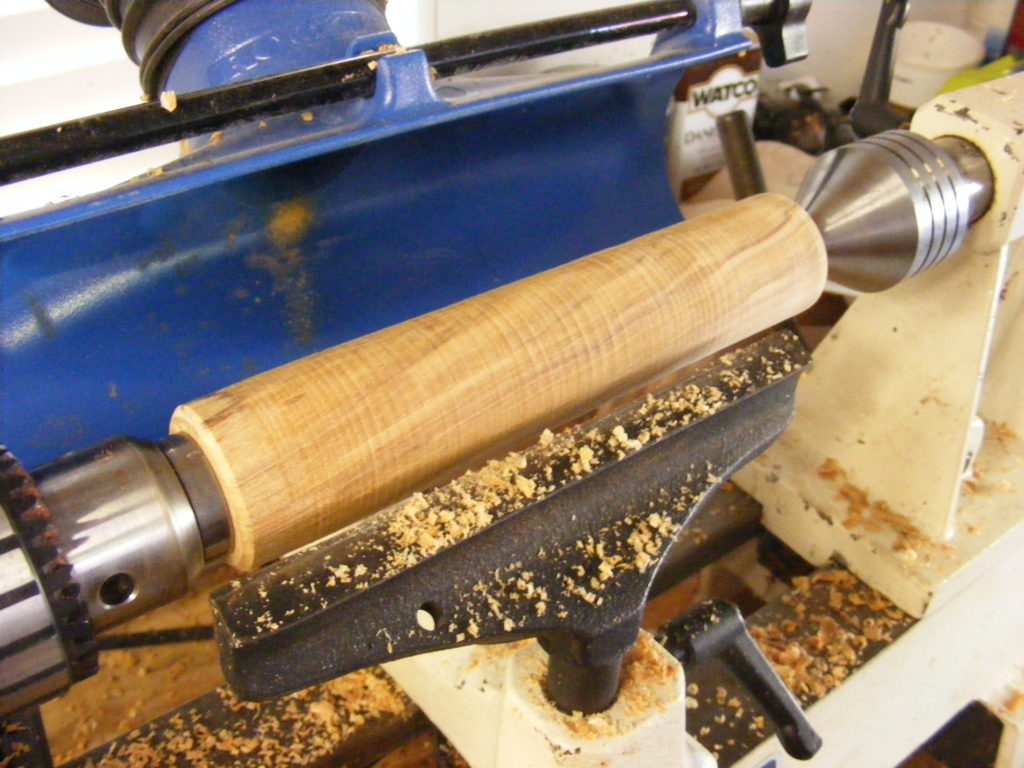
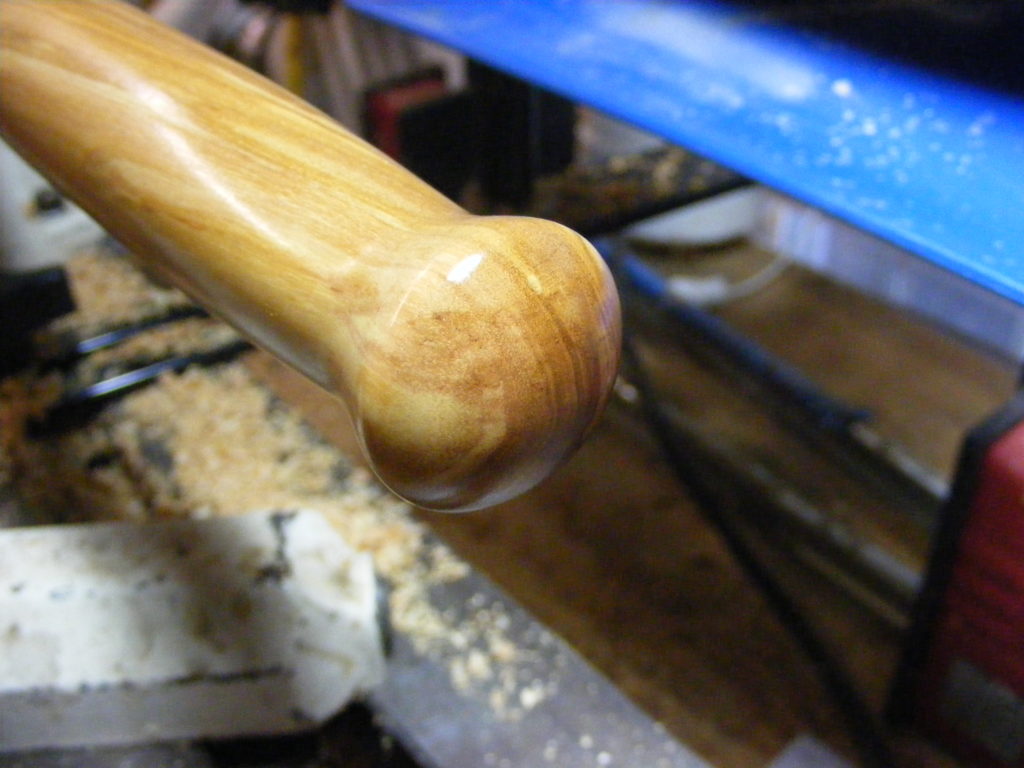
Step 5 — Next, I turned and shaped the blank. I used my roughing gouge to make the blank round and then used the spindle gouge to add a shape. I kept the shape fairly simple for this handle.
If you decide to add more elaborate beads or coves make sure you’ve practiced and are proficient. Another option might be to add some burnt rings.
Also, I liked to periodically stop the lathe and feel how the handle fit in my hand.
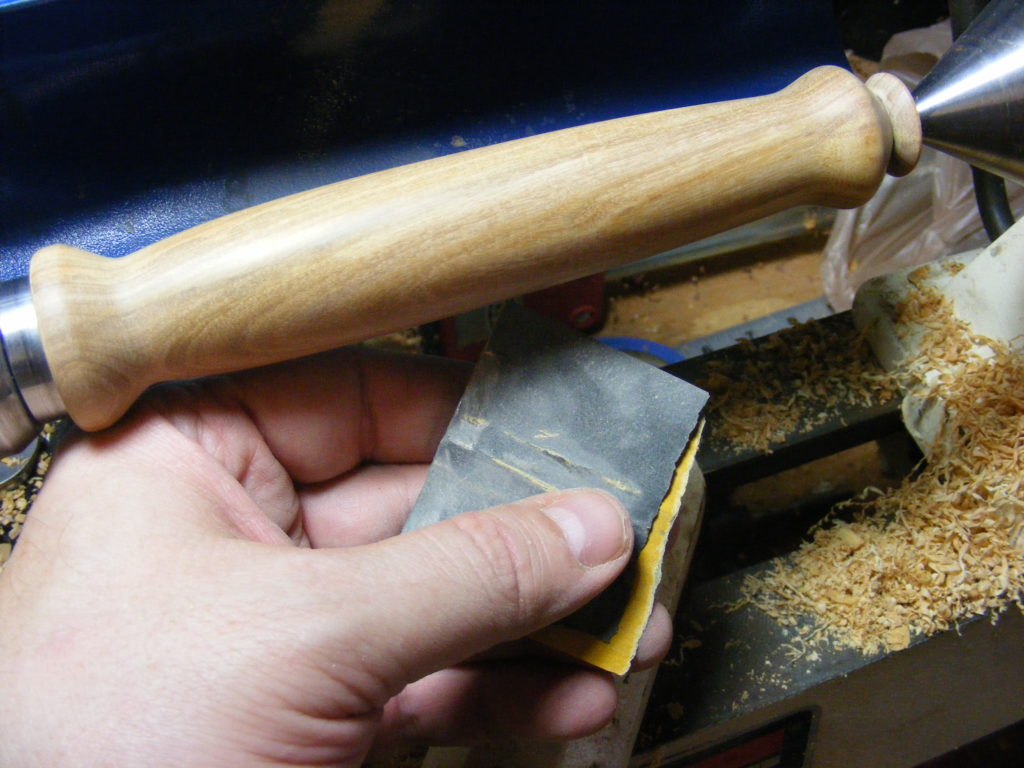
Step 6 — I sanded and finished the handle. I used 120 grit, 220 grit and 400 grit sandpaper. Then on to 1500 to 2400 grit micro mesh sheets to make the handle even smoother.
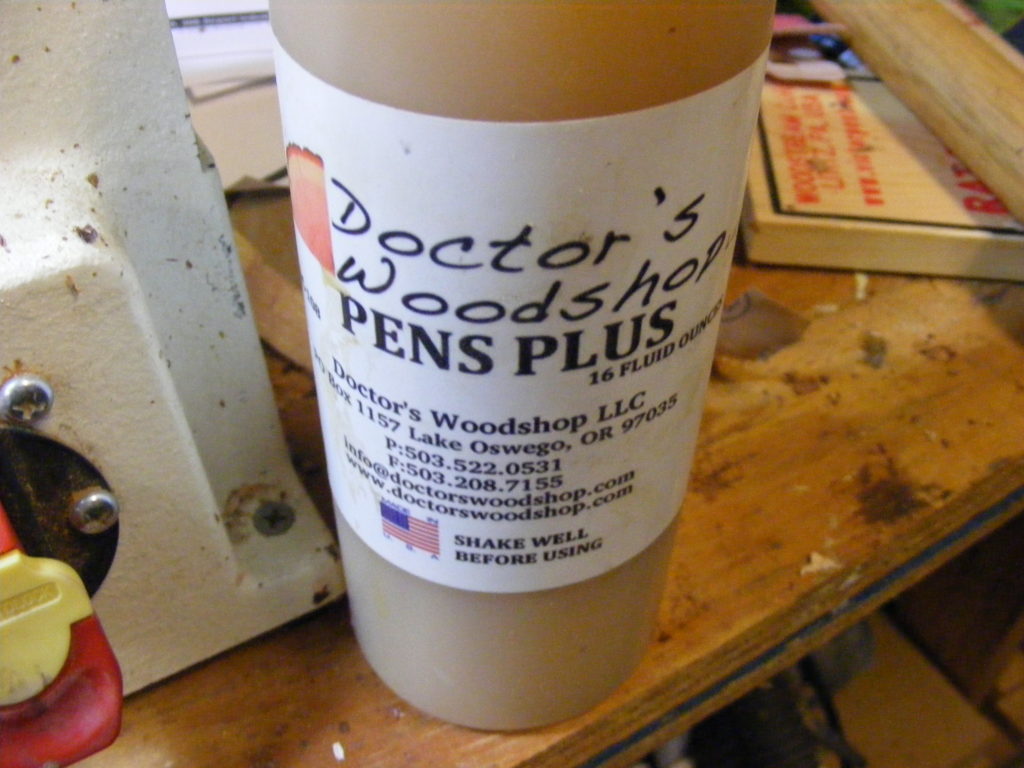
For the finish, I used Pens Plus friction polish. I used Viva paper towels to apply the friction polish and applied 3 coats.
Note that the wood behind the 1 inch mandrel bushing will be covered up by the cutting blade hardware. So no need to finish that part.
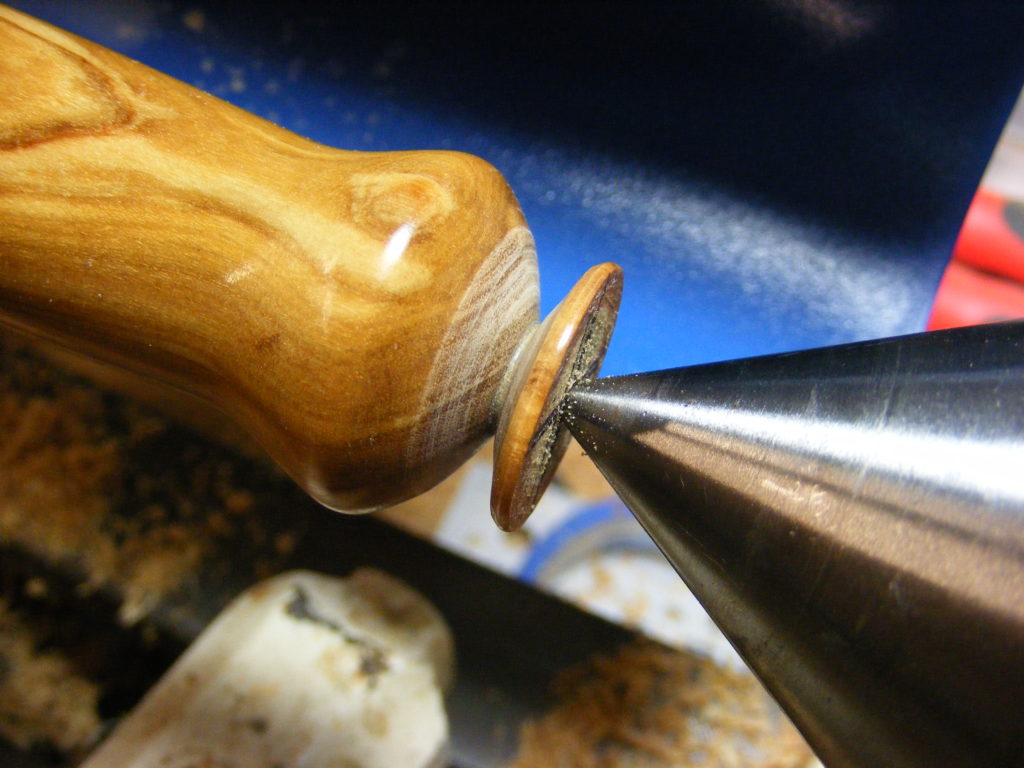
Step 7 — Next, I cut the handle from the waste piece. I used the skew to finish turning the end of the handle. Once I had turned the end down to an adequate cutting diameter (about 1/8 inch), I turned the lathe off and cut off the waste with a fine kerf saw.
I then repeated step 6 and sanded and finished the end of the handle. I also made sure that my Jacob’s Chuck was secure and wouldn’t come out of the headstock. (Read the instructions that come with your Jacob’s Chuck)
Step 8 — For the last step, I assembled the pizza cutter. This simply means screwing the pizza cutter blade into the handle.
If you want to put your pizza cutter in the dishwasher, I would recommend unscrewing the handle and leaving it out to wash separately. Don’t allow the wooden handle to soak in your dish water.
DO NOT allow children to use this pizza cutter since it has a sharp blade. I wish the cutter had come with come kind of guard for storage and protection.
Well that concludes this tutorial. I hope it was helpful. If you have a question about any of the steps, contact me through email or leave a comment.
Want to get more free tutorials like this in your inbox? If so, please enter your first name and email in the form below.
Happy woodworking!

Are you starting up a new shop? Want to work safer in your shop? To help you answer these questions I've put together a 2-part checklist -- Home Shop Safety & Tool Checklist.
I will also send you updates of my latest woodworking and DIY projects. You can get all this by subscribing to my free email newsletter.


1 thought on “How to Make a Pizza Cutter”
Comments are closed.