In this post, I’ll be making a pocket cross out of exotic woods. This is a great craft to make and give to those needing encouragement or comfort. It’s simply a little cross that fits smoothly in the palm of the hand. You can easily carry it in your pocket all day. For me it helps me remember the sacrifice God made and His love for me.
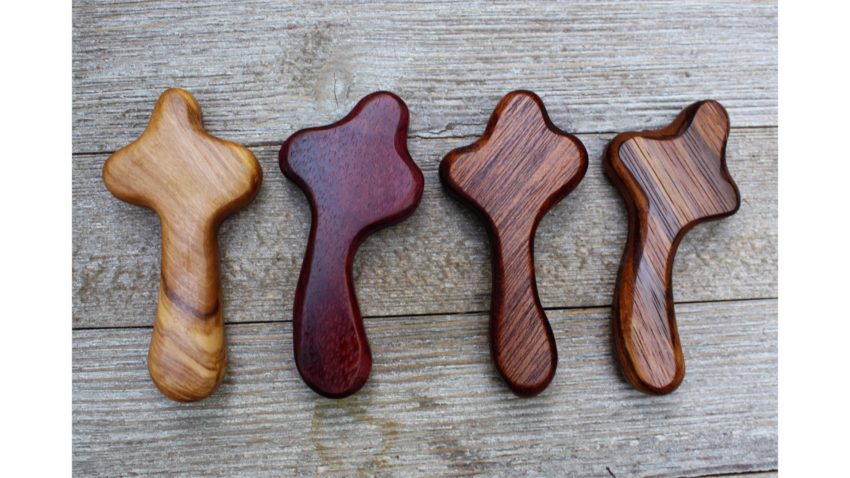
I preferred to make mine out of exotic hardwoods. Mainly, because of the beauty and durability of these woods. I used Olive wood (my favorite), Purple Heart, Mahogany, and Zebrawood. But you can make these out of any wood you have on hand.
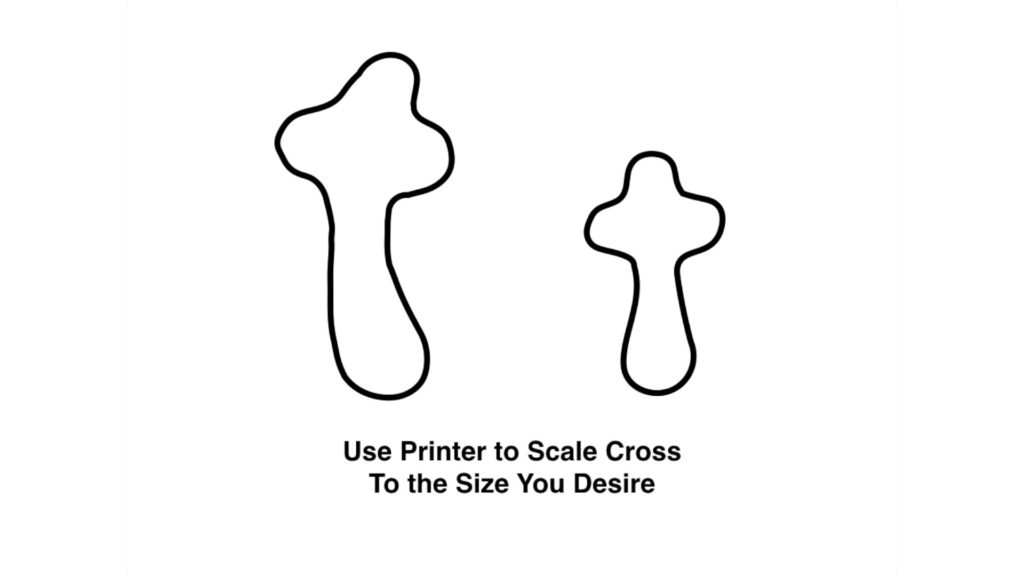
Pocket Cross Patterns
Above are a couple of patterns I made for my pocket crosses. You can make these in any shape you like. The key is making them to comfortably fit the hand. Print them out on your printer to a scale you like.
I think the ideal thickness is 1/2 inch and length between 2.5 inch to 3.5 inches long.
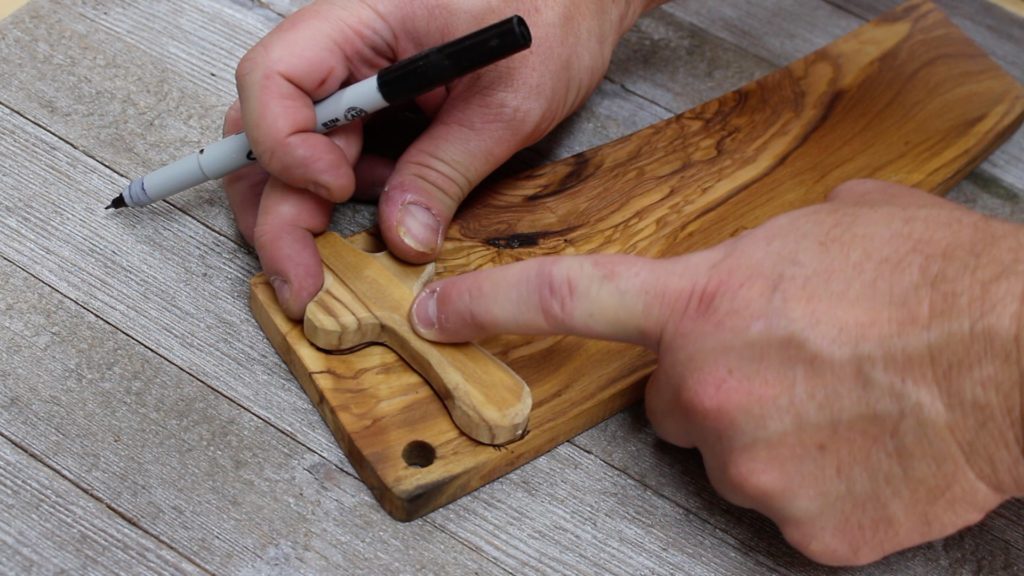
Tracing Pattern to Wood
You can use a pattern to trace the cross to a piece of wood. Or use an existing cross and trace around it. I used some card stock paper to make my pattern. I ran the card stock through my printer and then cut out the pattern for tracing.
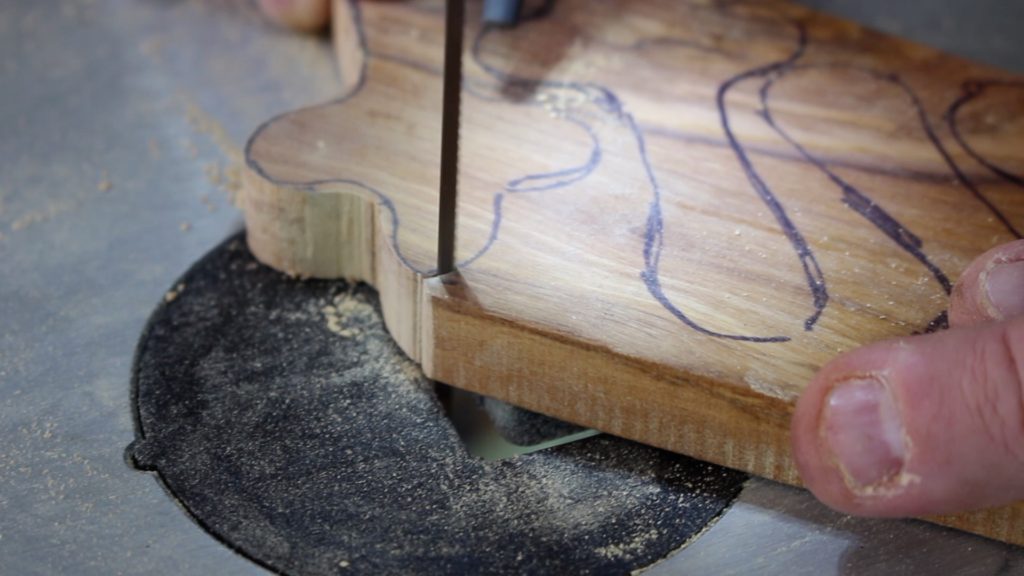
Cut Out the Cross
There are many ways you can cut out the cross. I personally liked to use a scroll saw. The scroll saw cuts curves very easily and smoothly. You can also use a simple jigsaw with a scroll-saw-type blade. Though it would take longer, you could also use an inexpensive coping saw to cut out the cross.
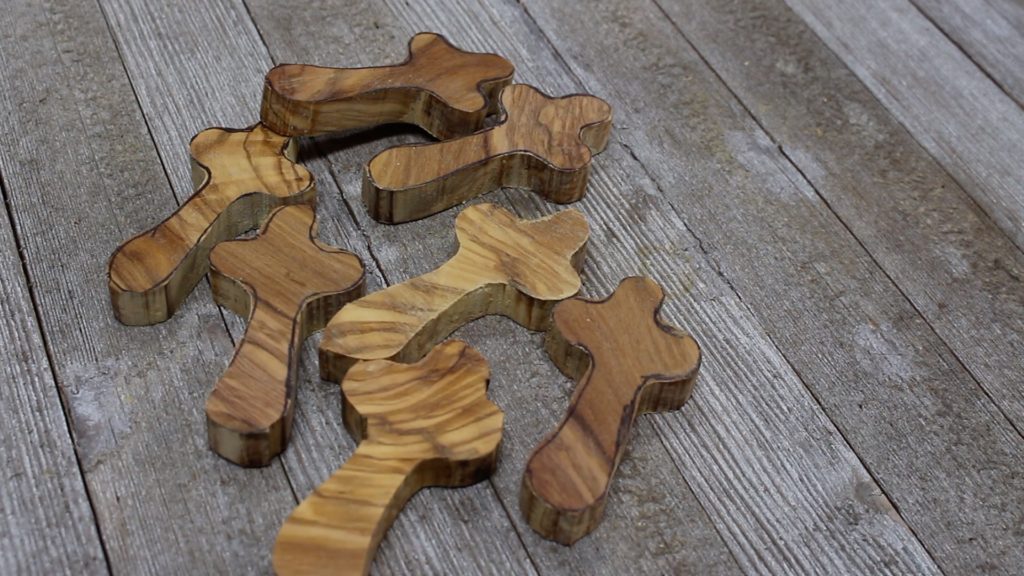
I made about 45 crosses over a few weekends. The scroll saw makes this process much quicker and efficient. I like to cut all the crosses out first and then sand them next.
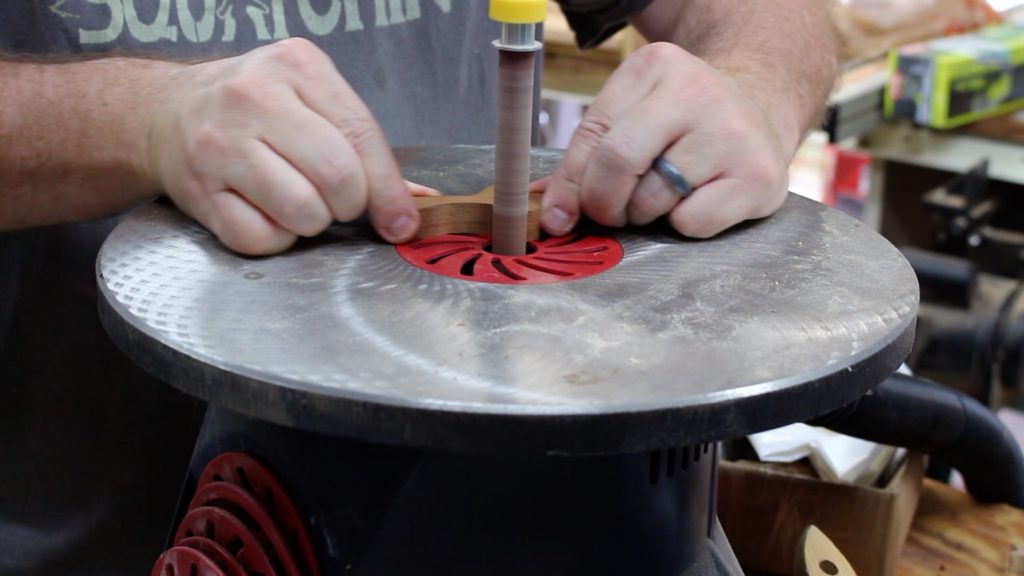
Sanding the Cross
Next, I need a way to sand around the edges of the cross to get rid of the saw marks. My preferred way to do this was to use an oscillating spindle sander. But use what you have. Other options are to use sandpaper and sand all by hand. Or use a small belt sander or even a rotary tool with a barrel sander attachment.
What I like about using the oscillating spindle sander is it’s also easy to sand saw marks and any sharp edges round. That’s important for the cross to fit in a person’s hand comfortably.
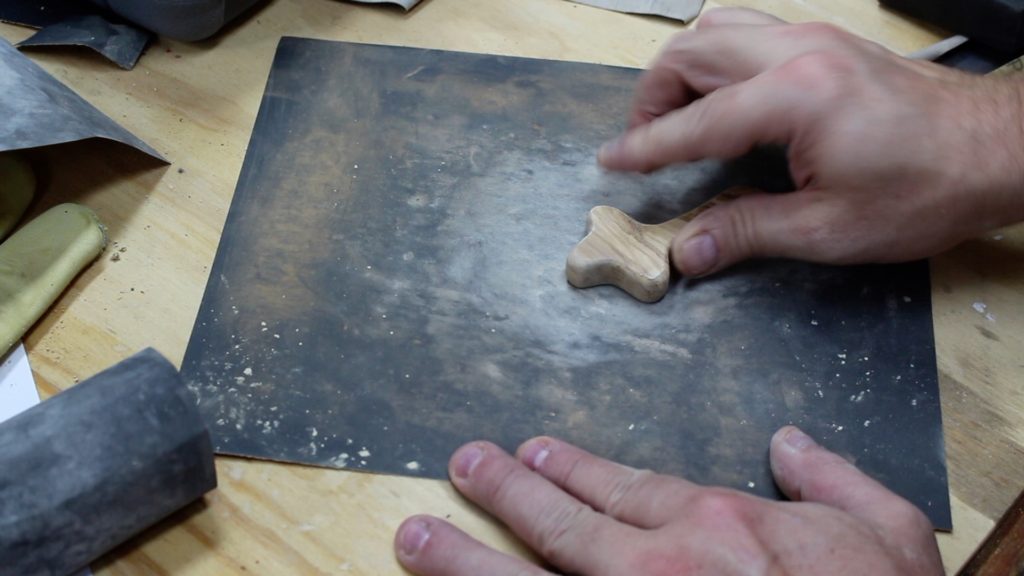
Final sanding involves using sandpaper to make everything smooth. I started with 220 grit sandpaper and worked up to 1000 grit. I also have micro mesh sanding cloths and went from 1500 grit to 2400 grit to make the cross ultra smooth. With these exotic hardwoods you can eventually create a glossy appearance on the wood.
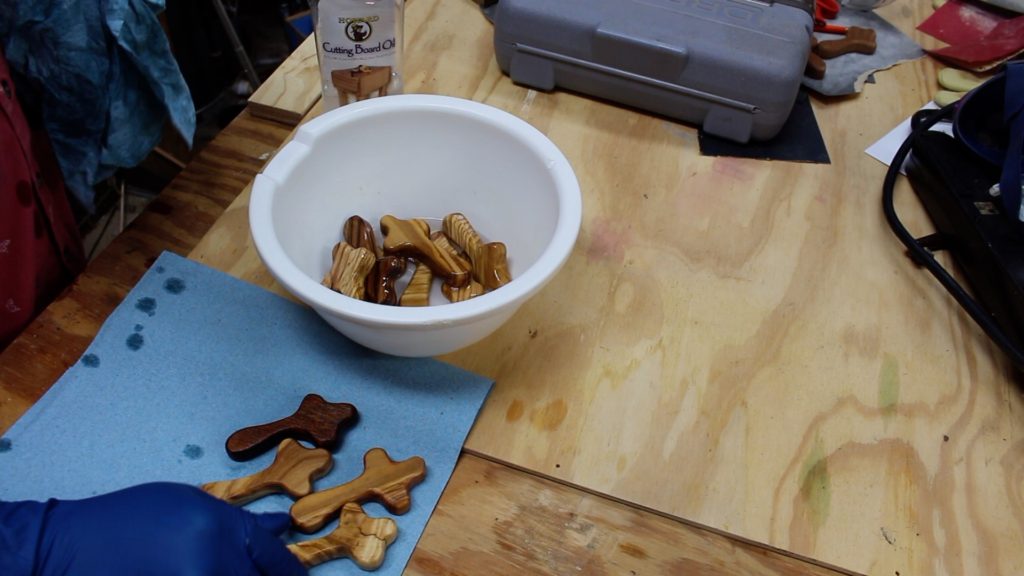
Finishing the Cross
Since these will be held in a person’s hand, I decided to use a food-safe mineral oil for the finish. I like to soak them in the oil overnight and this really makes the grain and beauty of the wood pop. You can easily find this mineral oil in your local home improvement store.
As time goes on, the cross will develop a patina from the natural oils from a person’s hand.
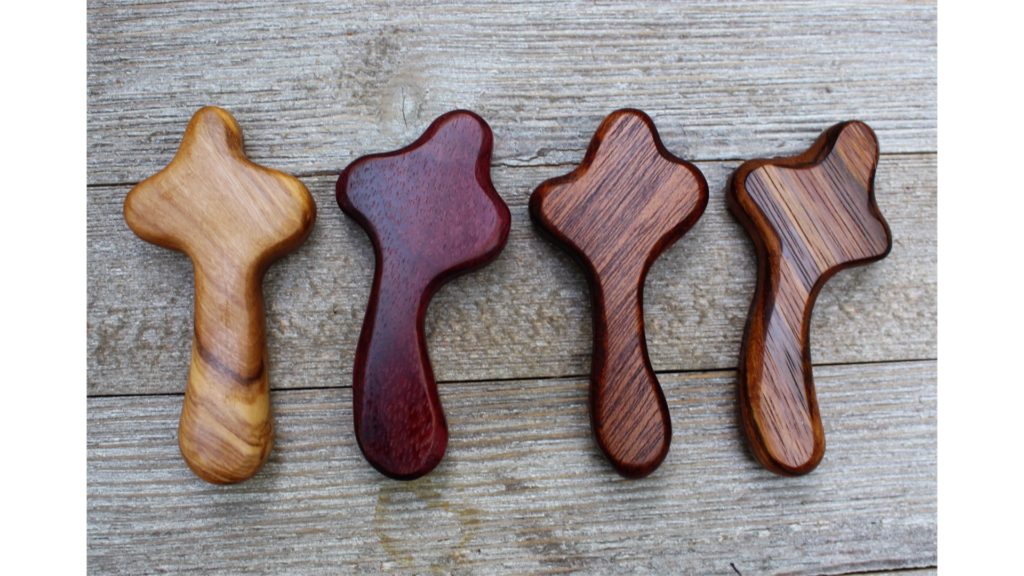
Above is the photo of the finished crosses. From left to right: Olive Wood, Purple Heart, Mahogany, Zebrawood.
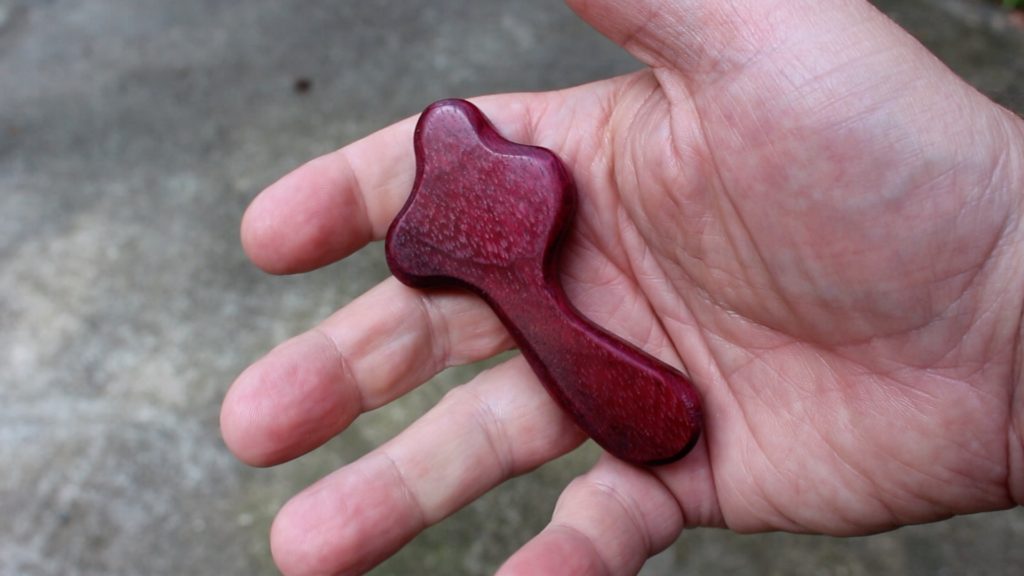
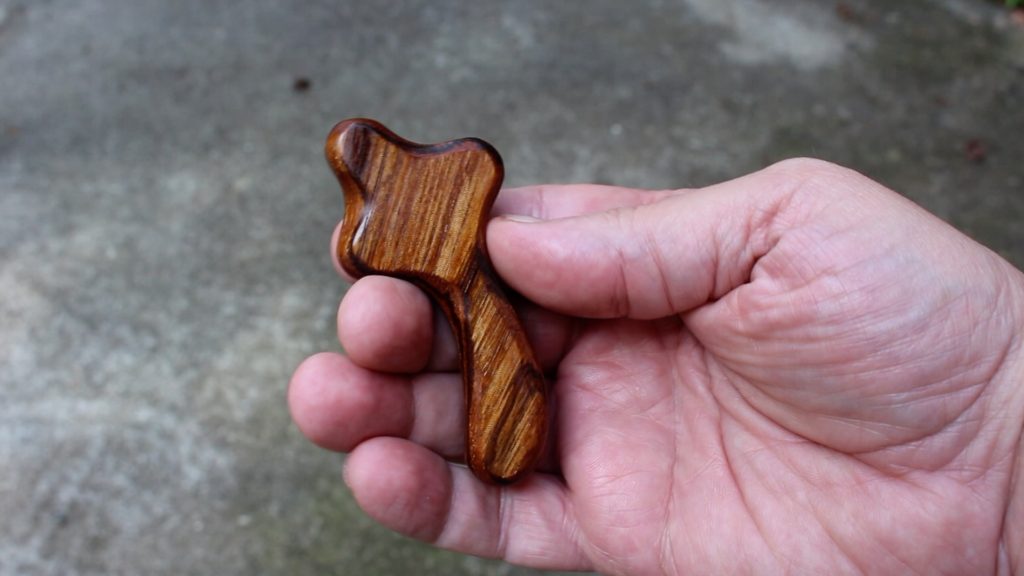
The above two photos will give you an idea of scale and how the pocket cross fits in your hand.
I hope you enjoyed this tutorial – how to make a pocket cross. If you’d like to receive future tutorials and plans in your inbox, please consider subscribing. Just use the sign up form at the bottom of this post or in the side bar.

Are you starting up a new shop? Want to work safer in your shop? To help you answer these questions I've put together a 2-part checklist -- Home Shop Safety & Tool Checklist.
I will also send you updates of my latest woodworking and DIY projects. You can get all this by subscribing to my free email newsletter.
