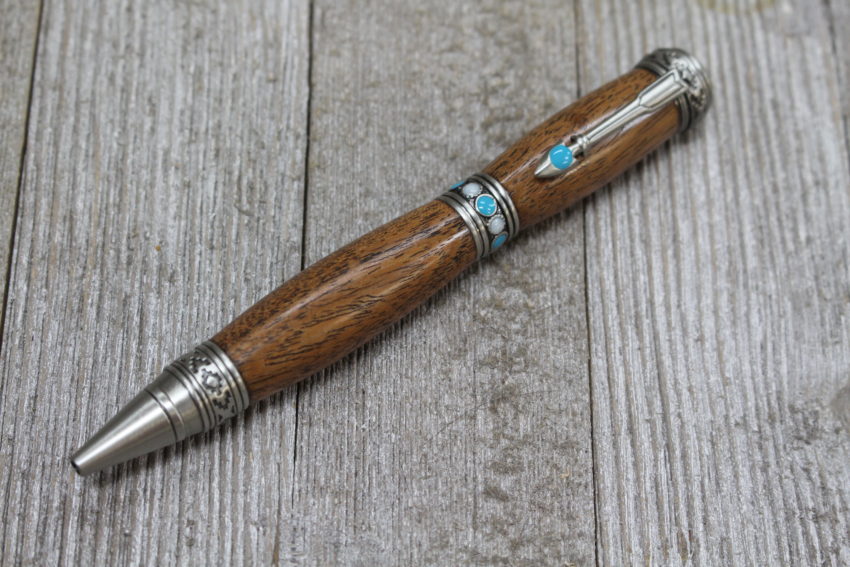
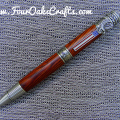
In this post, I’ll demonstrate how to make a Southwest Twist Pen. After visiting my son a couple of times in Nevada and one trip to southern California, I decided to try this wonderful pen kit. I got my kits from Penn State Industries and they come in a couple types: the Southwest Twist Pen Kit and Southwest Mesa Twist Pen Kit.
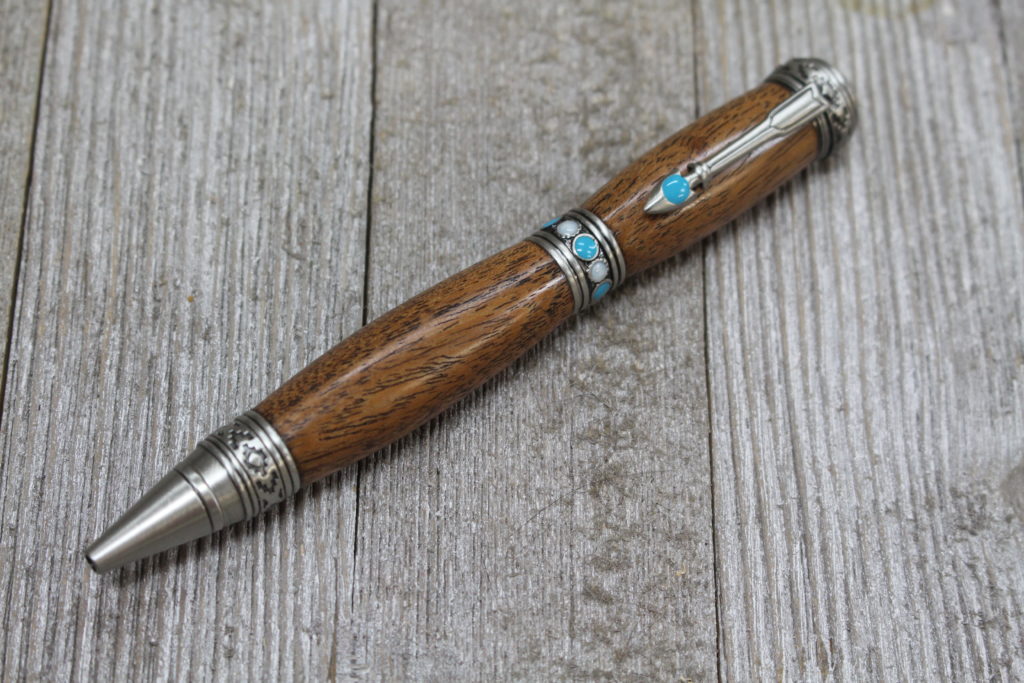
The geometric shapes on this pen, reflect the craftiness of the Southwest American Indians. As do the beads and Desert Mesa Flower design on the end cap. Also note the arrow for the pen clip.
You can also check out my video below. It shows me making the pen, but I also show a few shots from my trip out West. Enjoy!
How to Make a Southwest Twist Pen
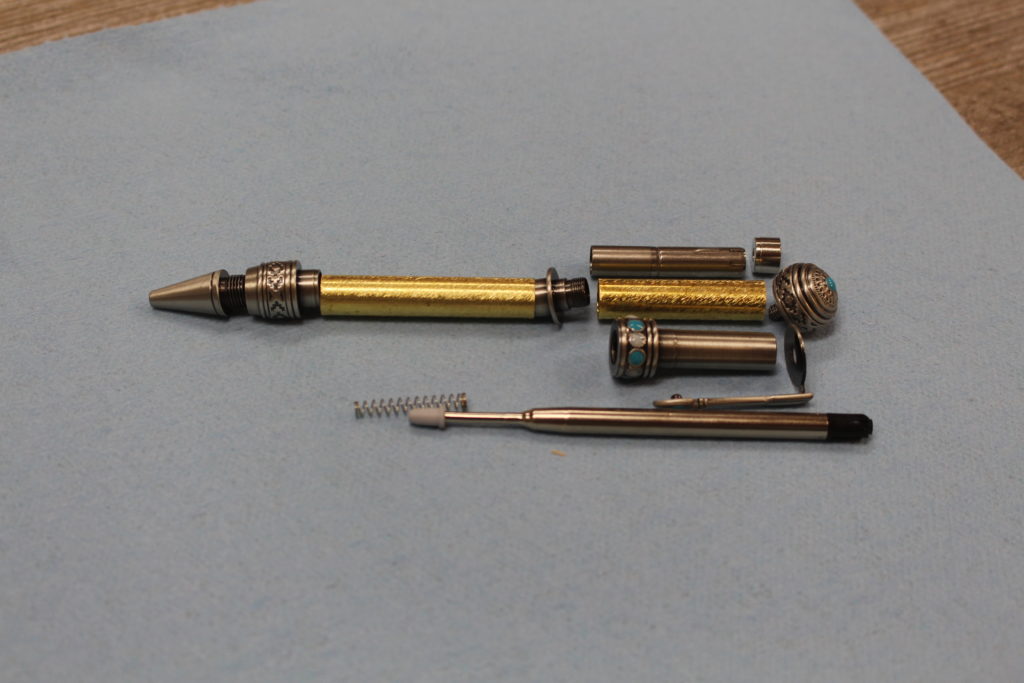
Shot above is the Southwest Pen Kit. This is the two-barrel twist pen kit. They also make the Mesa, one-barrel kit. In this post, I’ll just show how to make the standard two-barrel pen.
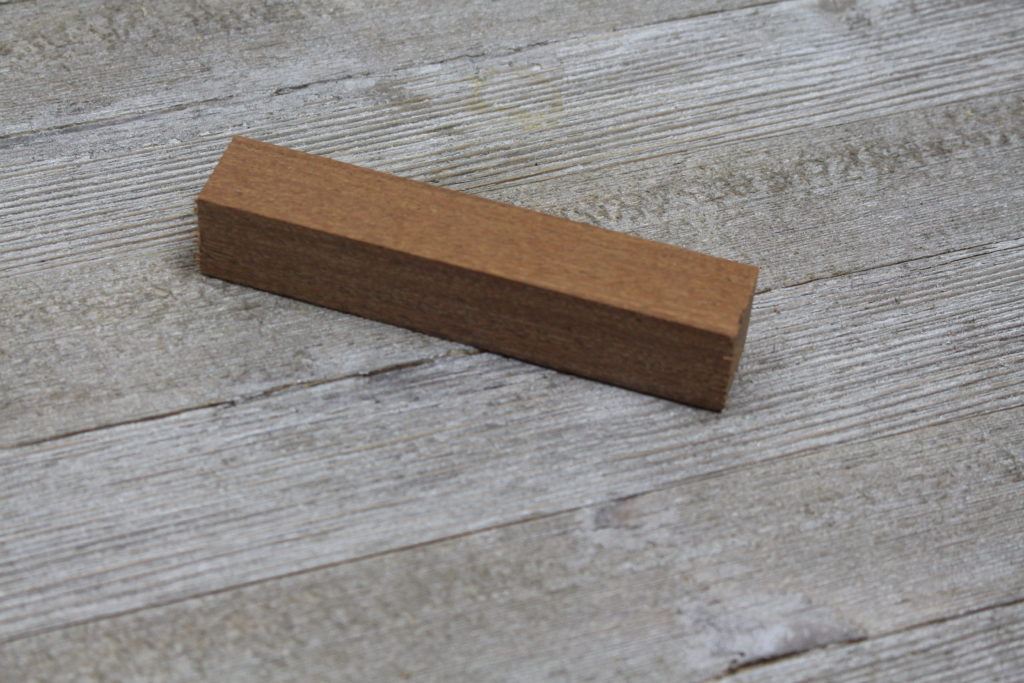
The wood for the blank is Honey Mesquite. It’s a beautiful hardwood.
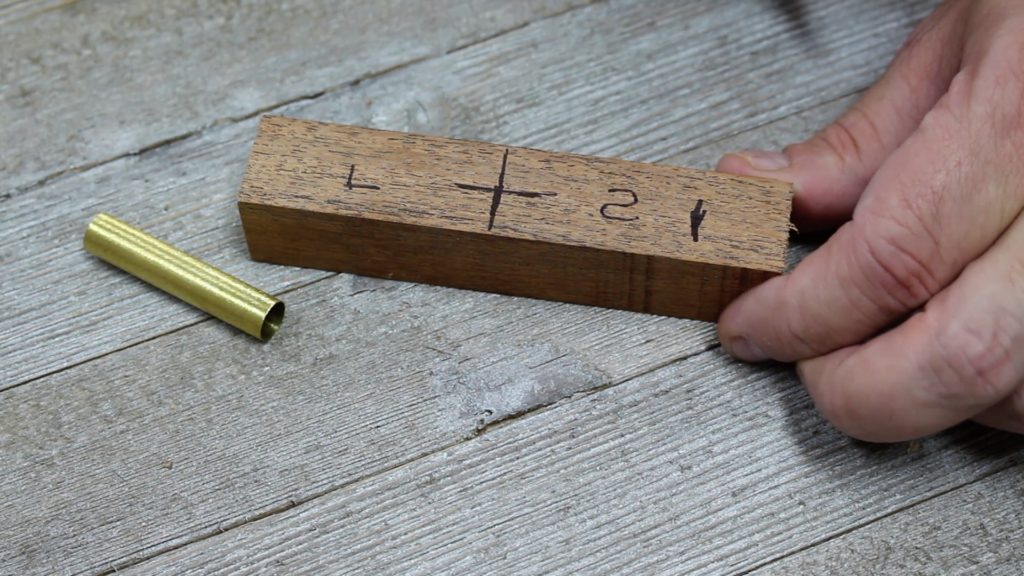
Marking the blank with the two pen tubes from the kit. Obviously this is a 2 barrel kit. One barrel (the lower barrel) is longer than the other barrel.
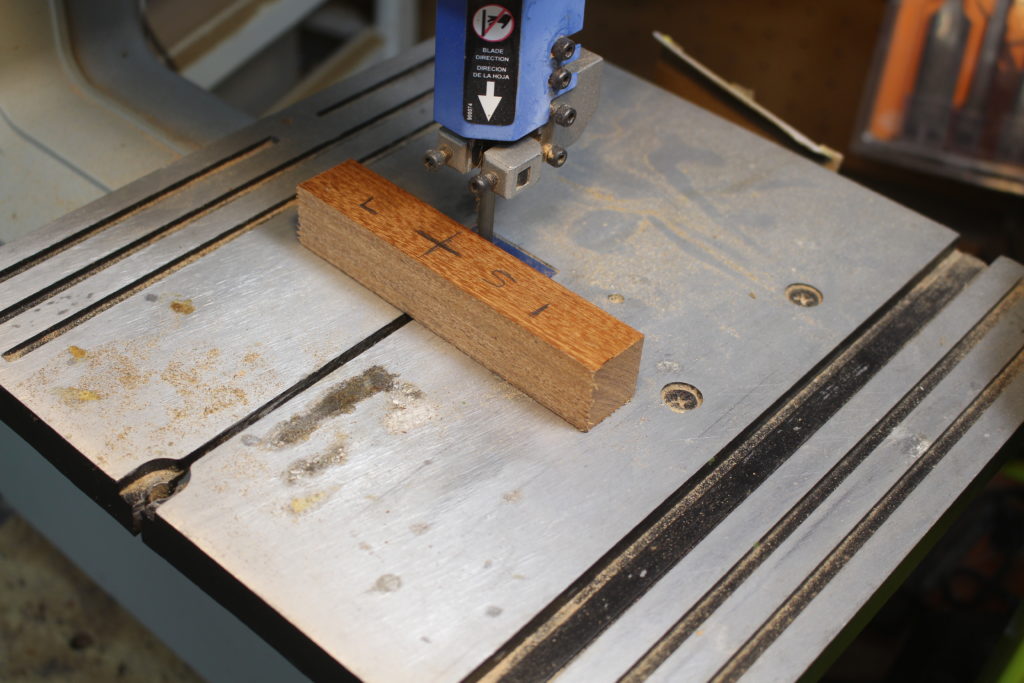
Cutting out the barrel sections, using the bandsaw.
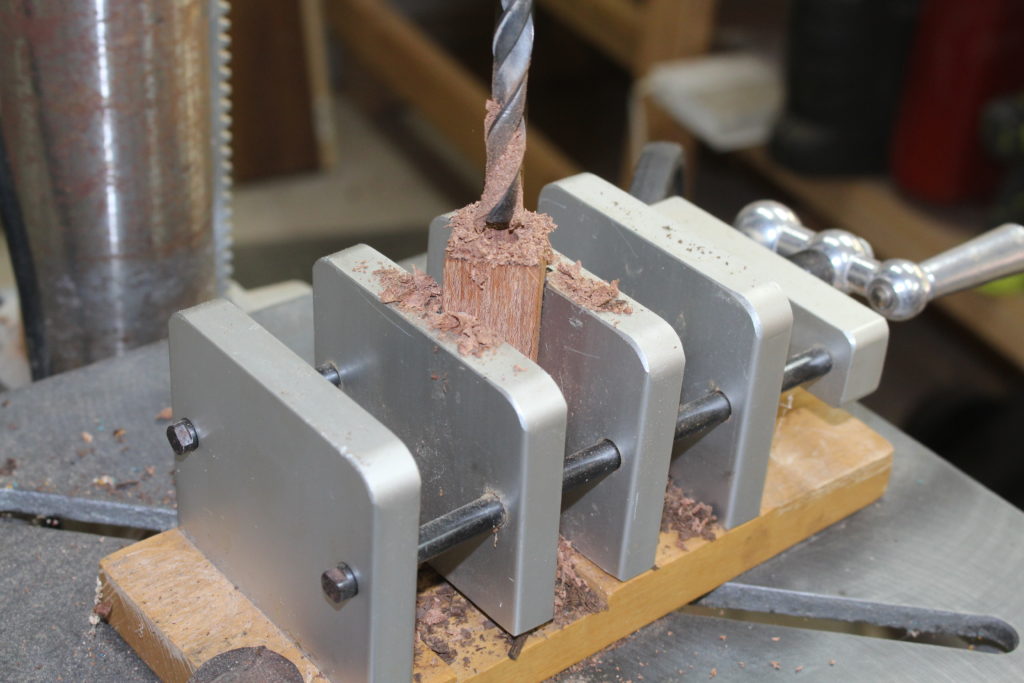
Drilling the pen barrel sections. This kit calls for a 3/8 inch drill bit. Drill carefully and remember to clean out the hole as you drill. Don’t build up too much heat.
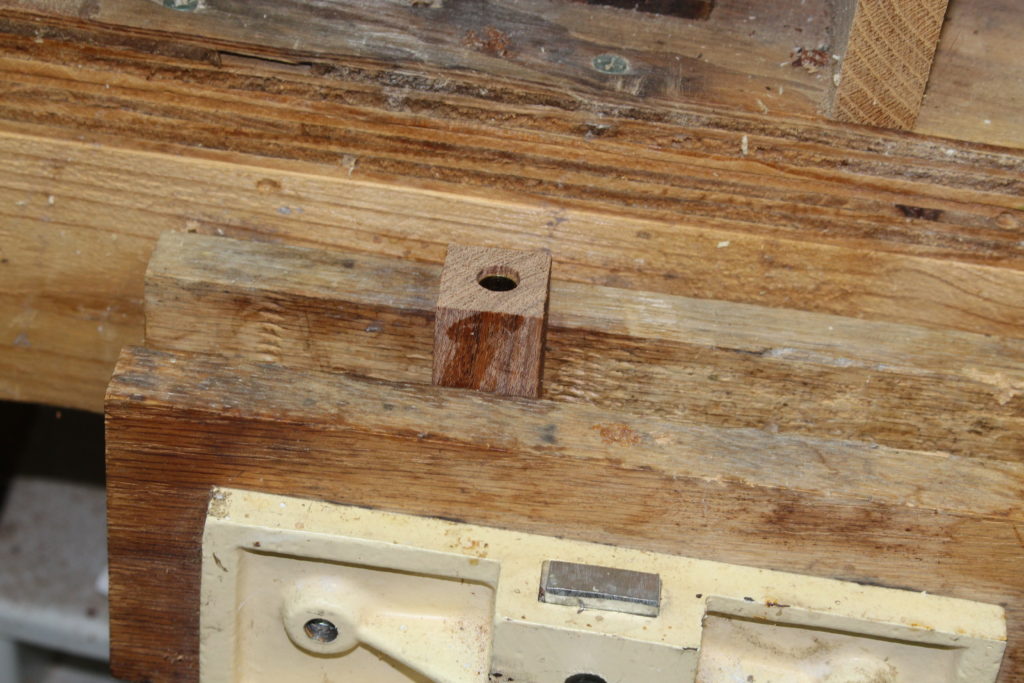
I barrel trimmed both sections. That’s a total of 4 ends. Grab the right size trimmer and trim down to the brass pen tube. Make sure your barrel trimmer is sharp.
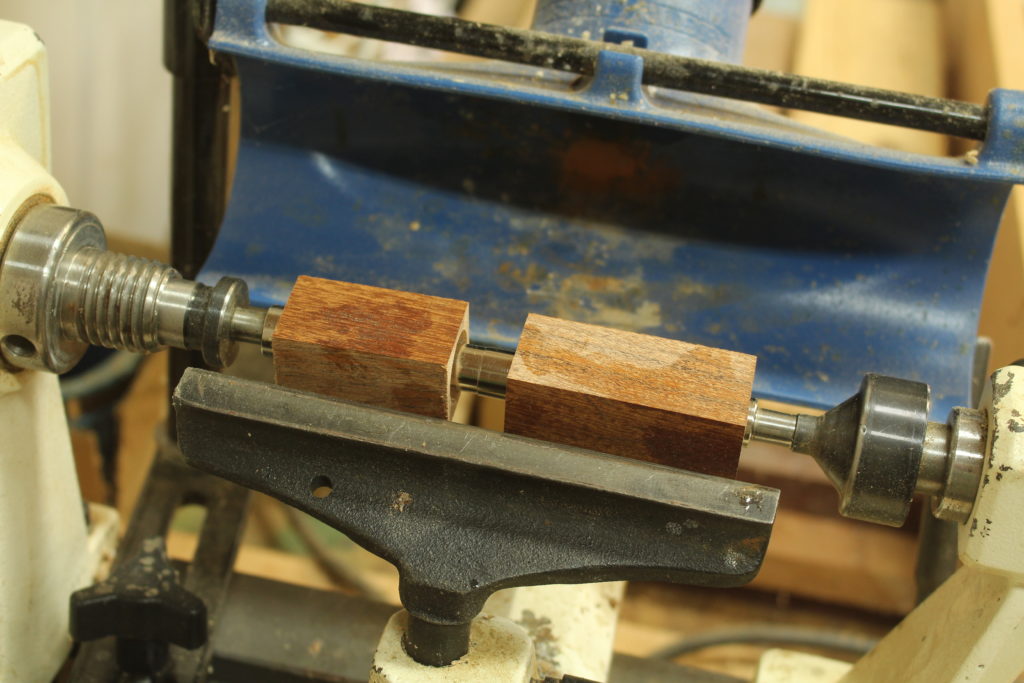
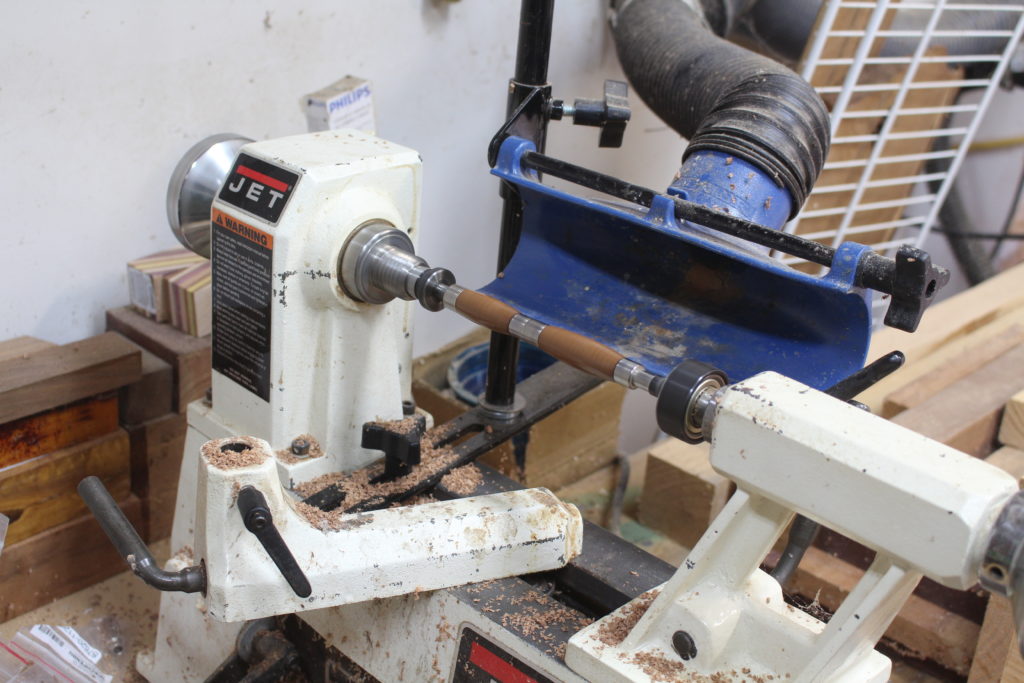
Position pen barrel sections on the lathe and make sure pen bushings are in the correct order. Make sure to read the pen kit instructions FIRST!
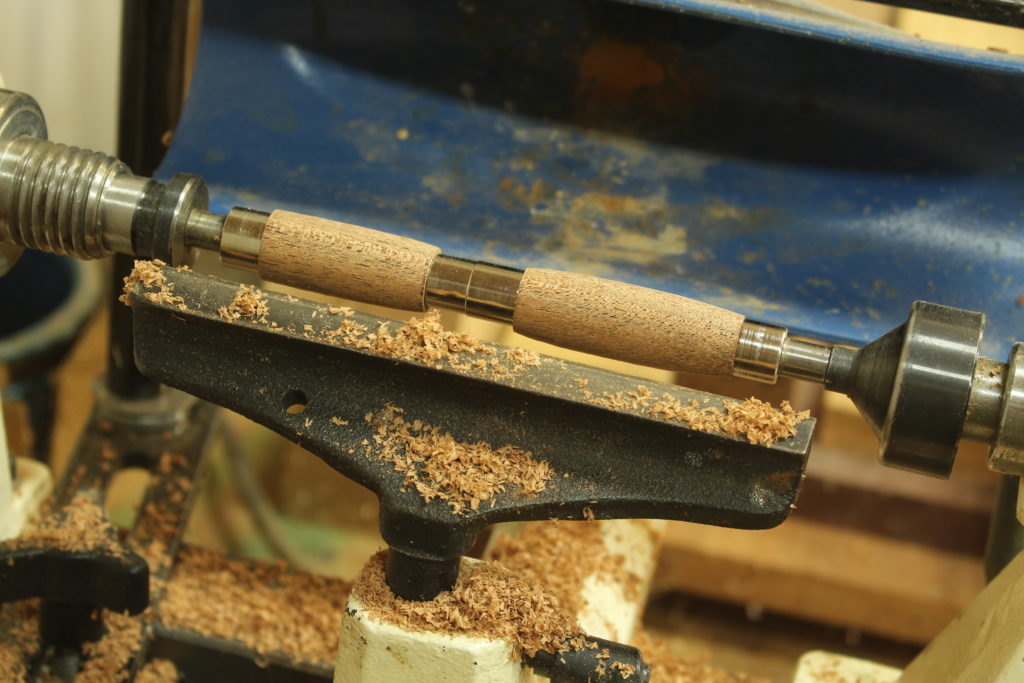
Turn the pen barrel sections to the profile you desire. Turn until wood is slightly proud of the bushings and then use 220 grit sandpaper to make them flush with bushings.
I work through the grits up to about 1000 grit sandpaper and swapped over to the micro mesh. I take the micro mesh up to about 4000 grit. Don’t forget to stop between grits and sand the barrels lengthwise.
I use the Pens Plus friction polish and apply 3 coats. Allow the coats to dry.
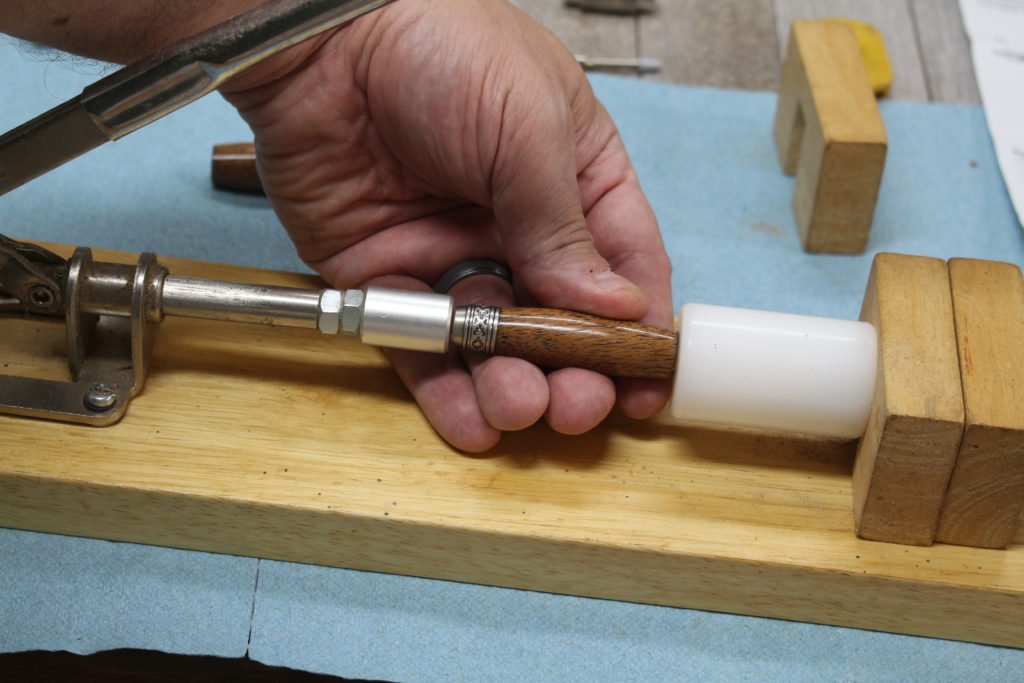
First, press in the pen tip coupler.
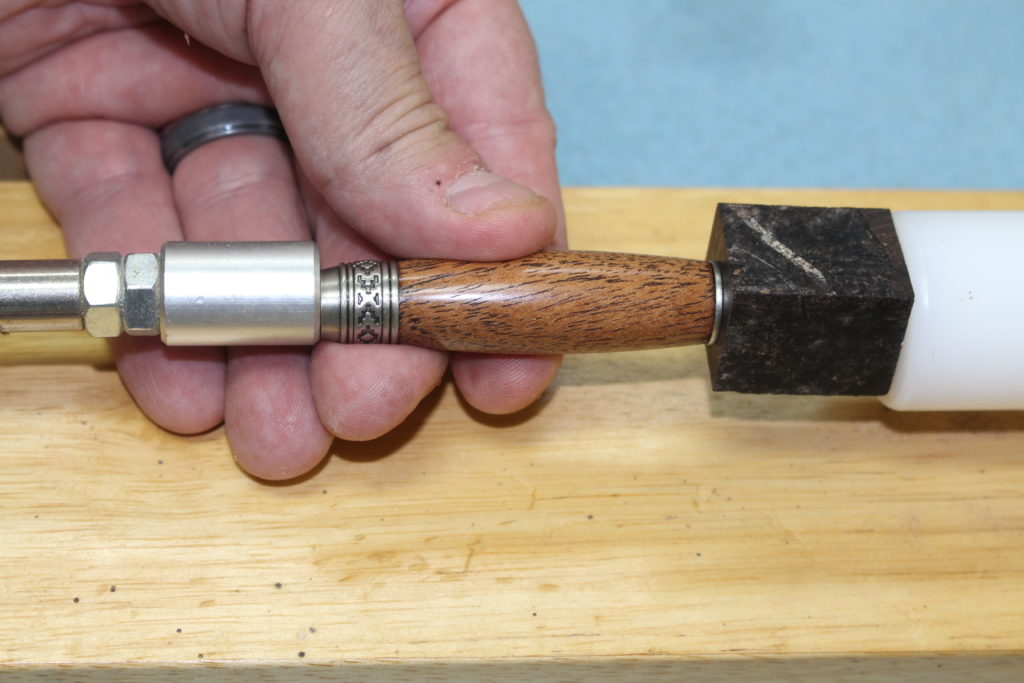
Photo above shows me pressing in the mechanism coupler (right side). Notice that I’m using a 1″ push block with a hole in the center. The push block slides over the threads on the mechanism coupler to prevent damage.
After completing this step, you can screw the pen tip onto the coupler. You can also attach spring to refill, slip the refill in and screw on the mechanism.
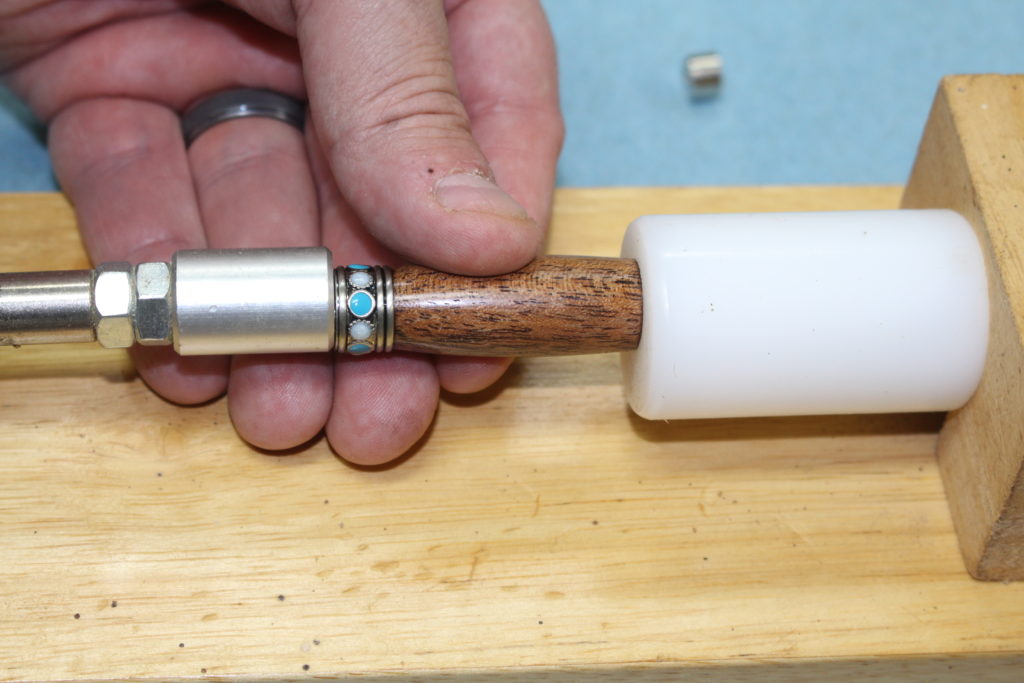
Press the band assembly into the smaller diameter of the upper barrel. Follow you pen kit assembly instructions.
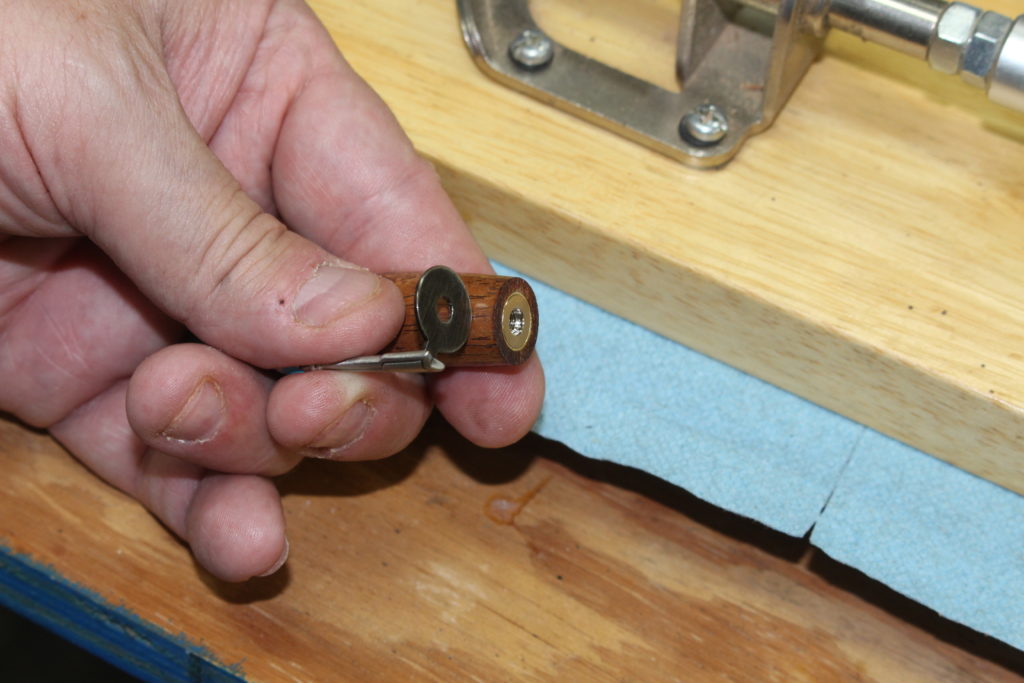
Press in the cap nut on the other end of the upper barrel.
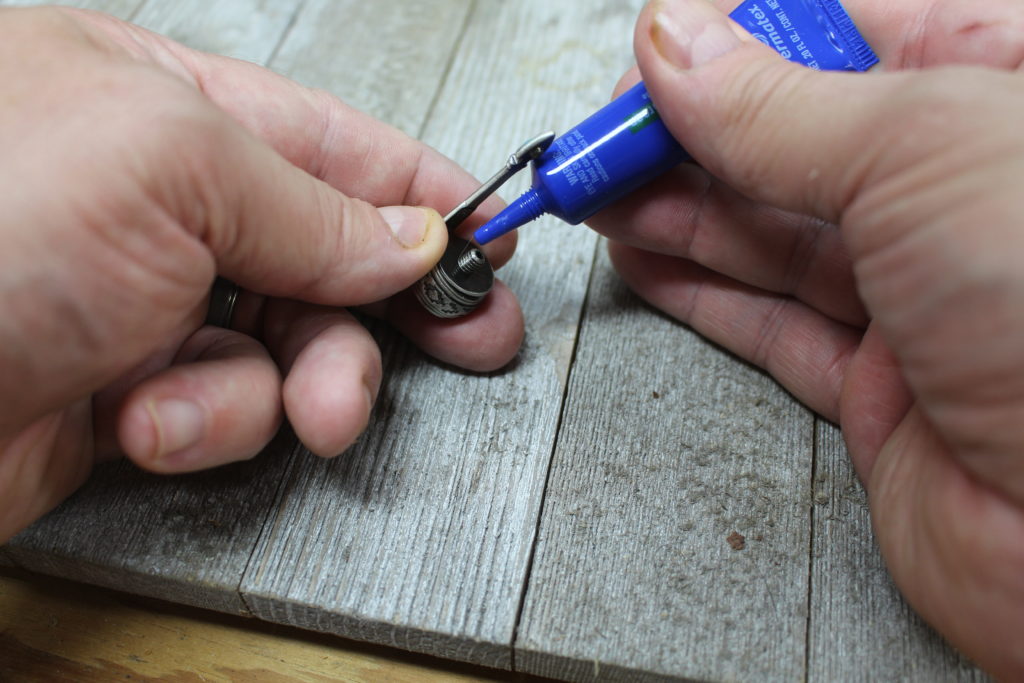
Adding a drop of threadlock onto the cap and then screwing it in over the clip. Adjust your clip to where you want it.
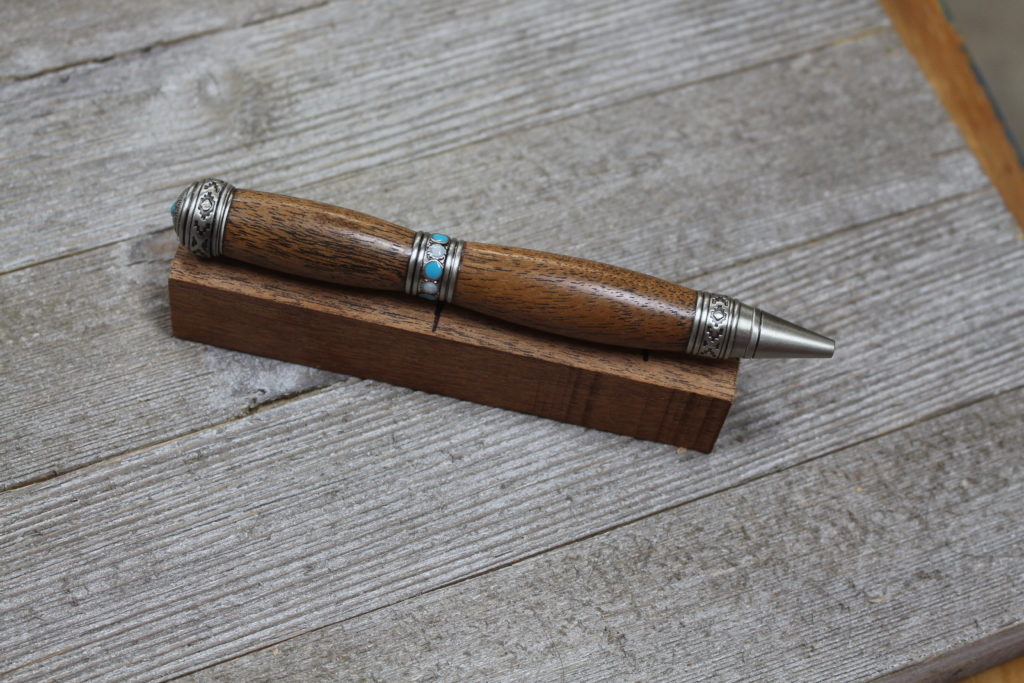
Bring both sections of the pen together and test the mechanism. Everything worked smoothly.
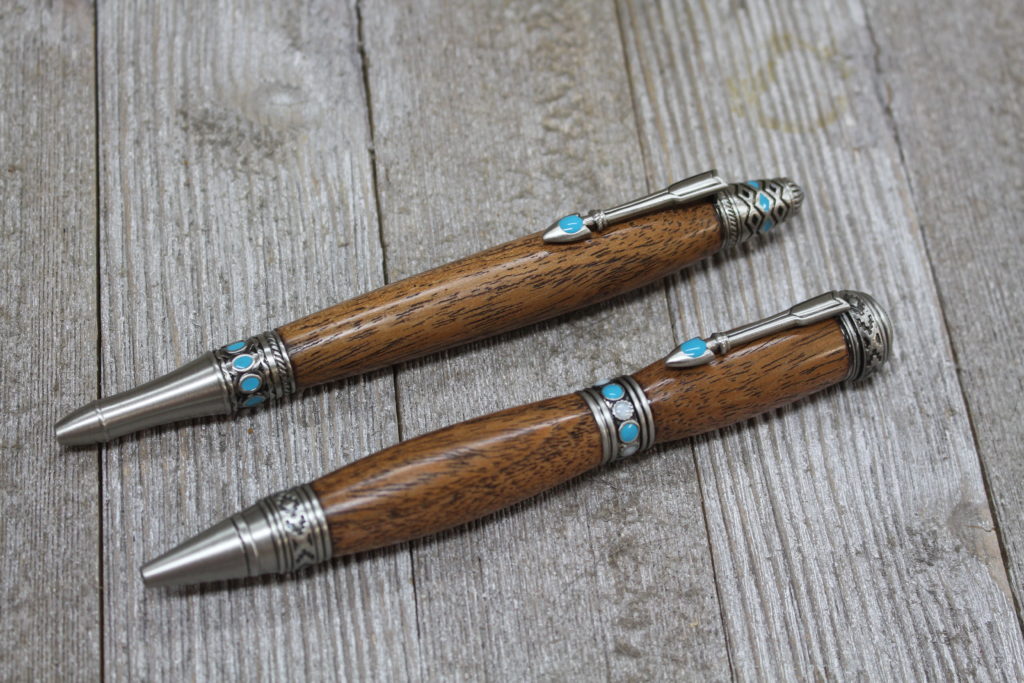
Finished pens. Top pen is the Southwest Mesa and bottom pen is the standard Southwest Pen Kit.
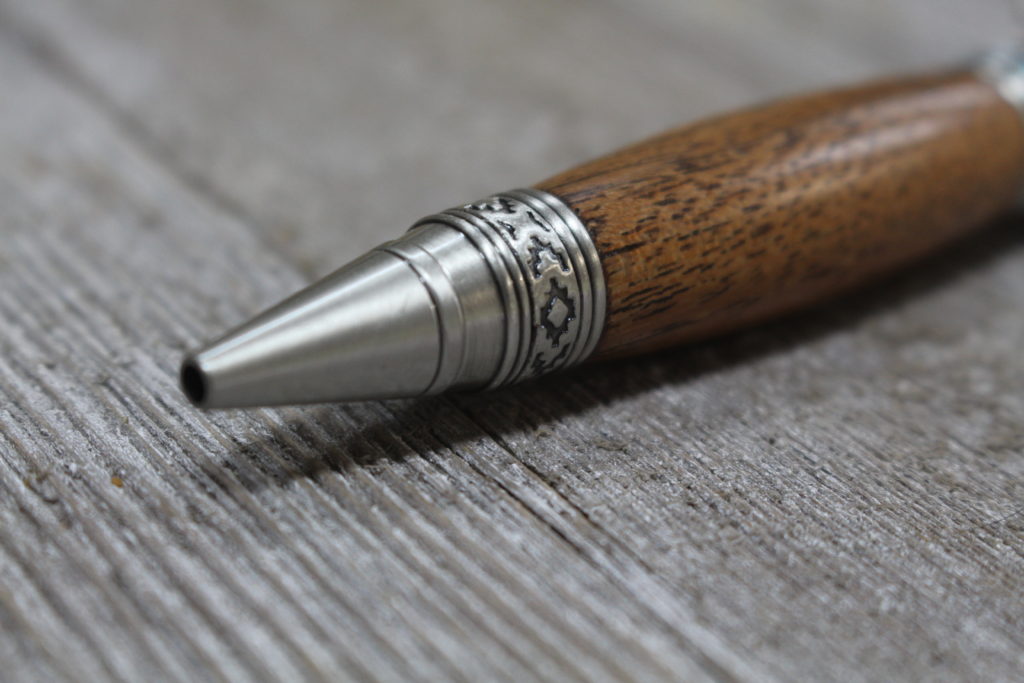
Closeup of pen tip.
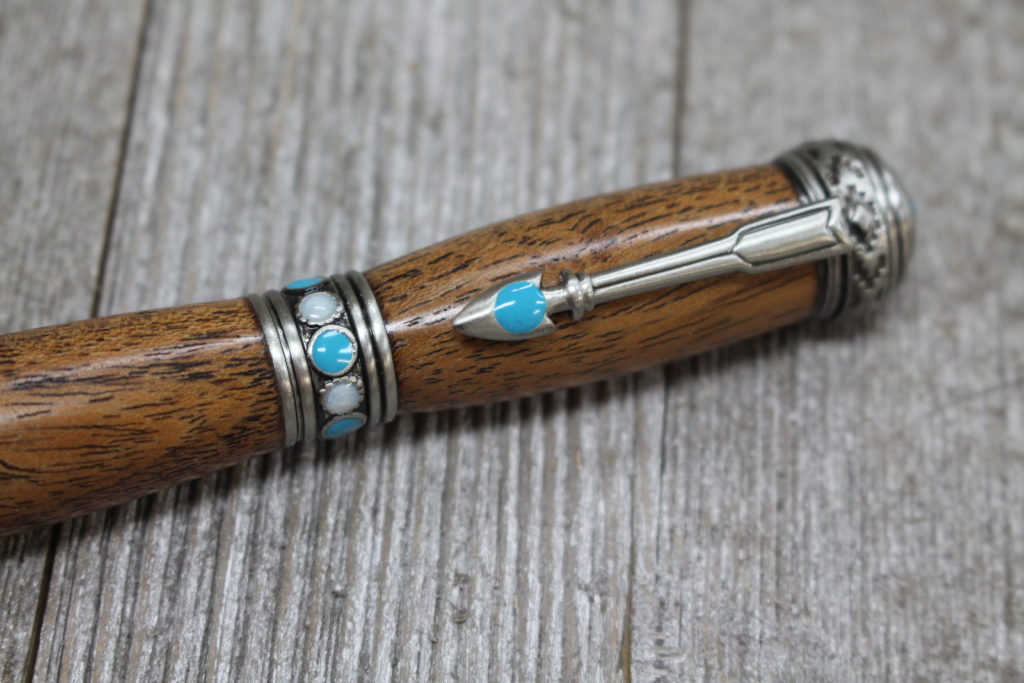
Closeup of Center Band and arrow clip. Love the white and turquoise beads.
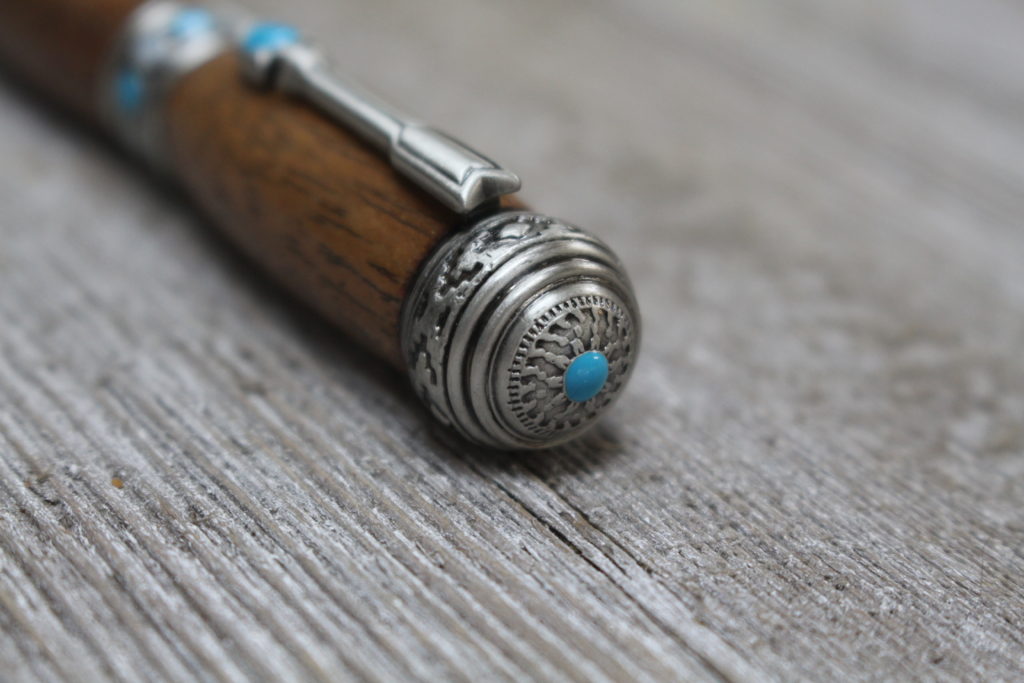
The cap has a Desert Mesa Flower design.
Hope you enjoyed this tutorial (How to Make a Southwest Twist Pen) and please checkout the YouTube video. If you like this tutorial, please consider subscribing. Thanks!

Are you starting up a new shop? Want to work safer in your shop? To help you answer these questions I've put together a 2-part checklist -- Home Shop Safety & Tool Checklist.
I will also send you updates of my latest woodworking and DIY projects. You can get all this by subscribing to my free email newsletter.
