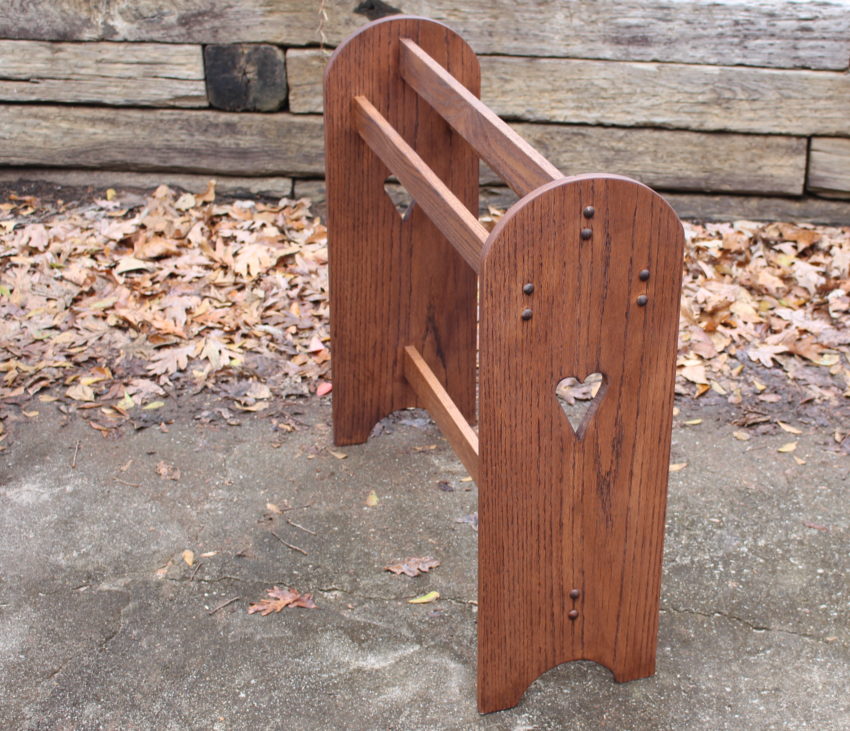
In this tutorial, I’ll show you step-by-step how to make a standing quilt rack. This is a classic woodworking project, and it only requires a few tools. Easily done in one day. And you don’t need to know any fancy woodworking techniques.
Making quilts is an entire hobby in itself, and I still have quilts that my grandmother made years ago. So you want to be careful here and not create a quilt rack that will compete with the beauty of your homemade quilts. The quilt rack stand in this tutorial will look nice and complement any quilt that you hang on it.
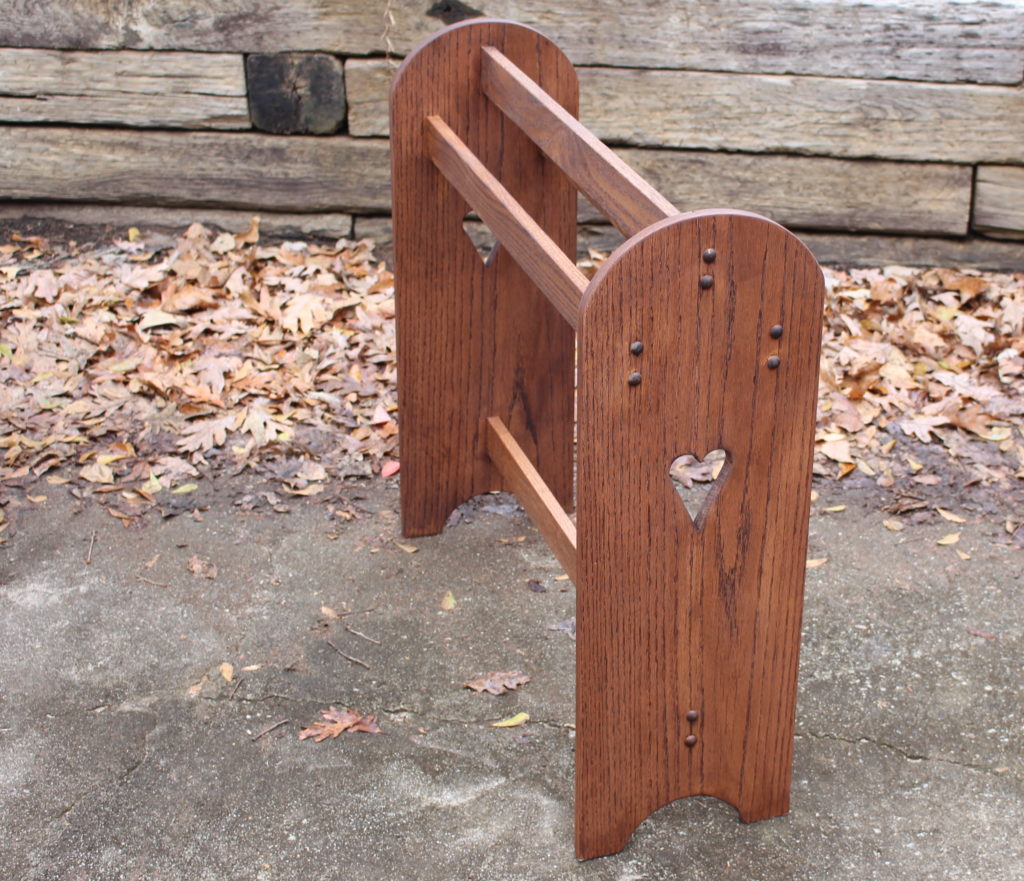
I also added a heart design on both sides. This might make a great Valentine’s Day gift or Mother’s Day gift. The quilt stand I made for this tutorial was given to my mom this past Christmas. She loved it!
I hope you enjoy the tutorial. Please leave a comment and subscribe to my free monthly newsletter.
Tools, Materials, and Supplies Needed (affiliate links included):
- Wood of choice (recommend at least 3/4 inch thick)
- Tape measure & pencil
- Hand drill
- Jig Saw
- Drill bits
- 1/2 inch Forstner bit (for buttons)
- 1.5 inch Forstner bit (for heart)
- Wooden buttons
- #8 1.25 inch wood screws (need 16 at least)
- Orbital sander or regular sandpaper sheets (120 & 220 grit)
- Stain & finish of choice
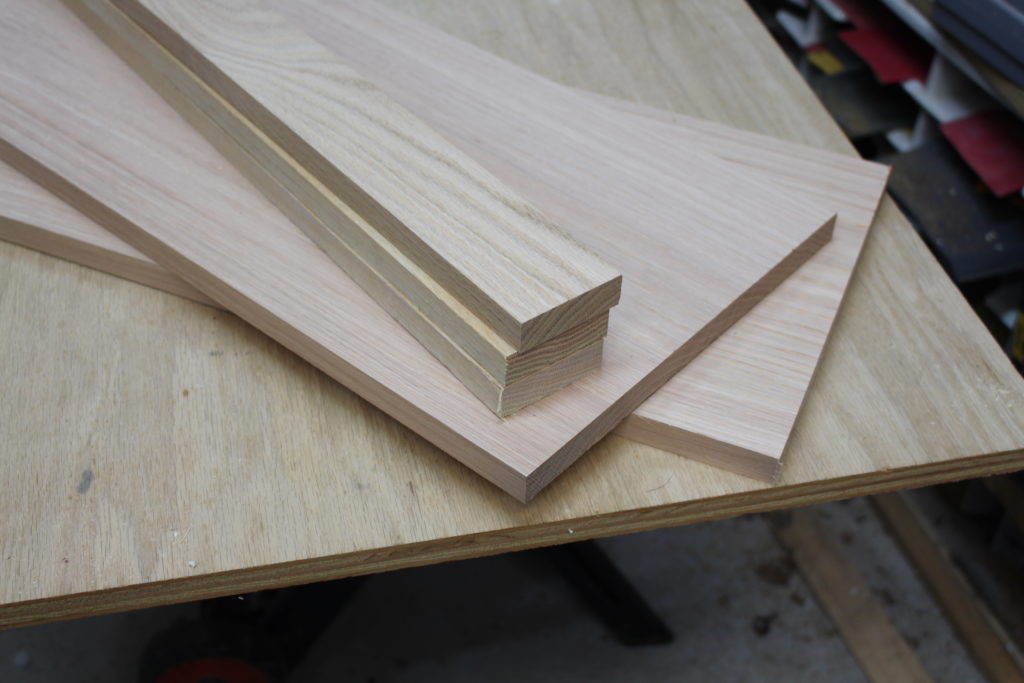
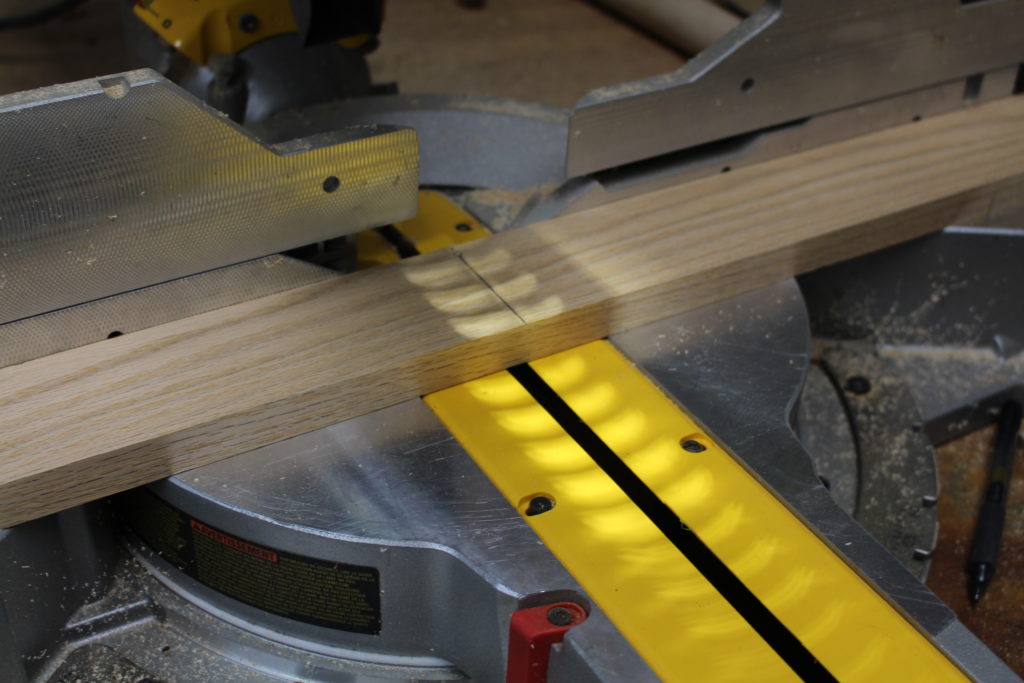
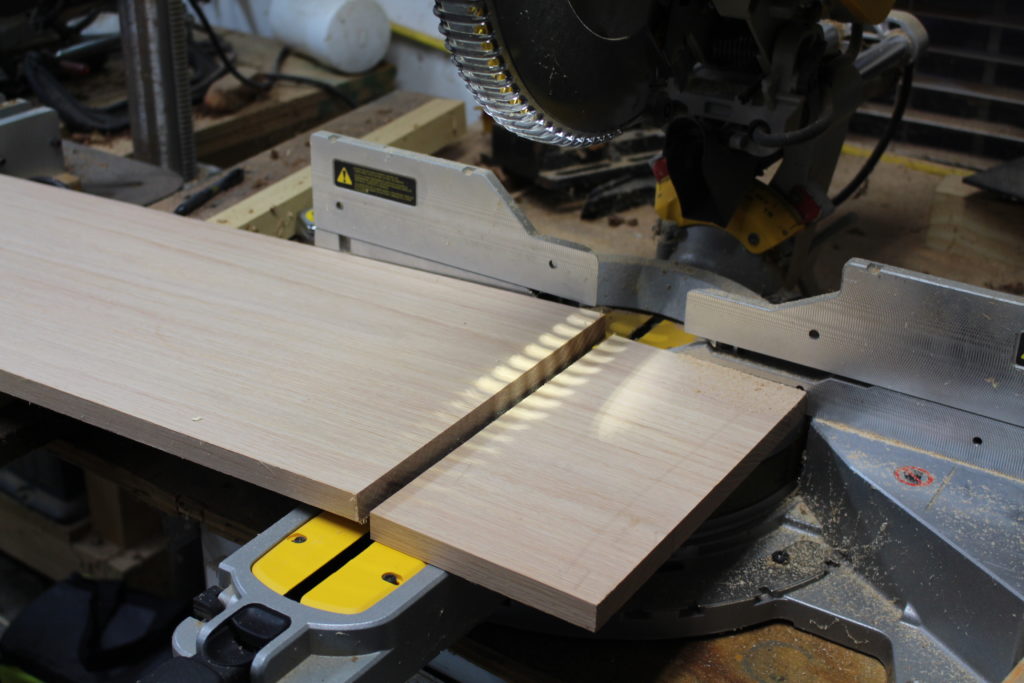
Step 1 — Select Boards and Cut to Length.
I used oak boards, but you can easily get by with poplar or pine. All three are available at your local home improvement center.
Use a saw to cut the boards to length. I used a miter saw for more precision. But you can also use a circular saw or jigsaw. For these cuts, I’d recommend at least a circular saw if you have one.
Check out my FREE plans to see my measurements for this project.
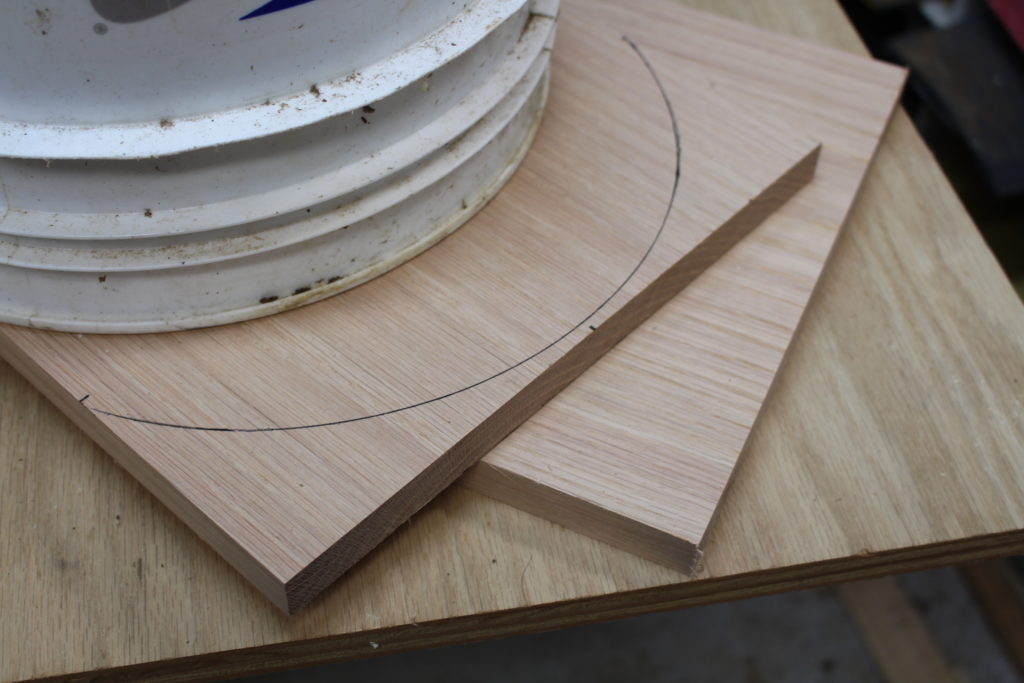
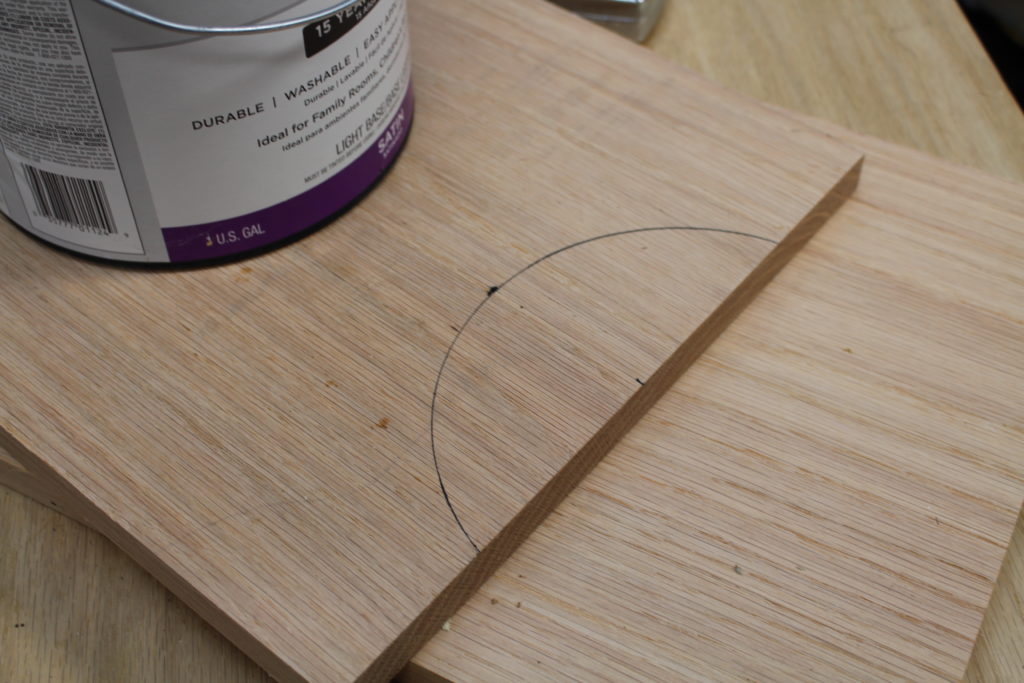
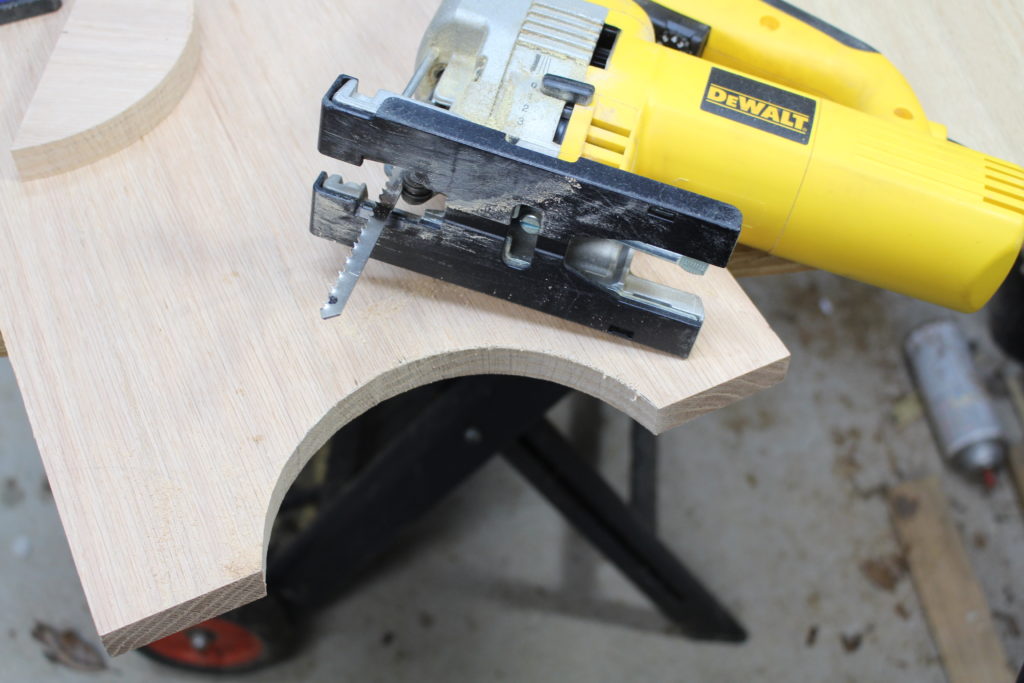
Step 2 – Mark and Cut Out Curves
I kept my design fairly simple. I grabbed a 5 gallon bucket and a small paint can and used them to layout my curves. (Get creative here and create your own design if you wish.)
Then I used a jigsaw to cut the curves. If you have a bandsaw, that will work fine too.
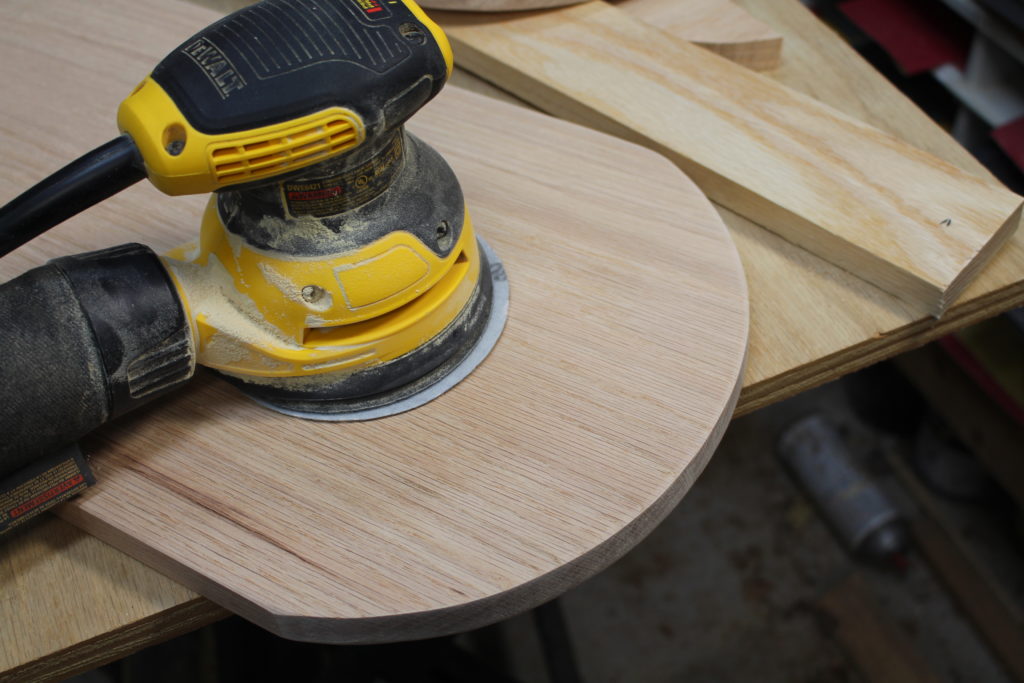
Step 3 – Sand the Boards
I used my orbital sander to sand the boards. Sand the surfaces and the edges to make sure everything is smooth. Start with 120 grit sandpaper and go up to 220 grit.
If you don’t have a power sander, you can just sand by hand with sheets of sandpaper.
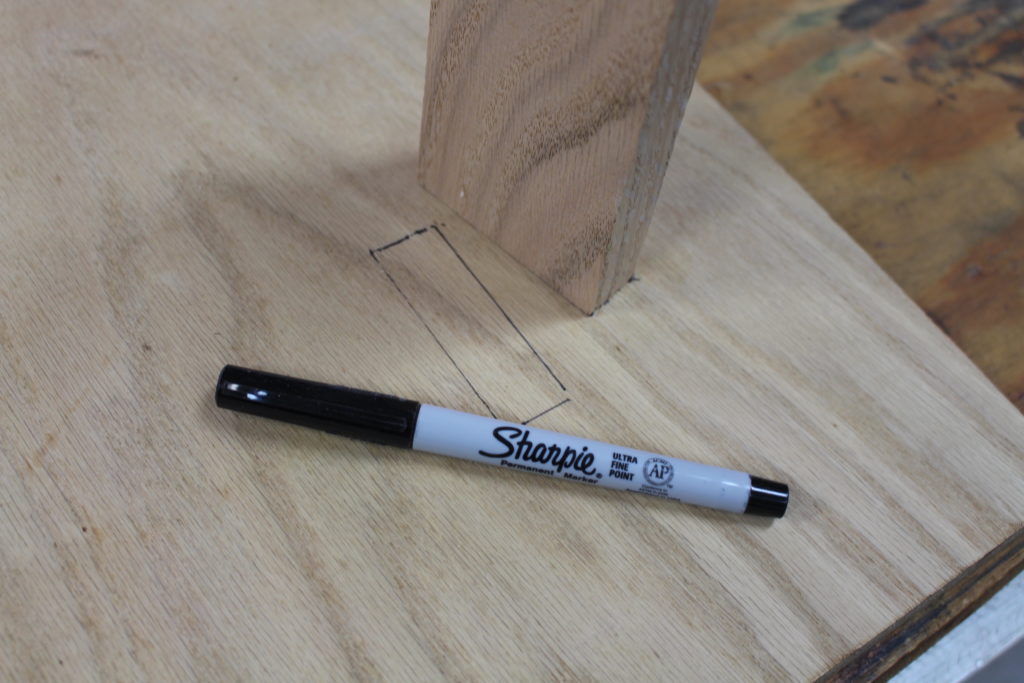
Step 4 – Layout Holes for the Cross Pieces and Drill Pilot Holes
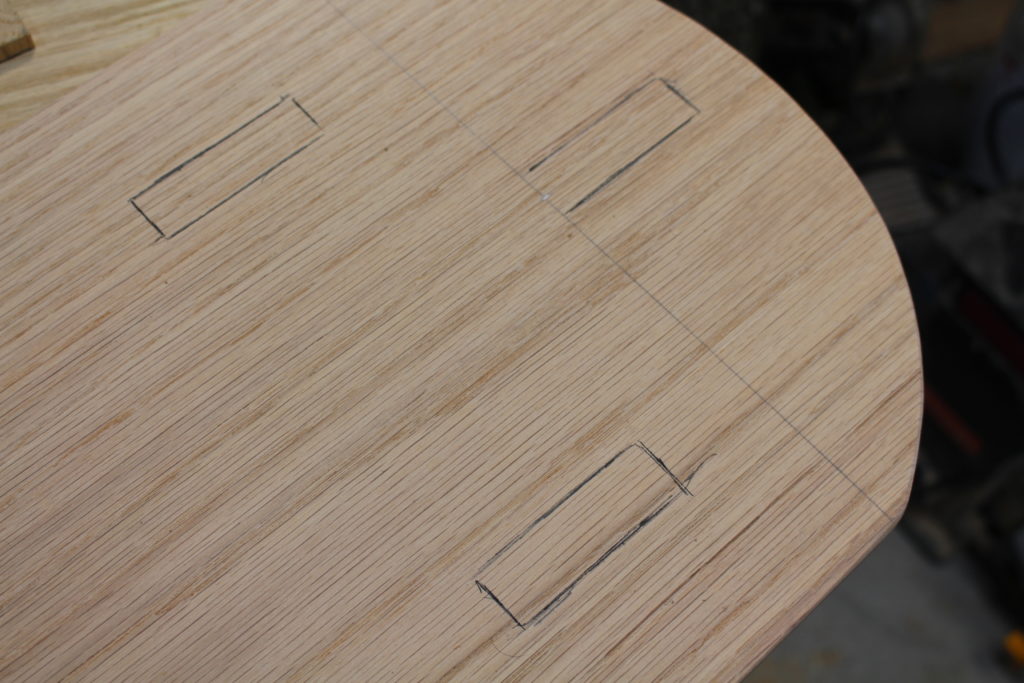
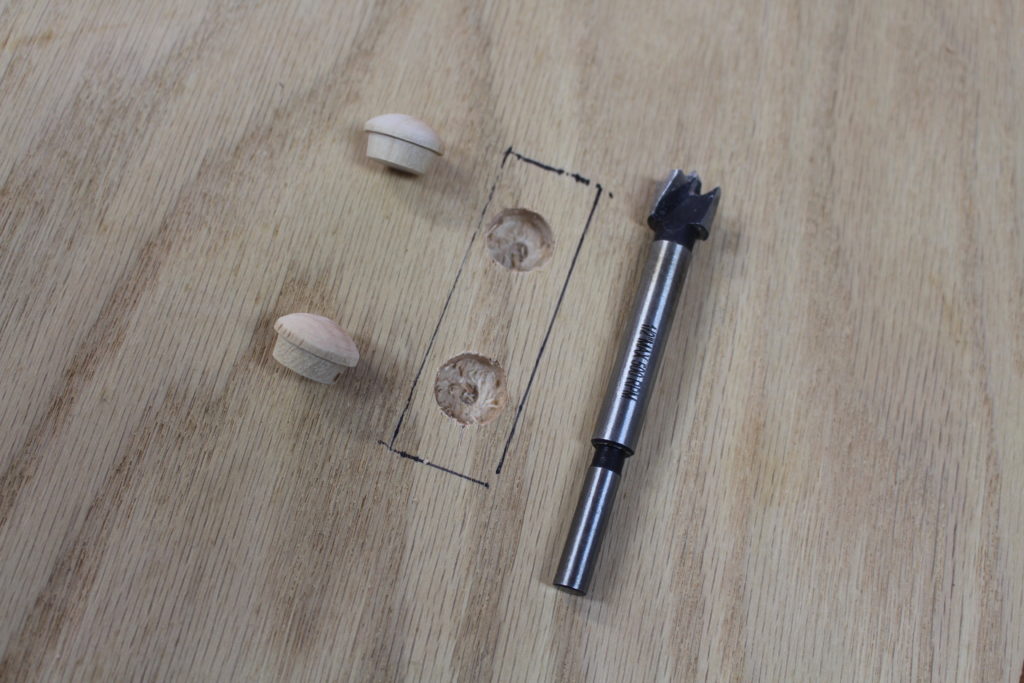
Follow my plans and layout the holes for the quilt rack cross-piece boards. I also counter sunk the holes so I can come back in a later step and attach a wooden button to hide the screw head.
I used a small 1/2 inch Forstner bit to drill the countersink. Make sure the wooden buttons you have match the diameter of the bit. Practice on scrap boards first to test for proper fit. You can get these wooden buttons at your local home improvement store.
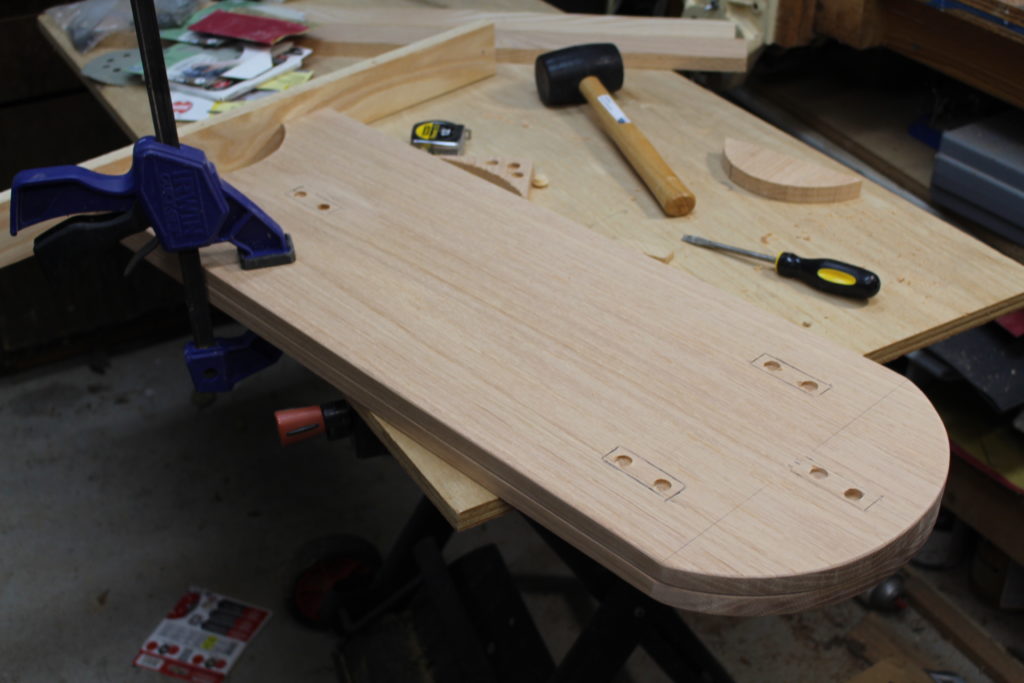
Make sure the holes are a mirror image on each side of the quilt rack. Notice in the 4th photo down how I butted a board against the bottom of both boards while they were sandwiched together. I made sure both boards were in perfect alignment. This will help to keep the quilt stand level and hopefully prevent it from rocking later on.
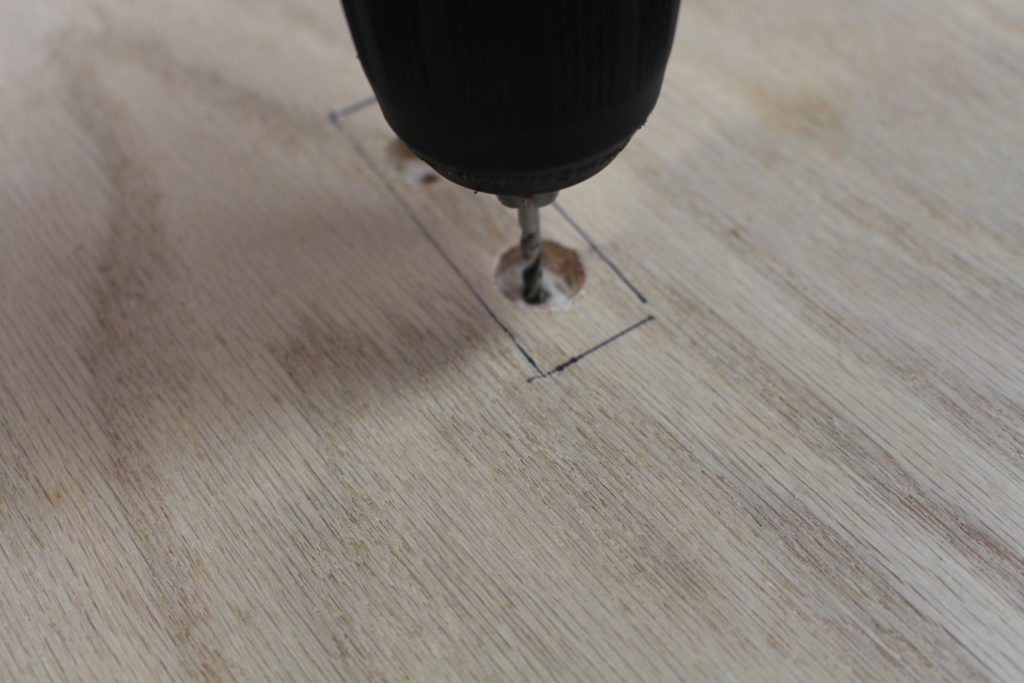
I used a 1/8 inch drill bit to drill my pilot holes through both boards while they were aligned together. If you use a different size screw than I did, read on your screw container the recommended pilot hole size.
Step 5 – Add the Heart Design
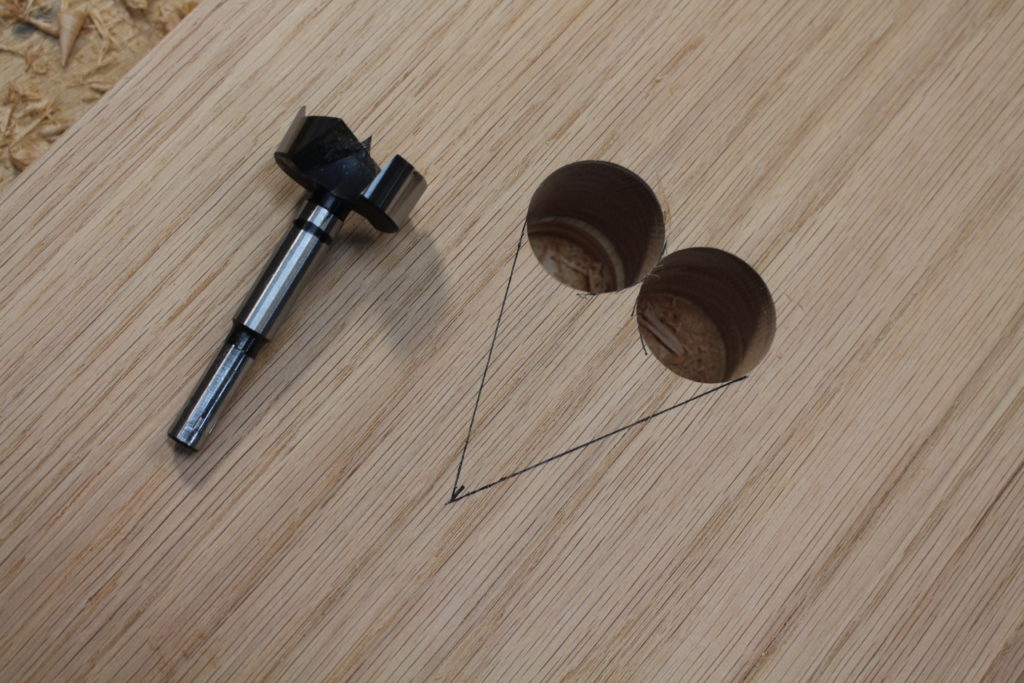
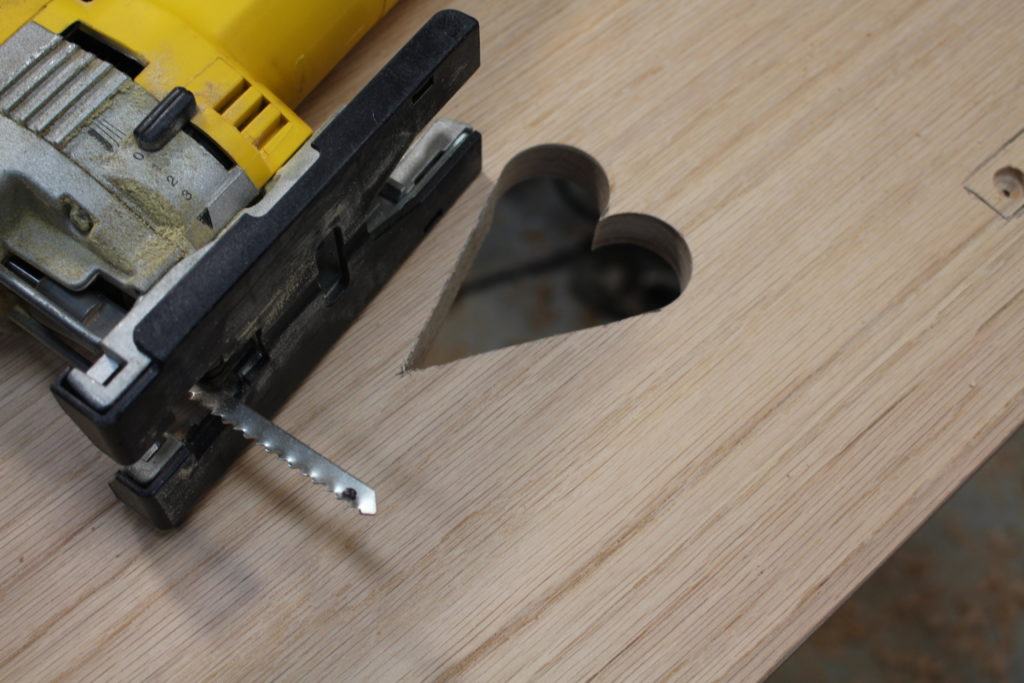
For this step, I used a 1.5 inch Forstner bit and a jigsaw. I drilled 2 holes to form the top half of the heart and used the jigsaw to cut out the bottom half. Again, you want this to be a mirror image for both sides.
Once I cut out the first heart, I simply used that and traced it to the other board.
Take some sandpaper and sand over the inside cuts you just made for the hearts.
Step 6 – Attach the Cross Pieces
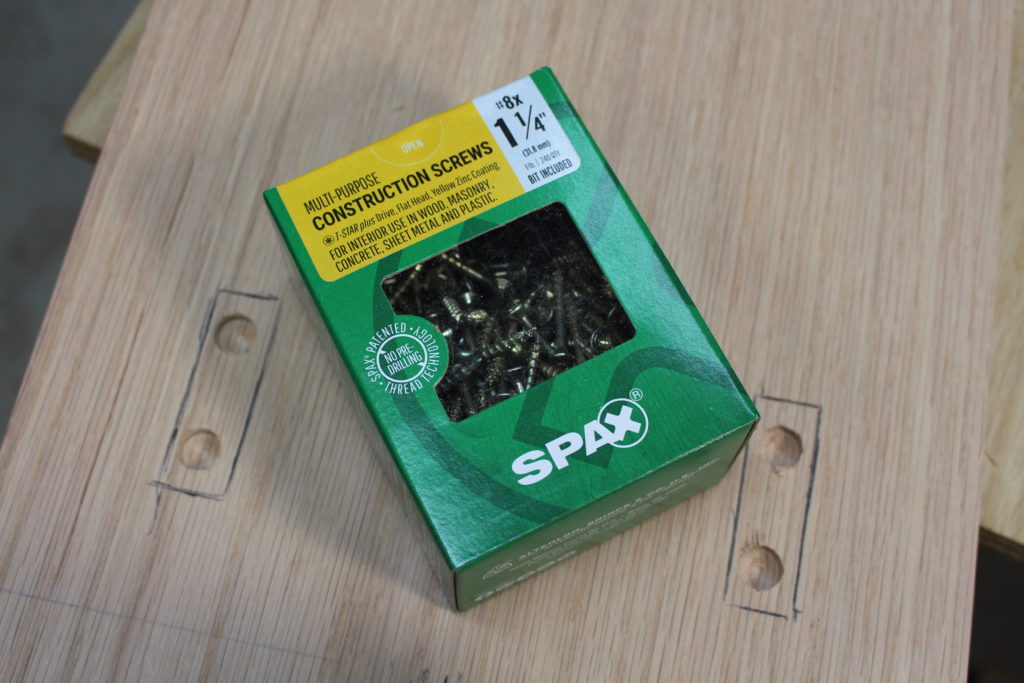
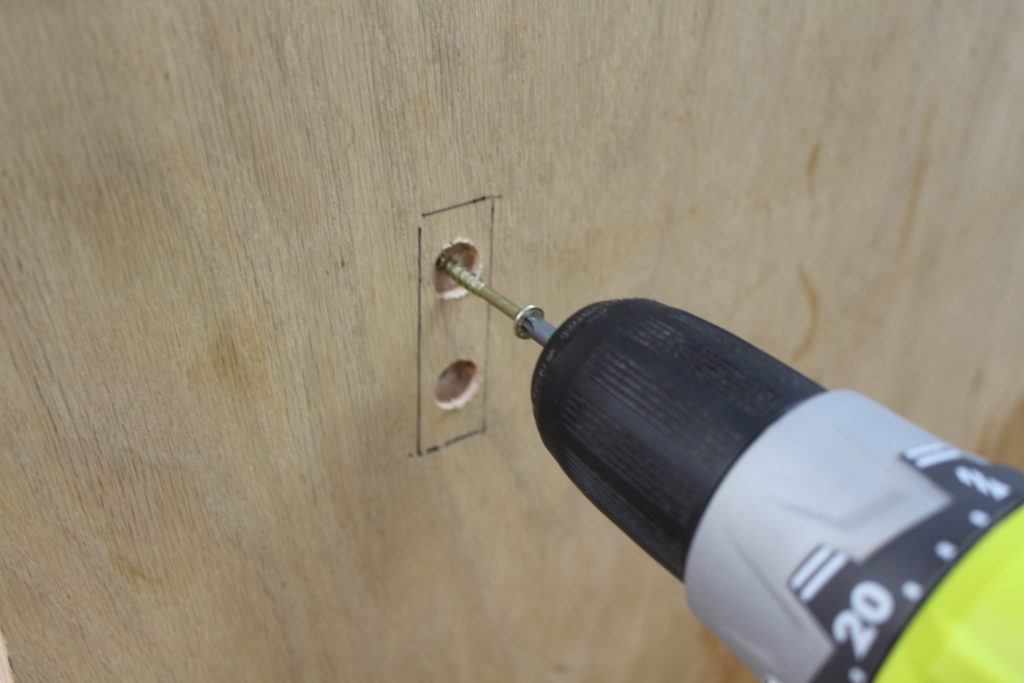
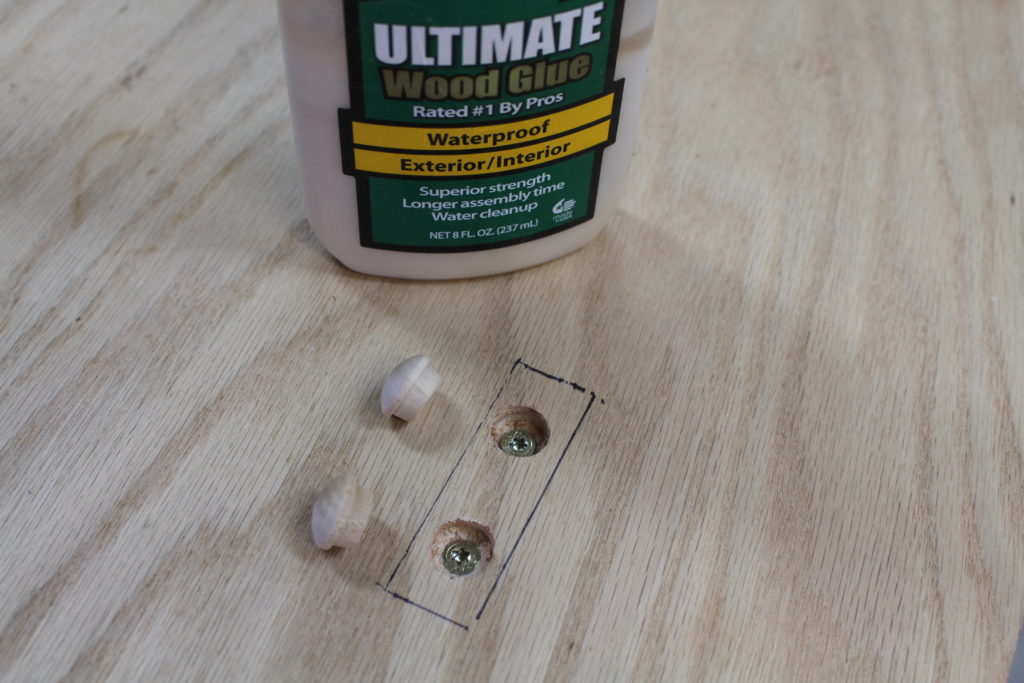
I used #8 1.25 inch wood screws to attach the cross pieces. A second set of hands would help in this step. It can be a little tricky to do this step by yourself, but it’s doable. In the photos you’ll see a hole for the buttons, but I also drilled pilot holes for the #8 wood screws.
I installed 3 cross pieces for holding the quilts. The bottom cross piece is there for support. You want your quilt rack to be level and sturdy.
You can used wood glue here if you want, but I didn’t.
Step 7 – Glue in the Wooden Buttons
Make sure your button fits okay in the countersunk hole. I recommend trying this on a scrap board first. You want it to be a pretty close fit — not too loose or too tight. Also, try to make sure the grain direction of the button lines up with the grain direction of the quilt rack board.
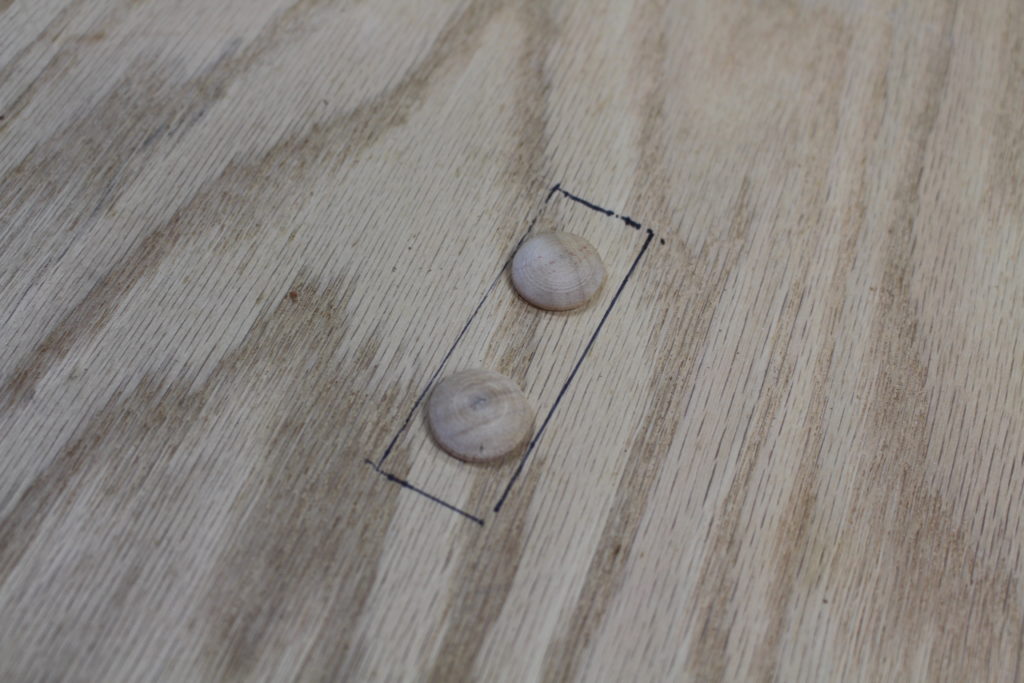
Use a dab of regular wood glue and tap button in with a rubber mallet. Wipe off any excess glue that might get pushed out.
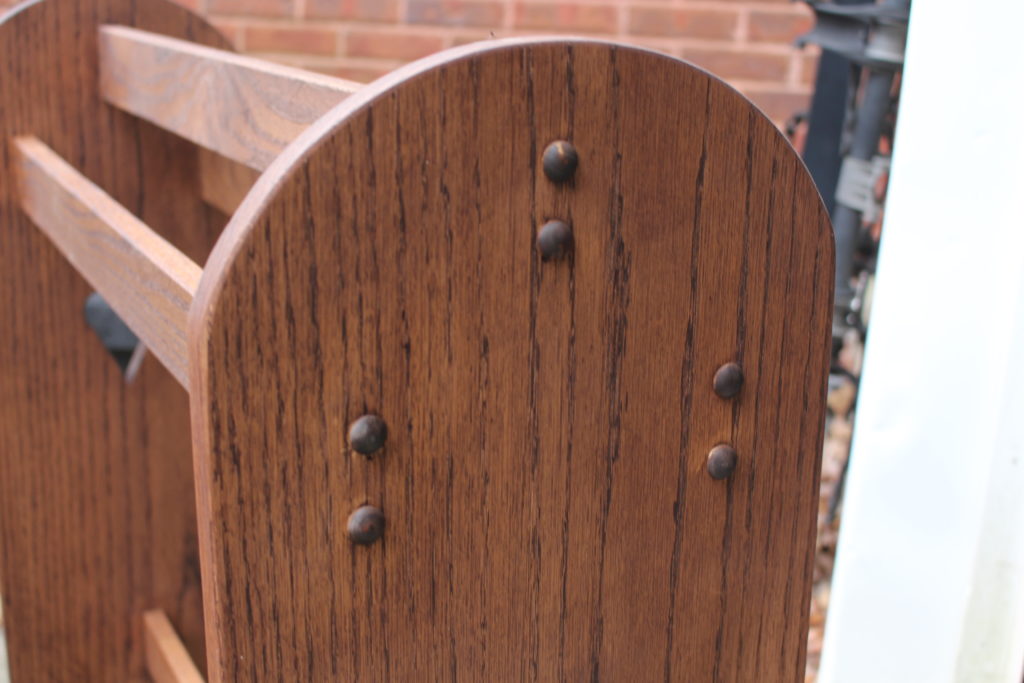
The wooden button gives the quilt rack a nice finished look and hides the screws.
Step 8 – Finish the Quilt Rack
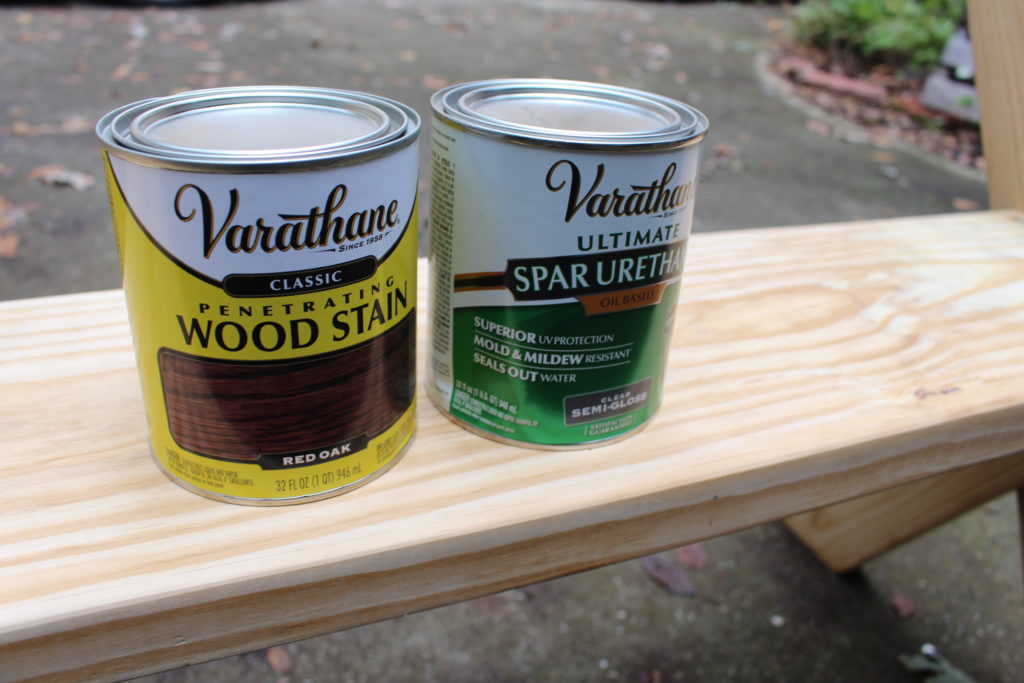
I used a wood stain (left can in photo) and followed the instructions on the can. Apply a liberal coat and then wipe it off. Allow 24 hours to dry. Although the photo shows spar urethane to the right, I didn’t used it for this project since the quilt stand will be indoors.
Instead of the urethane, I sprayed an acrylic finish over the top of the stain. Three coats should be fine, and I didn’t sand between coats.
Conclusion
I hope you were able to learn how to make a standing quilt rack. If you have any questions about this project, you can send me an email via my contact form or leave your question in the comment field.
Until next time, happy woodworking!

Are you starting up a new shop? Want to work safer in your shop? To help you answer these questions I've put together a 2-part checklist -- Home Shop Safety & Tool Checklist.
I will also send you updates of my latest woodworking and DIY projects. You can get all this by subscribing to my free email newsletter.
