If you want to learn how to make a wooden coffee scoop, please follow along, and I will give you the full scoop. Okay, forget my attempt at comedy, but no joke — I’m about to show you how to make a simple, yet elegant coffee scoop. So grab that second cup of coffee and let’s do this thing together.
The tools and supplies you will need are minimal(For you convenience, I’ve included a few affiliate links):
- Hand drill
or Drill Press
(drill press preferred)
- Belt sander and/or drum sander (attaches to drill press)
- Forstner Bit, 1-1/2-Inch
- Coping saw or Band Saw
(bandsaw preferred)
- Sandpaper (120, 220, & 400 grits)
- Food grade mineral oil
I would classify the skill level of this project as easy to moderate. It may be more difficult or time consuming if you don’t possess the power tools.
A quick word on SAFETY. Wear approved safety glasses and a dust mask throughout the duration of this project. Read about and know how to use your power tools properly. Watch the position of your fingers with respect to power tool blades or catch points.
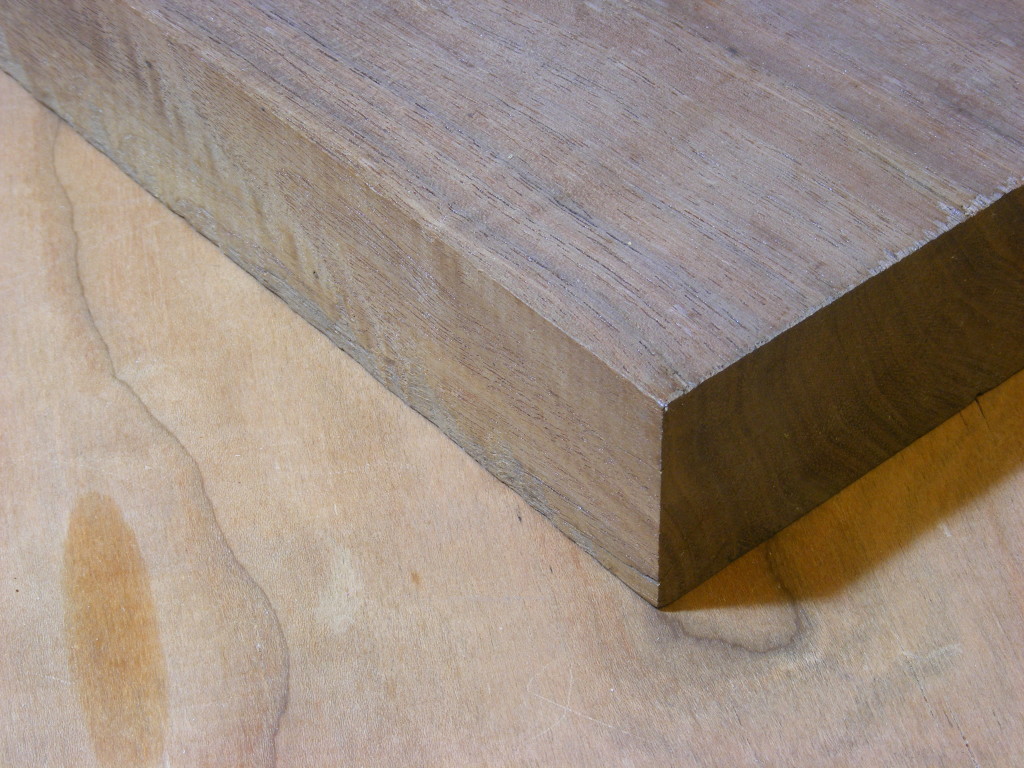
Step 1 – Choose your wood. I decided to use walnut which seems to be a popular choice for coffee scoops. I’ve also noticed other people using curly maple or cherry. Along with walnut, these are closed-grain hardwoods, similar to what you see people using in cutting boards. These woods seem to be more durable and perhaps less apt to absorb moisture. Make sure that your piece is thick enough and free of defects like major cracks.
You may have to purchase these kinds of woods from a woodworking store or a specialty craft store. The popular home improvement stores don’t usually carry these kinds of hardwoods. The only hardwood I’ve ever seen at Home Depot or Lowes is red oak. For a coffee scoop, red oak will probably work fine.
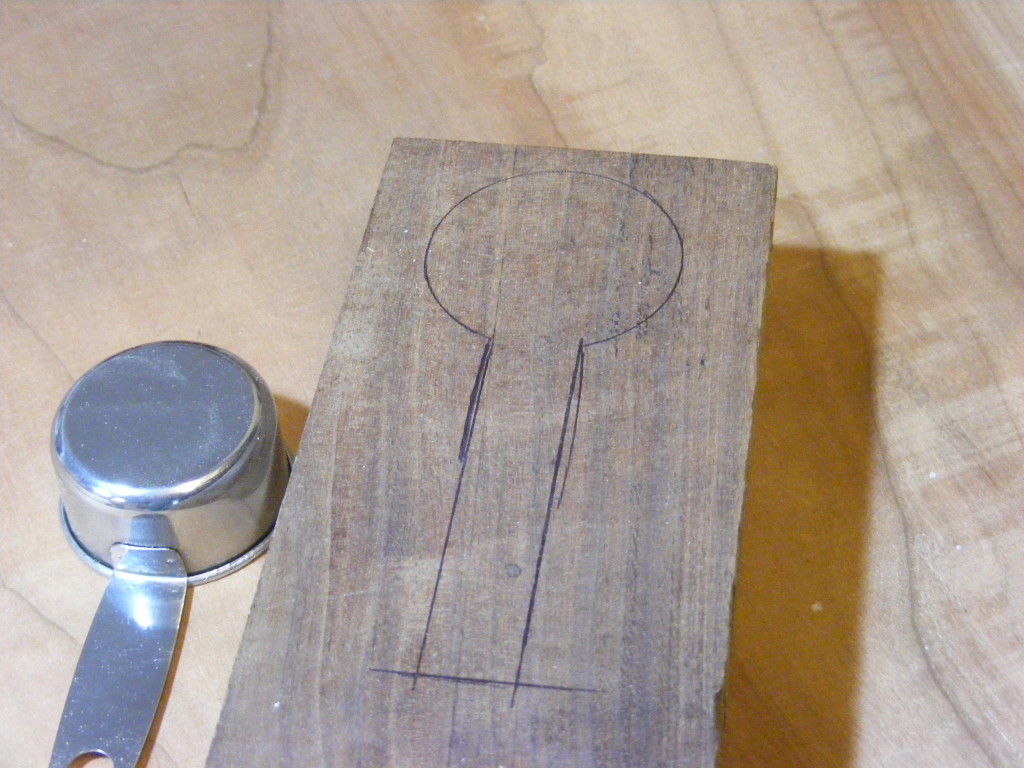
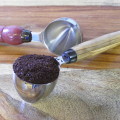
Step 2 – Trace out the design you want. I went with a very simple design. Sometimes simple is just fine. I used my wife’s metal coffee scoop as a guide and traced around it. But I made the handle a little longer than the metal one. Google wooden coffeen scoops and you’ll get a ton of design ideas.
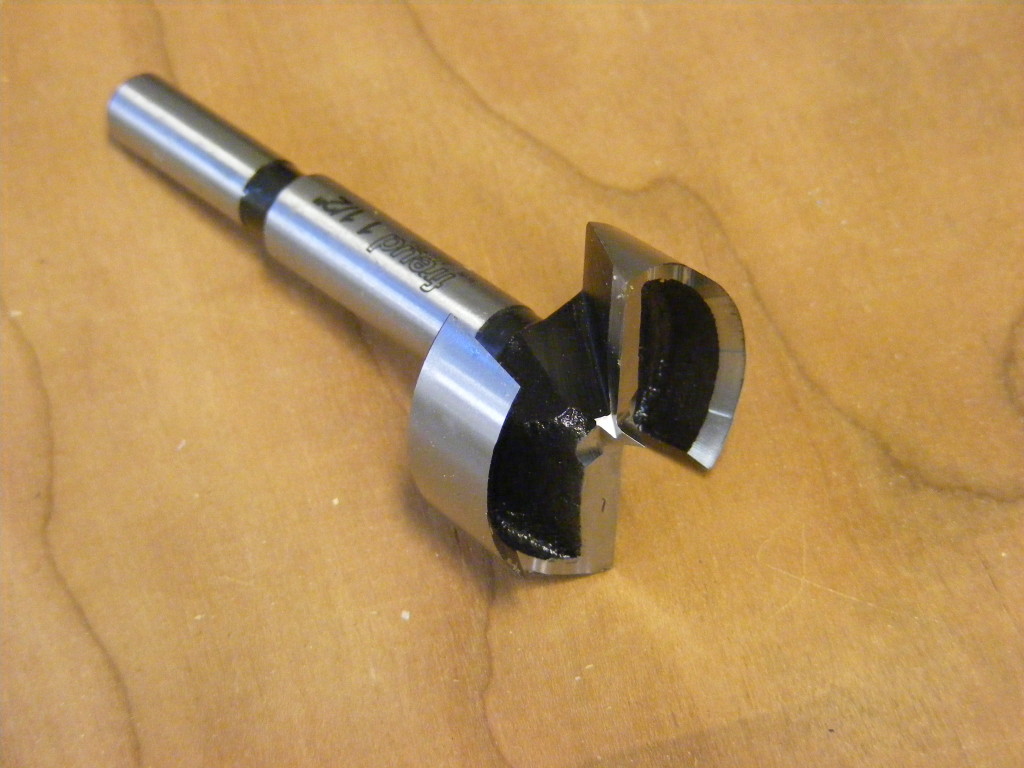
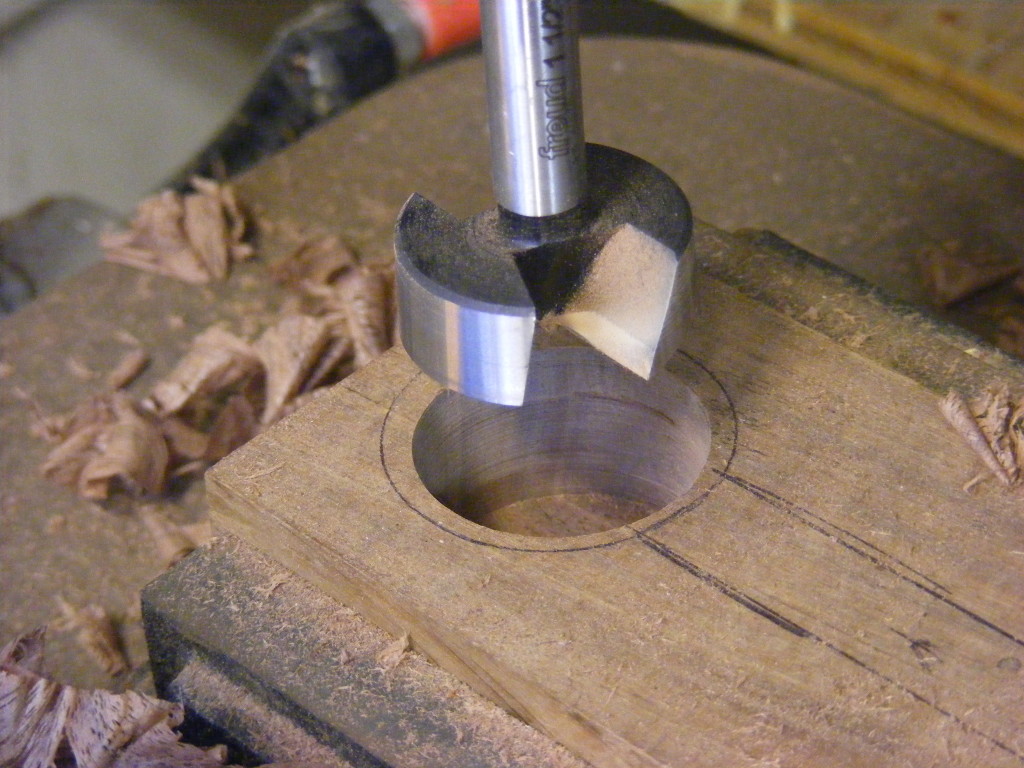
Step 3 – Drill the hole for the scoop. I used a 1.5 inch Fortsner drill bit. This type of bit leaves a very clean hole and using a drillpress will give added precision. Be carefull and make sure you have the wood piece secured in some type of vise before you drill.
I decided to make the volume of my walnut scoop close to the volume of the metal scoop which is 2 tablespoons. I simply poured 2 tbs of ground coffee from the metal scoop into the wooden hole until it leveled out. I had to experiment by gradually drilling the hole until it was deep enough to accept exactly 2 tablespoons.
The depth of my hole was exactly 1 inch and the side walls of the scoop section are 1/8 inch thick. The approximate dimensions of the handle: 2 inches long, 1/2 wide, 3/8 inch thick. Don’t worry about matching my dimensions exactly. You can use them as a guide.
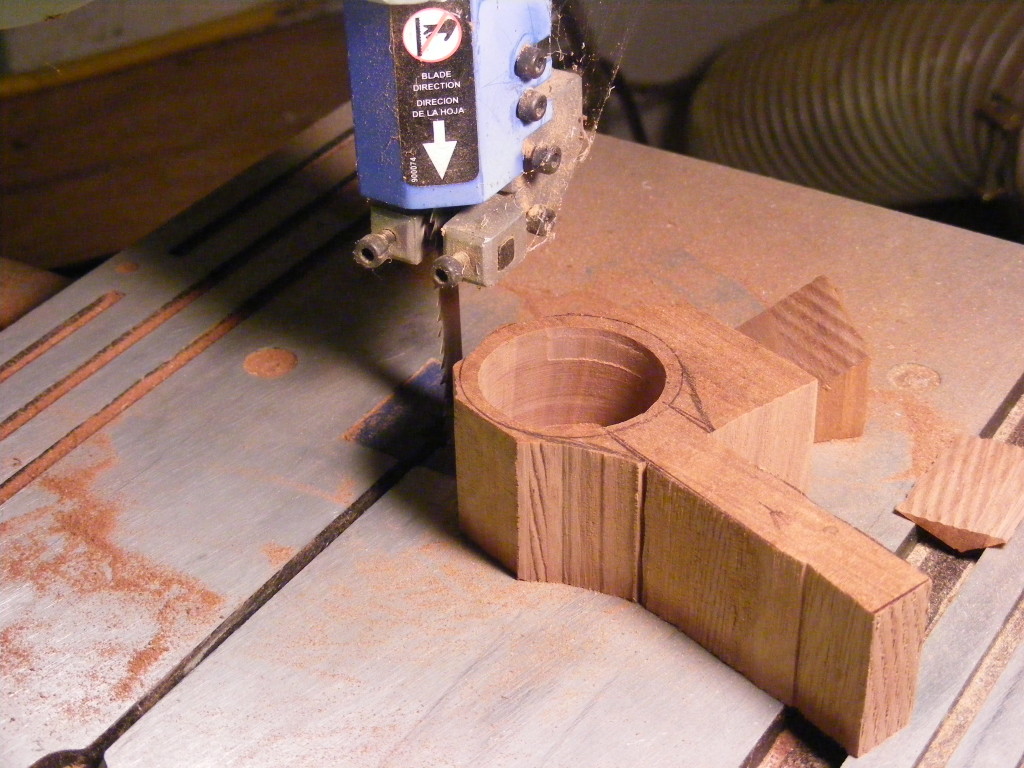
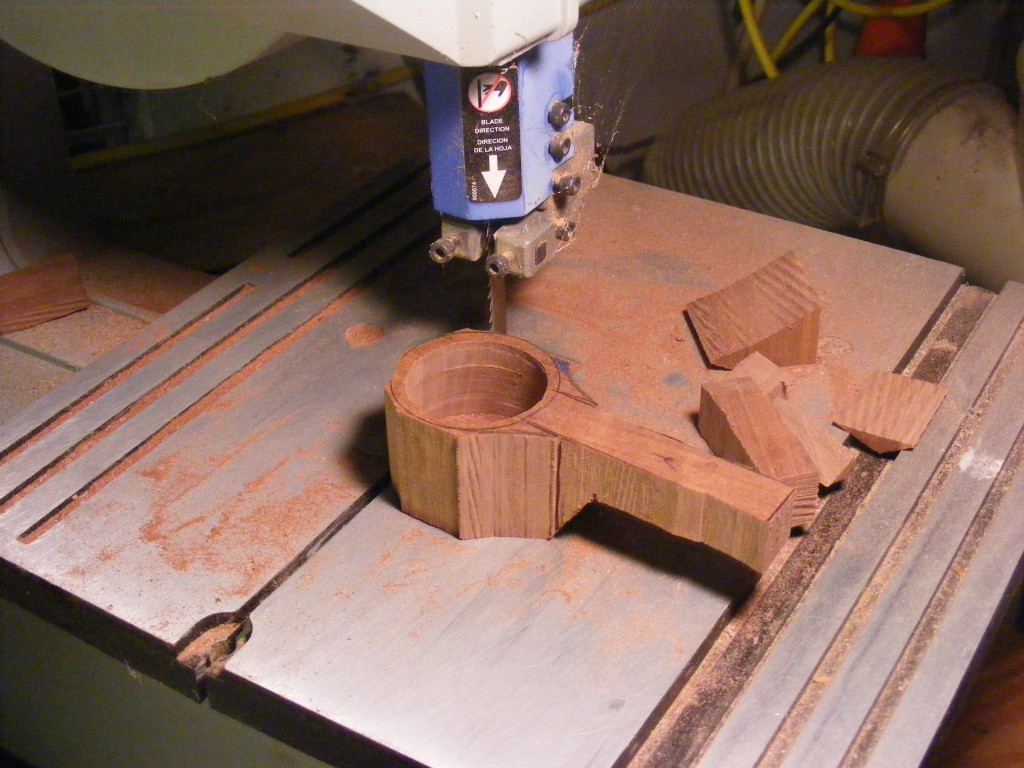
Step 4 – Cut out the coffee scoop. I used a bandsaw to carefully cut around my traced lines. Make sure you’ve read the operating instructions of your bandsaw and understand how to properly use it. Make gradual cuts and don’t try to make tight-curved cuts. Keep your cuts to the outside of the lines. Take your time and watch where you put your fingers. Keep sawing until you have a rough cut-out of the coffee scoop. Don’t have a bandsaw — I suppose you could use another type of handsaw like a coping saw, but this will be more time consuming.
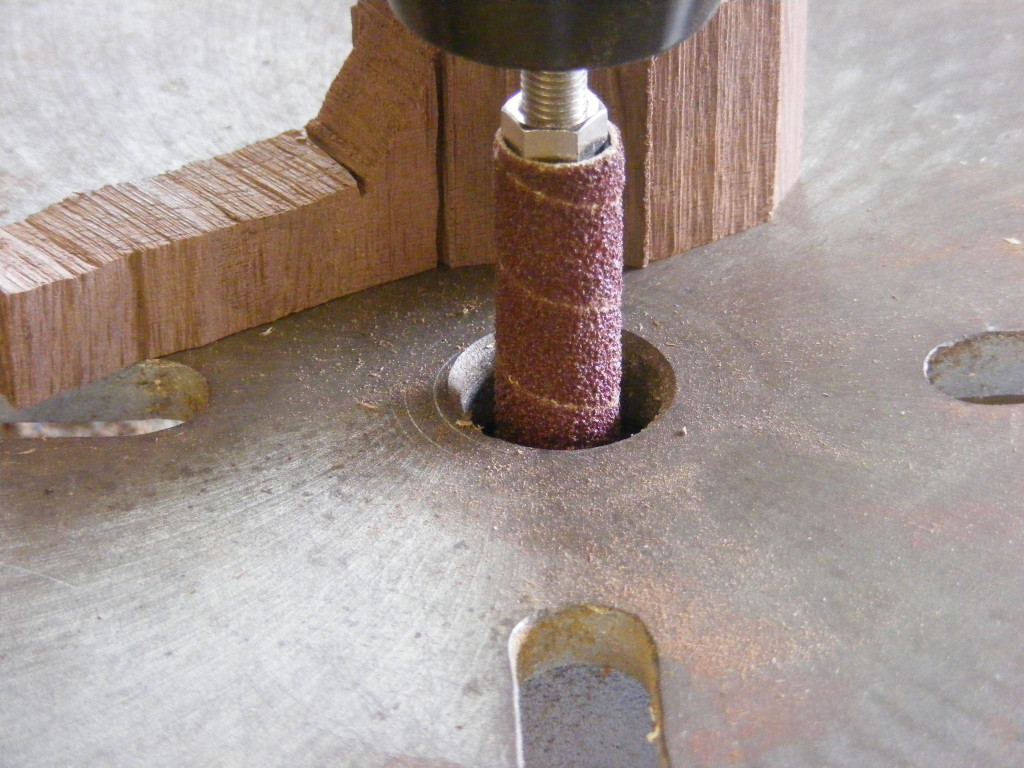
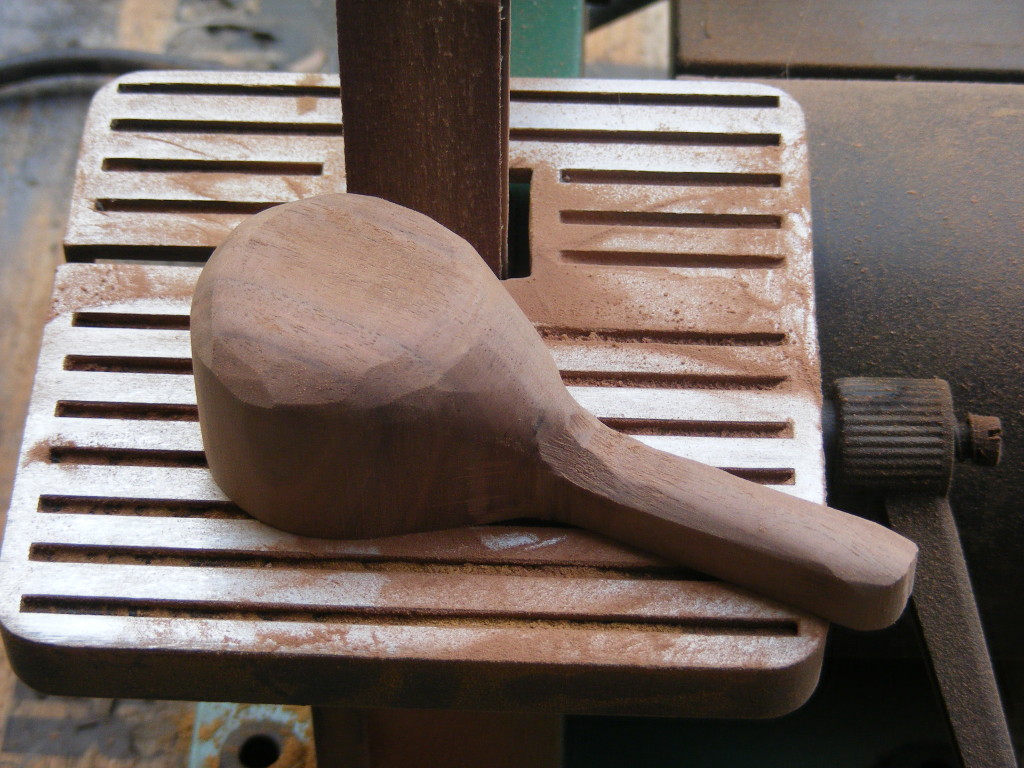
Step 5 – Begin sanding and shaping. I added a barrel sander attachment to my drill press and started to sand and shape the coffee scoop. Be careful not to allow the scoop to rest in one spot on the sanding drum very long. You might end up taking more wood off than you intended if you’re not careful. Keep moving it around and make sure you hold the piece securely with both hands the whole time.
To do a little more fine tuning, I took the coffee scoop over to my belt sander and did more shaping there. This shaping step will take several minutes, but it will help minimize the hand sanding. The belt sander I used with this project was only $50. You can find it at Harbor Freight.
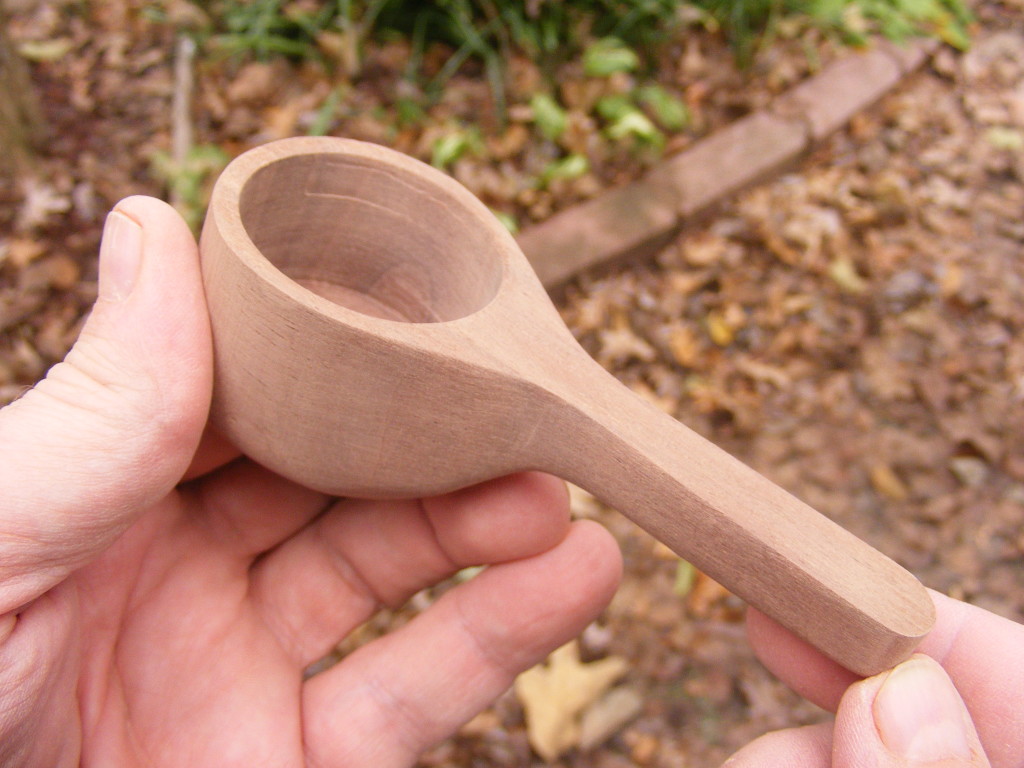
When you’re satisfied you have the shape you want, begin sanding it by hand. I started with 120 grit, then went to 220 grit and 400 grit. If you have a small orbital sander you might try using it. I also used something called Micro Mesh and went as high as 3200 grit.
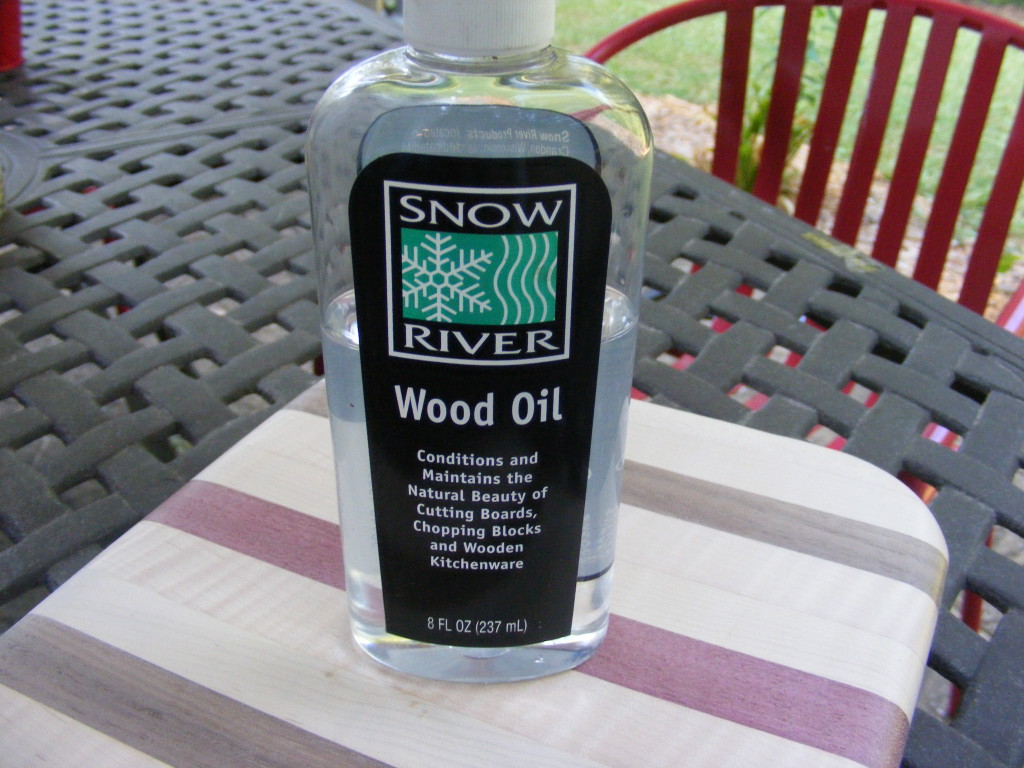
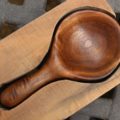
Step 6 – Finish the coffee scoop with food-grade mineral oil. Before I applied the mineral oil, I wiped the coffee scoop down with denatured alcohol (available from Home Depot). The alcohol dries quickly and helps remove leftover dust from sanding. Next, apply a thin coat of mineral oil and allow it to sit and penetrate for about 30 minutes. Then apply another thin coat. Wipe off any excess. The mineral oil will really bring out the beauty of the walnut. It also helps to preserve the wood. You can purchase food-grade mineral oil from places like Bed Bath and Beyond or Home Depot.
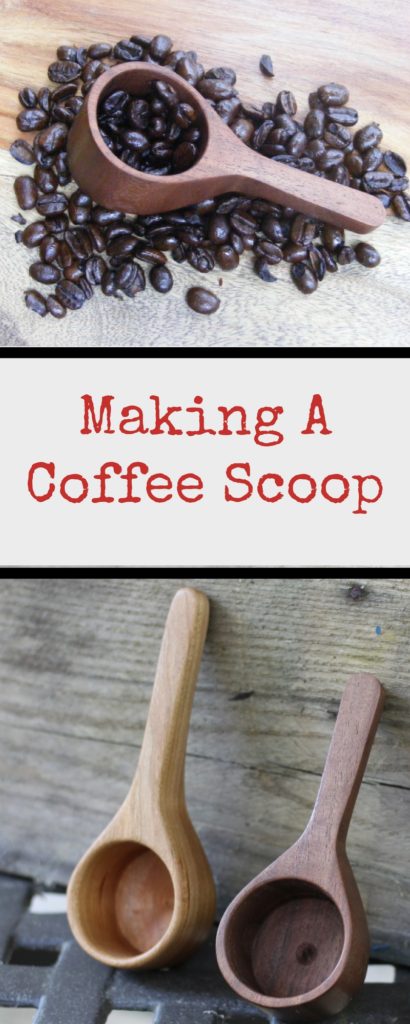
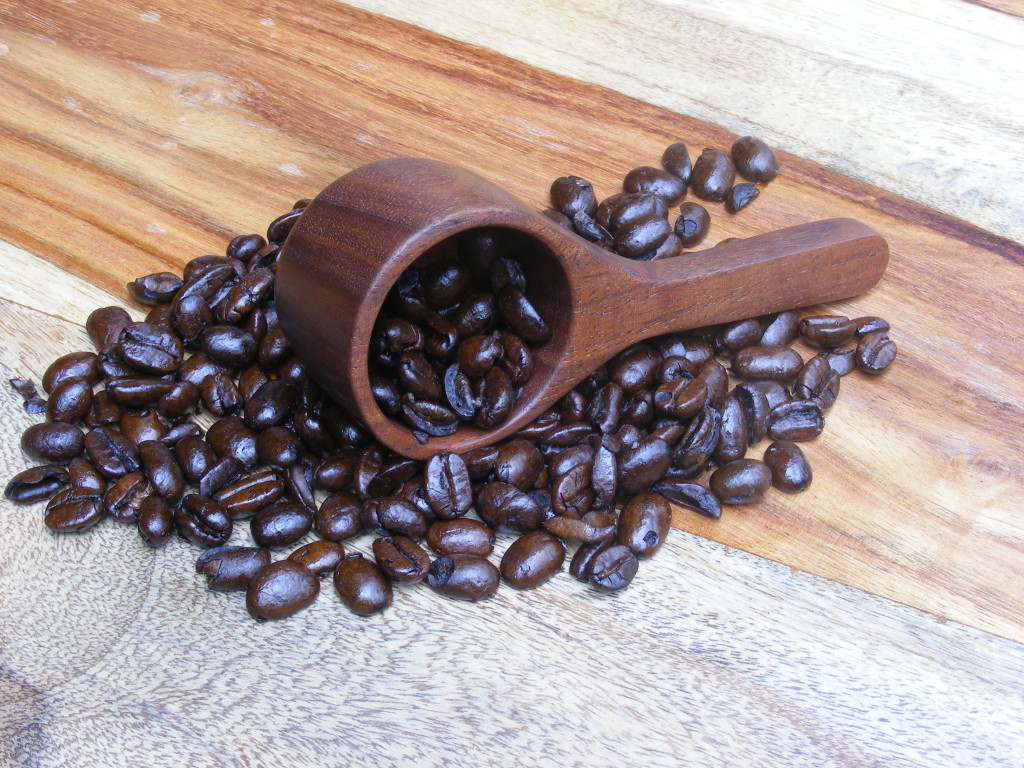
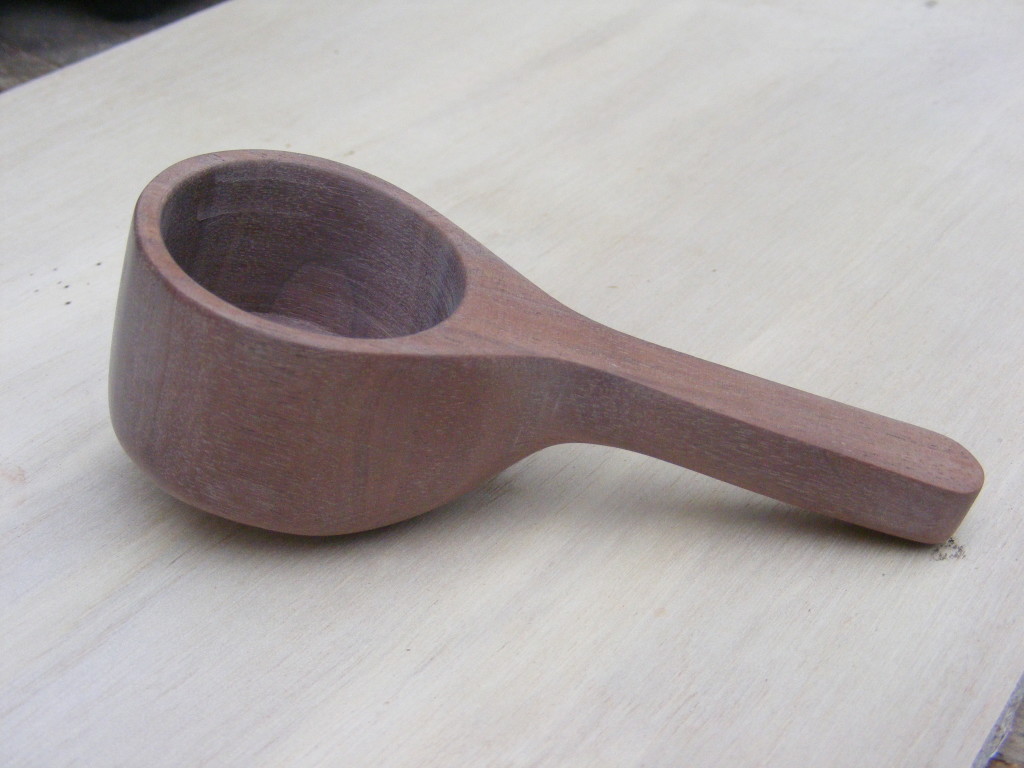
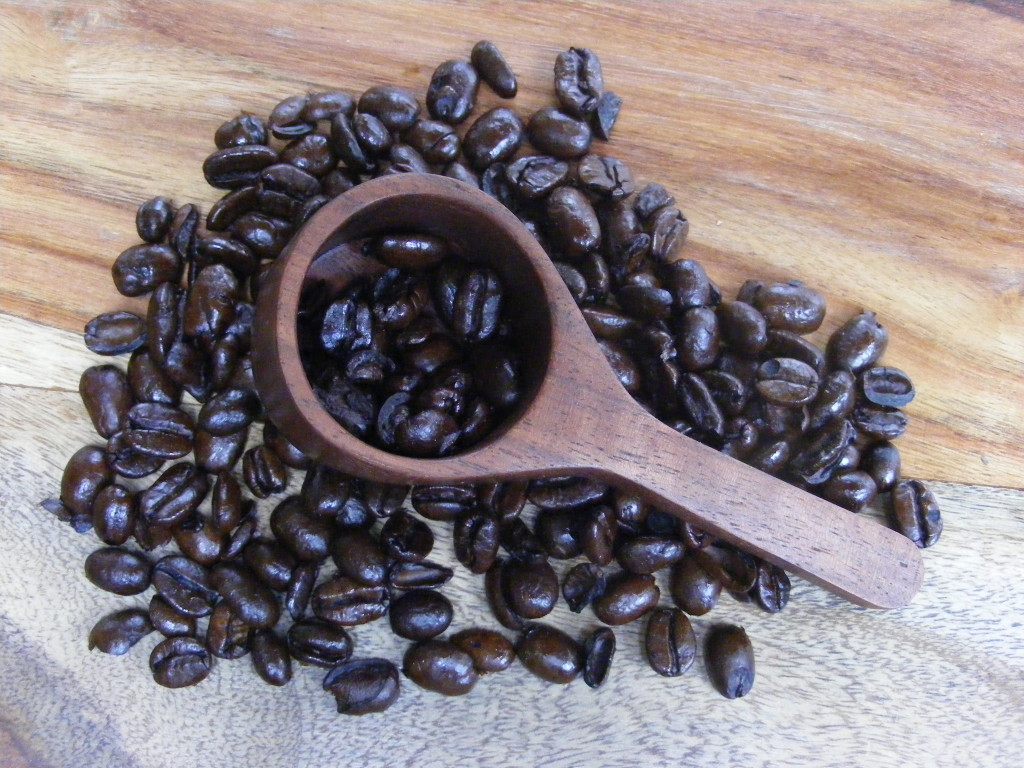
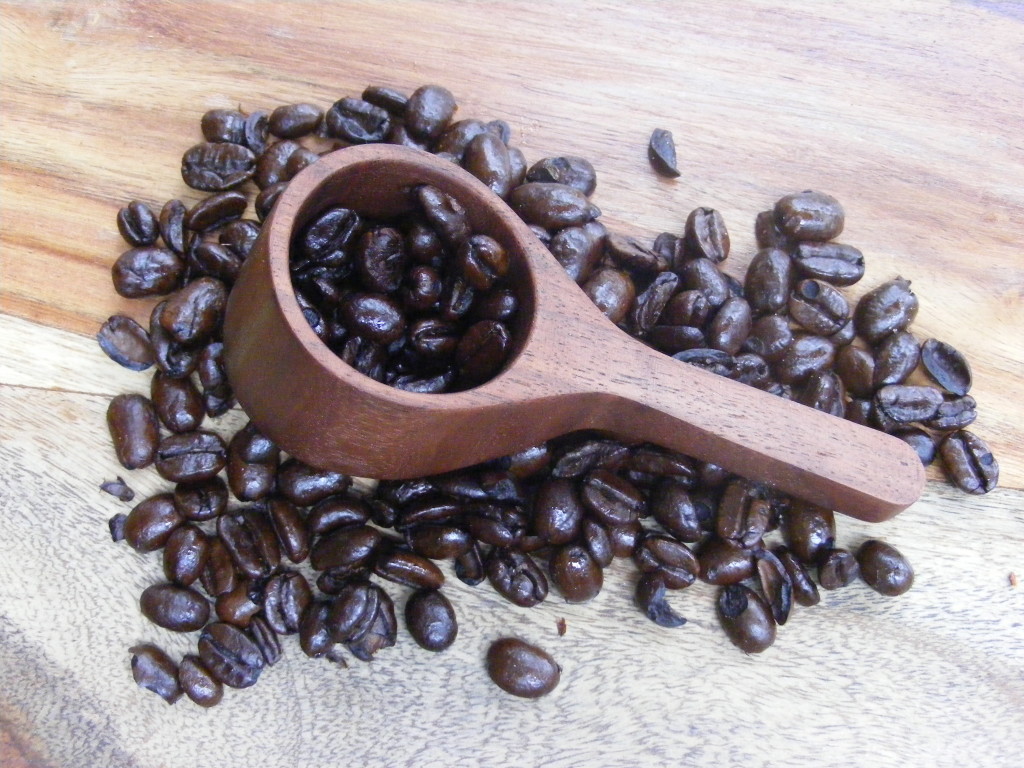
Okay, I hope you enjoyed learning about how to make a wooden coffee scoop in only 6 easy steps. (check out more views of the coffee scoop below) I love this kind of project because you have to use your imagination and your hands. You do a little bit of drilling, some cutting and a whole lot of sanding. But, again, it’s a fairly easy project to do.
I’m already thinking about making more as Christmas presents. I’ll probably use curly maple or cherry for my next two. And, I may try to create some by laminating these impressive woods. There are also variations of the coffee scoop that can be made, using the wood lathe.
Also, feel free to check out my YouTube Channel where I’ve also created a tutorial video on making a wooden coffee scoop.
If you enjoyed this tutorial, I hope you will subscribe so I can keep you updated with new tutorials I have coming out. You won’t want to miss them. It’s free to subscribe, and I promise not to spam you.
Feel free to comment on this tutorial. I’m always open to suggestions and ideas to make these projects easier and more effective.
Pin It!!

Are you starting up a new shop? Want to work safer in your shop? To help you answer these questions I've put together a 2-part checklist -- Home Shop Safety & Tool Checklist.
I will also send you updates of my latest woodworking and DIY projects. You can get all this by subscribing to my free email newsletter.




Do you make these to sell??? If so I would love to purchase some!
Right now I’m not making to sell. I may later on. But you might do a search on Etsy and you can probably find something similar.
I have carved Celtic spoons by hand. I subscibe to the Wood Carver’s magazine. I don’t have much time to carve and I do attend a carving group. I’d like to start carvng using a Dremel. I carve my Celtic spoons as wedding gifts. My daughter, Jenna, got hers about three years after her wedding! She and her husband like dogs, so I carved a paw on the back of the bowl of the spoon with a tail intertwined among the Celtic design. I love this pattern where the design looks like it crosses over. I’ve carved gnomes, egg faces, a duck’s head which I attached to a golf club, a shoe, a boot, and other items. I usually stop at the point where I have to add the paint or finish. Now, I’m working on a turtle. After I downsize most of my possessions, I plan to carve more on a regular basis. I’m used to two dimentional art, so the three dimentional is challenging. I’m getting better. I just need to practice more, but it seems as if there are never enough hours in my day.
Thanks for the comment! I would love to get into doing more detailed carving. As you alluded, it does take more time. But you end up with truly a work of art. Would love to see some pics of your work sometime.
I’d love to share them with you, but I don’t know how to put their pictures on the commupter so you could see them.
Question, what was the thickness of the wood before you started cutting
I believe I was using a 1.5 to 2 inch thick piece. You just need to take into account 2 things — what capacity do you want the coffee spoon bowl to be and how thick do you want the walls of the scoop. Once you’ve decided on that, then use a piece or cut out a board a little thicker to accommodate those factors. Remember, you want a little excess wood to start with so you can sand it down to final shape and dimensions.