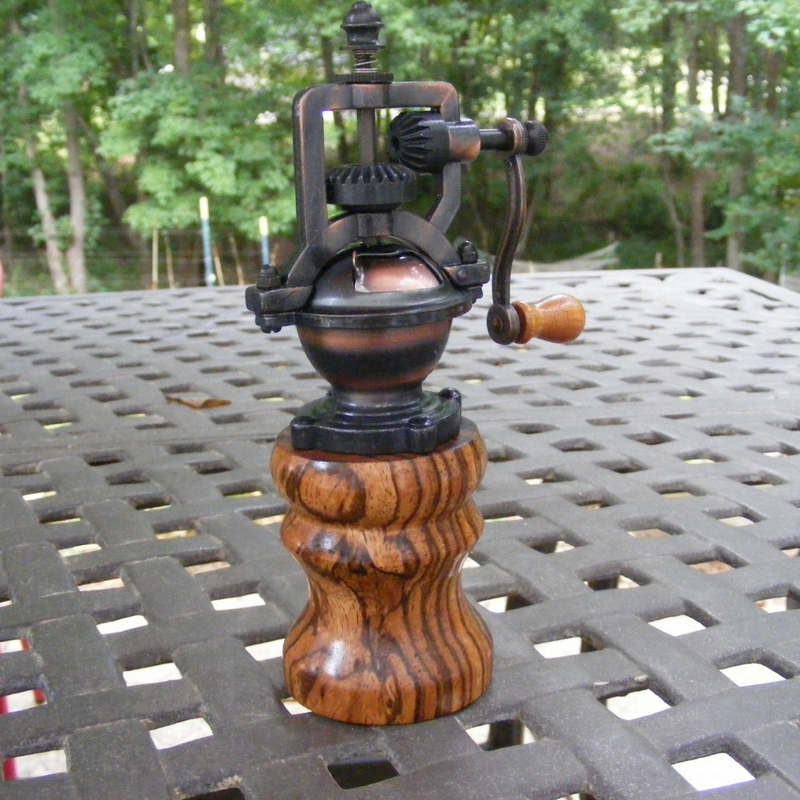
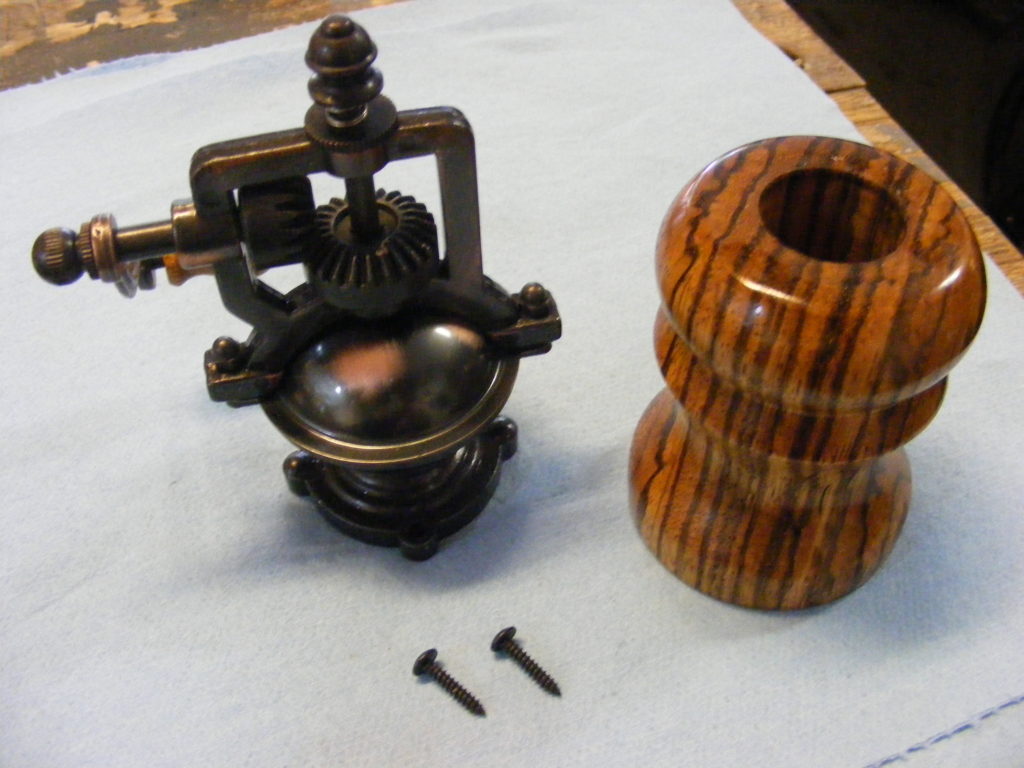
I just love woodturning! There are a host of things you can make on a wood lathe, and today I want to share my latest woodturning project — How to Make an Antique Pepper Mill. I used my Jet mini lathe, the same one I use for making writing pens. I ordered the pepper mill mechanism from Amazon and picked up the wood at a local woodworking store.
In a nutshell:
It’s simply a piece of wood with a hole drilled down the center. Then I placed it on my wood lathe and turned it to a pleasing profile. The grinder mechanism and crank are screwed to the top.
Tools and Materials Used:
Jet Mini Lathe
Woodturning tools
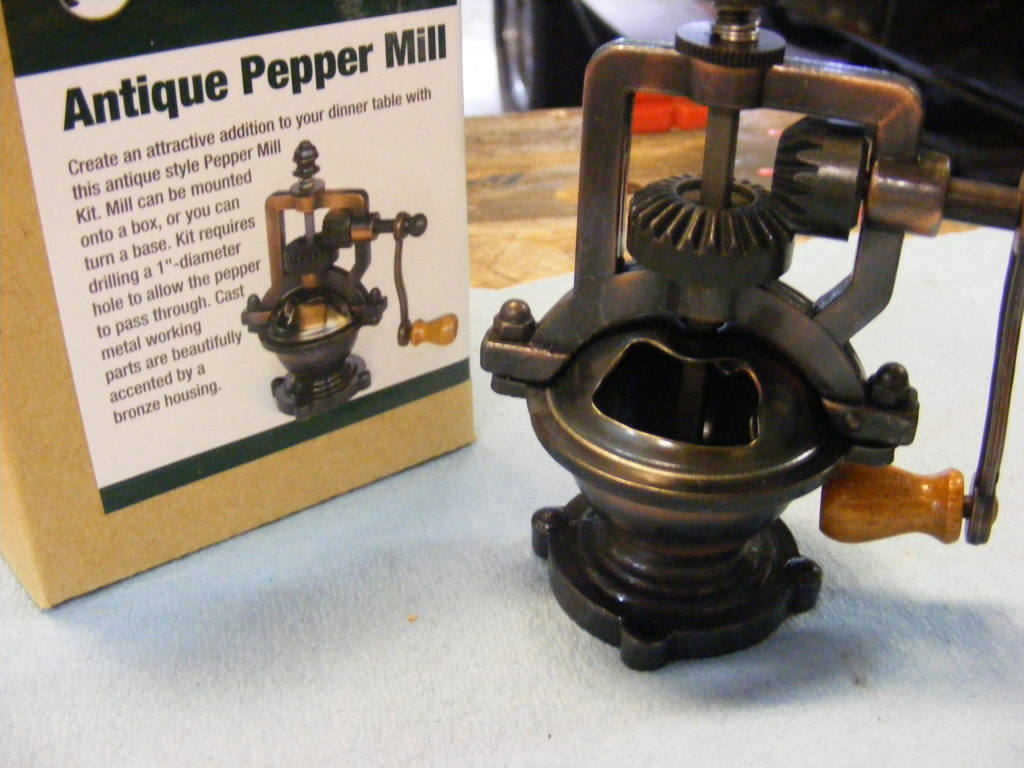
Antique Pepper Mill Mechanism/Kit
Wood of choice (preferably a hardwood)
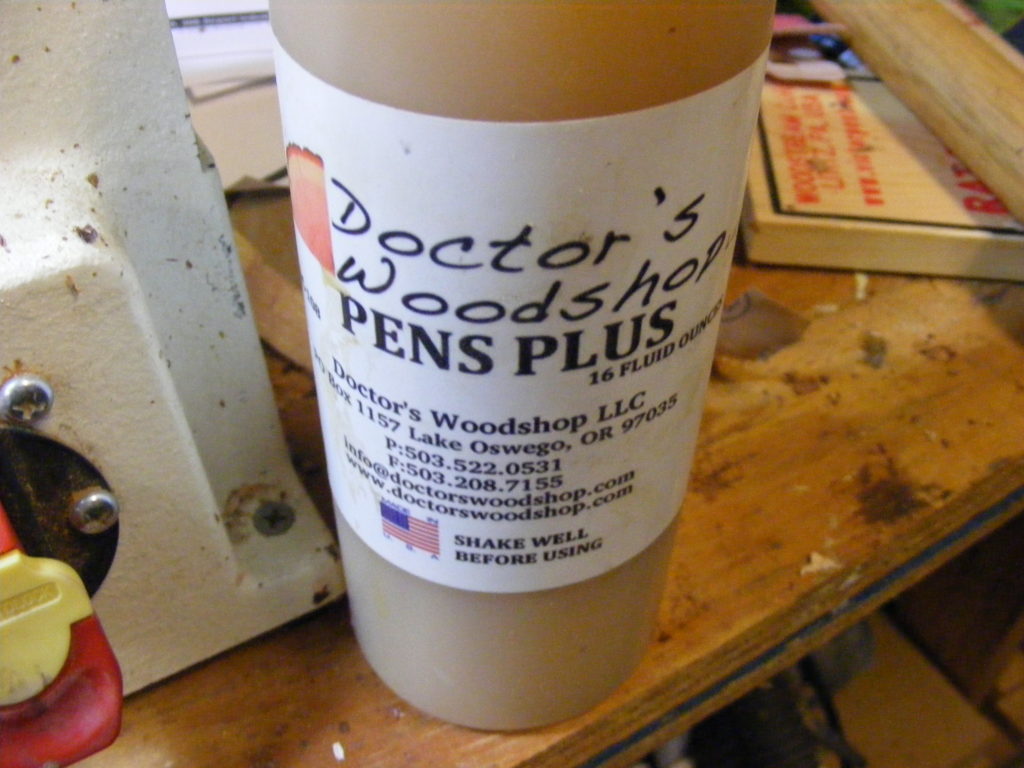
Finish (I used Pens Plus)
1 Inch Forstner Drill Bit
Sandpaper
Food safe mineral oil (optional)
Safety Always
Always keep safety in mind. Read my disclaimer. Read your power tool manuals. Wear your safety gear. Stop and ask for help if you’re unsure about anything. Now, go make something!
Here is the Step-by-Step Tutorial:
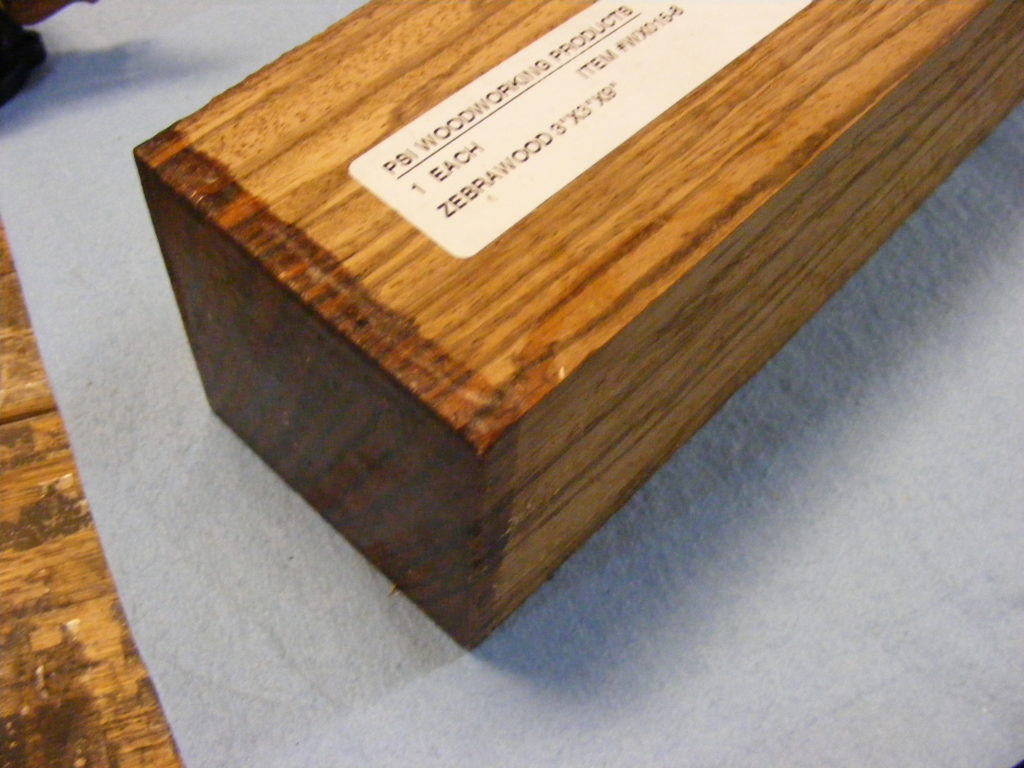
Step 1 – I decided to go with this beautiful piece of Zebra Wood. Just about any wood will do, but I recommend a hardwood for durability. Pepper mills will be handled a lot.
Step 2 – You can order the antique pepper mill from Amazon or look in your local woodworking store. The wood blank is sold separately.
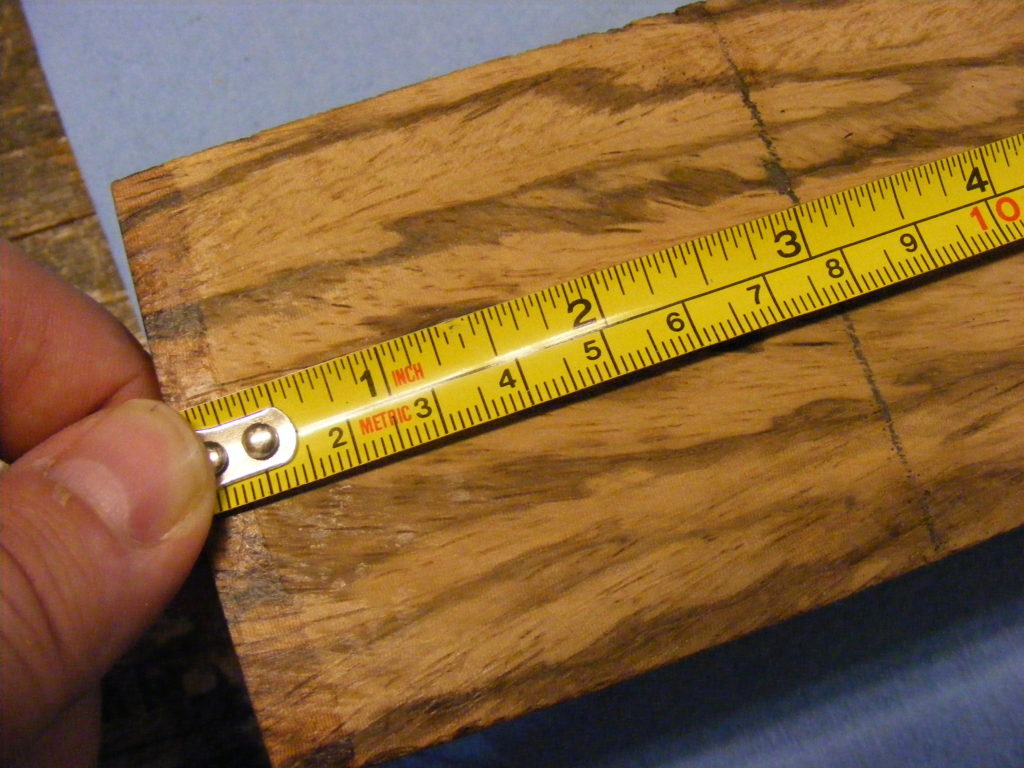
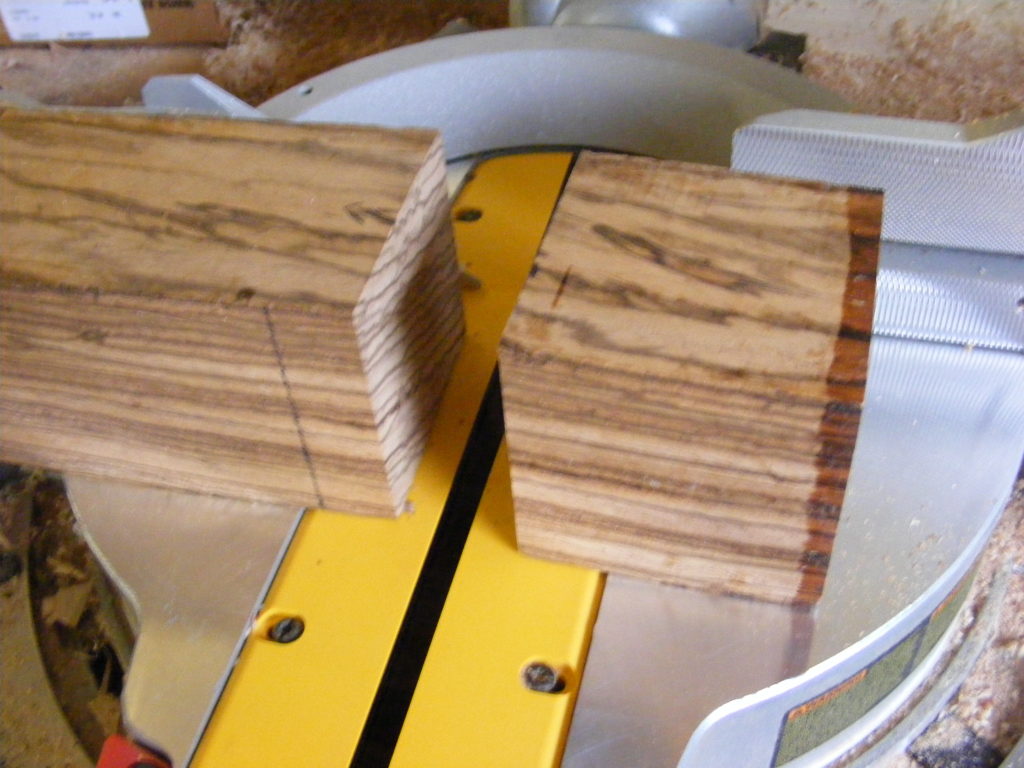
Step 3 – Measure and cut the pepper mill blank. I decided to make mine 3 inches long. I used my chop saw to make the cut. After cutting, I used my square to make sure the cut was perpendicular. So the overall dimensions are 3 inch by 3 inch by 3 inch. You could make it longer than 3 inches, but keep in mind the metal grinder mechanism could make it top heavy.
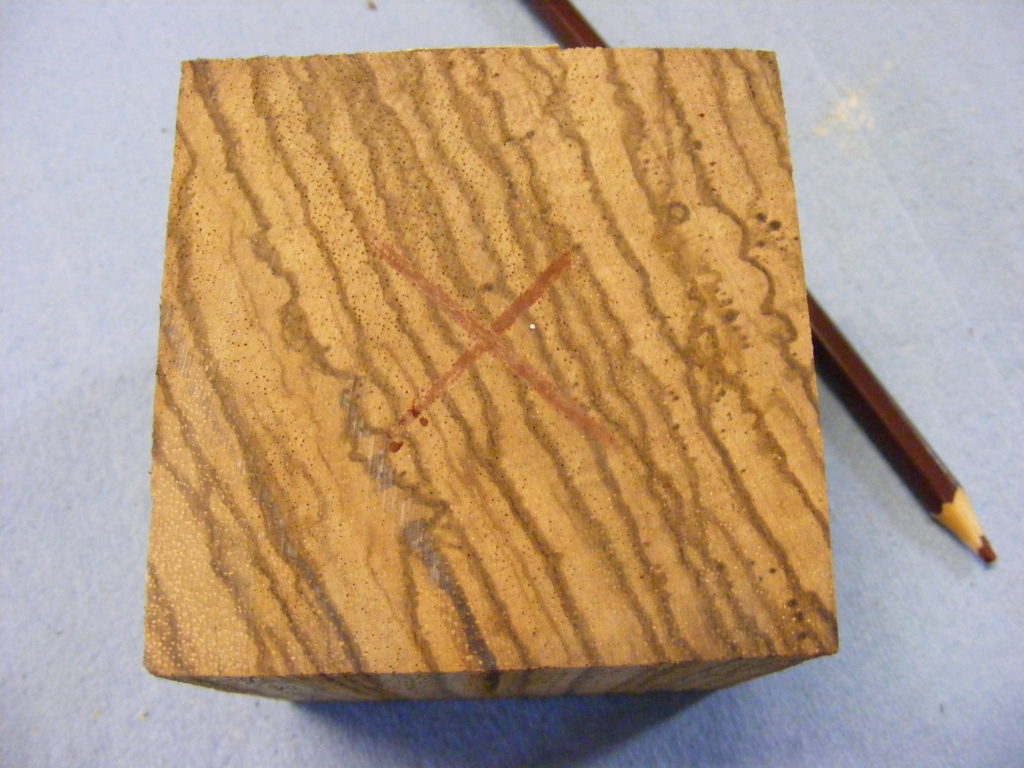
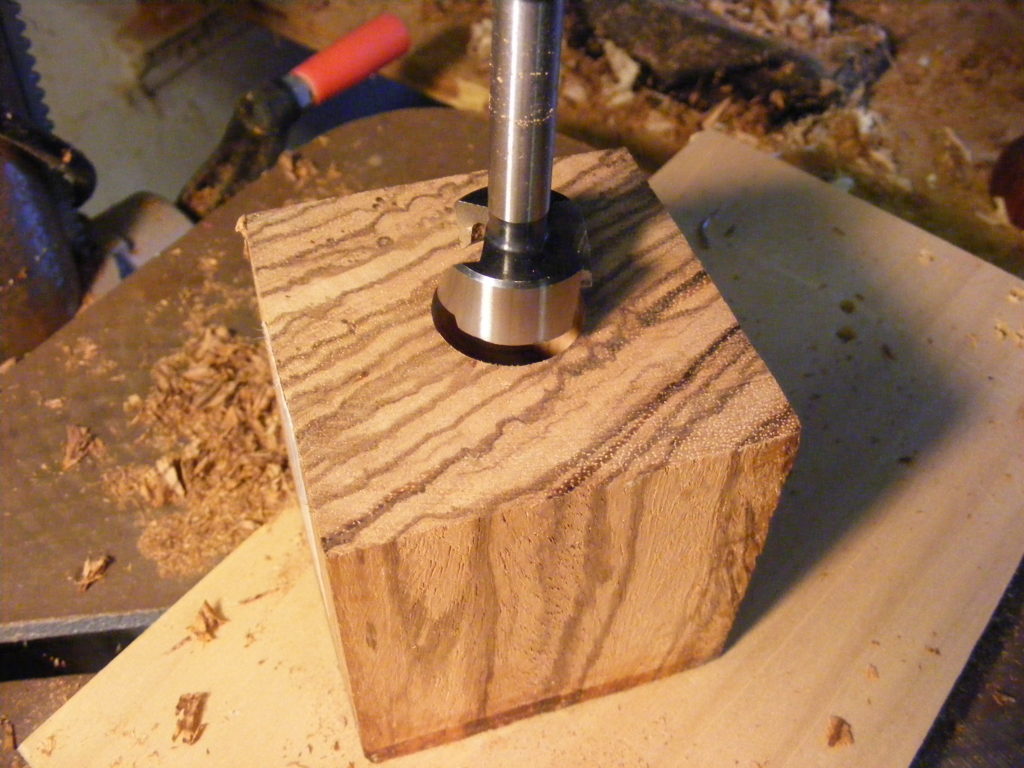
Step 4 – Mark center of blank and drill a 1 inch hole. I used my drill press and a 1 inch Forstner bit to drill all the way through the blank. I could’ve probably gotten away with a spade bit, but the Forstner bit leaves a much cleaner hole.
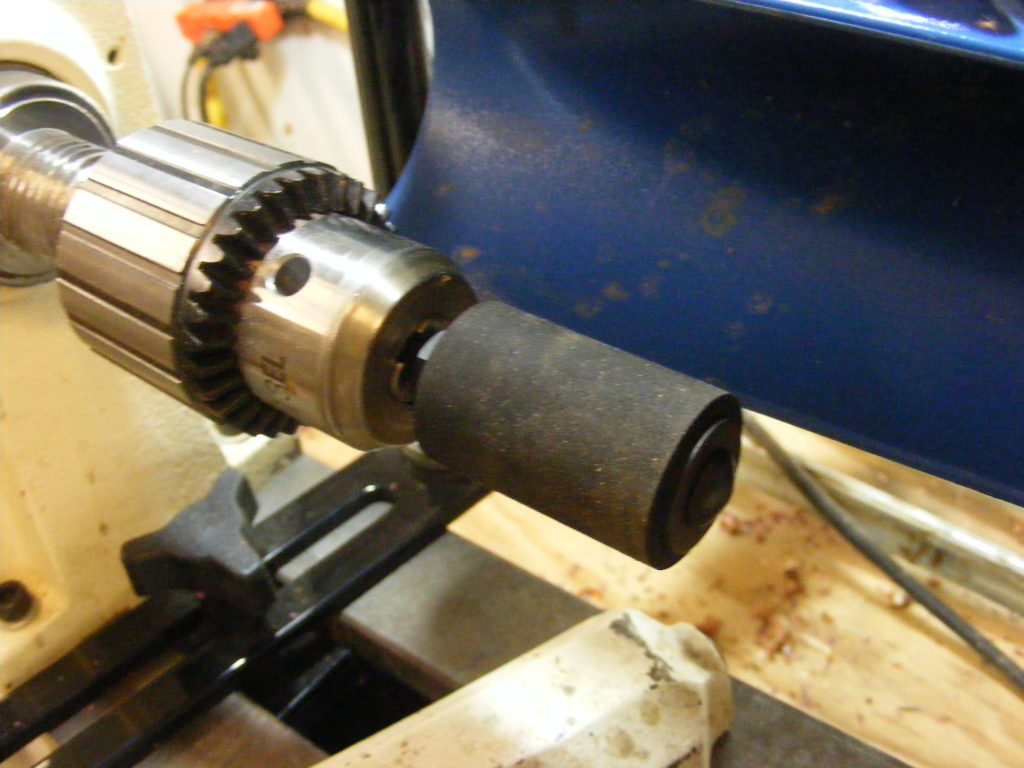
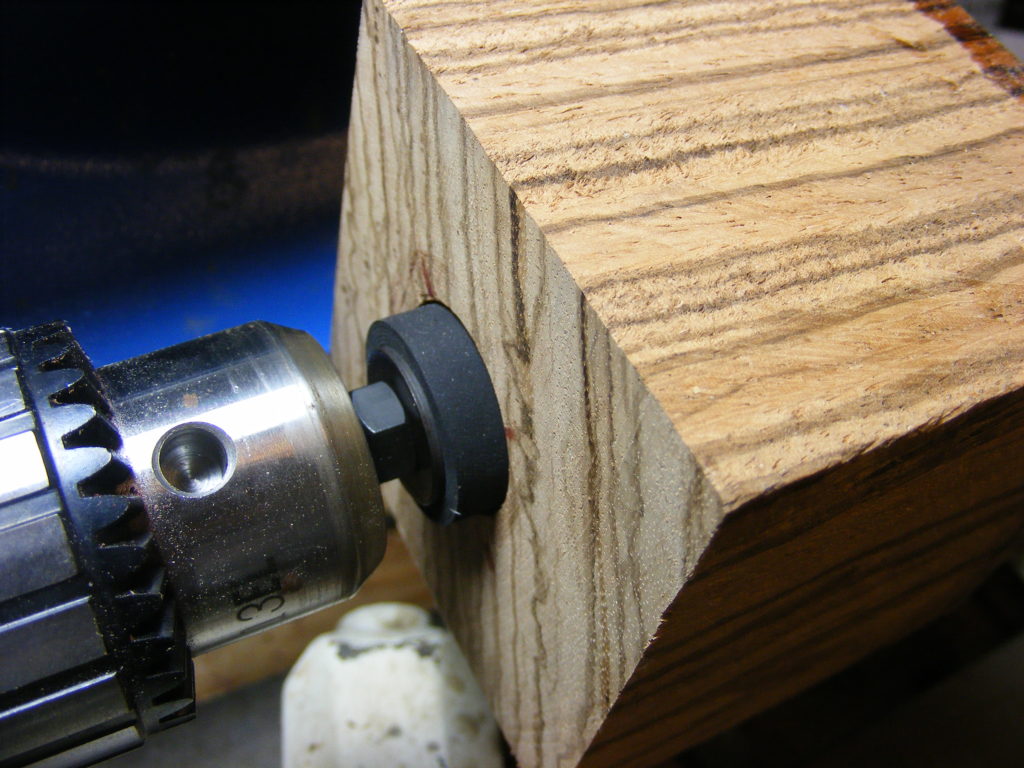
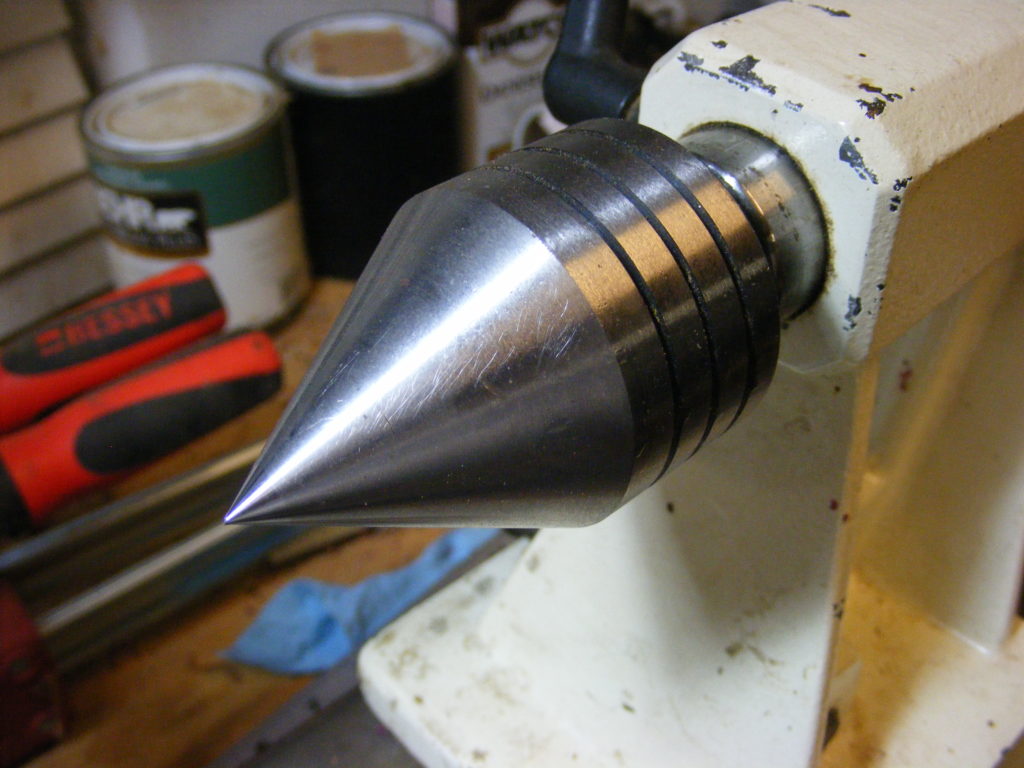
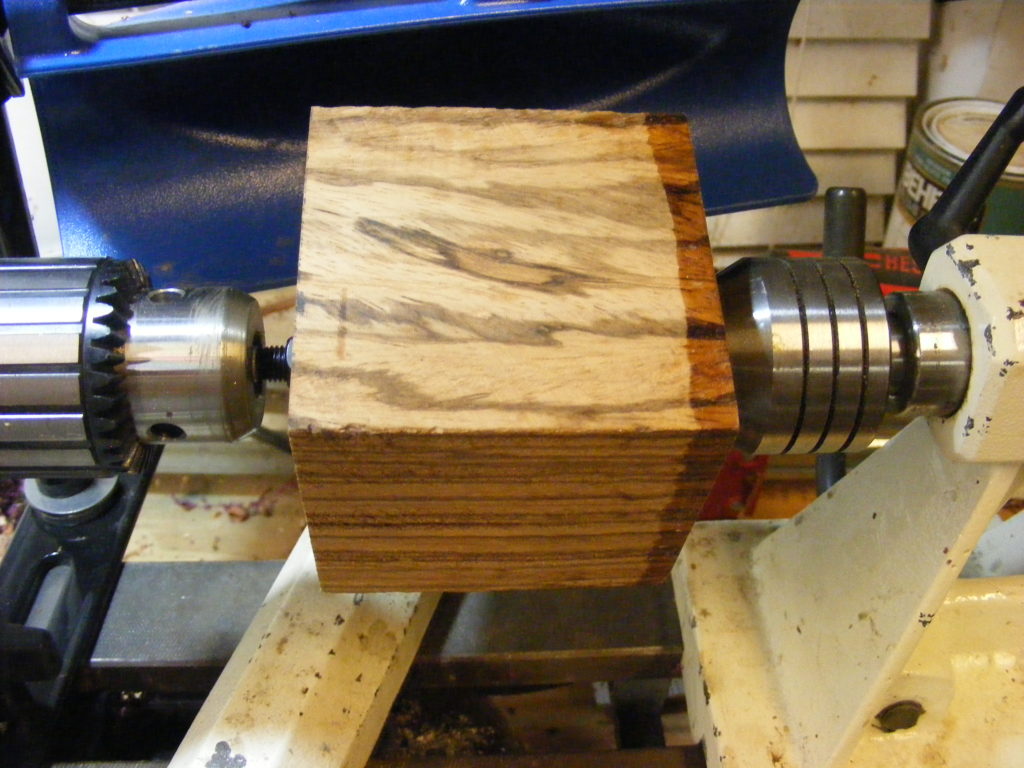
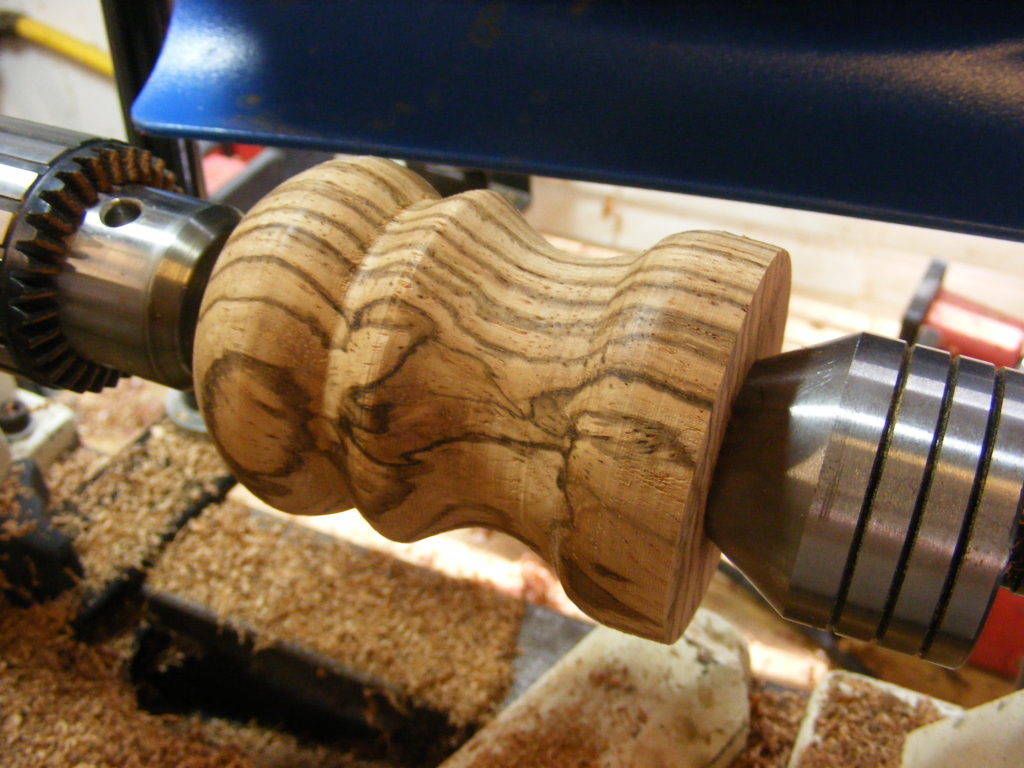
Step 5 – Mounted the pepper mill blank to my Jet mini lathe. I used something called a jam chuck (top photo) and mounted the shank of the jam chuck into my Jacob’s Chuck. On the other end I used a 60 degree live center. I made sure the blank was nice and secure before turning the blank. I positioned tool rest as close as possible but clear of the blank’s turning radius.
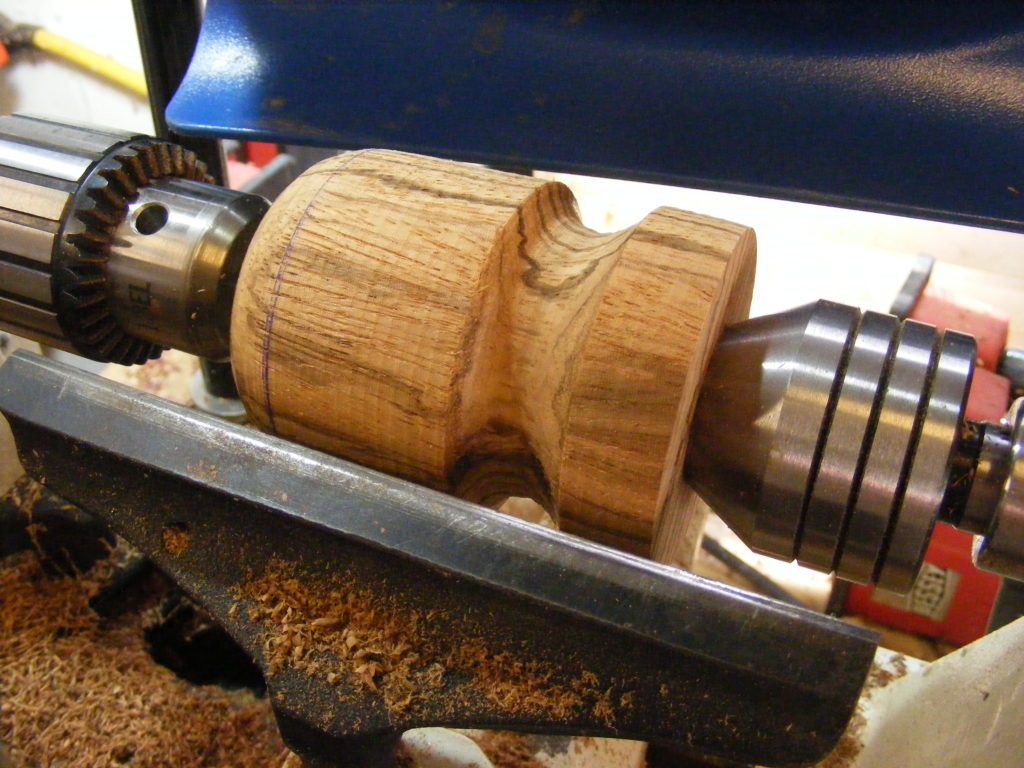
Step 6 – Turned the blank to the profile I wanted. I used a roughing gouge to turn the square blank to a cylinder. Then I used a spindle gouge to make the profile you see in the picture. If you decide to do something complex like coves or beads you might want to watch a few YouTube videos and practice on another piece of wood first.
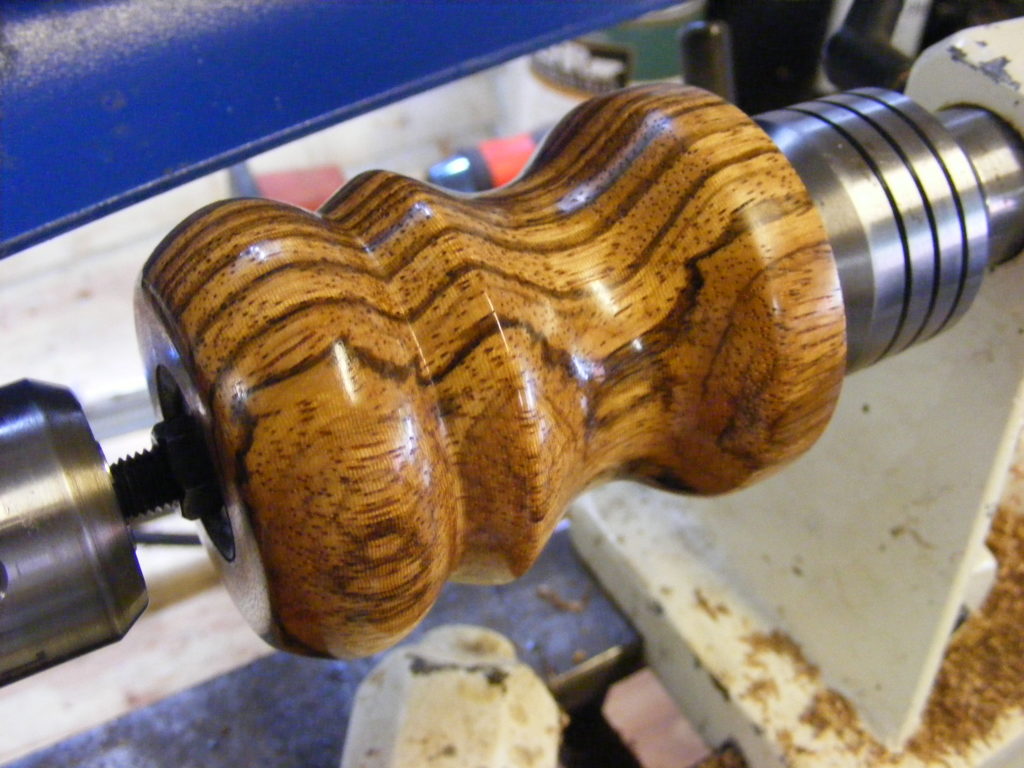
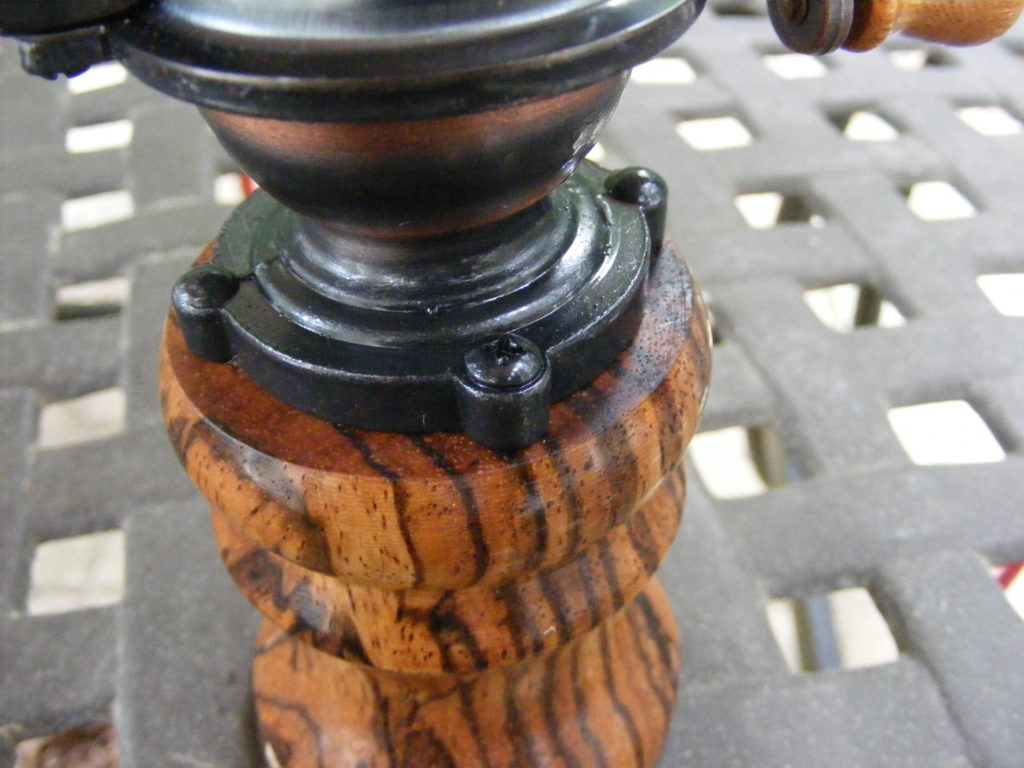
One very important point to remember in this step is to NOT turn the top of the wooden pepper mill smaller than the diameter of the metal grinder mechanism (which, of course, mounts on top). You could either make some pencil marks on the wood to mark your boundaries or use a caliper to periodically take measurements. The wooden base of the pepper mill has to be wide enough to accept the two screws that attach the metal grinder to it. Take a sneak peek ahead to step 9, last photo.
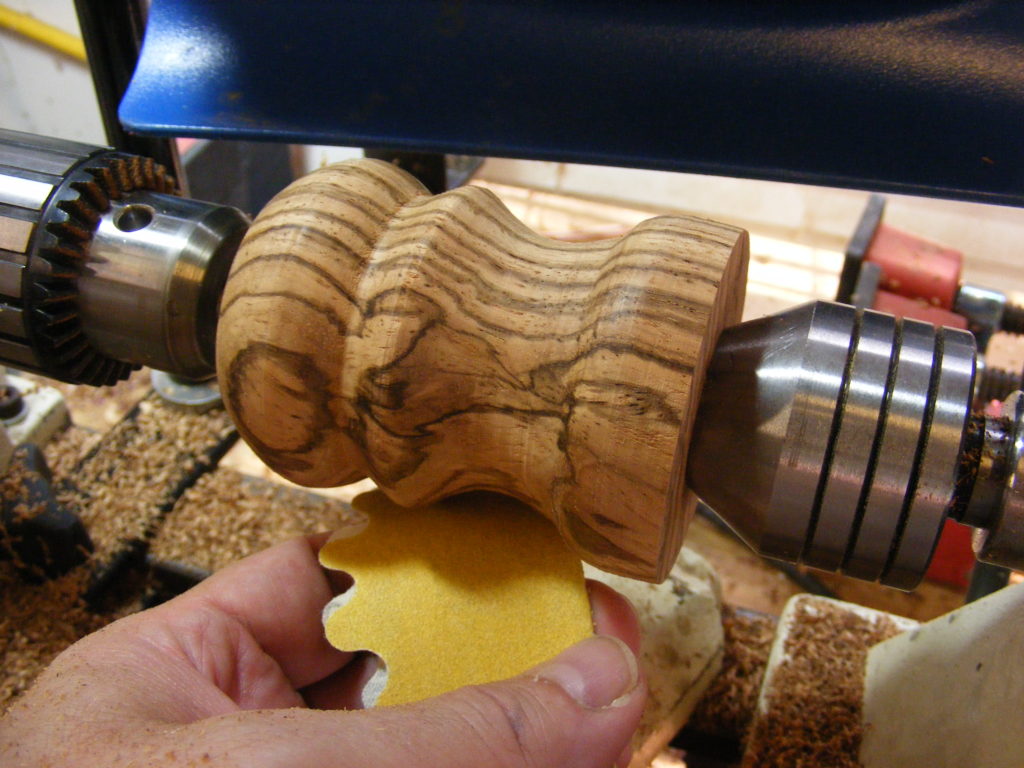
Step 7 – Sanded the pepper mill. I started with 120 grit, then 220, then 400. I then used my micro mesh cloths – 1500 grit to 20000 grit. The Zebra Wood performed well throughout the whole process.
Step 8 – Applied a finish. When I did the research on making these, several articles suggested applying either Tung Oil or a wipe-on poly to the outside. These will be handled frequently and some people like to have the glossy finish. Several people suggested not putting anything on the inside and some used food-safe mineral oil on the inside. I decided to try a friction polish called Pens Plus — but just on the outside (I also use this on my pens) It’s applied to the wood via a paper towel, and the friction of the paper towel causes it to cure. I applied 3 coats. The friction polish will leave a glossy finish at first, but over time that will go away. I tend to like the natural look and feel of the wood anyway.
I also went ahead and put some mineral oil on the inside. The mineral oil can be added after you’ve taken the wooden base off the lathe.
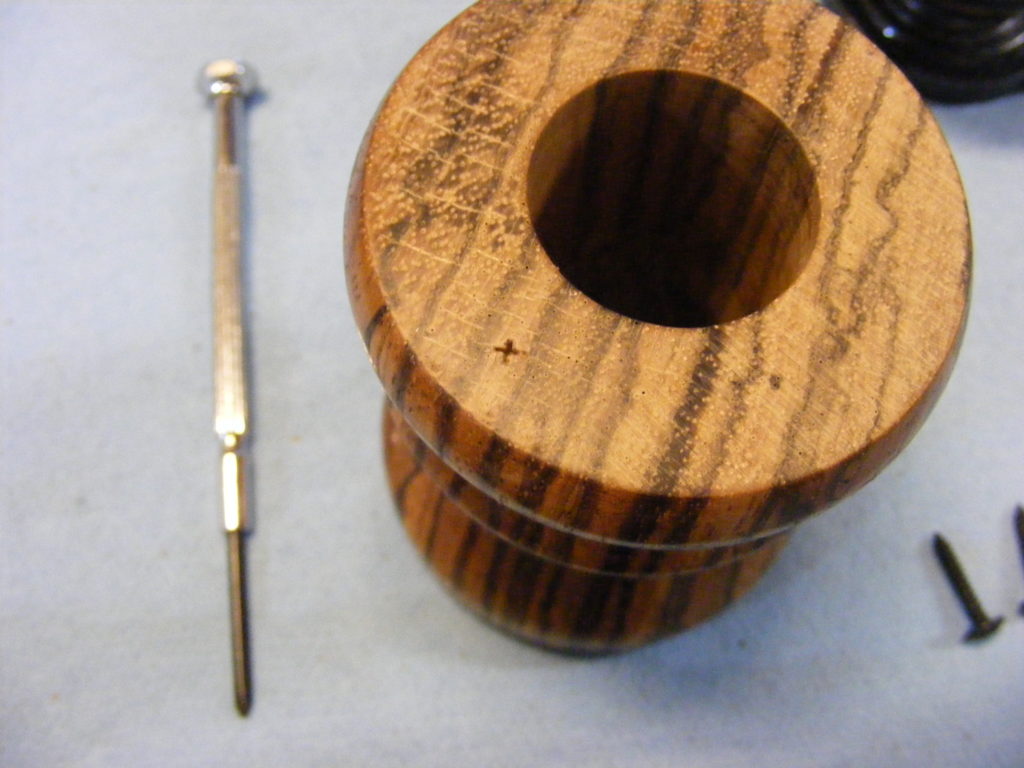
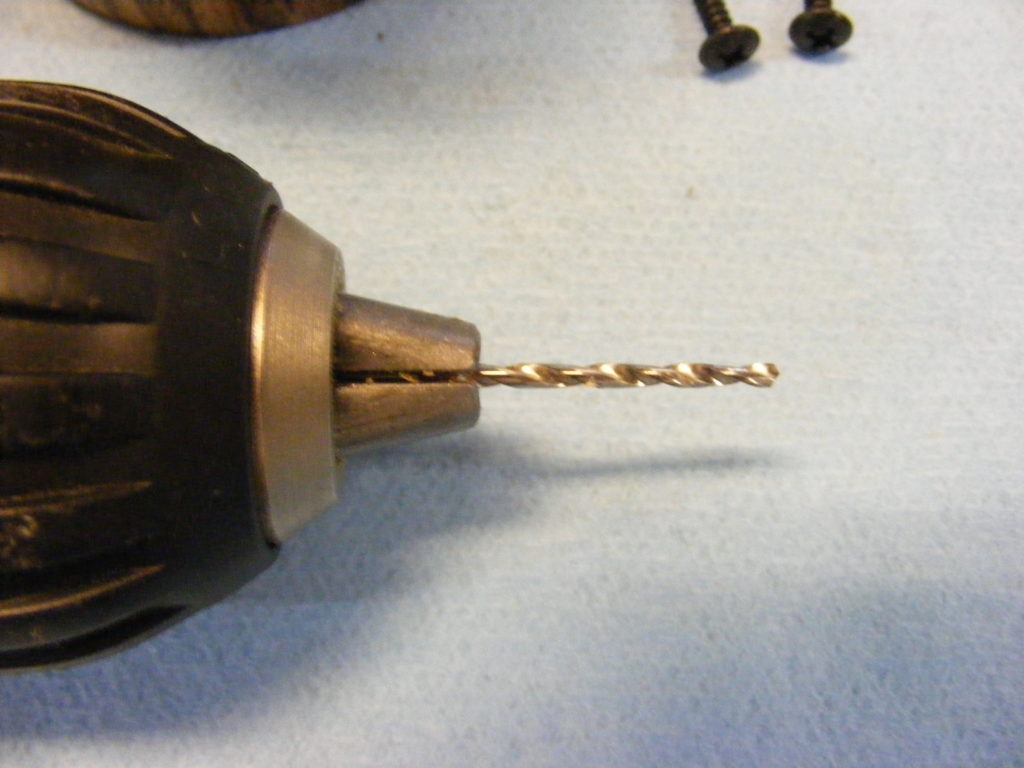
Step 9 — Finally, I attached the pepper mill mechanism to the Zebra Wood base. I set the grinder mechanism on top the wooden base, centered it up with the one inch hole, and marked the 2 mounting holes with a jeweler’s screwdriver. I used a drill bit slightly smaller than the two mounting screws that come with the grinder and drilled some pilot holes. I used the same jeweler’s screwdriver to install the screws. It’s a phillip’s head.
Note — before you attach the grinder to the wooden base, check for fit and check to make sure the whole pepper mill assembly is level when you set it on a flat surface. If it’s not, you can take it to your belt sander and carefully sand some wood off either end until everything sits level. If you made sure the blank was squared up to start with, you shouldn’t have to make too many adjustments. But Murphy likes to hang around woodworking shops for some reason … LOL.
Once it’s all assembled, make sure the crank handle is attached correctly. Then rotate the handle and make adjustments if the grinder gears aren’t running smooth. Put in some pepper and test it out.
Hey, if you liked this tutorial, please go to the form below and subscribe to my woodworking site. I’ll send free tutorials and plans and articles to your inbox (you can unsubscribe anytime). And for subscribing, I will give you a free gift — my Home Shop Safety & Tool Checklist. It’s a comprehensive checklist that will help you establish a safe and well-rounded shop.

Are you starting up a new shop? Want to work safer in your shop? To help you answer these questions I've put together a 2-part checklist -- Home Shop Safety & Tool Checklist.
I will also send you updates of my latest woodworking and DIY projects. You can get all this by subscribing to my free email newsletter.
