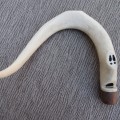
In this post, I’m sharing a short overview and a YouTube video on how to make an antler hiking stick topper. For those who like hiking, I’m also including a link to a free resource guide called Day Hiking 101.
For more detail on the Antler Hiking Stick Topper, check out the YouTube video below. But I will share some high-level steps in this post. Reach out to me if you have any questions.
How to Make an Antler Hiking Stick Topper
Step 1
Find a fairly straight piece of antler. I purchased my antler from a supplier, and it’s about 5 inches long and one inch in diameter. I think it’s best to have the antler diameter be fairly close to the diameter of the hiking stick, so make adjustments depending on your situation. You may need to do a bit of shaping on both the antler and the hiking stick to make dimensions match. You will see me doing some shaping in the video.
I also bought a 4 foot long poplar dowel from the local home improvement store. It’s also one-inch in diameter, so it matched my antler very well. If you can find a longer dowel that would be great. I typically like my hiking sticks to be about 5 foot long. I like the top of the hiking staff to be about the same level as my chin. Any wooden stick will do, but I like the poplar dowels because they are lightweight and relatively strong.
Step 2
Drill a straight hole into the top of the poplar dowel and a straight hole in one end of the antler. A drill press comes in handy, but a hand drill works fine. In the video, I show how I use a jig I made to get a straight and centered hole into the wooden hiking stick. Straight holes will make the topper align much better with the hiking stick.
Step 3
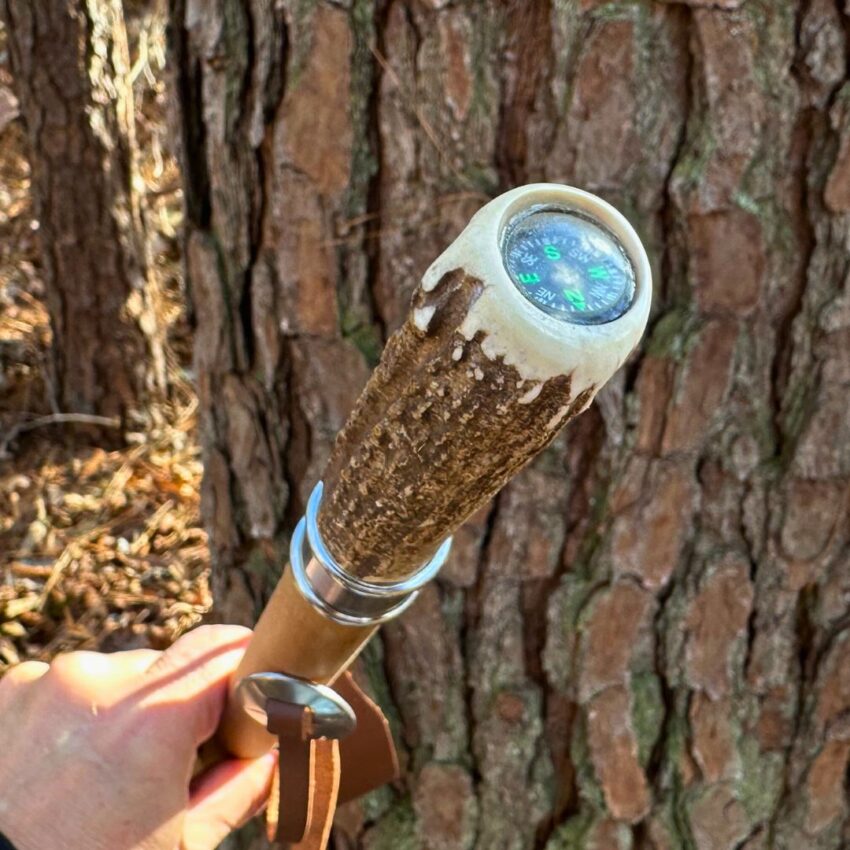
This is optional, but I used a small 20 mm forstner bit and drilled into the other end of the antler so I could glue a 20 mm compass (purchased from TreelineUSA). I used epoxy to glue in the compass. In the video, you can also see me using my disk sander to round over and shape both ends of the antler. I used sandpaper and micro mesh cloths to polish those ends. Antler polishes very nicely without a lot of effort.
Step 4
I used a hanger bolt (5/16 18) to join the antler topper to the hiking stick dowel. I used 5 minute set-up time epoxy and glued one end of the hanger bolt into the antler topper. Allowed a couple hours of cure time. Then I screwed the antler topper into the dowel. In the video, I also show an extra step of adding a one-inch metal ferrule if you want to cover up the boundary where the antler and hiking stick come together. But if the boundary doesn’t bother you, then the ferrule isn’t necessary. If you decide to add the ferrule, you will need to shape that end of the antler which I show in the video. The ferrule will also need some epoxy.
Step 5
I used Danish oil to finish the wooden dowel. If you want to go a step further, then also add a couple layers of spar urethane since the hiking stick will be exposed to the elements. I don’t think it’s necessary to add a finish to the antler, but I sometimes like to rub on a coat of linseed oil to dress the antler up some. If you find that the antler is very porous, you can use thin and medium CA glue to seal the pores.
Step 6
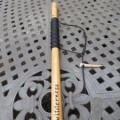
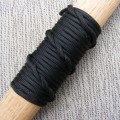
I added a leather strap with a metal concho – both purchased from TreelineUSA. You’ll need to drill a 3/8 inch hole through the dowel to feed the leather strap through. The video shows more detail. If you want, you could also add a paracord wrap. Checkout my paracord hiking stick wrap video below.
Step 7
Finally, I added a rubber foot to the bottom of the hiking stick to give it more protection. TreelineUSA also has more expensive options, but you can get a one-inch rubber foot from your local home improvement store.
Day Hiking 101
Download my Day Hiking 101 PDF. It’s free and if you’re into hiking it’s a great little guide for day hiking. Be sure to check out some of my other hiking stick videos over on YouTube.
Thanks for reading this post and watching the video. Feel free to reach me on my contact form with any questions or suggestions.

Are you starting up a new shop? Want to work safer in your shop? To help you answer these questions I've put together a 2-part checklist -- Home Shop Safety & Tool Checklist.
I will also send you updates of my latest woodworking and DIY projects. You can get all this by subscribing to my free email newsletter.
