After watching a few internet videos on how to make an antler whistle, I decided I just had to give this a try. What I have done in this tutorial is way more than you need to do, but I wanted my antler whistle to have some style. You can make antler whistles fairly quickly if you minimize sanding and use wooden dowels. I chose to use brass tubing and a steel rod for the whistle’s reed. And I decided to add a section of walnut for the mouthpiece.
Step 1
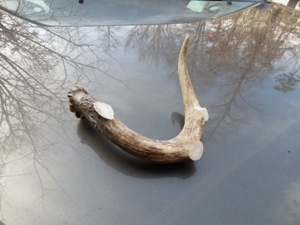
Procure some antler through Ebay or a local outdoorsman. Or, if you love getting outside, go on a hike around the February timeframe and find antler sheds in the woods. Below, I’ve taken one antler and sawed off the upward tines.
Step 2
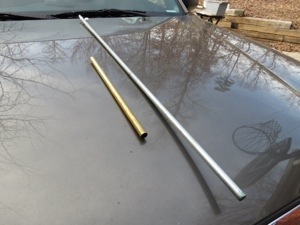
I decided to use a brass tube and a steel rod for the reed. (to make things simpler, use wooden dowels instead of the brass and steel) I bought a brass tube with an inside diameter of 15/32. You can find the brass tube and the steel rod at your local hardware store. Choose the size you want, but make sure the steel rod will slide into the brass tube.
Step 3
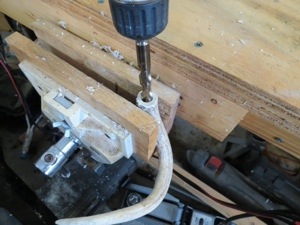
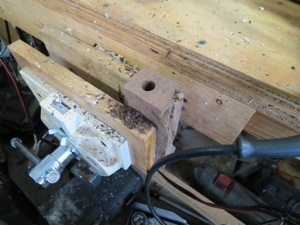
Next, I took an electric hand drill with a 15/32 bit, and carefully bore a hole down the center of the antler. Drill about 1 to 1.5 inches deep. Make sure the antler is clamped well in the vise. Be careful, because the bit may catch in the antler. Drill part ways and back out. Continue to do this until the desired depth has been reached.
Step 4
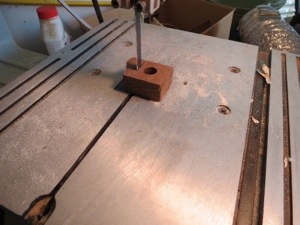
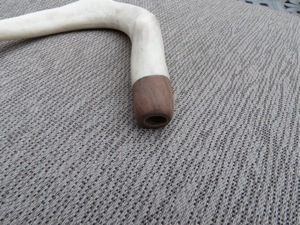
This step is optional. You don’t have to add a wooden mouthpiece, but I thought this would give the whistle some contrast. I had a piece of walnut handy, so I drilled out a 15/32 diameter hole and trimmed it down with my bandsaw.
Step 5
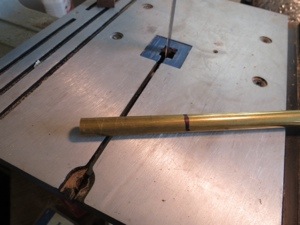
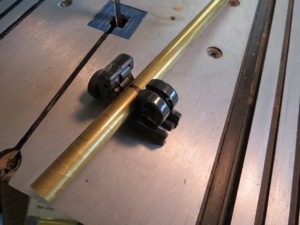
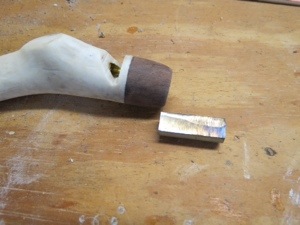
Next step is cut off a piece of the brass tube. Cut off a section that will go all the way into the antler hole and the walnut section. Leave a little extra that can be ground down later. I used a pipe cutter to cut the brass tube, but a hack saw will also work.
Step 6
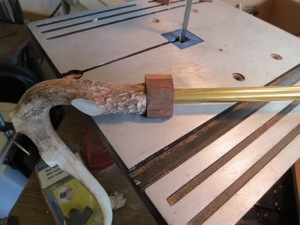
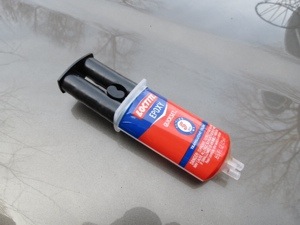
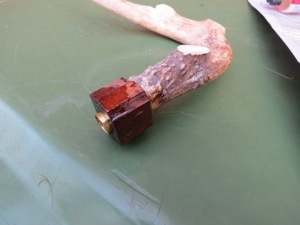
Make sure the sides of the antler end and walnut are flush. Before they are glued, they need to fit together along the brass tube perfectly. Test things out by fitting the pieces–brass tube, antler and walnut mouthpiece–together. Once you are satisfied with the fit, use some 5 minute epoxy to glue it all together.
Step 7
Using the belt sander and orbital sander, I shaped the antler and walnut so that they blended nicely together.
Step 8
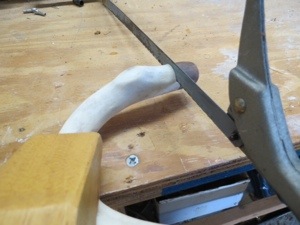
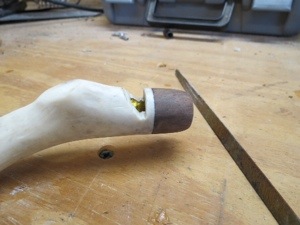
Now, to make the cut for the whistle. First, decide which side of the whistle will be the top. Using a hacksaw, carefully cut approximately halfway from the top through the antler, and then make a second 45 degree angle cut to meet the bottom of the first cut. After making these cuts, take some 120 grit sandpaper and a file and clean up the antler and brass tube.
Step 9
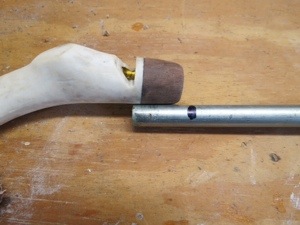
Next comes the steel reed. Slide the steel rod into the brass tube until it just exits the first cut hole. Measure off a piece that’s slightly longer than you need. Cut with a hacksaw or saber saw.
Step 10
I used a grinding wheel to trim the top part of the steel reed flat. I ground off about 1/8 inch. You can experiment by grinding off more and this will give the whistle a different tone. Be careful how you hold the piece against the grinder as it will become very hot. As suggested before, wooden dowels are much easier to work with.
Step 11
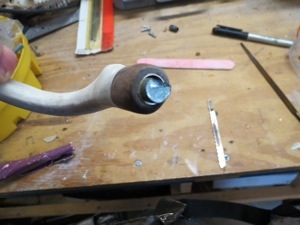
Insert the steel rod and glue in place with the 5 minute epoxy. (Very important–make sure the flat part of the reed is facing up toward the top of the whistle) After the glue thoroughly dries, grind the steel rod down flush with the mouthpiece. I used the grinder first then the belt sander.
Step 12
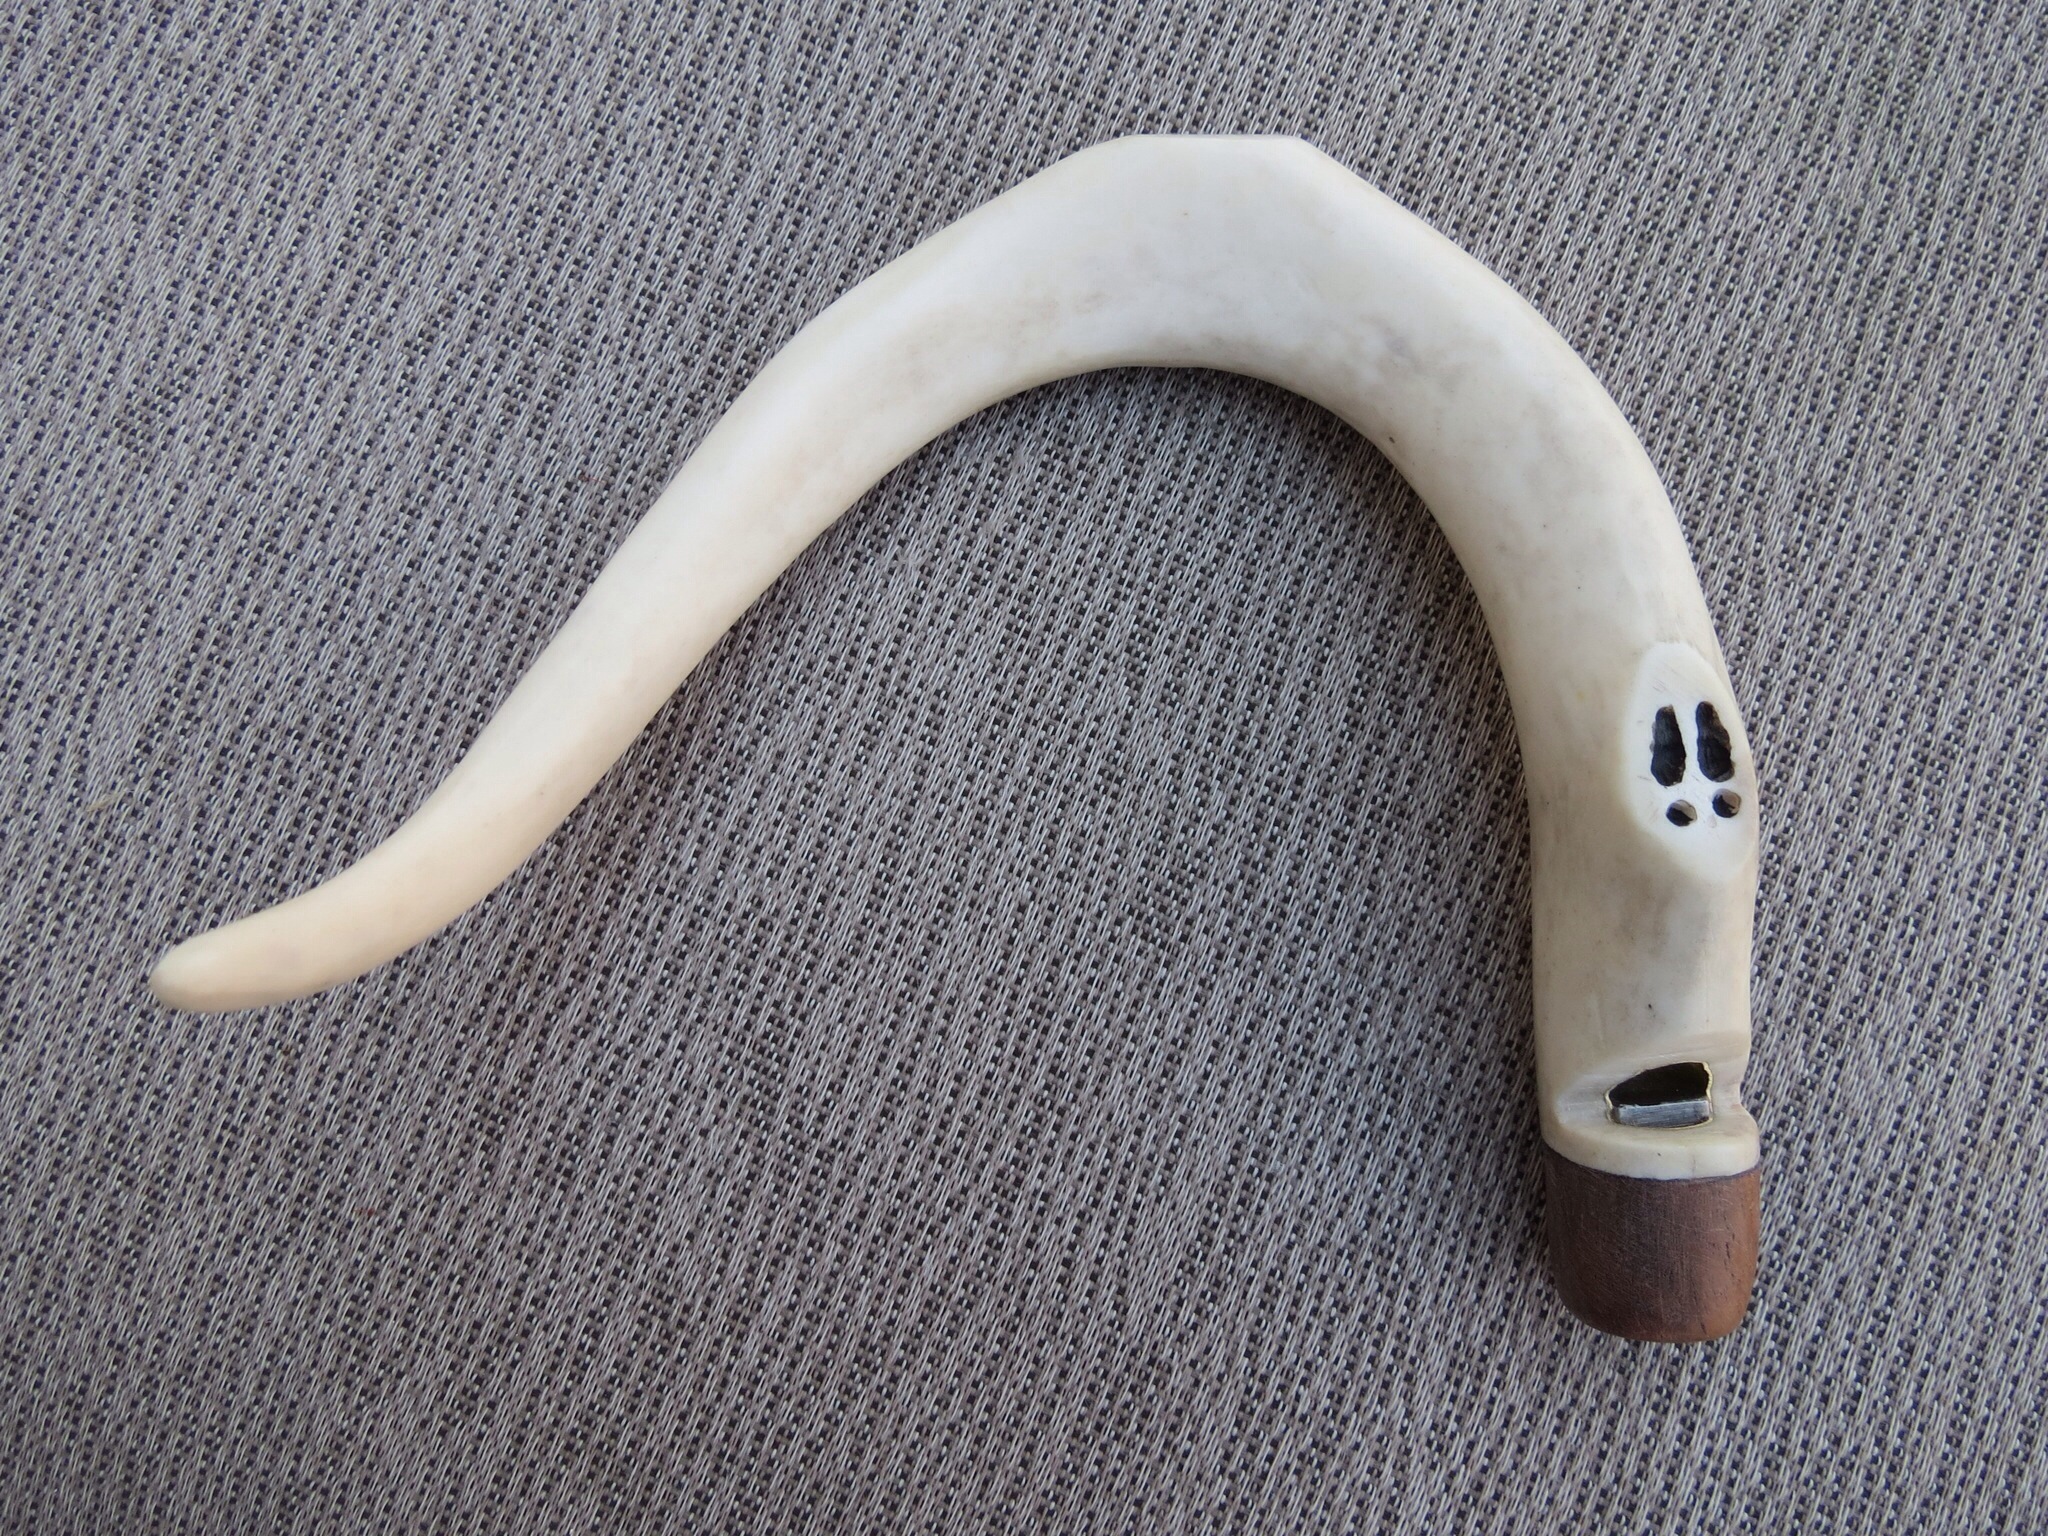
Use some fine sandpaper or a buffing wheel to polish the antler to a glossy appearance. For added decoration, I used a Dremel to grind out a deer hoof print along the top of the whistle. I darkened the hoof print with India Ink.
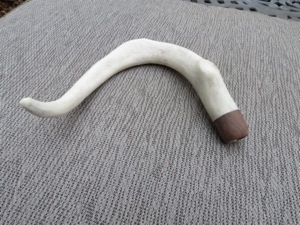
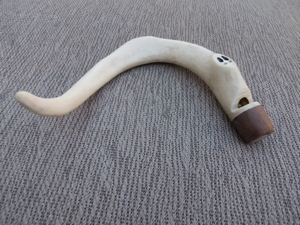
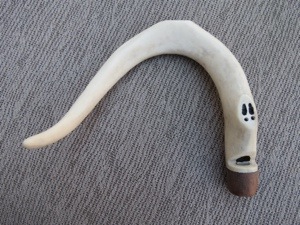
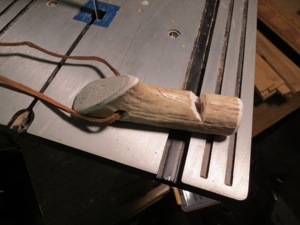
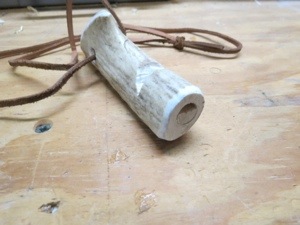
Below are some pictures of another antler whistle which only took me about 10 minutes to make. I simply drilled a 7/16 hole, made the cuts and inserted a wooden dowel. I drilled a 1/4 inch in the opposite end and turned the whistle into a necklass.
I hope you enjoyed this tutorial, and please feel free to share with your friends. And if you decide to make an antler whistle, please drop me a line and tell me how it turned out.

Are you starting up a new shop? Want to work safer in your shop? To help you answer these questions I've put together a 2-part checklist -- Home Shop Safety & Tool Checklist.
I will also send you updates of my latest woodworking and DIY projects. You can get all this by subscribing to my free email newsletter.


Well that’s just fantastic! I am an avid outdoors man and have collected quite a few sets of antlers… and don’t mind parting with a couple to make some whistles. I’m off and when I’m done I will certainly post the results… Unless I fail 😛
Nate … Thanks for the comment. Please email me some pics of what you create. Would love to see your finished work!
Made a few I can’t get the whistle to whistle any ideas why
This has happened to me before. I think it was because the piece of antler was too porous and most of the air was not getting directed through the whistle — air was actually going into the antler. Feel free to send me a pic and I’ll see if I can help you troubleshoot.
Got it I’m on on number 18 now. There kinda finicky some whistle some don’t I have 13 more to make then I’m done. Im using a scroll saw for the cuts.