In this tutorial, I’ll show you how to make antler Christmas trees. As you may know, the whitetail deer sheds his antlers every year. So there’s lots of deer antler available for beautiful crafts like you see in this tutorial.
You don’t have to be an expert woodturner to do this project. The turning techniques are pretty easy. These will make great gifts just in time for Christmas or special occasions.
Below, you will find my written tutorial for making Christmas trees from whitetail deer antler. In the video, I follow the same process, only I used a piece of elk antler I bought from the pet store.
From a safety standpoint, make sure you wear a good dust mask and wear your safety glasses. Use nitrile gloves when dealing with the CA glue.
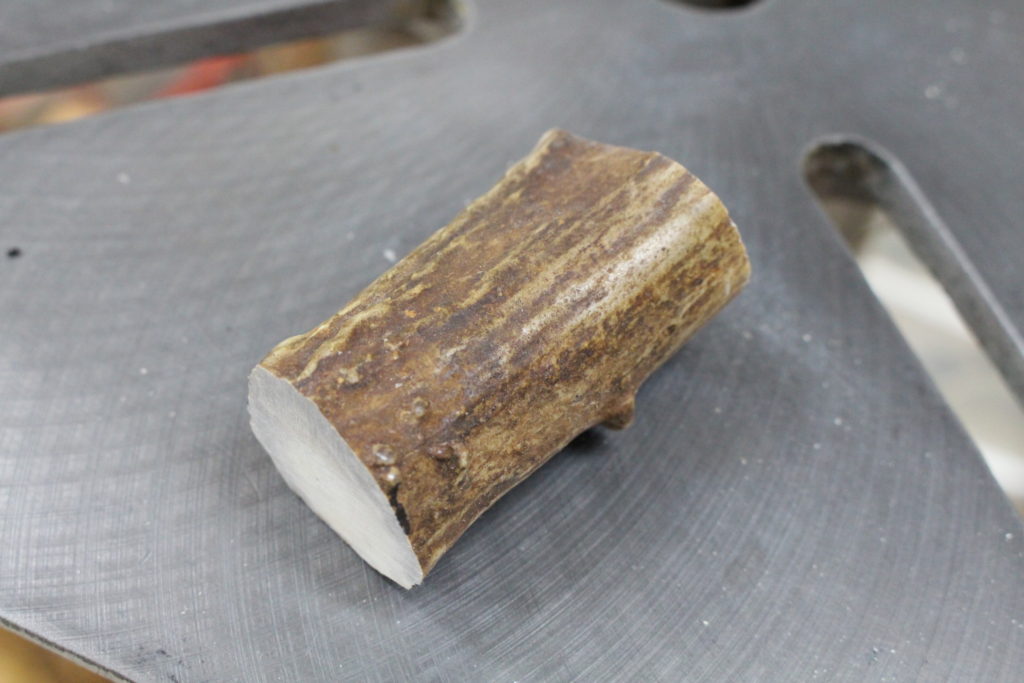
Step 1 – Acquire some deer antler
If you need ideas on acquiring deer antler, check out my article here. For the Christmas tree project, I recommend using a section of antler about 3 inches long and 1 inch in diameter(photo 1). Try to use a section of antler that is less porous. But if it is porous, we can fix this with CA glue.
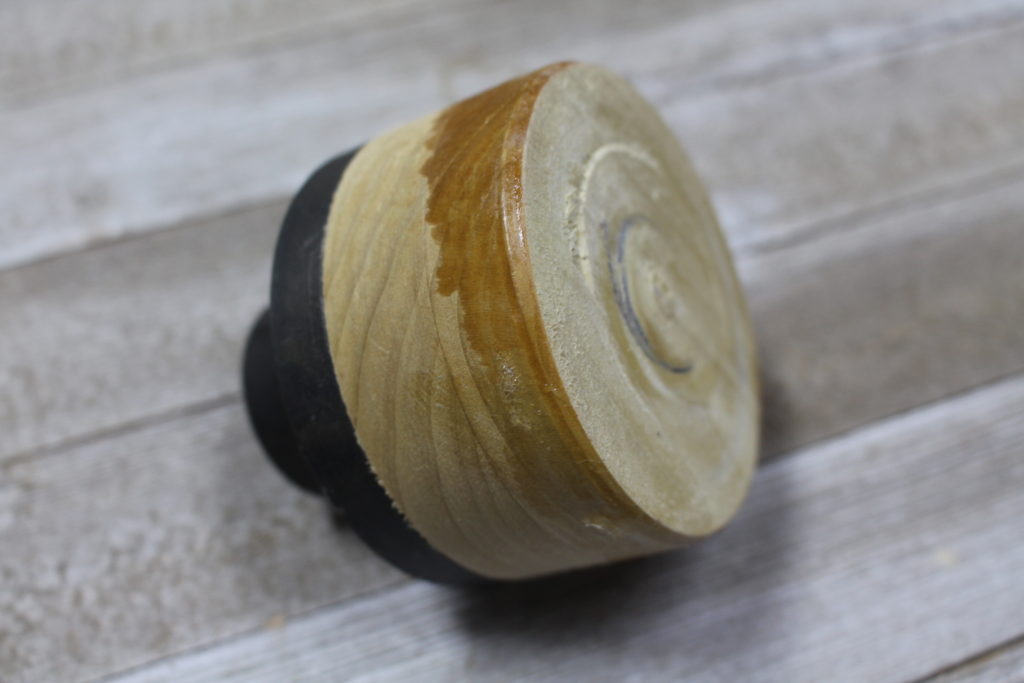
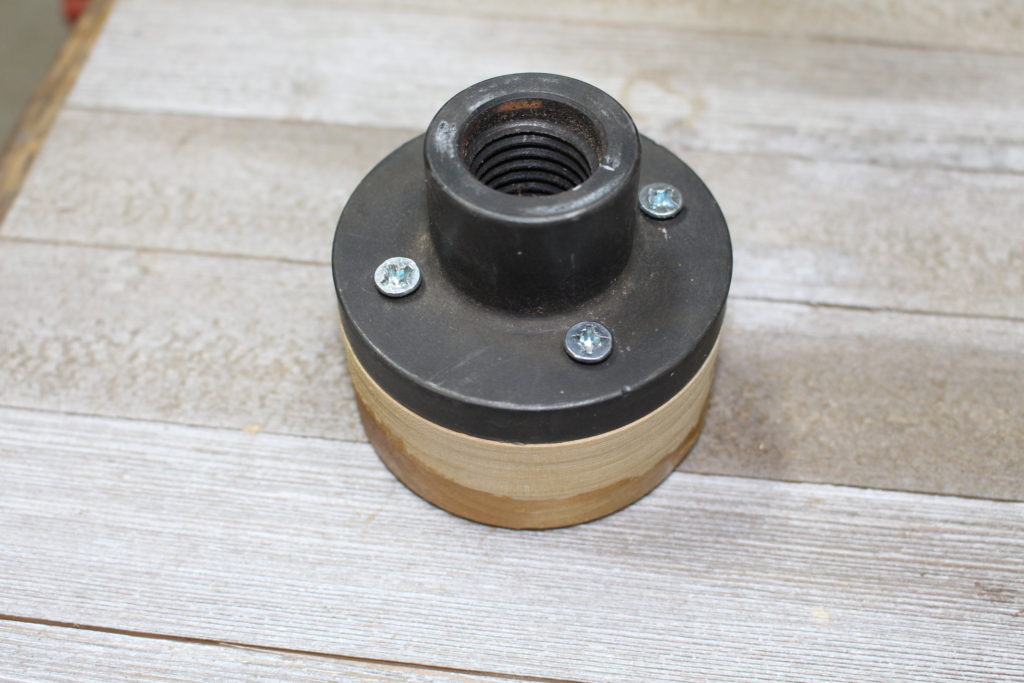
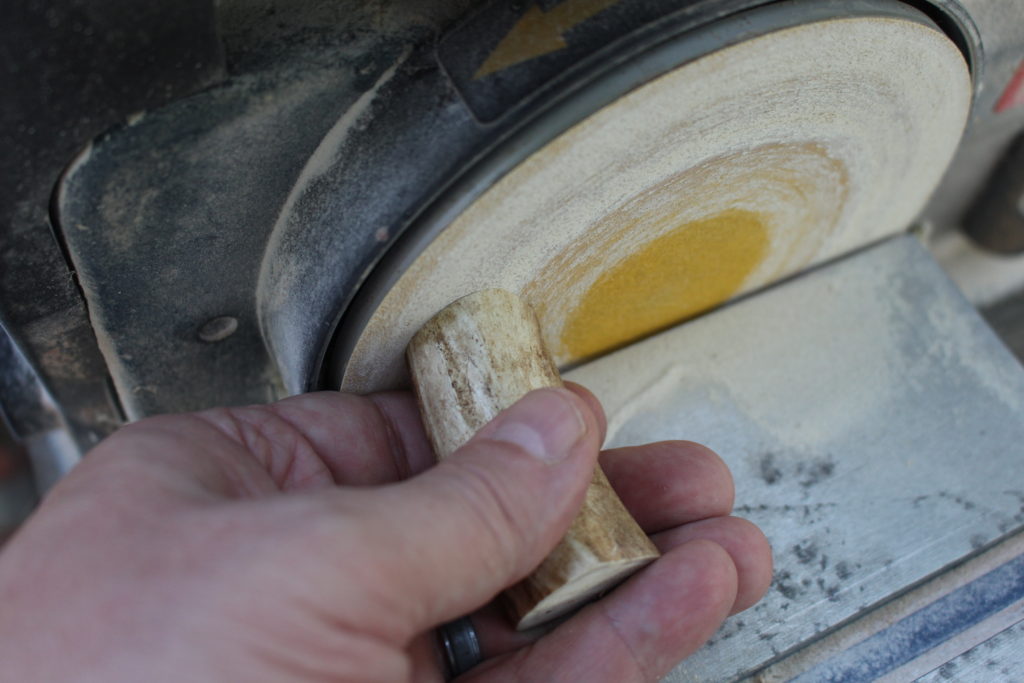
Step 2 – Prepare Antler Blank for Turning
First prepare a waste wood block (preferably a couple inches thick — photo 2 & 3). There should be a faceplate that came with your lathe. You can screw a round waste wood block to this faceplate and then the faceplate will screw onto the spindle (headstock) of your lathe. True up the face of the wood block with a parting tool or skew chisel.
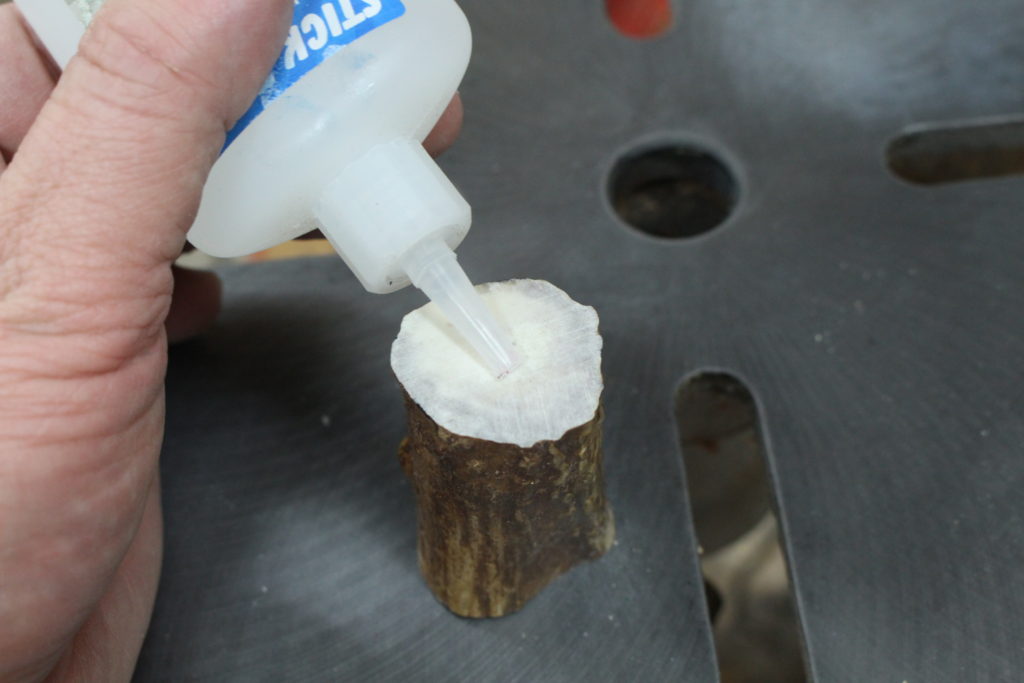
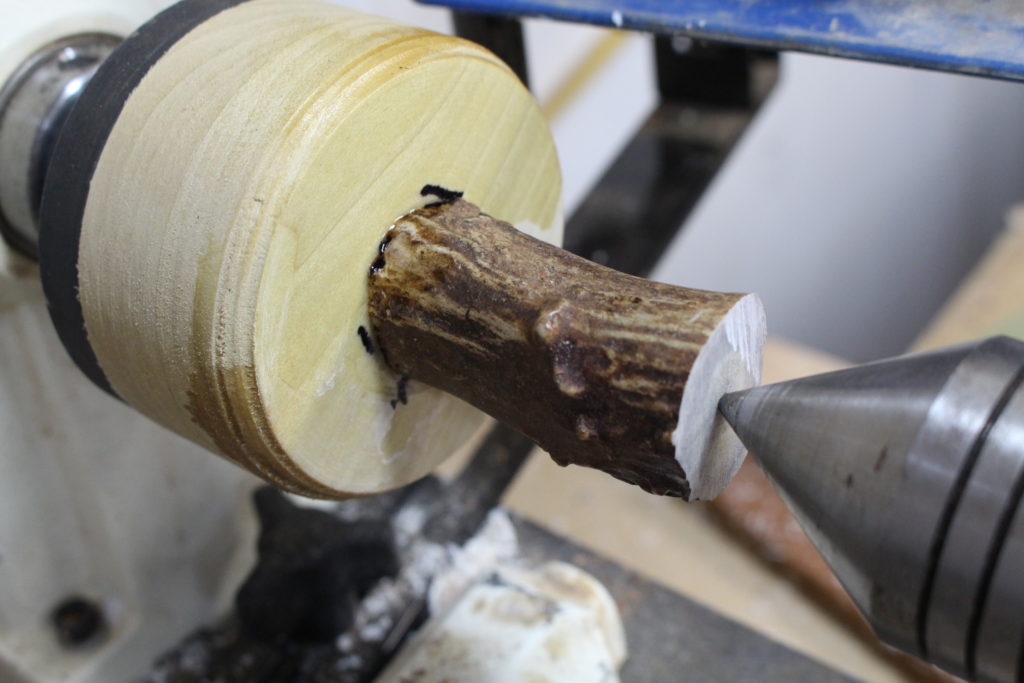
I like to also true up each end of the antler, using a disk sander(photo 4). Next put a generous amount of medium CA (super glue) to one end of the antler(photo 5). Touch the other antler end to the live center on the tail stock (try to get it close to center). Use the tailstock to push the glue end to the waste block (try to stay in the center of the waste block) — see photo 6. You need to do this step fairly quickly since the CA glue will dry fast.
Allow the glue to dry.
Step 3 – Turn the Antler
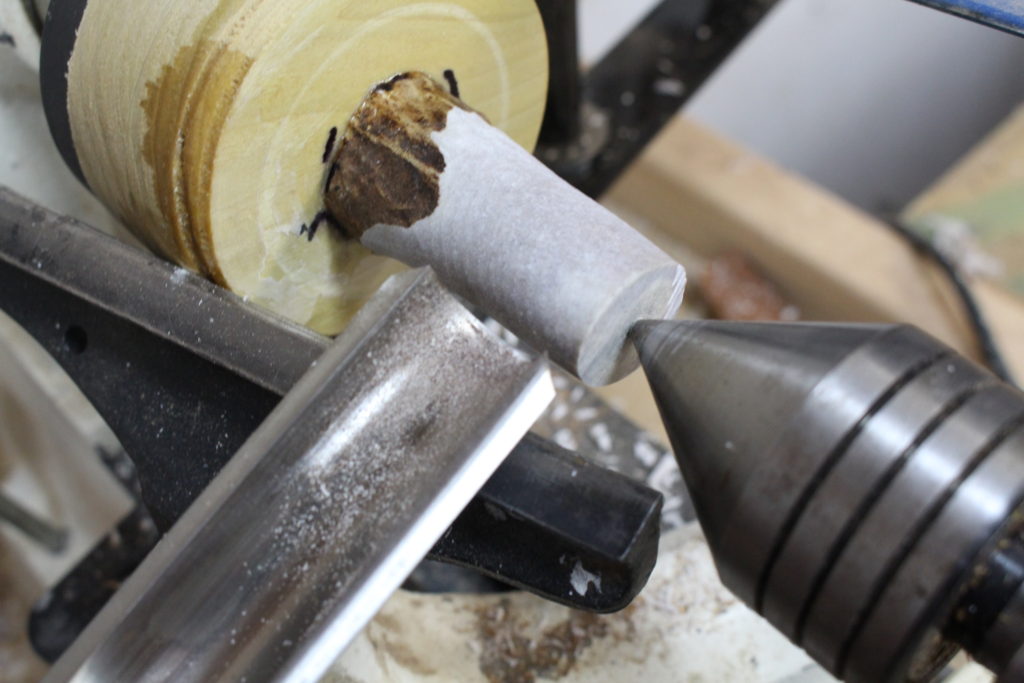
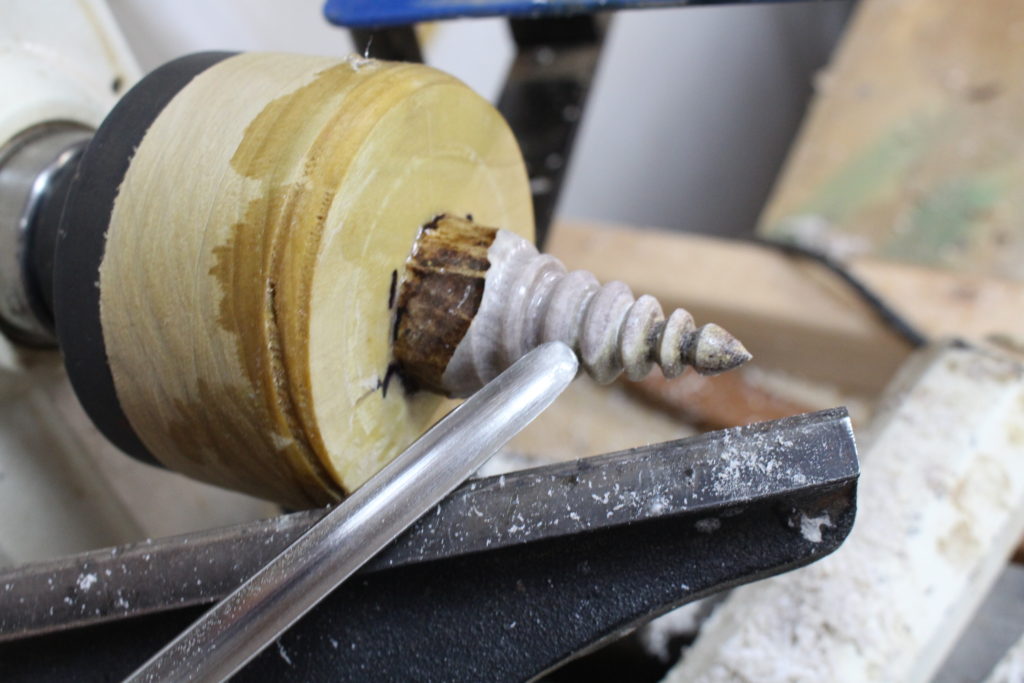
In photo 7 above, I’m using a roughing gouge to turn most of the antler into a cylinder. I’m leaving some of the antler “bark” untouched for the base. Keep the tailstock in place for added support.
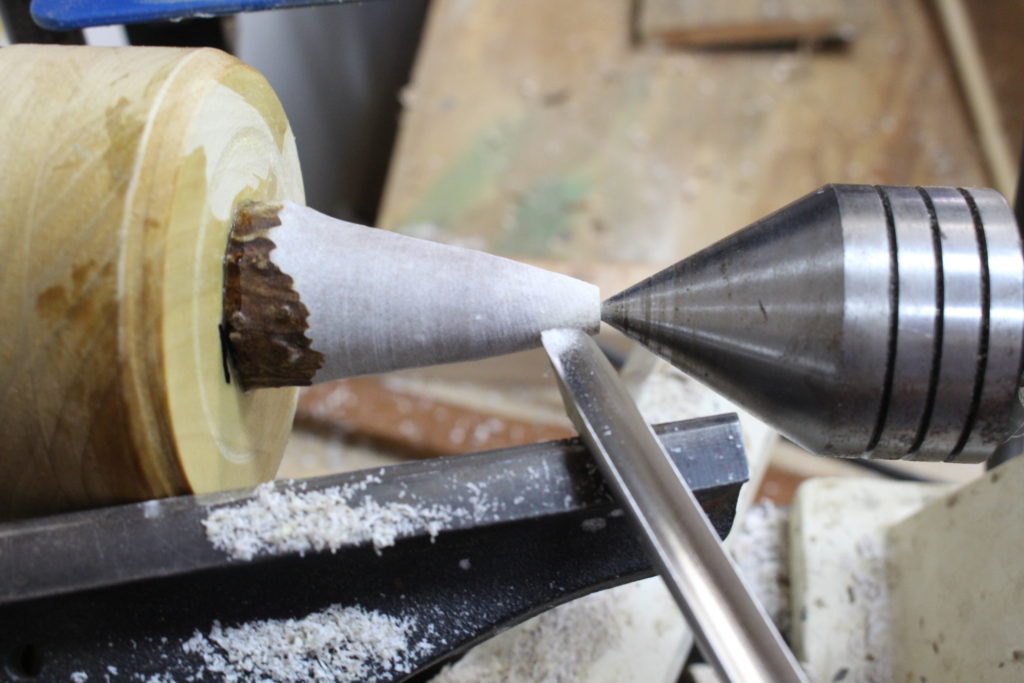
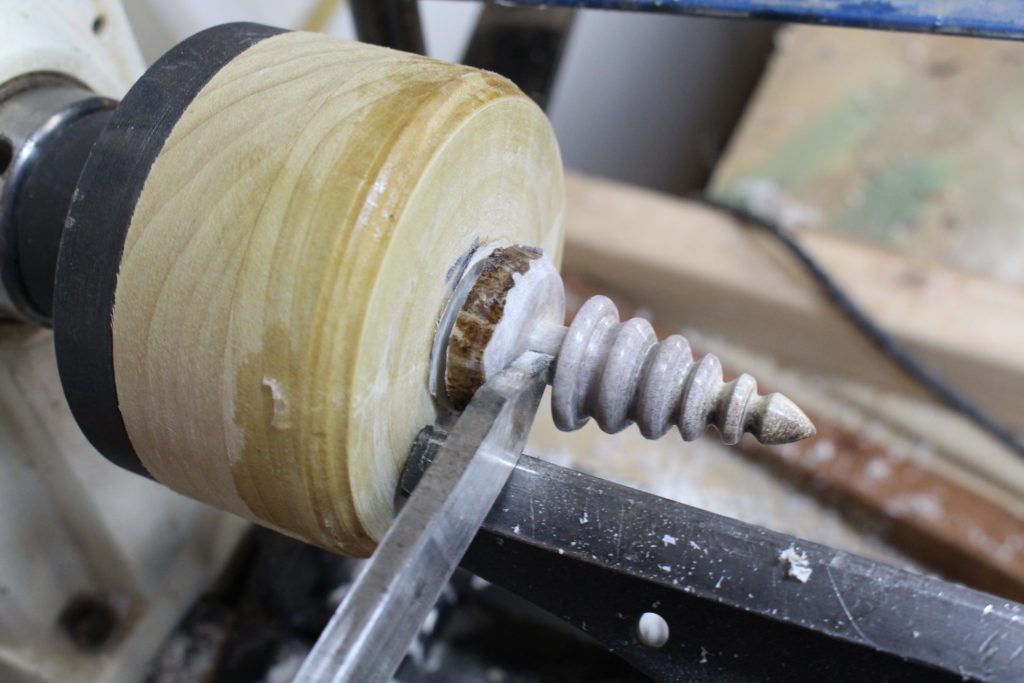
In photo 8, I’m tapering the antler to form the Christmas tree shape. Continue to keep the tailstock in place.
In photo 9, I’m using my other turning tools to shape the antler. I used a 3/8 spindle gouge and my 1/8, 1/4 parting tools to make the shapes. Check out my finished trees for different shape ideas.
Notice at this point, I’ve removed the tailstock. Now I can do final shaping of the top of the Christmas tree. The CA glue held the antler to the wood block nicely. Keep your safety glasses on through the whole turning process.
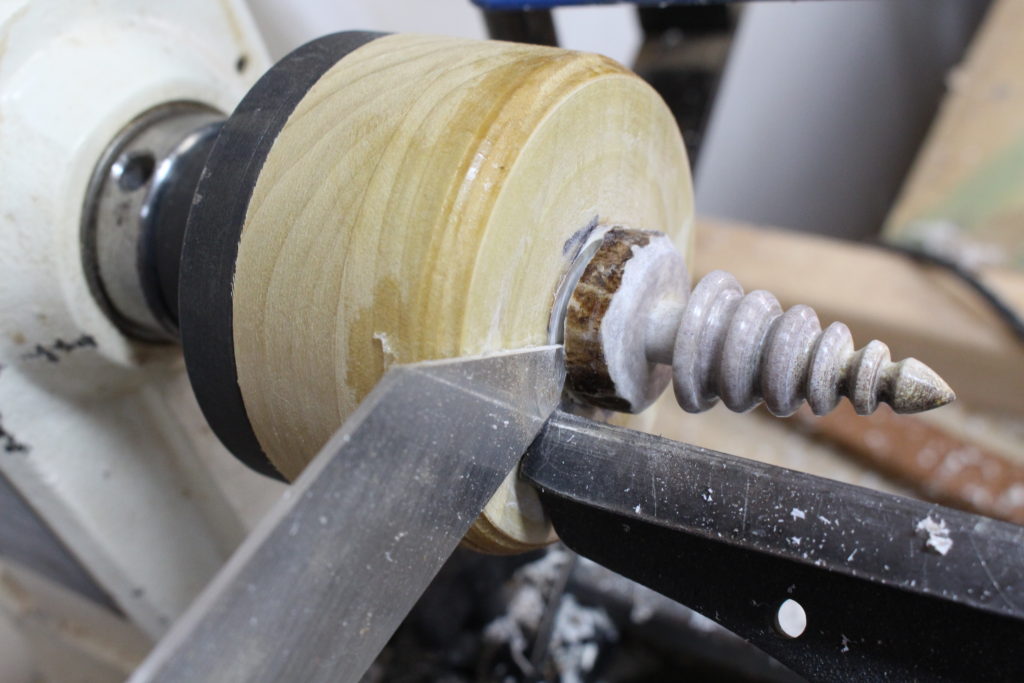
In photo 10, I’m using the 1/4 parting tool to complete the tree trunk. Don’t take too much off or you will accidentally part the tree in two.
In photo 11, I’m using the 1/8 parting tool to part the tree off the wood block. Carefully cup your free hand under the tree to catch it when it comes off the lathe. Then you can take the piece to the disk sander and lightly sand off any nubs from the parting process.
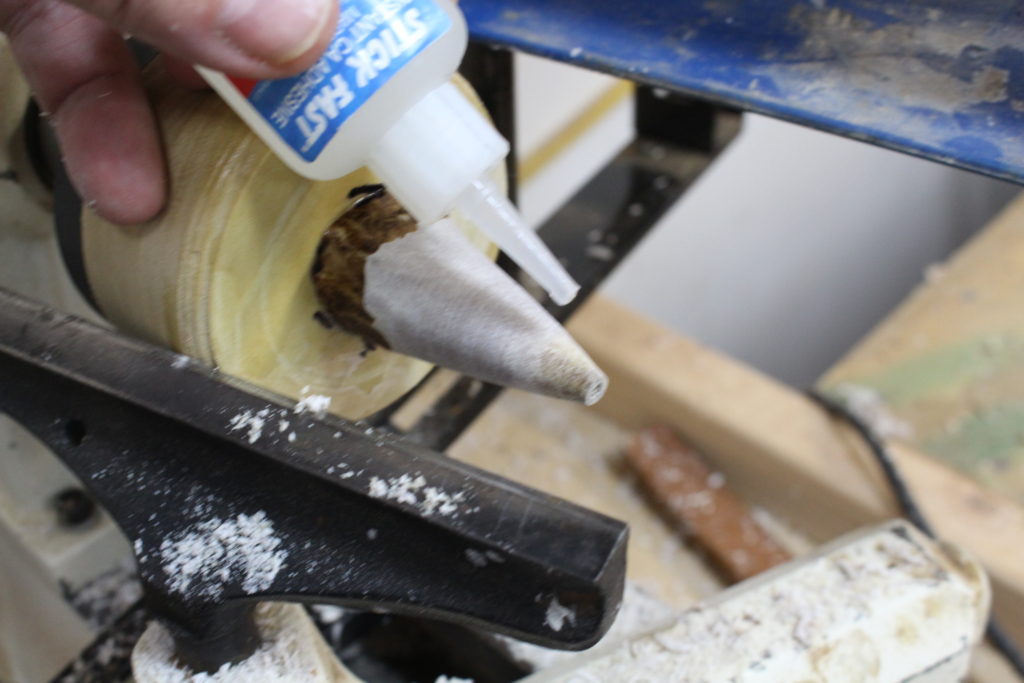
In photo 12, I’m using thin CA glue to fill any porous areas of the antler. You can do this at any point in the turning/shaping process as you hit porous areas of the antler(expect some porous areas around the top area). I always wear nitrile gloves since thin CA goes everywhere. It’s NOT any fun to get this on your skin!!
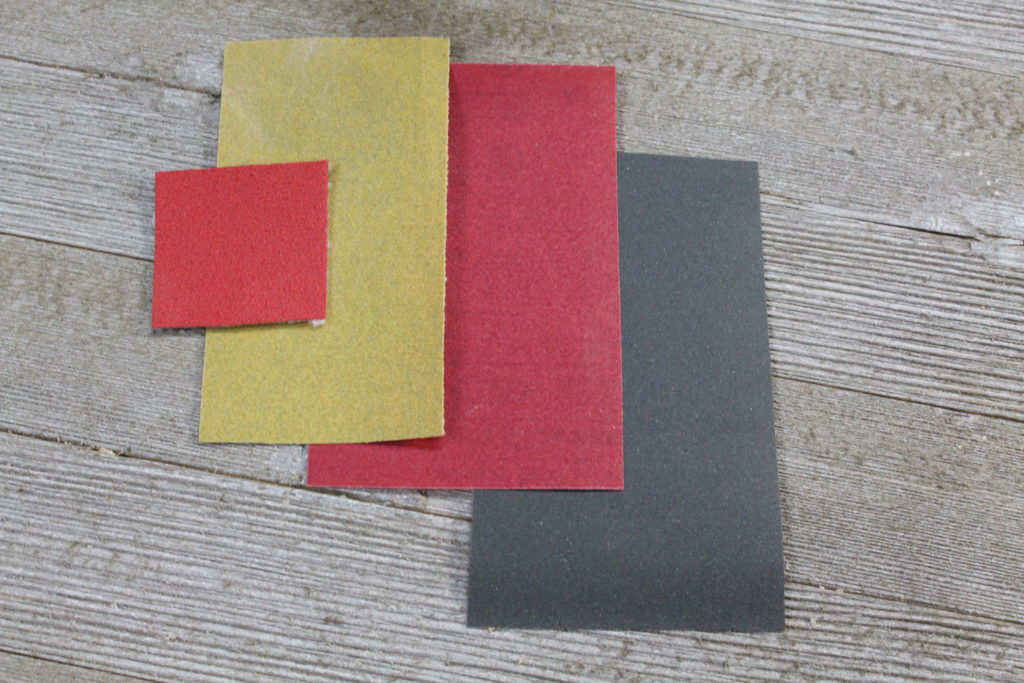
In photo 13, I’m showing my sanding materials. I worked from 200 grit up to 1000 grit sandpaper. When you get to the 1000 grit sandpaper, the antler will take on a glossy finish. NOTE– Do all the sanding BEFORE you part the tree off the lathe.
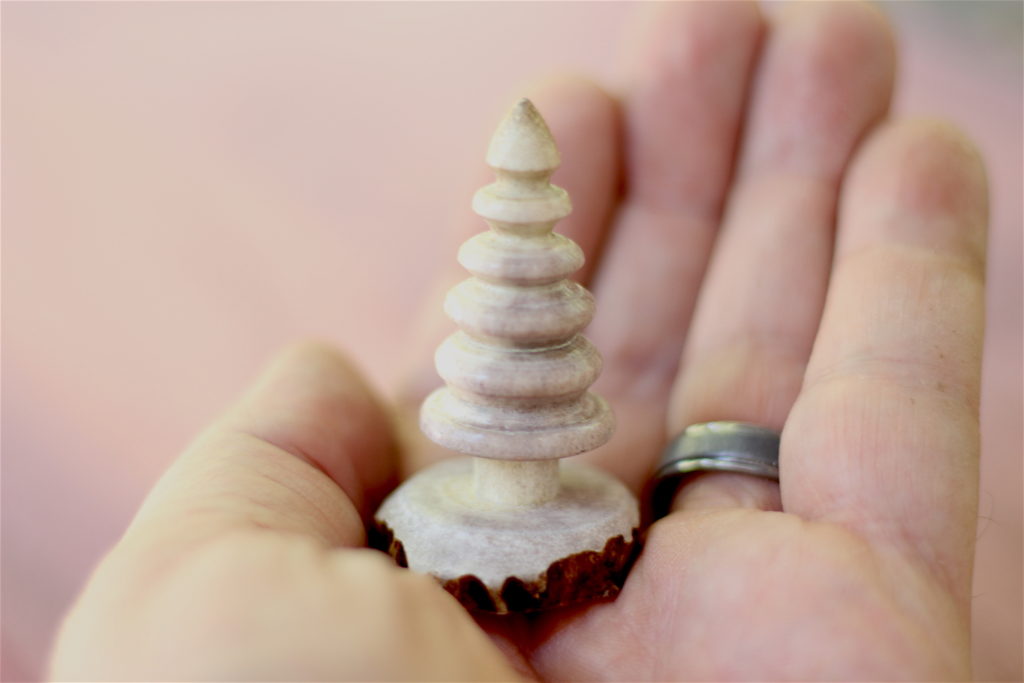
The Finished Christmas Trees
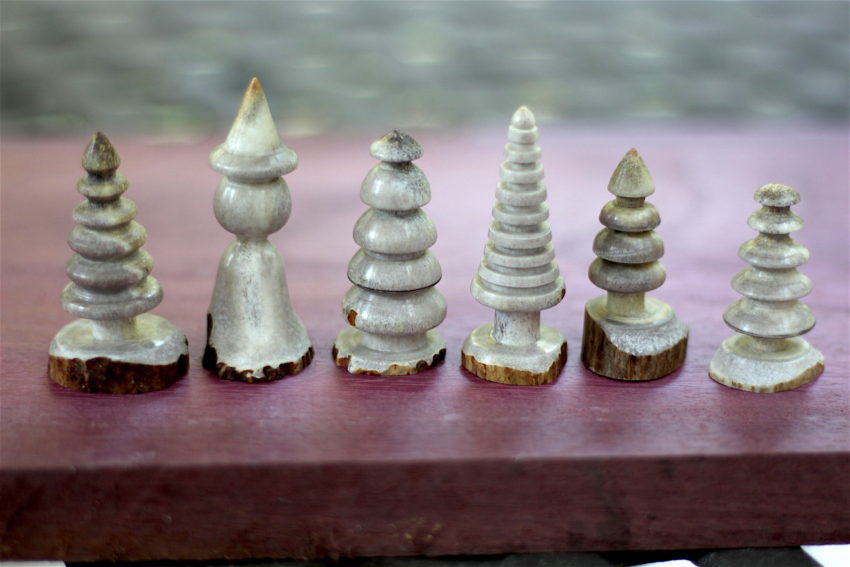
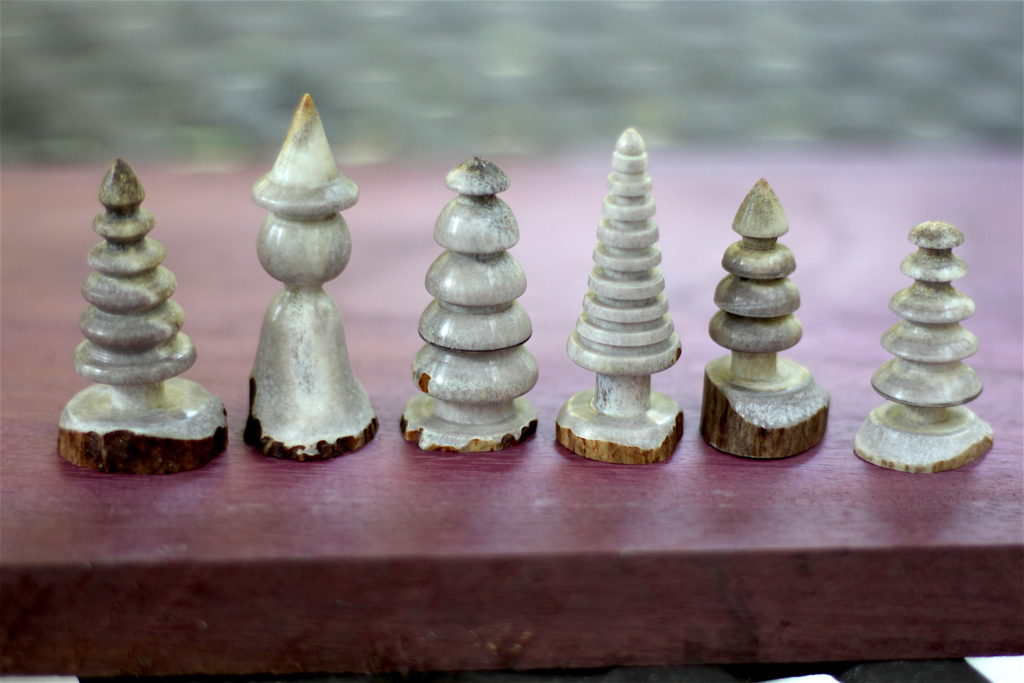
Here are the different trees I made. Notice the different shapes(photo 14). The second one from the left is actually a wizard. I like to leave the antler “bark” on the base. I just think that looks really cool. No need to add any finishes since antler is a very robust material and these will probably not be exposed to moisture.
Get creative. I’m now thinking about other things I could make make with antler: snowmen, chess pieces, ornaments, ice sickles, etc.
Here are a few of my other popular antler tutorials:
I hope you enjoyed this tutorial. If you’d like to receive more tutorials like this (as well as woodworking tutorials) please SUBSCRIBE. Look for the signup form below this post or in the side bar.
Thanks and God bless!

Are you starting up a new shop? Want to work safer in your shop? To help you answer these questions I've put together a 2-part checklist -- Home Shop Safety & Tool Checklist.
I will also send you updates of my latest woodworking and DIY projects. You can get all this by subscribing to my free email newsletter.
