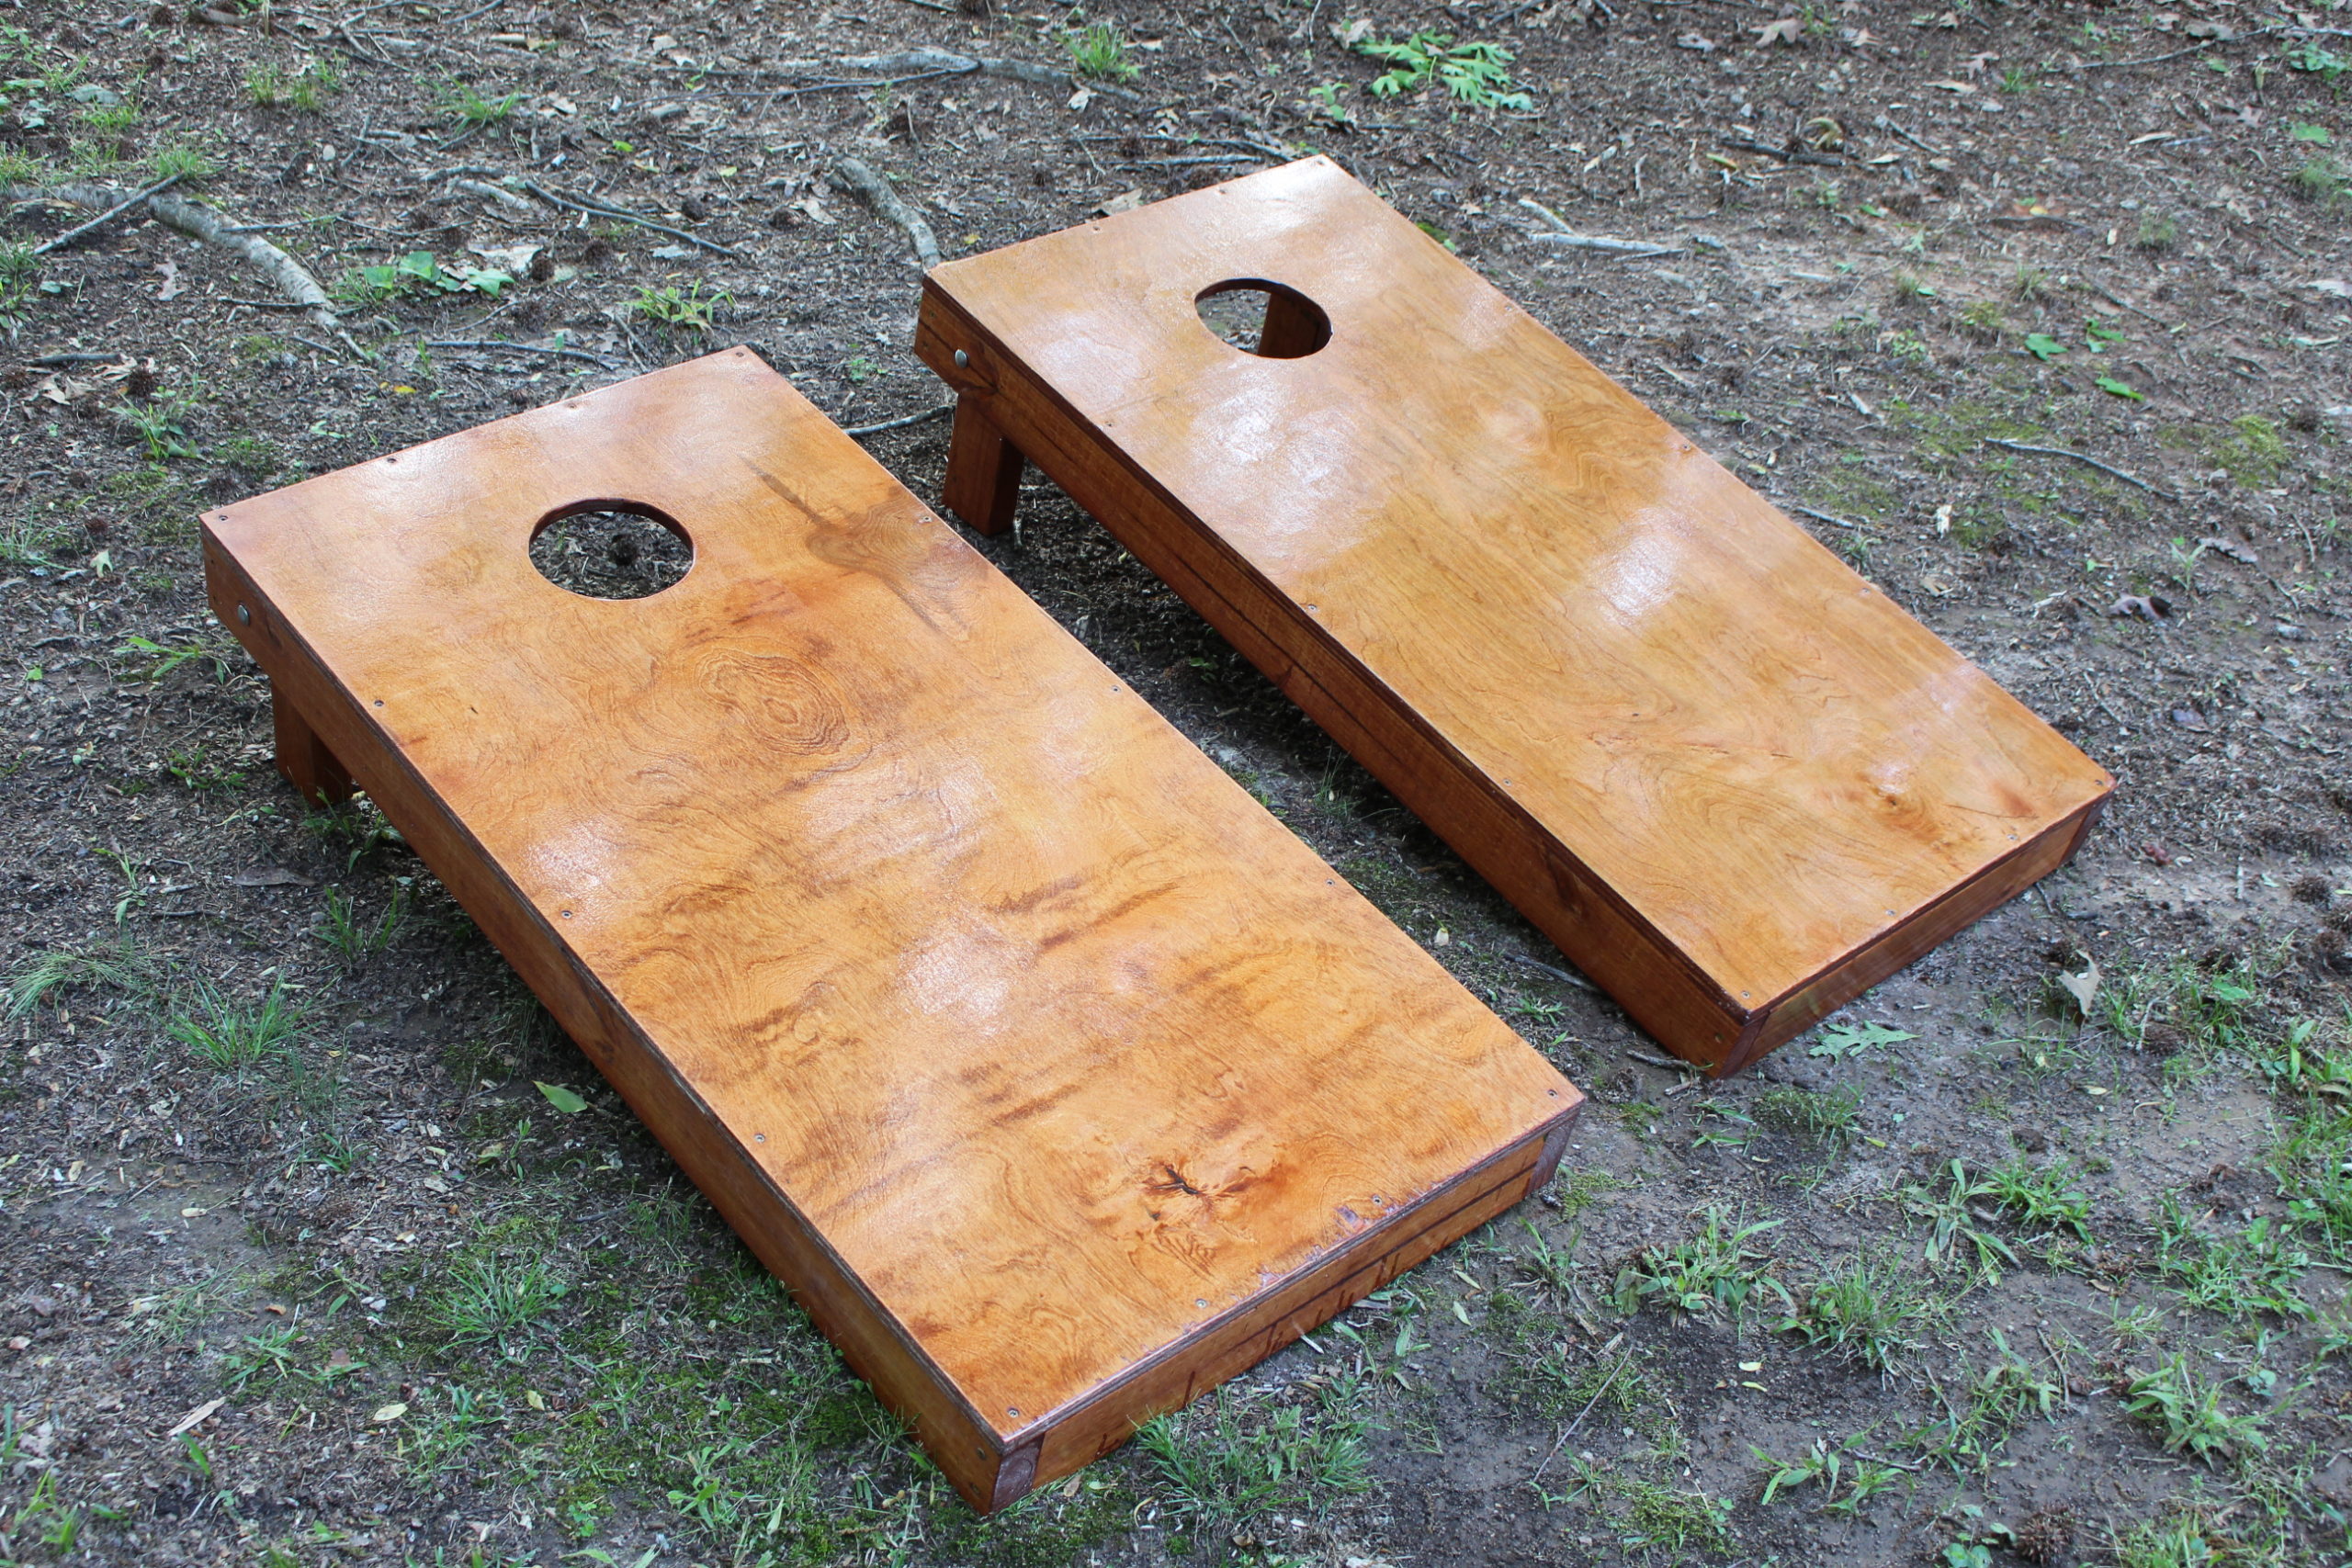
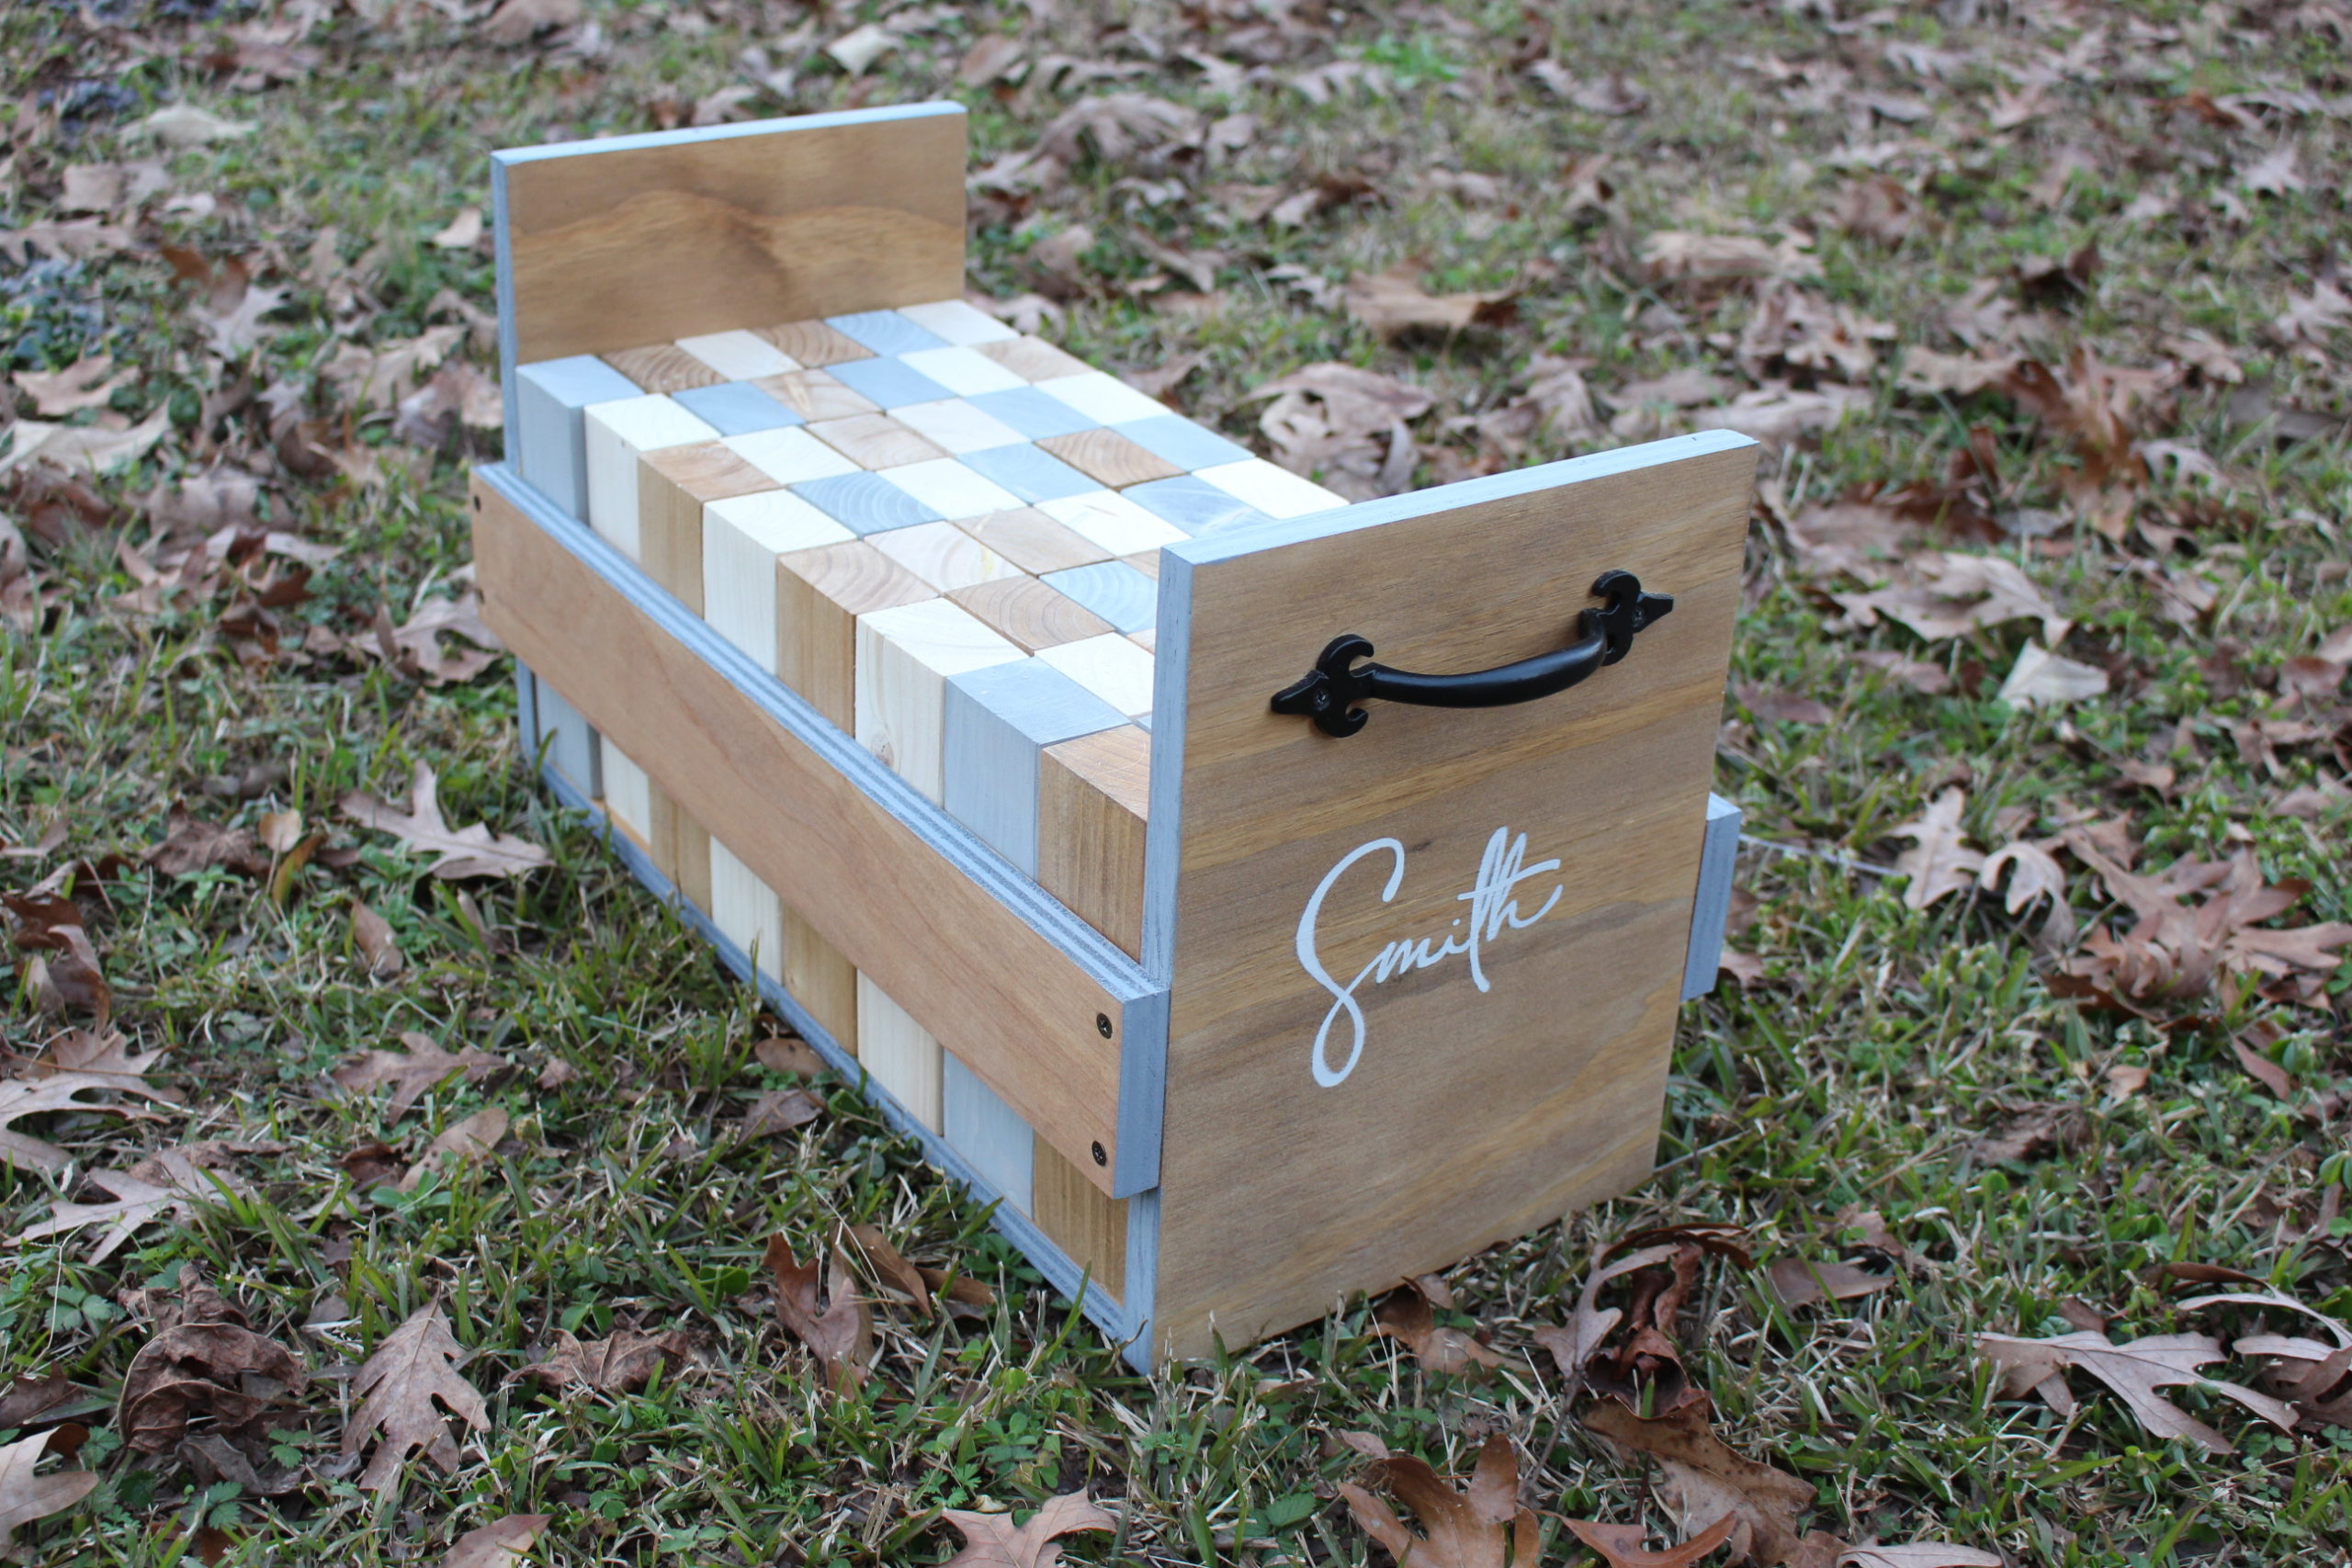
I hope you enjoy my new tutorial on how to make cornhole boards. Like most of America, I’ve been sheltering in place during the Covid-19 pandemic. And so woodworking projects make the time spent at home more pleasant. My daughter has been begging me to make a set of cornhole boards, so I gladly complied. I told her to consider this an early wedding gift. Quick Update – My daughter got married in July and we used the cornhole boards at the reception dinner. A big hit!!
Download FREE Plans
Basic Tools / Supplies I Used
- Electric hand drill
- Jigsaw
- 6 Inch Hole Saw – Optional (affiliate link)
- Orbital sander
- Circular saw
- Miter saw or table saw (optional)
- Stain (your choice)
- Polyurethane
- Paint brush & small roller
- Sandpaper (120, 220, 320 grits)
- #10, 3.5 inch exterior screws
- #8, 1 5/8 inch exterior screws
- Cornhole Bags
(affiliate link)
Check out My Favorite Tools Resource page if you need to review and buy tools. This is a list of the tools (with affiliate links) that I use for just about all the projects you see on my site. Including this cornhole board project.
Step 1 — Choosing Materials
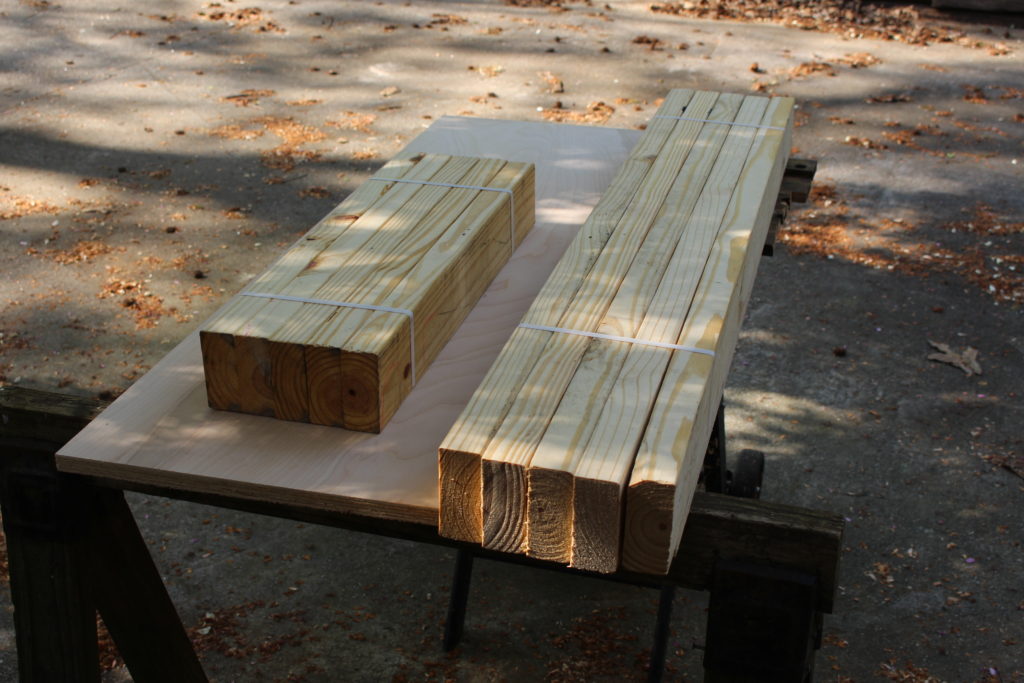
I used birch plywood (2′ X 4′) and premium pine 2 X 4’s. These premium boards were straighter and had fewer knots. I picked up a bundle of 5 – 2′ long. And a bundle of 5 – 4′ long. The 2′ X 4′ plywood pieces are already pre-cut, so don’t go buy a 4′ X 8′ board unless it will save your some money.
I didn’t use treated boards since we will store these cornhole boards inside away from rain and the elements.
If you want to somewhat “weatherize” the boards, you could use Spar Urethane instead of regular polyurethane for the finish. Just note that untreated plywood will not last very long in the elements — even with the Spar Urethane finish.
Step 2 — Cut the Boards & Build the Frames.
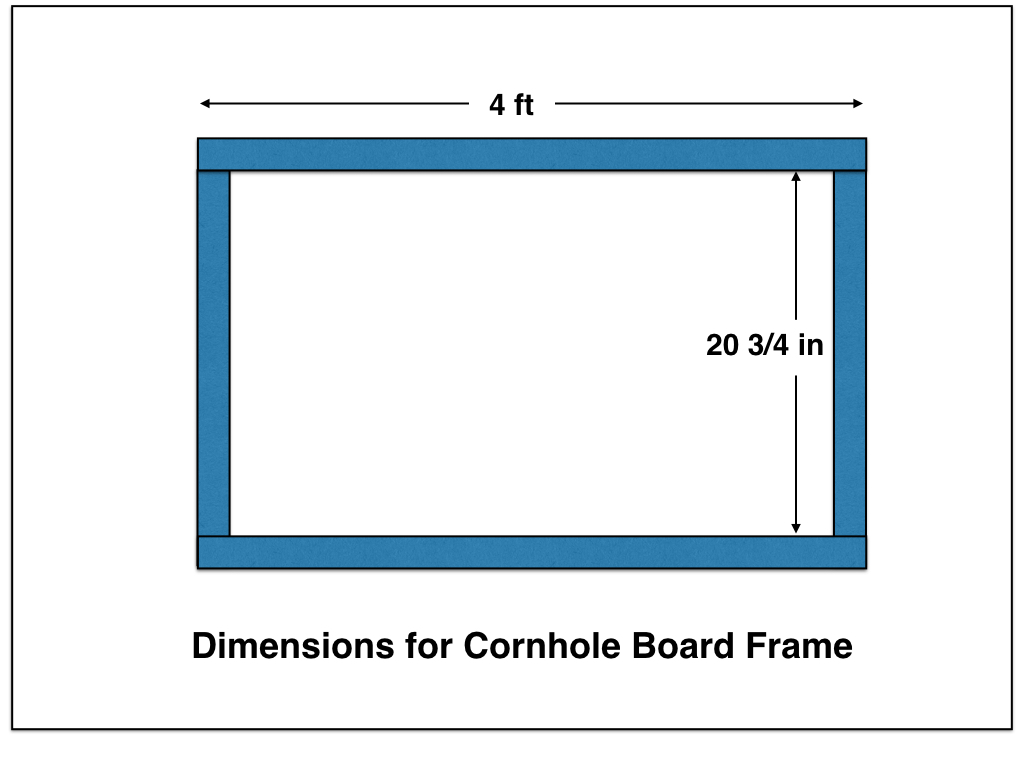
Here are the dimensions for the frame. I cut my 24″ 2X4’s down to 20 3/4″. I’ll attach these boards between the 4 ft long 2X4’s. This frame should be extremely close to matching the 2′ by 4′ birch plywood. But you may have to make a few adjustments.
I used the 2′ by 4′ piece of plywood as my guide. I essentially laid the frame out on top of the plywood to get my measurements.
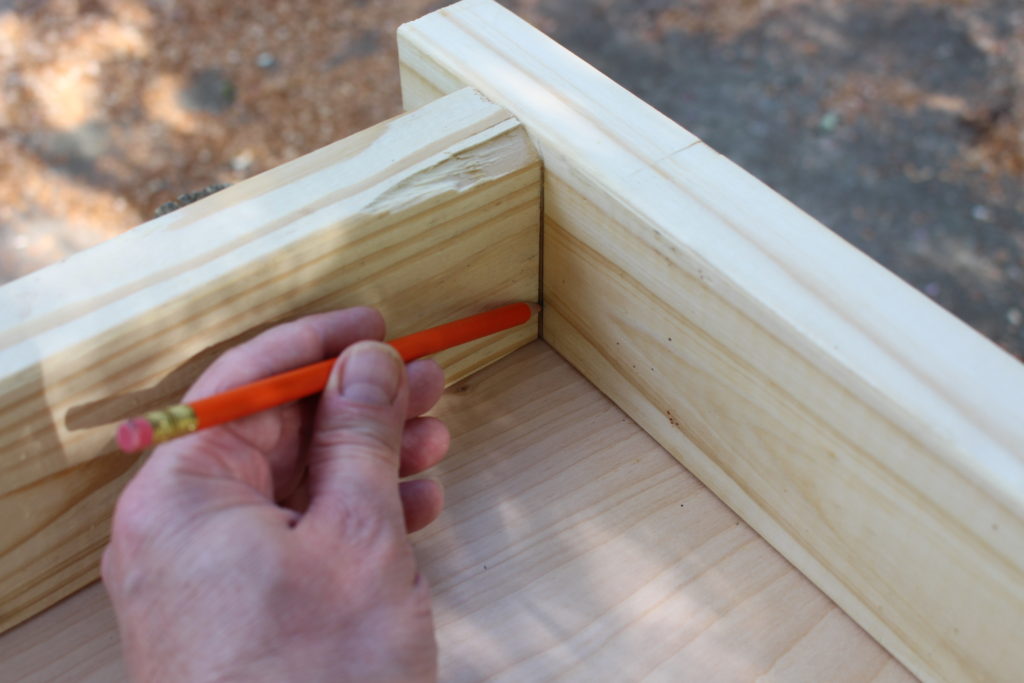
I measured the short pieces, so they will fit the two ends. I did this all on top of the 2′ X 4′ plywood. The long 4′ pieces almost matched the plywood length, but I did have to trim off maybe 1/8 inch to make them match.
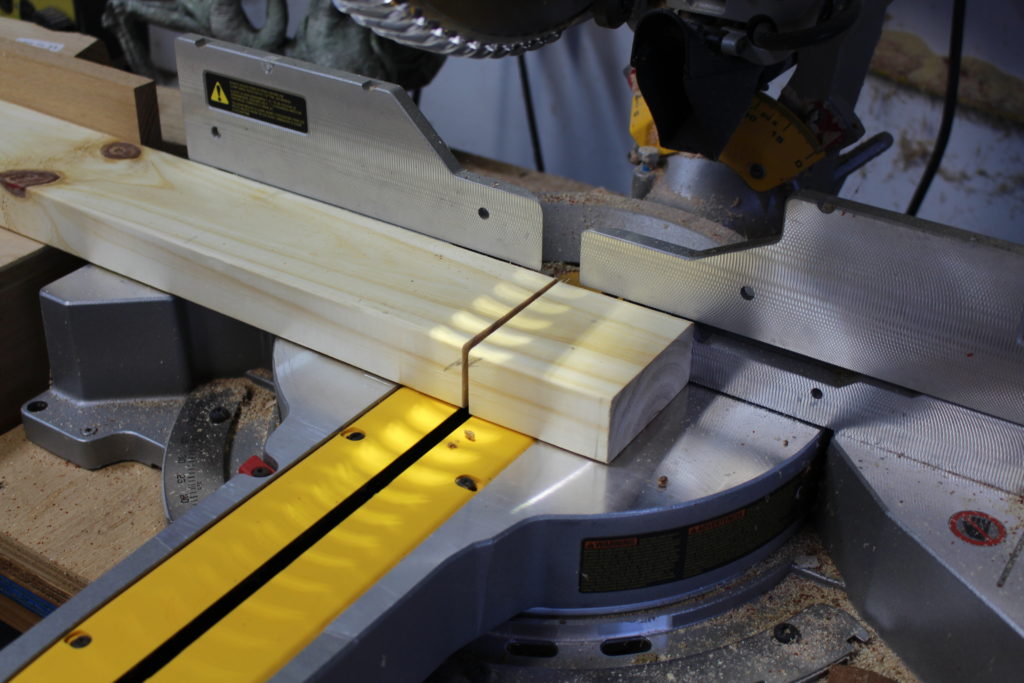
For me, the miter saw (or cross cut saw) was the best way to get a square cut. But use whatever saw you feel safe using.
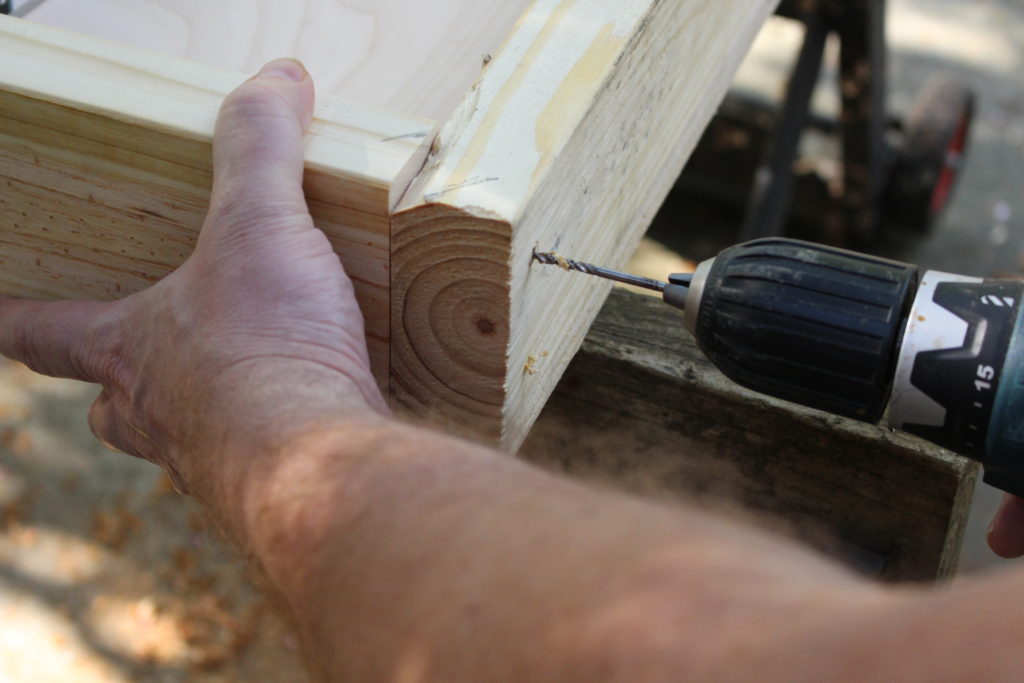
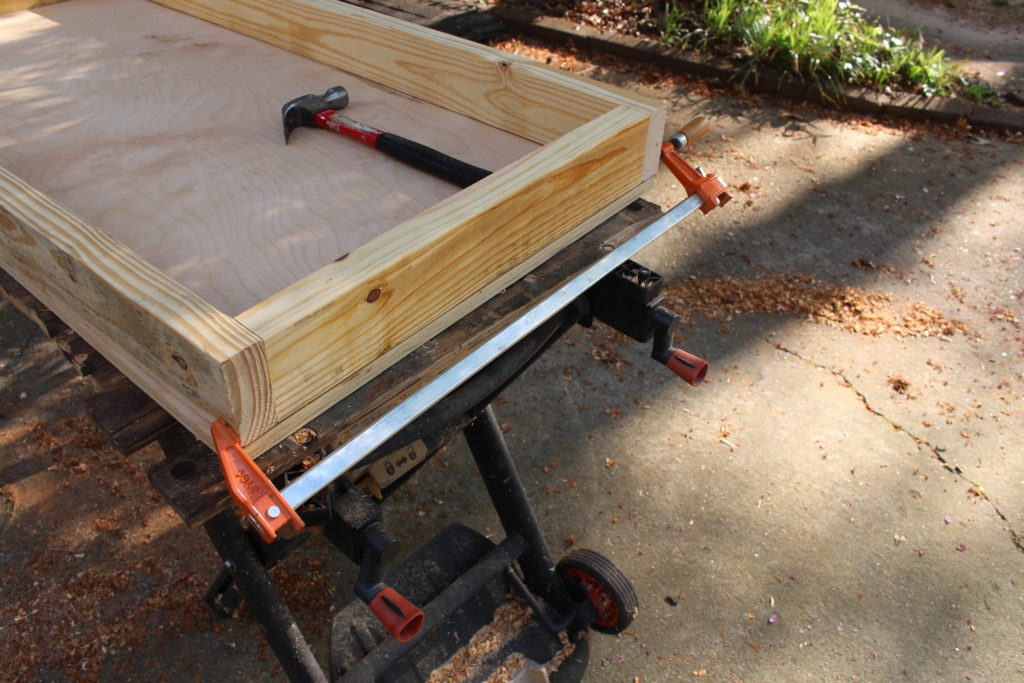
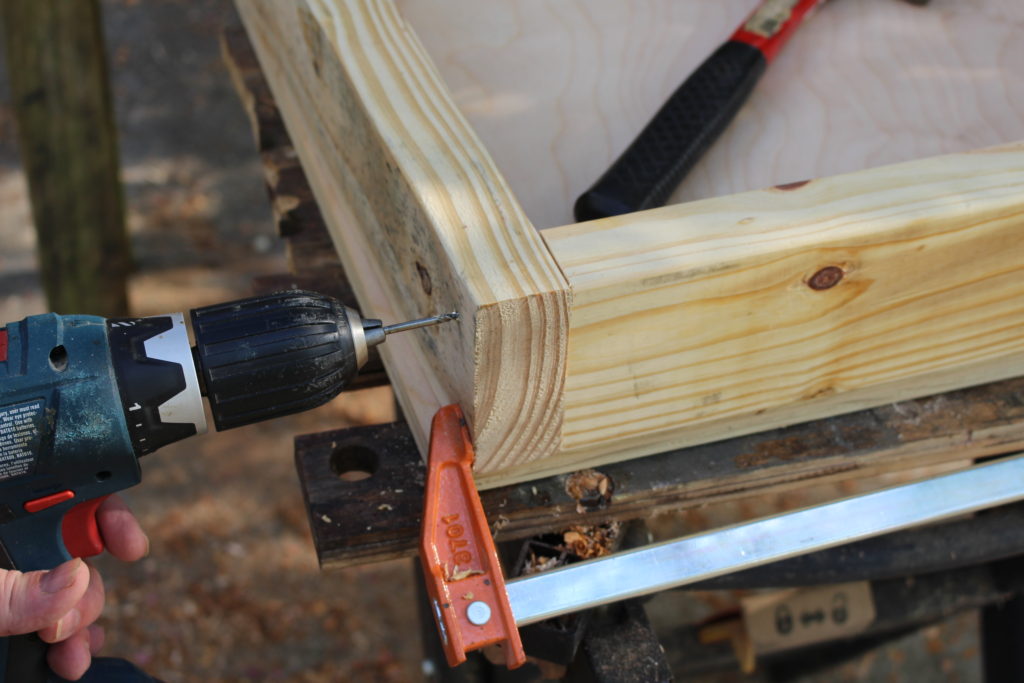
In the photos above, I’m using clamps to help hold the 2 X 4’s while I drill the pilot hole and screw the boards together. I used 3.5″, #10 exterior screws to join the 2X4’s together. Then I used 1 5/8″, #8 exterior screws for attaching the plywood.
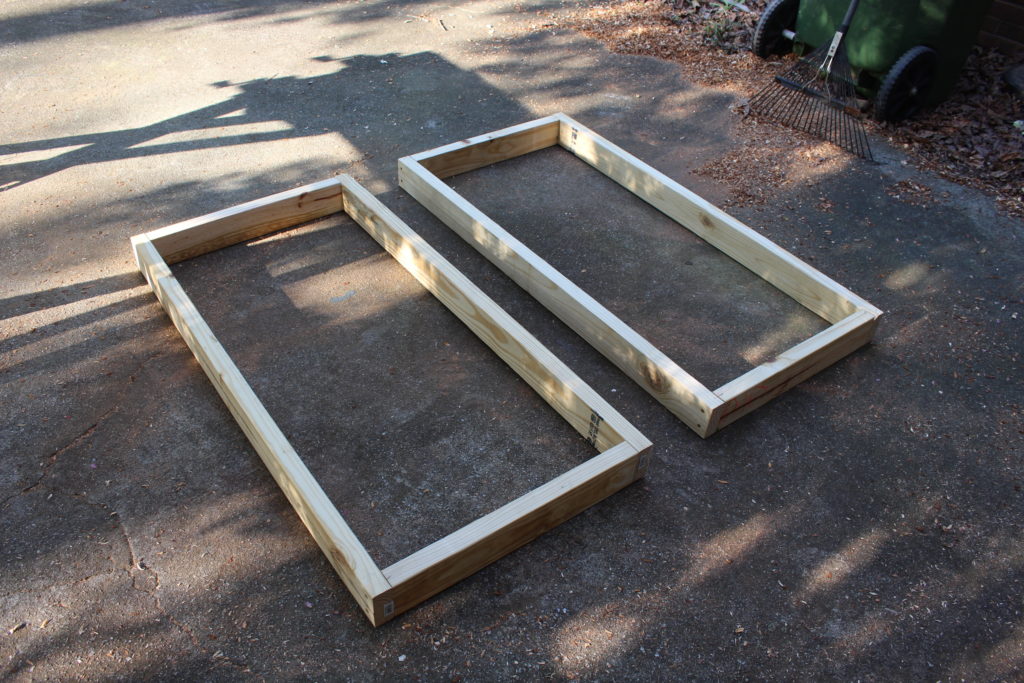
The finished frames for the cornhole boards. I was very pleased how they turned out, and glad I spend a few extra dollars on the premium pine 2 X 4’s since they were very straight and relatively knot free.
Step 3 – Attach the Plywood Top
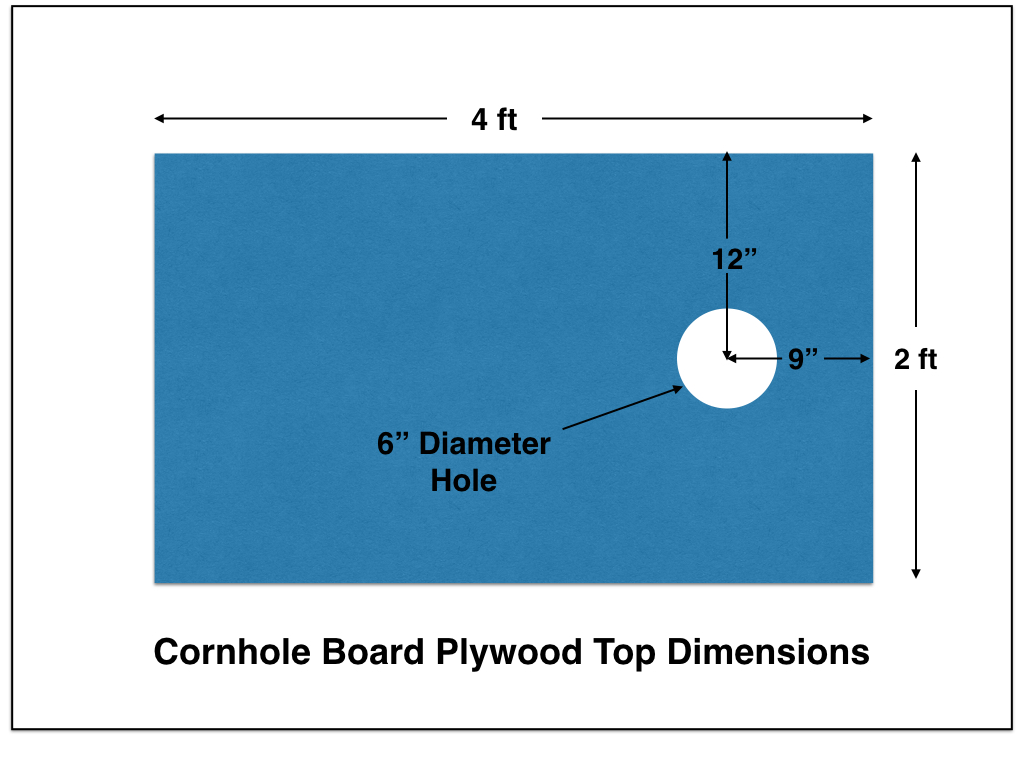
Here are the dimensions for the plywood top on the cornhole board. This plywood is precut to these dimensions straight from the store. So, I don’t need to do any trimming or cutting on the plywood. As mentioned in previous steps, I trim the 2 X 4’s to match the plywood.
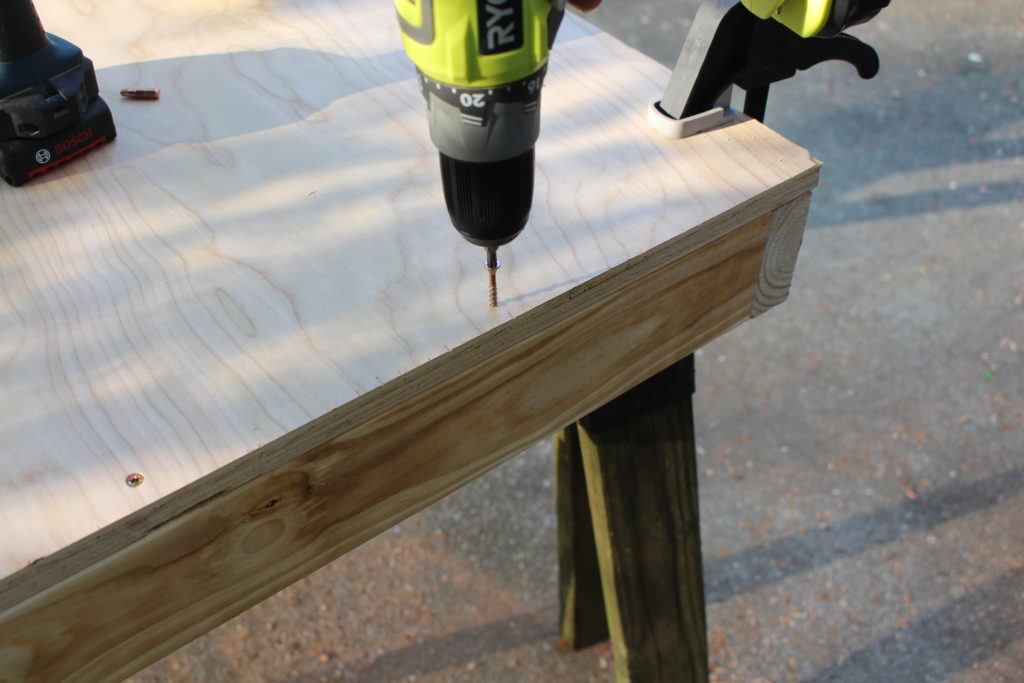
Now, I’m attaching the plywood to the frames. I drilled pilot holes and used the 1 5/8″ exterior screws to attach the plywood. I used about 14 screws for each cornhole board top. You could use wood glue on all these joints or attachments if you like. I didn’t use any glue.
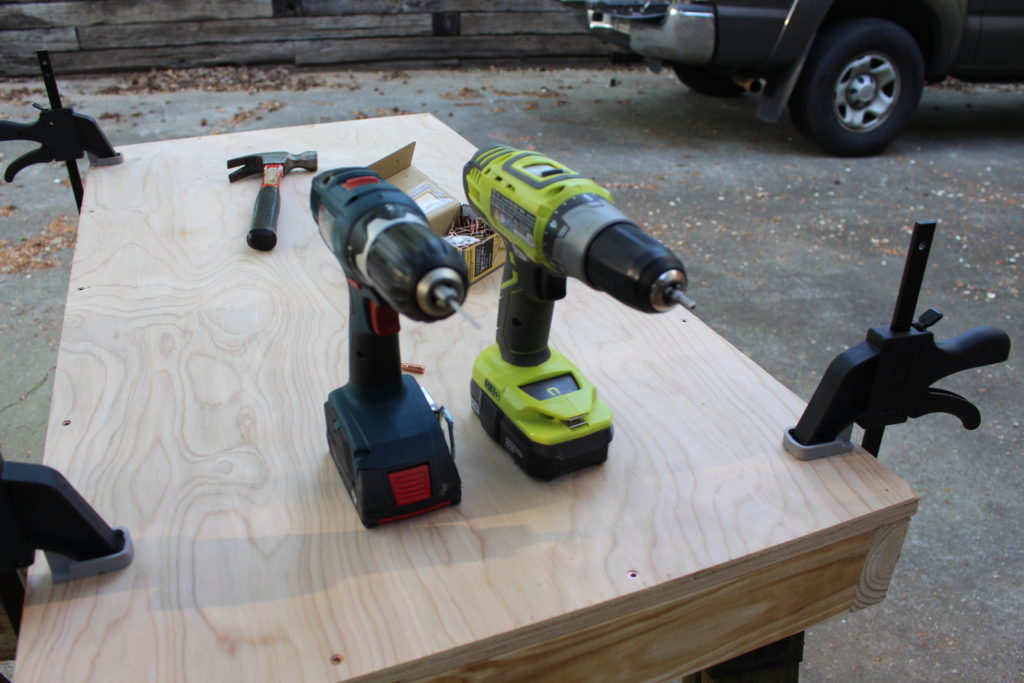
It was nice having one drill set up for pilot holes and the 2nd set up for the screws. In this photo, you can see I’m using more clamps to hold the plywood in place while I drill and screw. You can never, never have enough clamps.
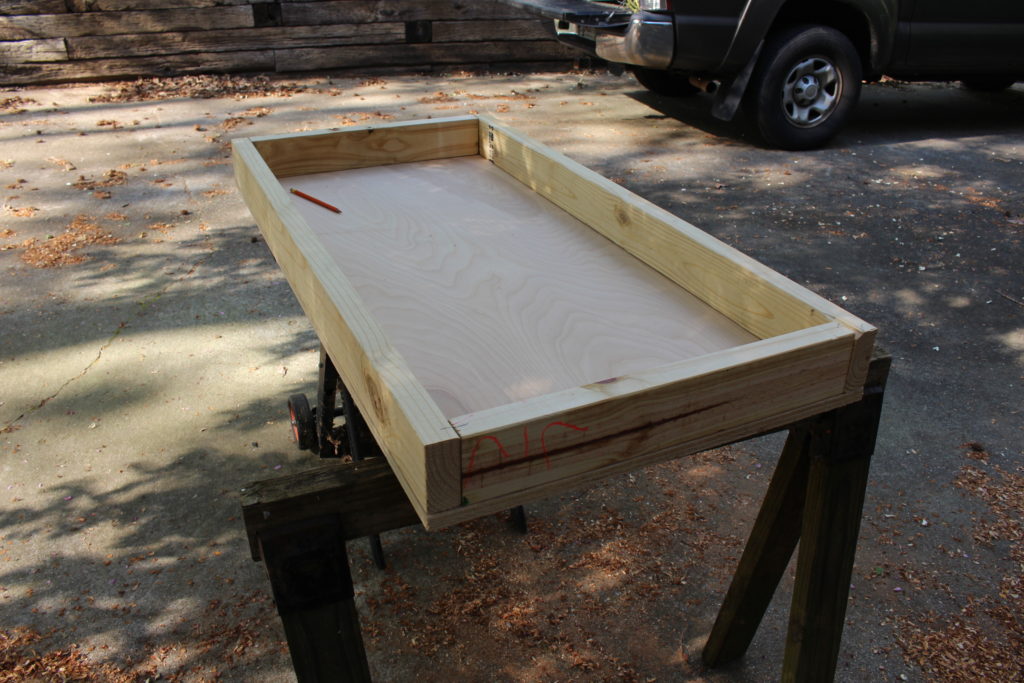
Here’s a bottom view of the assembled board. Everything worked out to be very flush all the way around.
Step 4 – Make the Legs
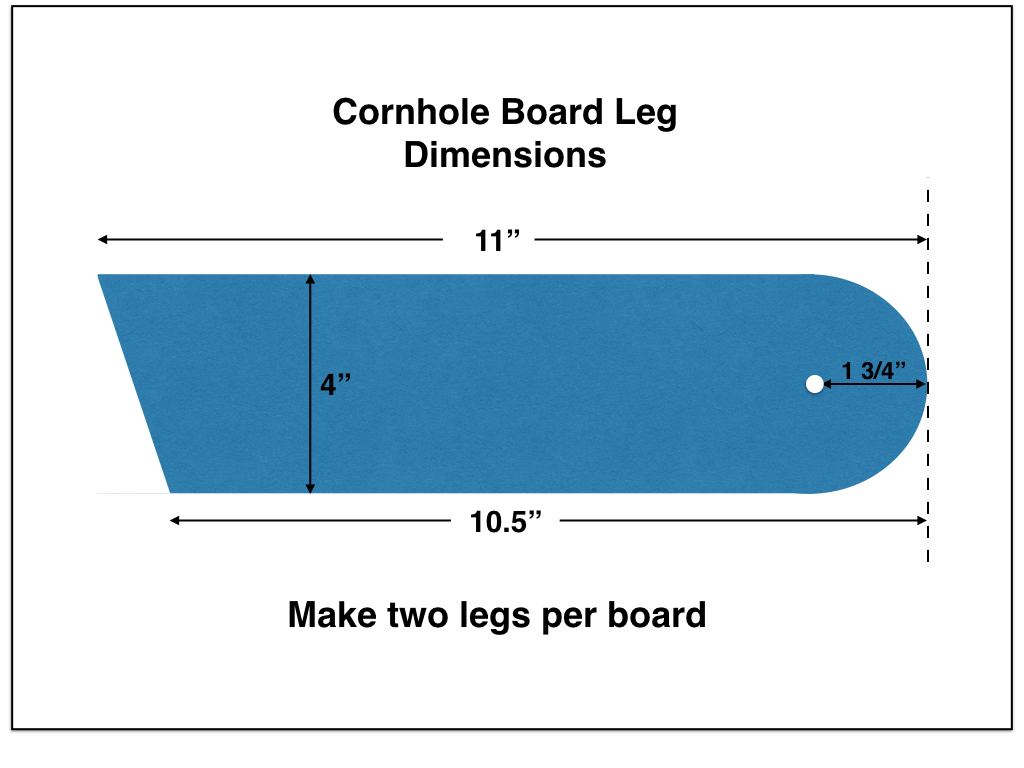
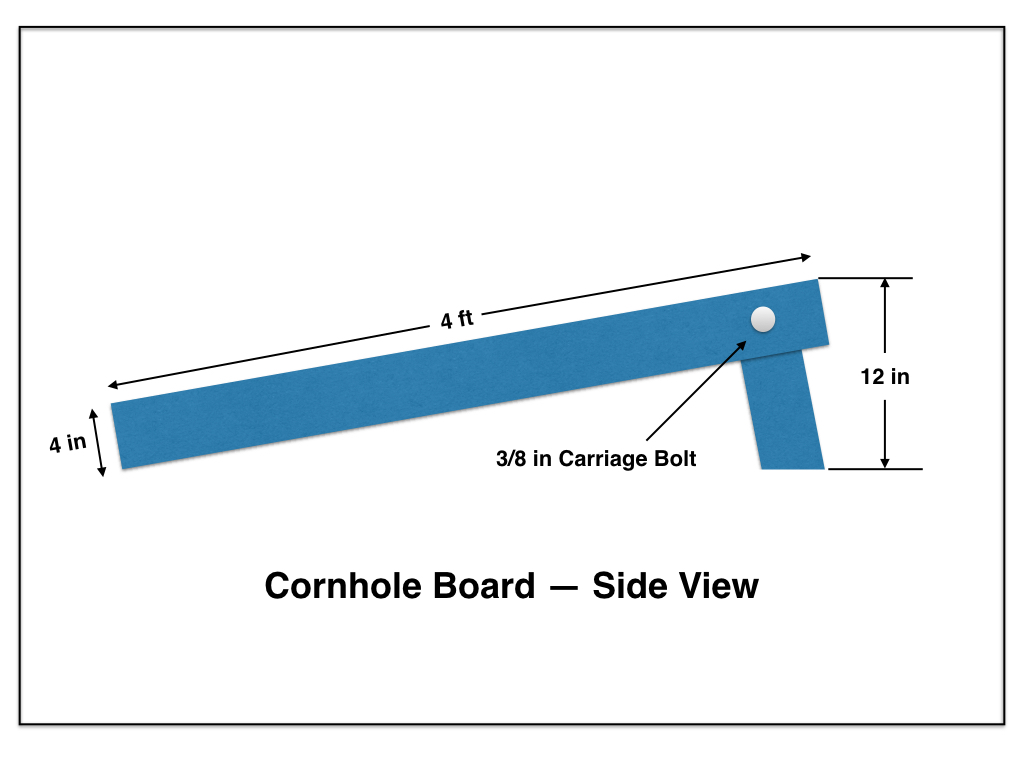
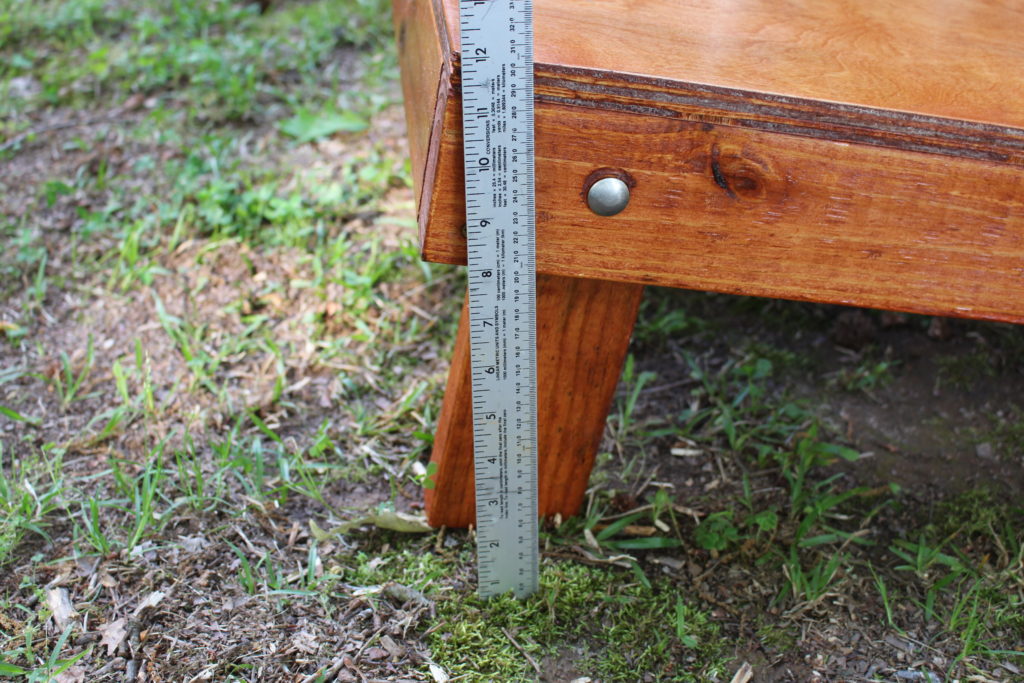
Check out the dimensions for my legs. These dimensions gave me the 12 inch height for the back of the cornhole. The 12 inches comes from cornhole competition standards. The 12 inches is measured from the top surface of cornhole board (the side with the legs) to the ground.
You can follow my dimensions if you want. I CANNOT guarantee it will give you the exact 12 inch distance. However, for backyard use, I doubt many of us care how exact that needs to be. Just try to get it close to the 12 inches.
Although, I don’t know this for a fact, but that height may have something to do with the performance of the boards. When throwing the bags, they should be able to slide some on the board.
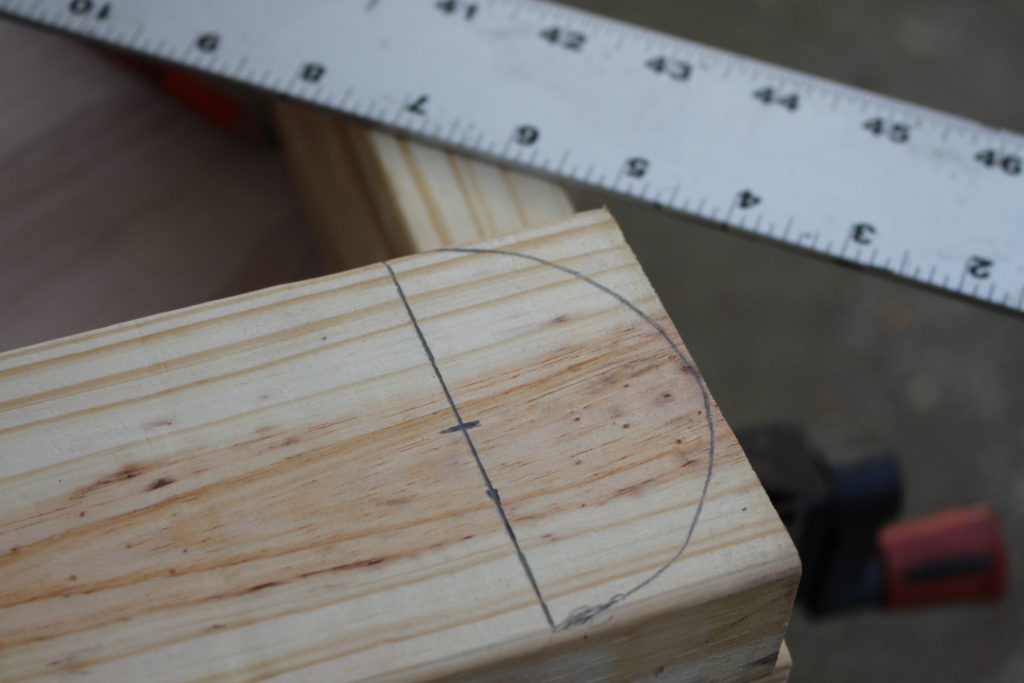
This photo shows me measuring in the prescribed distance from one end of the 2X4 leg. That measurement is 1 3/4″. You can use a compass or something round (like a can) to make your pencil marks.
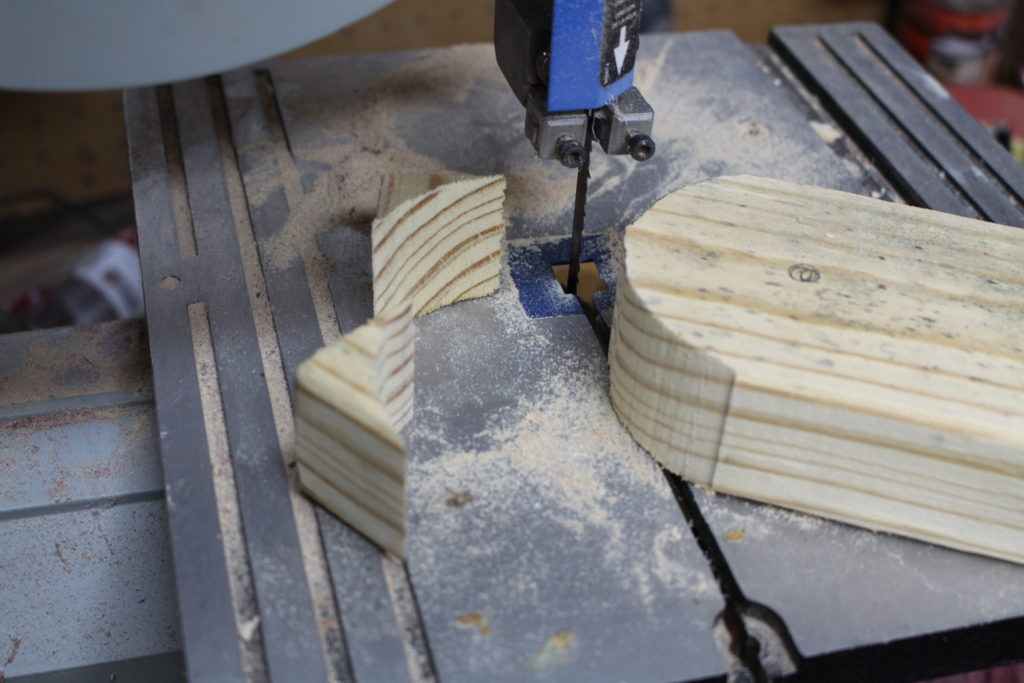
The bandsaw came in handy for making the curved cuts, but you can just as easily do this with a jigsaw.
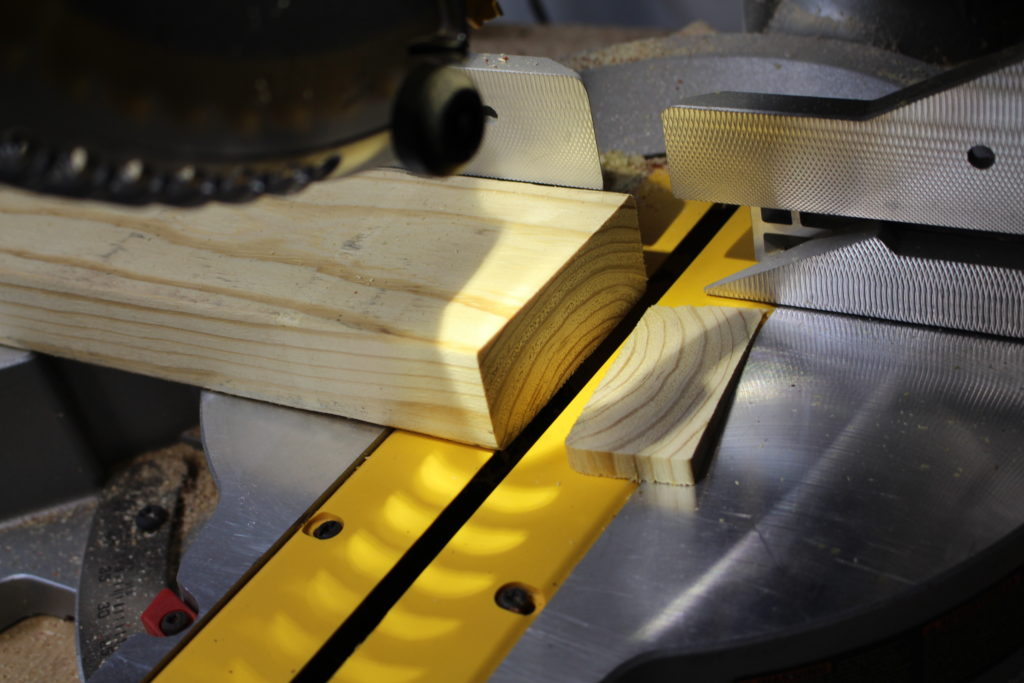
Photo above showing my angled cut for the bottom of the leg. Follow the measurements I gave above and adjust the miter saw to cut along your line. On my miter saw, it comes out to be approximately a 7 degree cut.
I believe a key goal with the legs is getting them cut to identical lengths so your board won’t wobble.
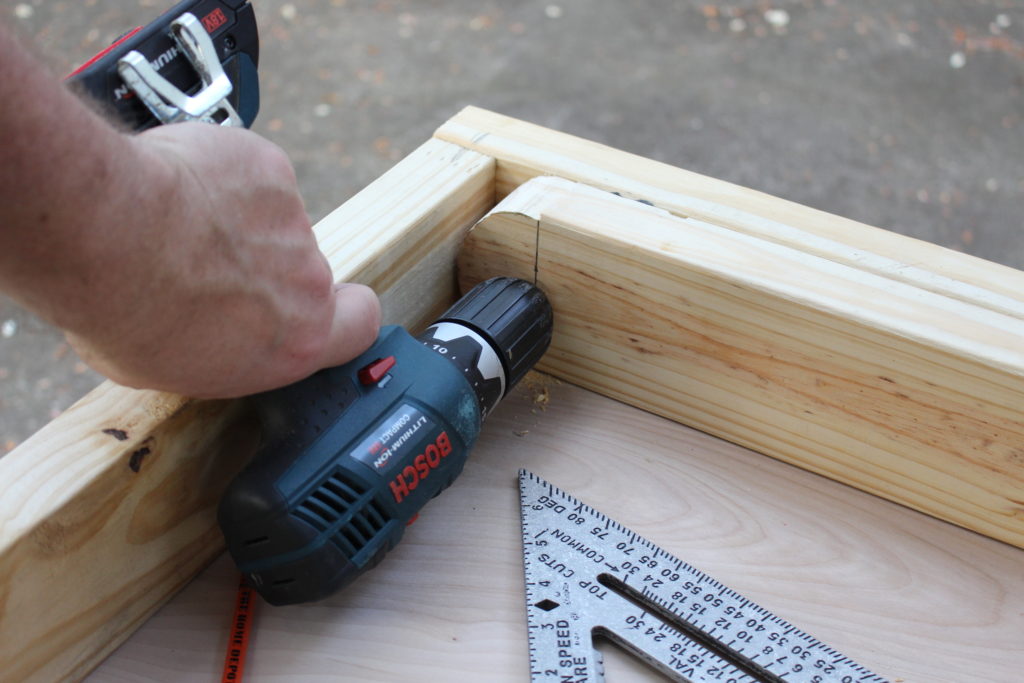
This photo shows me drilling the 3/8 inch hole for the leg attachment point. I just laid the leg in place while butting the round side into the top 2X4. Clamp it there and drill. Make sure you’re drilling in the center of the 2X4 along the line you marked in previous photos. That’s the line we measured 1 3/4″ from the end.
You could leave maybe 1/8″ clearance between the round of the leg and the top 2X4. Or sand the curve later if it doesn’t rotate smoothly.
I didn’t leave any clearance on mine, but it rotated nicely anyway.
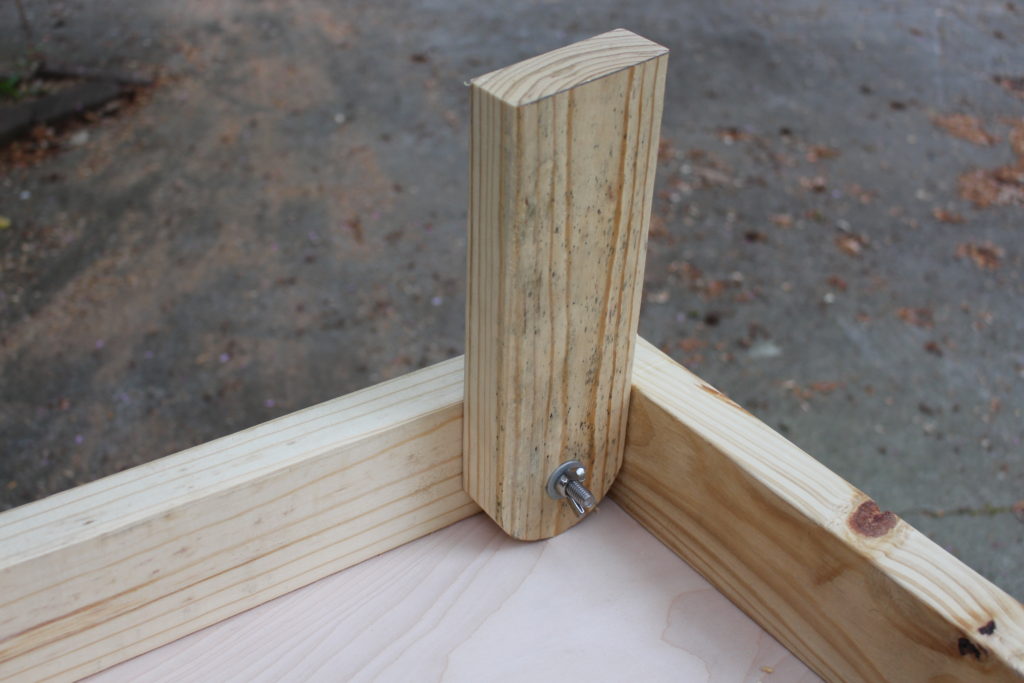
I used a 4″ long, 3/8″ lag bolt with a flat washer and wing nut to attach the leg to the cornhole board. The wing nut doesn’t have to be super tight. The leg should rotate fairly easily. If not, do a little sanding and make some adjustments.
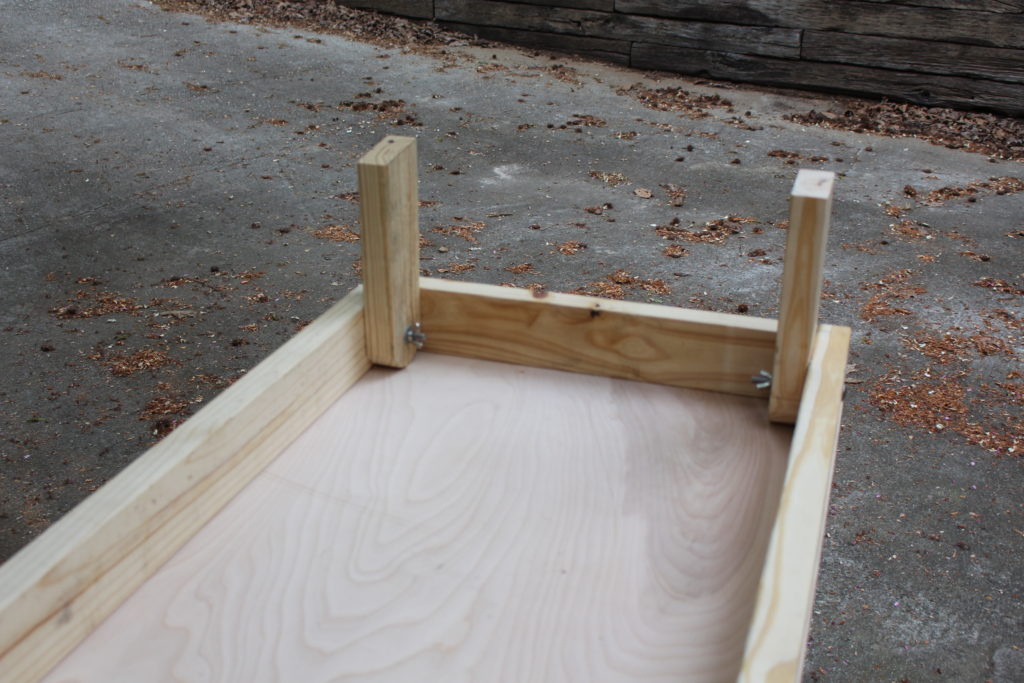
A shot showing both legs attached. If you want to get more creative, some people mount a board between the legs to either have a scoreboard or a place to hold drinks. Do an internet search to get more ideas.
Step 5 — Cut Out the Corn Bag Hole
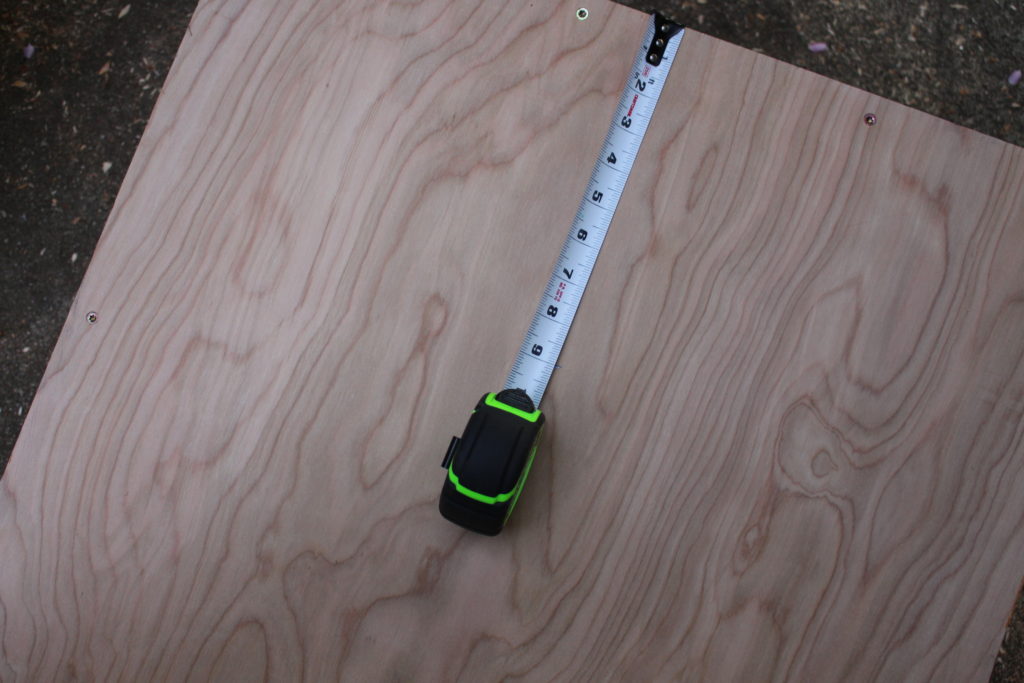
Measure 9″ down. This will be to the hole’s center.
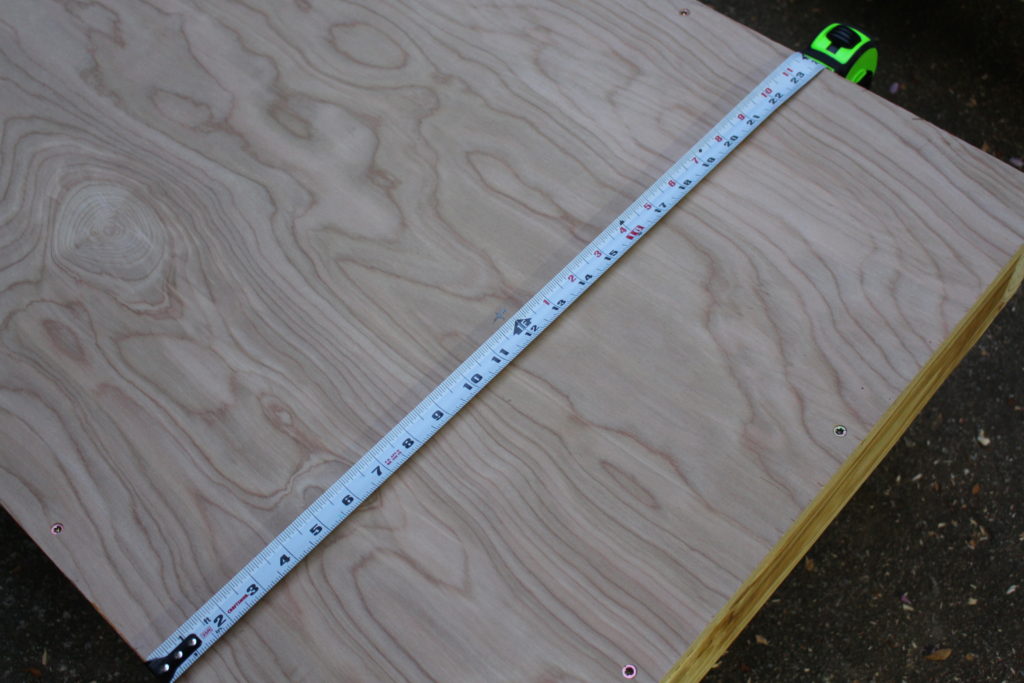
Now, measure across the board to find the center and connect with the prior mark you made from the top.
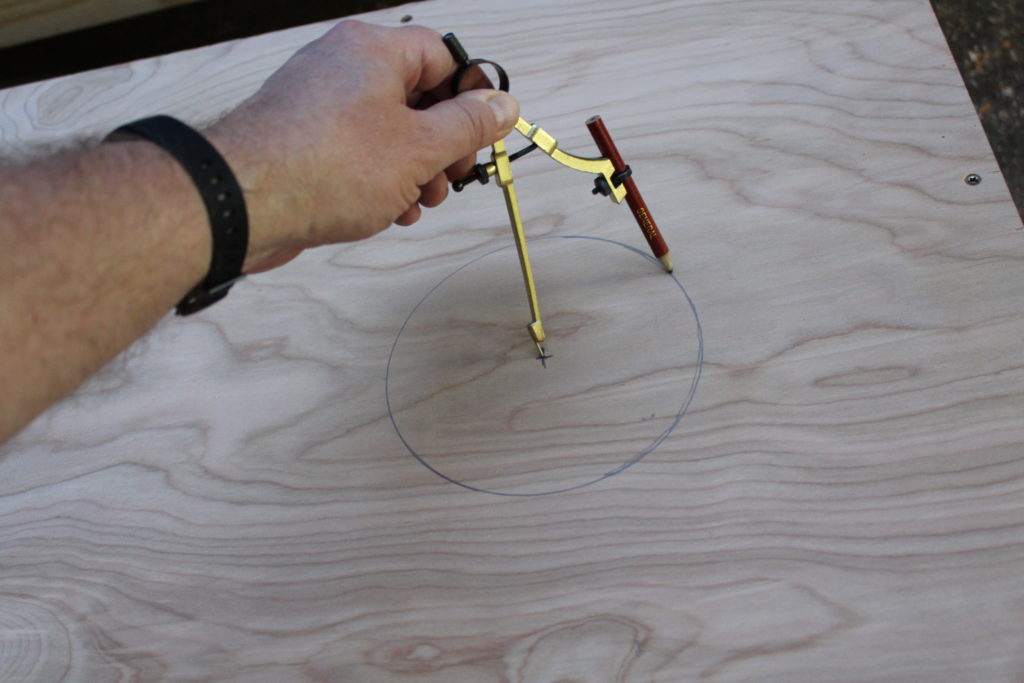
A compass worked great to draw the circle. The hole should be 6″ in diameter, so set the compass to 3″.
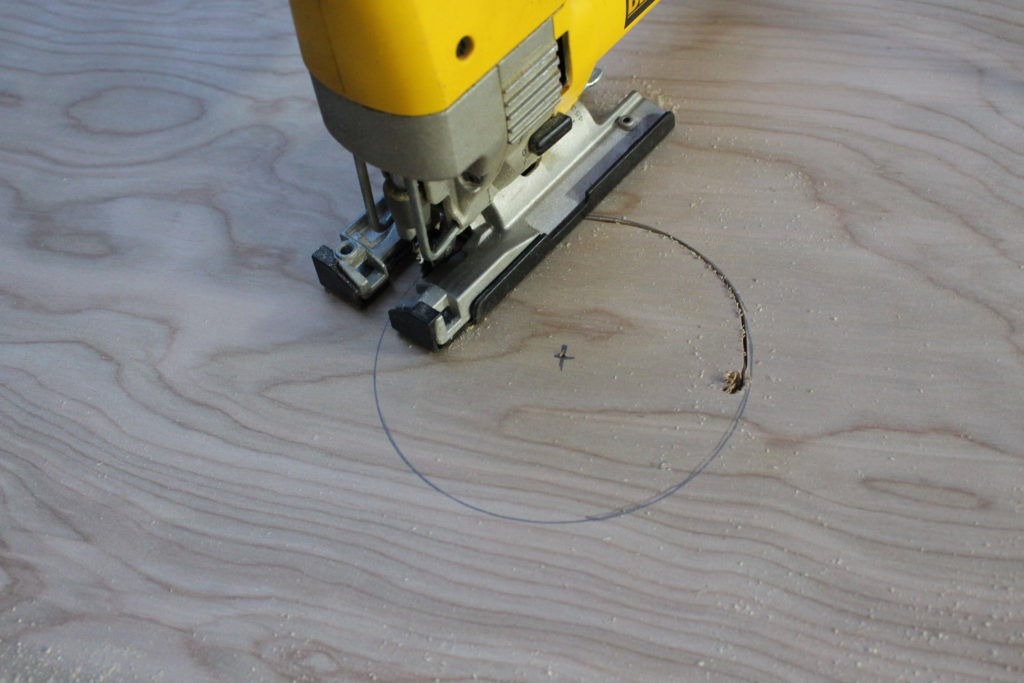
I drilled a 3/8″ hole just below the cut line. This gives me enough room to get the jigsaw blade in place to cut out the hole.
I don’t care what they tell you, but it’s nearly impossible to get a perfect cut with a jigsaw. I did have to sand the circle some to remove the marks left by the jigsaw.
If you want a cleaner, near-perfect cut, you’ll need a 6 Inch Hole Saw (affiliate link). I have seen these in the home improvement stores. If you use the 6″ hole saw, you’ll also need a hand drill with enough power.
Step 6 — Sanding
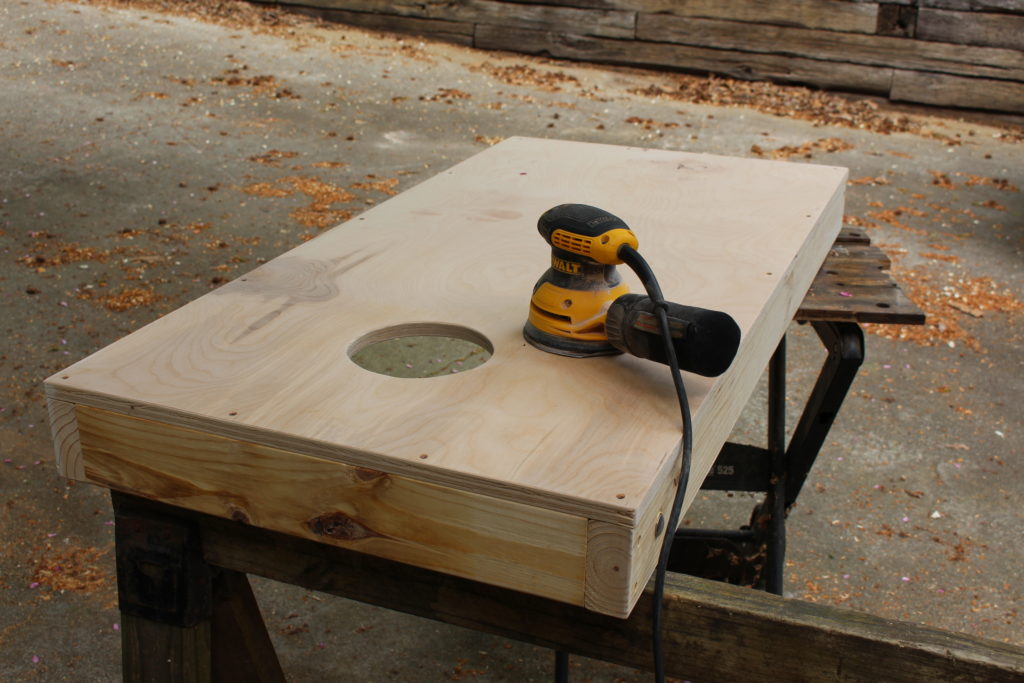
I used my orbital sander to do all the sanding. Start with 120 grit and finish with 220 grit. The Birch plywood was already fairly smooth. Using finer sandpaper beyond 220 is really wasting time, especially if you’re planning on finishing the top with polyurethane.
I also like to slightly round over all the edges because people will be picking the boards up with their hands. You don’t want any nasty splinters.
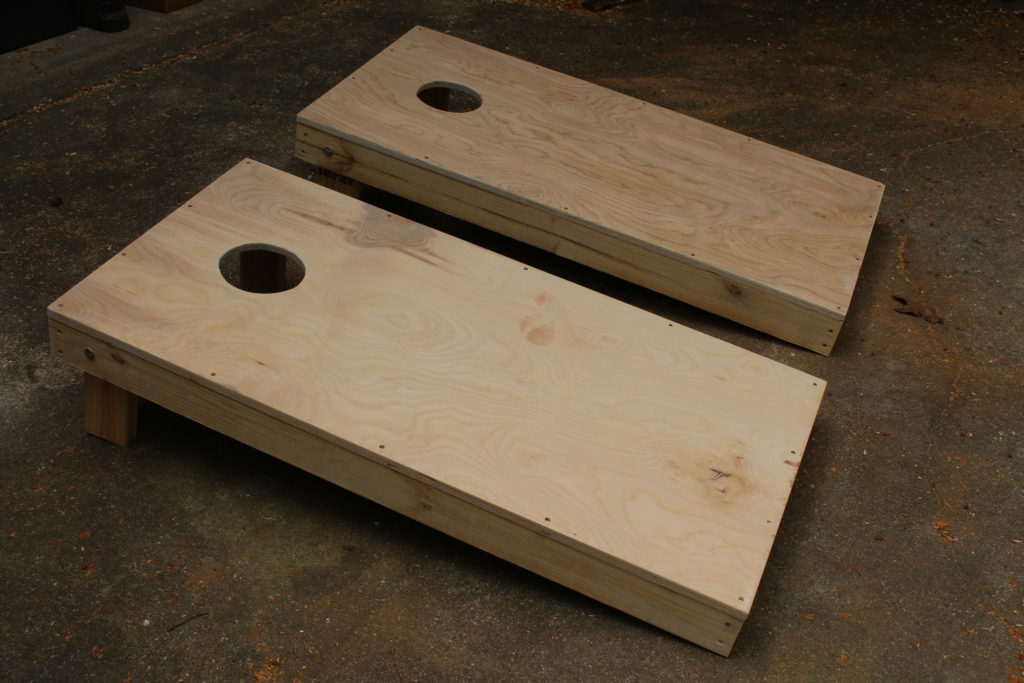
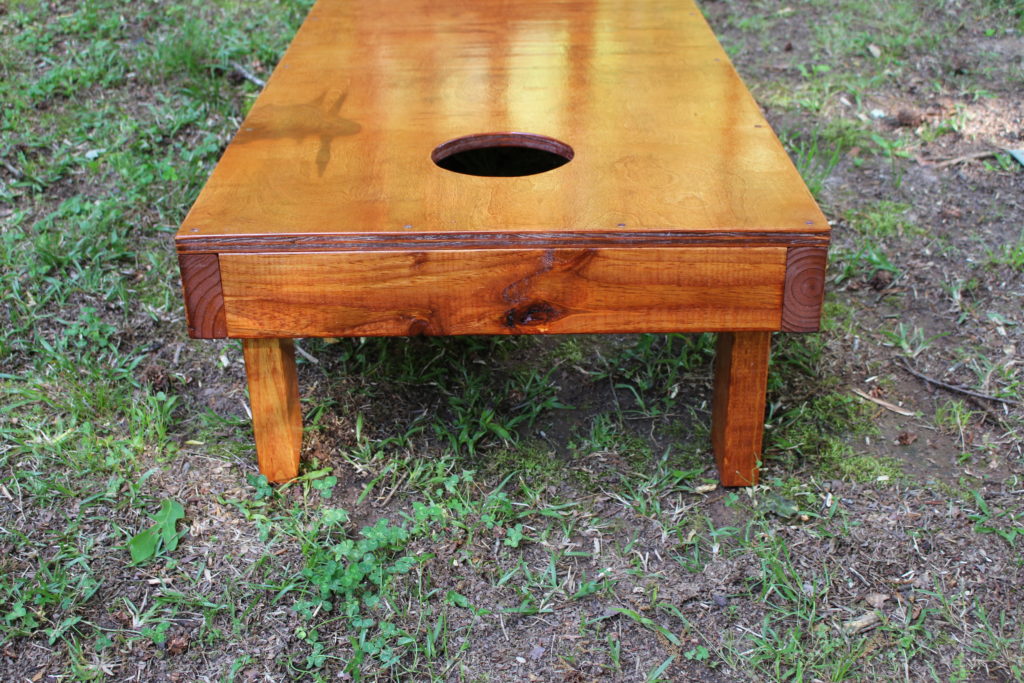
Here are my finished boards. I loved how they turned out. Hindsight, I wished that I spent a little more time picking out the plywood sheets so that the grain patterns matched a little better. But that’s only important if you plan to stain them. In my opinion, the birch plywood does have a nice grain pattern.
Step 7 — Finishing the Boards
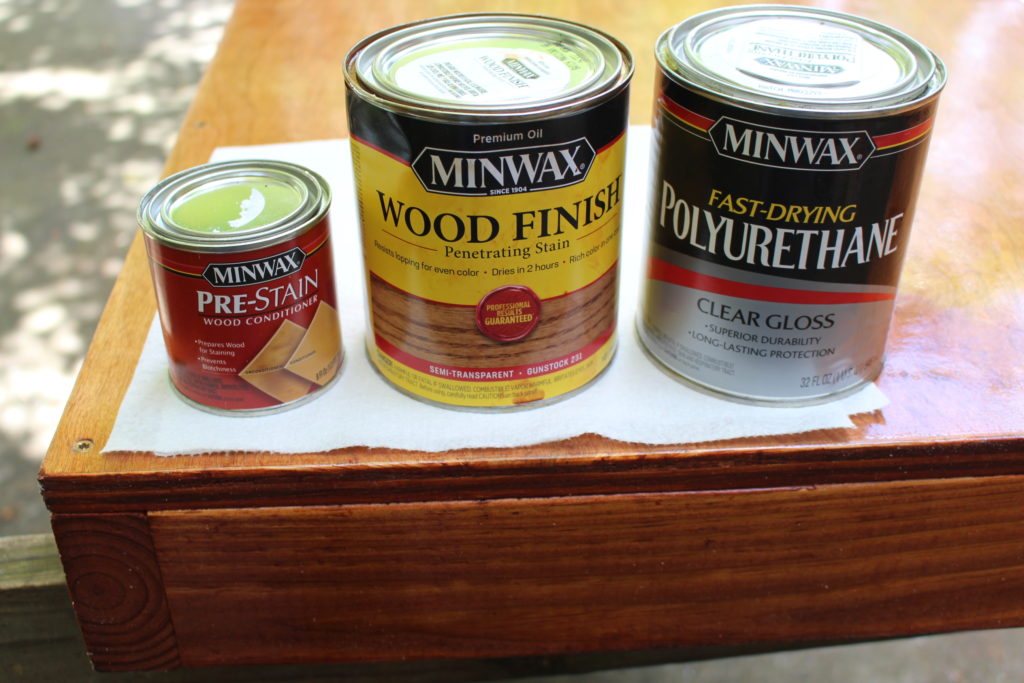
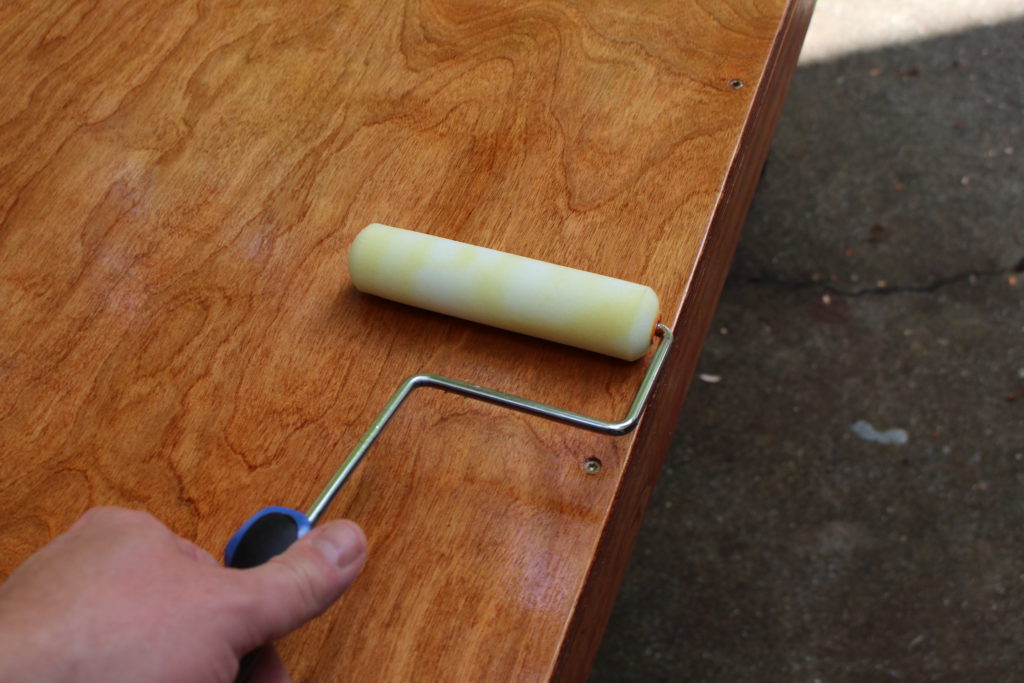
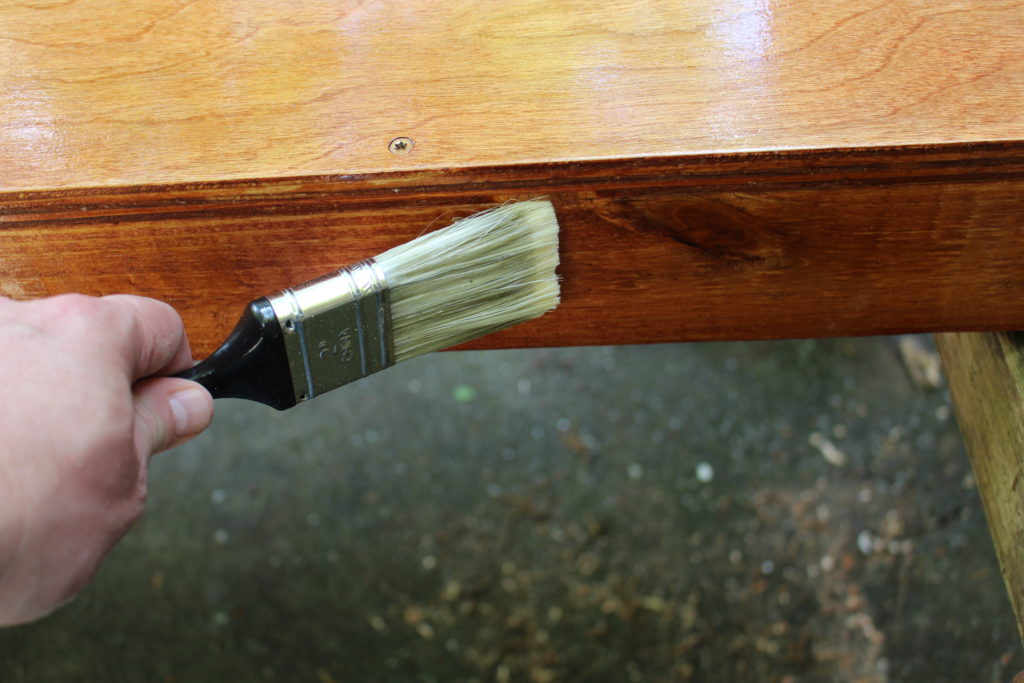
In order for the bags to slide well, I decided to finish my boards with 5 coats of polyurethane. However, before I put on the poly, I applied a coat of pre-stain sealer and then a coat of wood stain.
Adding the sealer first is important with woods like pine or birch — especially if you’re going to be applying a stain. If you use paint, it’s not that important. Wood stain tends to blotch really bad on soft woods, so the sealer does a good job of preventing this.
I used a wood stain that goes by the name of Gunstock (made by Minwax).and it turned out beautiful. It has a somewhat reddish-orange tint.
With the stain dry, I applied 5 coats of polyurethane. Follow the directions on the can. It’s important to use 220 or 320 grit sandpaper between dry coats. The sanding gives each new coat something to adhere to. Clean the surface with a cloth after sanding.
I used a small roller brush to apply the poly to the top surface. It worked remarkably well. Another tip — lay the boards completely level when applying the poly. Polyurethane has great self-leveling abilities.
With the 5th coat applied, I did some light sanding and polishing. I didn’t quite achieve a glass smooth finish, but close enough.
I also went ahead and put a couple coats of stain and poly on the other surfaces of the boards, but you wouldn’t necessarily have to apply the poly on the other parts. But it might help persevere the boards a little longer.
Make or Buy the Cornhole Bags
If you’re handy with sewing, you can easily make your own cornhole bags. But if you don’t have the time, you can do like I did and buy some Cornhole Bags (affiliate link) from Amazon. The brand I bought is made by Play Platoon and they’re supposed to be durable and weather resistant. And they come with a handy dandy mesh carrying bag.
Finished Boards — Go Have Fun!
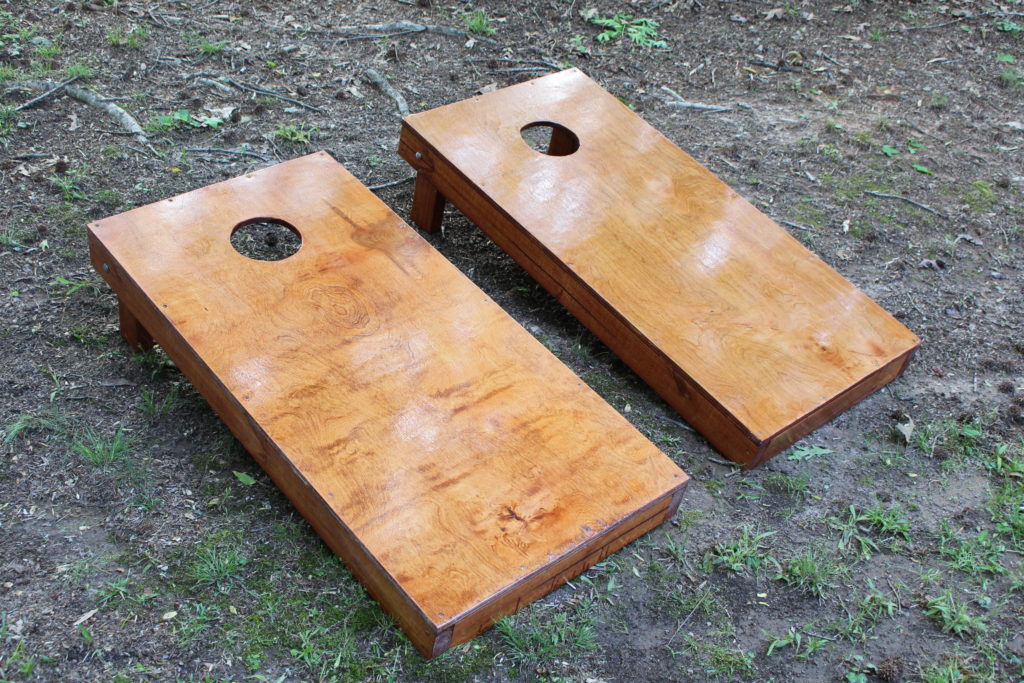
Home Shop Safety Checklist – Please Subscribe!
I hope you enjoyed this tutorial — How to Make Cornhole Boards. If you did, please consider subscribing to my website and you’ll receive monthly updates and new tutorials. And for subscribing, I will send you my Home Shop Safety & Tool Checklist. Good luck and happy woodworking!

Are you starting up a new shop? Want to work safer in your shop? To help you answer these questions I've put together a 2-part checklist -- Home Shop Safety & Tool Checklist.
I will also send you updates of my latest woodworking and DIY projects. You can get all this by subscribing to my free email newsletter.
