Painting river rocks is a fun and relaxing hobby. I’m not a professional painter and you don’t have to be one either to enjoy this craft. In this tutorial, I’ll take you through the basic steps on how to paint a river rock.
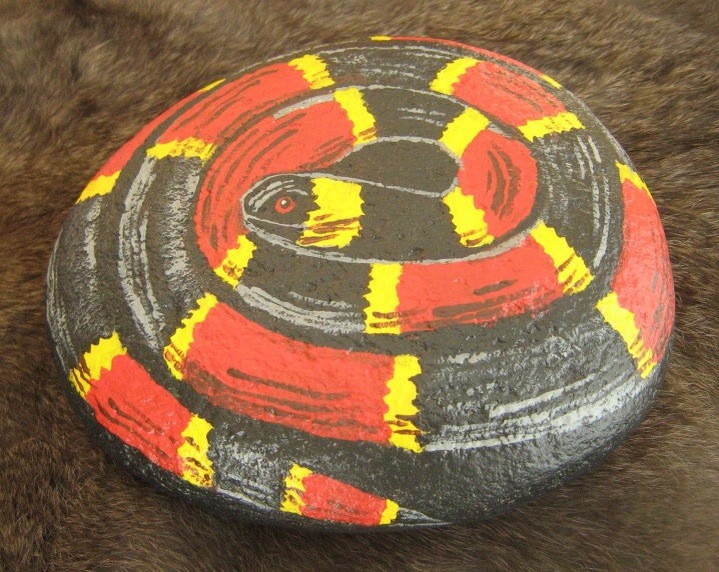
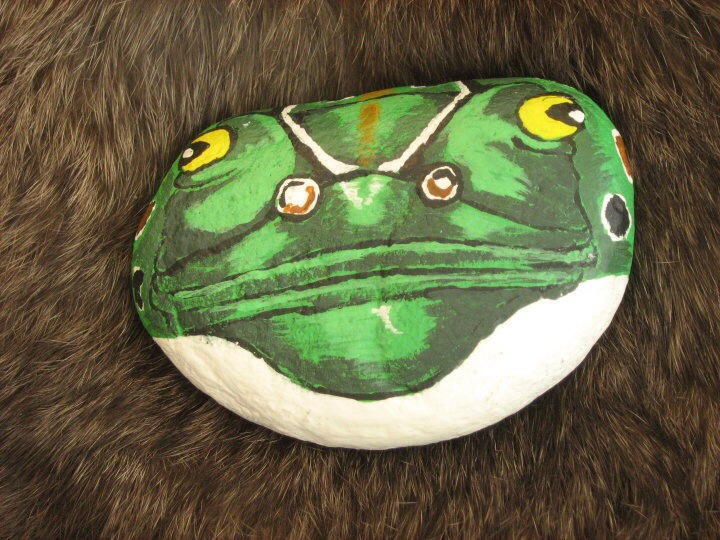
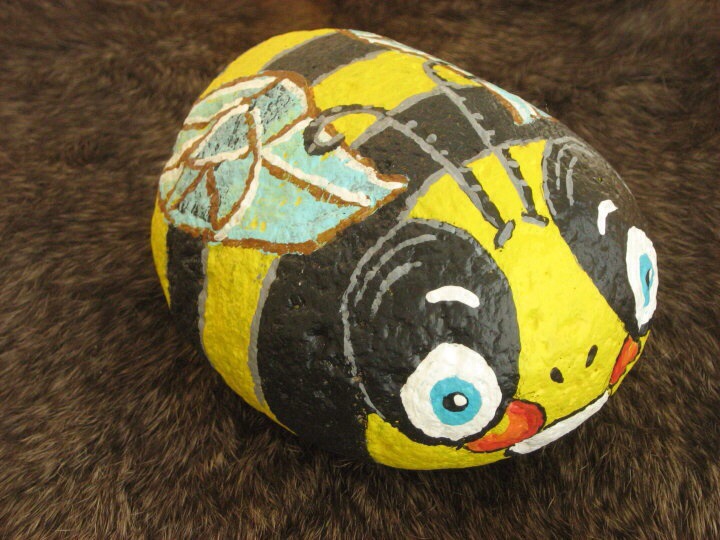
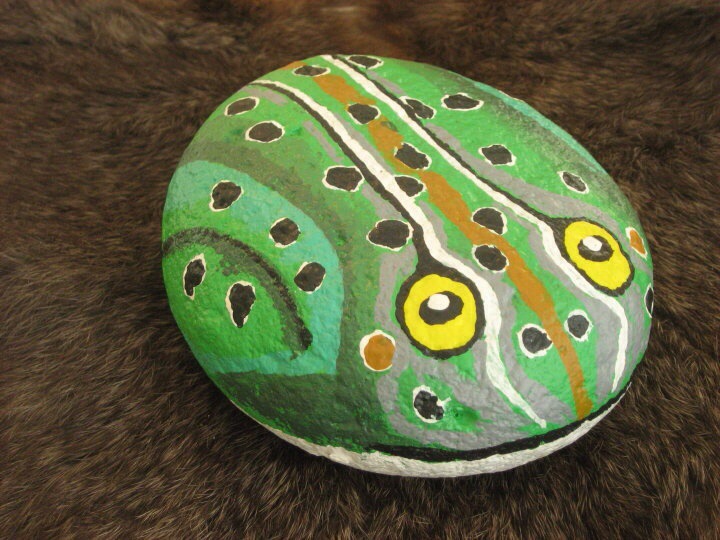
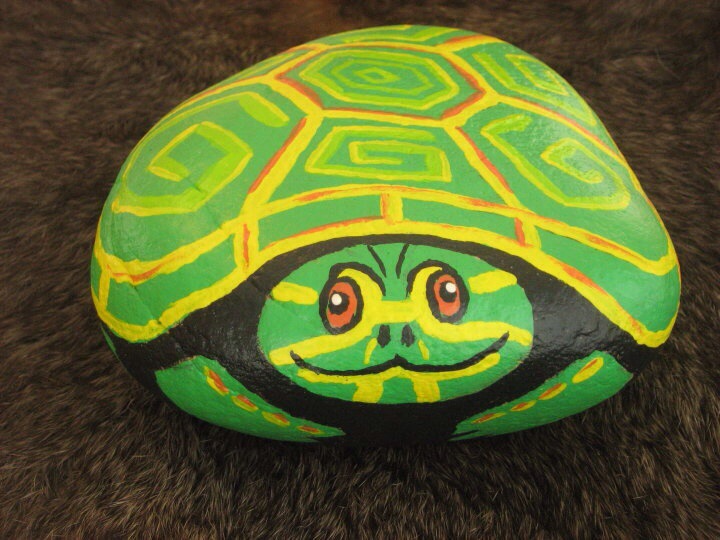
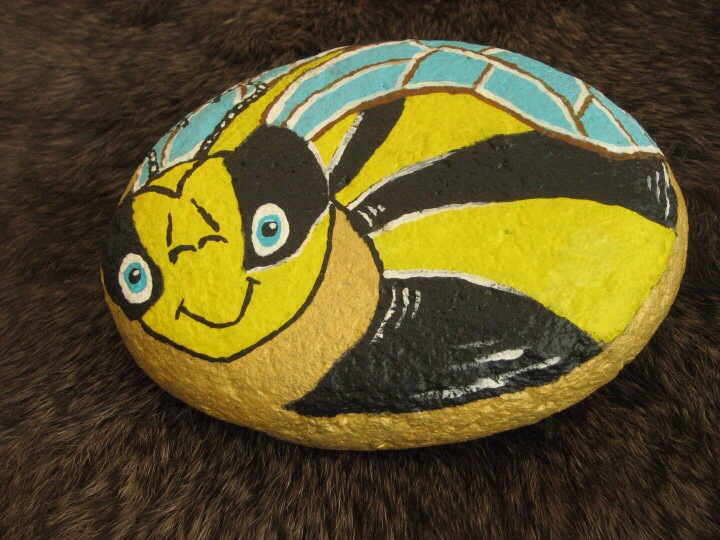
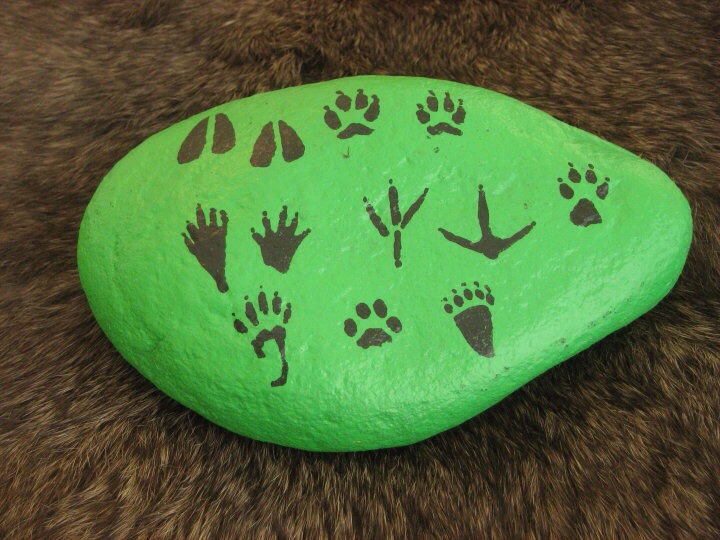
God has blessed us with inspiration and the needed materials through His wonderful creation. As you can see from my pictures, my river rocks focus on the animal kingdom. You might be more into flowers or some other area.
Get some inspiration
You can go take a hike in the woods or explore ideas via the internet. To see what others have done, search images through Google, Bing or Pinterest. Find some pictures of a subject you would like to paint and print it out to use as a model.
What you will need:
- Smooth, clean river rock
- Acrylic paints (for outdoors)
- Quality paint brushes (semi stiff & various sizes)
- Pencil or sharpie
- Paper plate for palette
- Clear finishing spray varnish
How to paint a river rock
- First, acquire some river rocks. I get my rocks from landscape companies and usually they give a few to me for free. Some craft stores sell rocks and you could snatch them from creek beds if you have access and if you have permission. Most state and federal parks don’t allow you to take materials from their premises.
- Using an old tooth brush, scrub your rock with some soapy water and then allow it to thoroughly dry.
- Pick your subject and the appropriate color paints. Bright paints work the best. I tend to choose a subject that fits the natural roundness or contour of the rock. Obviously, coiled-up snakes, lady bugs, frogs, and turtles work well. Use your imagination.
- Take a pencil or fine-tip marker and outline the subject you want to paint on the rock.
- Start with your larger brushes and paint your background colors and allow that to dry. Next paint the larger areas and allow them to dry (some use hairdryers to speed up the drying process). Continue to layer your paints and work in the finer details with smaller size brushes. Don’t worry about messing up. You can immediately wipe off any blunders or just repaint background colors and start over. You can also use a sharpie or other permanent markers to add texture or details.
- Don’t forget to sign your finished rock. I usually sign mine on the back of the rock that won’t be visible. This might also be an opportunity to add a quote, a Bible verse, or just a personal note.
- When done, allow your new river-rock creation to dry for about a day or two. Next, spray the painted rock with a clear urethane finish. Do this in a well ventilated area and with adult supervision.
Tips:
- Remember to clean your brushes with soap and water and allow them to dry—preferably laid out flat. Don’t allow the brushes to dry with paint on them.
- Have a roll of paper towels on hand.
- Use a paper plate or piece of cardboard for your paint palette.
- Lay out some newspapers to paint your river rock on. Please protect your spouse’s or your parent’s dining room table.
- Wear old clothes because acrylic paint doesn’t wash out of clothing well.
- Read all the paint labels and make sure they are safe for you and/or your children to use.
Possible applications:
- Gifts or items to sell.
- Door stops or bookends (larger rocks)
- Paper weights (medium sized rocks)
- Refrigerator magnets (use small rocks)
- Cub scout or Boy scout neckerchief clasp (small rocks)
- Garden or landscape decoration
- Home décor
Below are a few more rocks that I’ve painted over the years.
I hoped you enjoyed this tutorial. Thanks for stopping by and checking it out. In the comment field, feel free to share any tips or suggestions you may have.

Are you starting up a new shop? Want to work safer in your shop? To help you answer these questions I've put together a 2-part checklist -- Home Shop Safety & Tool Checklist.
I will also send you updates of my latest woodworking and DIY projects. You can get all this by subscribing to my free email newsletter.



1 thought on “How To Paint A River Rock”
Comments are closed.