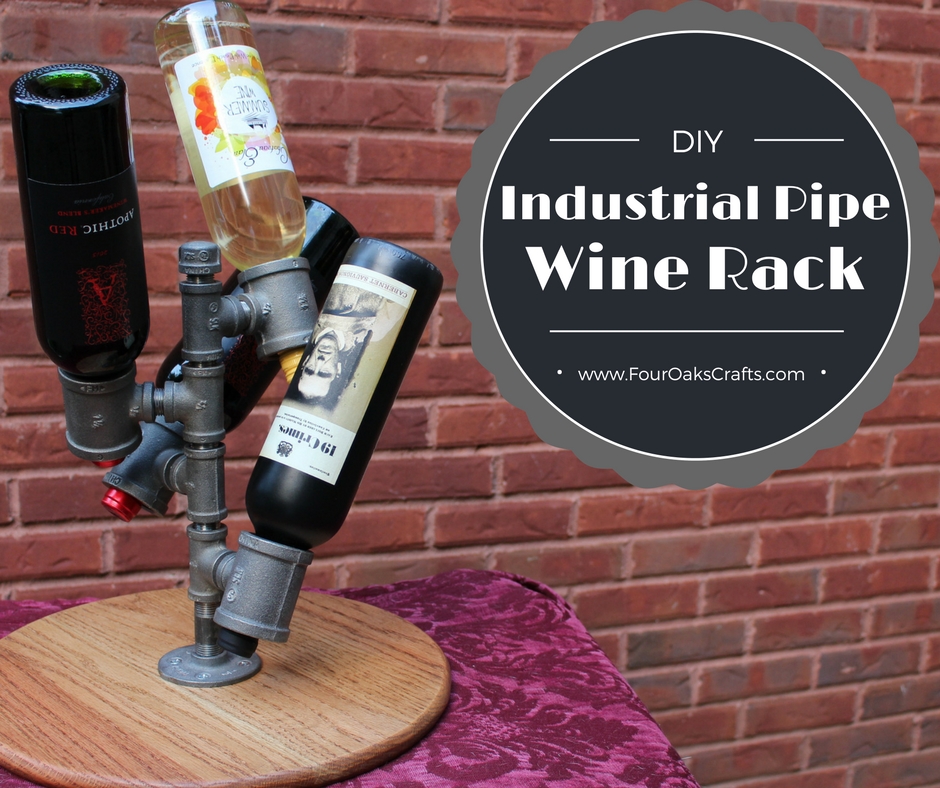
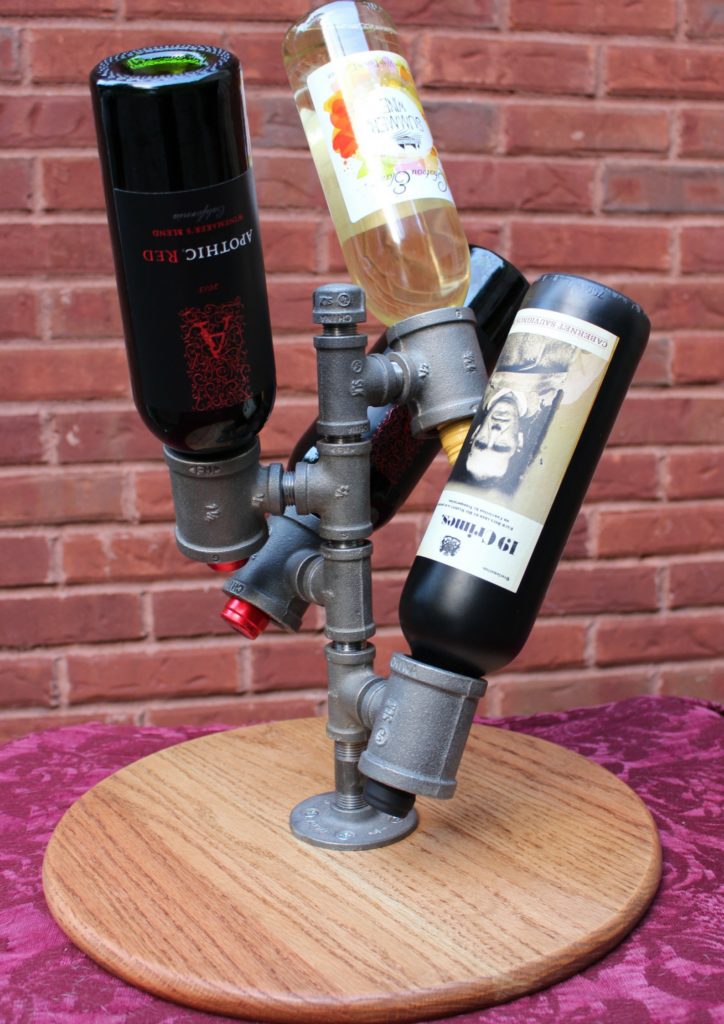
I love the combination of black pipe and wood, so when I saw this industrial pipe wine rack kit, I just had to make one. The kit runs around $38 dollars and the base is not included. It’s an easy woodworking / pipe project and requires only a few tools and skills.
For this project, I thought I would build an oak base that resembles a wine barrel lid. Let me do a shout out to Pete Sveen over at DIY Pete. I got the idea for the wine barrel lid from his Lazy Susan project. BTW, I want to eventually make that Lazy Susan project. So many projects and so little time. Maybe this project will get me some practice for the Lazy Susan.
This wine rack project also gave me an opportunity to pull out my pocket hole jig which is becoming a useful tool for many other projects. It’s such a great tool for joining boards together. See the complete list of tools I used below.
Tools You’ll Need (affiliate links included for your convenience):
bar clamp or long quick grip clamp
Kreg Pocket Hole Jig
Hand drill w/ lithium batteries
Orbital Sander 5 inch
Jigsaw
disk and belt sander
Pipe wrench or Channellock Pliers
Other Materials:
PIPE DECOR WINE RACK KIT
4 – #10 5/8 inch wood screws
10 – 1.25 inch Pocket Hole Screws (100 count) (fine thread)
Walnut Danish Oil
Paper Towels
Step 1 – Wood Selection
I love the look of red oak. And — wine barrels are typically made from oak. So I thought this design would create a great matchup. Actual wine barrel lids are normally bigger and not easy to come by. So why not make one myself?
These short red oak boards are readily available at your local home improvement store. Go through the boards and make sure you pick ones that aren’t warped or have defects. These were already cut to dimensions, so no need to run through a planer.
Step 2 – Match up the red oak boards.
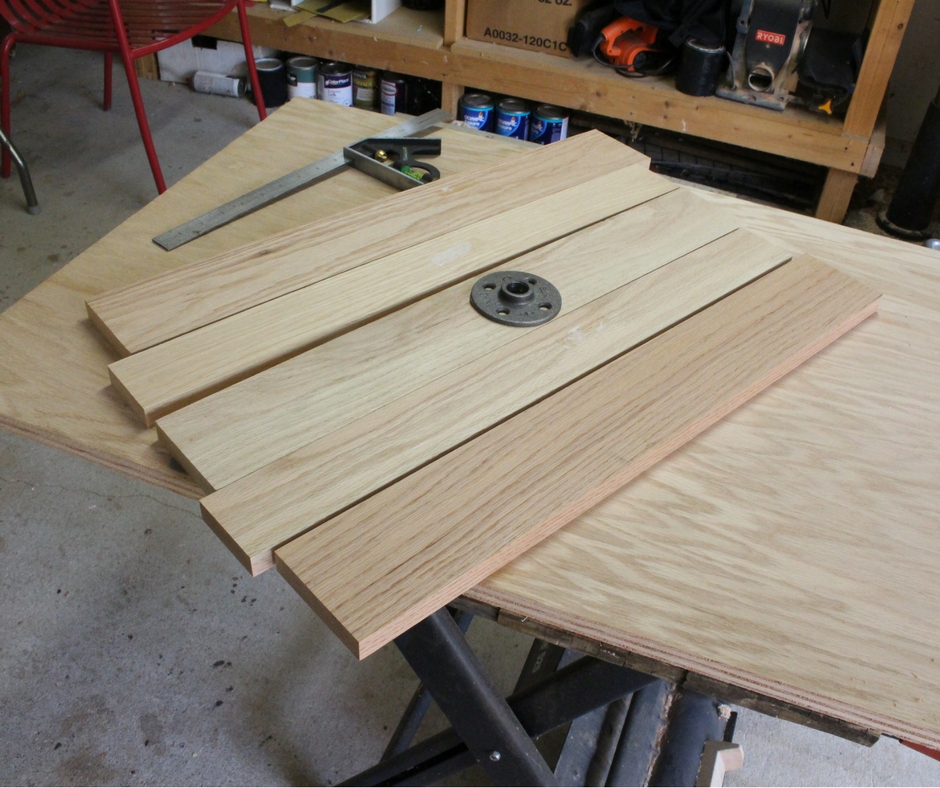
I bought two different board sizes. You’ll need:
2 – 2.5 inch X 0.75 inch X 24 inches
3 – 3.5 inch X 0.75 inch X 24 inches
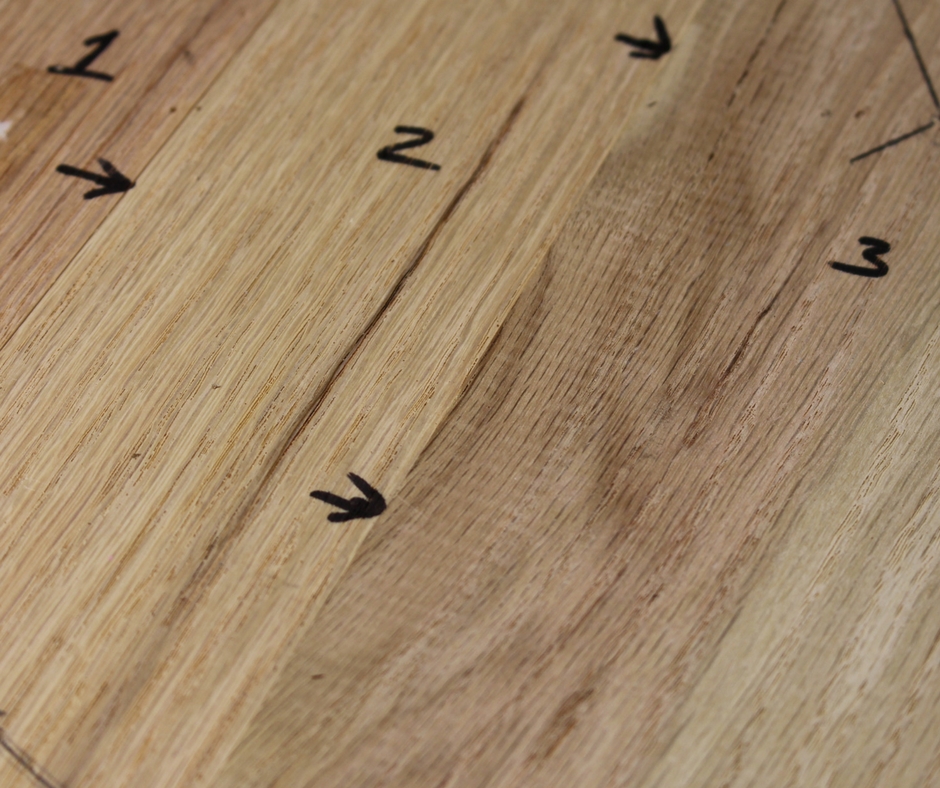
I alternated the narrow boards with the wide boards as shown in the photo above. Once you have them arranged like you want them, label or number so you can keep them in the right order.
Step 3 – Mark the circle for the base.
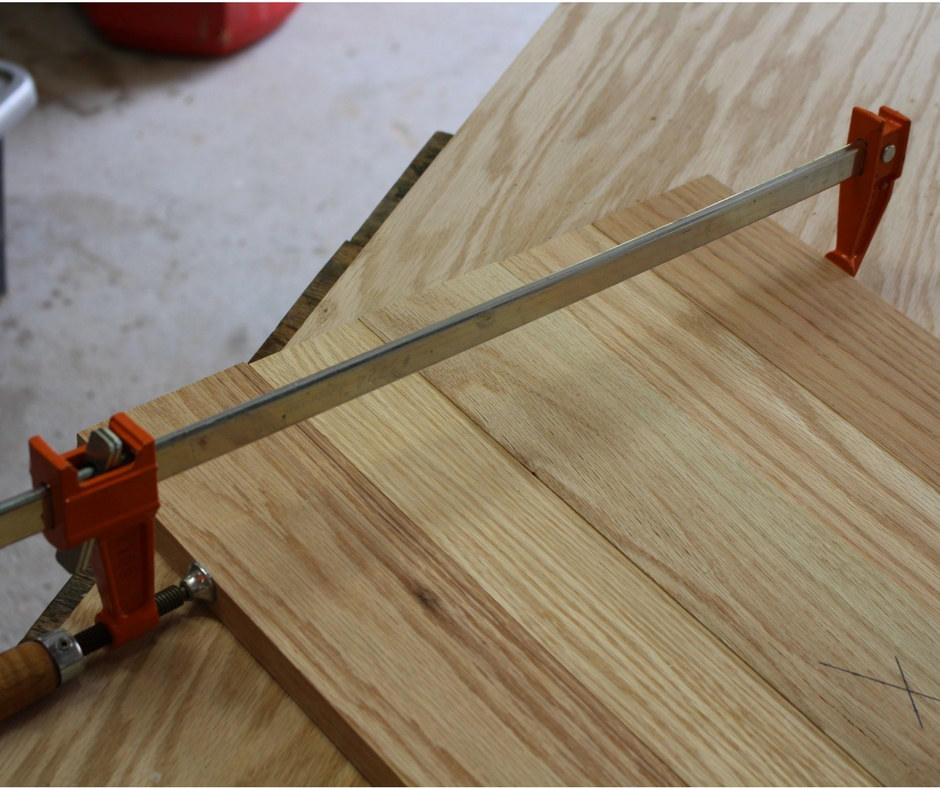
Make sure the boards are laid out on a flat surface. Use a clamp to hold them together.
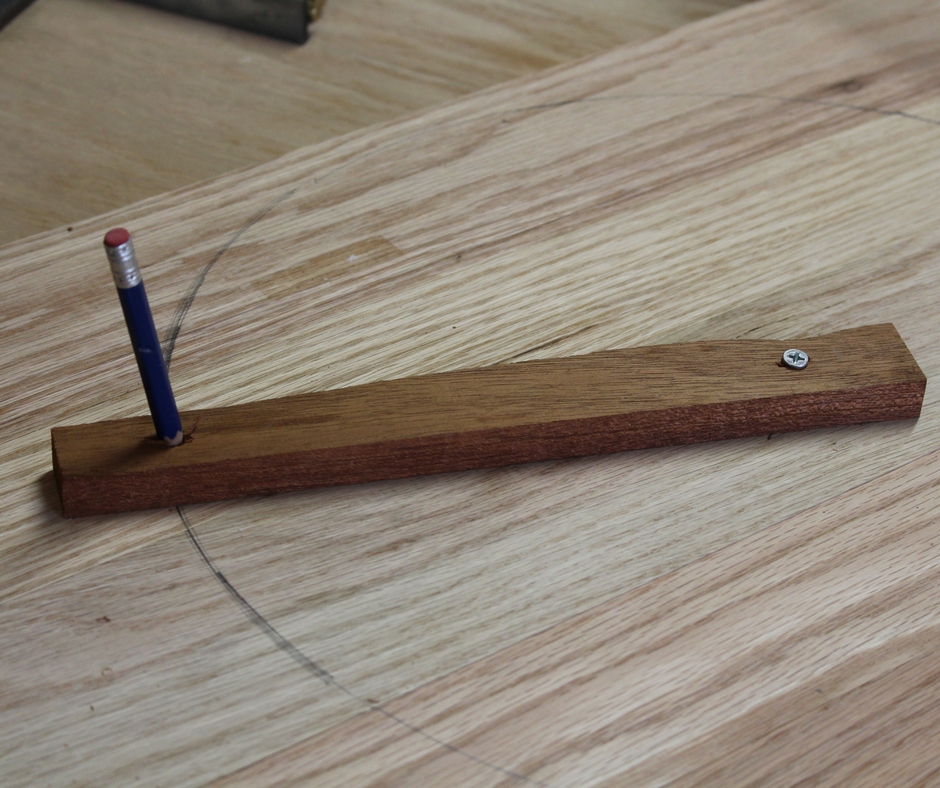
I built a circle marking jig out of a piece of scrap wood. On one end, drill a small hole to accept a wood screw. From that hole, I measured 7.5 inches. This will be the radius of the circle (so base total diameter = 15 inches). Drill another hole there, big enough to accept a #2 pencil.
Find the center of the layout and lightly screw in the pivot end of the jig. Place the #2 pencil in the other hole and make your circle. Then remove the circle jig.
Step 4 – Fasten the boards together.
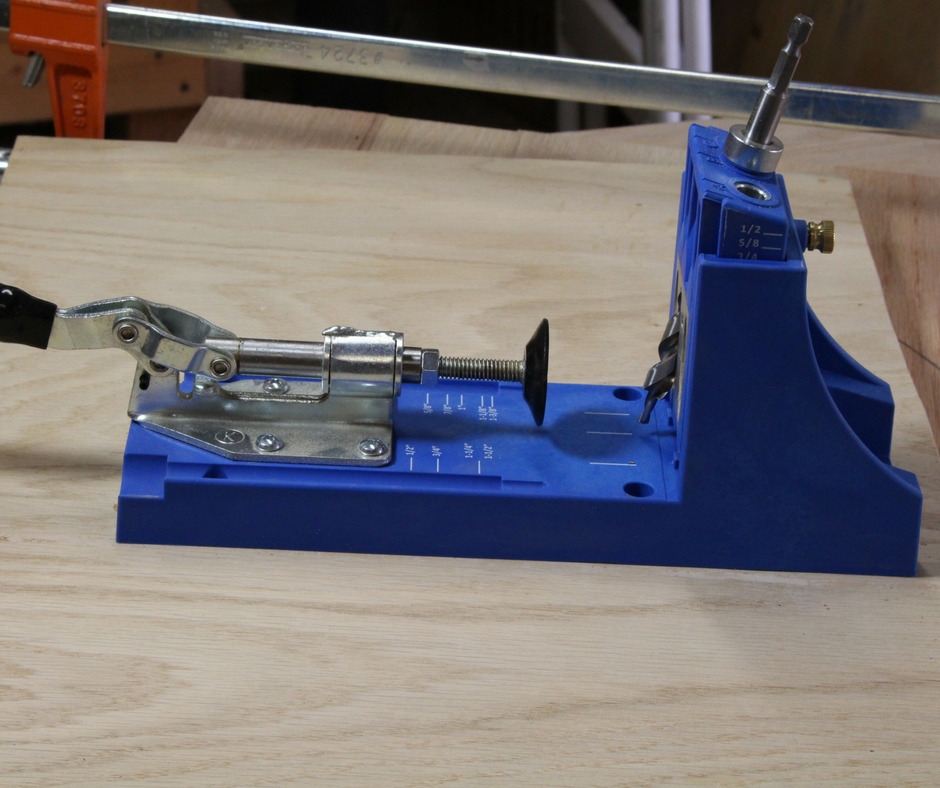
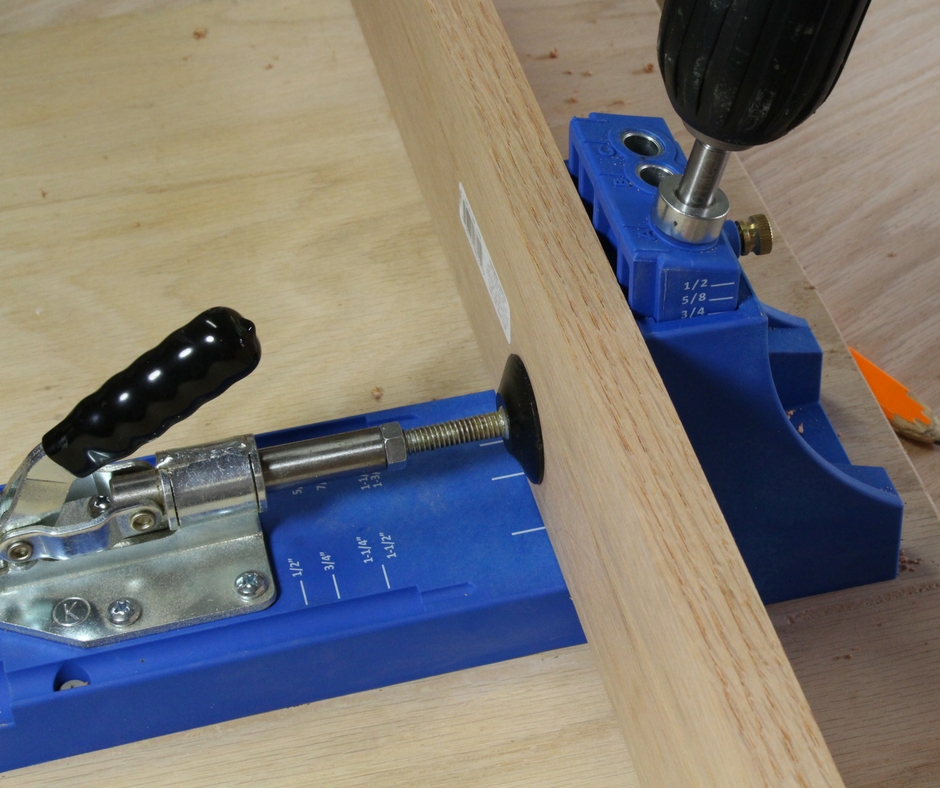
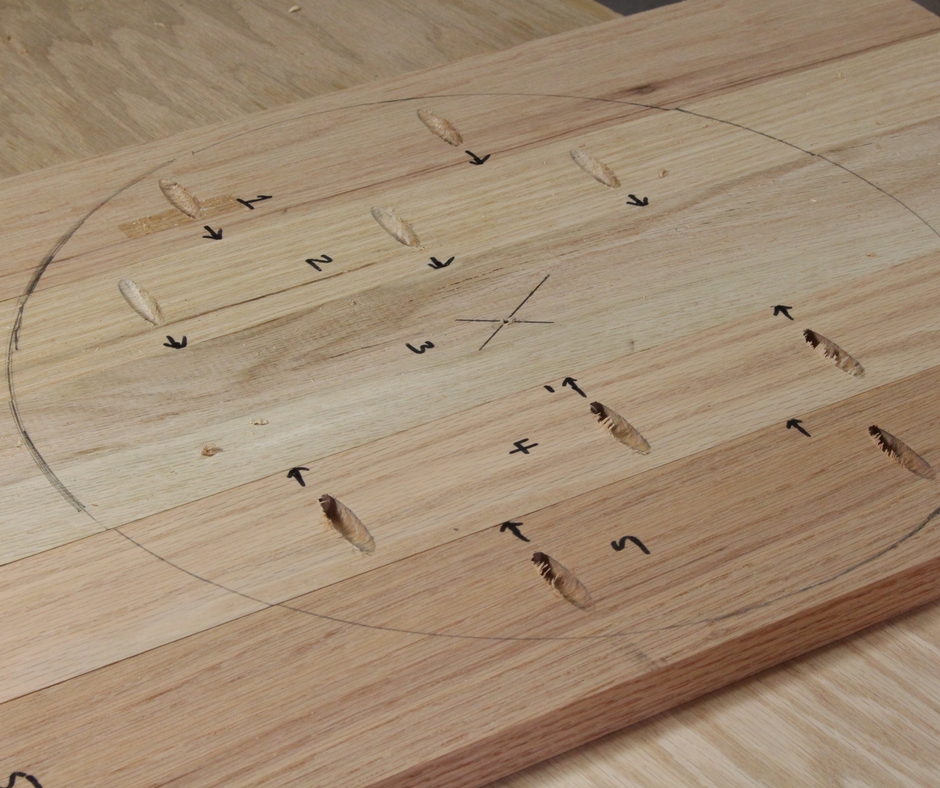
I decided to use wood glue and my Kreg Pocket Hole Jig to put the boards together. My boards are 3/4 inch thick, so I adjusted my pocket hole jig accordingly. I also selected 1 1/4 inch pocket hole screws with fine threads (for hardwoods).
If you’re not familiar with the Kreg Pocket Hole Jig, check out this video created by Steve Ramsey.
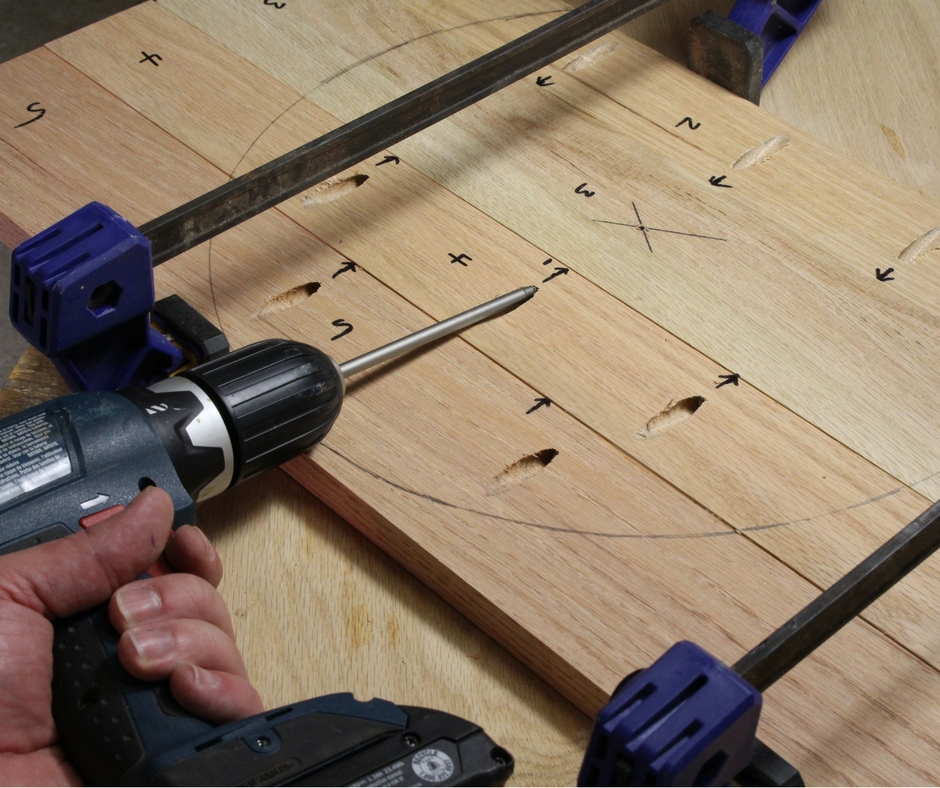
I decided to drill my pocket holes, working from the outside boards going in toward the center board. The 2 outside boards have 2 pocket holes and the next outside board has 3 pocket holes. And the holes are staggered. Notice that I did not drill any pocket holes in the center board.
Take your time and keep the boards in the correct order and the holes in the right orientation. This is where the labeling we did earlier comes in handy.
Before I started to fasten the boards with the screws, I spread a small amount of wood glue on each edge. Wipe away the excess glue once you have them fastened together.
Here’s another tip I learned: make sure you get each group of boards as level and even as possible before you screw in the pocket hole screws. It really helps to use your clamps when doing this.
Step 5 – Cut out the base.
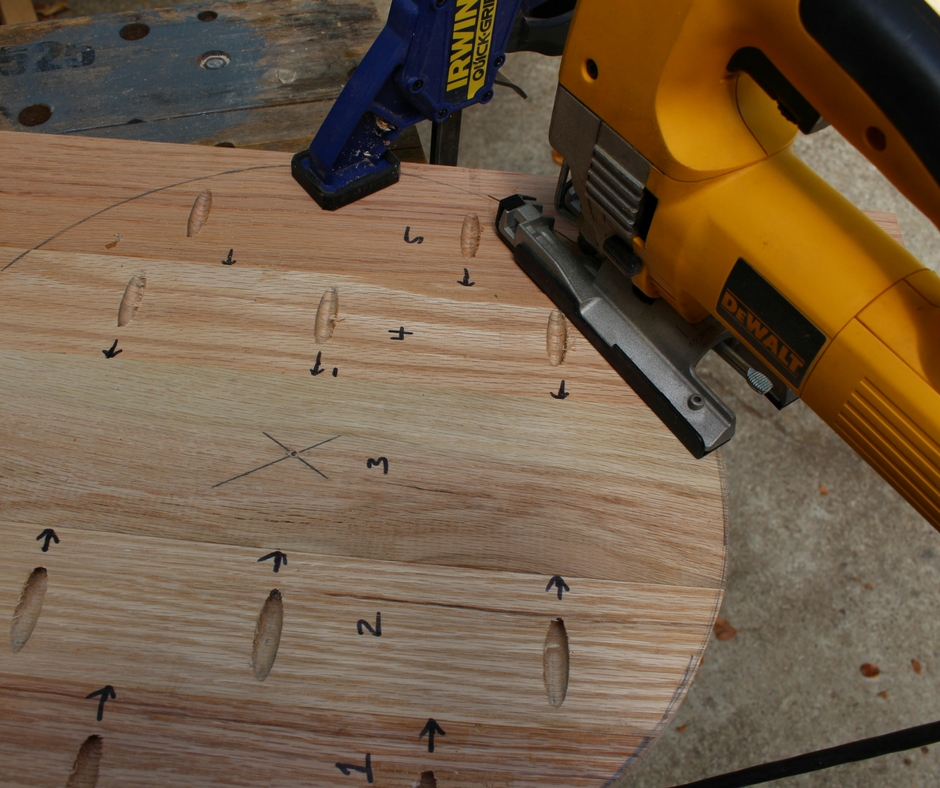
Once all the boards are fastened together with the pocket hole screws, take a jig saw and cut out the wine rack base. Stay just to the outside of the line and try to make the smoothest cut you can. Don’t worry about being too perfect though since we will be doing some sanding next.
Step 6 – Sand the base.
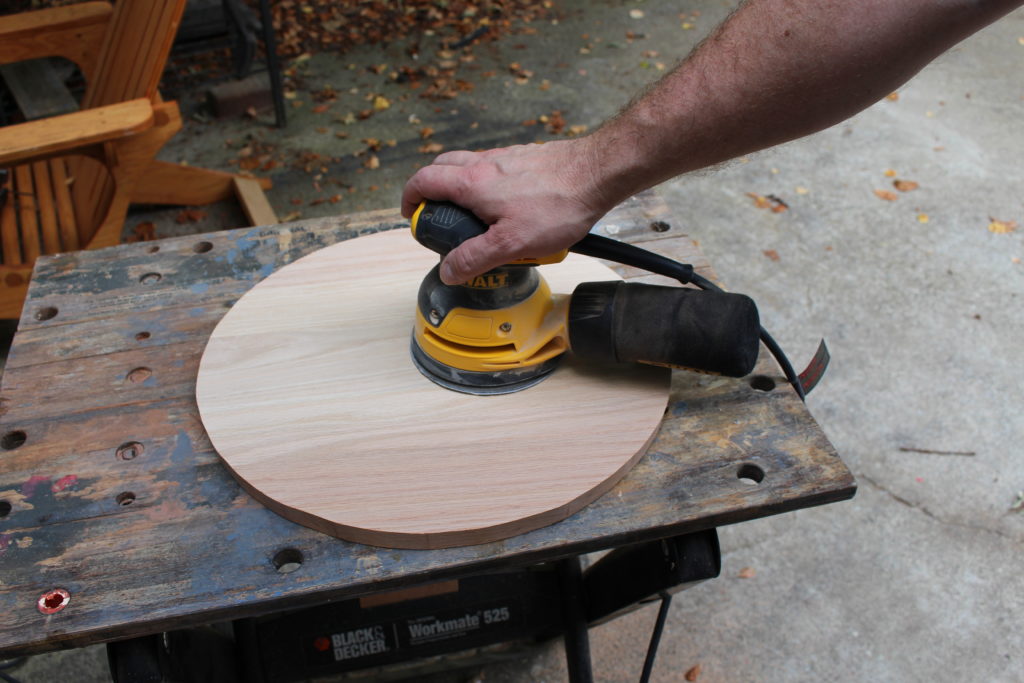
My boards didn’t go together as evenly as I wanted when I screwed in the pocket hole screws, so I had to do a little extra sanding. I used an orbital sander and started with 40 grit, then 80 grit, then 120 up to 400 grit. If you’re able to fasten your boards even and flush from the beginning, you might get away with 120 grit sandpaper as the starting point.
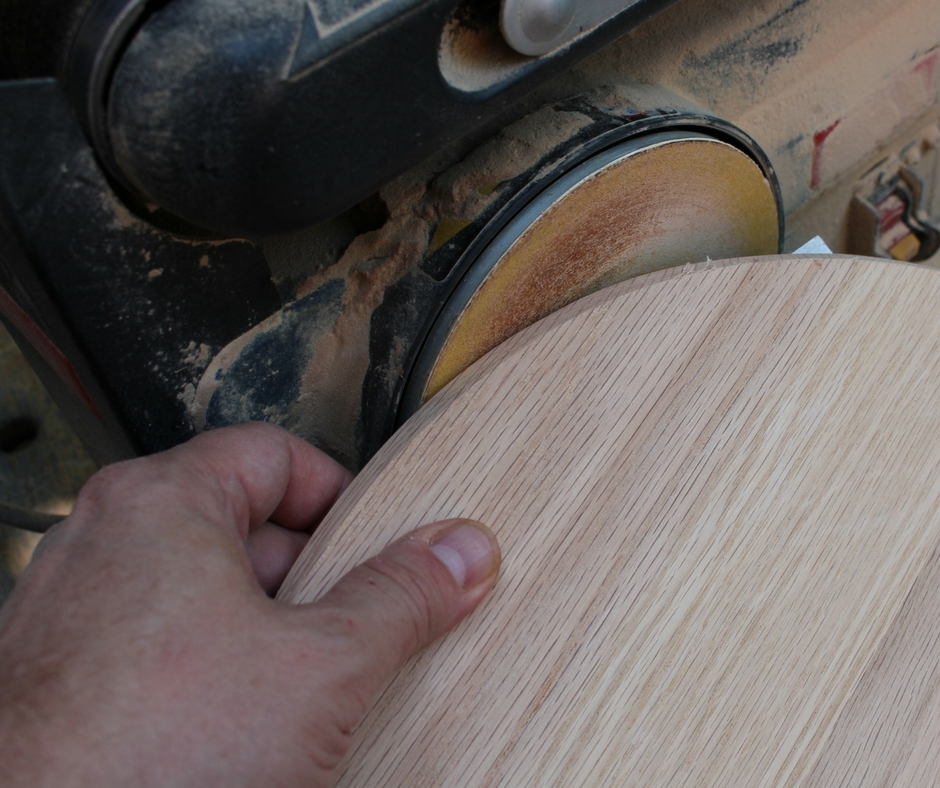
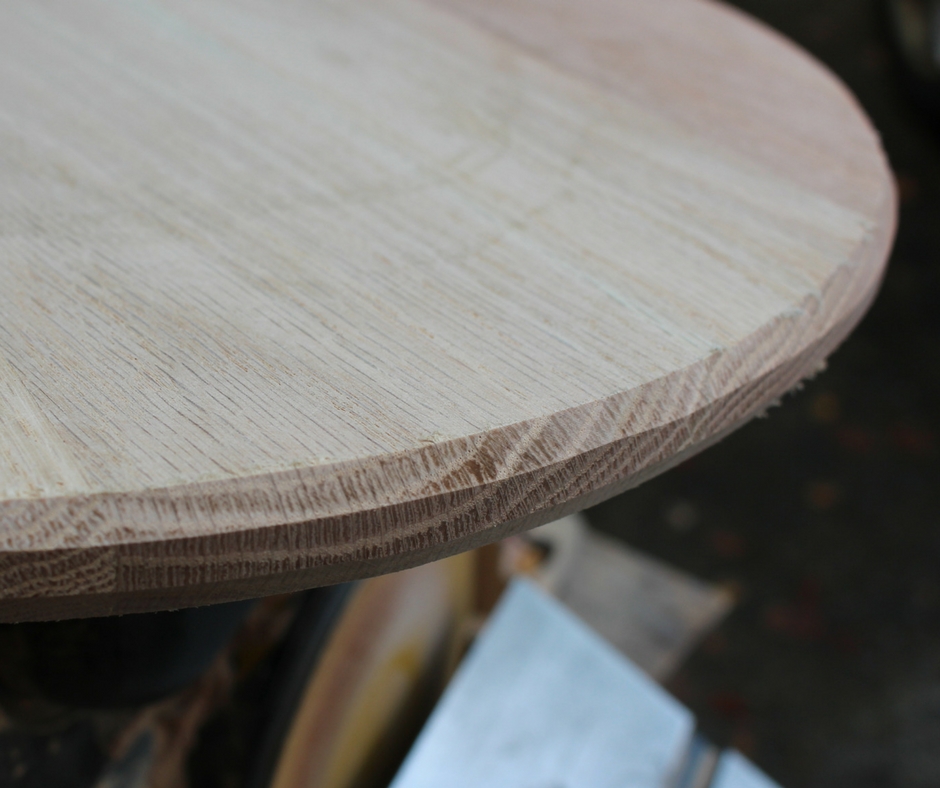
I also used my Ryobi disk sander to shape the edge. I adjusted the disk sander table to about 35 or 40 degrees and just worked the edges of the wine rack base. If you have a router with a a roundover bit you could take that option also.
Step 7 – Finish the base.
You can finish the base anyway you like, but I really recommend doing something that reveals the natural beauty of the red oak.
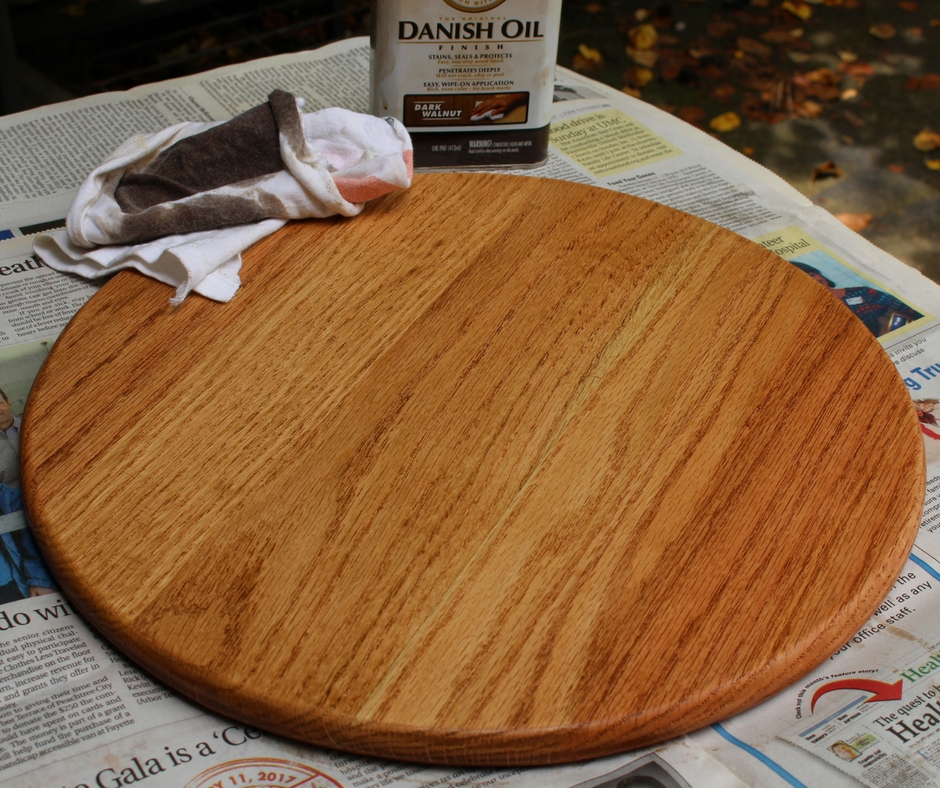
I love the simplicity of using Danish Oil. It’s so easy to apply. I wiped on 3 coats, allowing recommend dry times between coats. If you wish, you can also spray on a coat of lacquer once the Danish Oil has had time to fully cure.
Step 8 – Lay out the pipe kit and follow instructions for cleaning pipes.
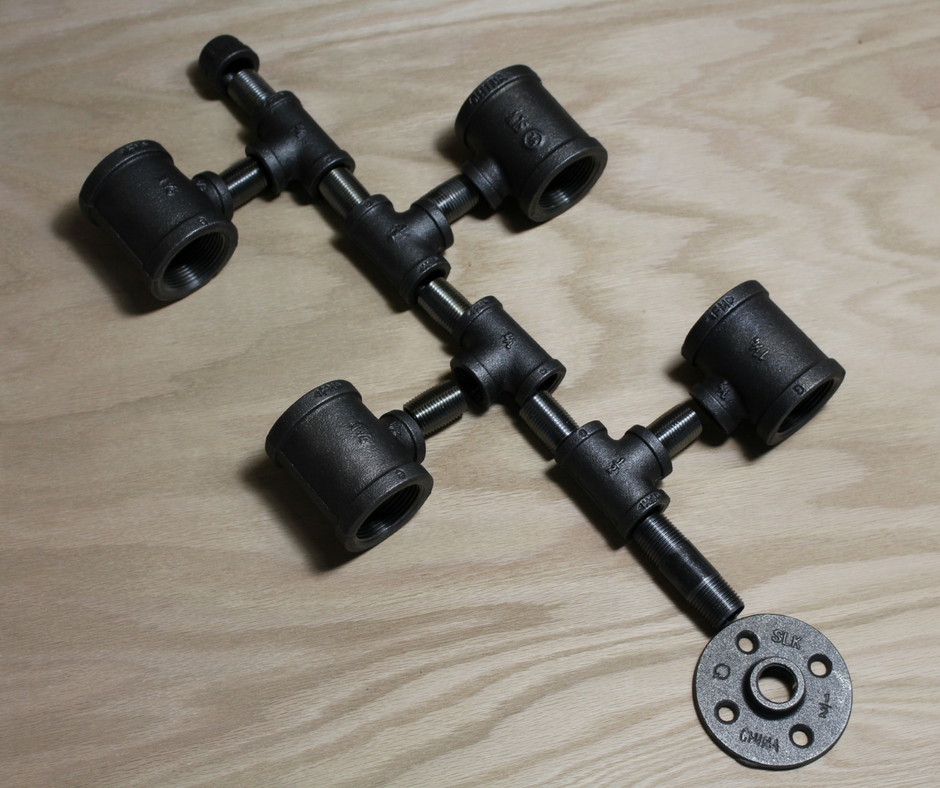
Lay out your kit and make sure you have all the pipe parts and connectors.
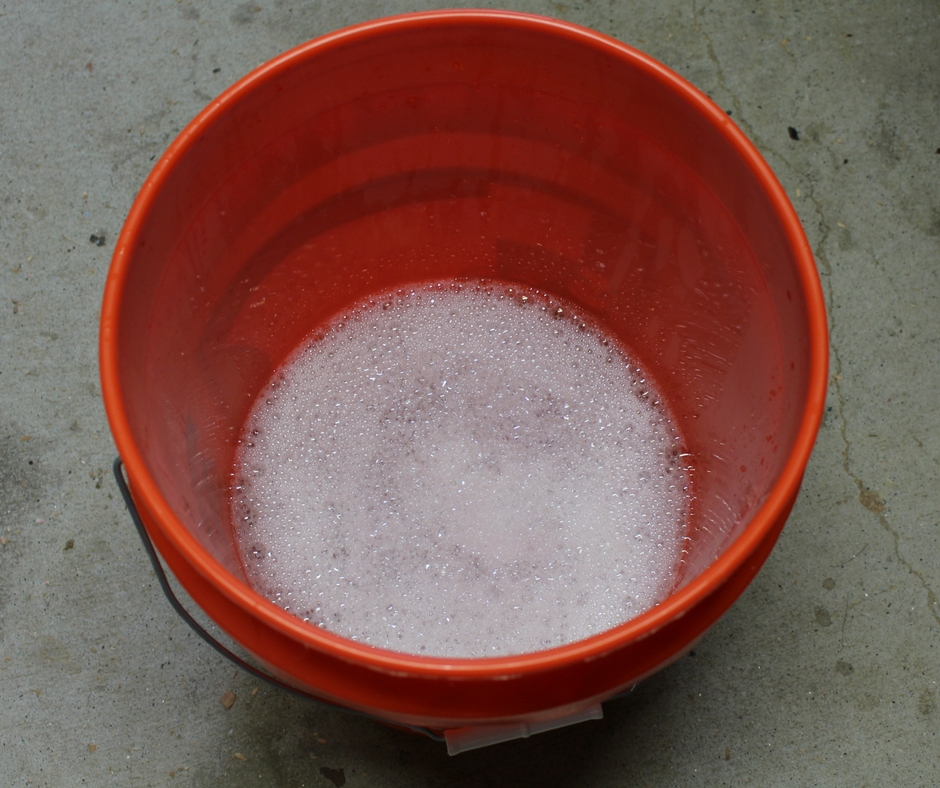
My kit came with a set of instructions, and the first thing they recommend you do is clean the pipes with a water, soap, and vinegar mix. I suppose this takes off some of the oil that comes on the pipes. Use a soft brush to work in the solution and then rinse with water. Watch your fingers because these pipes can have some sharp edges. Once they’ve dried, go back over the pipes with a metal polish you have on hand. Follow the directions that go with your polish.
Step 9 – Attach the 1/2 inch base flange.
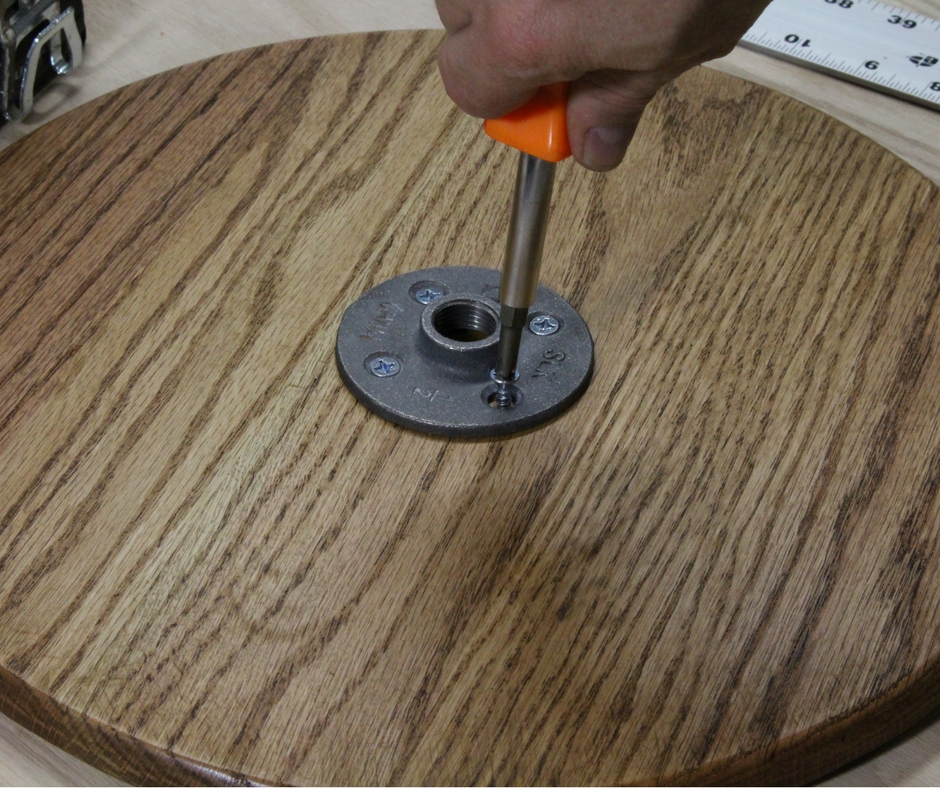
Find the center of the base, and then line up the base flange over the marked center. Mark the mounting holes with a pencil. Drill 4 pilot holes and then attach the base flange with 4 – #10 5/8 inch wood screws.
Step 10 – Assemble the wine rack.
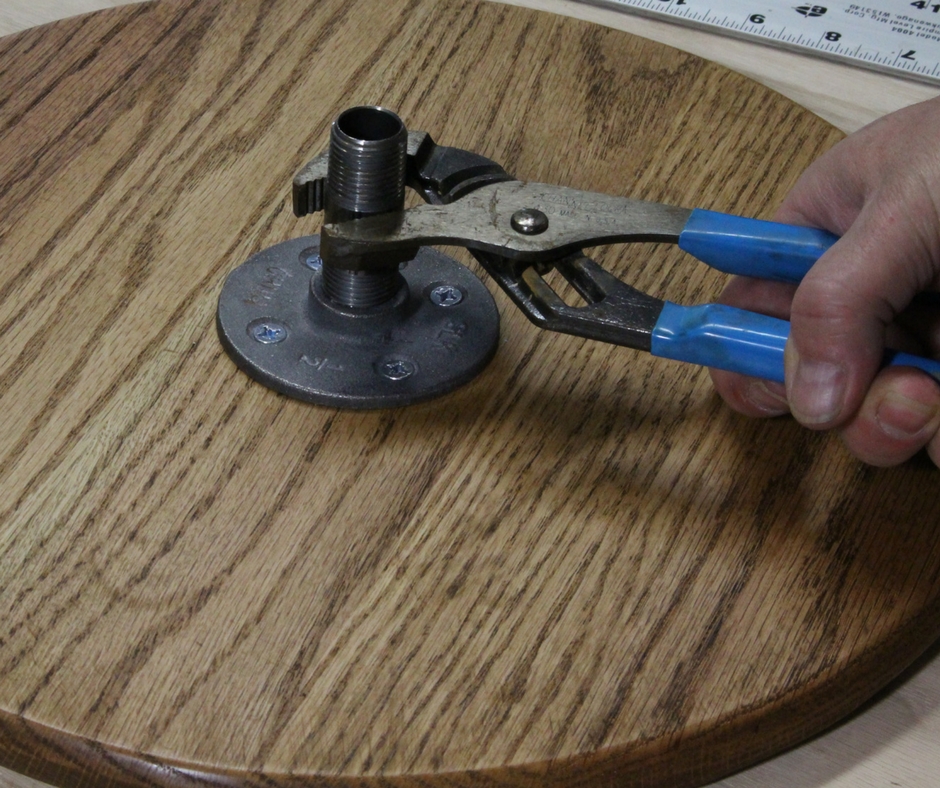
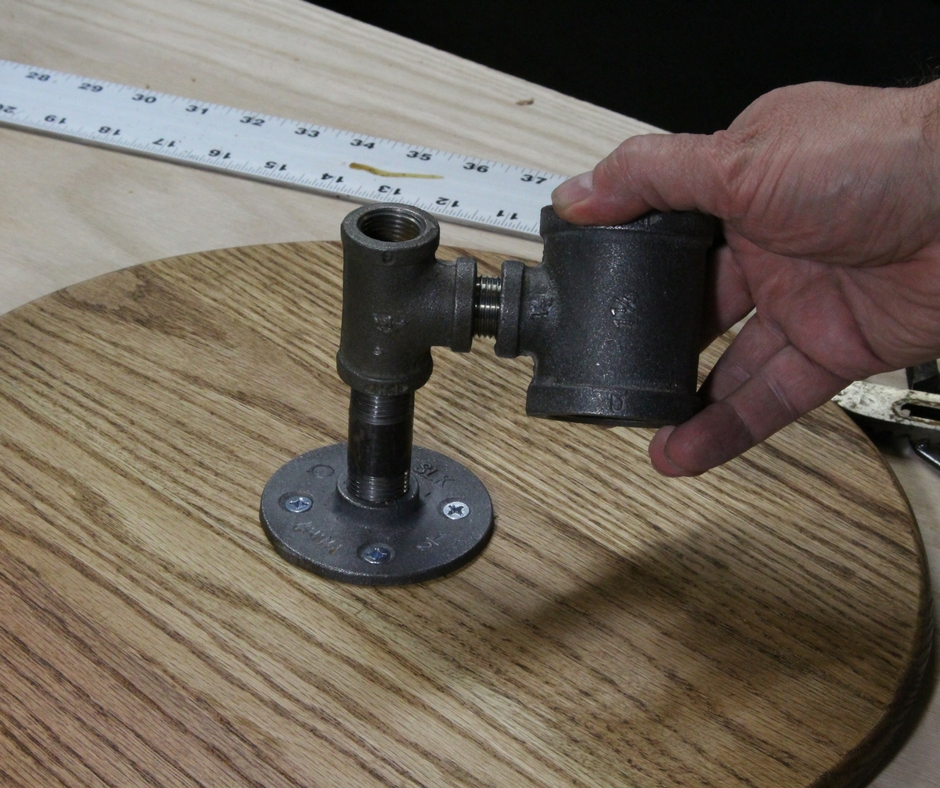
Follow the instructions and the diagram that come in the kit and begin assembly. You could use a pipe wrench, but I elected to use channel lock pliers to tighten the pipes to the connectors and fittings.
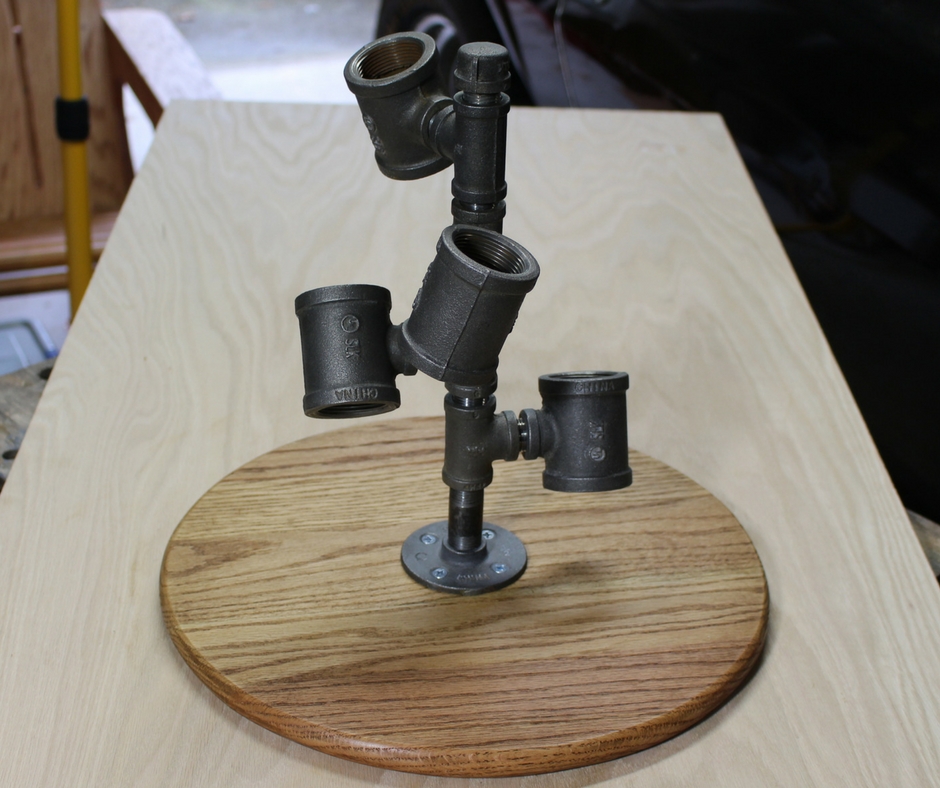
Make sure the pipes are all secure. The tee-shaped pipes that will hold the wine bottles should be staggered and arranged symmetrically. You can adjust the angle like you want, but make sure pipes are connected tightly. And again, watch you fingers for sharp edges. I highly recommend wearing some gloves while assembling the pipes.
Use 4 wine bottles to test the positions of the tee-shaped holders. Make sure you have clearance between the bottles.
There you go. Now take a break and pour yourself a glass of wine and look at the finish project.
If you love the taste of wine, check out this article on aerators from ilovewine.com. Using an aerator will make your wine taste better.
I hope you have enjoyed this industrial pipe wine rack project. If you’d like to receive more tutorials like this, I recommend you subscribe to my monthly newsletter. Look for the sign up form below. If you sign up, I will send you my free Home Shop Safety and Tool Checklist.

Are you starting up a new shop? Want to work safer in your shop? To help you answer these questions I've put together a 2-part checklist -- Home Shop Safety & Tool Checklist.
I will also send you updates of my latest woodworking and DIY projects. You can get all this by subscribing to my free email newsletter.
