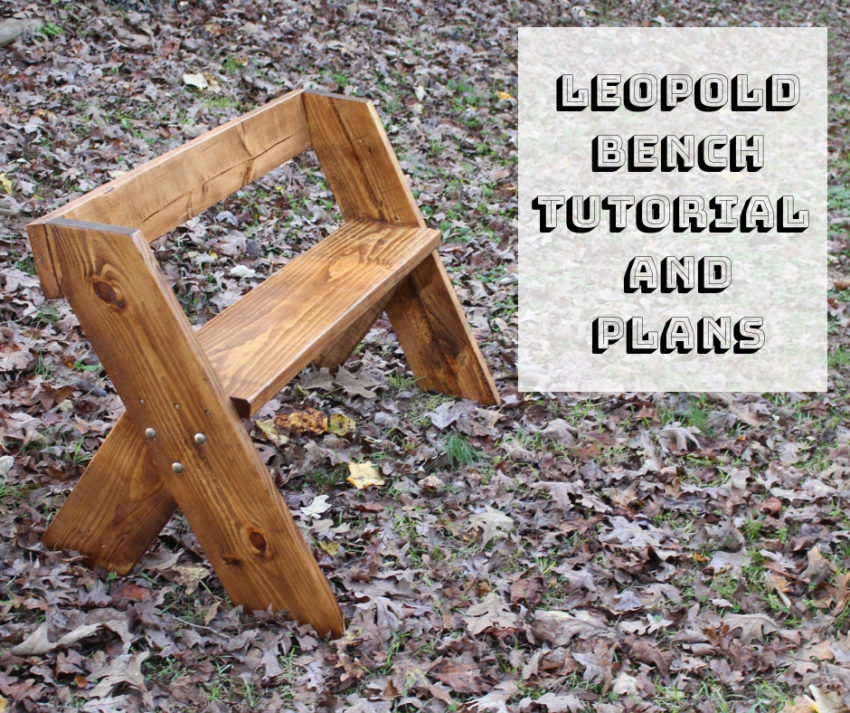
I love this simple and elegant bench, originally designed by Aldo Leopold, who is considered the father of wildlife management. I hope you enjoy this post: Leopold Bench Tutorial and Plans. I’ll show you step-by-step how to make the bench, and I’ll use plenty of photos. Only a few basic tools are required and the skill level is easy. I’m also providing free Leopold bench plans, for your convenience.
Get the FREE Leopold Bench Plans
This post contains a few Amazon affiliate links. If you purchase a tool or item through an affiliate link, I receive a small commission, which helps keep my website going. Thanks for your support!
Tools & Supplies Needed:
Circular Saw
Hand Drill
Lumber (see plans)
6–3.5 inch carriage bolts(with nuts & washers)
18–3.5 inch deck screws
Wood Glue
Speed Square
Wood stain
Spar Urethane
Tape Measure
Quickgrip Clamps
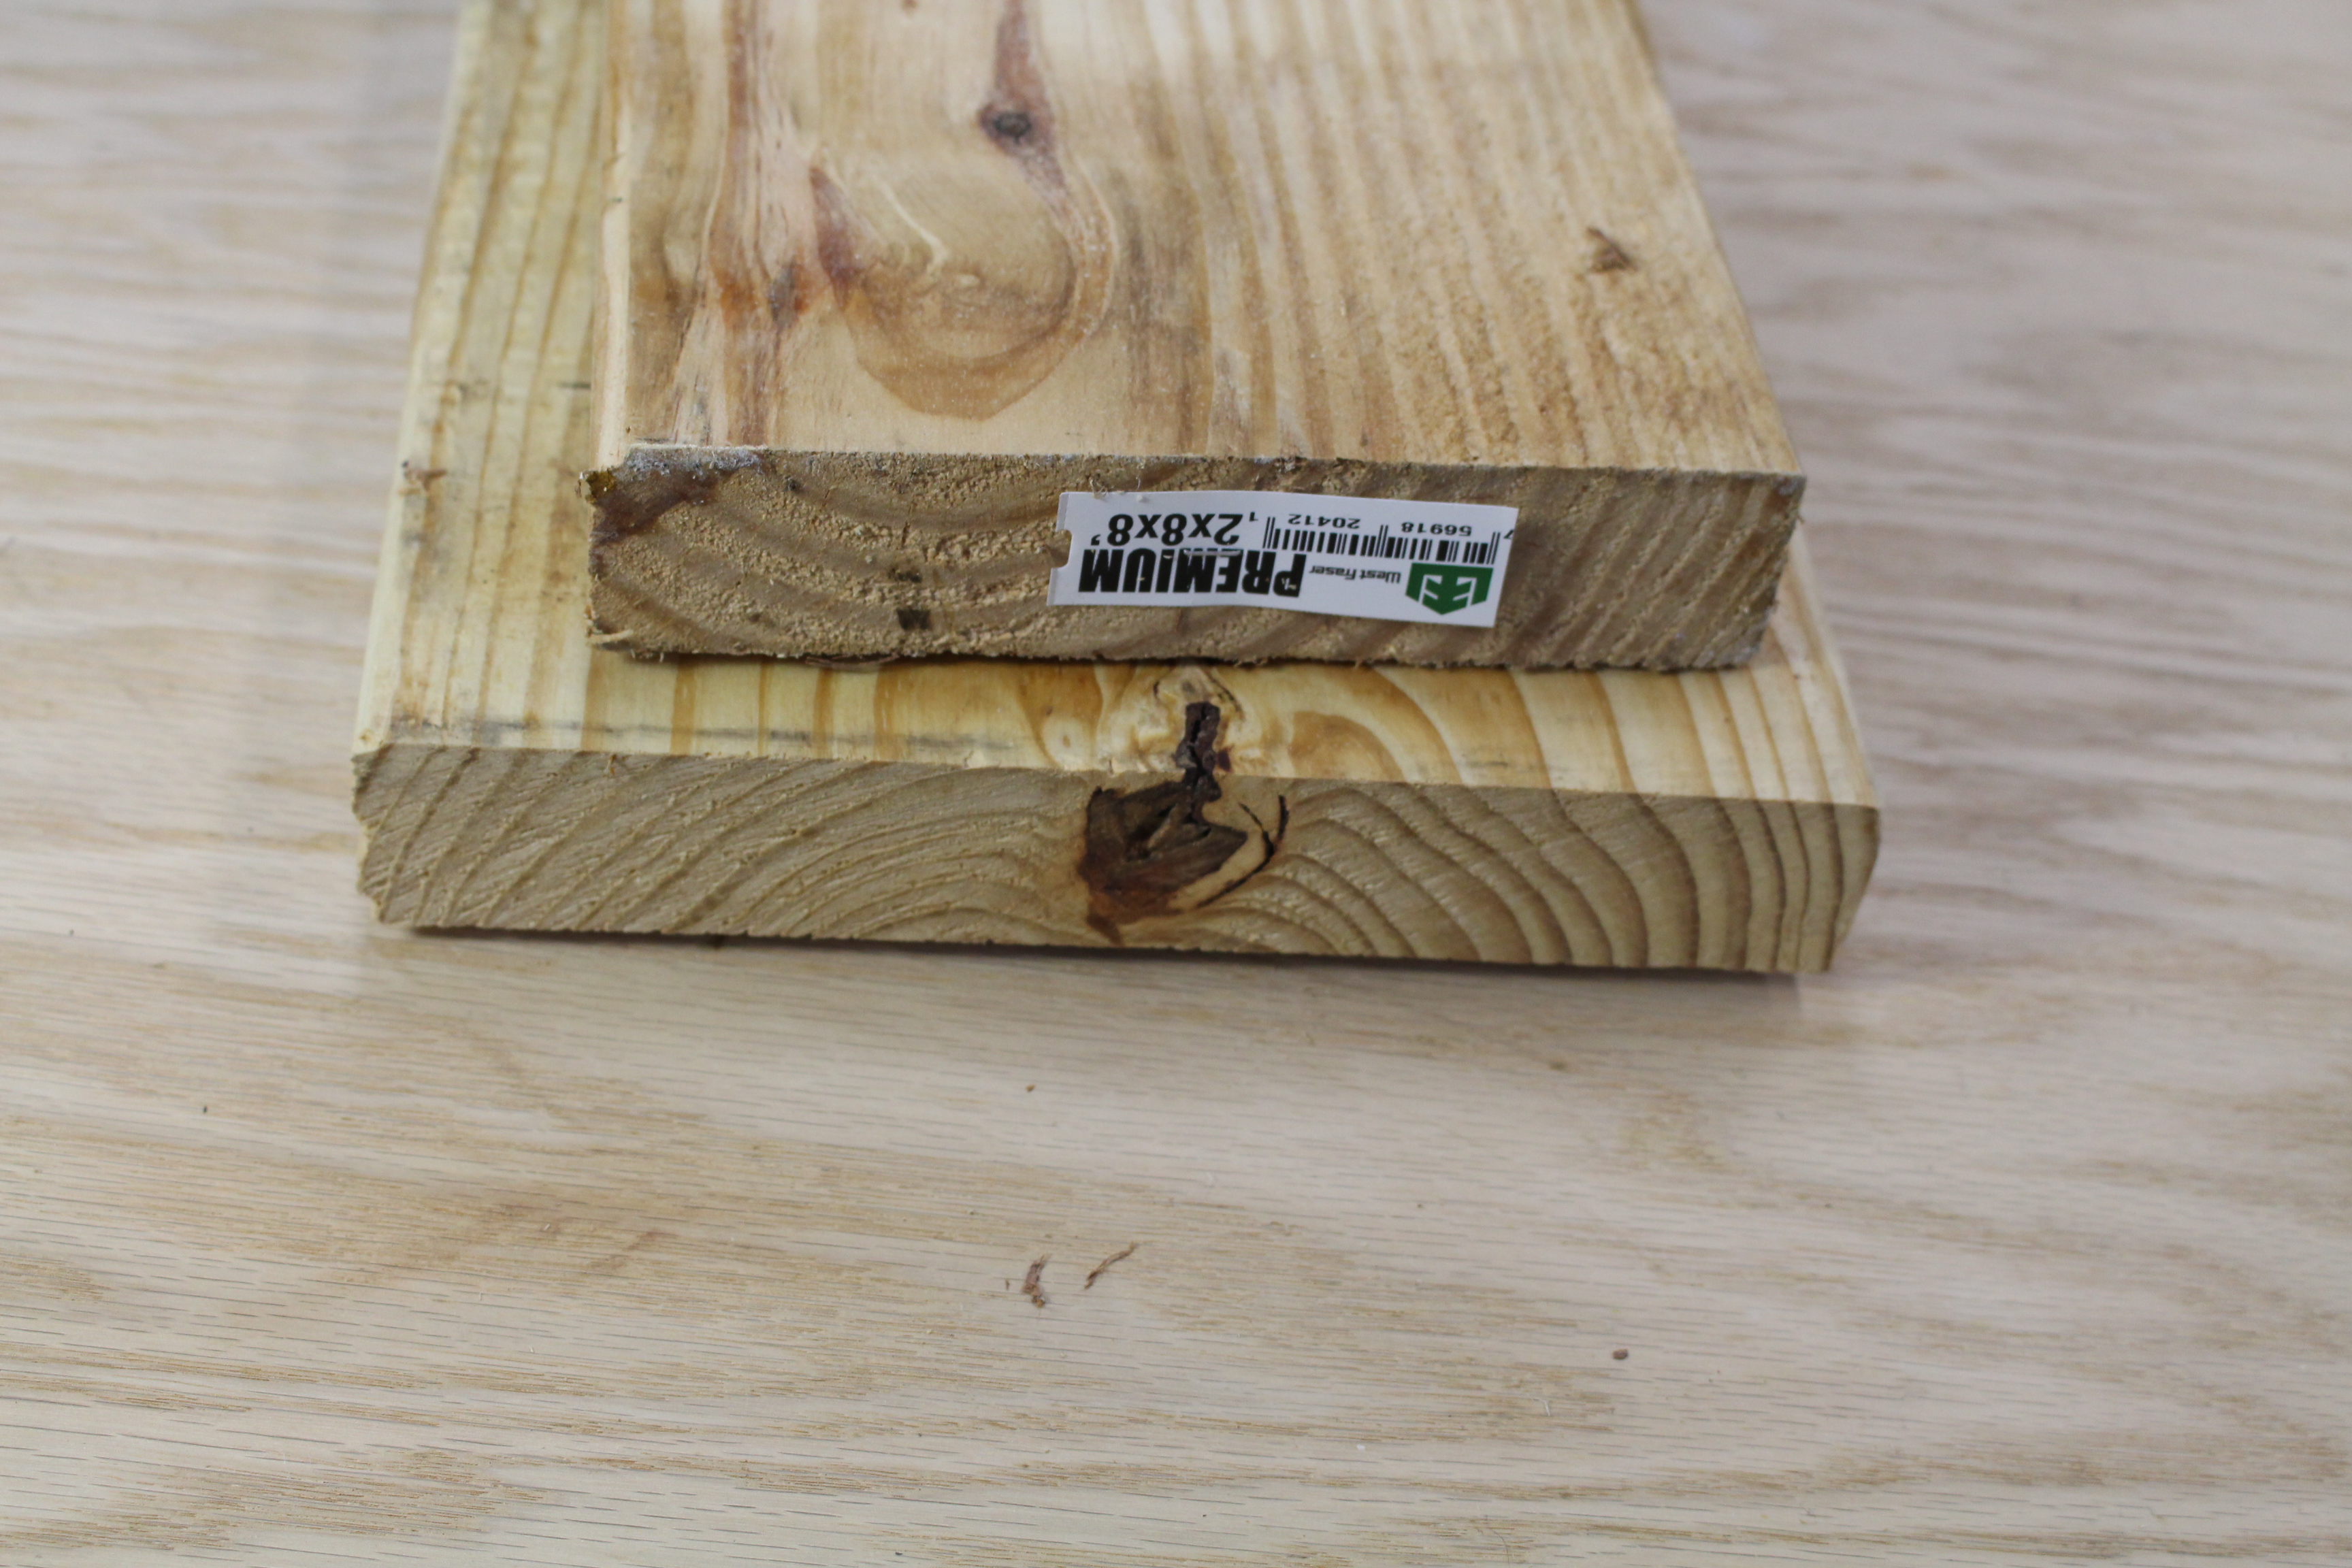
Step 1 — Procure your lumber and supplies.
I chose untreated pine for this project and the cost was somewhere around $40 to $50. The dimensions you’ll need can easily be found at your local home improvement stores. Look for boards that are straight and in good condition.
Why do I use untreated? I personally don’t like using treated lumber for furniture, especially when folks will have a lot of contact with the wood. I don’t have a solid scientific rationale. It’s just my preference.
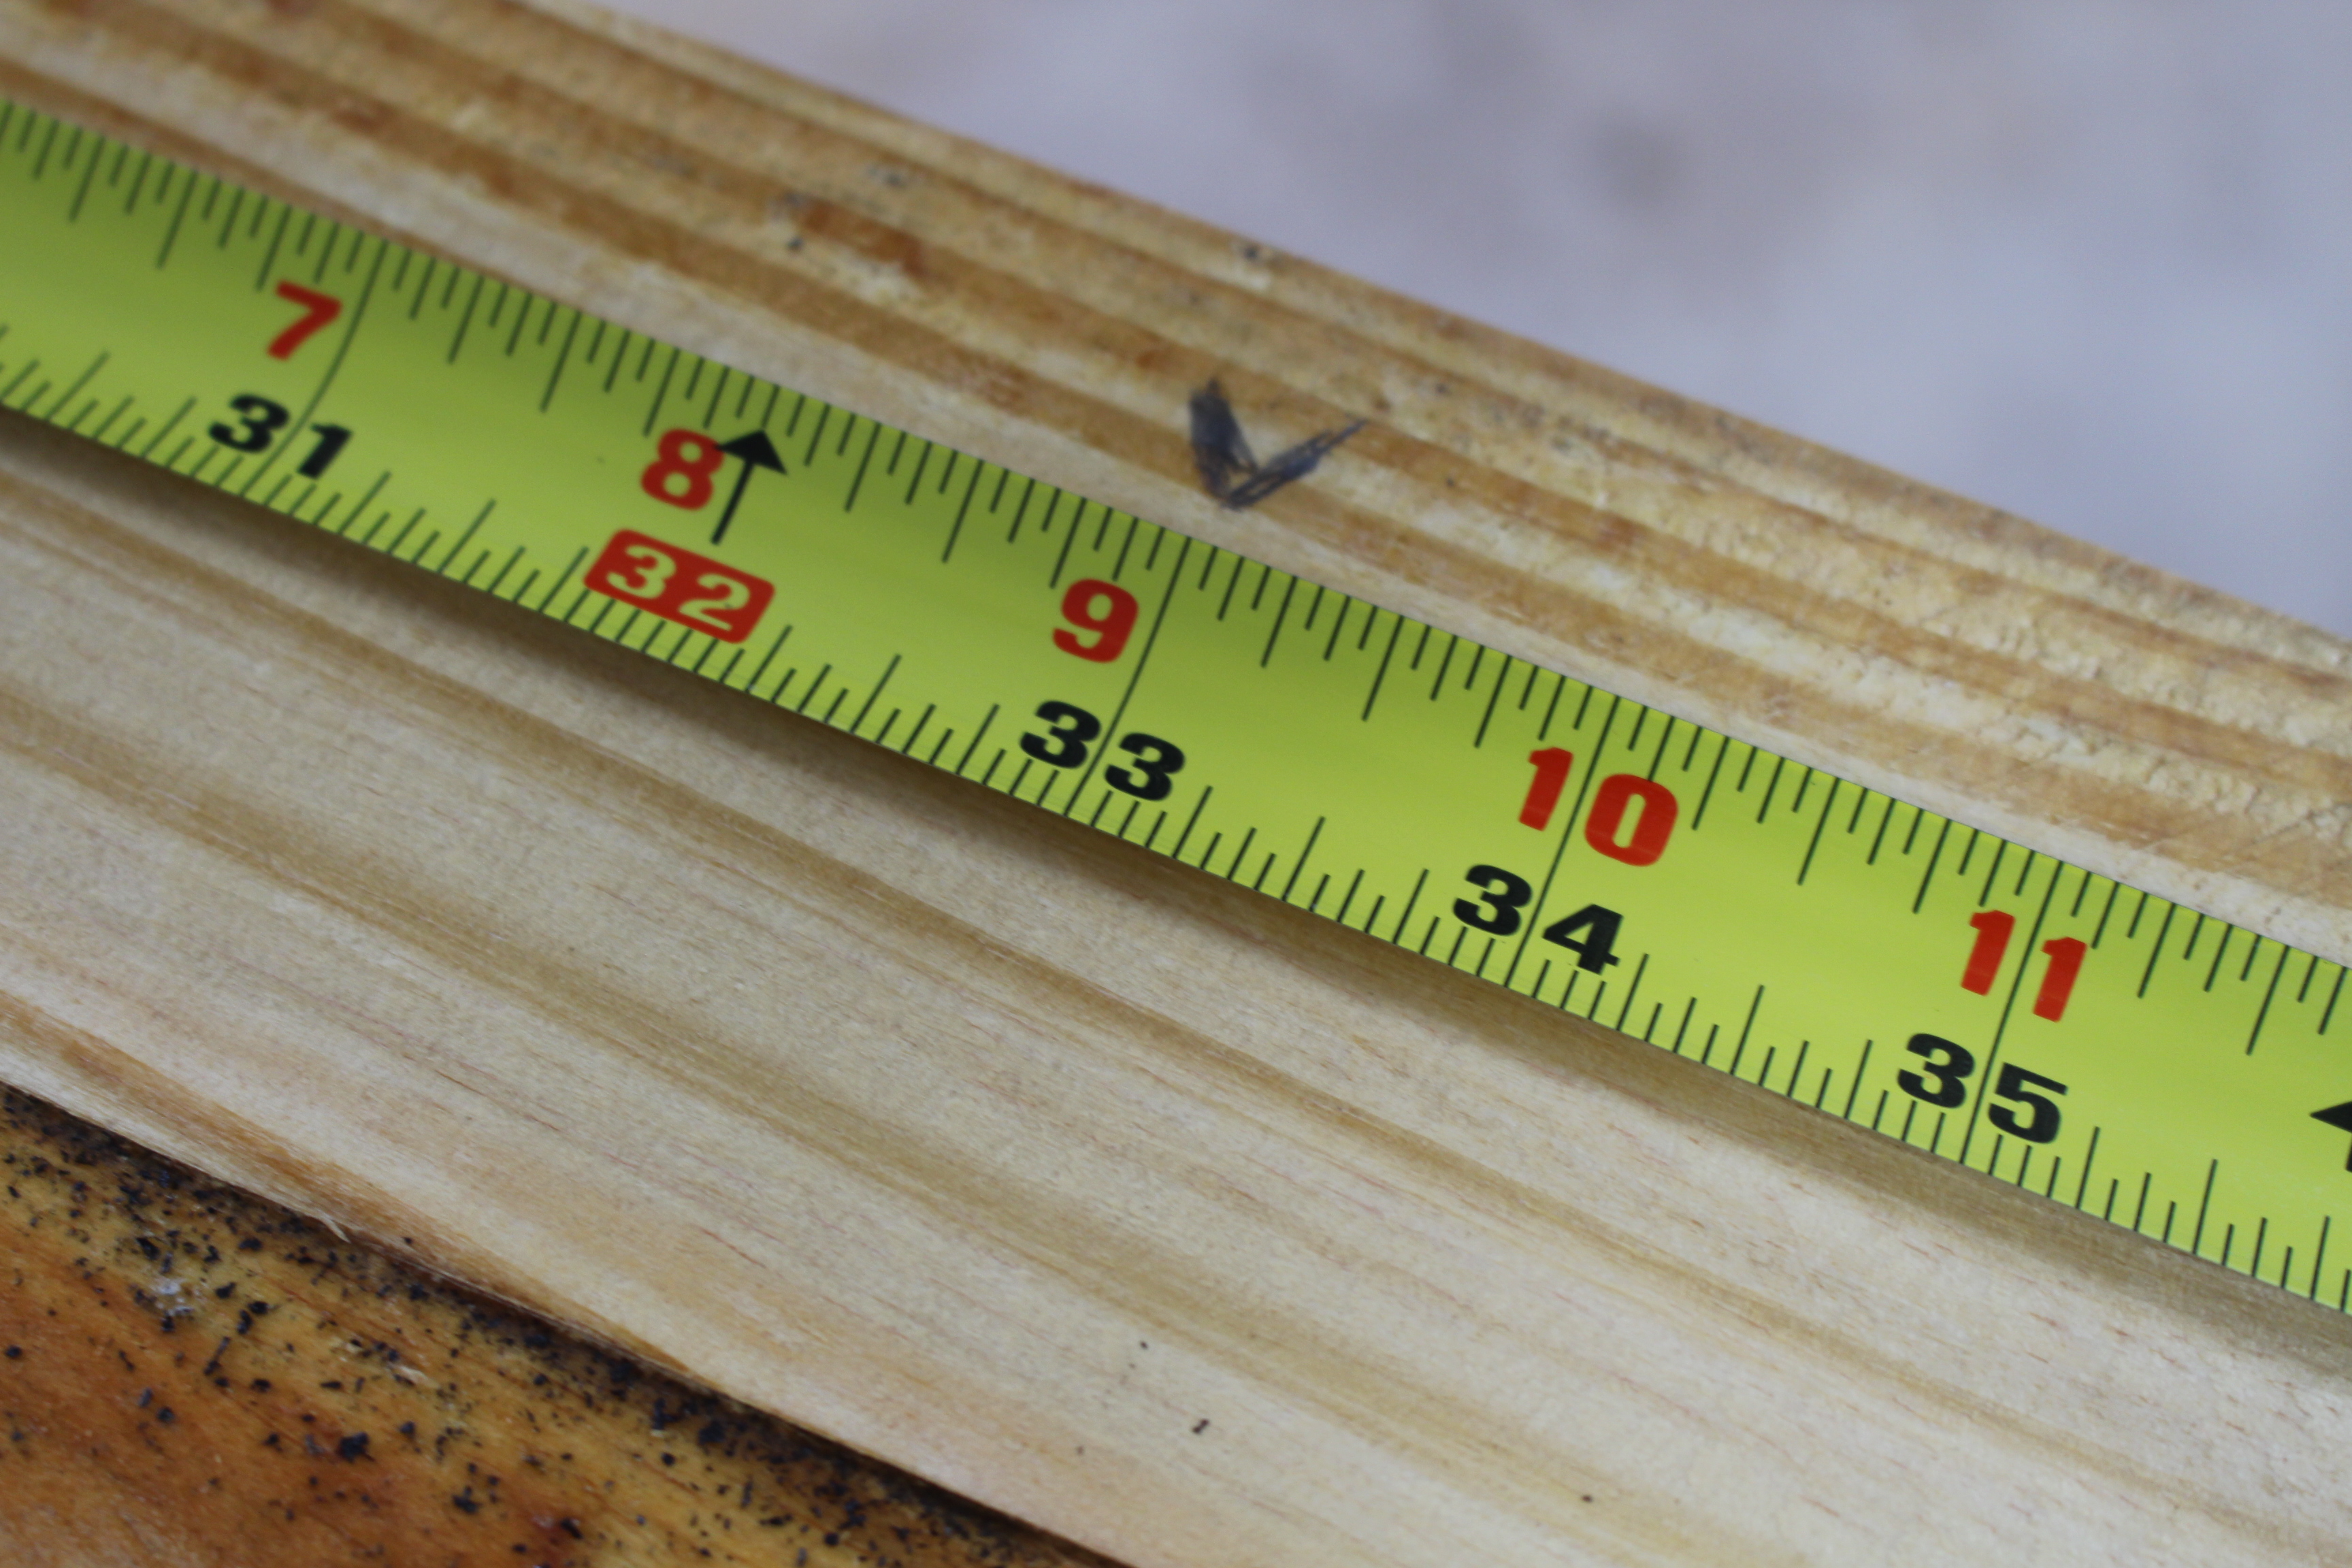
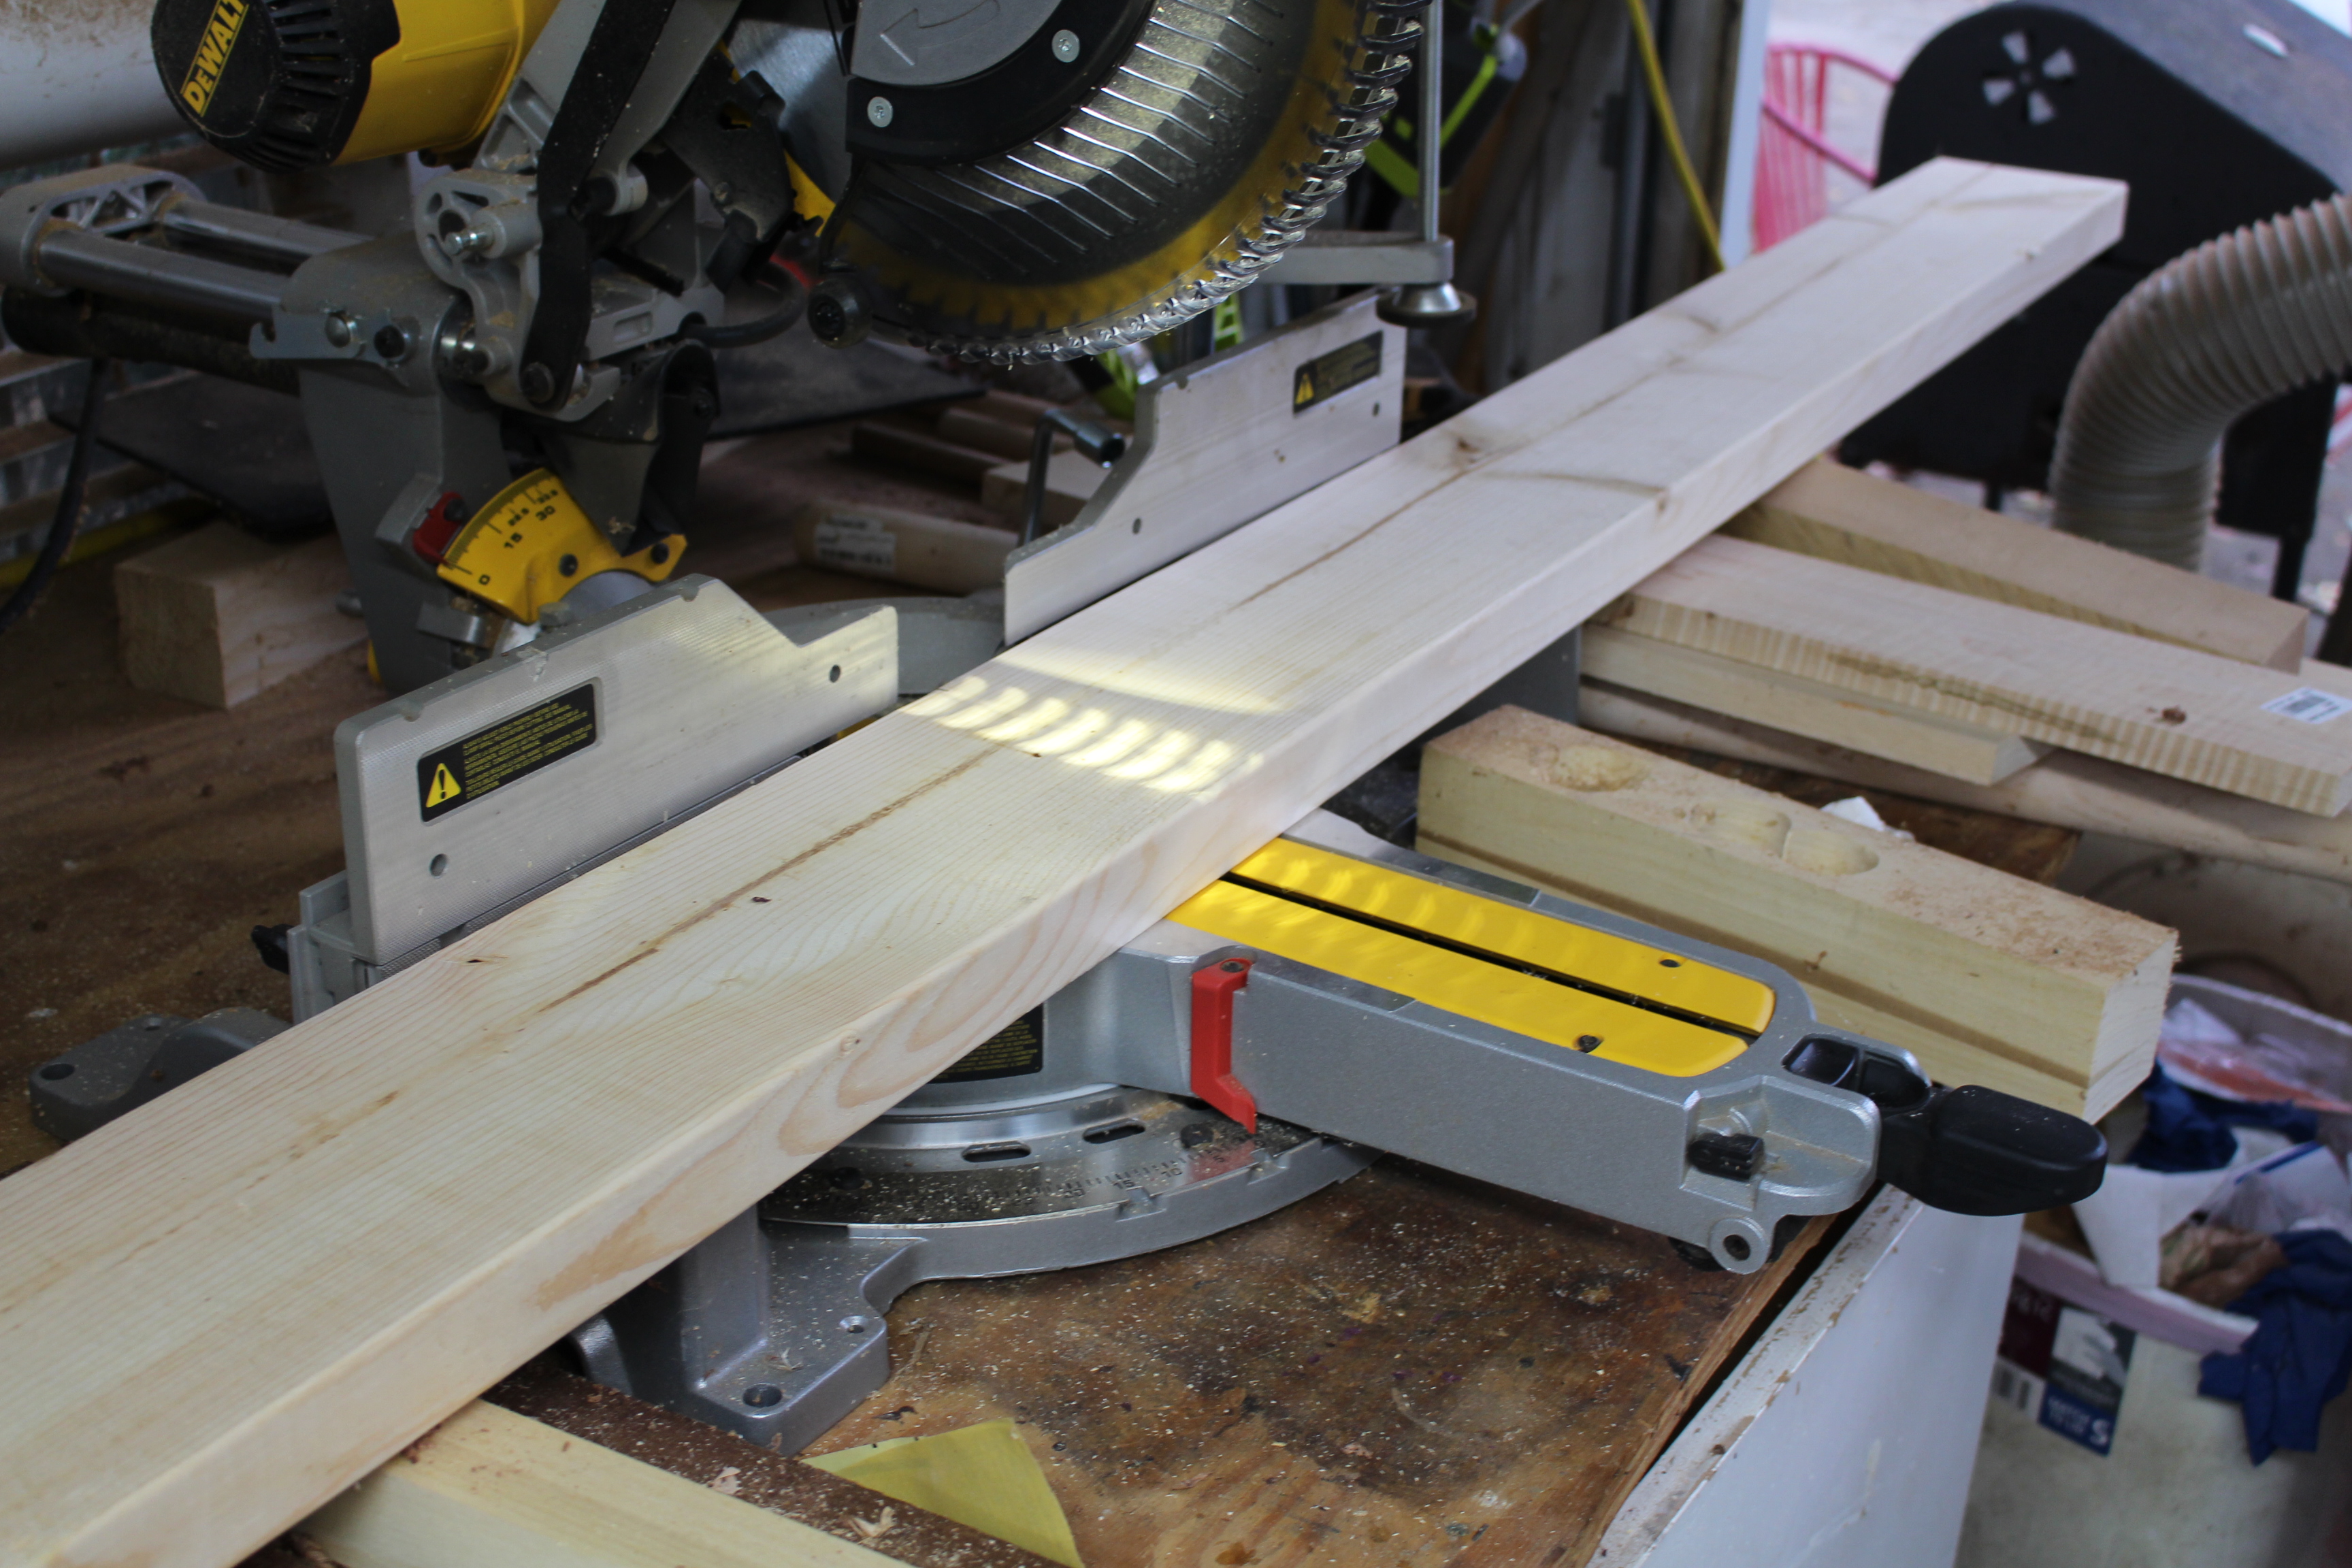
Step 2 — Measure and cut the boards.
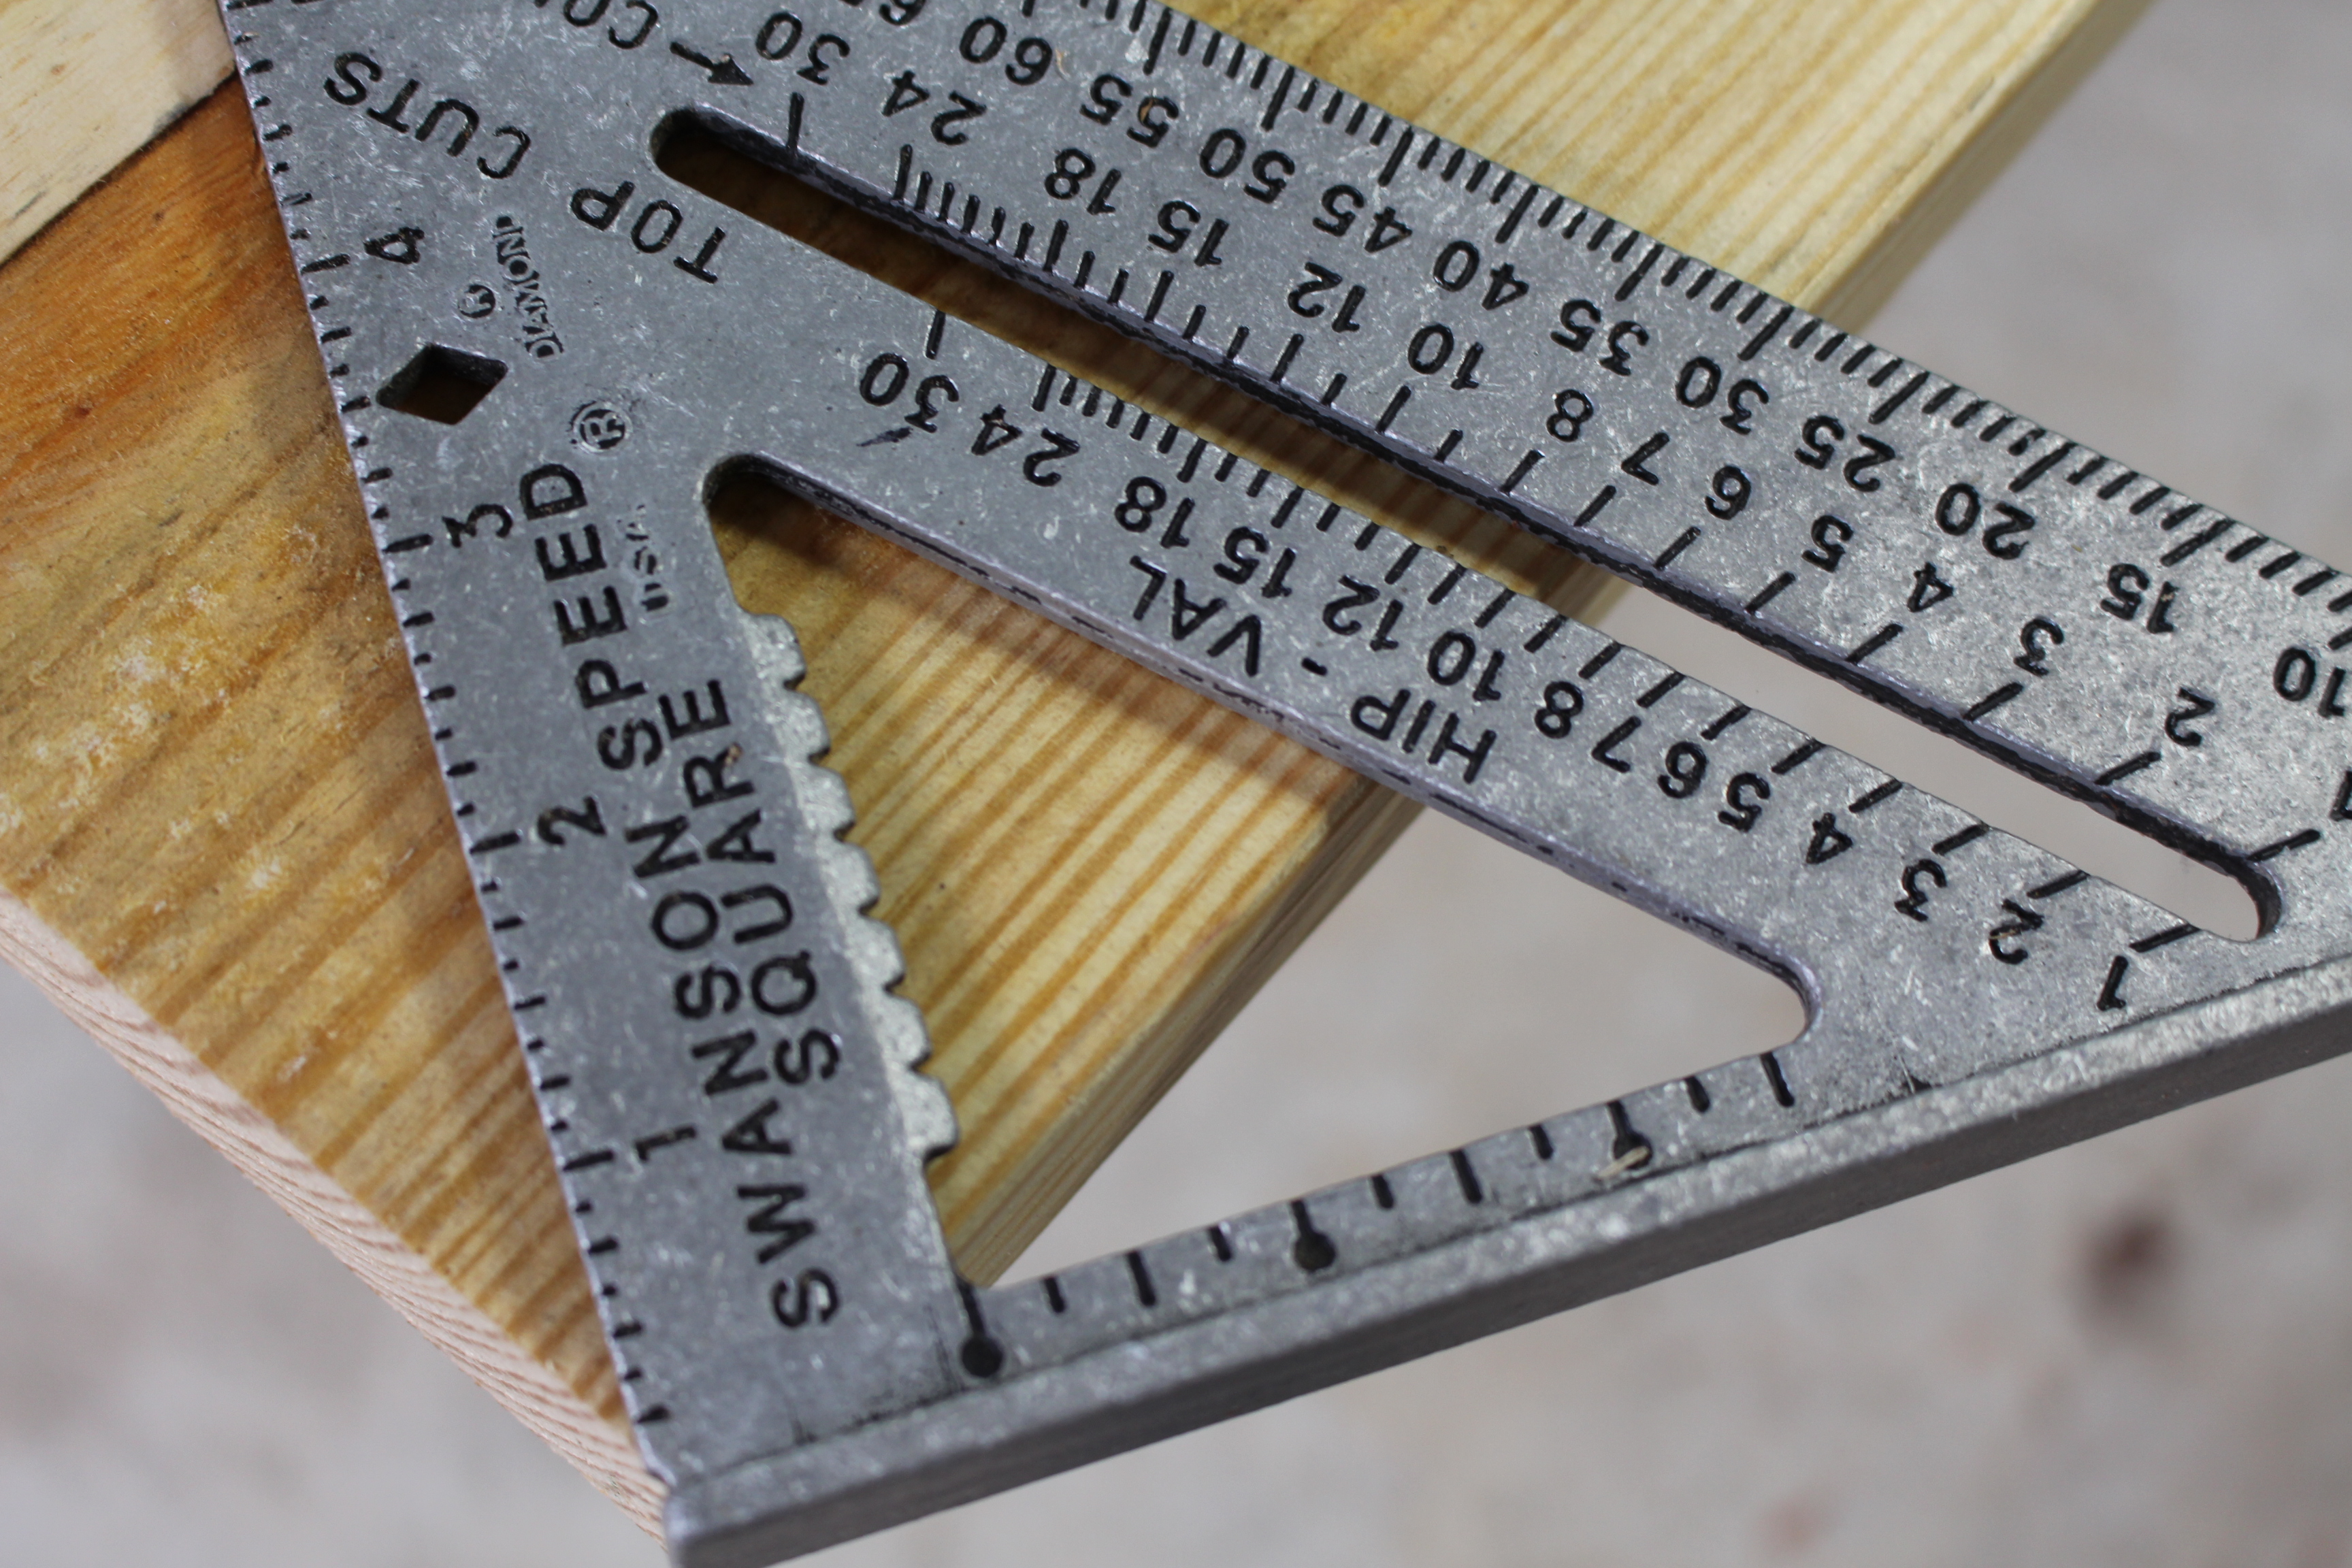
Use a tape measure and mark the boards according to the plan dimensions. Use a speed square to get a 30 degree angle for the legs.
You can see in the photo that I have the speed square on the 30 degree mark. The wood to the left of the square is the waste piece. You’ll end up with a 60 degree angle on the bench leg.
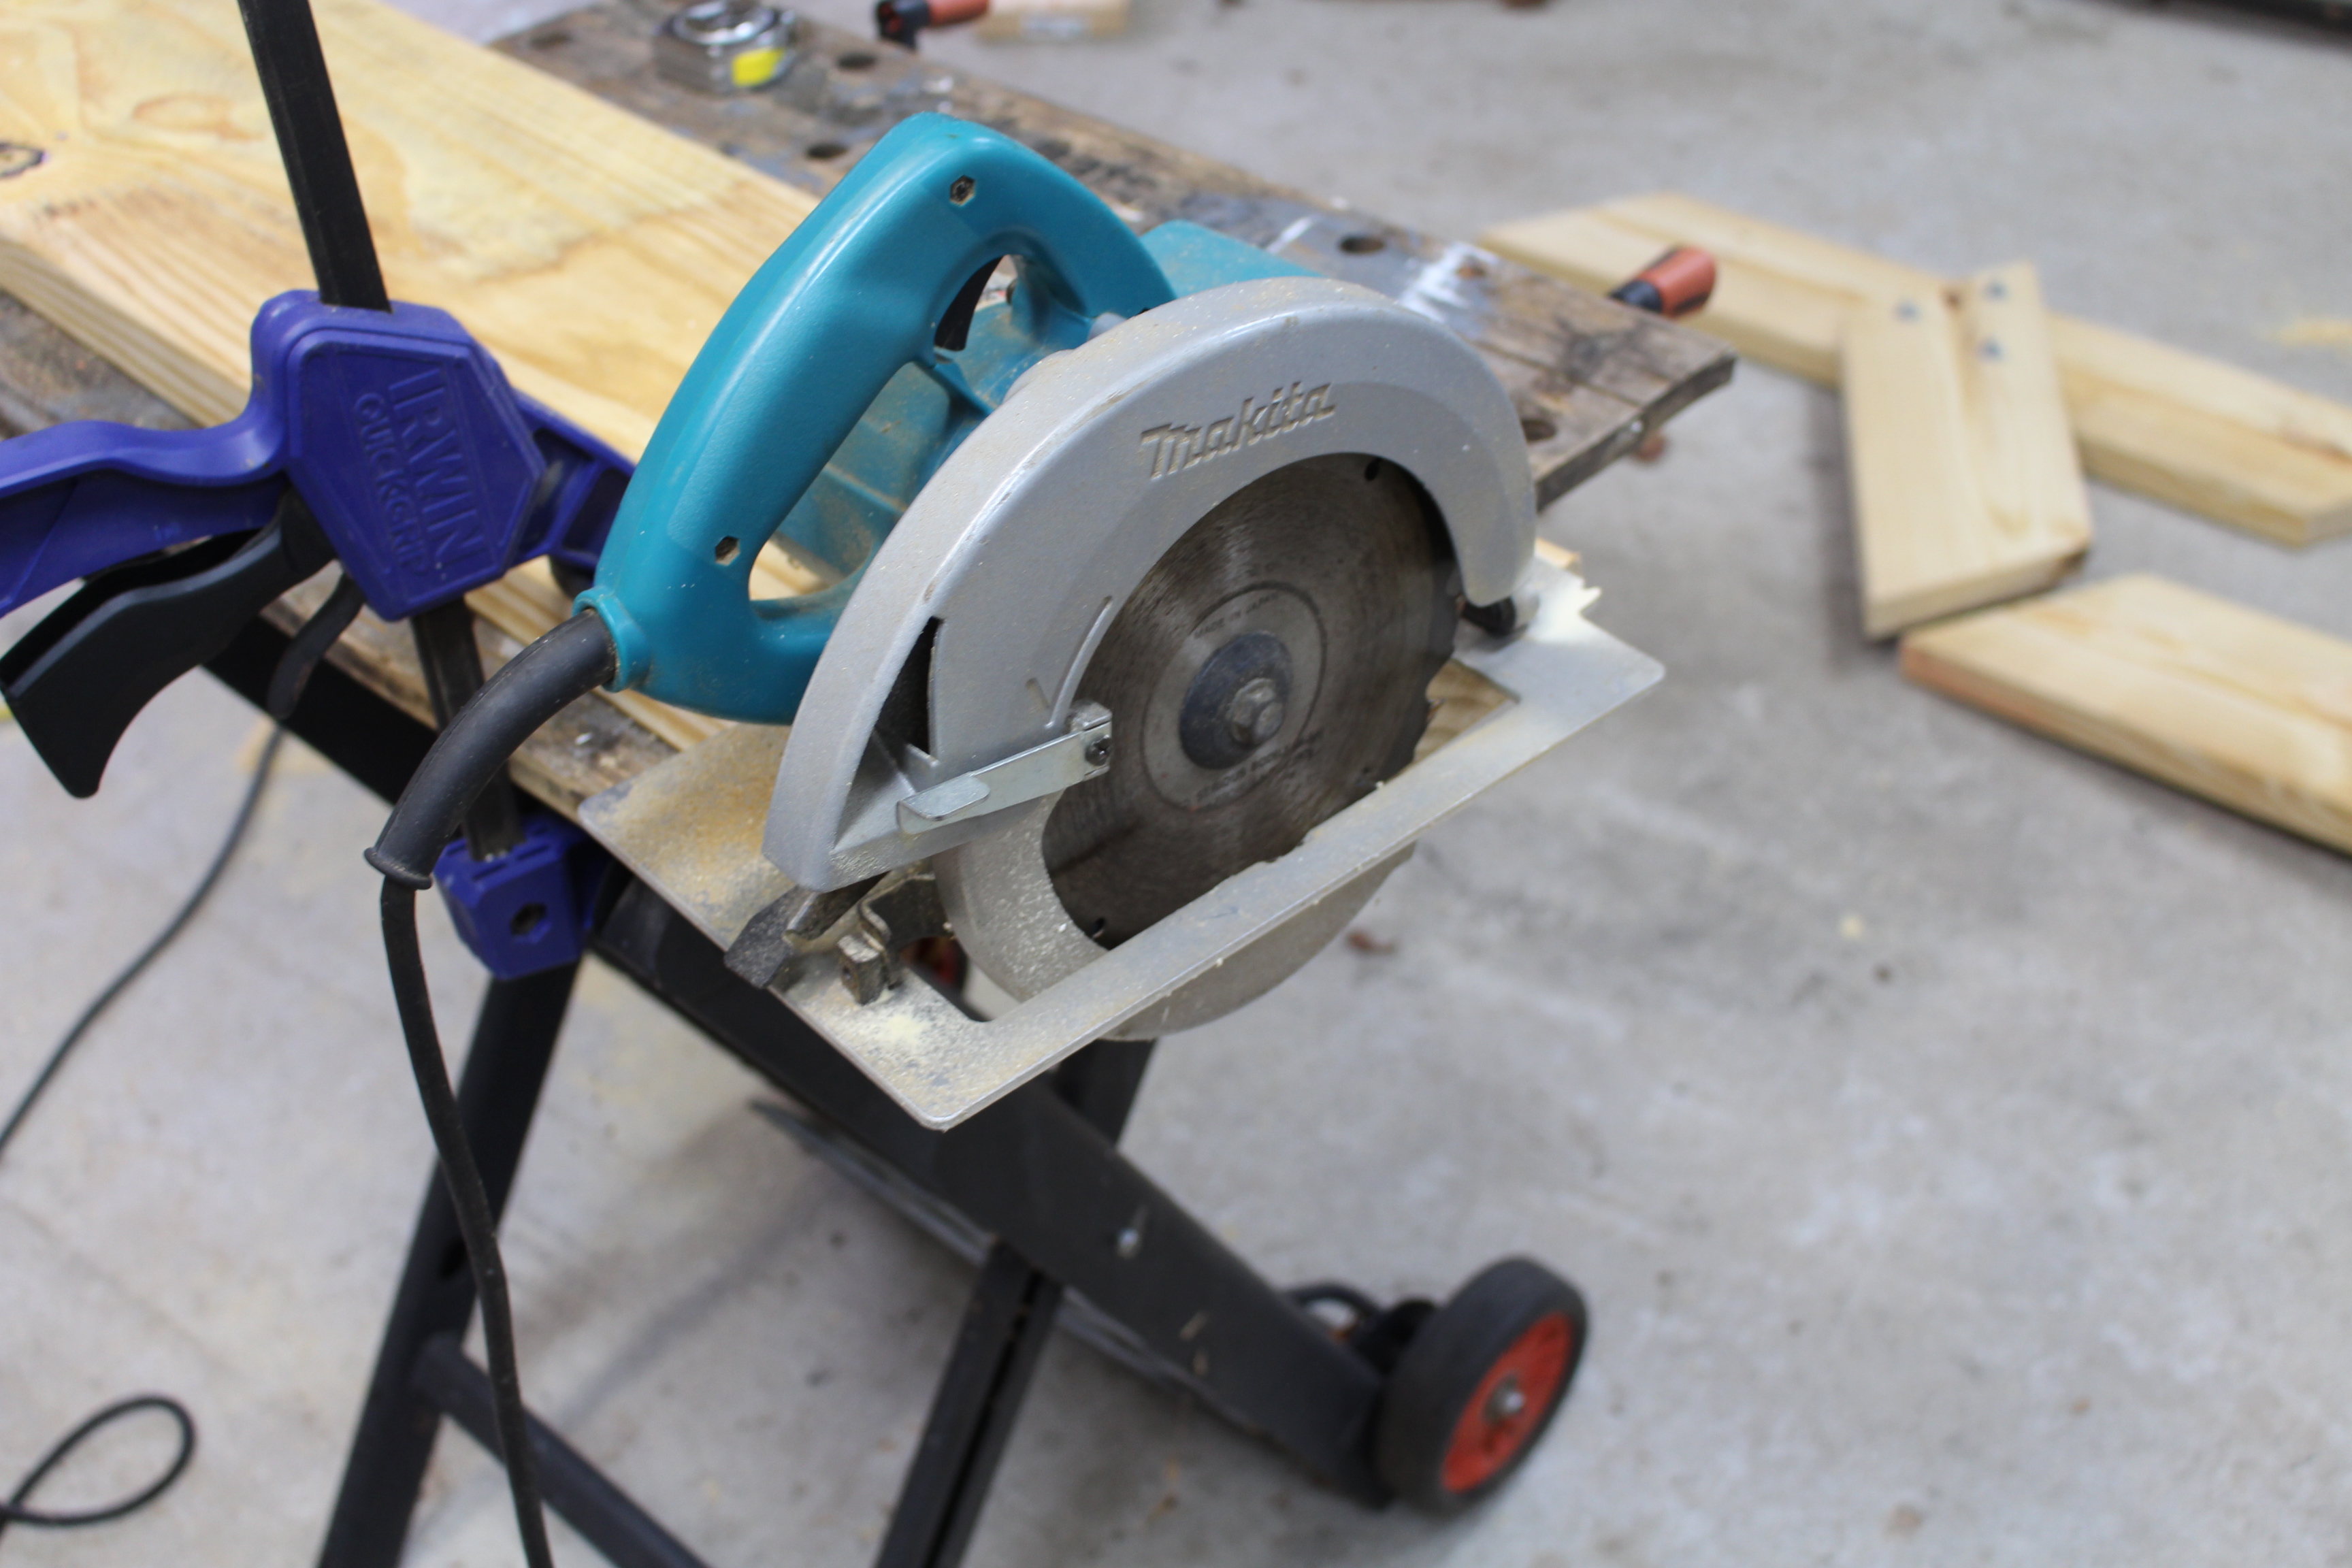
You can use a miter saw or handheld circular saw to cut the boards. I used the circular saw for most of this project. A miter saw will probably give more precise cuts.
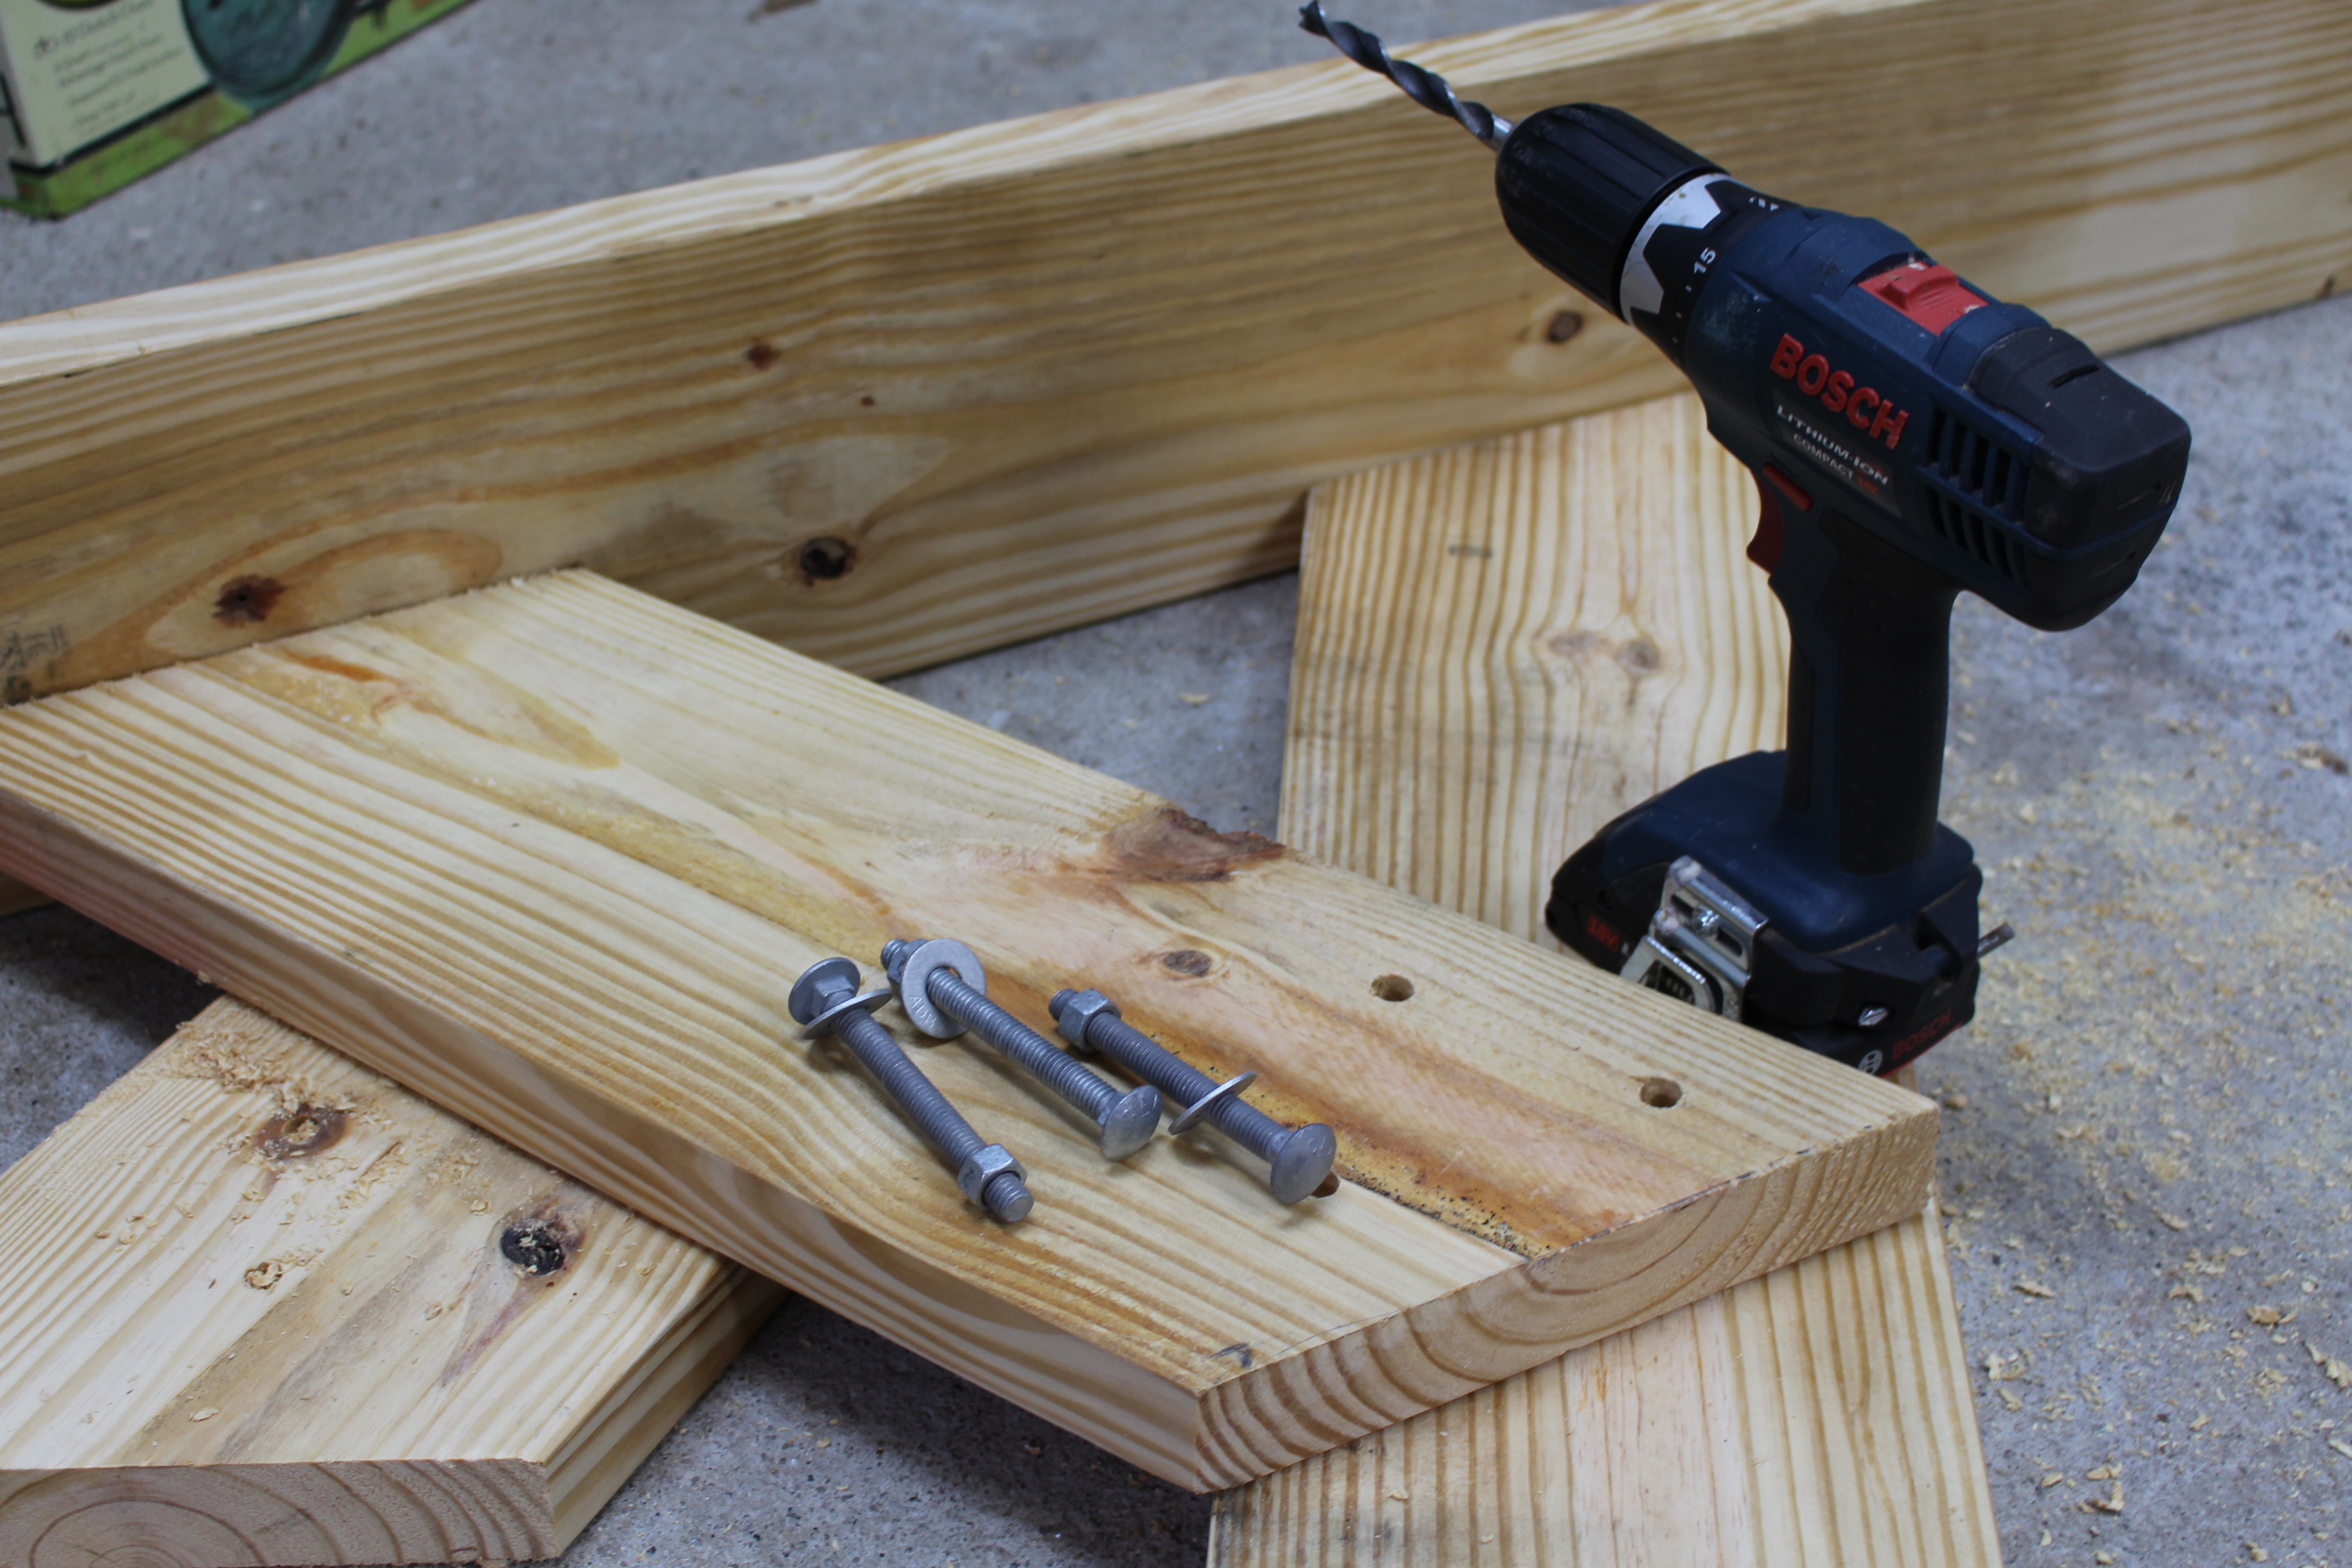
Step 3 — Drill the holes to connect the legs.
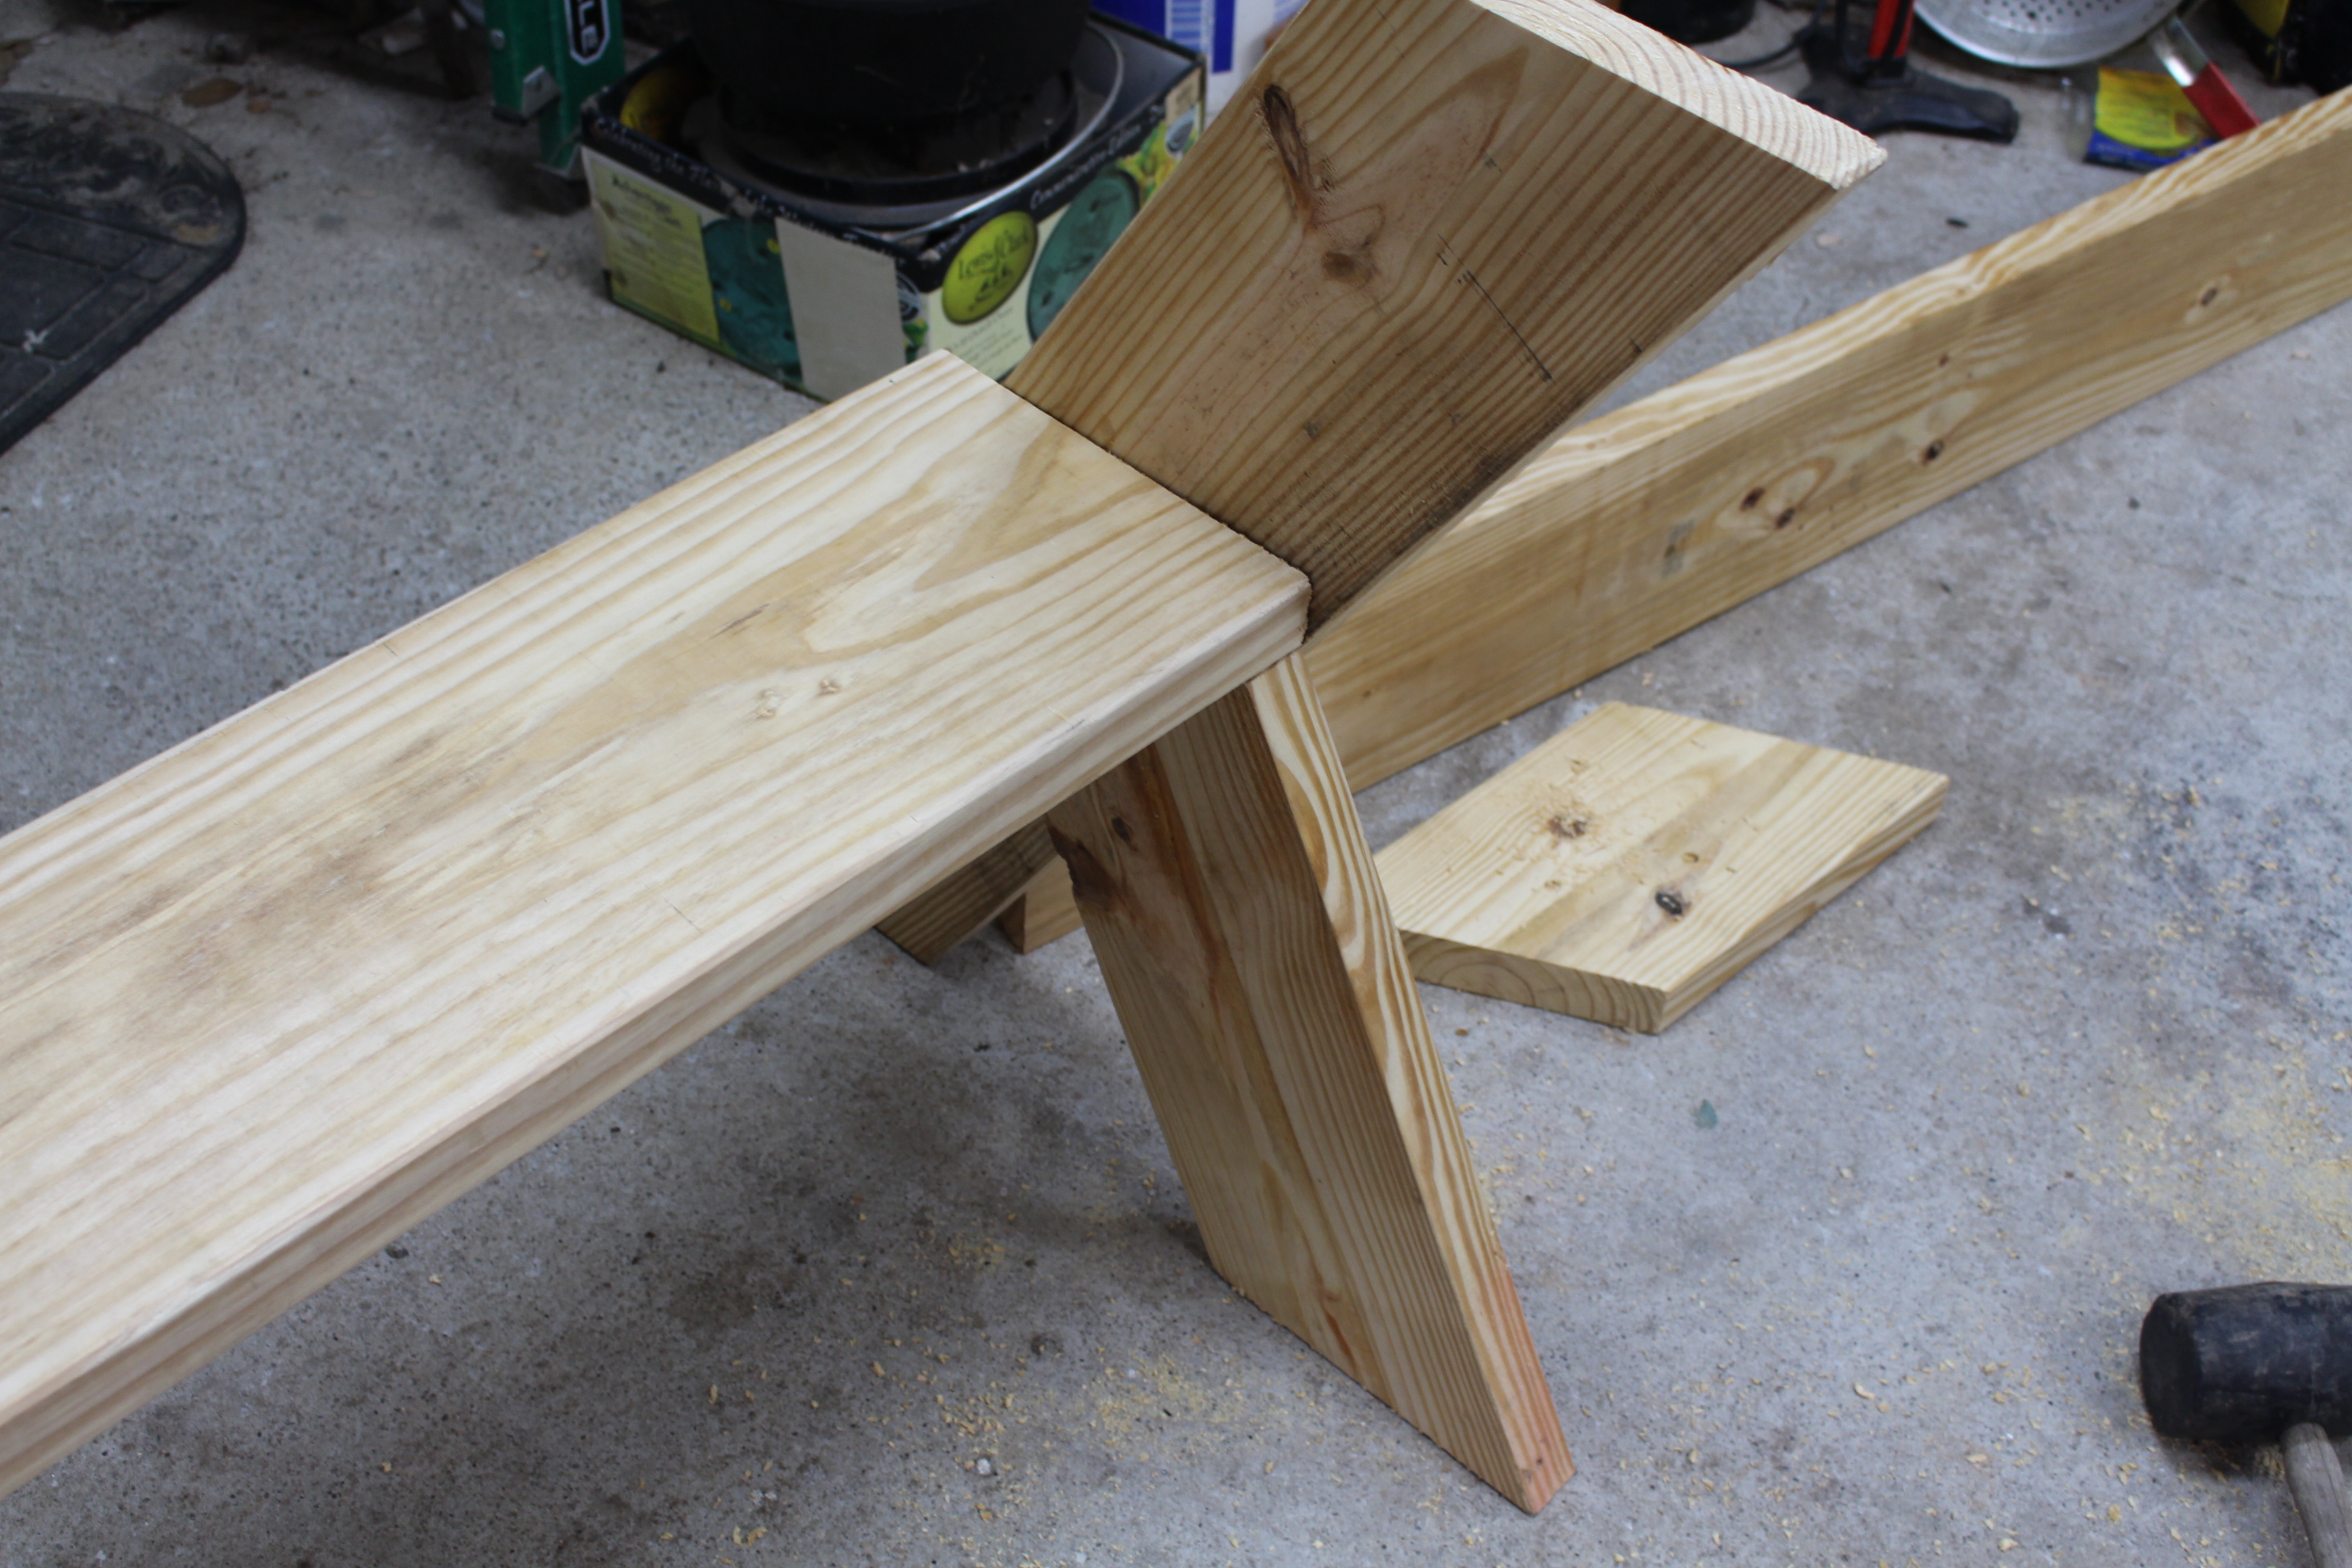
This is probably the most crucial step. I used a hand drill and a 3/8 inch drill bit to bore 3 holes on each side. You want each side of the bench to be a mirror image, so the bench seat will fit square and level. Also, you want your two-piece legs to be evenly aligned so the whole bench sits level on the ground.
In the photo above you can see how I placed a flat board along the bottom of the two legs and then positioned the crossing point of the boards. Once you have the boards positioned perfectly, clamp them in place or place your weight on the boards and drill the 3 holes through both boards. Place a waste block under the boards as you drill.
Let me REPEAT — make sure both sides are a mirror image.
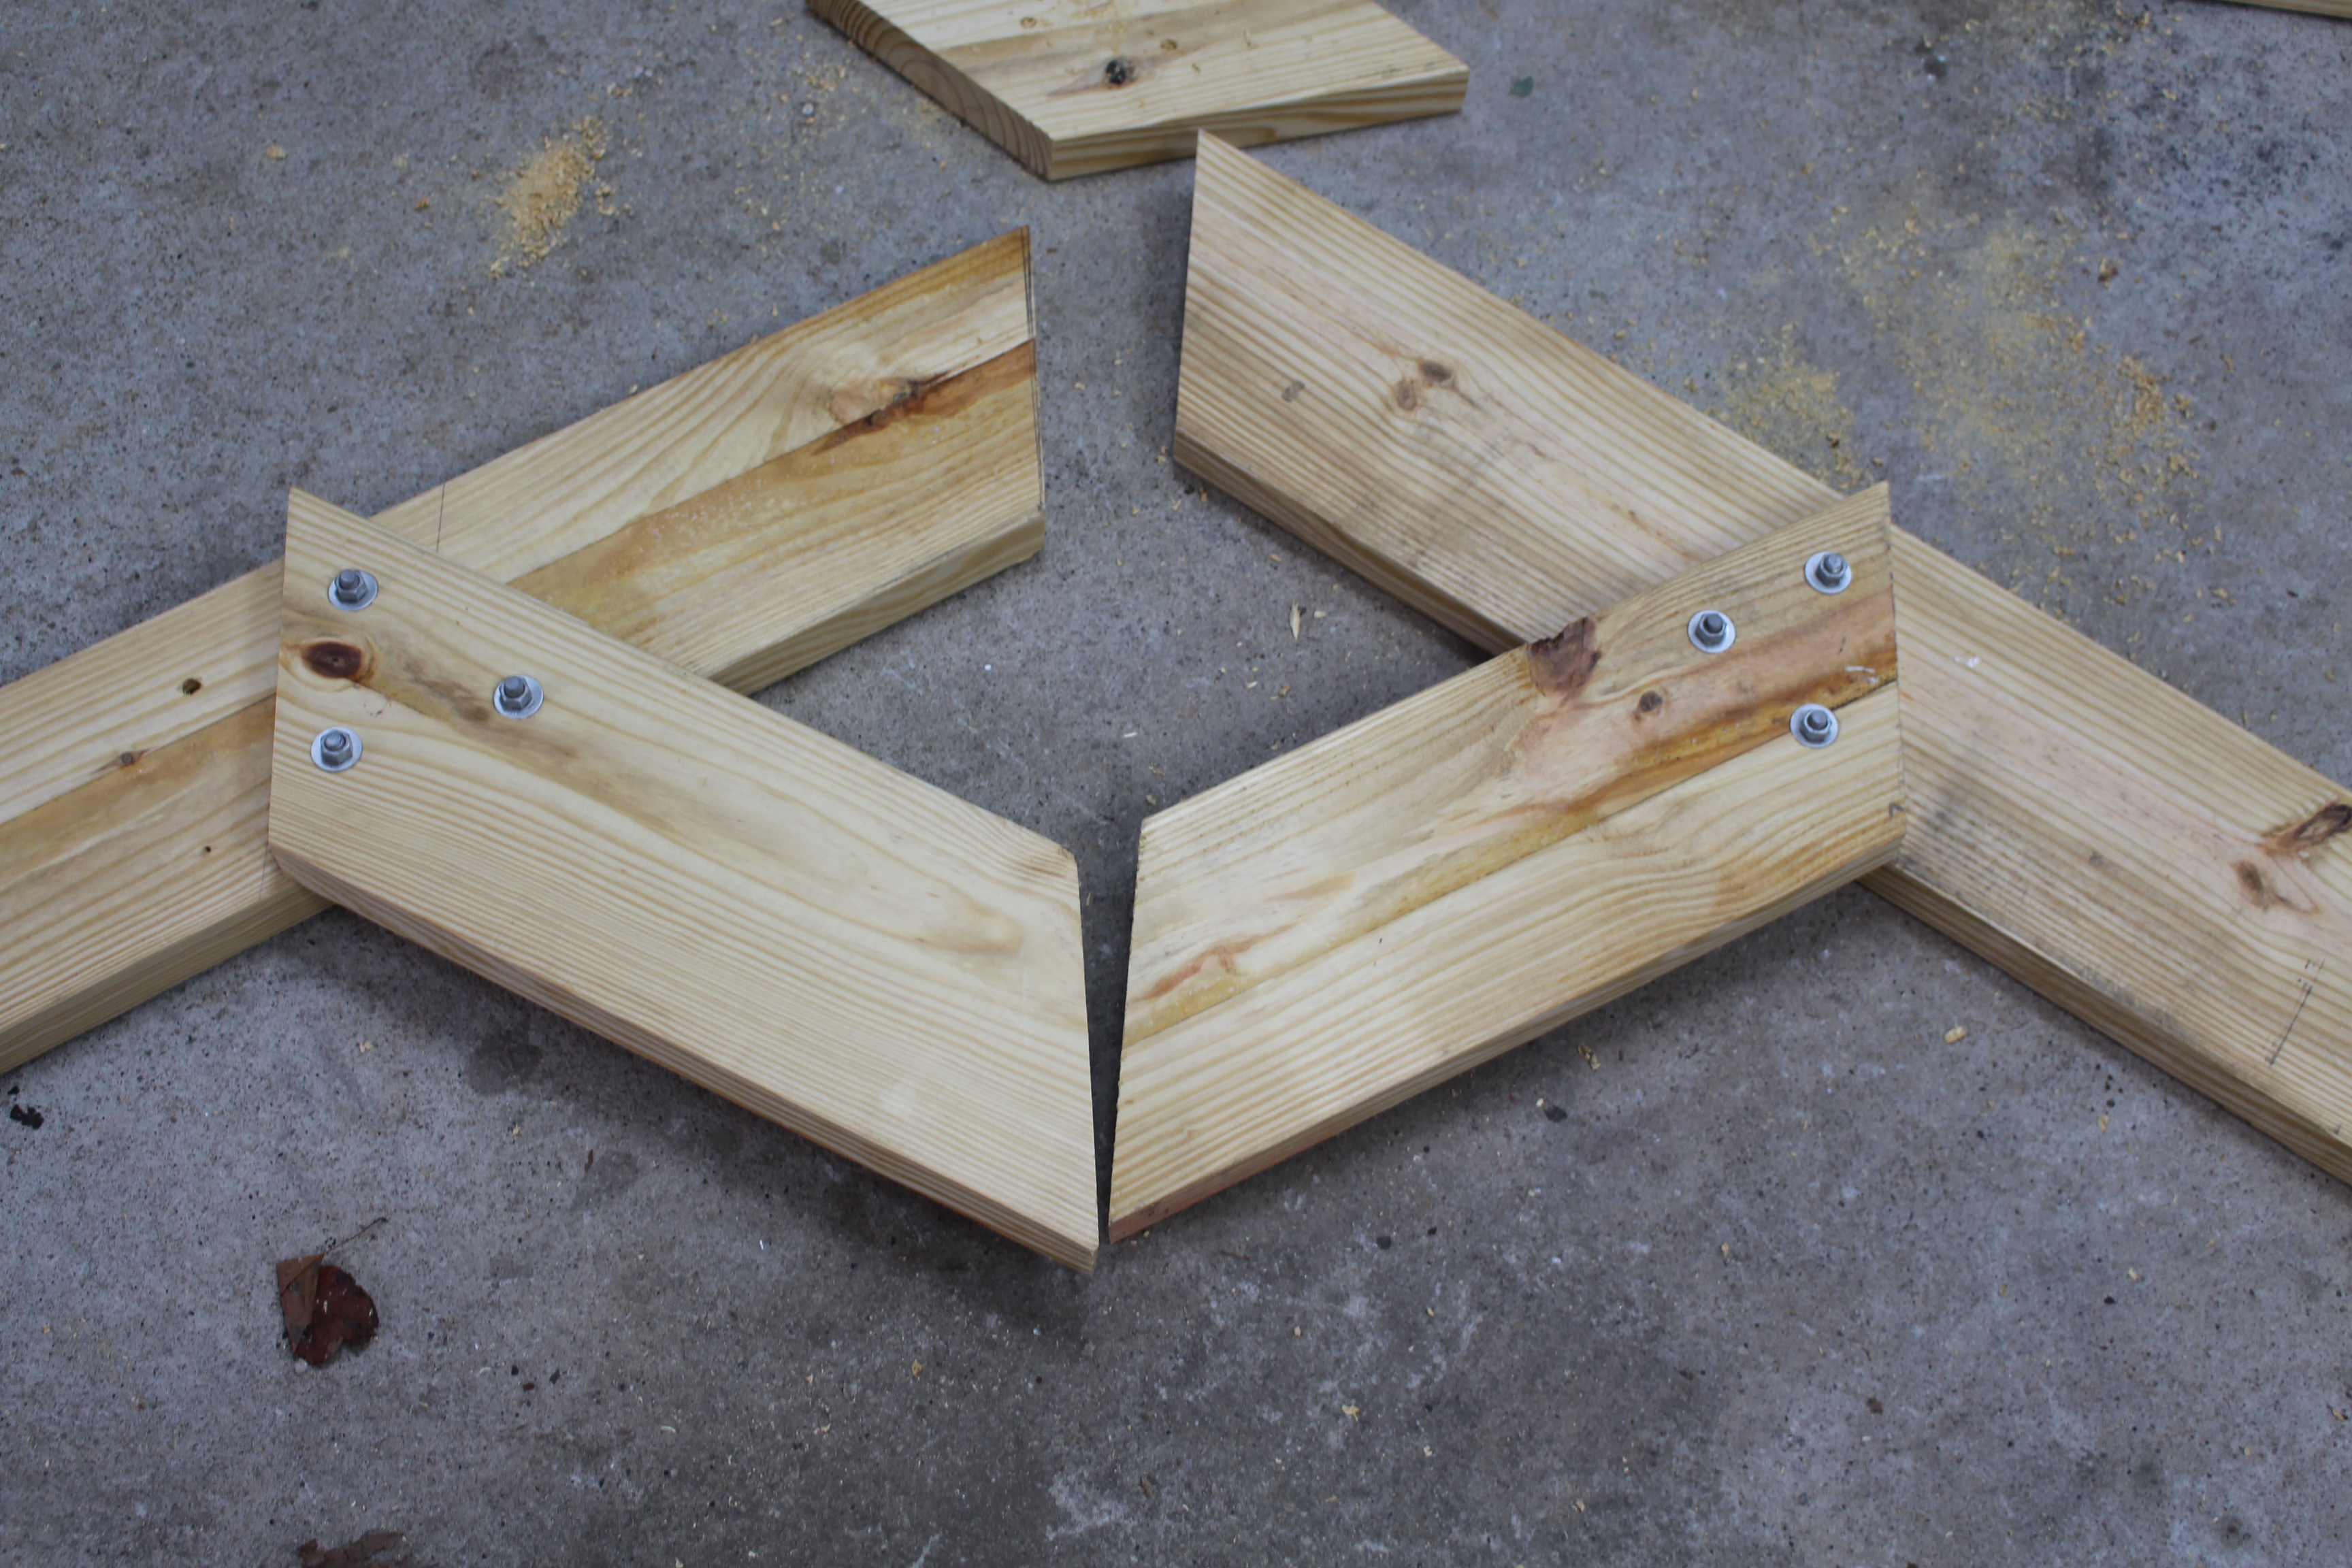
Step 4 — Connect the legs together.
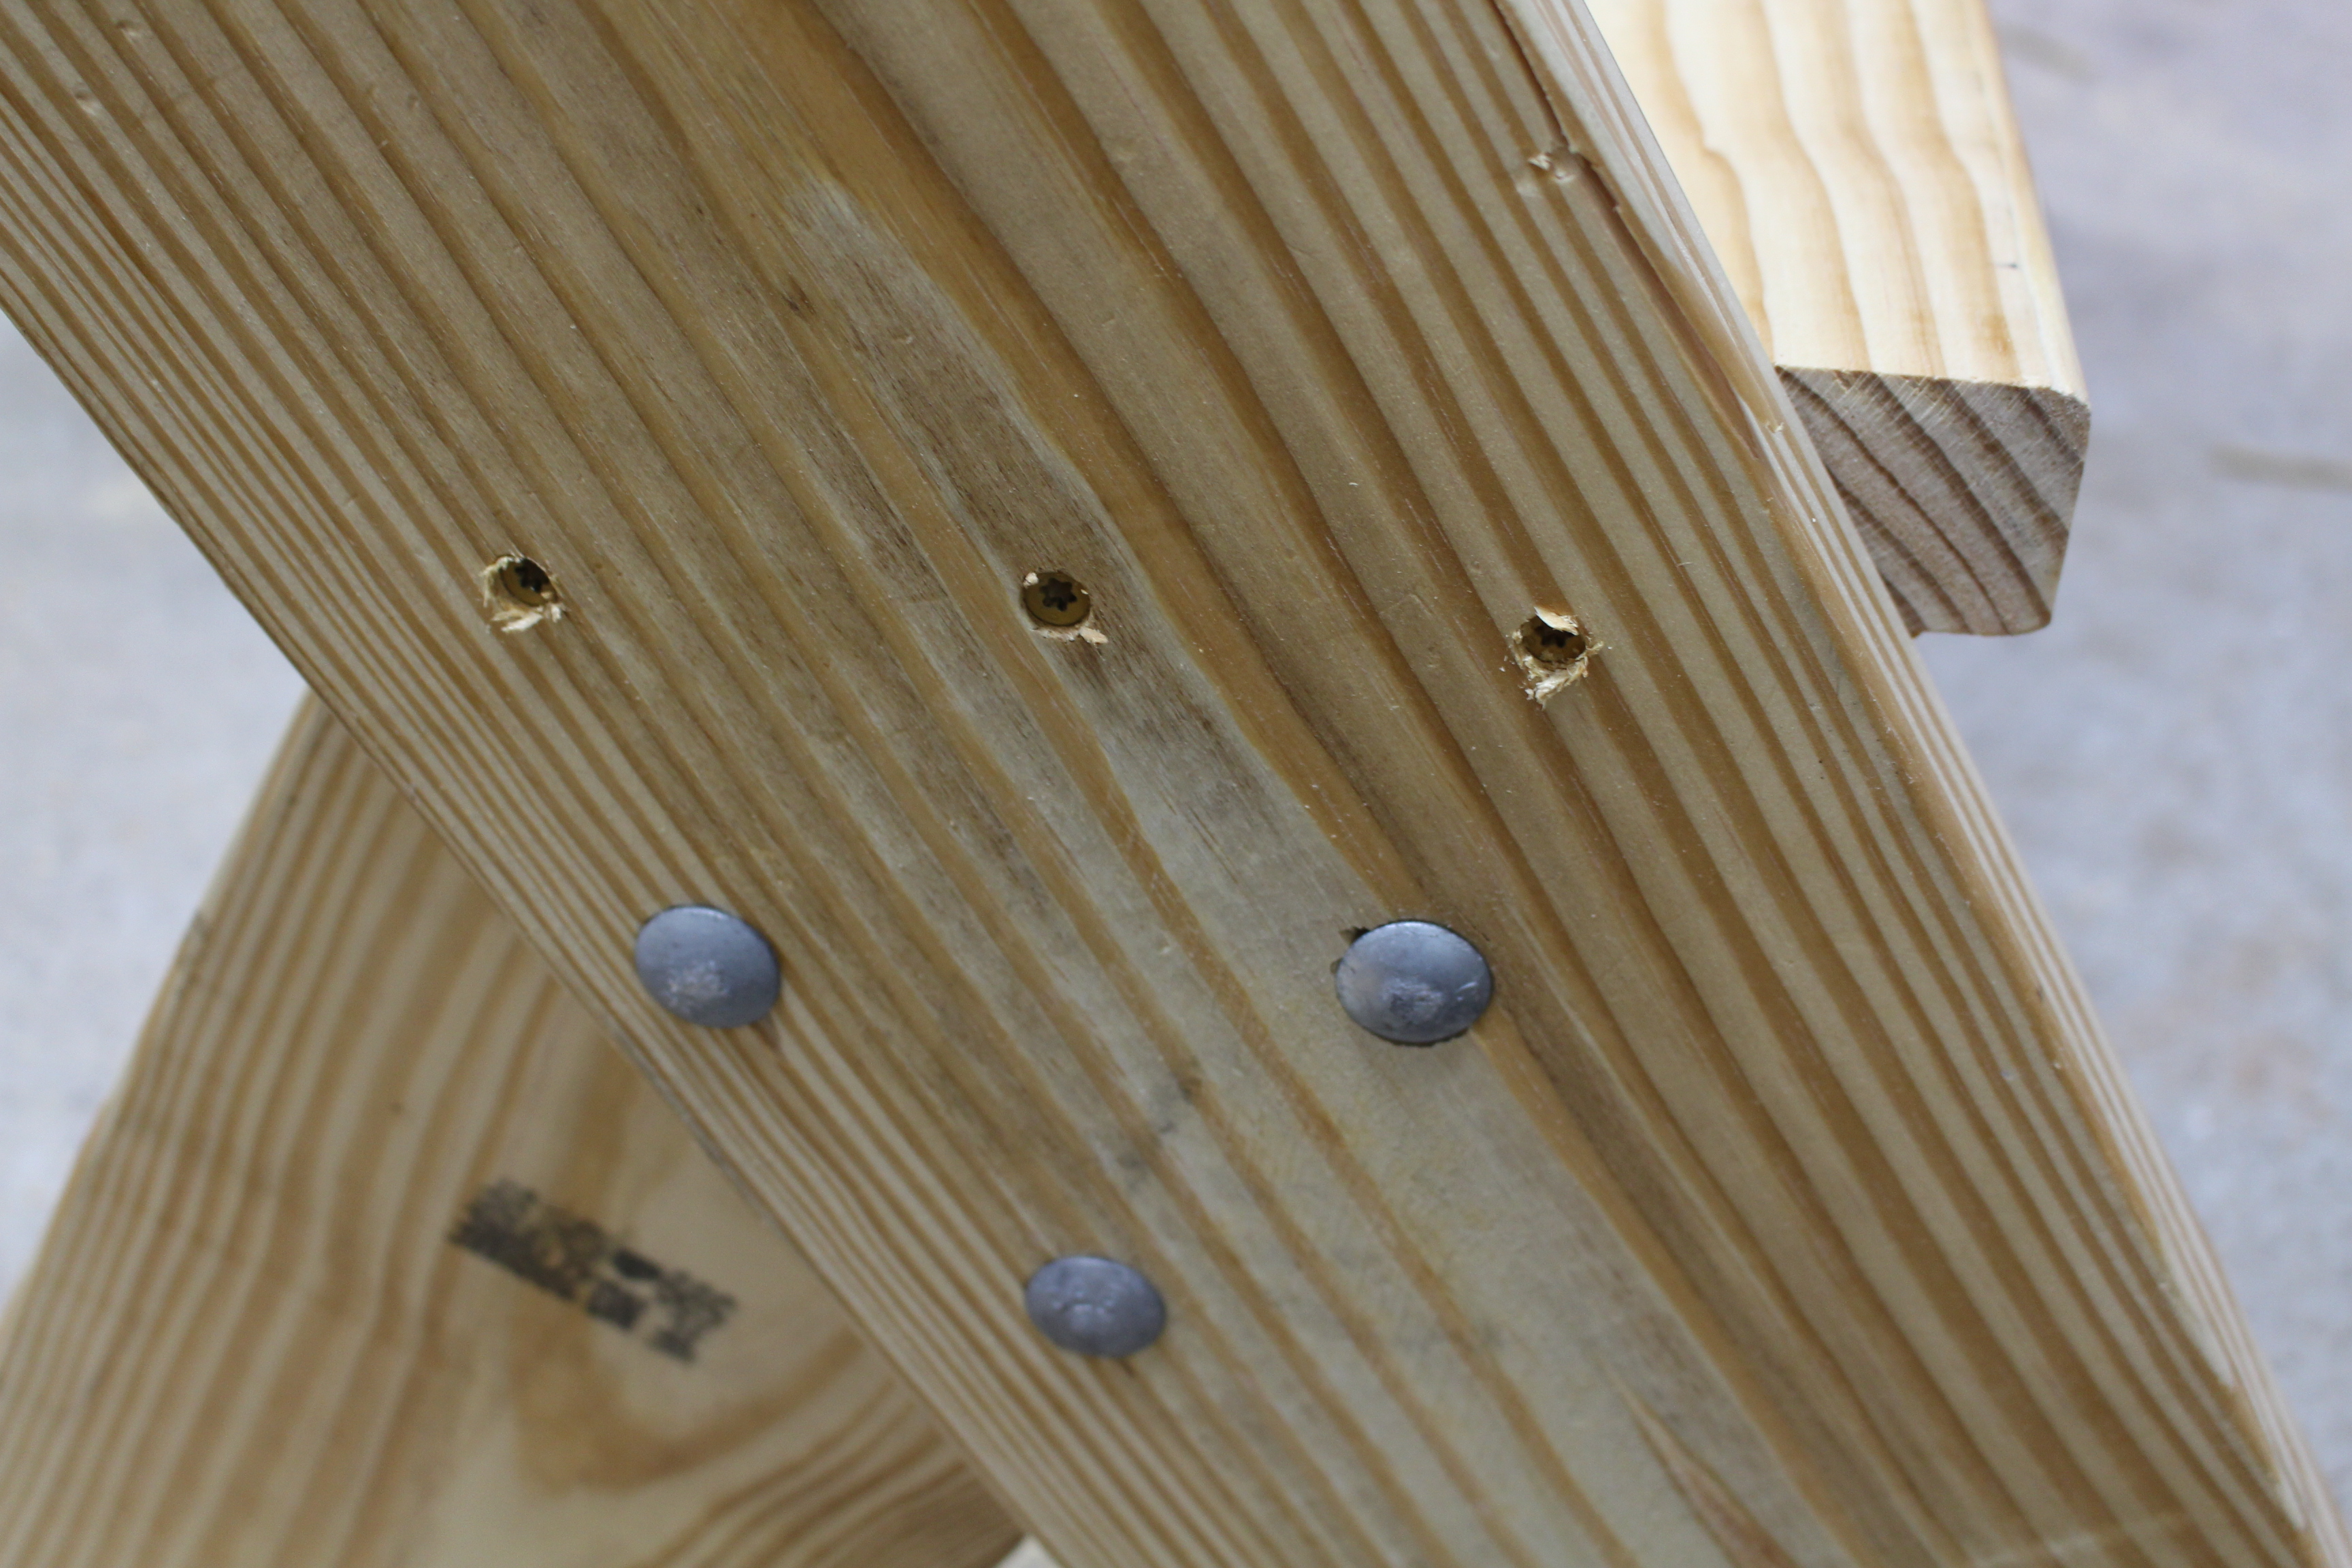
Use the 3 carriage bolts to connect each leg crossing together. If you want, you can add wood glue between the boards before you tighten the carriage bolts. Place the head of the carriage bolts to the outside.
Carriage bolts are a great way to connect boards for benches and other furniture. The head of the carriage bolt is designed to sink into the wood and stay in place as you tighten the nut on the other side. Make sure you have a washer under the nut. Tighten the carriage bolts until you feel everything is secure. You will need a wrench for this step.
Step 5 — Attach the seat to the sides.
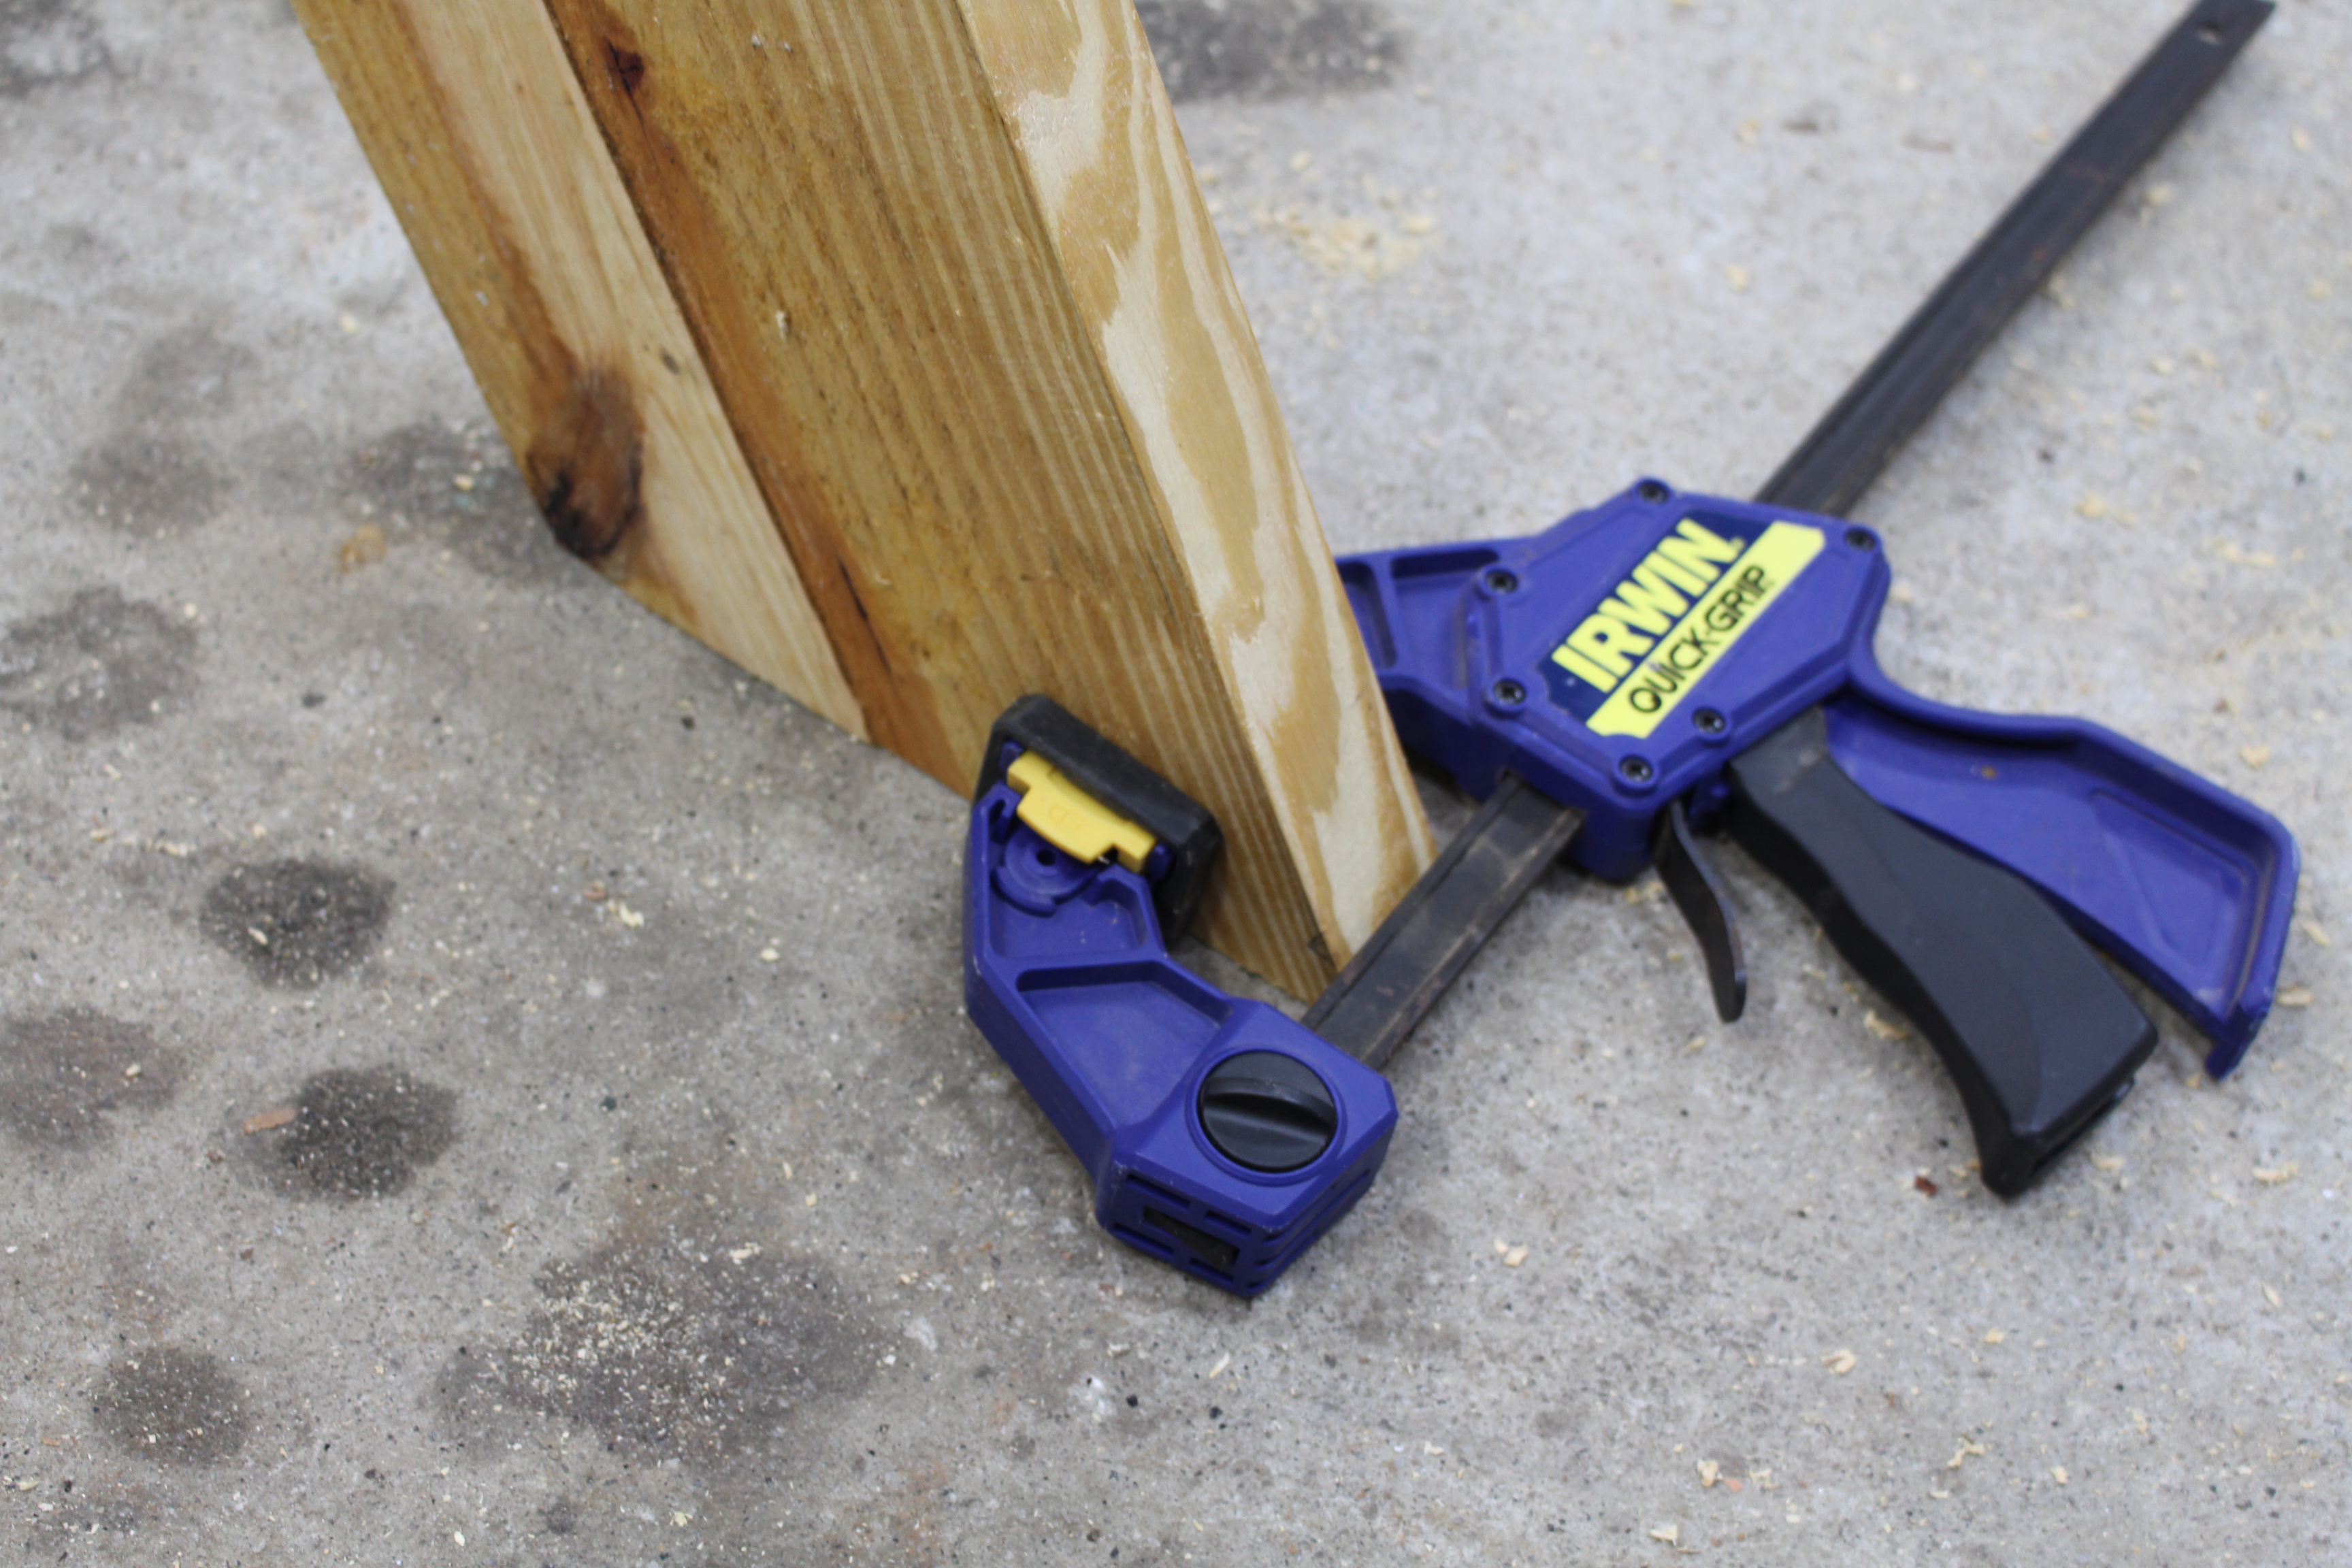
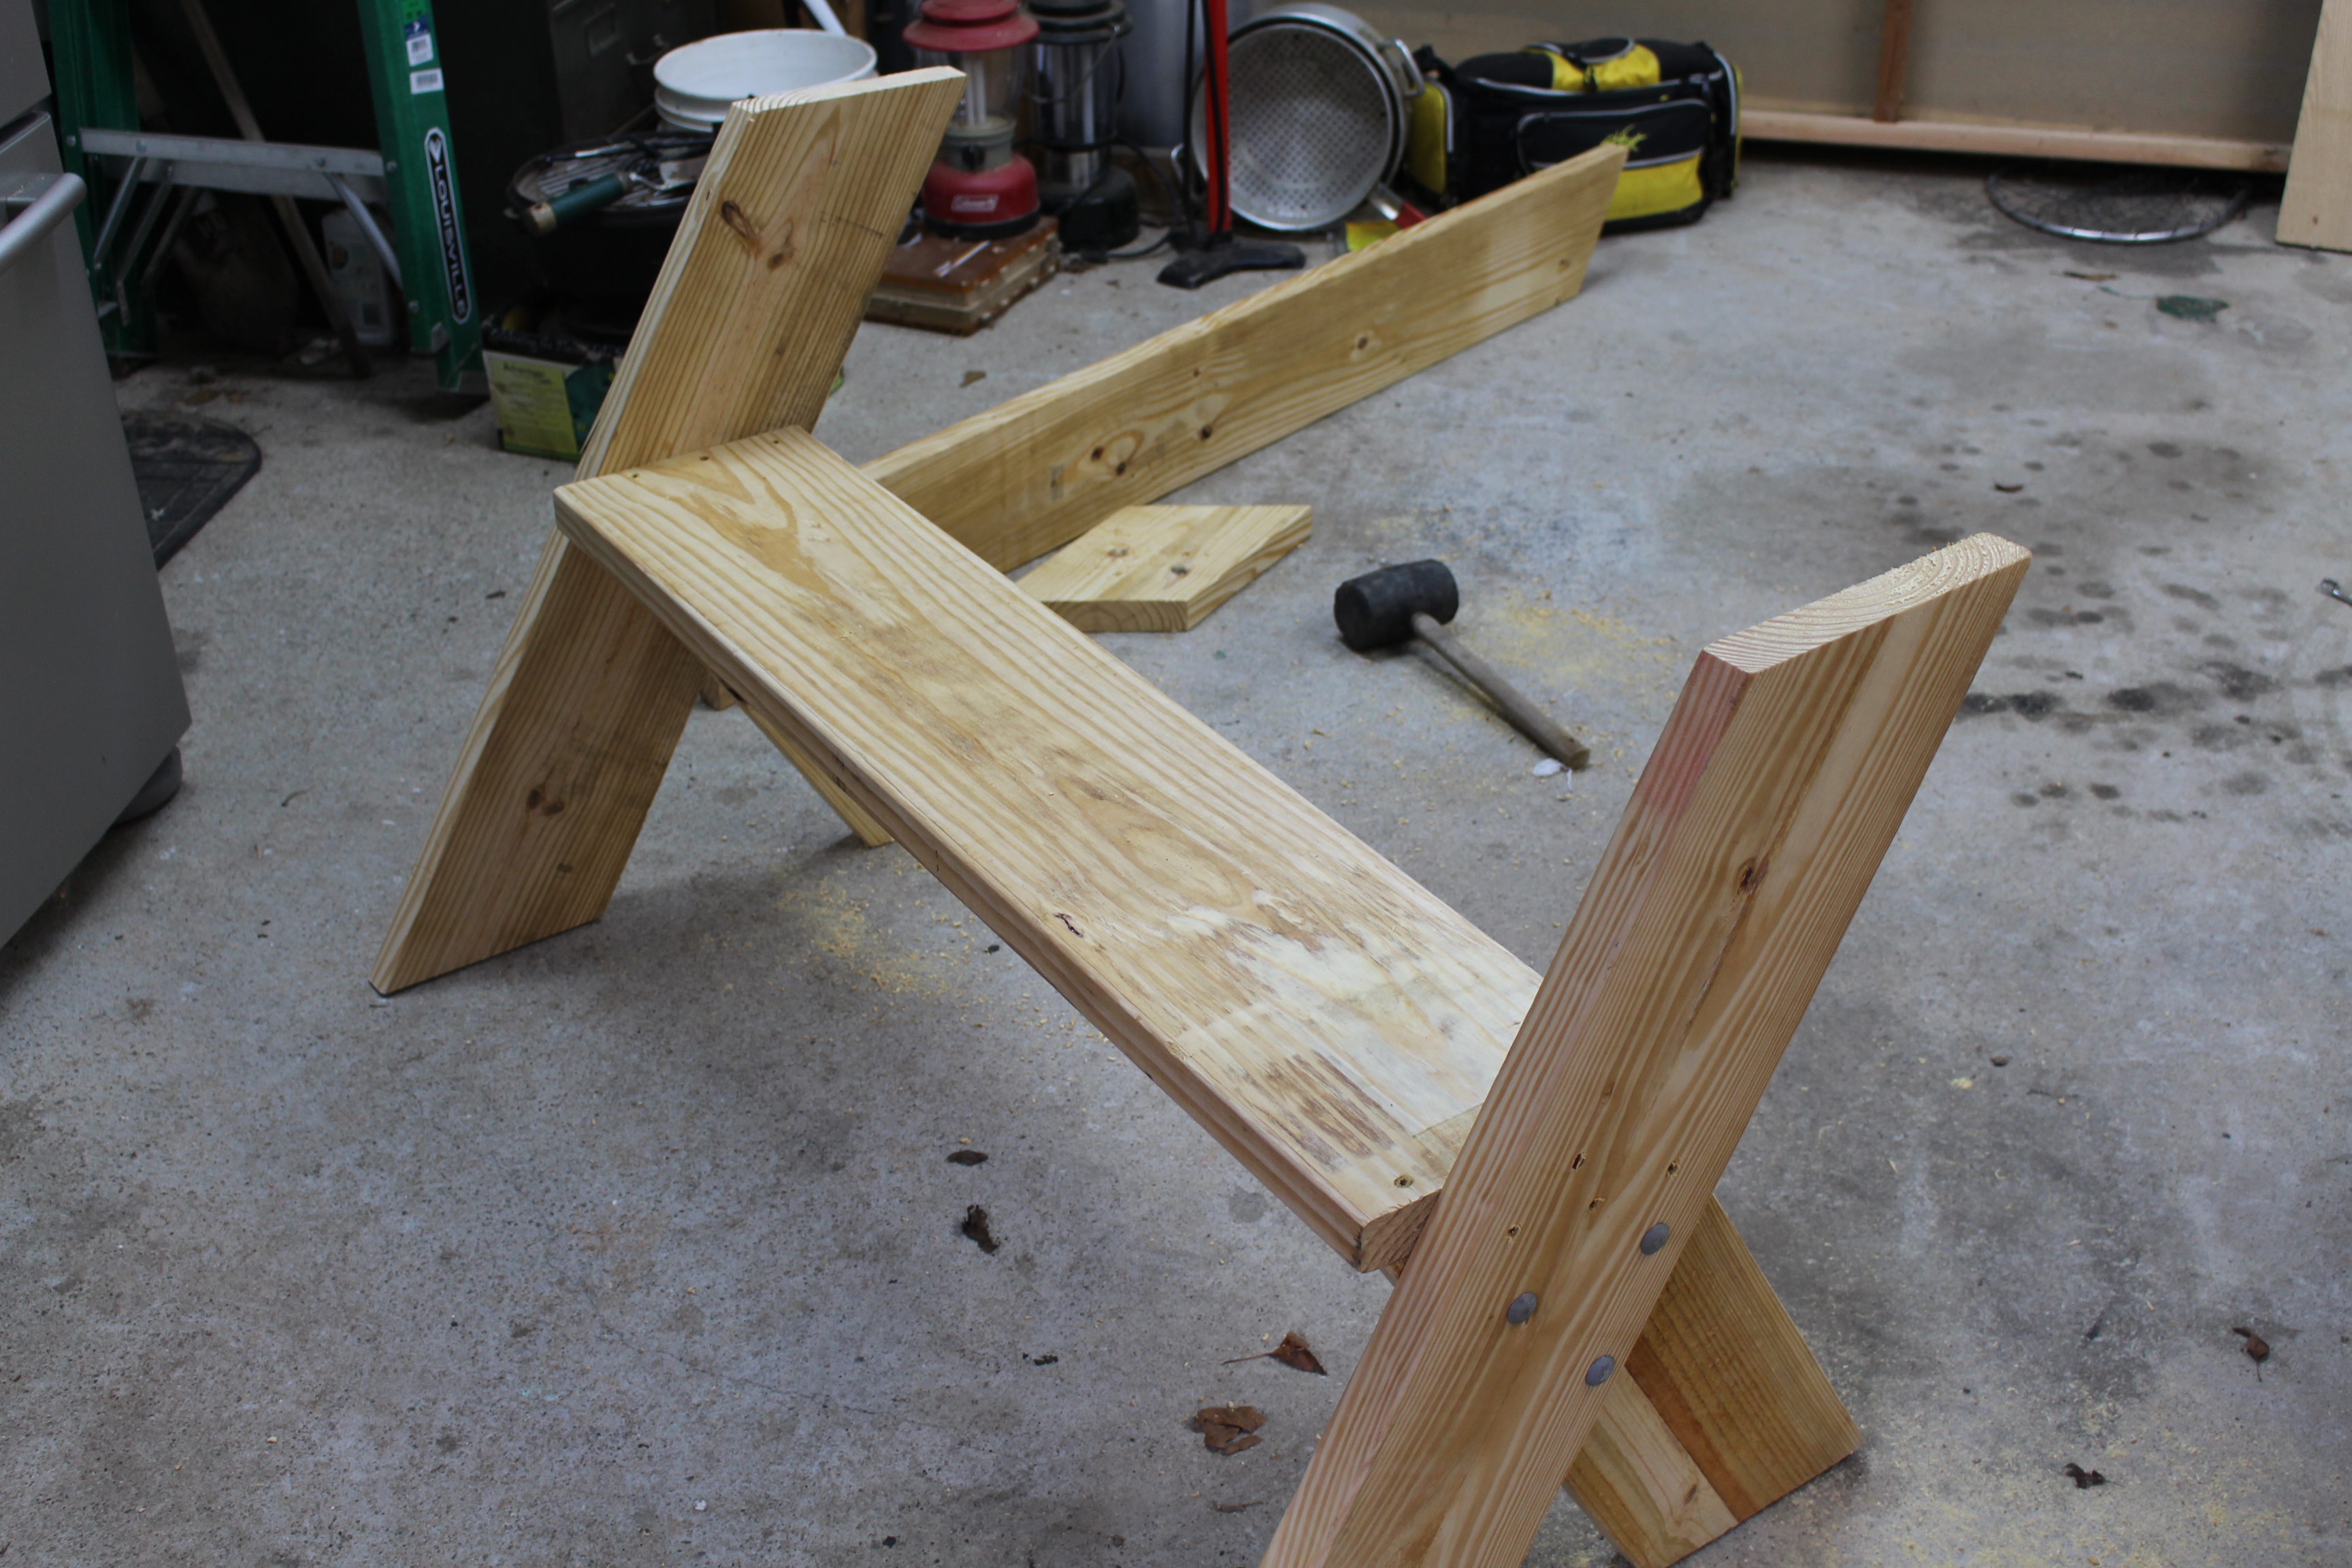
Get a second person to help or figure out a way to place the sides in an upright position. I did this by using a couple of quick grip clamps.
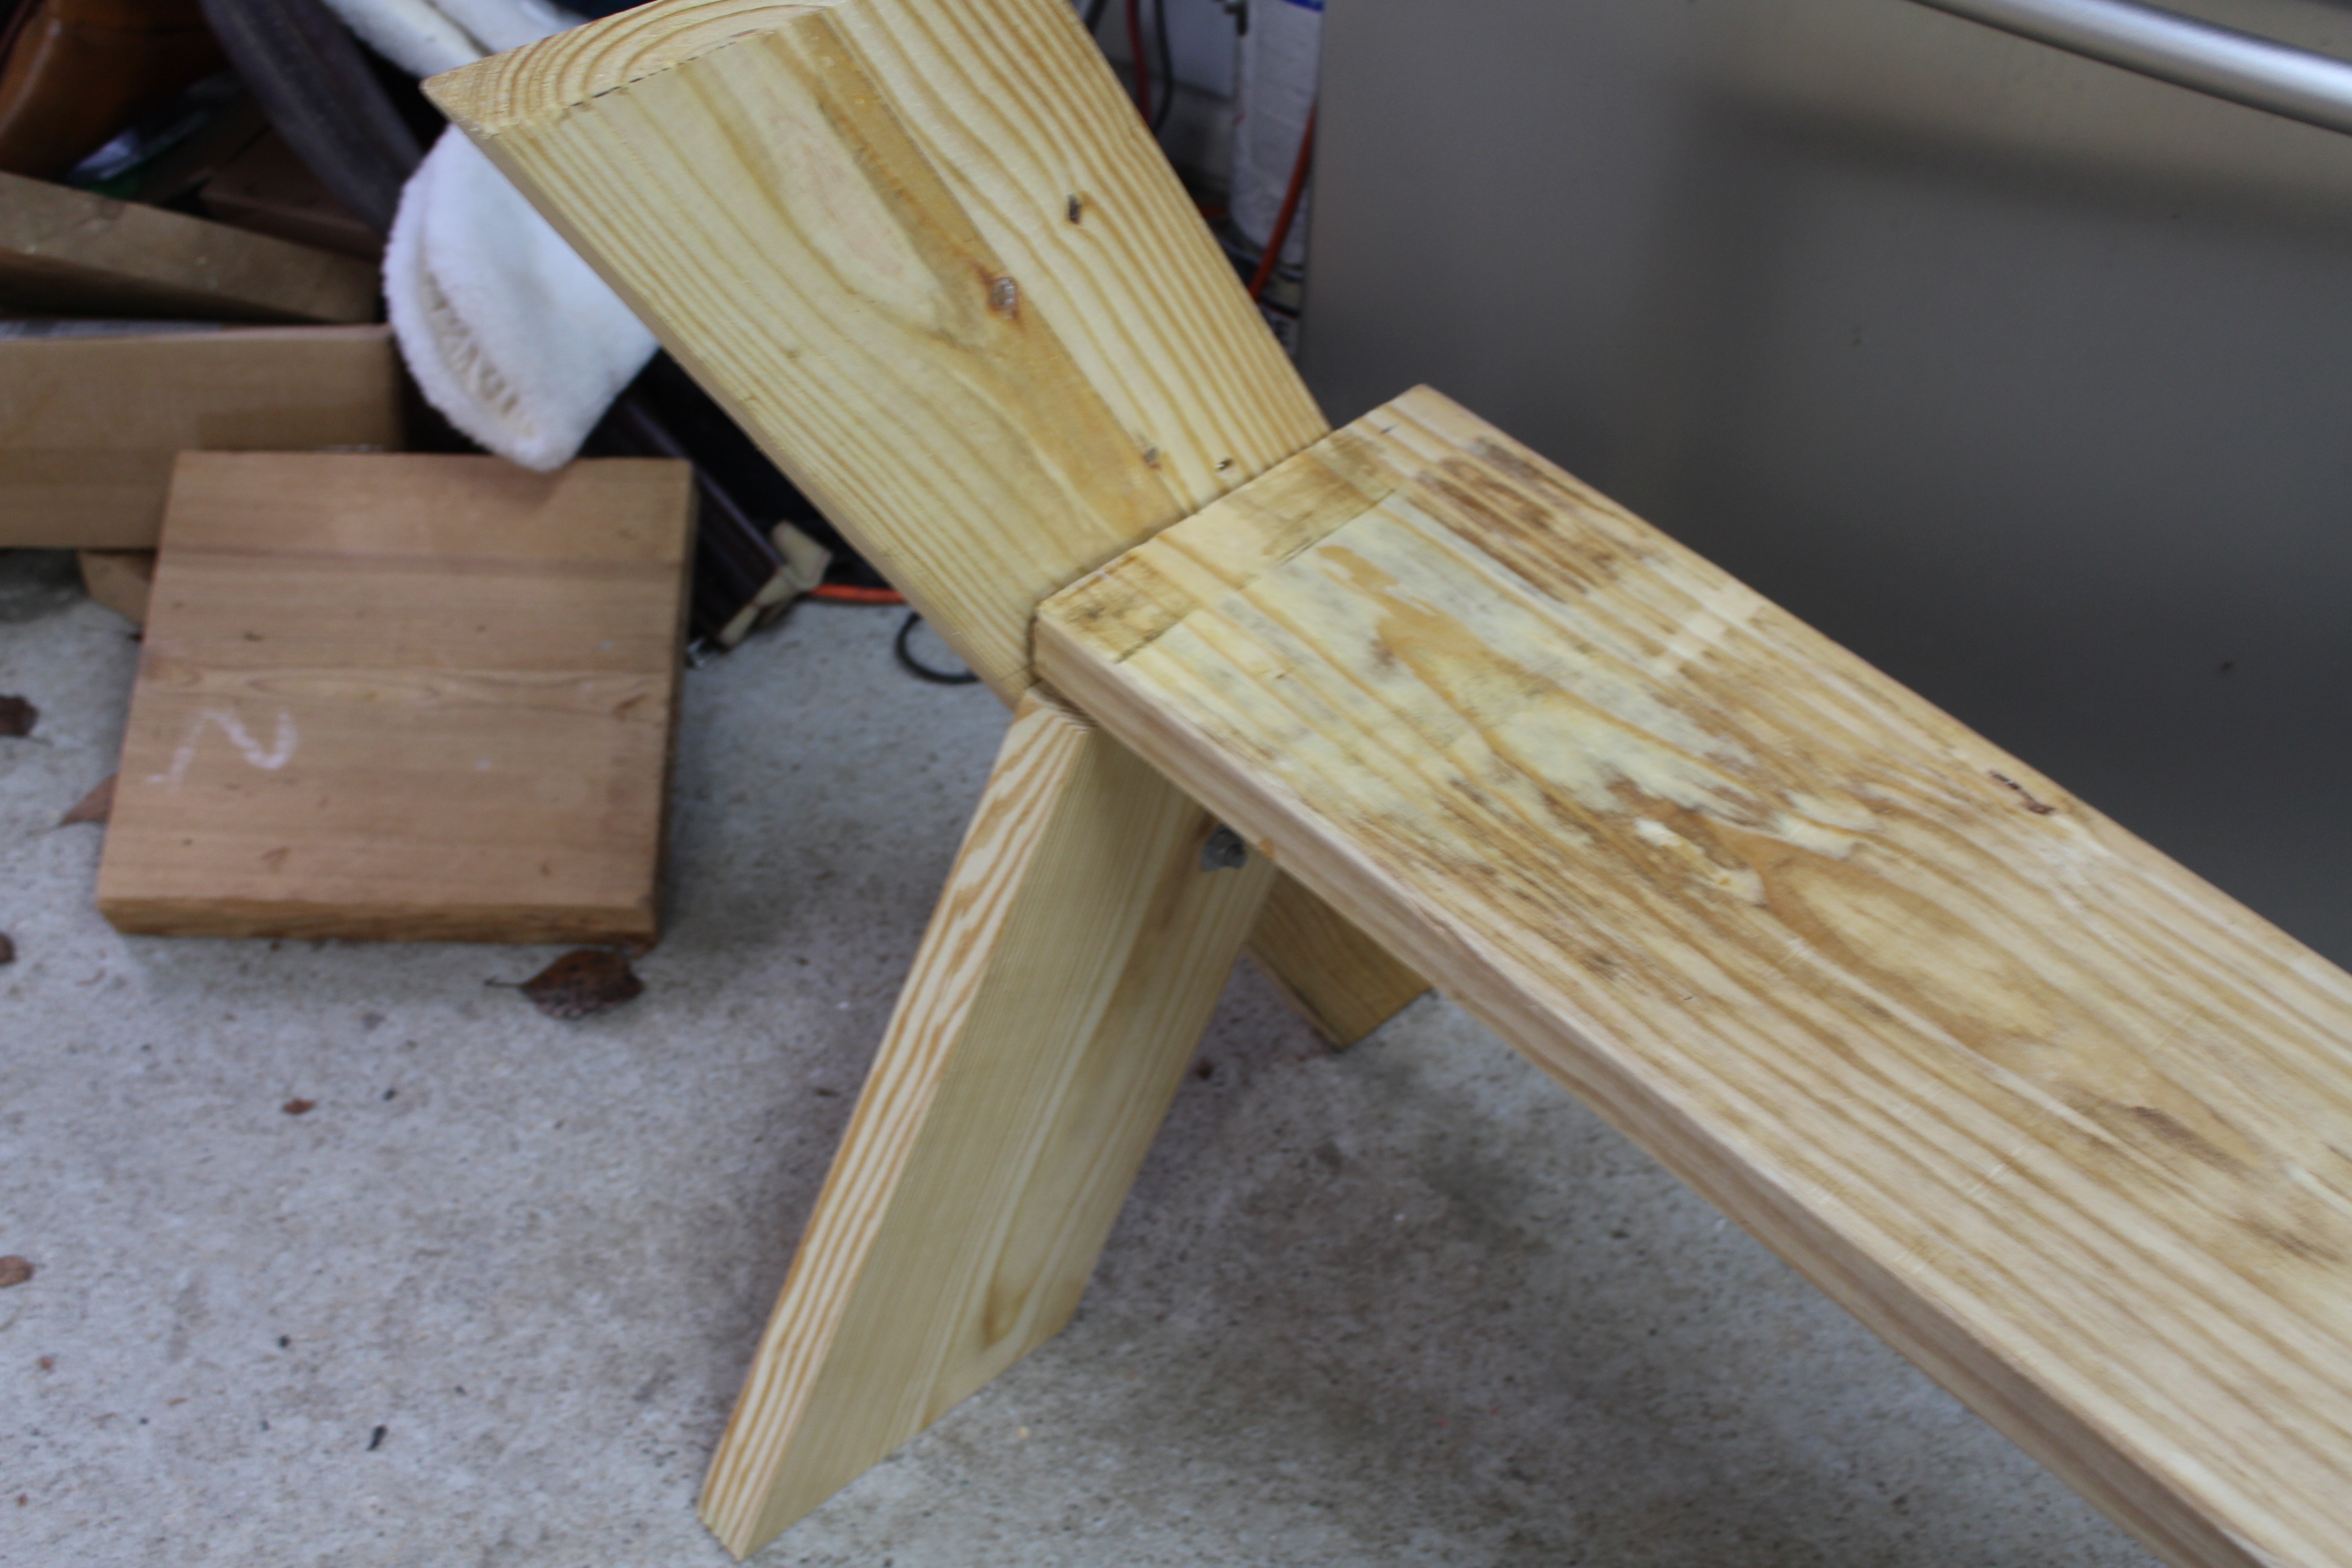
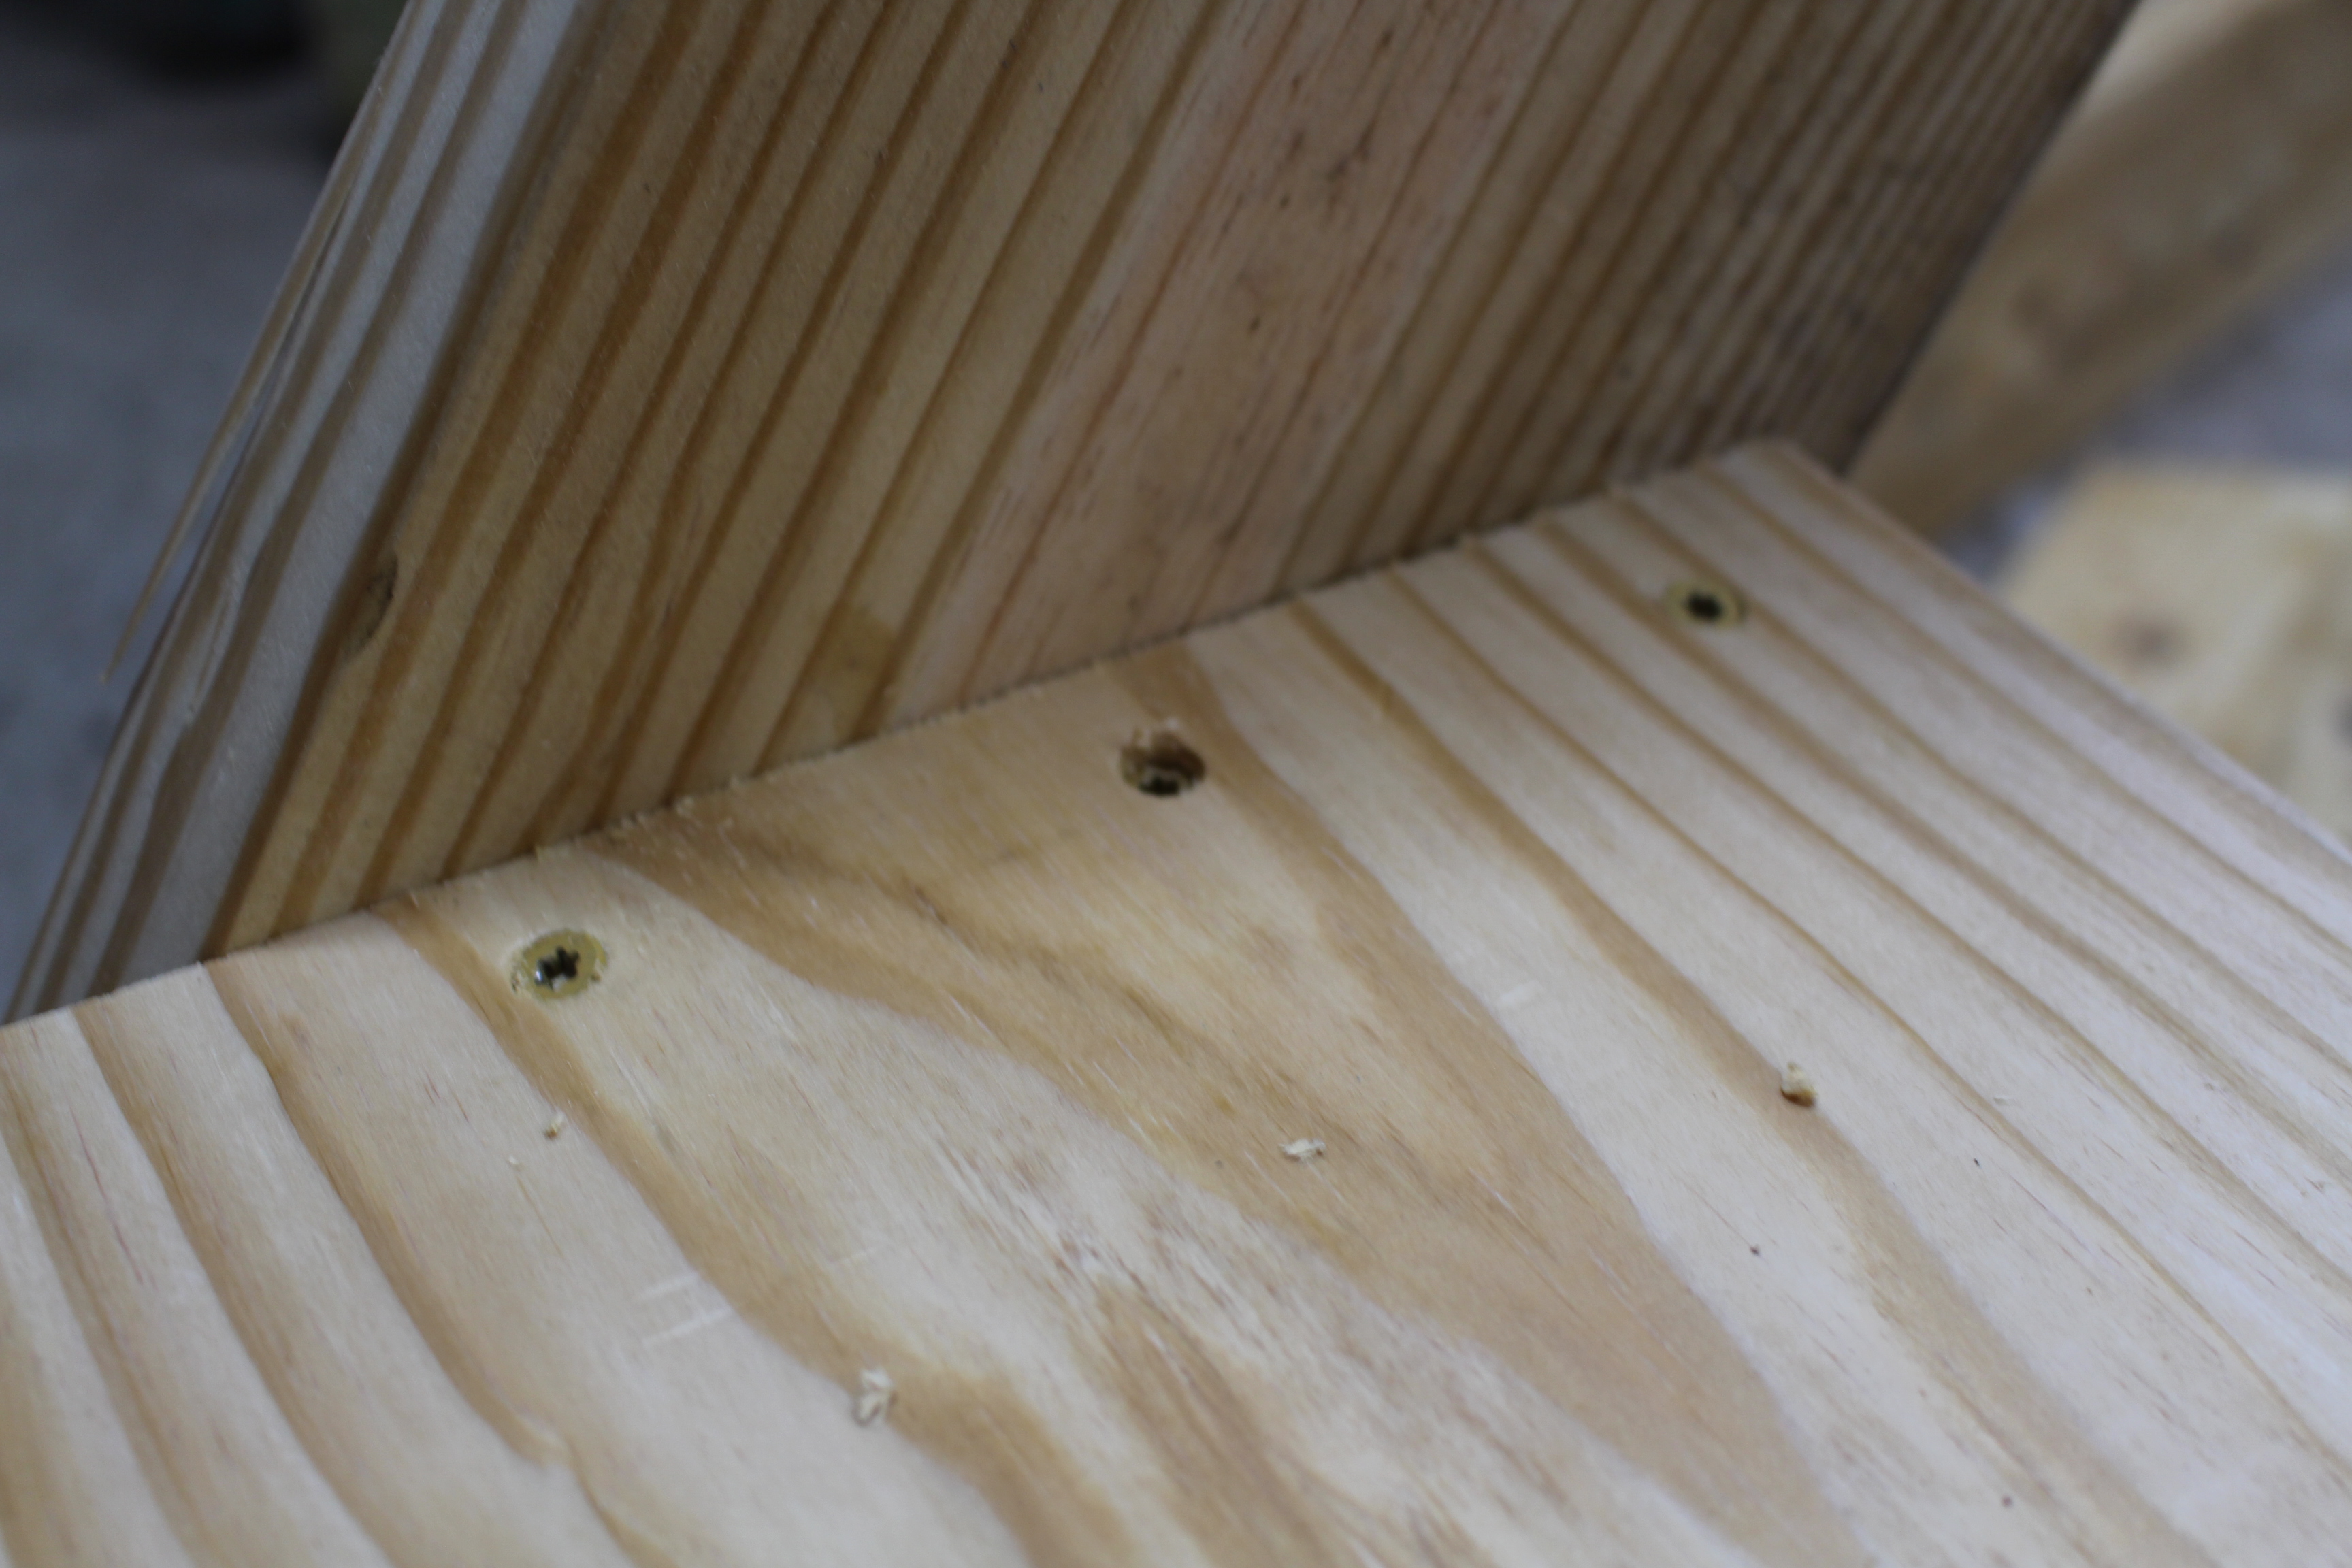
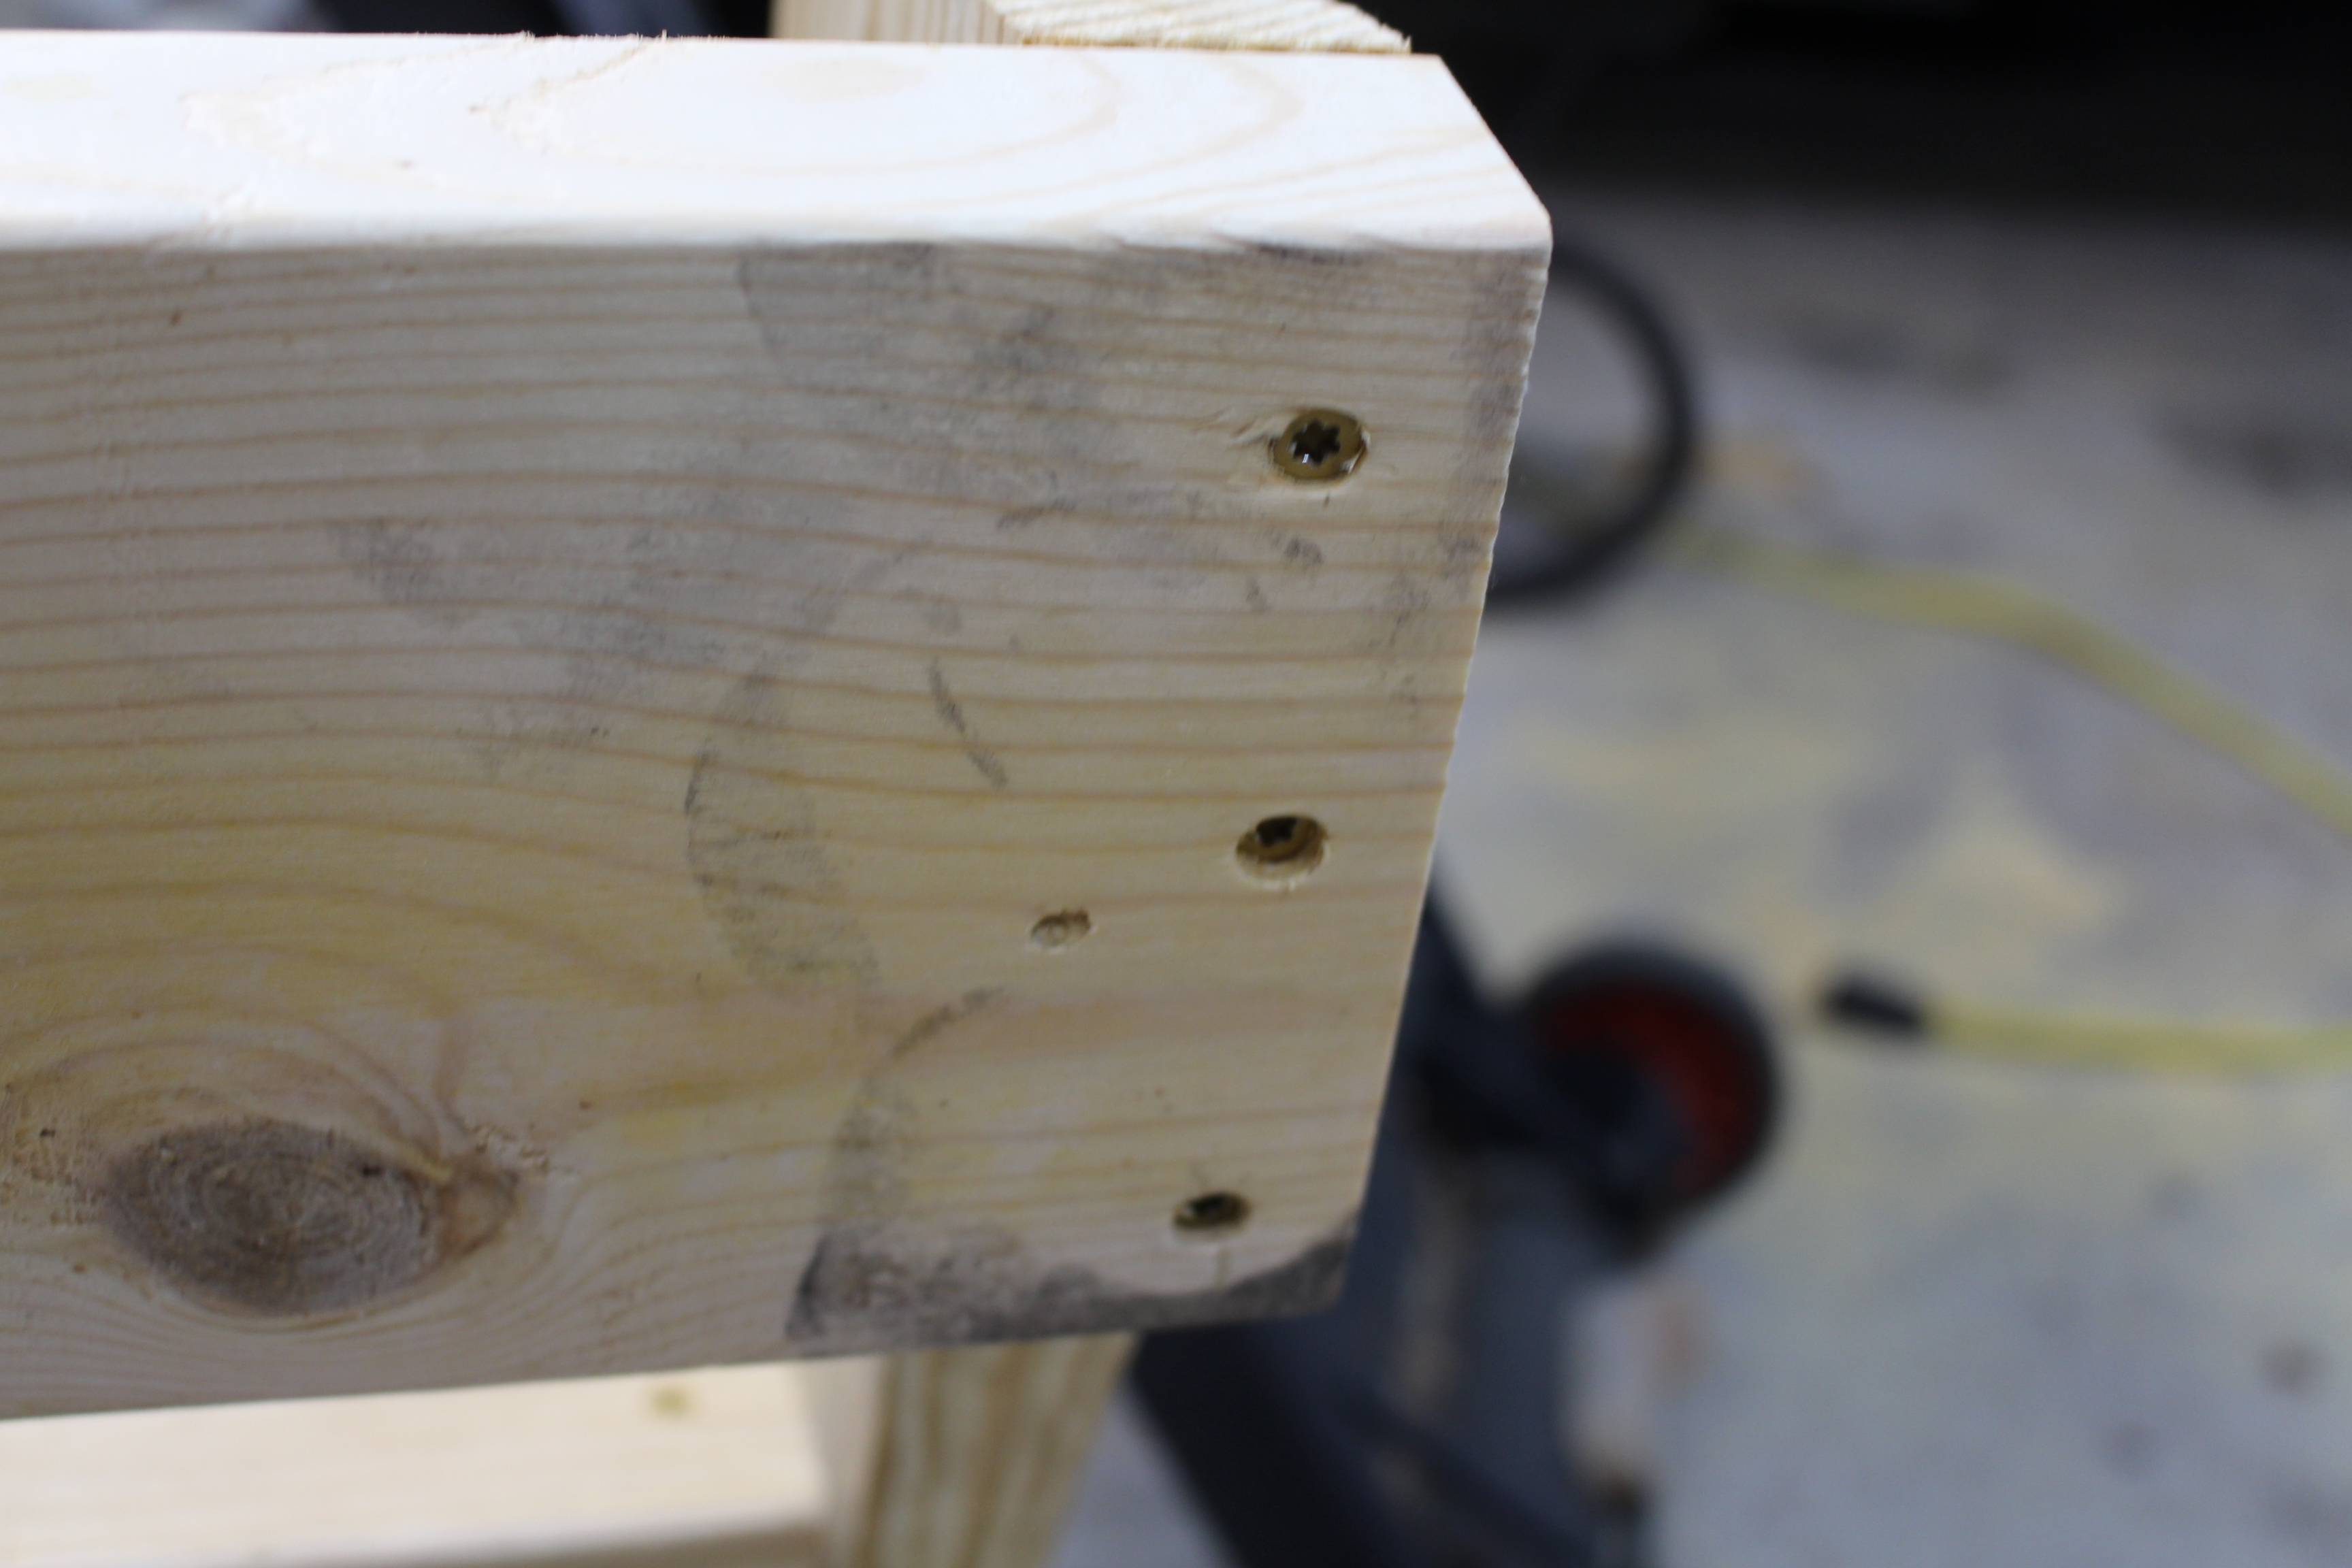
Next, set the board for the seat in place and use the 3.5 inch deck screws to attach the seat to the inside legs. I recommend drilling 3 pilot holes on each end and then use a hand drill for the deck screws. Three screws on each end should be adequate. I also screwed 3 deck screws in from each side. Use wood glue if you like.
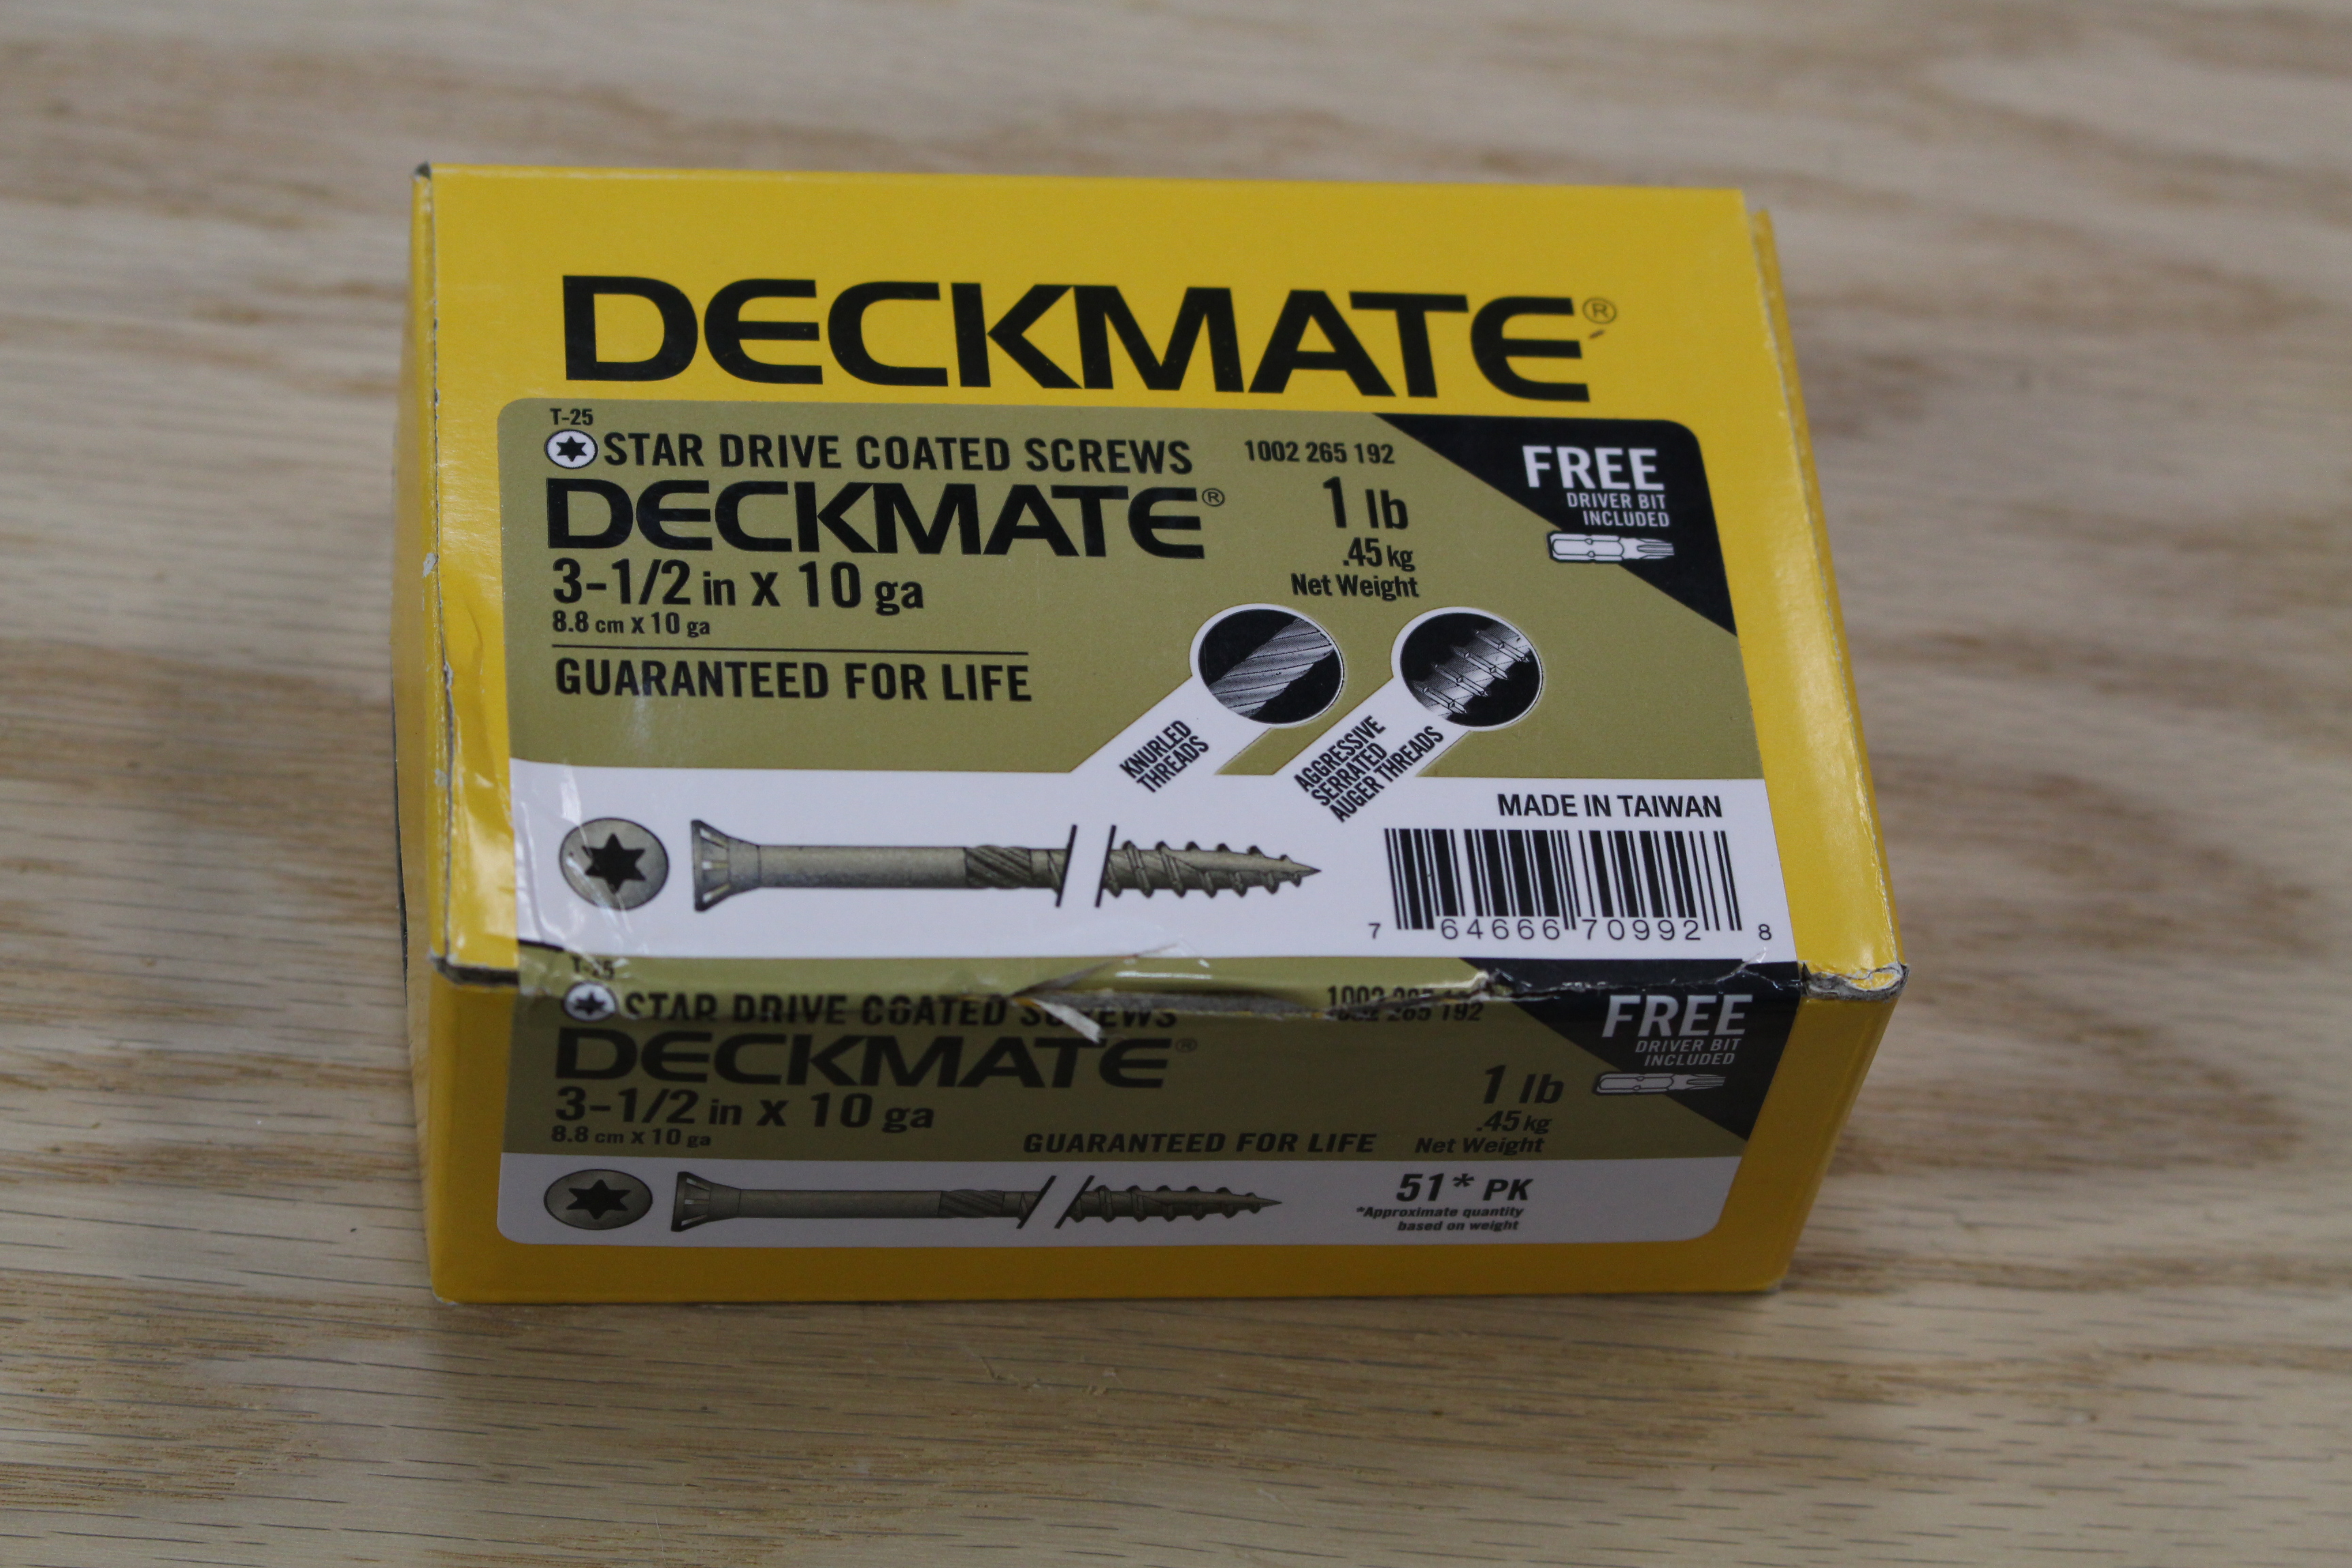
I used Deckmate screws which are excellent for outdoor projects. I really like the Star drive heads on these screws. They are much easier to drive than Phillip head screws. Each box comes with a free Star driver to fit your drill.
Step 6 — Attach the back of the bench.
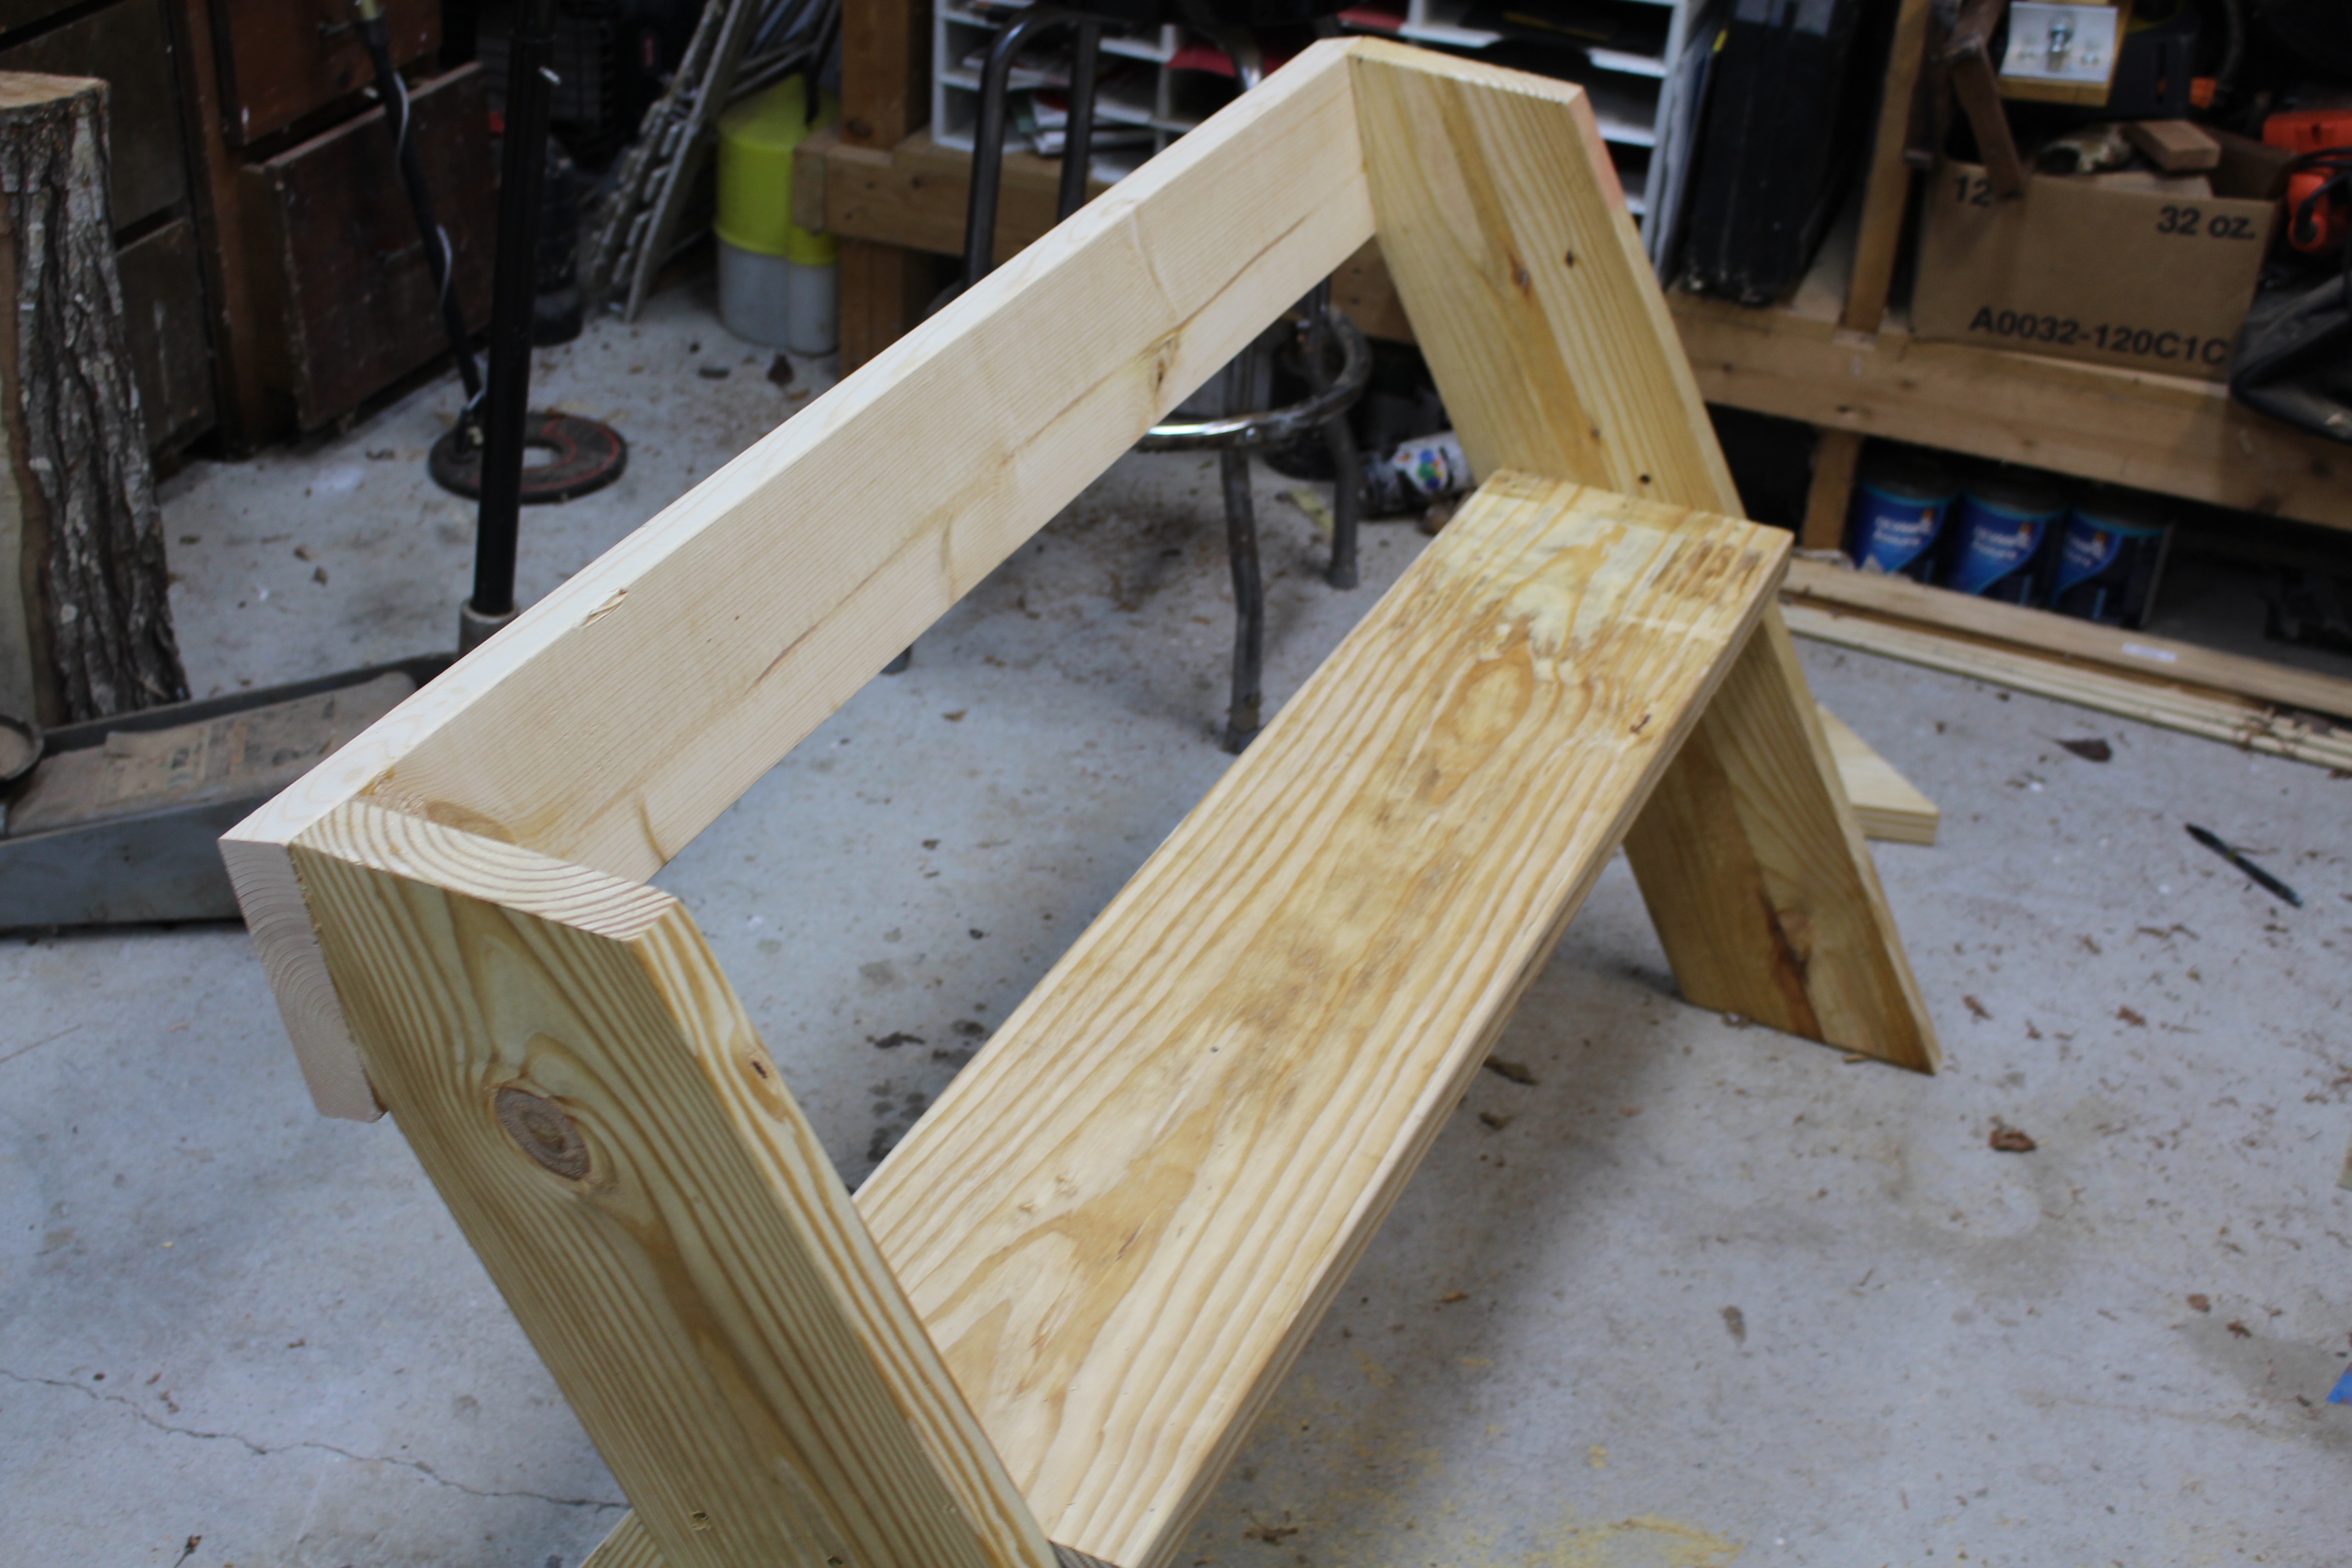
You have 2 choices here. You can attach the back board for the bench without making modifications. That means the back board will have the same angle orientation as the two outside legs.
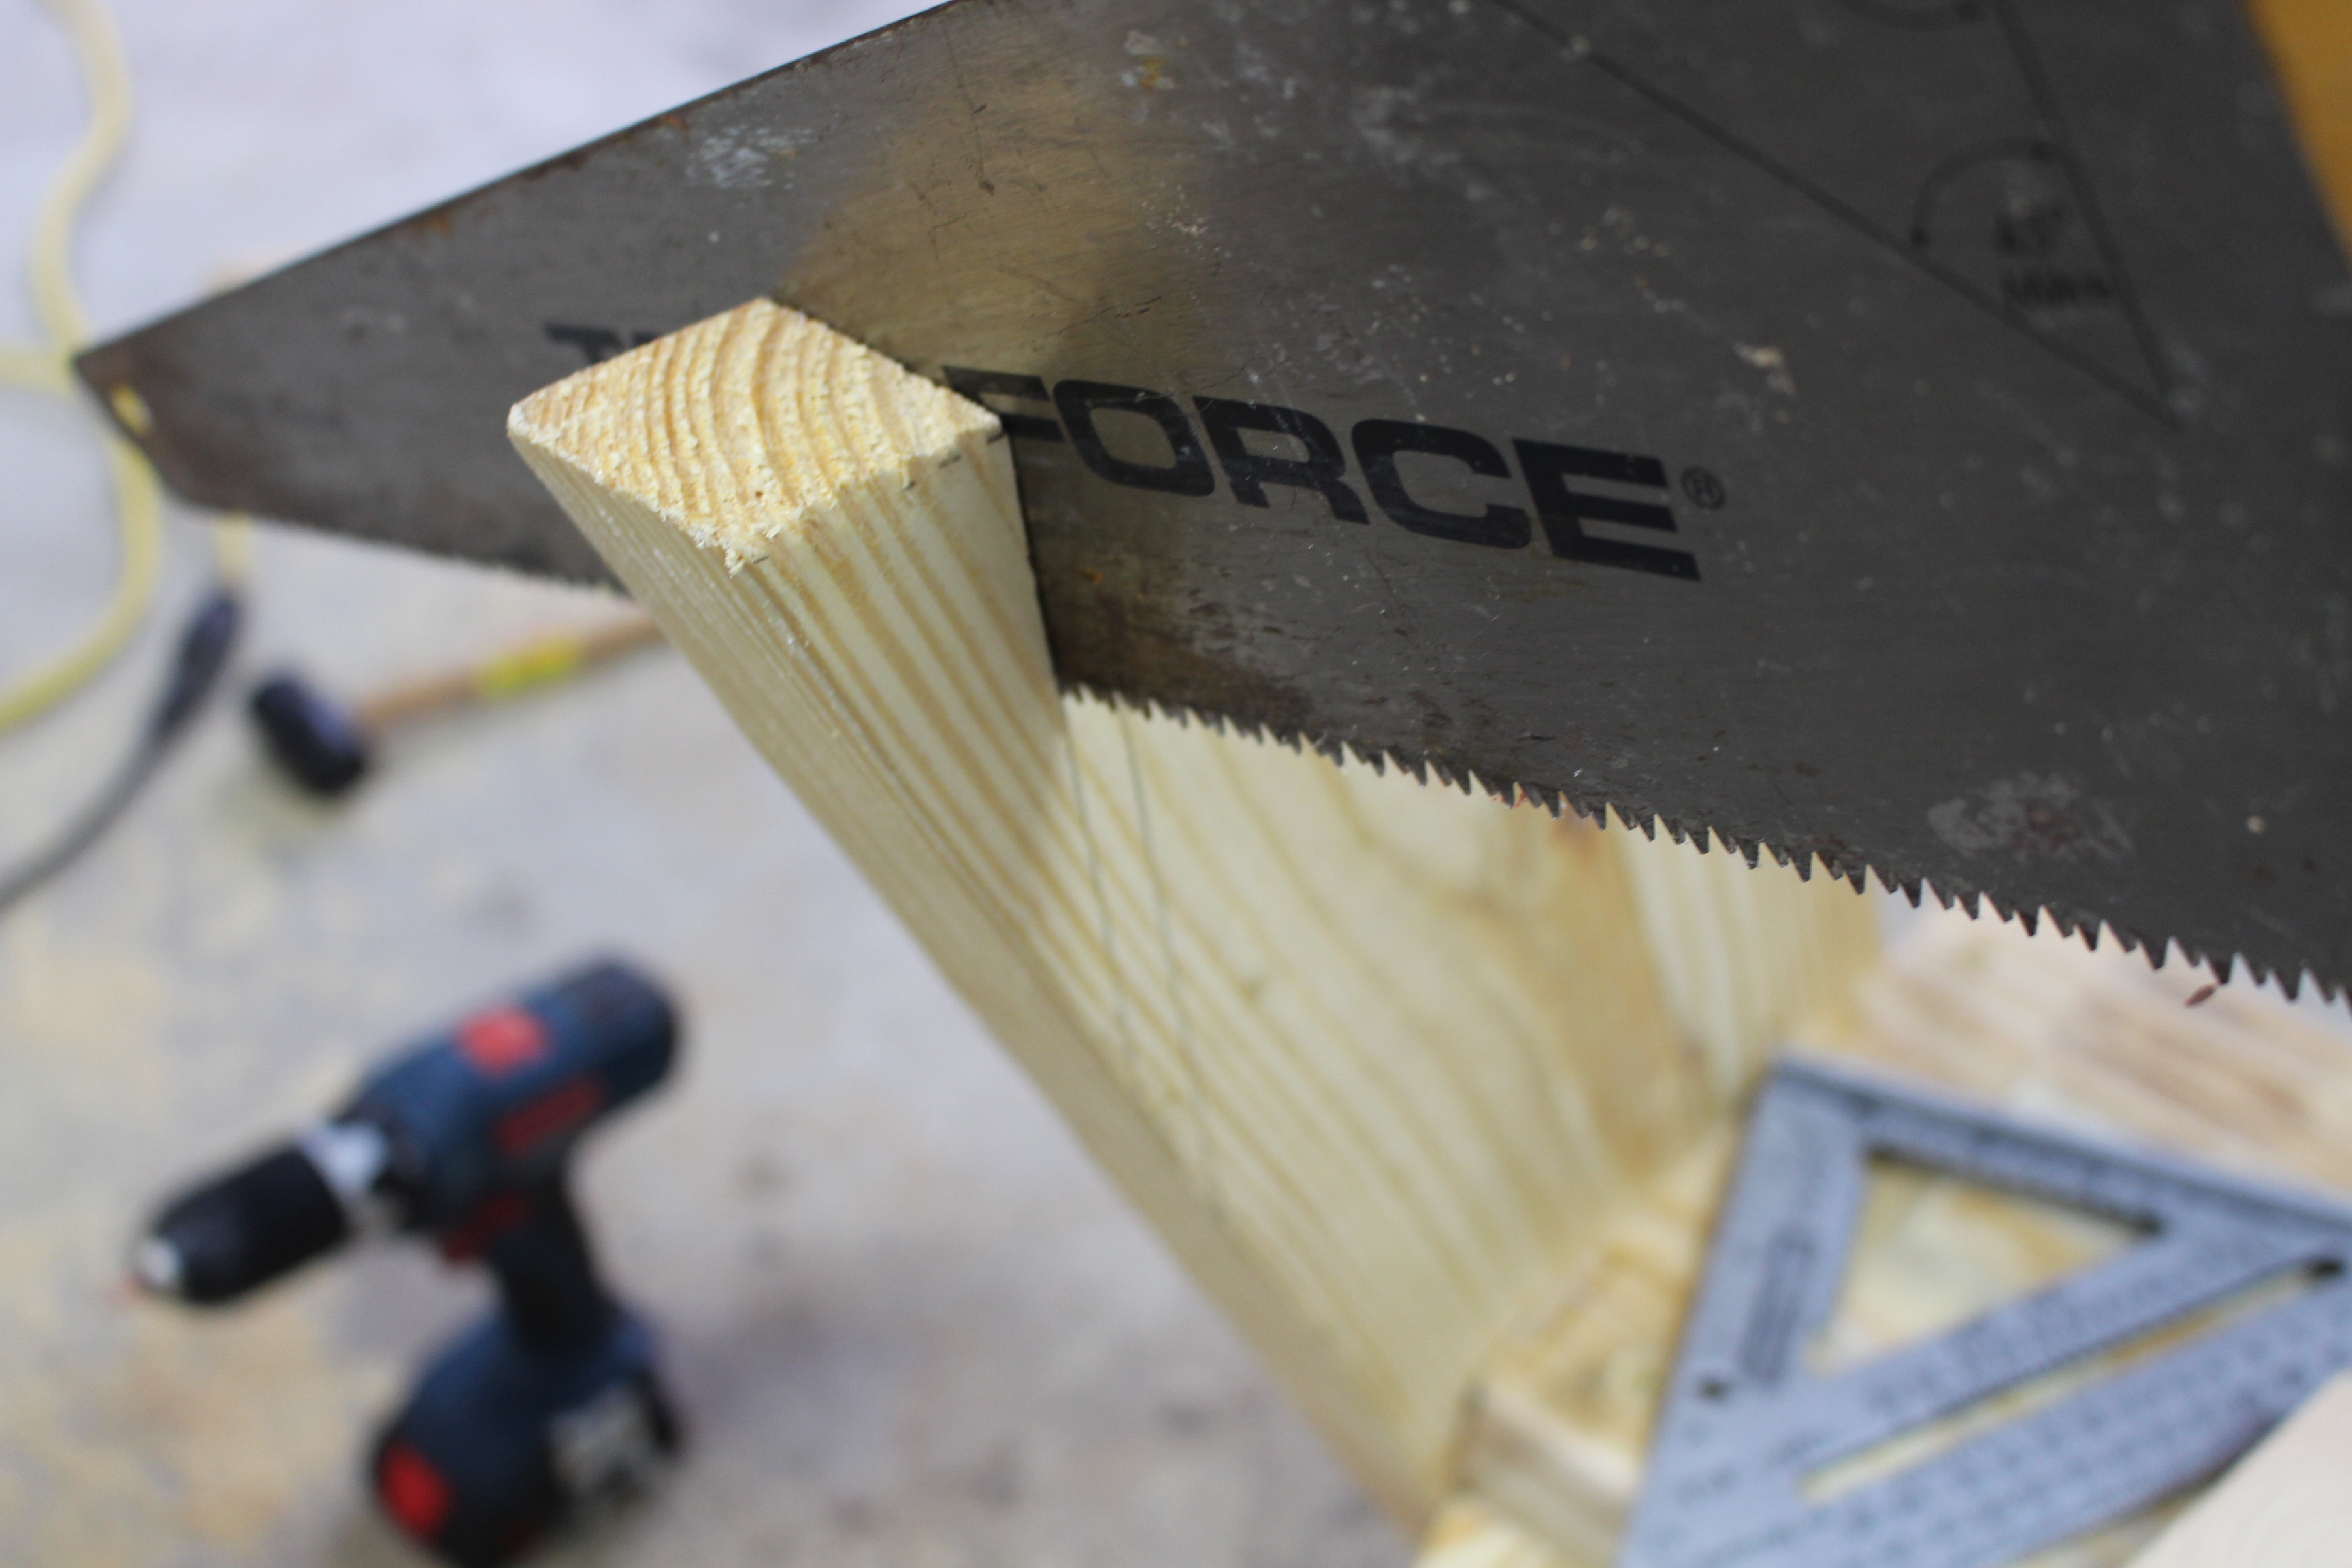
I took the second choice and shaved off parts of the two outside legs (in the back). This way the back board will be more upright, and it fits my back more comfortably. You can use your own judgement here. If you go this route, make sure you adjust each side identically.
Again, I used 3 of the 3.5 inch screws on both sides and attached the back of the bench.
Step 7 — Sand the bench.
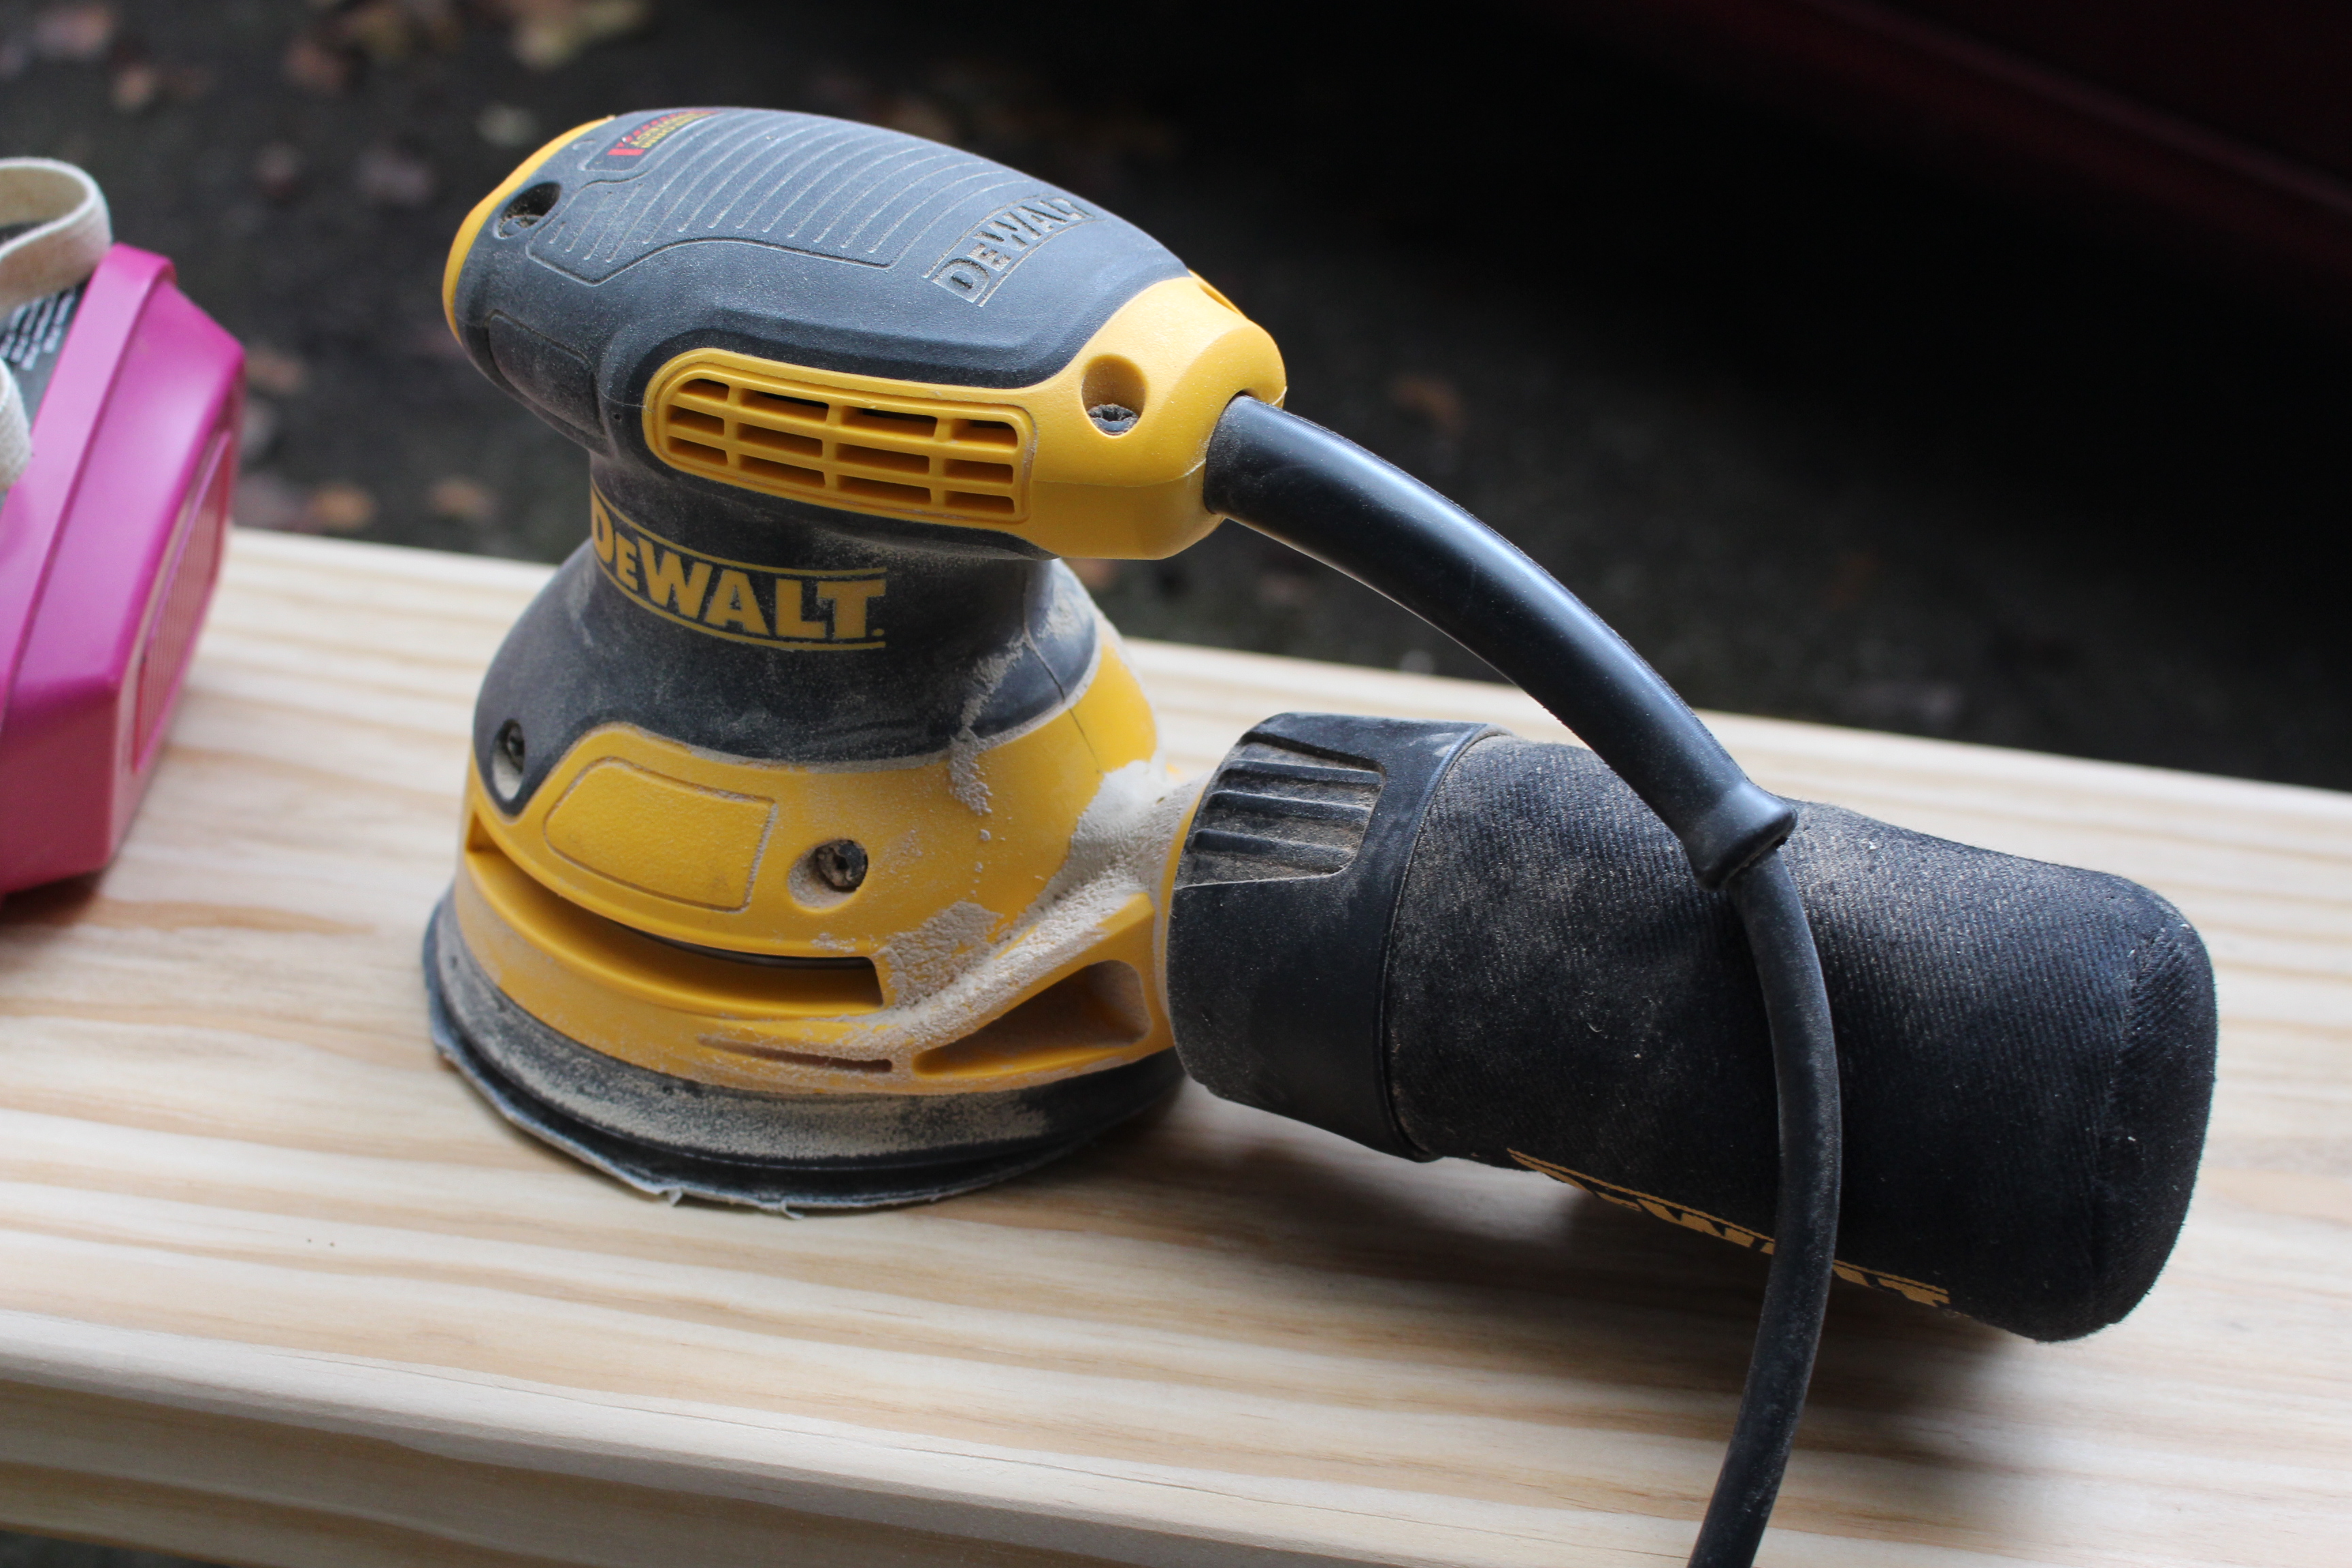
I used an orbital sander. Start with 80 grit and then go to 120 grit. The pine I bought also had some logos stamped on it, and I had a few leftover pencil marks. So, make sure you sand all that off, at a minimum.
Step 8 — Apply a finish.
First, I turned the bench over and mashed wood glue into the bottom of each leg (the point where they contact the ground). Give that time to dry. This will help seal the legs and preserve them for a while.
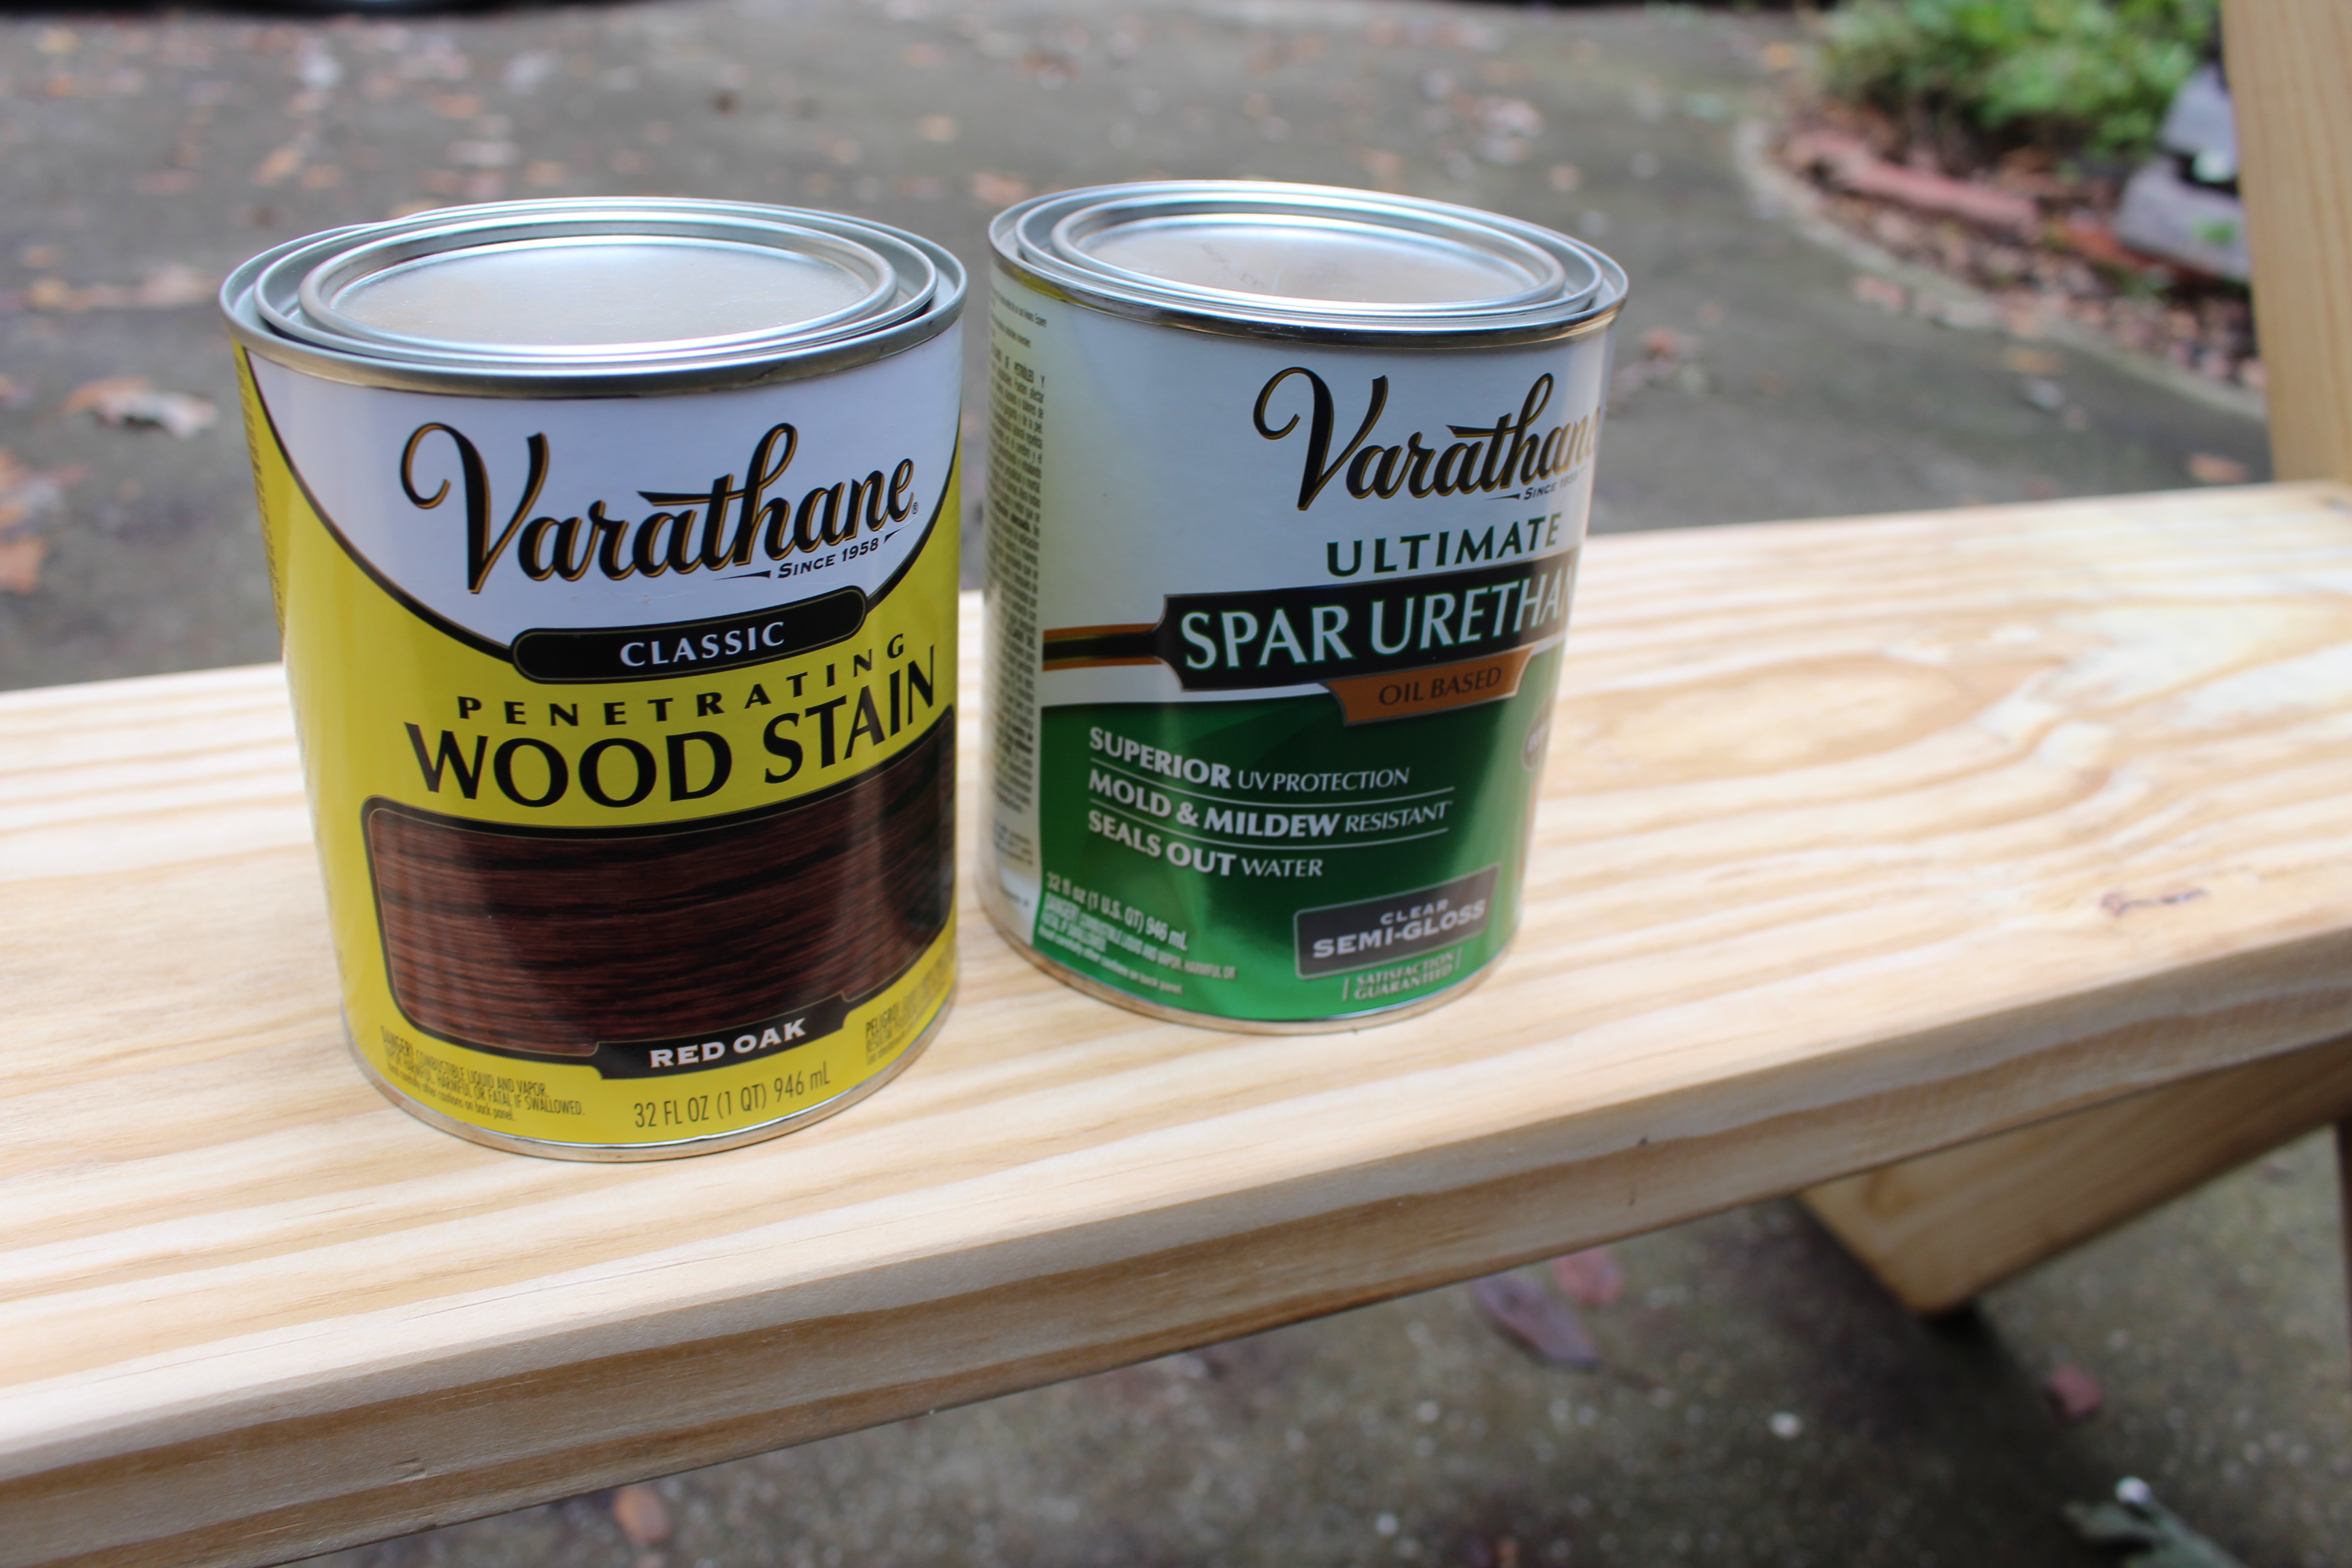
I used a semi-dark wood stain and applied a couple coats to the entire bench. Follow the application instructions on the can for the best results.
Pine doesn’t take stain evenly, so you might want to use a sanding sealer or wood conditioner first. However, I liked how it turned out. It looks rustic which is what I’m going for. If you’re not sure, test your stain out on a scrap board to see how it will look.
After, the stain dried, I applied spar urethane. This will help weatherproof the bench for outdoor use. Add two to three coats. This stuff takes a while to dry. Make sure you have a good brush and put on light coats.
Now you can enjoy a beautiful outdoor bench. This will look great on your porch or around a fire pit. I hope you enjoyed my Leopold bench tutorial and plans. Let me know if you have any questions. If you build one, please send me a pic.
Related Tutorials:
Adirondack Chair Tutorial
Fire Pit DIY

Are you starting up a new shop? Want to work safer in your shop? To help you answer these questions I've put together a 2-part checklist -- Home Shop Safety & Tool Checklist.
I will also send you updates of my latest woodworking and DIY projects. You can get all this by subscribing to my free email newsletter.
