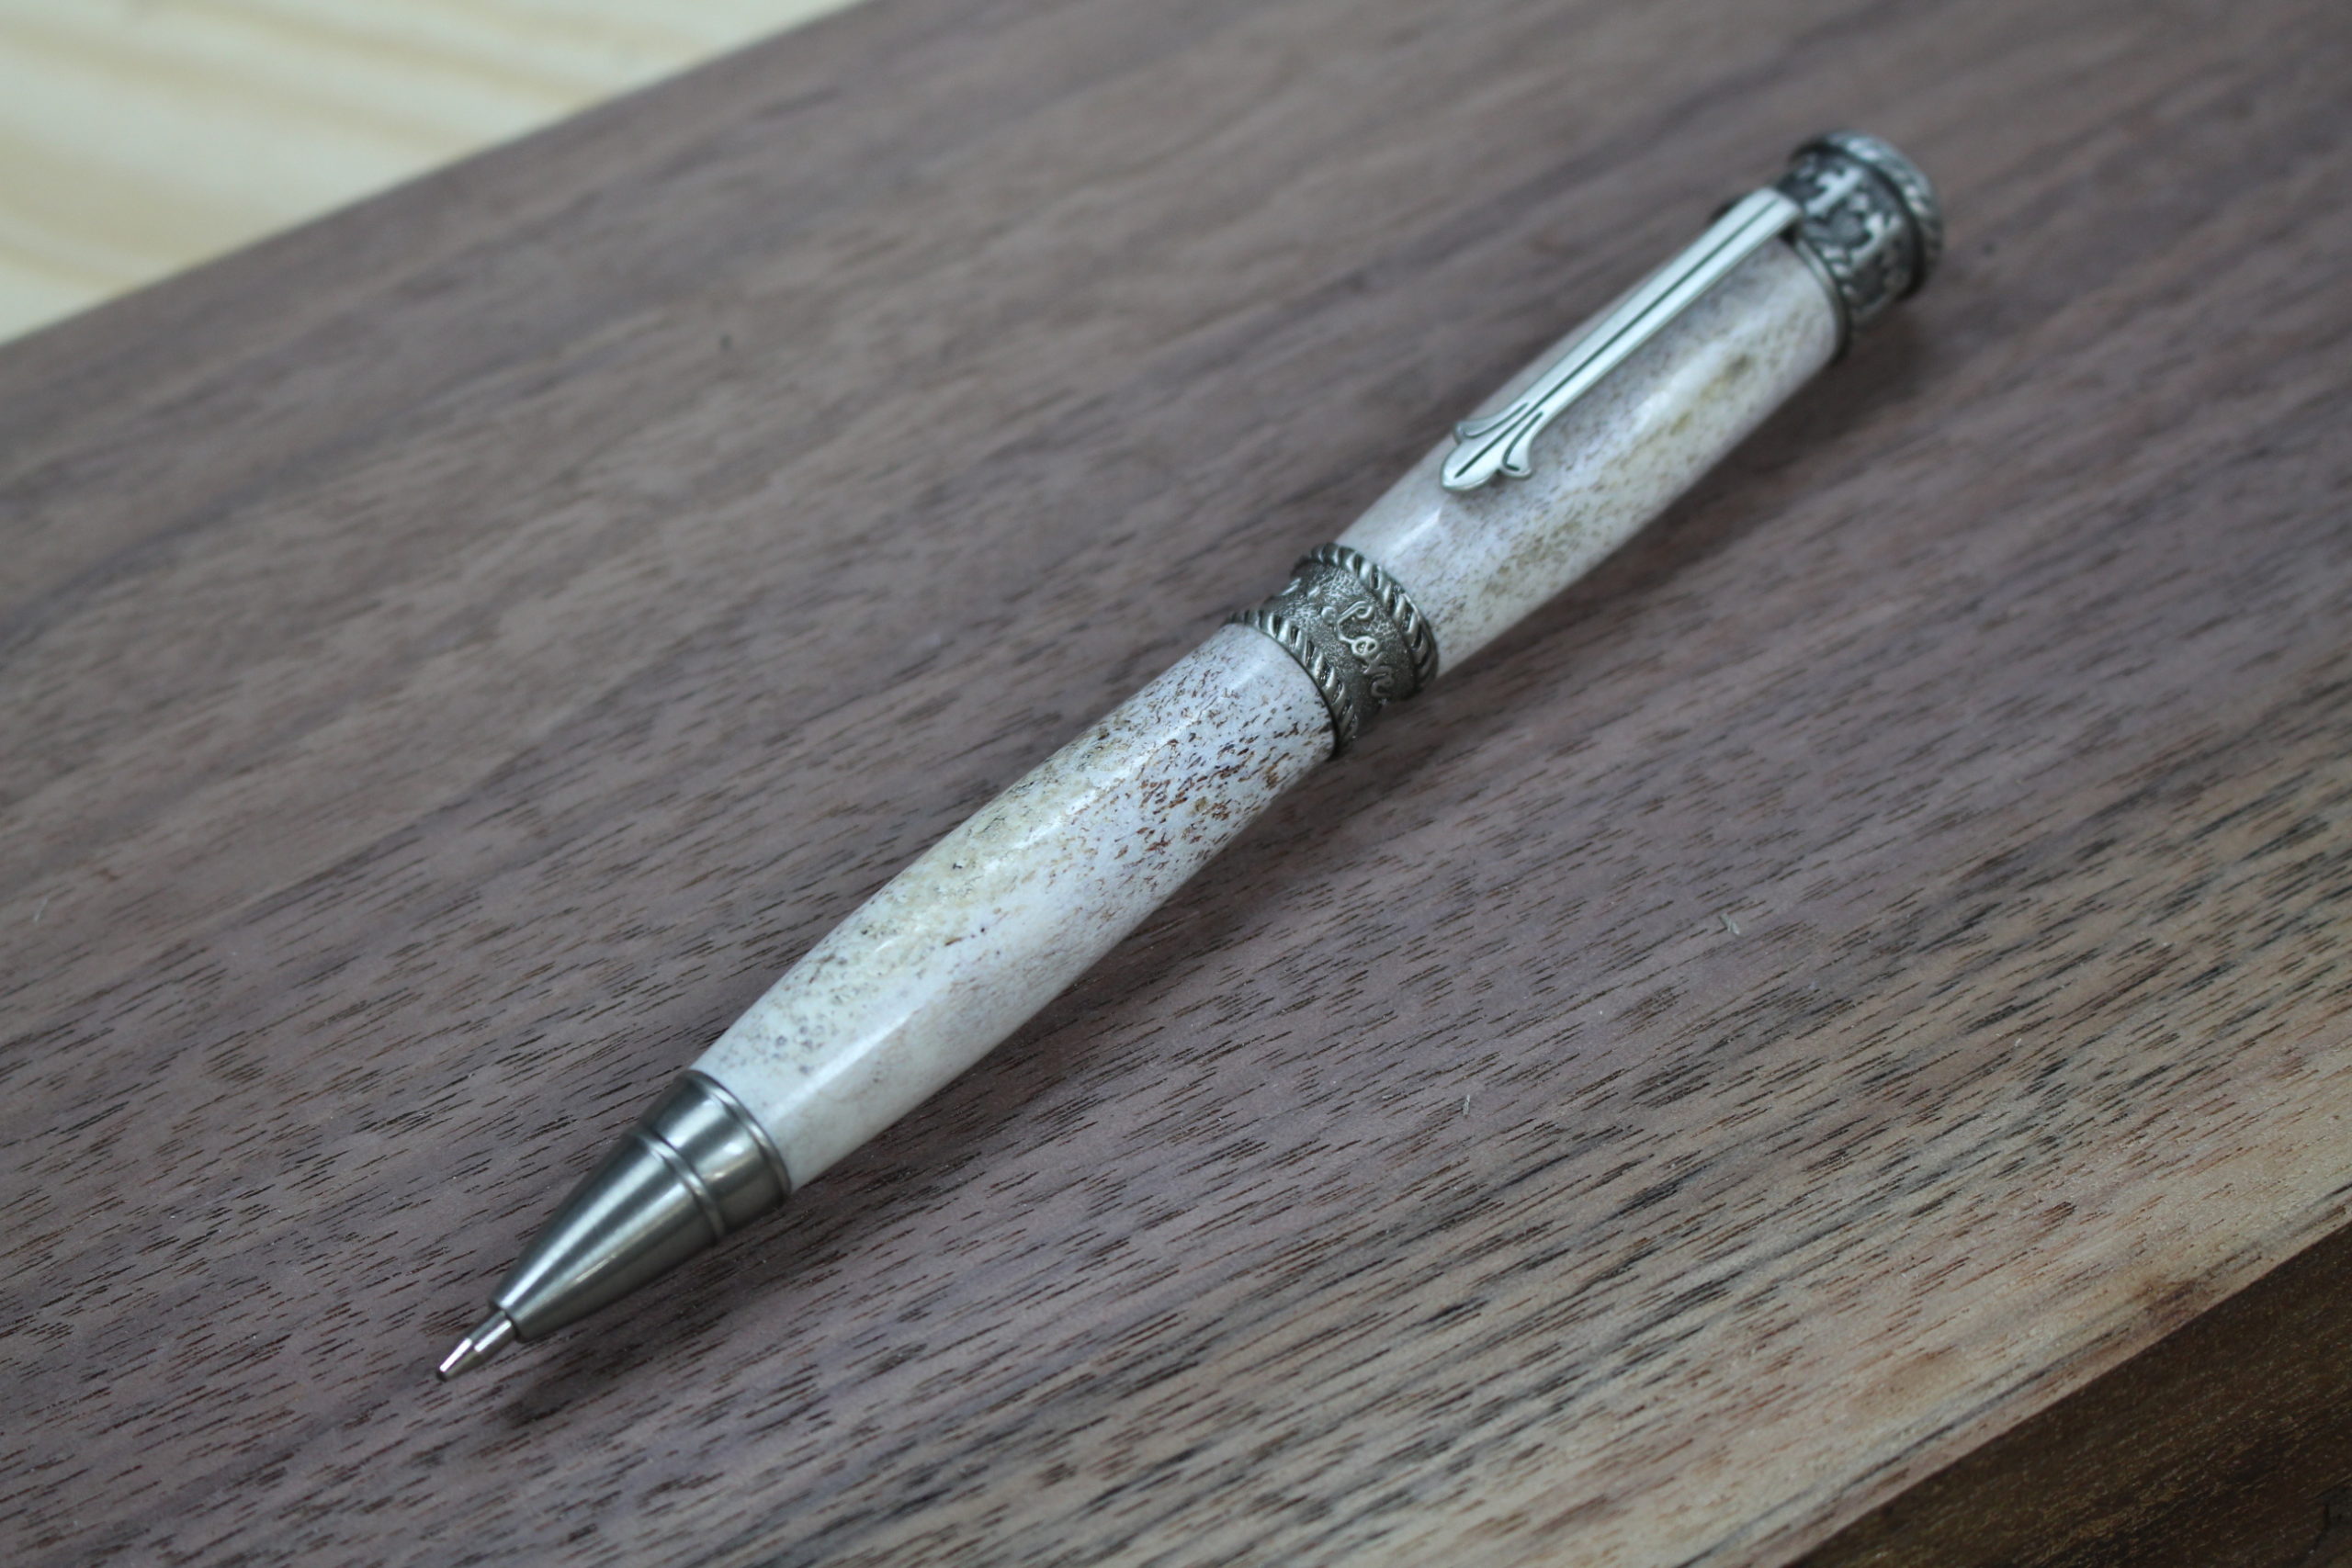
Hey guys, today I’ll be showing you how to make a deer antler pen. I’m using the Faith, Hope, Love pen kit which is a beautiful pen to give a pastor, church leader or any person of faith. The words – Faith, Hope, Love – are engraved across the center band. The pen cap has engravings of crosses.
It’s a twist-style pen and relatively easy to make. I am making mine with deer antler. The Whitetail Deer sheds his antler every year and so antler material is available. I also wrote a separate article just on finding deer antler.
If you’re new to pen turning, you may want to go through my 8-part online video course before you try this project. I’ve also made a YouTube video where I demonstrate how to make the antler pen (see below).
The video will take you through the process, but you can also read through the tutorial below where I may share a few more tips and pointers.
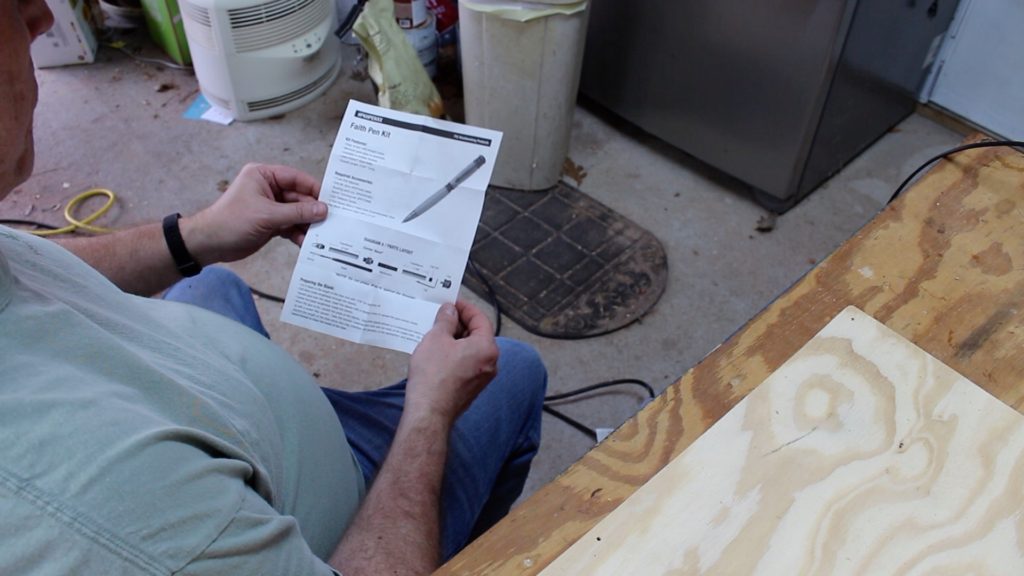
Carefully reading all the pen kit instructions. Okay, now read them again. I’m not kidding — LOL. They will save you a lot of grief.
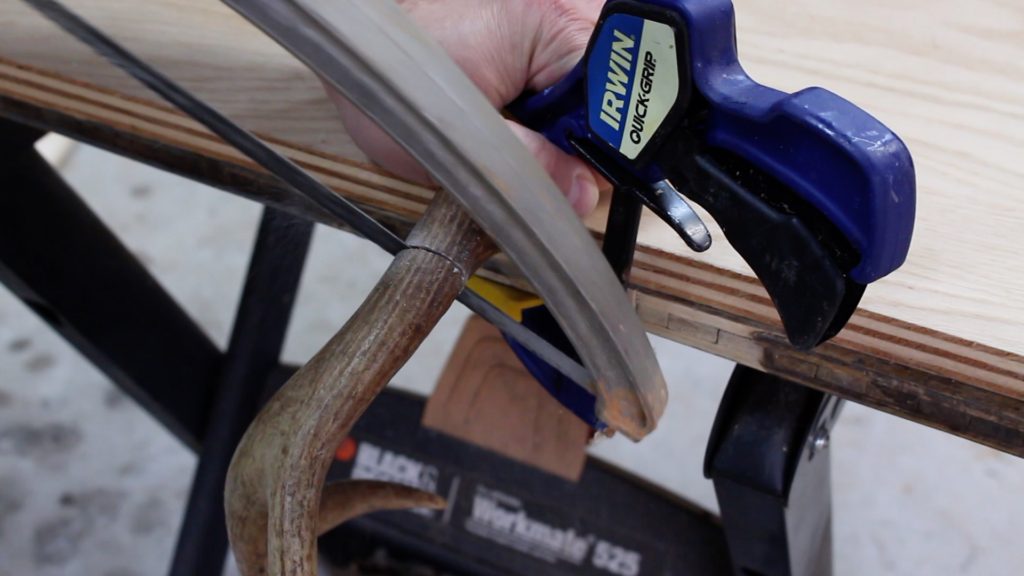
Using a hacksaw to cut out the antler sections. I try to take sections from the same piece of antler. At least 3/4″ to 1″ in diameter. I try to cut both ends to be parallel with each other. Also, try to get a straight piece of antler if possible. And that can be a challenge.
Very IMPORTANT: I used the pen tubes to measure my blank size. You want the blanks to be slightly longer than the pen tubes. For this kit, you need a long blank and short blank. It’s a good idea to mark with a sharpy which is which.
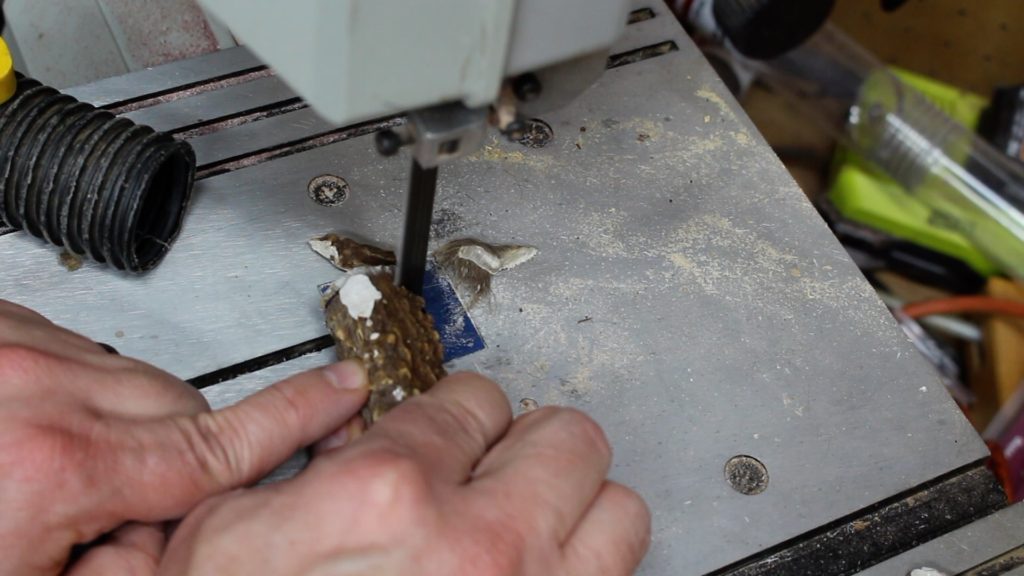
Using the bandsaw to fine-tune my cuts with the hacksaw. Watching where my fingers are going. This will help get those ends parallel with each other.
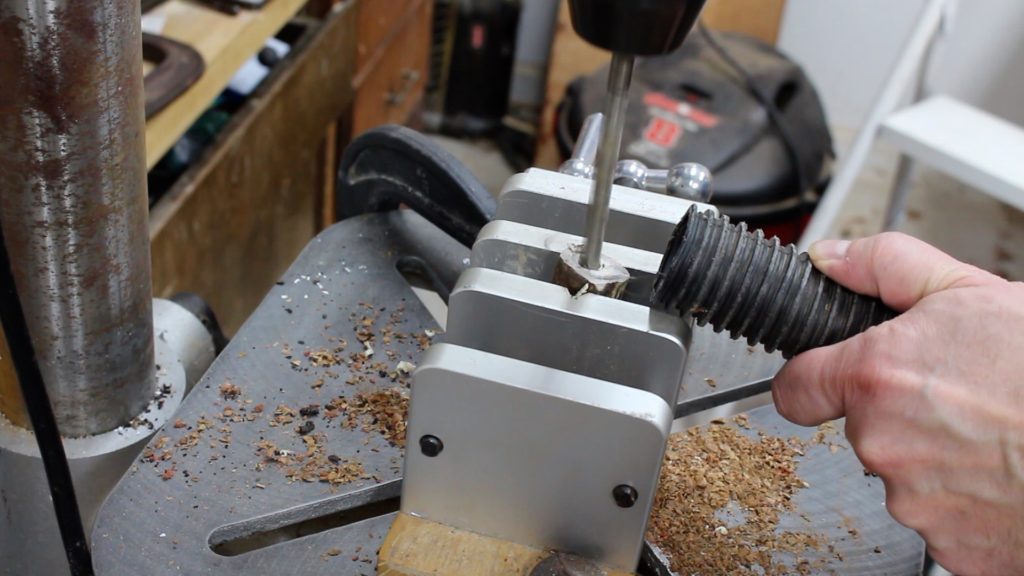
Now, I’m drilling holes for the pen tubes. I’m using a pen vise to hold the antler blanks. You got to get them lined up straight with the drill bit (or as straight as is possible) I’m trying to stay in the center of the antler as much as possible. The kit requires an 8mm drill bit. Notice I have my shop vac sucking away any antler dust. Also, I always wear a respirator when working with deer antler. Antler dust is not good to breath in, like any dust.
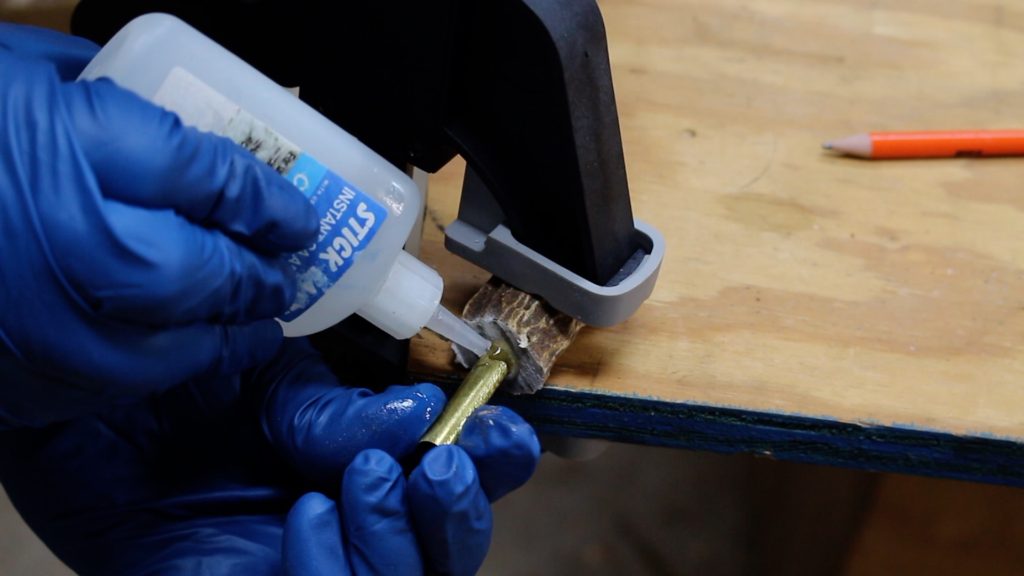
Glueing in the pen tubes, making sure the tubes are thoroughly covered with glue. I recommend using thick CA glue because I tend to have pen tubes get stuck in deer antler and seize up as I push them in. It may take the thick CA a little longer to dry. Just make sure that none of the tubes are sticking out of the antler blanks.
Very IMPORTANT: Make sure you glue the long pen tube in the long blank and the short pen tube in the short blank. It’s easy to get confused here and yes, I’ve done it myself.
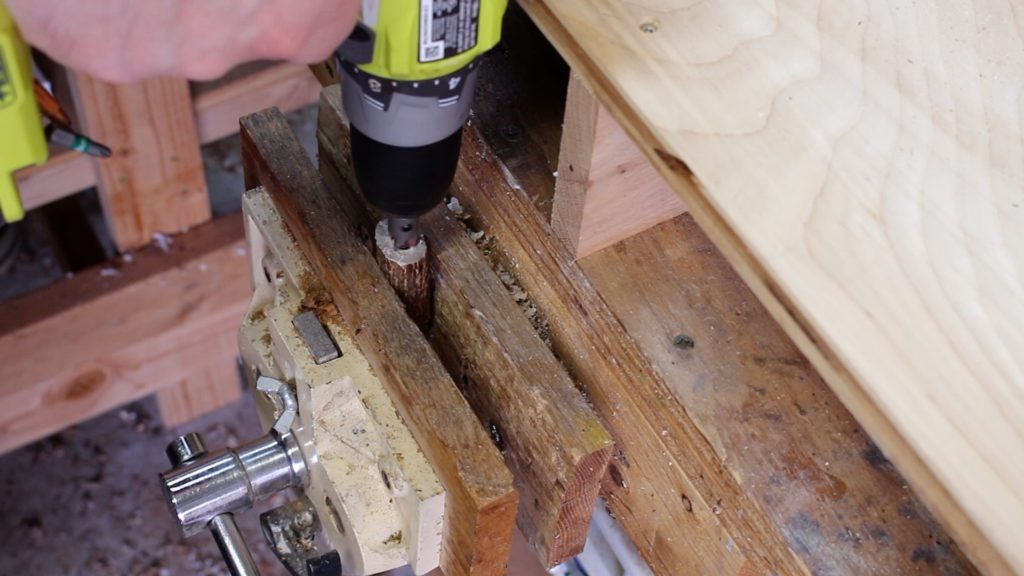
Time to barrel trim the ends. Trim it all down to where you are just brushing into the pen tube. You don’t want to take much of the pen tube off or you’ll mess up the proportions you need for the pen to work correctly.
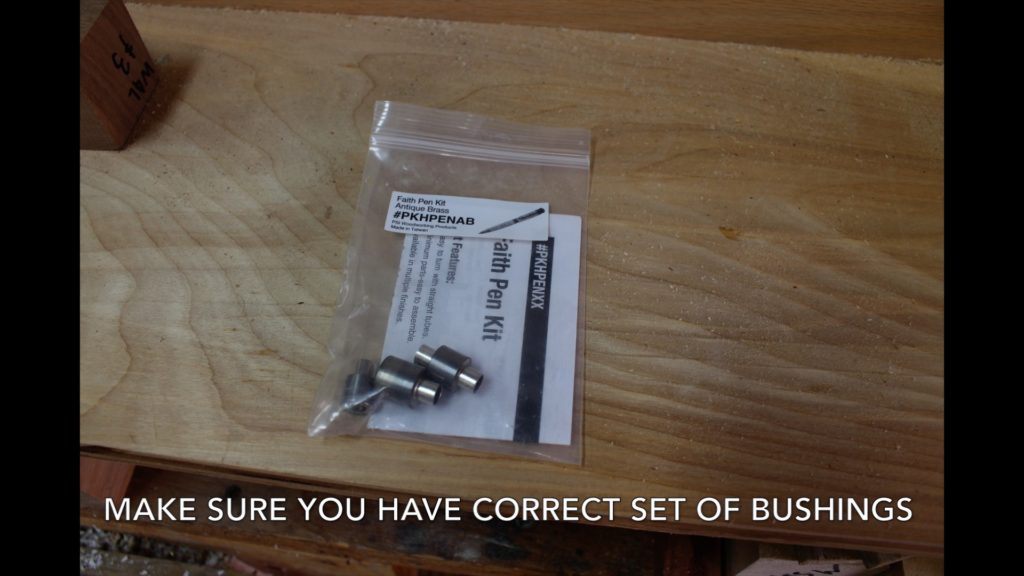
Pull out the right bushings that go with this particular kit. That information is on the pen kit instructions.
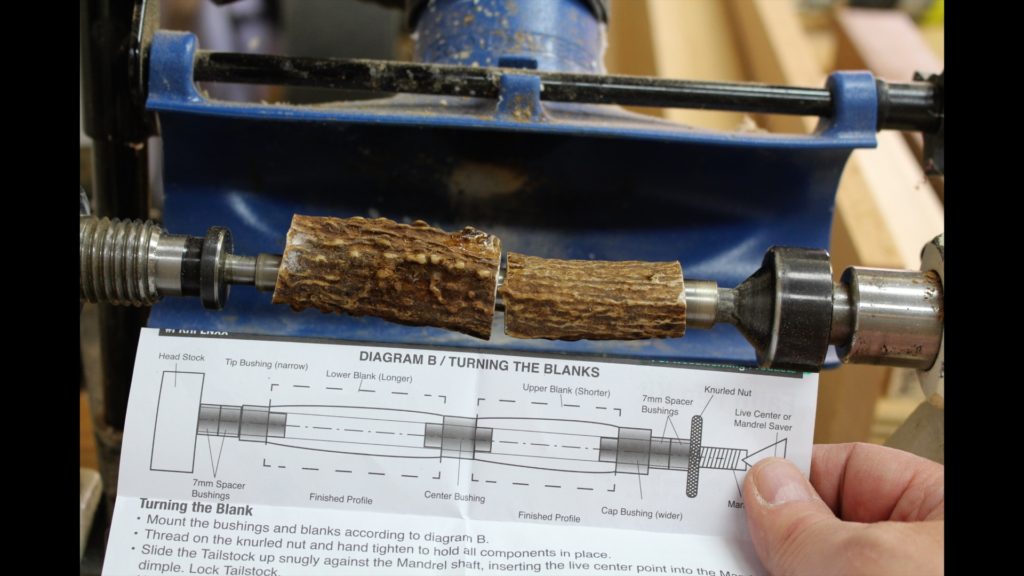
Following kit instructions, making sure I keep the long blank and short blank in the correct position with the bushings. The diagram shows you how. And make sure the blanks are fully engaged with the bushings.
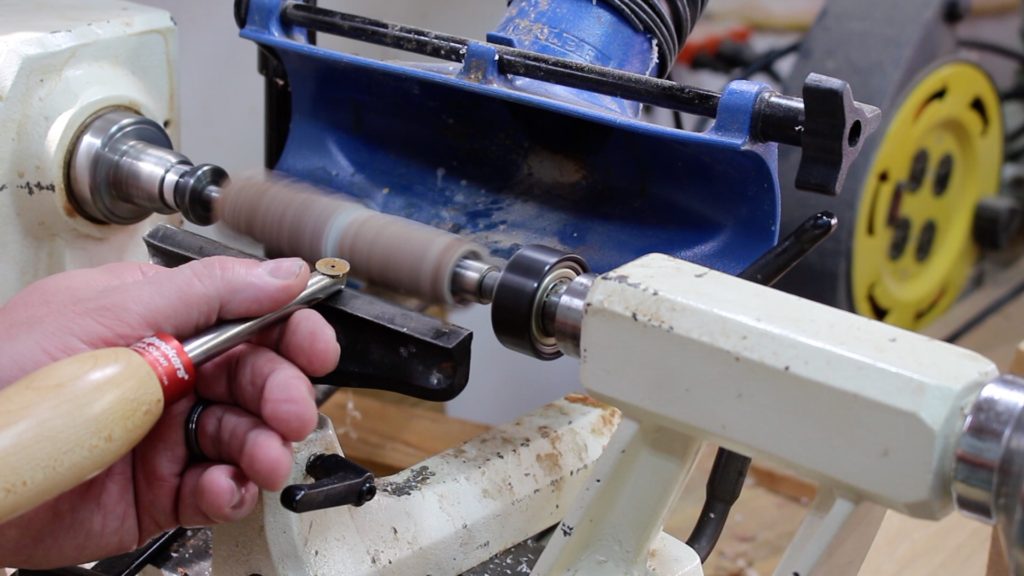
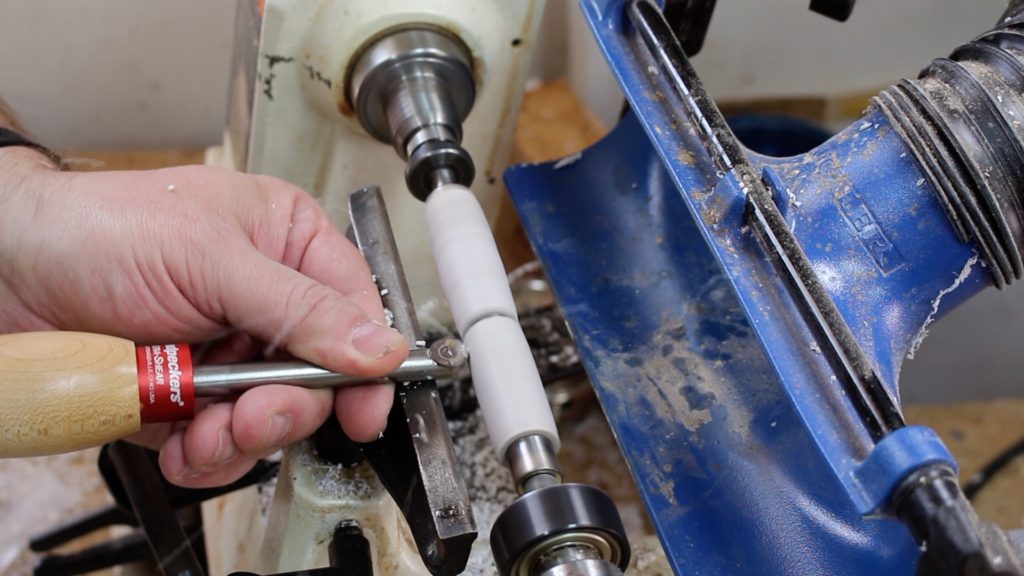
I’m using the carbide tip turning tool and it really works great. Mine are made by Woodpecker.These tools are excellent for beginners. Just make sure the tool rest is at a height so that the cutting edge is parallel with your bench top and the cutting edge needs to be lined up with the center of the workpiece. I found that the round insert worked best with the deer antler.
I usually take the antler down until I’m just shy of the bushings, but not flush with the bushings. I inspect the blanks along the way for any chips or cracks.
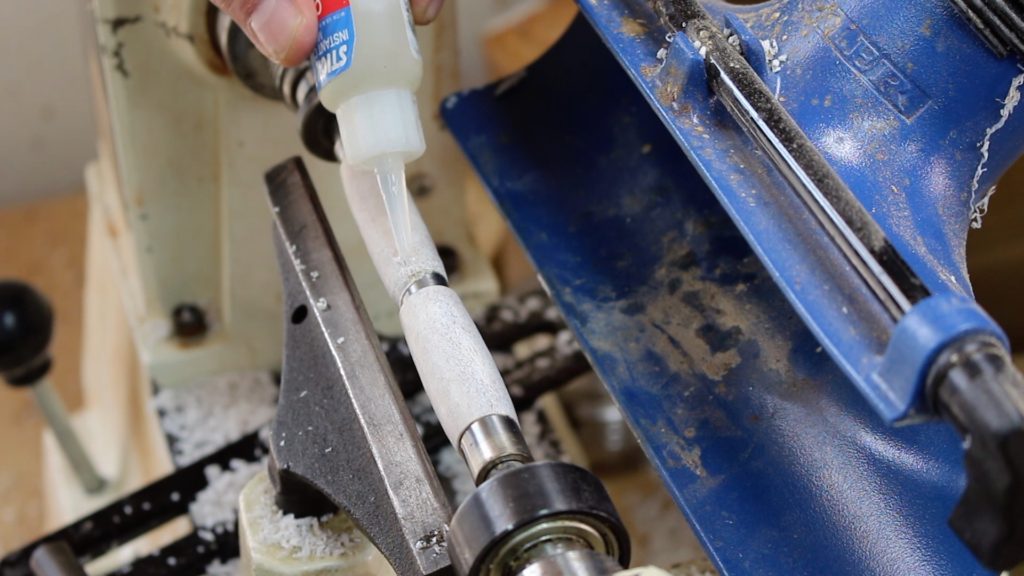
Antler can be a very porous material, so I use thick or medium CA glue to soak into those pores and seal the antler. This will give it additional strength and help some with moisture exposure. I wear my nitrile glove which protects my fingers but also allows me to smooth the glue as I rotate the blanks. Allow the CA to penetrate and dry.
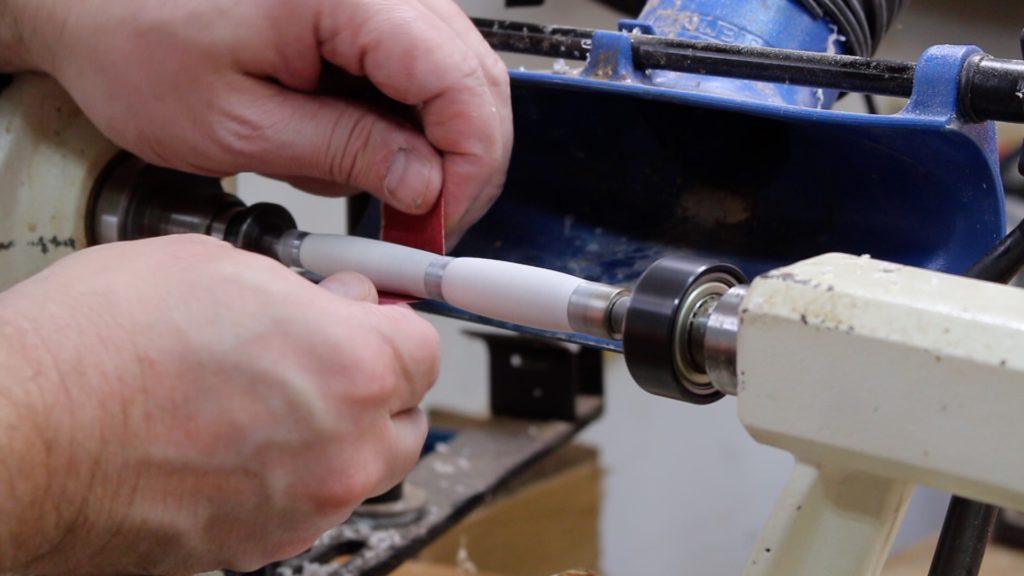
Now that the CA has dried, I start sanding the blanks down until flush with the bushings. I start with 120 grit then go to 220, 400, 500 up to 1000 grit.
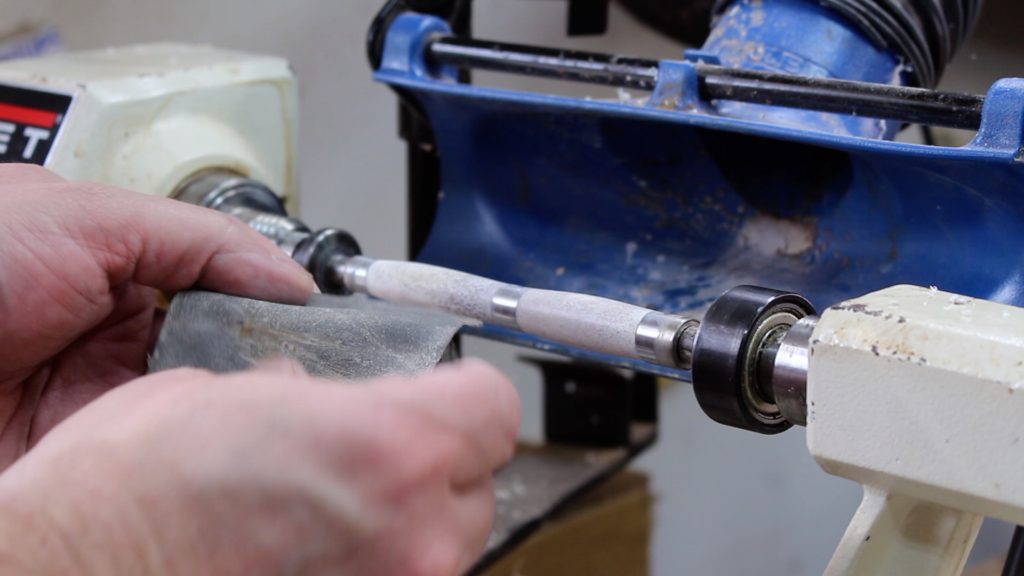
Next I use the micro mesh cloths to polish the antler and bring to a shine. Although 1000 and 2000 grit sandpaper will do the same thing. But the micro mesh comes in higher grits and I use 1800 up to about 3200 grit.
In my opinion, there’s really no need for a polishing compound since the antler will polish very well on its own.
Some pen turners elect to do a CA finish by applying layers of CA glue and then using fine sandpaper or polishing compound. So you end up with a very thin layer of CA glue as your final finish. It takes a little more time and it will give the antler a more glossy look.
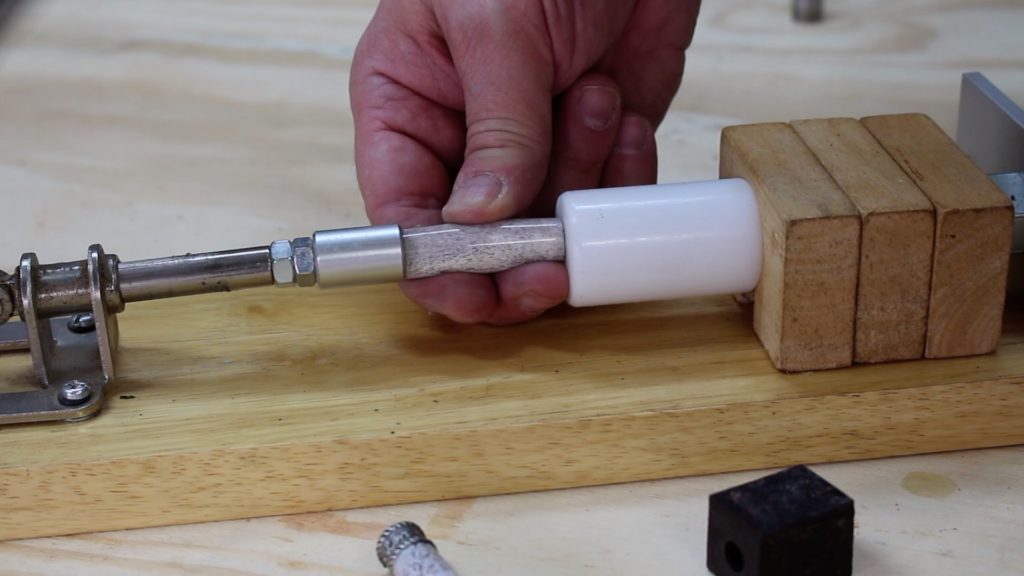
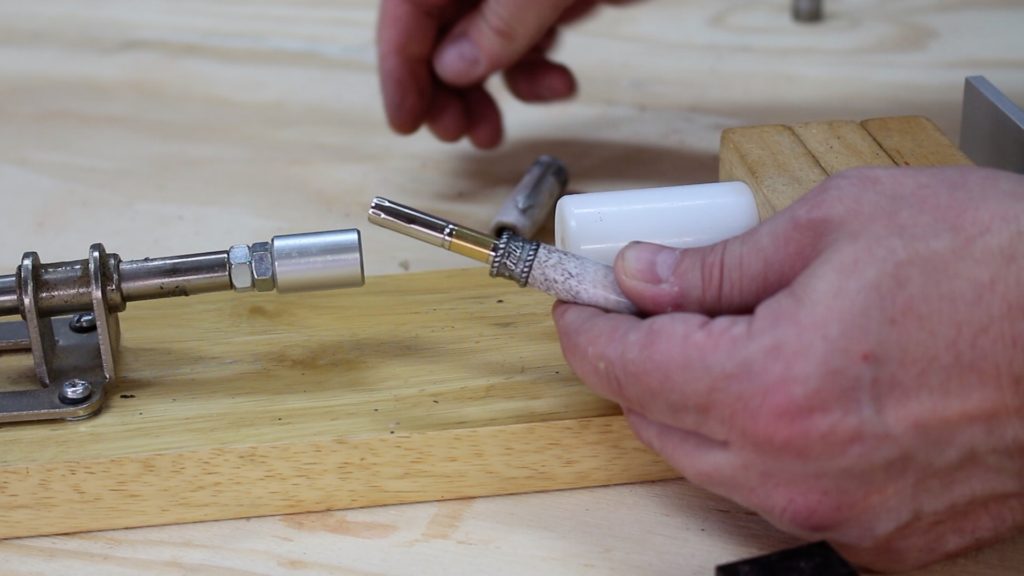
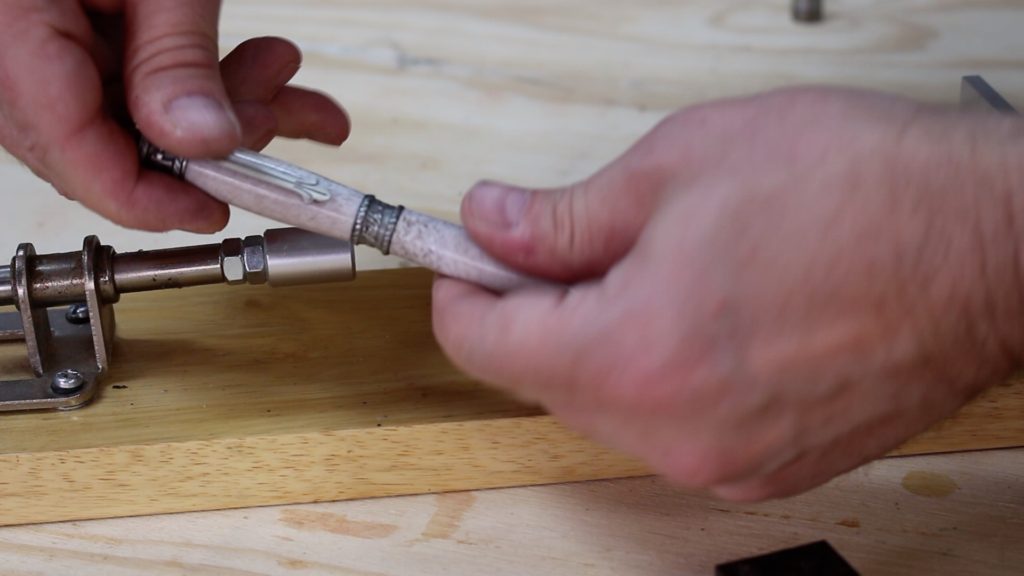
I used a pen vise to assemble the pen, but you can just as easily use a bench vise. This is where you have to slow down and carefully read the assembly directions. Making sure I’m pressing in the correct pieces in the correct blank. Remember that this kit has 2 barrels, one long and one short.
I also have to be careful about keeping pieces lined up as I press them together. You shouldn’t have to use massive amounts of pressure. Go slow.
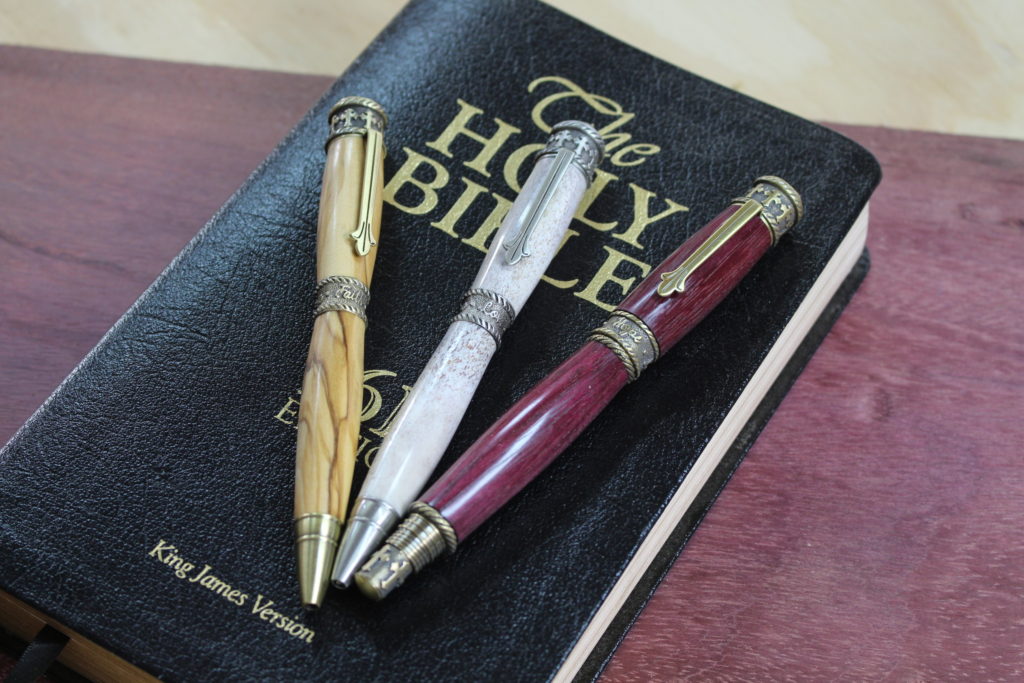
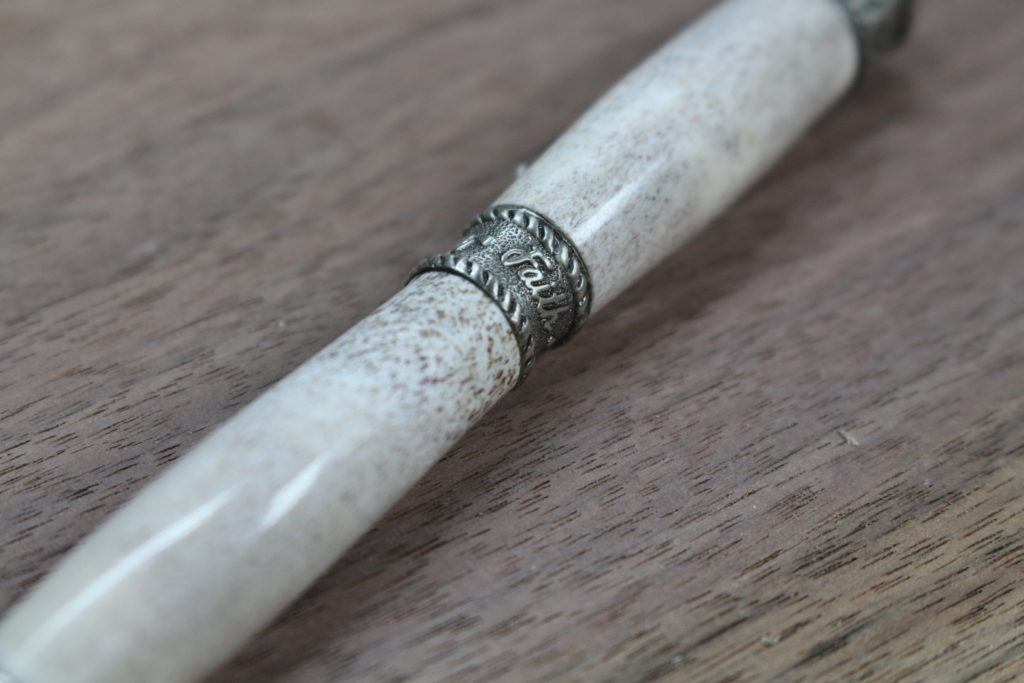
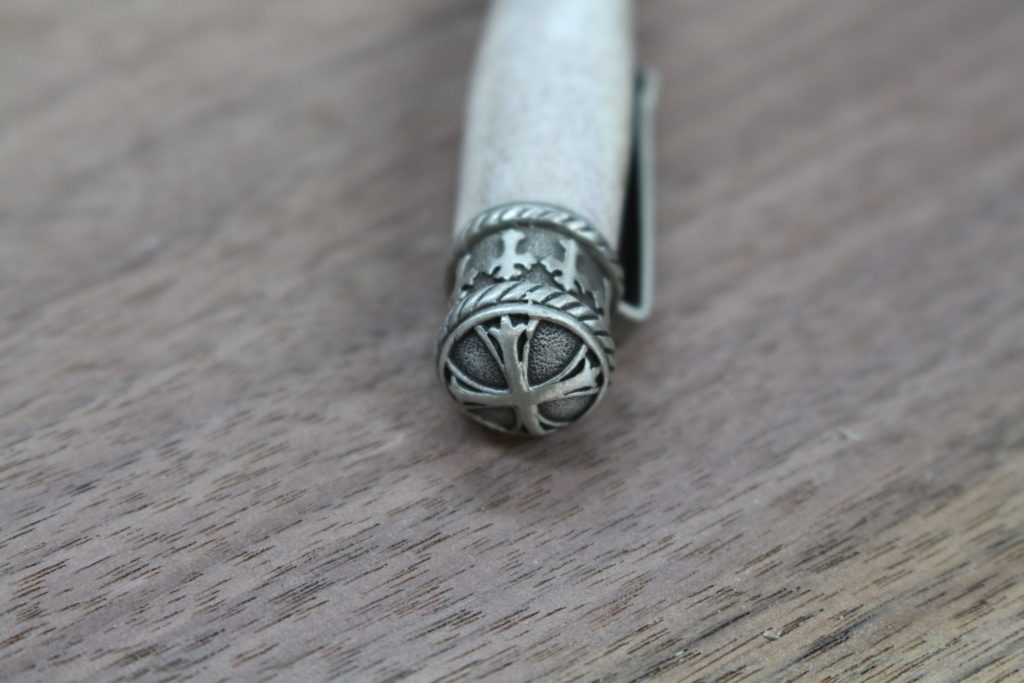
As you can see, the antler pen turned out great. I’m using the Antique Pewter metal pen kit parts. Lots of great features on this pen.
I hope you enjoyed the tutorial. If you want to see more each month then please either subscribe to my website or YouTube channel. Or both.
Thanks again for watching and God bless!

Are you starting up a new shop? Want to work safer in your shop? To help you answer these questions I've put together a 2-part checklist -- Home Shop Safety & Tool Checklist.
I will also send you updates of my latest woodworking and DIY projects. You can get all this by subscribing to my free email newsletter.
