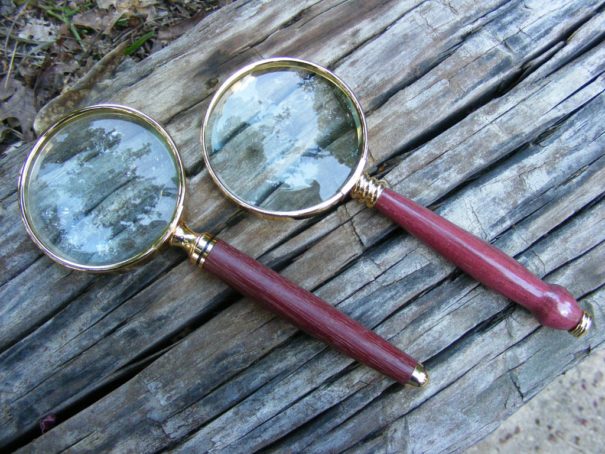
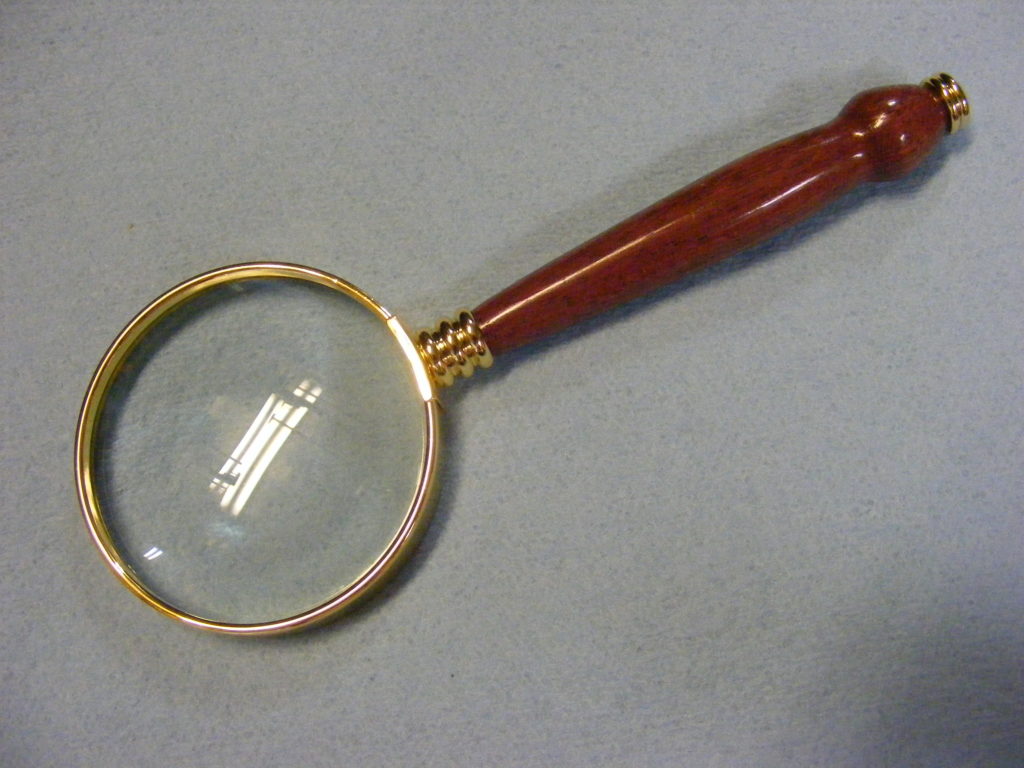
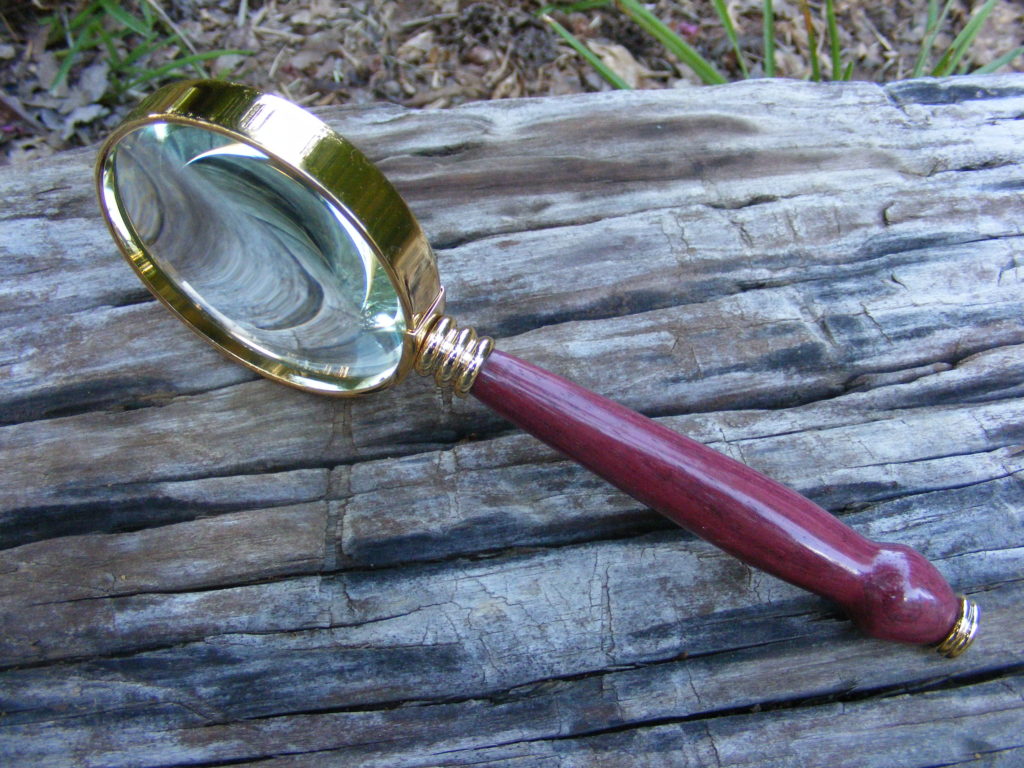
In just a few easy steps, this tutorial will show you how to make a magnifying glass that will add flair to your office. I’ll show you how I turned the handle and assembled the magnifying glass which comes in a convenient kit. This will make a great turning project you can easily do on your Saturday afternoon off.
These magnifying glasses make great gifts. I made one for my aging parents and they loved it. I’m starting to need one also since I can’t seem to read that fine print any more … LOL.
My Materials and Tools List (some are affiliate links):
JET Mini lathe (or lathe of your choice)
Magnifying Glass Kit (from Amazon)
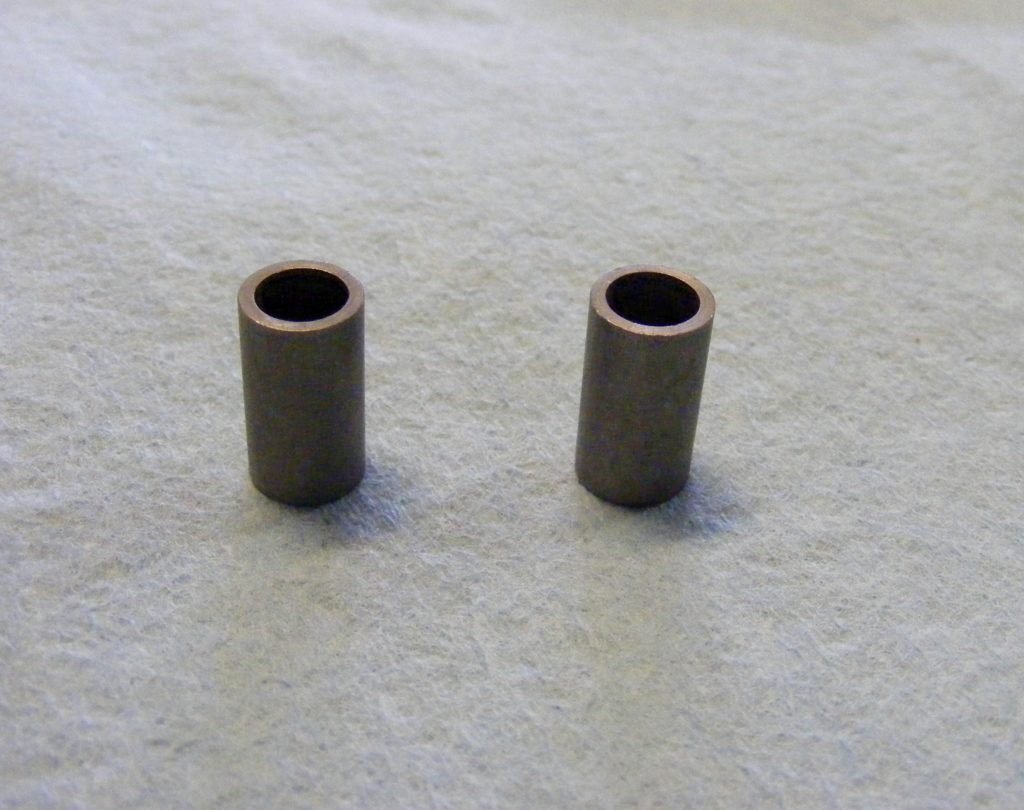
Kit Bushings
7mm Drill Bit
Centering Vise
CA Medium Glue
Barrel Trimmer
Pen Press
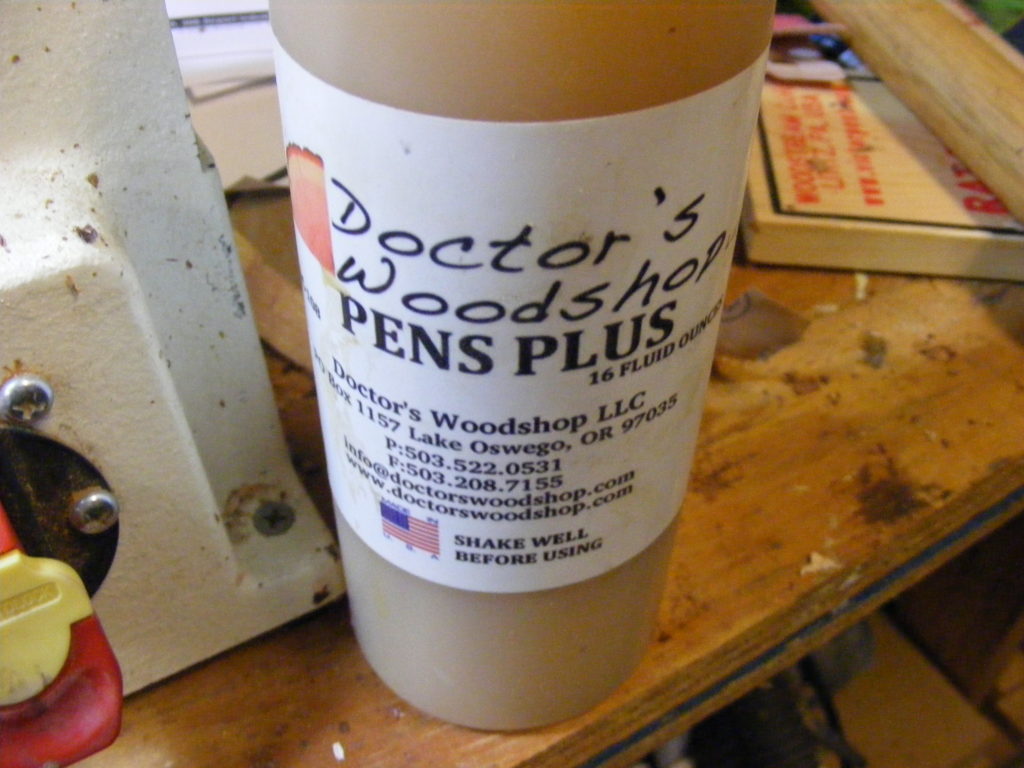
Pens Plus friction polish
Don’t Forget Safety
Please take a minute and read my safety disclaimer. Wear all the appropriate personal protection gear. Read and understand all the operating and safety instructions that come with your power tools. Have fun, but be safe!!
On to the Tutorial:
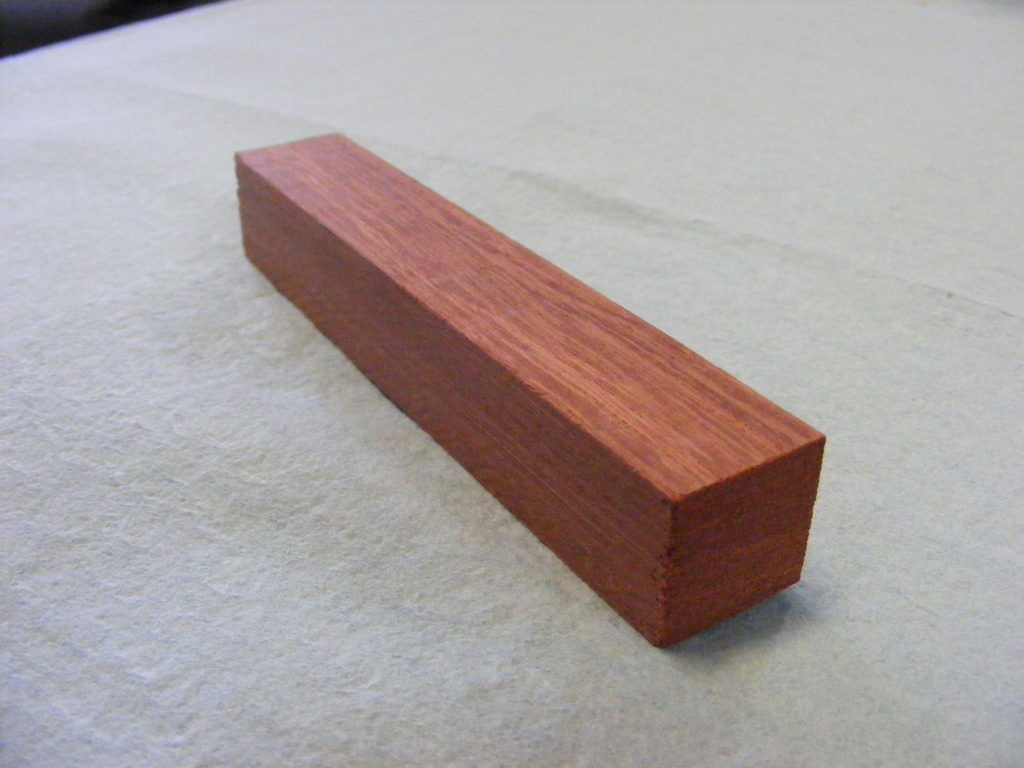
Step 1: Purchase a kit and select your wood. You can purchase the magnifying glass kit directly from Woodcraft or get it through Amazon. I selected the Purpleheart Pen Blank
which is a beautiful and durable hardwood from Central and South America. I love the color and it turns well.
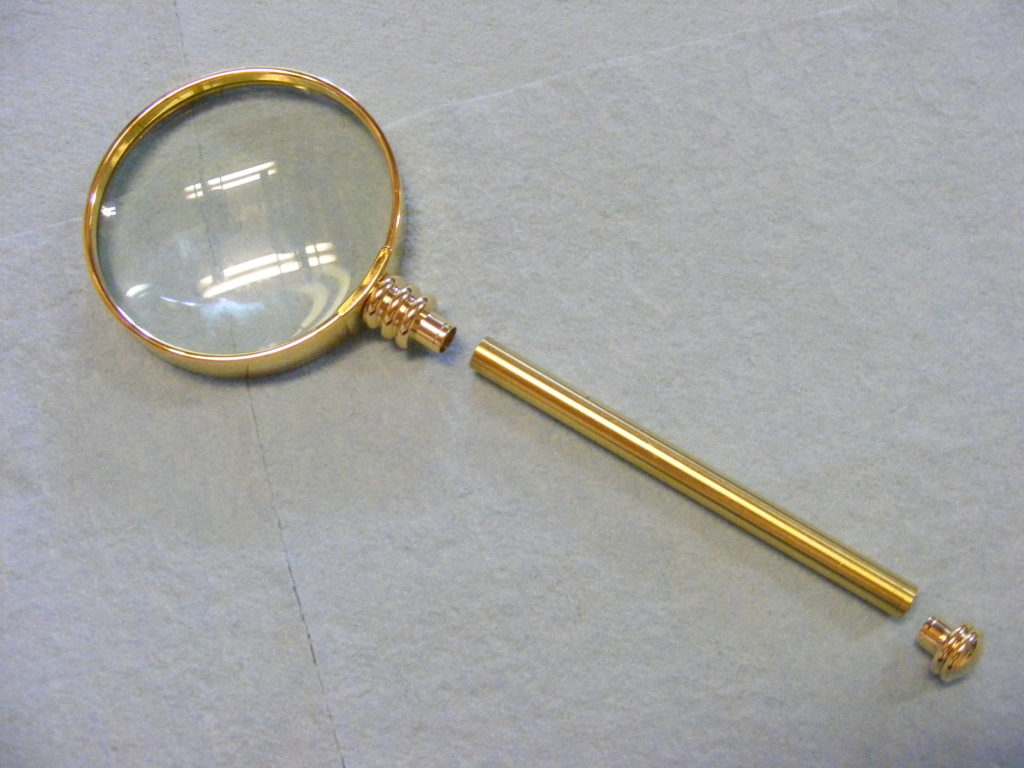
Don’t forget to unpack your kit and make sure you have everything. This kit contains 4 parts.
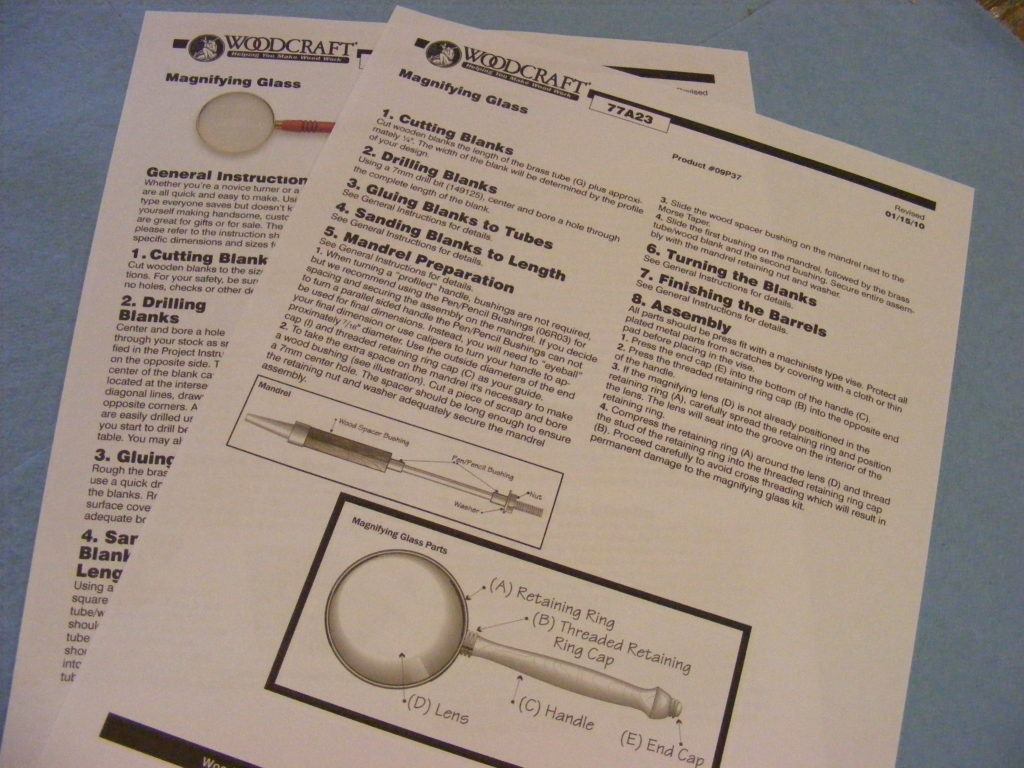
Step 2: Download the kit instructions. I never start a turning project without the kit instructions. It explains what bushings you need and the drill bit size. Buy the bushings and the 7mm drill bit separately. Here are the instruction downloads.
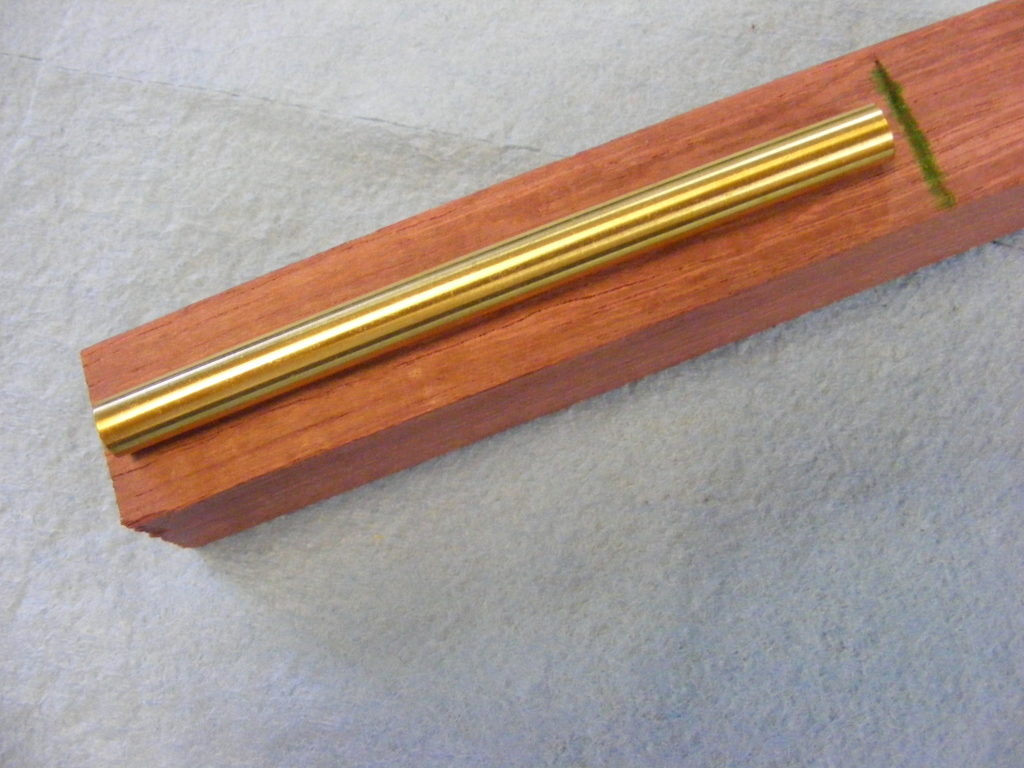
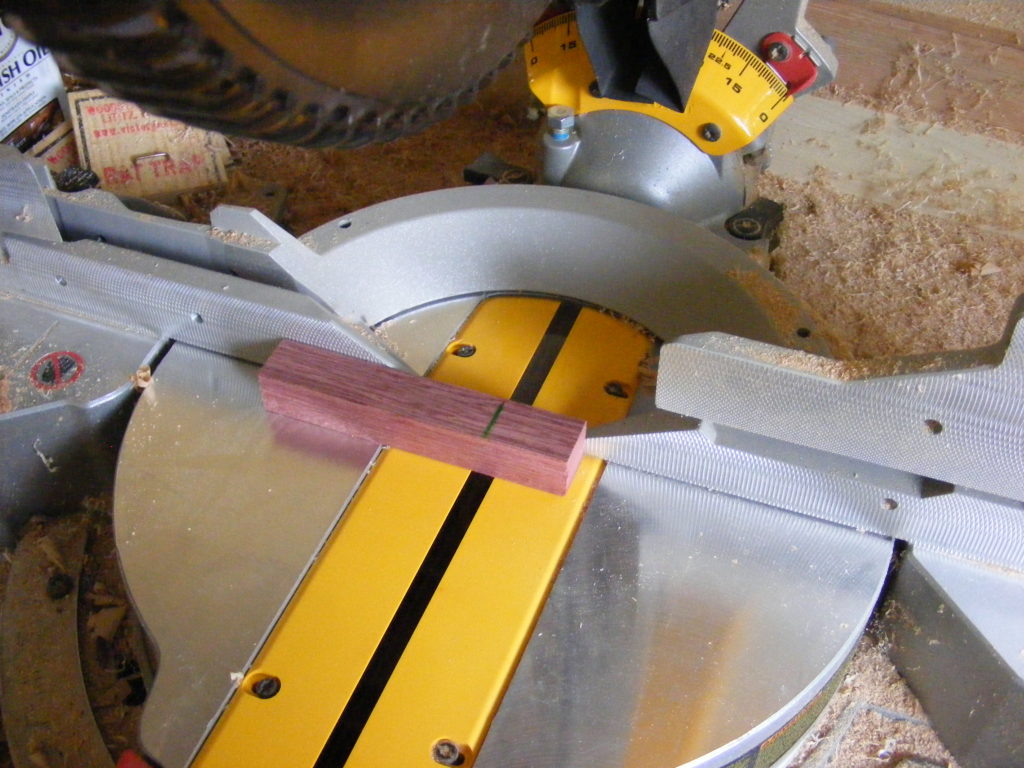
Step 3: Cut the blank. Lay the brass tube out on the blank as shown in the above picture. Leave about 1/8 or 1/4 inch of wood on either side of the tube. I used my chop saw to cut the Purpleheart blank.
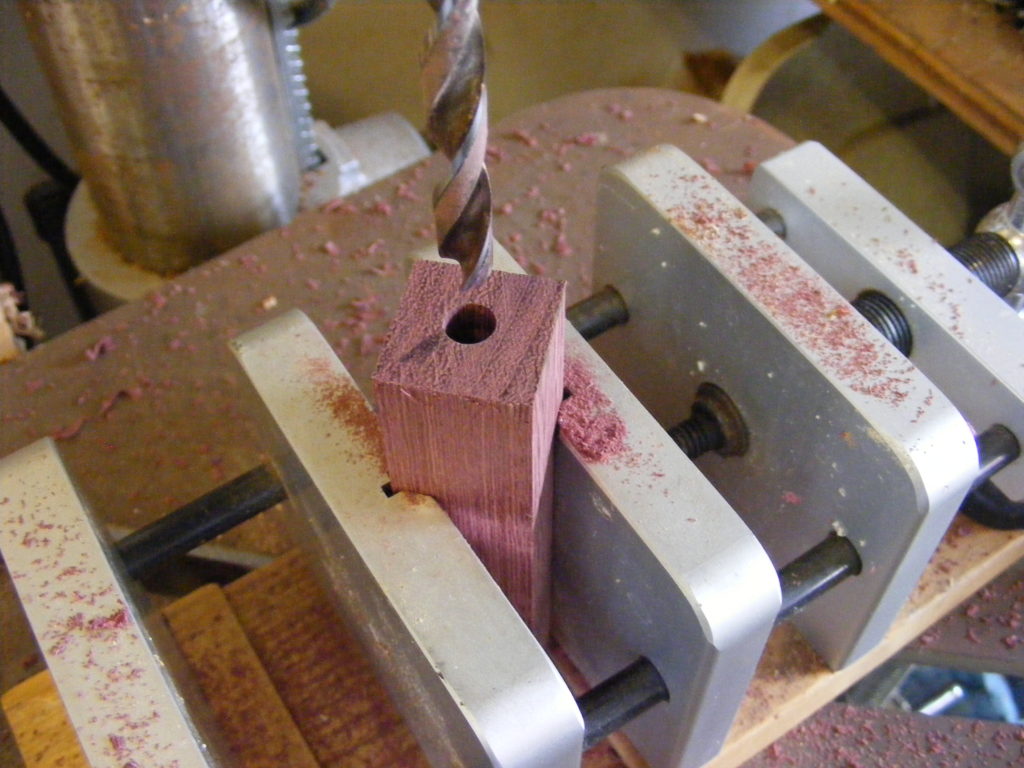
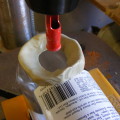
Step 4: Drill hole for brass tube. I used my drill press and centering vise to drill directly through the center of the Purpleheart blank. Most of these blanks have been squared up from the store, so this process works great with the centering vise. I highly recommend you purchasing the Centering Vise if you don’t have one. The centering vise isn’t required, but you will want to use some kind of vise or clamp when using the drill press.
I made the hole with a 7mm drill bit.
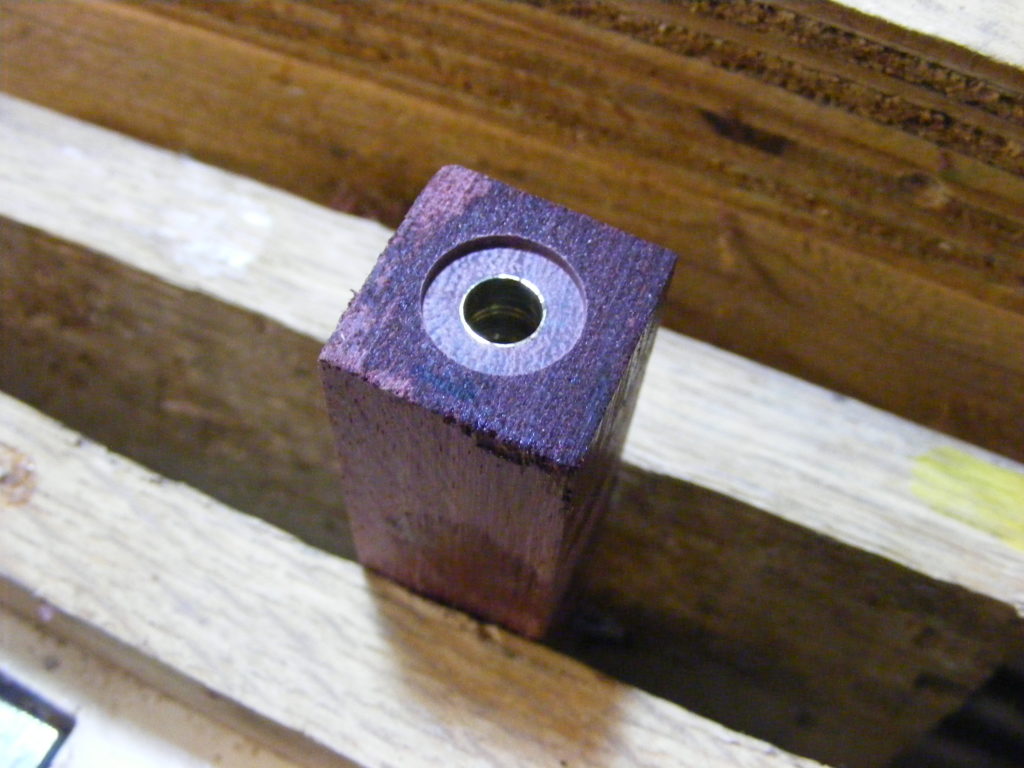
Step 5: Barrel trim the ends. This brings the length dimension of the blank down to the tube’s dimension. It also squares up the ends of the handle so when you go to press the metal components in they fit nice and flush with the handle ends, leaving no ugly gaps.
I do this with my portable drill. I go nice and easy. Don’t be overly aggressive with this step. I trim down until I begin to see the shiny end of the brass tube.
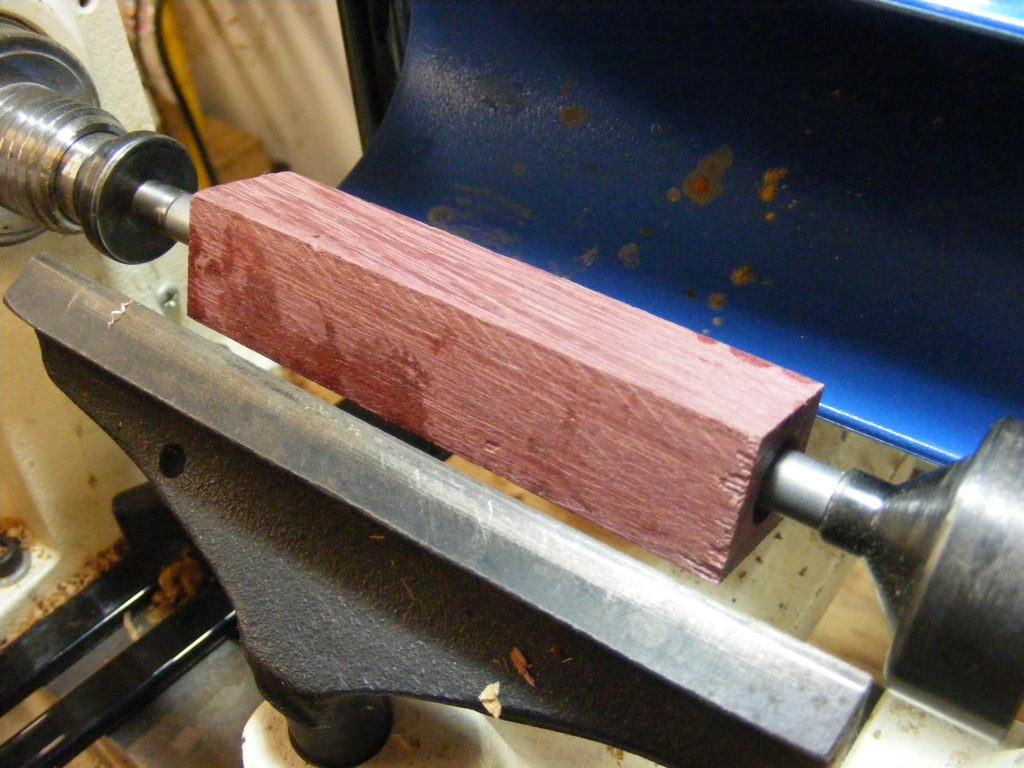
Step 6: Turn the handle. I used the recommended bushings and placed them (with blank in-between) on my pen mandrel which is mounted in the headstock of the lathe. The tail stock has something called a Mandrel Saver, and I slide it up snug on the other end behind the second bushing.
Snug everything down and get your tool rest adjusted like you want it. Make sure all tools are removed from lathe and turn lathe on.
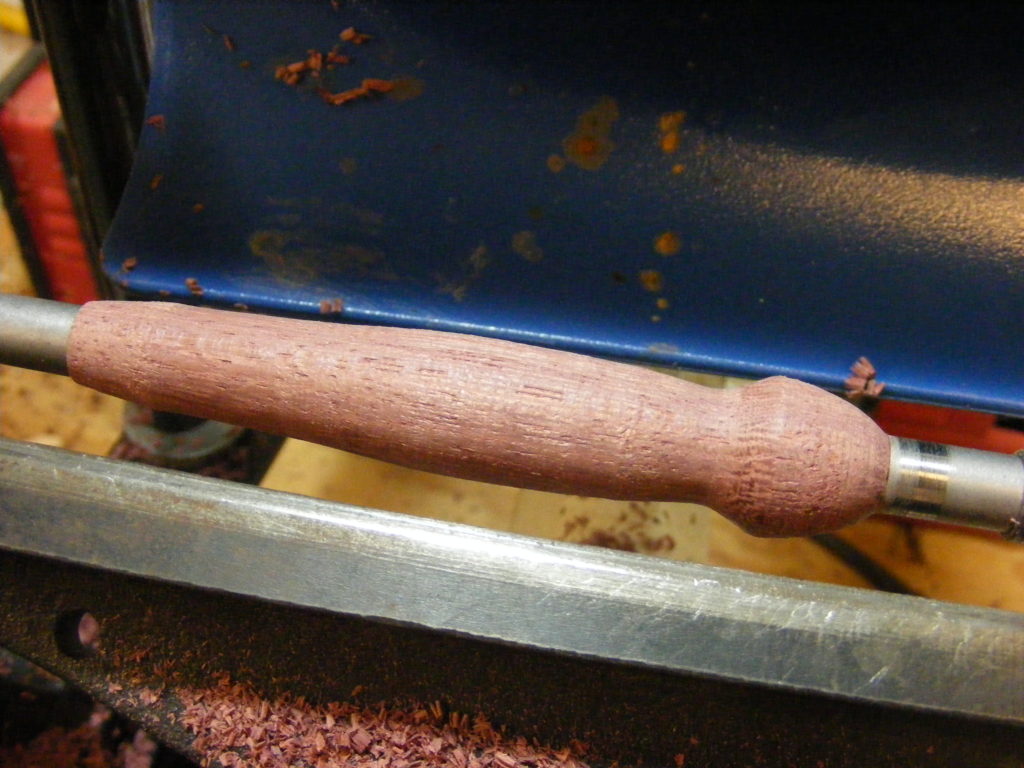
Turn the blank down until it’s a cylinder. You can follow the example of my profile or create your own. Using a turning gouge, I took the wood down just proud of the bushings. This sets me up for the sanding — step 7.
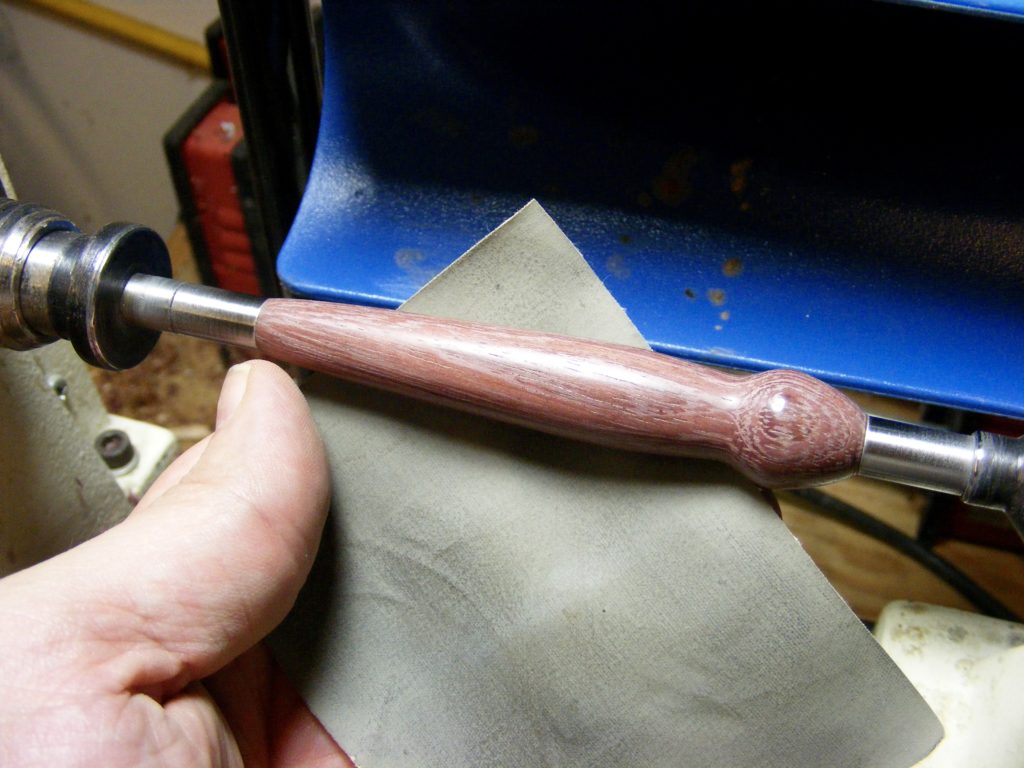
Step 7: Sand the handle. While on the lathe, go ahead and sand the handle down until flush with the bushings. Be careful not to leave sandpaper on the metal bushings so you don’t change the dimensions. I used 120 grit, 220 grit, 400 grit and 600 grit sandpaper. I then applied the Micro Mesh sanding cloths — 1500 grit to 8000 grit.
I like to take my air compressor and blow out any sawdust that gets stuck in the grains or crevices.
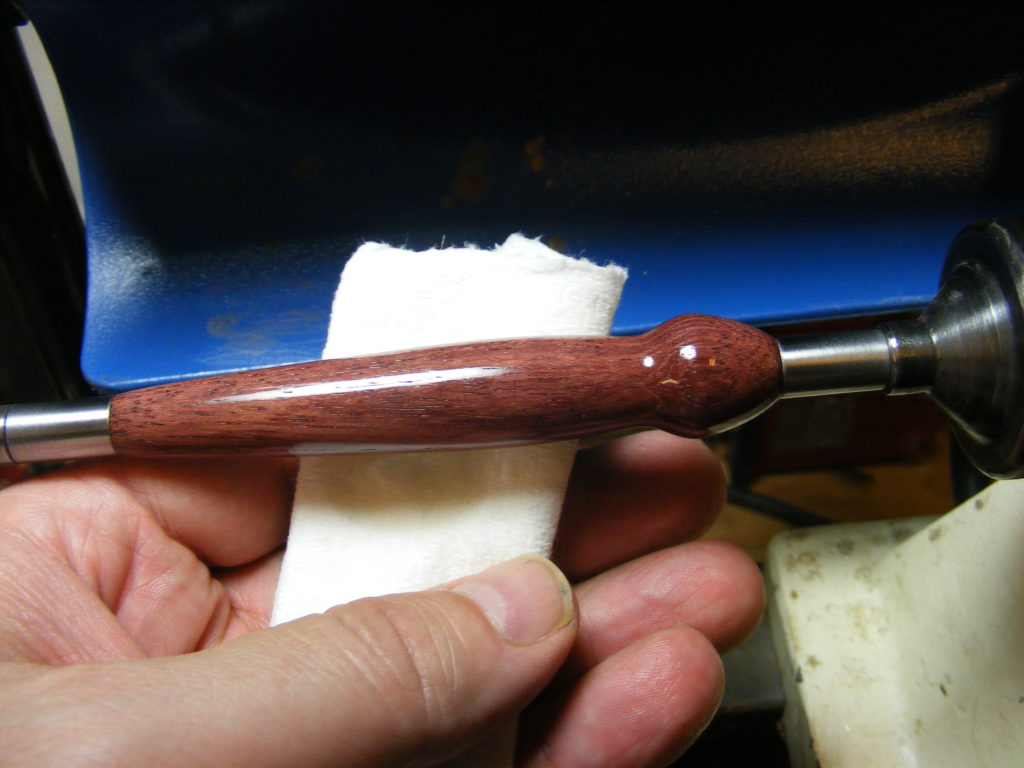
Step 8: Finish. Apply the finish of your choice. Some like to us a CA finish and this is a longer process. I like to use Pens Plus which is a friction polish.
Just squirt a small amount on a Viva paper towel and apply according to instructions. I usually apply 3 to 4 coats. This stuff does very well and the glossy finish lasts fairly long. However, with any friction polishes the glossy look will not last forever. If you are into the long-lasting glossy look, consider the CA finish.
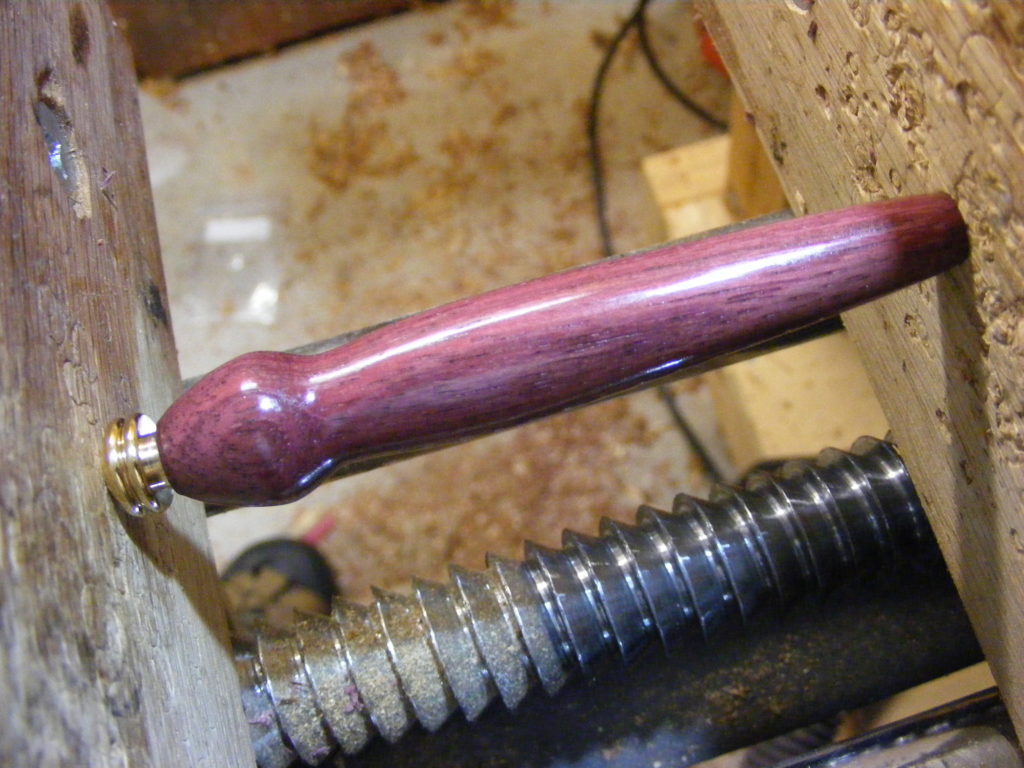
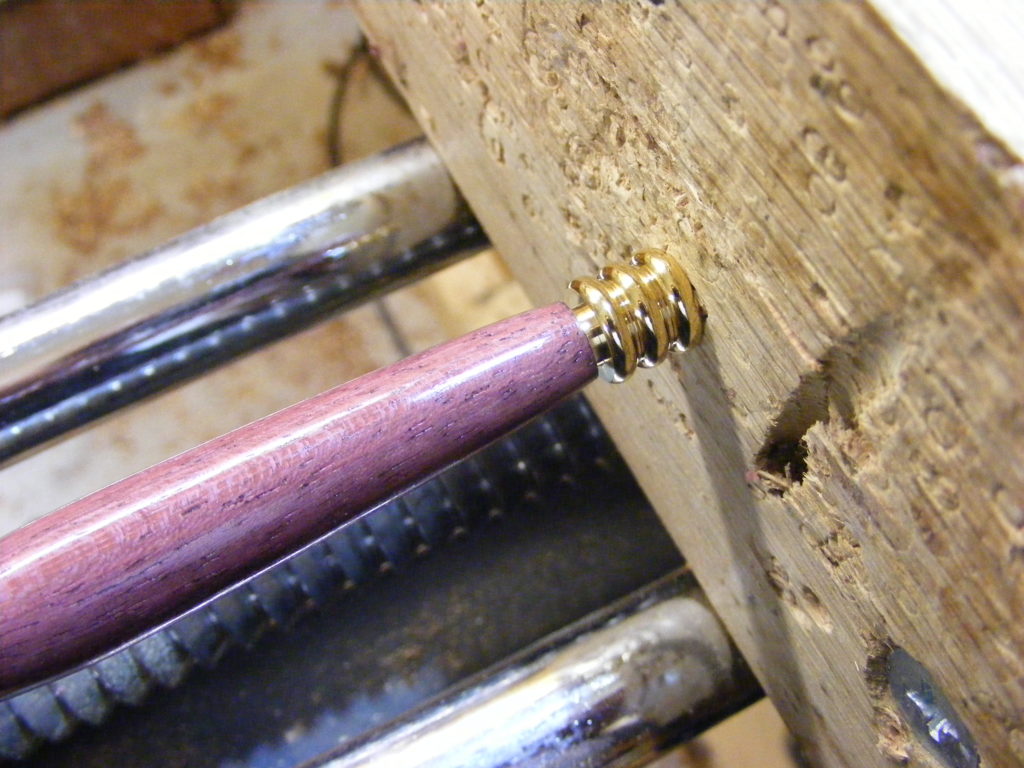
Step 9: Assemble. Break out the instructions once again and follow them to a T. Use a reliable press. You can use a bench vise like I am or a Pen Press. Instructions recommend covering metal parts with a cloth so you don’t scratch.
First, I pressed the end cap into the bottom of the handle.
Next, press the threaded retaining ring cap into the other handle end.
Gently screw the lens and it’s stud into the retaining ring cap.
And there you have it — another great addition to your office. This magnifying glass would look great with one of those handmade pens you just made. These projects sell well and they make great gifts.
I hope you enjoyed this tutorial. If I missed something or you don’t quite understand a step, please leave a comment or send me an email. Feel free to share what projects you are currently working on.
Please consider joining my blog. You will get notified anytime I update this site with a new and free tutorial — like the one you just read.
Thanks for being a loyal reader.
Happy woodworking!!
