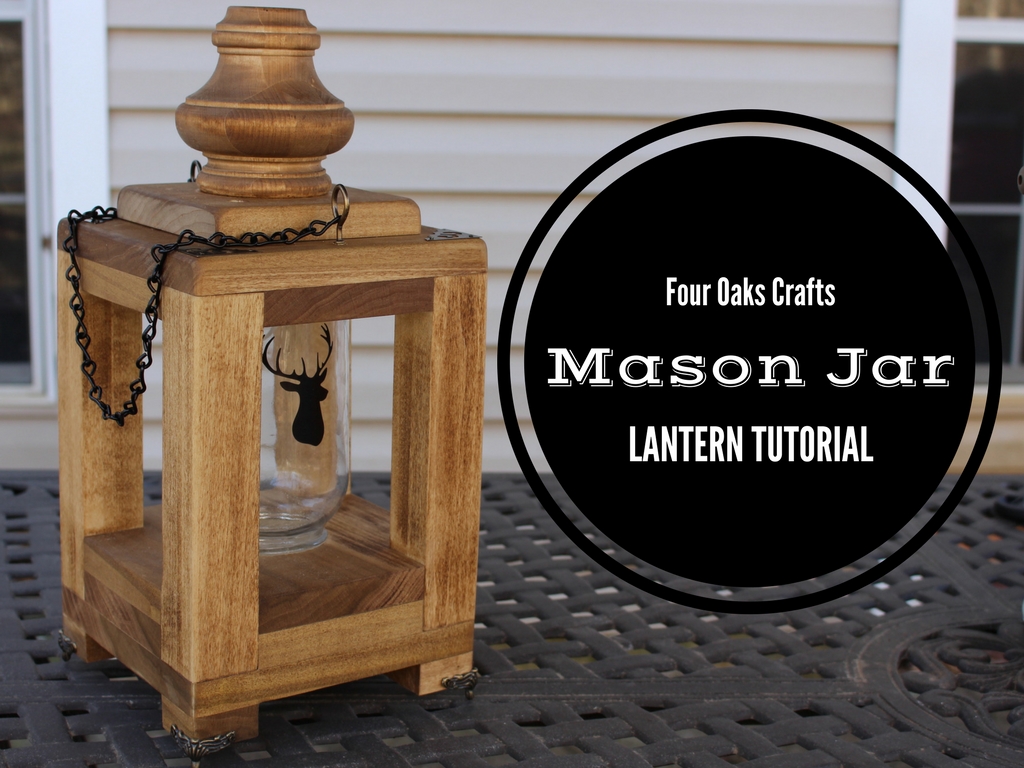
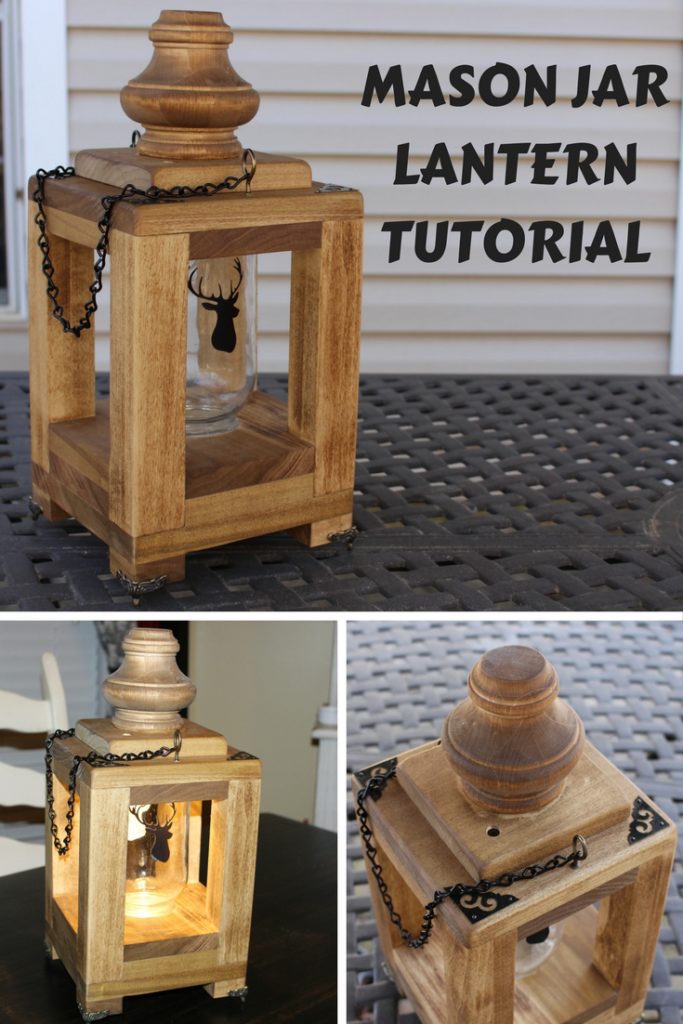
Wooden lanterns are such cool projects to make. I’ve had this mason jar lantern idea on the brain for some time now, and I finally committed myself to make one. In this project I’ve taken a mason jar, a battery-powered LED light, and I built a wooden lantern around them. The LED puck light is a click-on / click-off type light that rests between the mason jar and the top of the lantern. You can simply grab the jar and push it up to turn on and push it up to turn off. The light from the LED cascades into the jar and diffracts out. And the best part — the LED puck is hidden. Join with me in this tutorial as I show you how to make a mason jar lantern.
A Word on Safety:
Please take a minute and read my safety disclaimer. I assume you have a basic level of woodworking skills and understand how to use the tools described here. If not, make sure you get the necessary experience or training. Read and understand the safety instructions for the tools and materials you use.
At a minimum, wear safety glasses, a dust mask and hearing protection. Have fun and be safe!
For your convenience, I’ve included Amazon links in the tutorial below, so you can check out the tools and materials I’ve used. Read the Amazon reviews before you decide to buy something. If you do purchase something through a link, I get a small commission. And that helps keep this website and free tutorials going. Thanks for you patronage!
Step 1 — Gather materials.
The design of this lantern is very similar to a wooden lantern I made a few months ago. I used the same type of boards, but this one has some variations — specifically adding a mason jar and LED light puck.
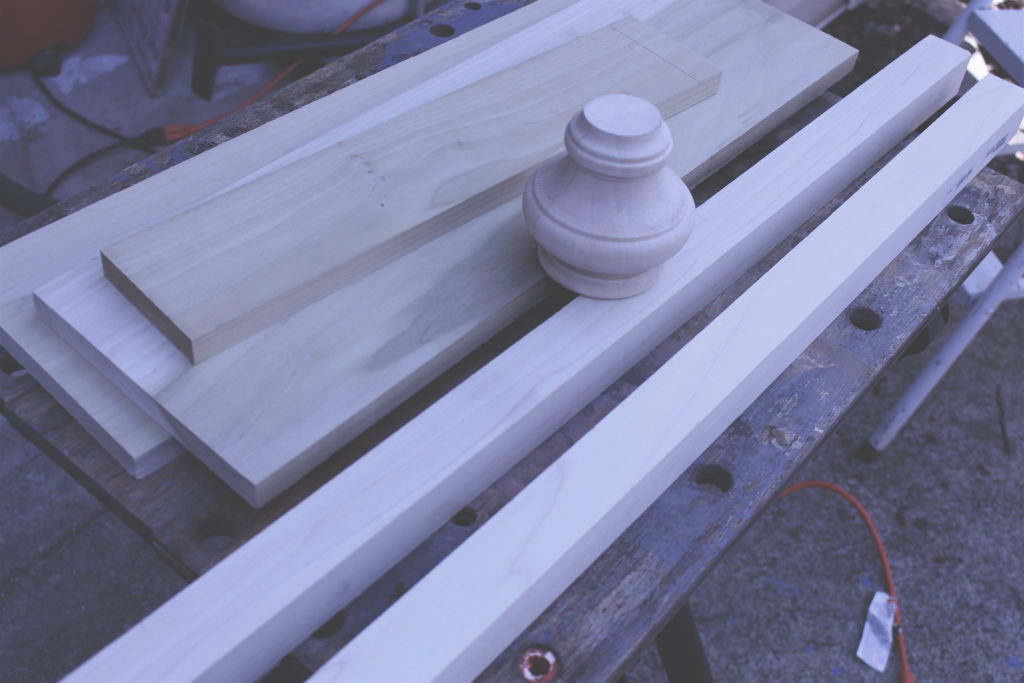
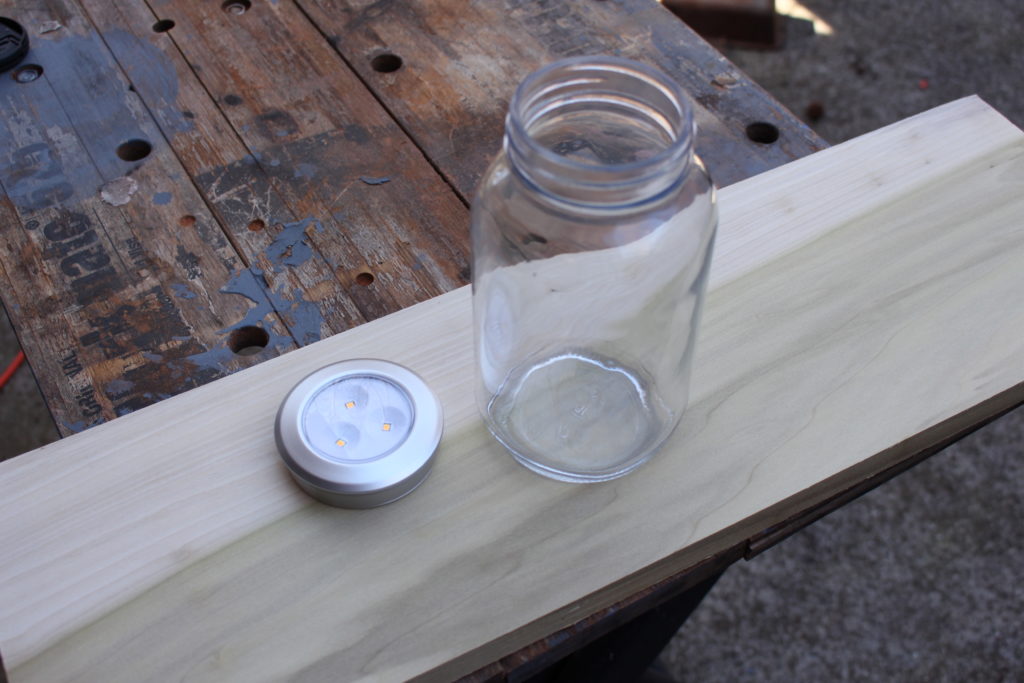
All you need for this project are some poplar boards, a mason jar, and a cheap LED puck light. You can get the poplar boards from Lowe’s or Home Depot. To minimize cutting I used pre-cut, dimensional boards. You’ll need two 1 in. by 8 in. by 24 inches boards (actual dimensions .75 in. by 7.25 in. by 24 inches). And, you will need one 2 inch by 2 inch by 36 inches board (actual dimensions 1.5 in. by 1.5 in. by 36 inches) I know I show an extra 1.5 by 1.5 by 36 in the above picture, but you just need one.
While you’re on the same aisle, grab a wooden furniture leg with a built-in threaded stud. There are different styles to choose from. Pick the one you like the most. This will be the very top, decorative part of the lantern.
The LED lights can be purchased through Amazon or your local home improvement store. They typically come in a pack of three. Make sure you get the battery-powered kind. I’ve designed the lamp so that you can get to the light later if the batteries drain down.
I found the mason jar at Hobby Lobby. It’s approximately 7 inches long and 3.75 inches in diameter and 32 ounces. Just make sure you get the type where the bottom of the jar bulges outward or it’s flat. If the bottom bulges inward, the LED light will not turn on or off. You’ll see what I mean as you get into it.
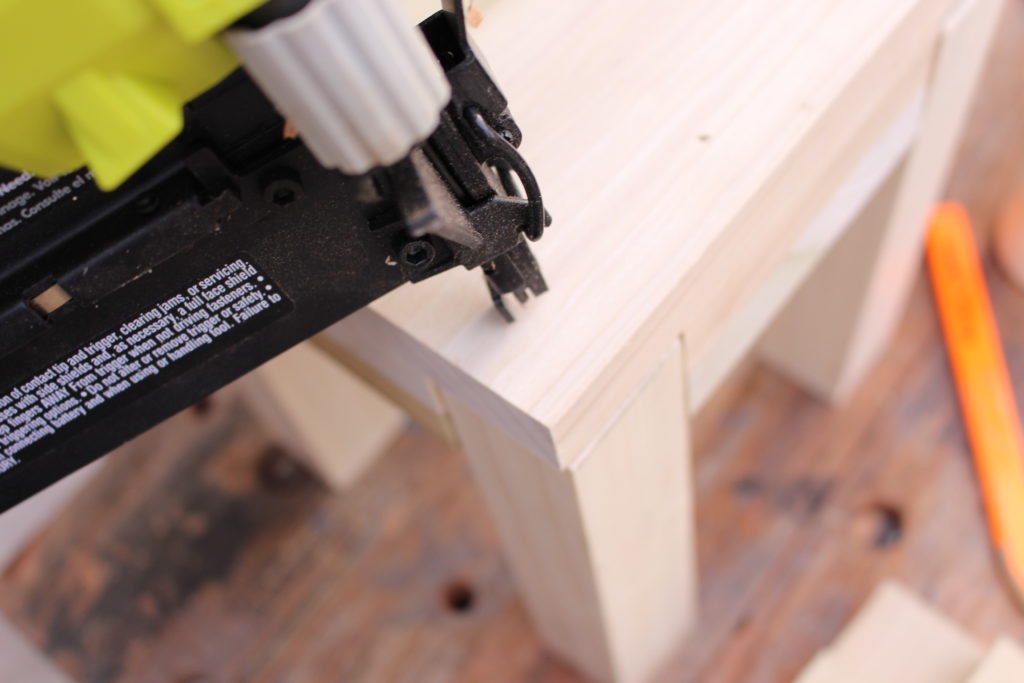
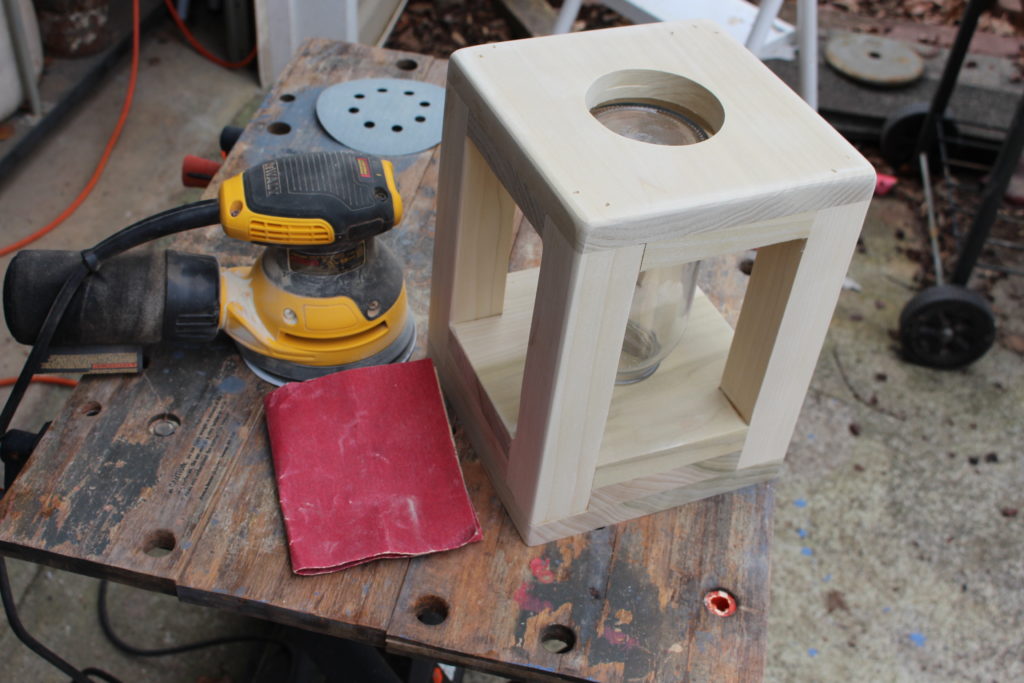
I used my electric nail gun (click to see on Amazon) and wood glue to fasten the boards together. And I sanded with my orbital sander (click to review on Amazon)
.
Finished the lantern with dark Danish Oil. Or you could finish with paint or something of your choosing.
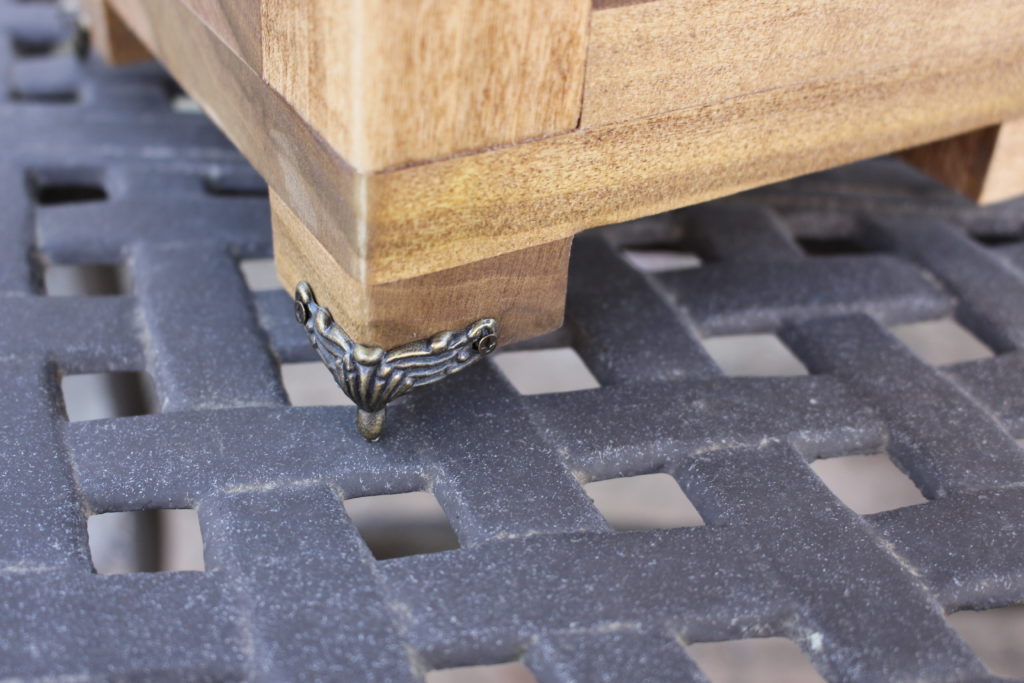
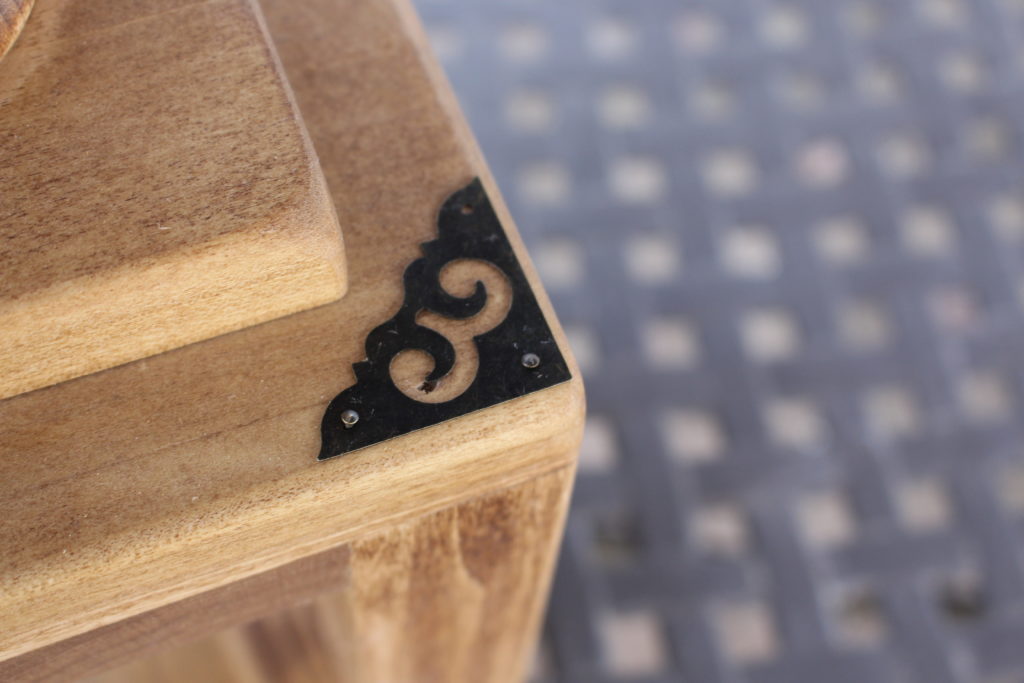
If you want to add some metal accents, you can find a variety at Hobby Lobby. But you can decorate the lantern however you want.
Step 2 — Measure and cut the boards.
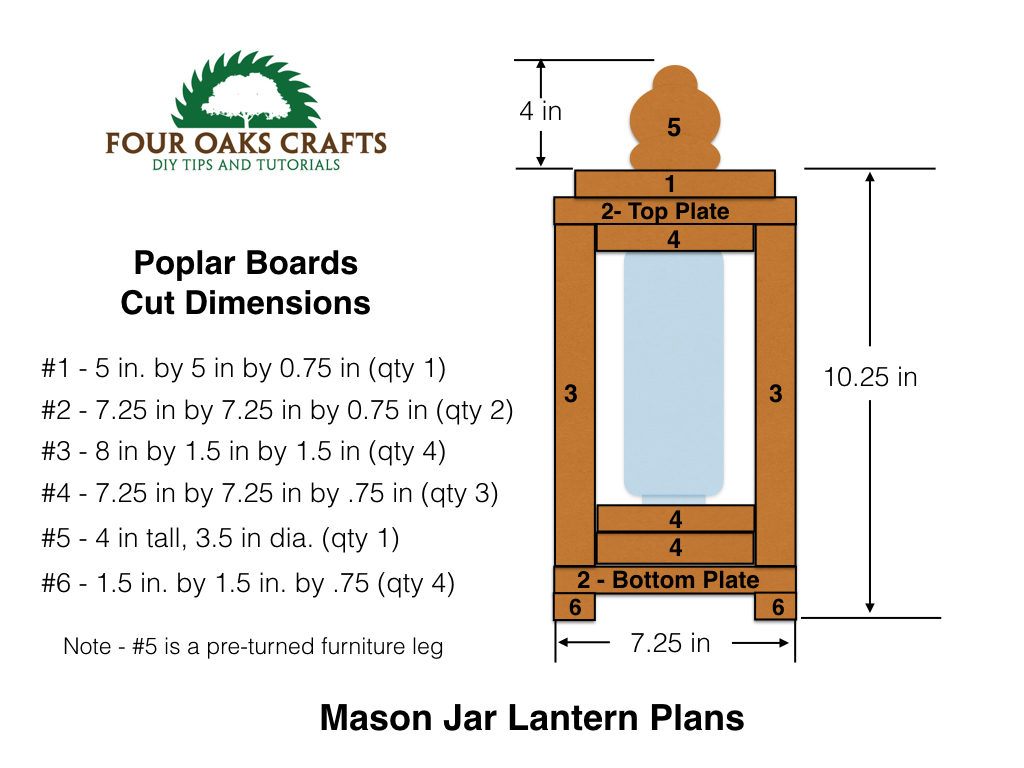
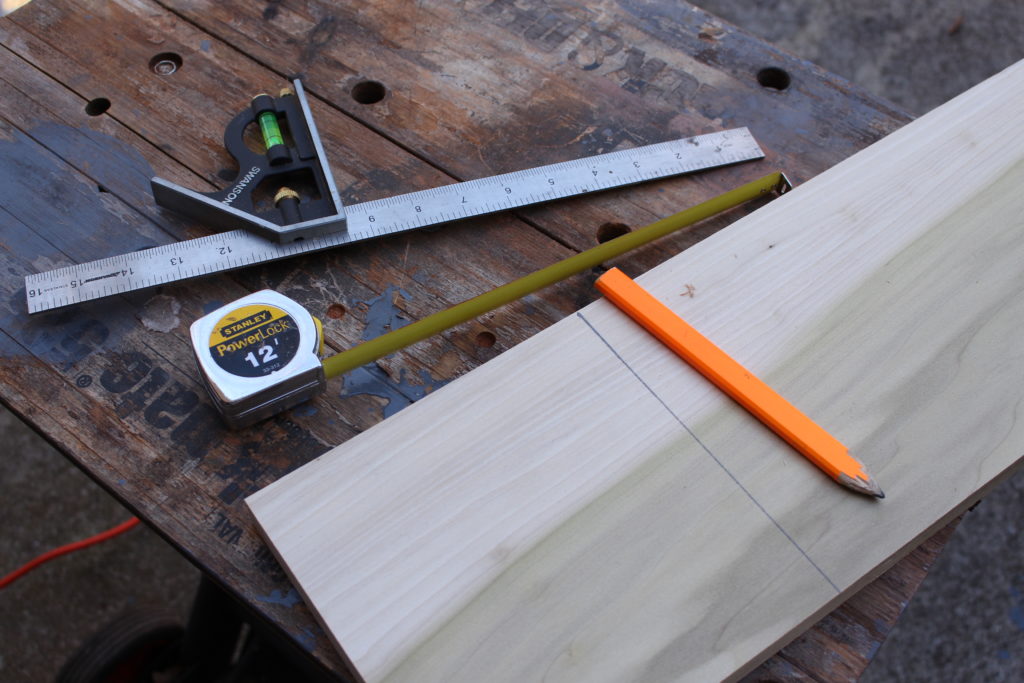
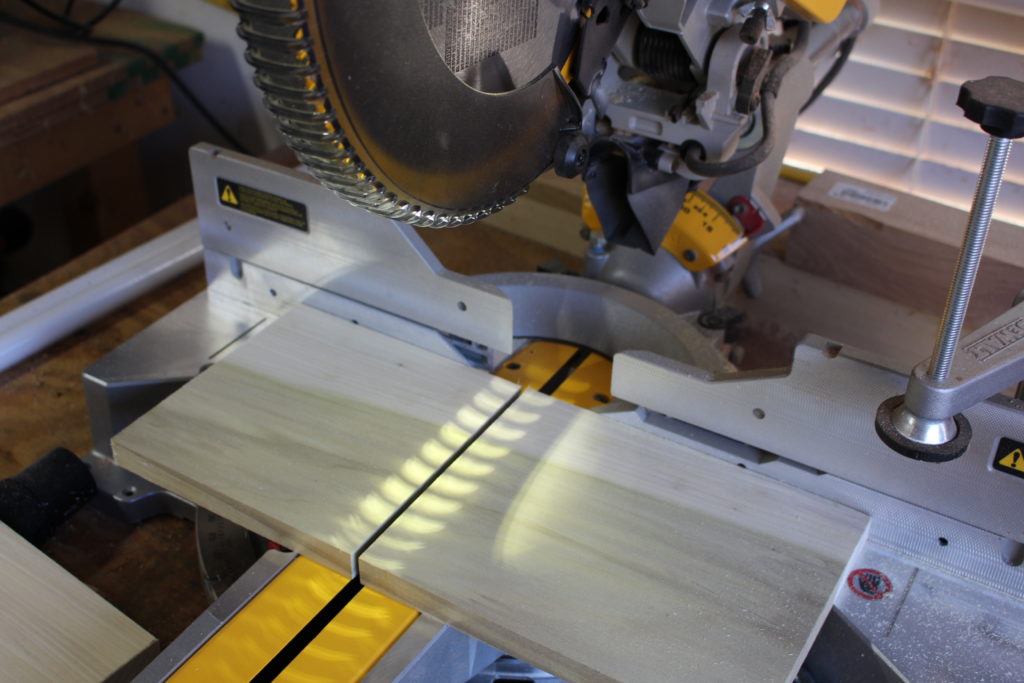
Check out the first picture above that shows the board cut dimensions. I used my chop saw to make the cuts. If you have them, you could also use a table saw, bandsaw, or jigsaw.
Study the layout picture above to understand what boards go where. You’ll have a top plate(#2) and a bottom plate(#2). Sandwiched between these two plates are four 1.5 inch by 1.5 inch beams. Each beam is 8 in. long.
Next, I cut two boards (#4) to fit on top of that bottom plate (#2). I did this to build up the base of the lantern. I used my bandsaw to cut off the corners on these 2 boards(#4) so they would fit nicely on the bottom plate and nest within the 4 beams. These corner cut-outs should be approximately 1.5 inch by 1.5 inch, the same dimensions of the beam. (Incidentally, I used 4 of these corner cut-outs for the legs of the lantern.) So that takes care of the base.
The top of the lantern consists of a pre-turned furniture leg that screws into the center of a 5 in. by 5 in. by .75 in board(#1). This 5 in. by 5 in. board(#1) rests on the top plate(#2) and below the top plate is another 7.25 in. by 7.25 in. board(#4). Again, you’ll need to cut the corners so it will nest in with the 4 beams.
That finishes the cuts. Don’t assemble anything yet. If this step isn’t making sense, look at the pictures for Step 4, and it should clarify how to cut the boards.
Step 3 — Cut out holes.
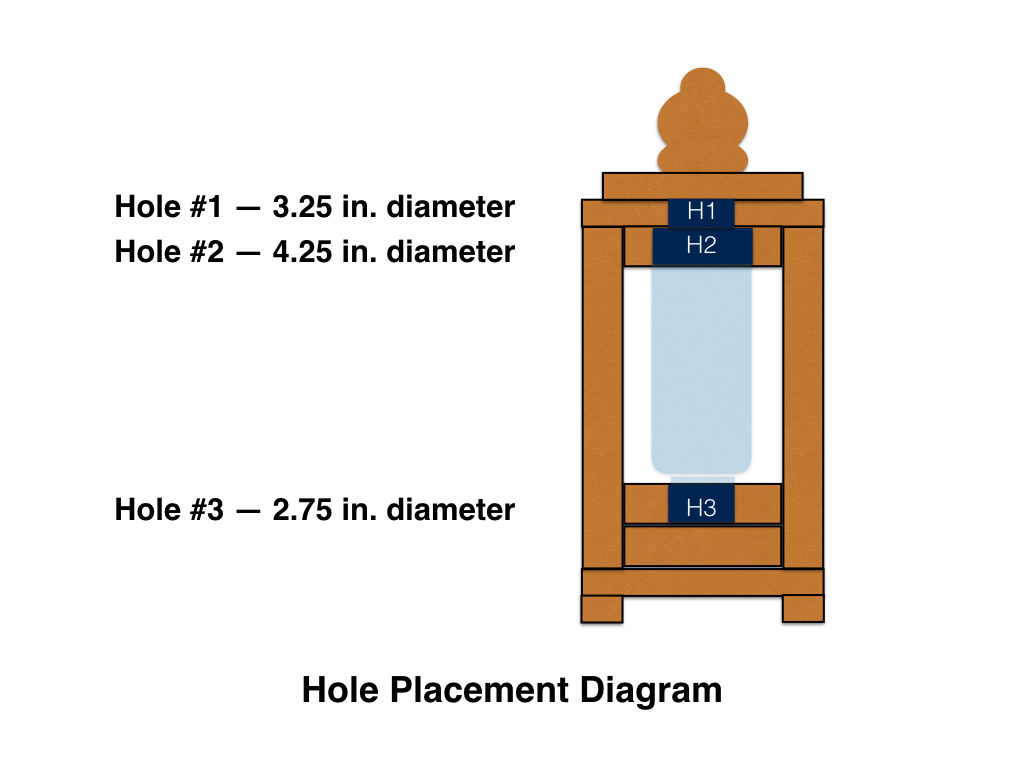
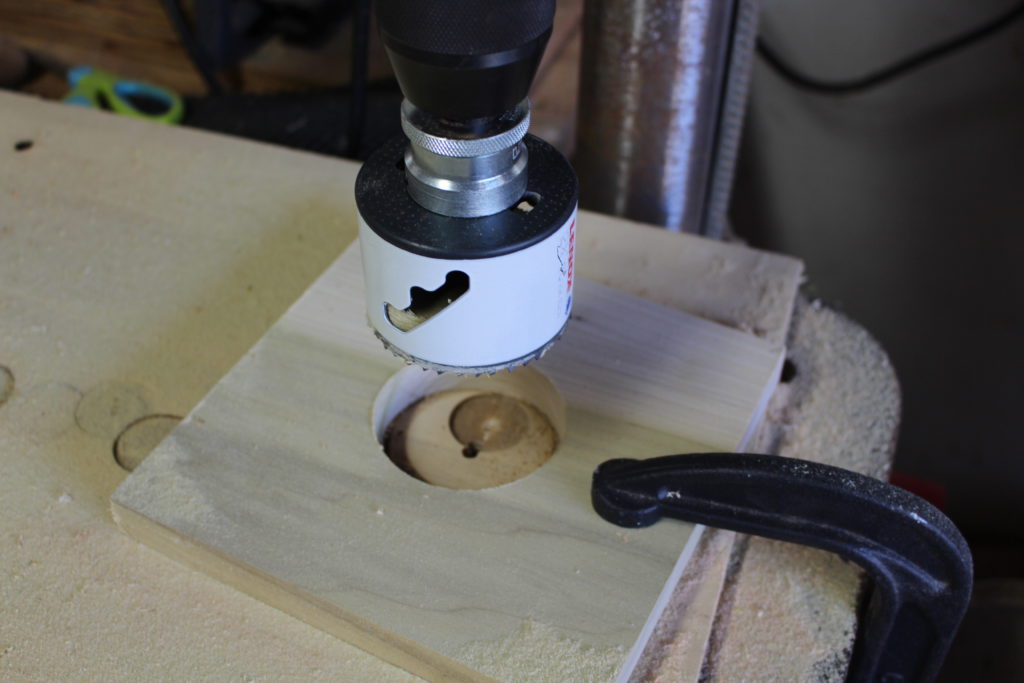
Refer to the hole placement diagram above to understand where I placed the holes and their respective diameters. I used a hole saw and quickly learned that I needed to securely clamp the board down for drilling these holes. If you’re not experienced with hole saws, you can just as easily use a jigsaw. Read and understand the safety instructions that come with your tools and accessories.
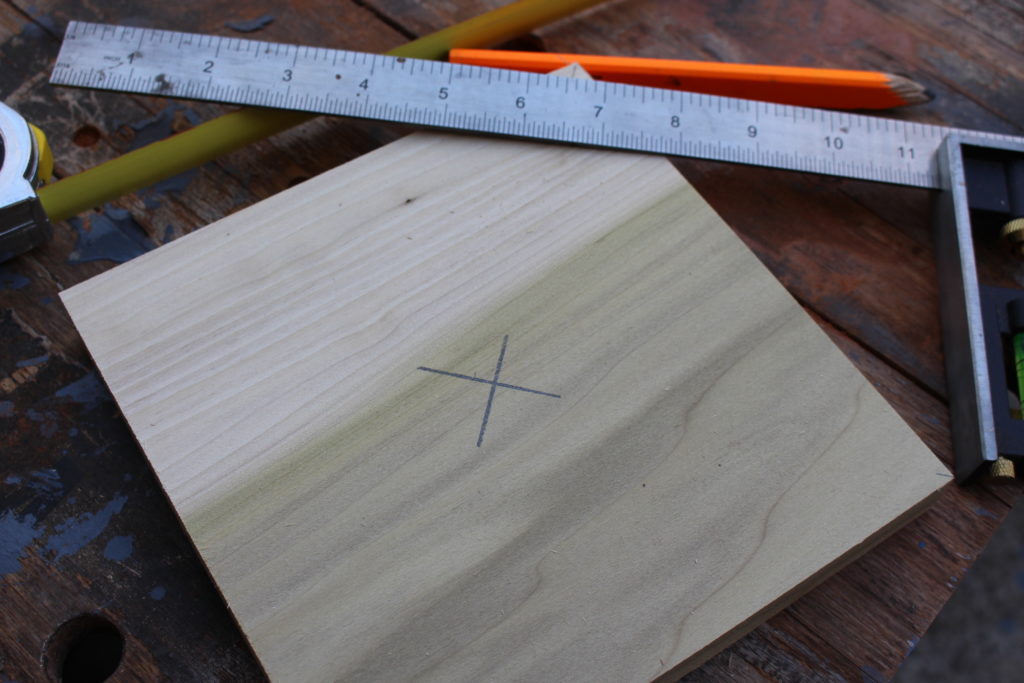
There are 3 boards (as noted in the diagram) that require a hole. Using a straight edge, measure from the diagonals to find the center. Mark the center with your pencil.
Hole #1 is 3.25 inches (or just a hair wider than your LED light puck). It will go in the center of board #2 (Top plate). This is where the LED puck will rest, with lens down, sitting on top of the mason jar’s bottom.
Hole #2 is 4 inches to 4.25 inches(or wide enough to accommodate the jar). It will go in the center of board #4 on the top section of lantern (see diagram).
Hole #3 is 2.75 inches (or wide enough to accommodate the jar neck). It will go in the center of board #4 on the bottom section of lantern (see diagram). This is the hole that the mason jar’s neck will slide into.
If you use a different size mason jar from the one I used, you may have to make adjustments to the hole diameters listed here.
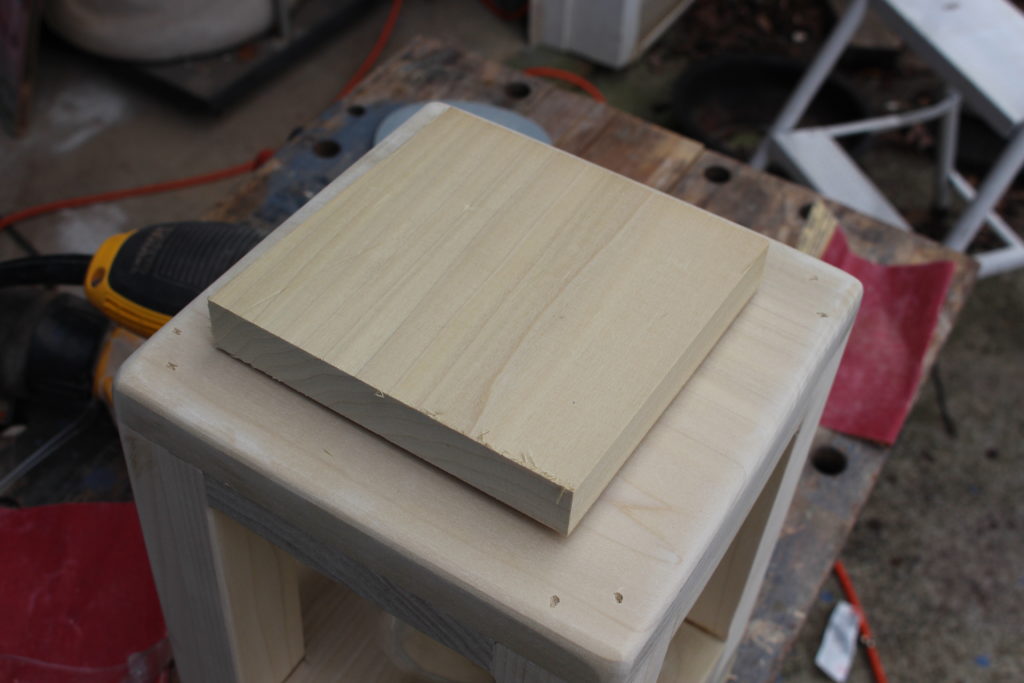
Step 4 — Assemble the lantern.
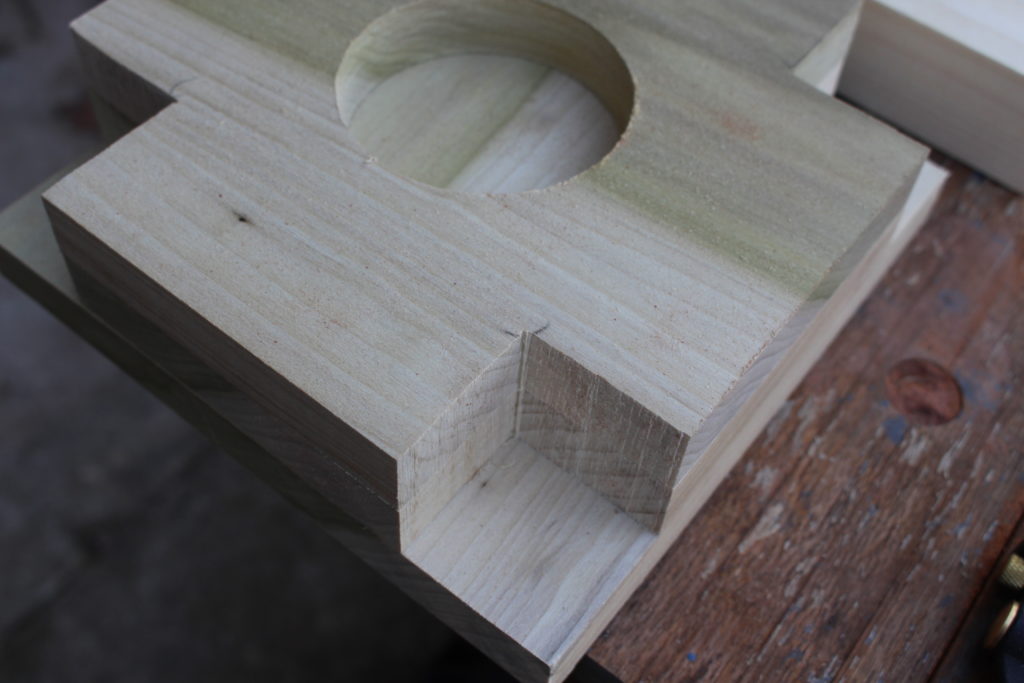
(Bottom Section) First you need to glue and tack two of the cut #4 boards together and attach them to board #2 (bottom plate). Make sure the #4 board with the 2.75 inch diameter hole is on top. See the first photo above that goes with this step.
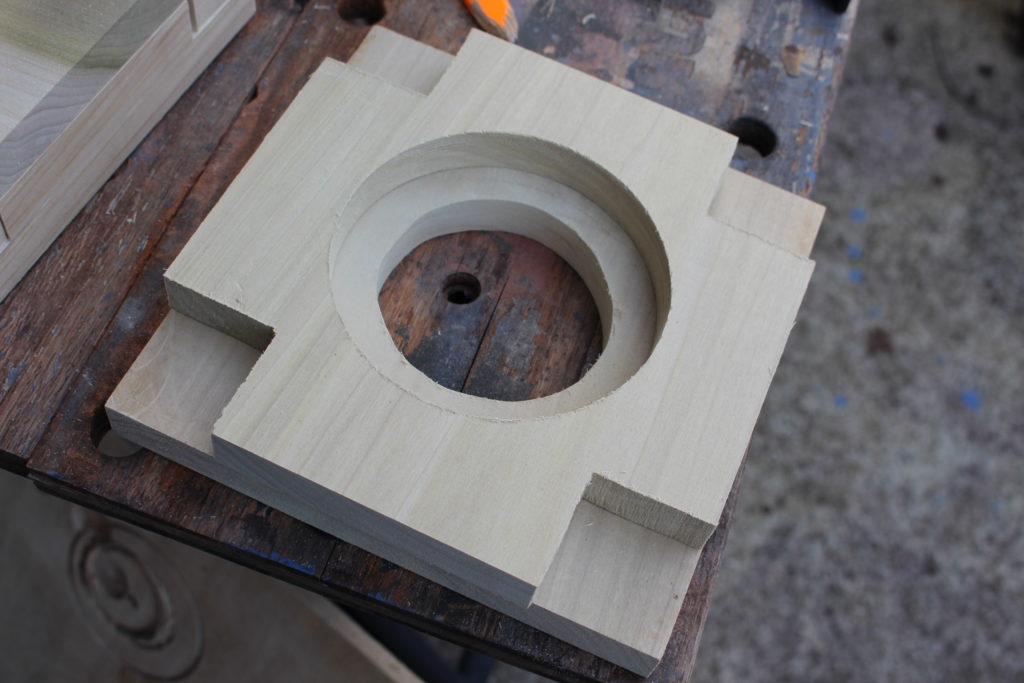
(Top Section) Second, attach the third #4 board to board #2 (top plate). See second photo above.
Now, attach the four 8 inch beams (#3) to the bottom section first.
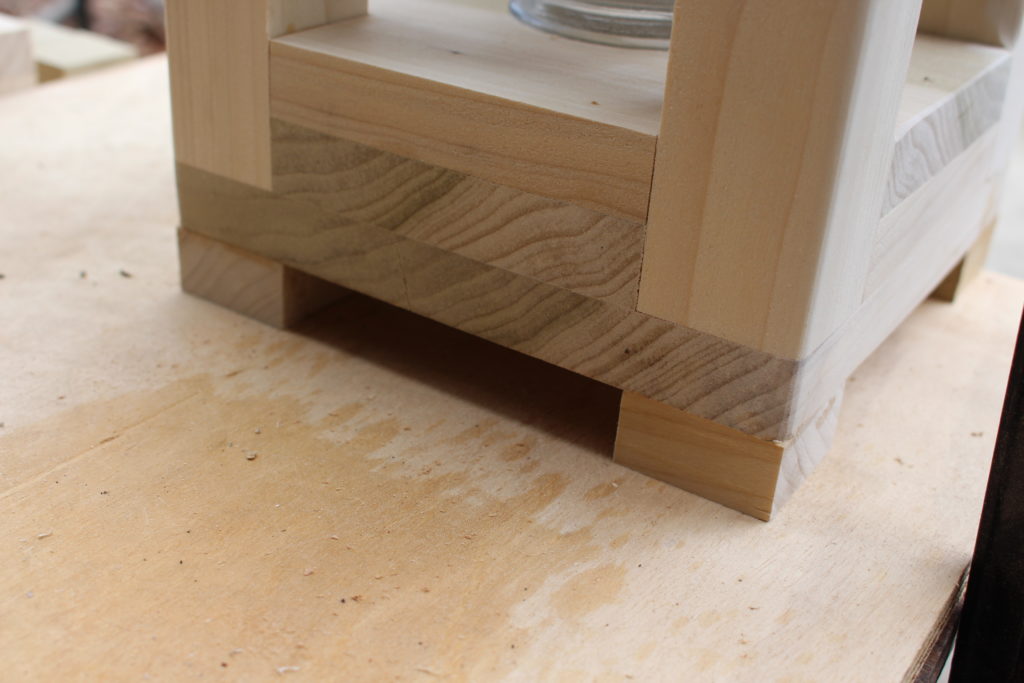
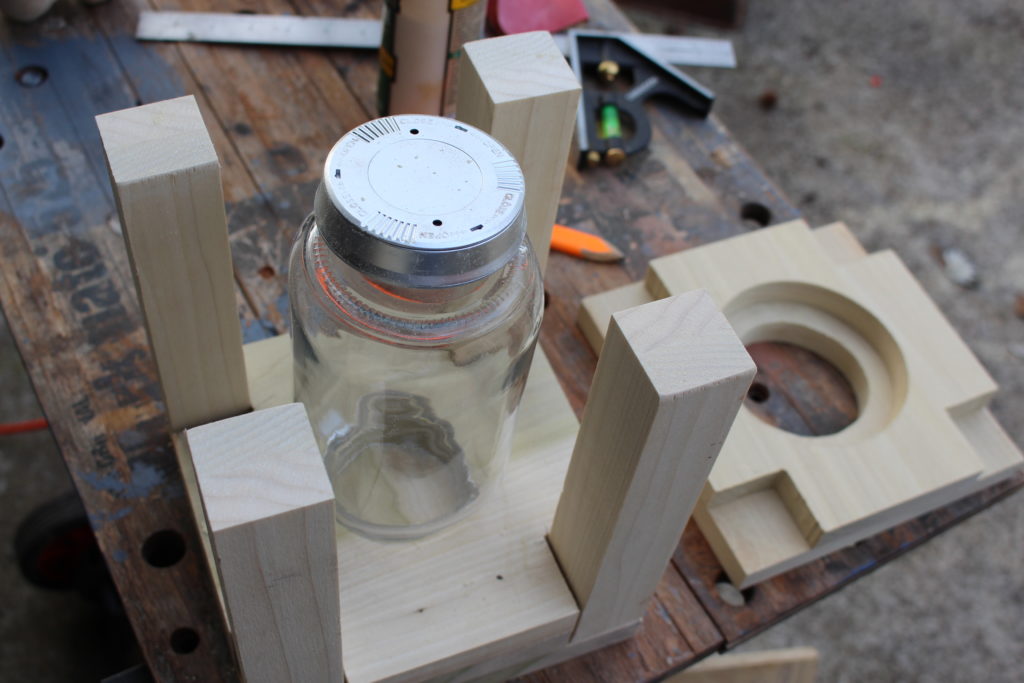
Next, place the mason jar into the lantern. Invert it so that the jar’s neck rests in the bottom 2.75 inch hole. This shouldn’t be a super tight fit. Remember, you want to be able to move the jar up and down to push against the LED puck light. See third photo above.
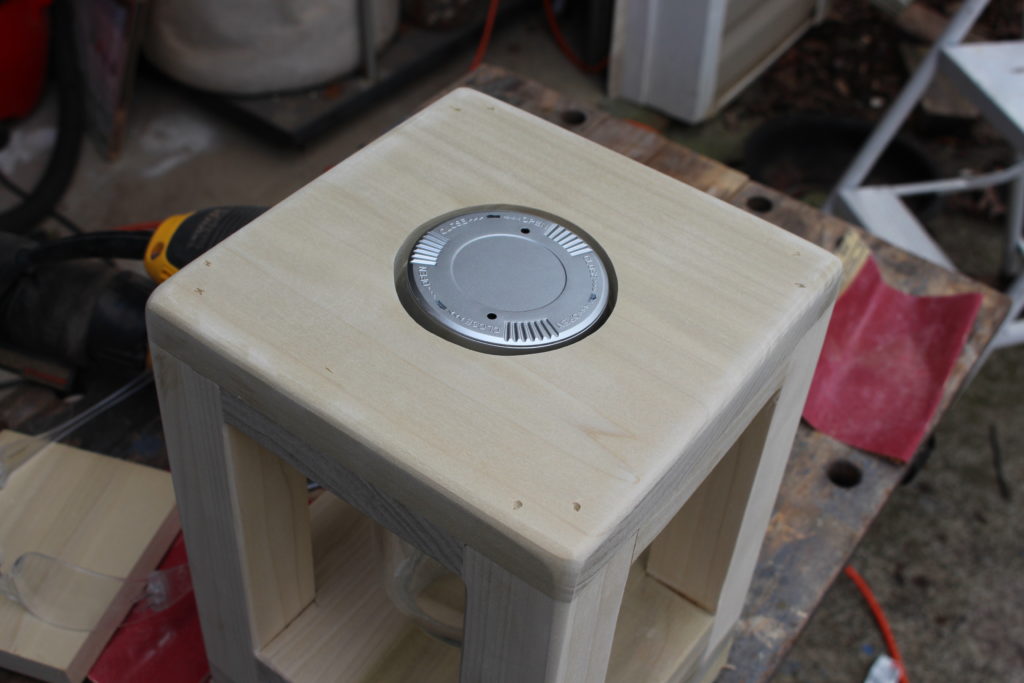
Now, attach the Top Section to the four 8 inch beams. See fourth photo above.
I used wood glue and my nail gun
to tack all these boards together. I also used clamps for additional pressure to make sure the glue got squeezed into the wood fibers. I allowed the glue to dry overnight.
Tack on the four 1.5 inch by 1.5 inch wooden feet (#6). See fifth photo above.
Fit the LED light into the 3.25 inch hole in board #2(top plate). Check for fit and test the lantern out. For now, just hold the 5 inch by 5 inch board over the top of the LED light with one hand. Use the other hand to push the jar up to test the light. When the lantern is done, you’ll be able to simply push the jar up since the LED light will be sandwiched between the jar and board #1. Board #1 will be screwed down and NOT glued. This will allow future access to the LED to change batteries. See sixth and seventh photo above.
The jar will be locked into place between the top and bottom sections of the lantern. Perhaps you can come up with a better design so the jar can be taken out. But I figured there wasn’t much of a reason to change the jar out unless it get’s broken.
Step 5 – Sand the lantern body and remaining boards.
I used my orbital sander on the lantern body. I started with 40 grit, went to 80 grit and finished with 120 grit sandpaper. Make everything smooth and flush. I also rounded the edges of the boards.
For the remaining boards, you can hand sand or use the orbital sander.
I used my air compressor to blow away dust.
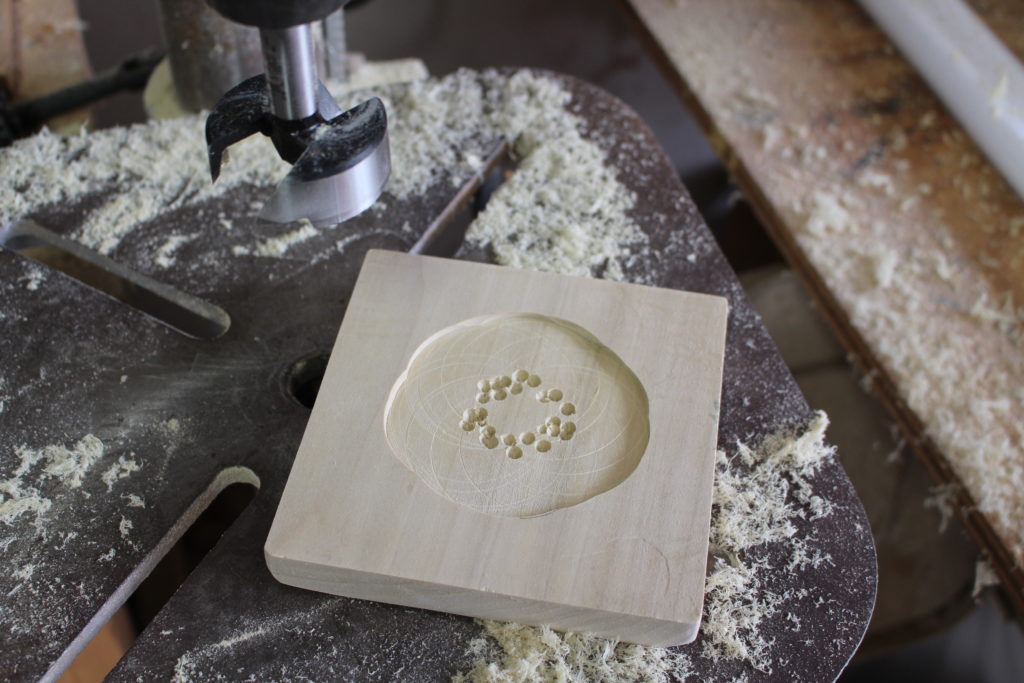
Step 6 – Final Assembly
For final assembly, drill 2 holes in the 5 inch by 5 inch board (#1). Situate these holes about 1 inch from the corners of the #1 board.
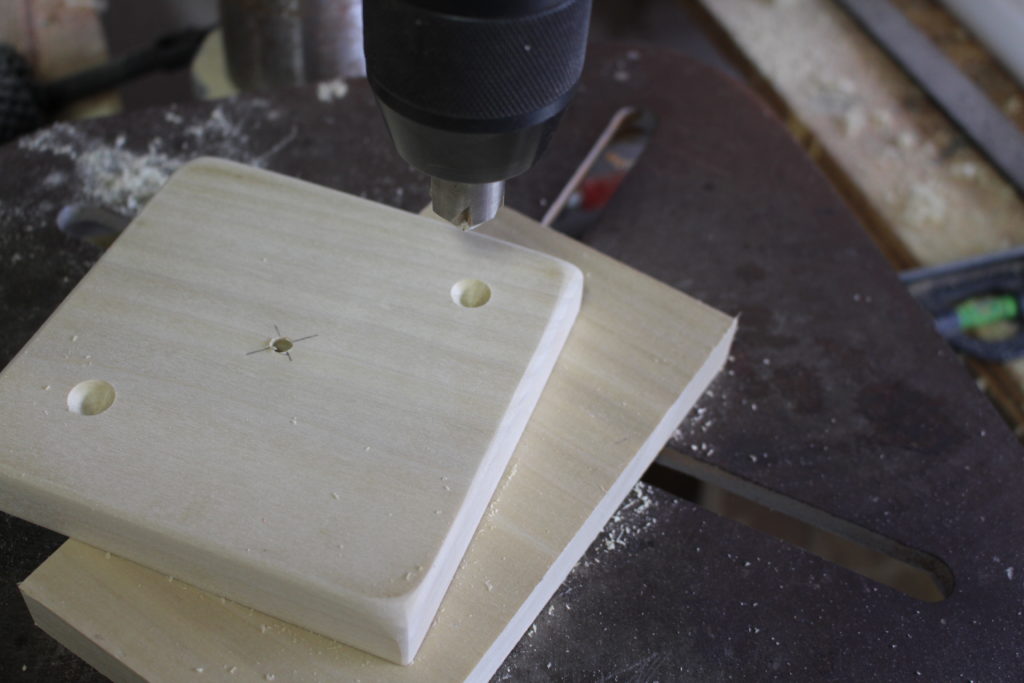
Center the #1 board over the #2 top place and test for fit with the LED light puck. I needed to take out a little bit of wood on the bottom side of board #1 so the LED light would fit correctly. To do this I used a Forstner bit in my drill press. You could also use a router or even hand carve this extra wood out. This step may vary, depending on the dimensions of the LED light puck.
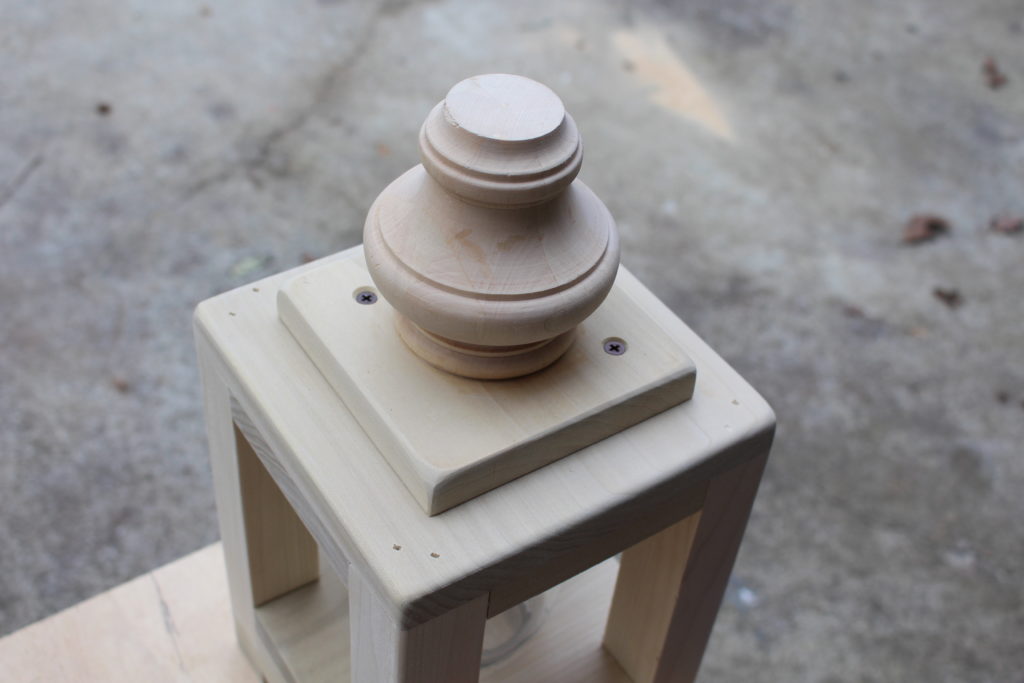
Now, mark the center of the 5 inch by 5 inch board (#1). Measure the diameter of the threaded stud on the furniture leg and drill a slightly smaller hole in the center of the board. Apply wood glue and gently screw the furniture leg into center of board (#1).
I used black wood screws (.75 inch) and attached the #1 board over the center of the #2 (top plate). DO NOT glue these boards. This way you can access the LED light in the future to change batteries.
Step 7 – Apply finish
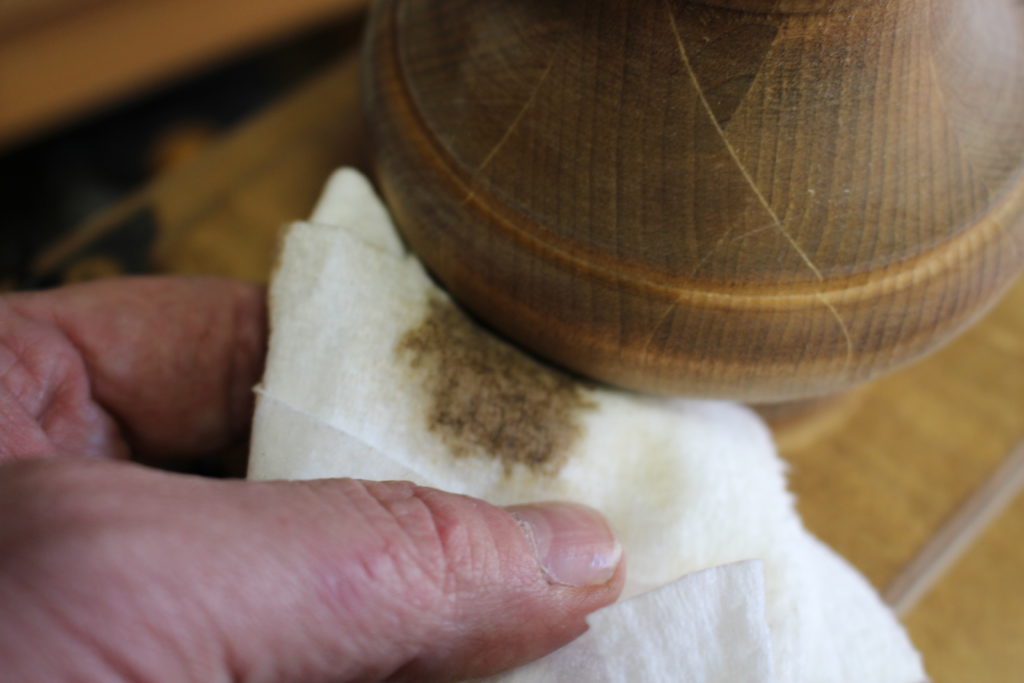
I used a dark Danish Oil and applied with a brush and paper towel. If some gets on the jar, you can easily wipe it off. I allowed the Danish oil to dry based on the instructions on the can.
You might want to use paint or stain. It doesn’t really matter. Just consider how you will use the lantern and where you’ll store it. My plans are to store it inside away from the elements. But I will carry it to the fire pit or patio. You might choose to put it on your porch or keep it inside. I seriously doubt that the LED puck is water proof, so it’s probably wise to keep out of the rain.
Step 8 — Attach handle
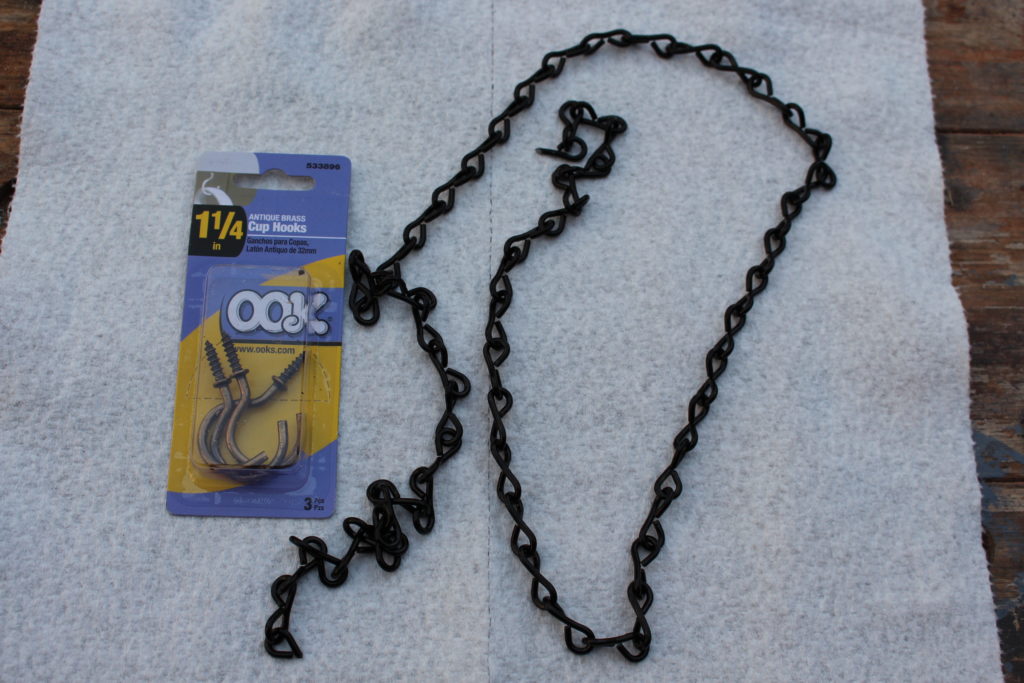
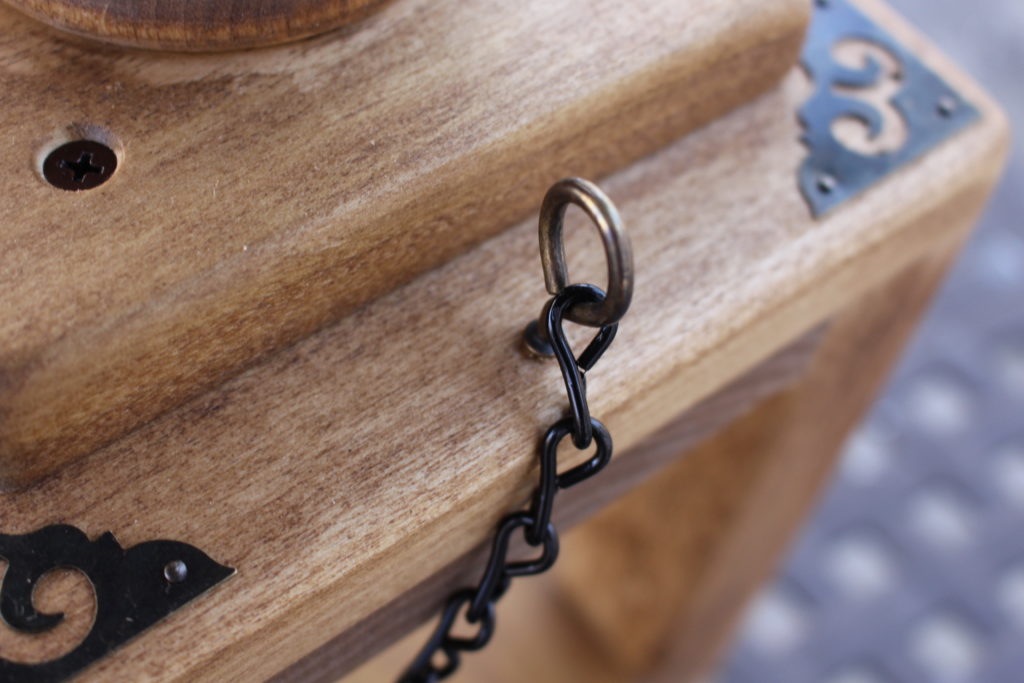
I used a piece of black chain for the handle (approximately 18 inches long). I got this chain from Home Depot. Screw two eye screw attachments into the body of the lantern. Then attach the ends of the chain to these eye screws. Alternative handle materials might be hemp rope or some stiff, heavy gauge wire.
Step 9 — Decorate the mason jar lantern
This is where you can really personalize this lantern and make it your own. I added some metal accents to my lantern and some deer head stickers to the jar. There are several options here for how you might want to decorate your lantern. You can get these items from you local craft supply stores like Hobby Lobby or Michaels.
Finished Mason Jar Lantern. Pin this!
I hope you have enjoyed this tutorial on how to make a mason jar lantern. Please leave a comment if something is unclear or if you have a question. Pease check out my Project Plans and Ebooks Page to get more woodworking plans. Thanks for stopping by!
Happy woodworking!!

Are you starting up a new shop? Want to work safer in your shop? To help you answer these questions I've put together a 2-part checklist -- Home Shop Safety & Tool Checklist.
I will also send you updates of my latest woodworking and DIY projects. You can get all this by subscribing to my free email newsletter.


1 thought on “Make a Mason Jar Lantern”
Comments are closed.