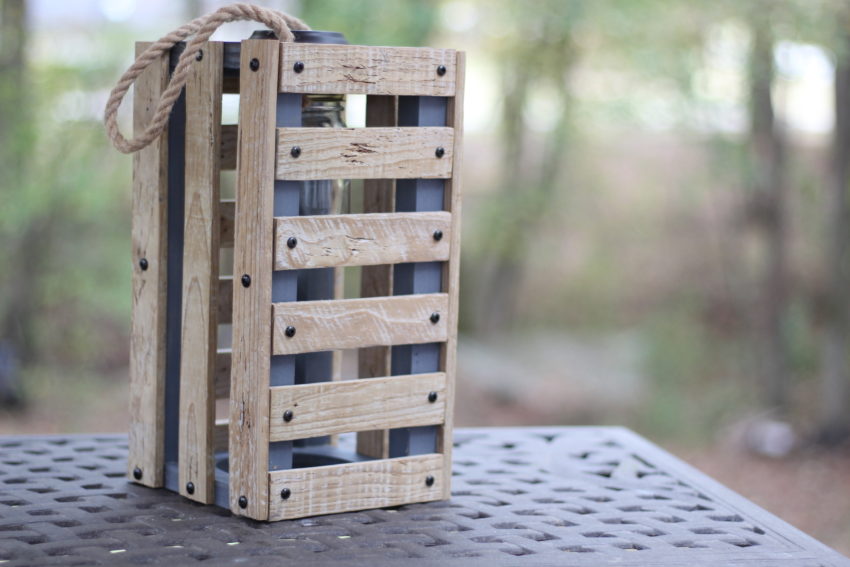
Hello friends! Do you want to learn how to make a solar lantern? Look no further. This tutorial will show you how.
In the beginning, God said let there be light. And the sun has been our constant companion and life sustainer ever since. You can easily harness sunlight to create electricity. To do that, we use something called a solar cell. For this project, we’ll be using an ordinary solar light you would normally use to light up your walkway. It’s very simple: during the daytime, sunlight hits the photocell and creates electricity that charges a battery. At night, the battery powers the LED light in the yard light.
And I’ll be using a small mason jar to give it some extra flair. This part is optional, but I think it makes the lantern look more like a lantern.
You can also check out my show & tell video (below) that briefly describes the solar lantern and how it works. In this post, you can also follow along and see a step-by-step tutorial (with photos) on how I built the lantern. And there is a link below on how to get PDF plans for the lantern.
Make sure you follow all the safety instructions that come with your tools and wear all your personal protective equipment. Be safe and have fun!!

Get the Plans
Photo 1A shows the overall dimensions of the lantern. You can get the full plans here.
Step 1 — Choose Your Wood
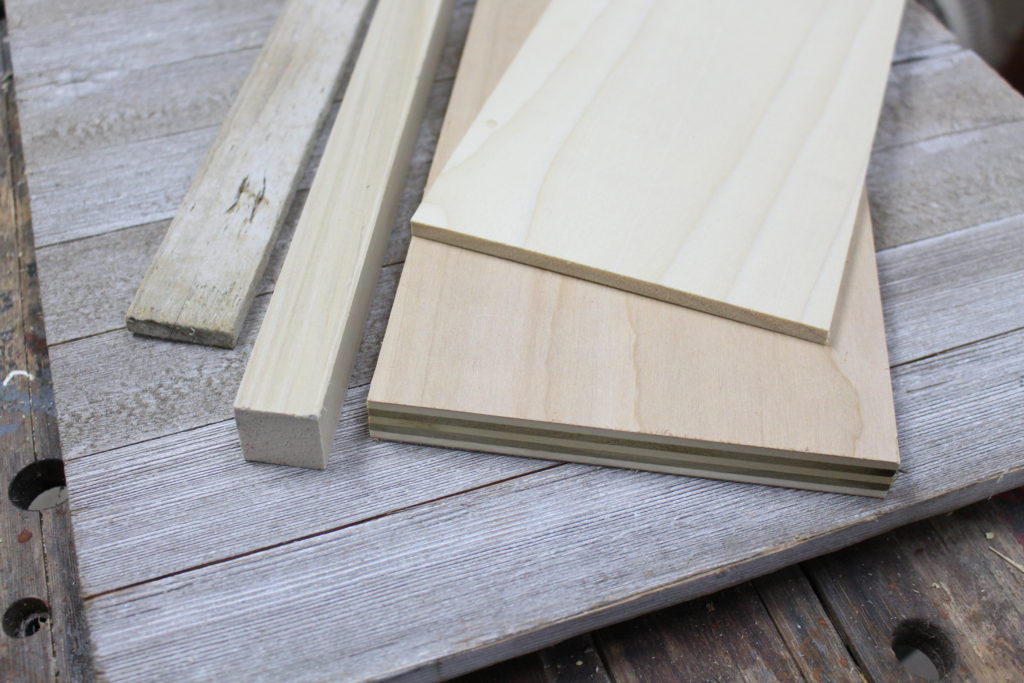
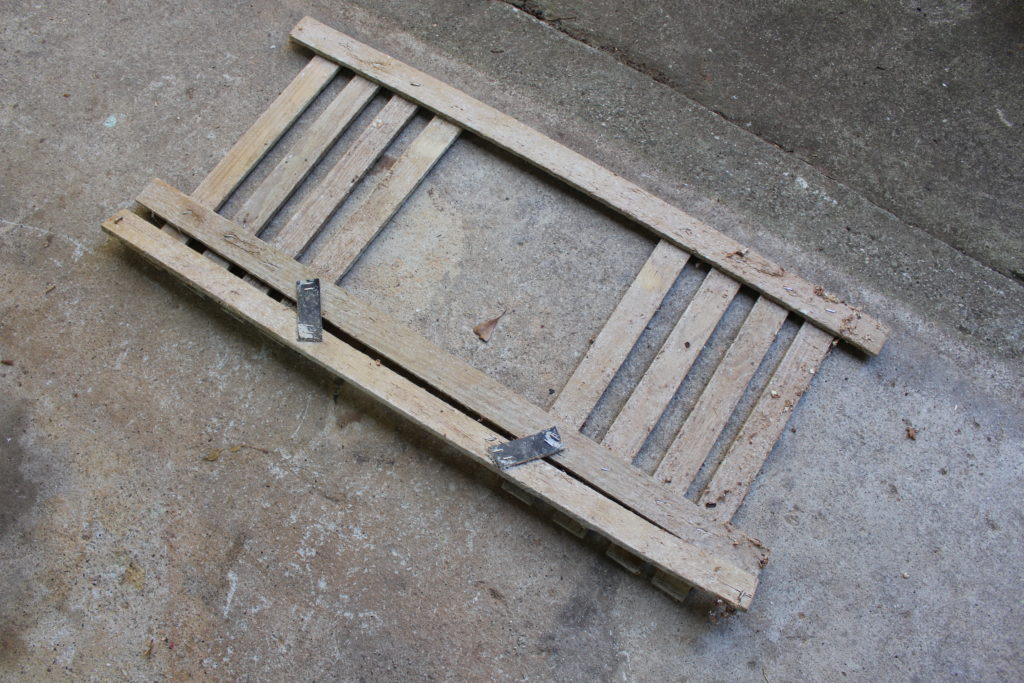
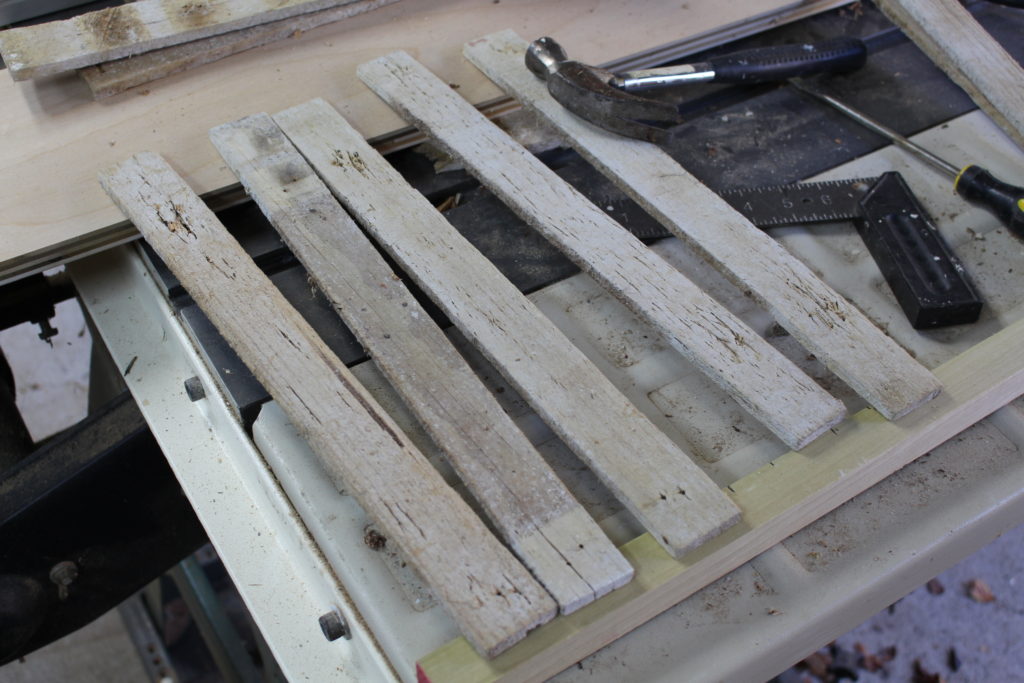
I used scrap wood I already had in the shop. And on an interesting note, I had an old crab-trap door I bought on vacation in the Florida Keys (photo 2). These worked perfectly for the finishing slats. It took a few minutes to disassemble it and then lightly sand the individual pieces (photo 3).
I know, I know — chances are you don’t have an old crab-trap door laying around, but you could cut some slats from scrap wood lying around. Here are some other ideas: wooden paint stirrers, old wooden rulers, wooden shims, thin pallet boards, etc.
The slats I used were approximately 1.5 inches wide and about 1/4 inch thick. However, you don’t have to follow my dimensions exactly.
For the main body of the lantern, I used 1 inch by 1 inch poplar boards for the uprights (photo 1) and some scrap plywood (3/4 inch thick) for the bottom and top (photo 1). I believe I got these at my local home improvement store.
Step 2 — Acquire a Solar Light
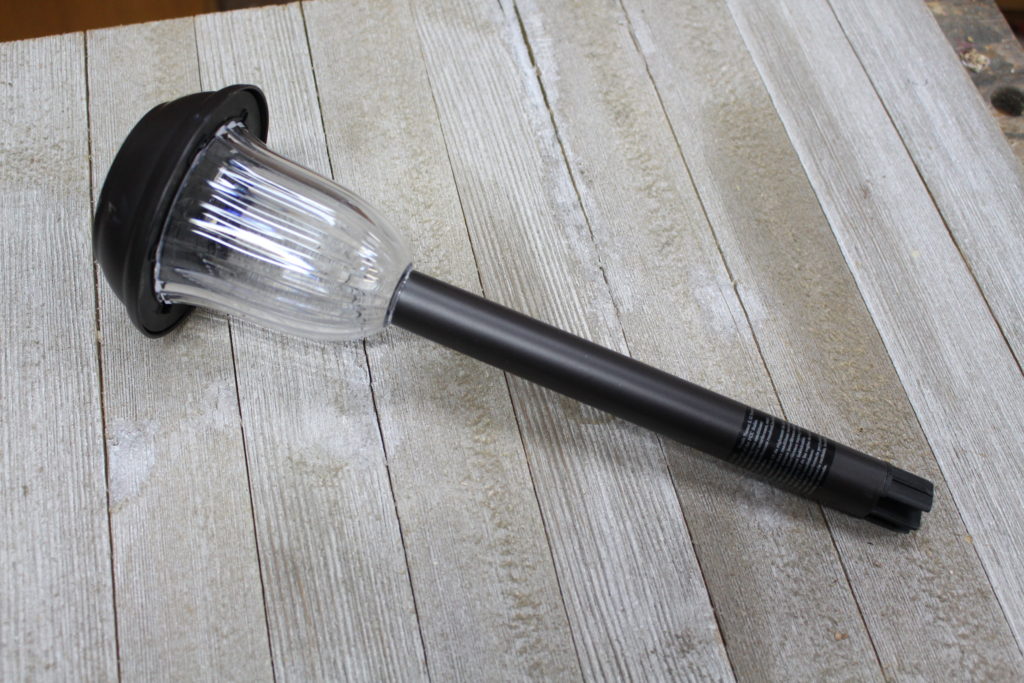
You can easily find a solar light in your local home improvement store. I got mine from Lowes and it was around $5. You can buy some cheap ones from the Dollar Store, but I’d recommend spending a few more bucks to get a better one. Mine is pictured above in photo 4.
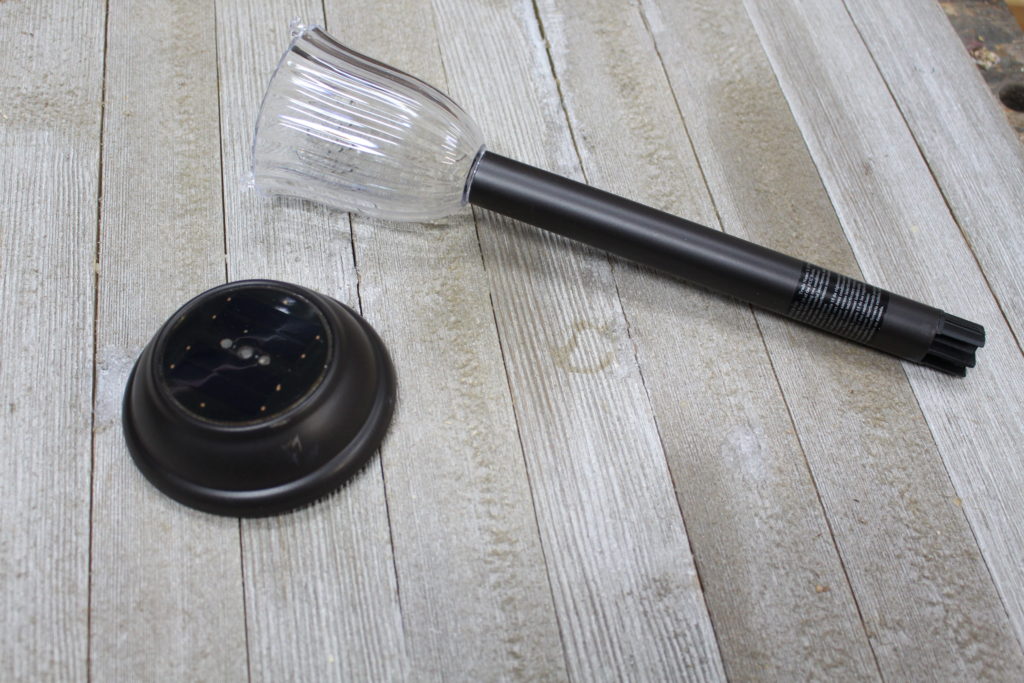
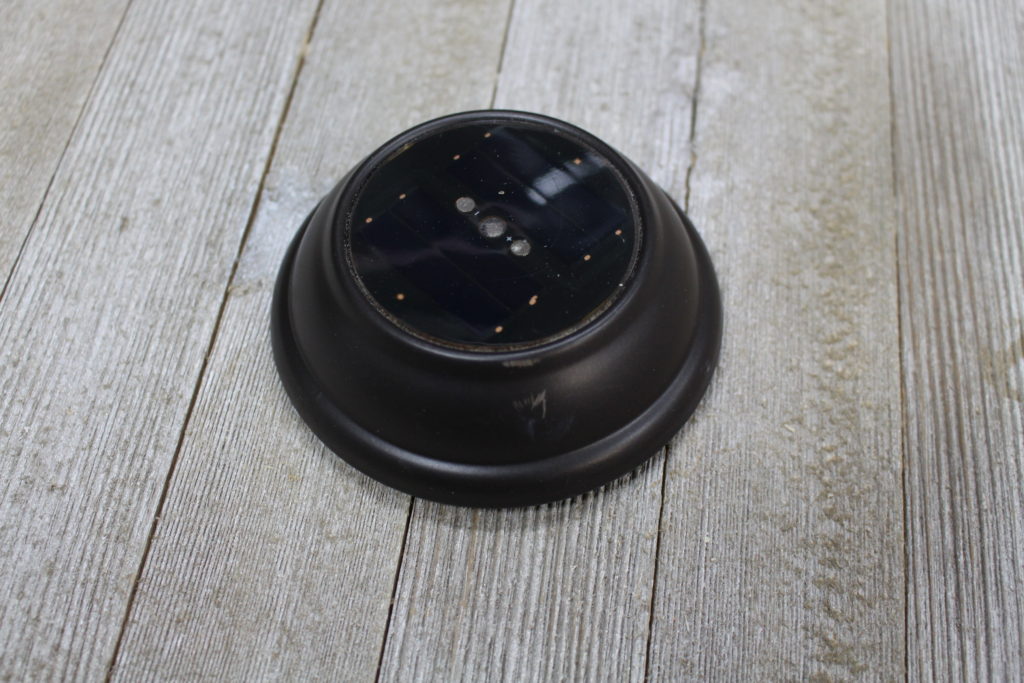
Of course, these are meant for lighting up walk ways around your house, but we’re simply disassembling our light and using the top portion. To take off the top section (with the LED light), you simply twist it to detach it from the bottom section (photo 5).
Notice the photo cell on the top of the light (photo 6). This whole light assembly is about 4 inches wide. The brand of light I’m using is Portfolio.
When picking out a light, go by their lumens rating. The more lumens, the brighter the light, but you’ll pay a little more. The light I’m using for this project is around 5 lumens. I have several of these along my sidewalk and those are 10 to 15 lumens.
Step 3 — Cut the Boards and the Holes.
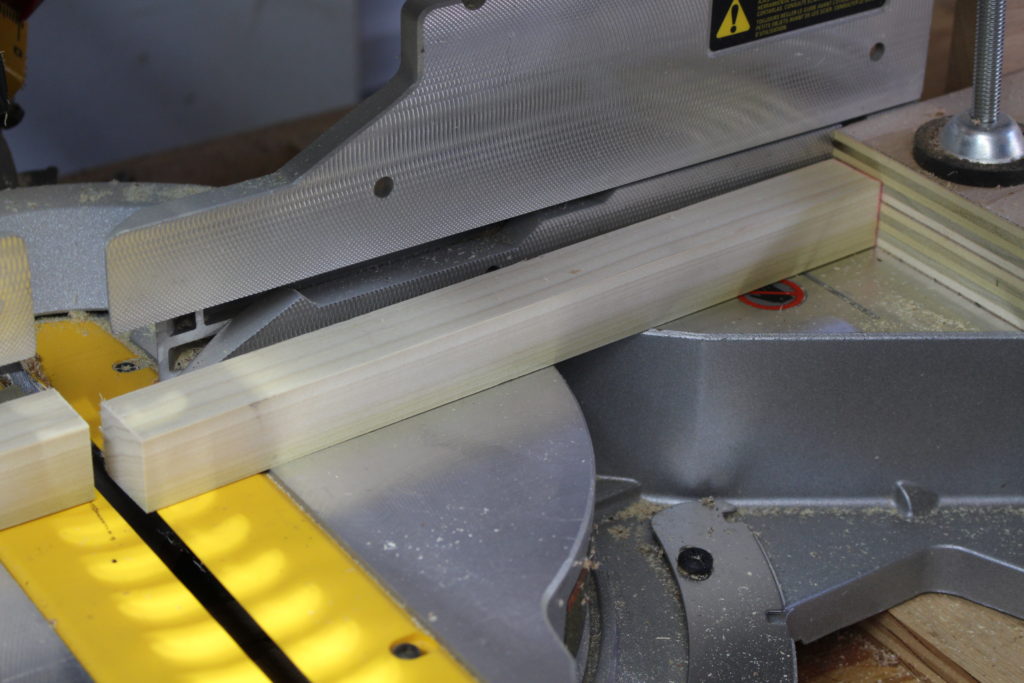
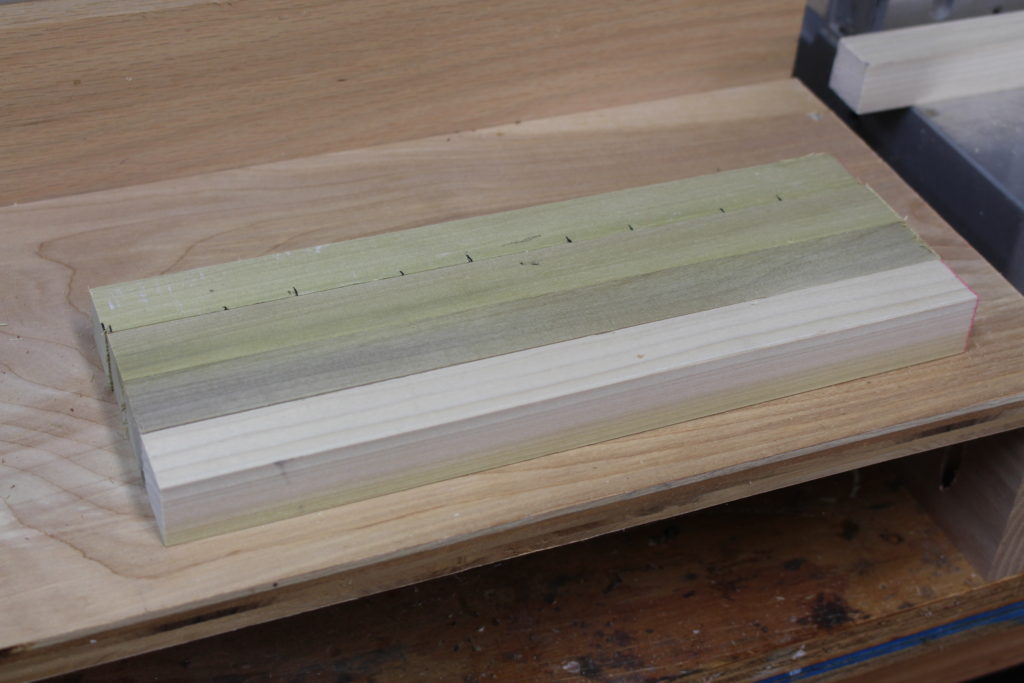
In photo 7, I’m cutting the poplar uprights. I used a stop board to make sure all four pieces were cut to the same length — 12.5 inches (photo 8). This is easy to do on the miter saw, but you can cut these with any available saw.
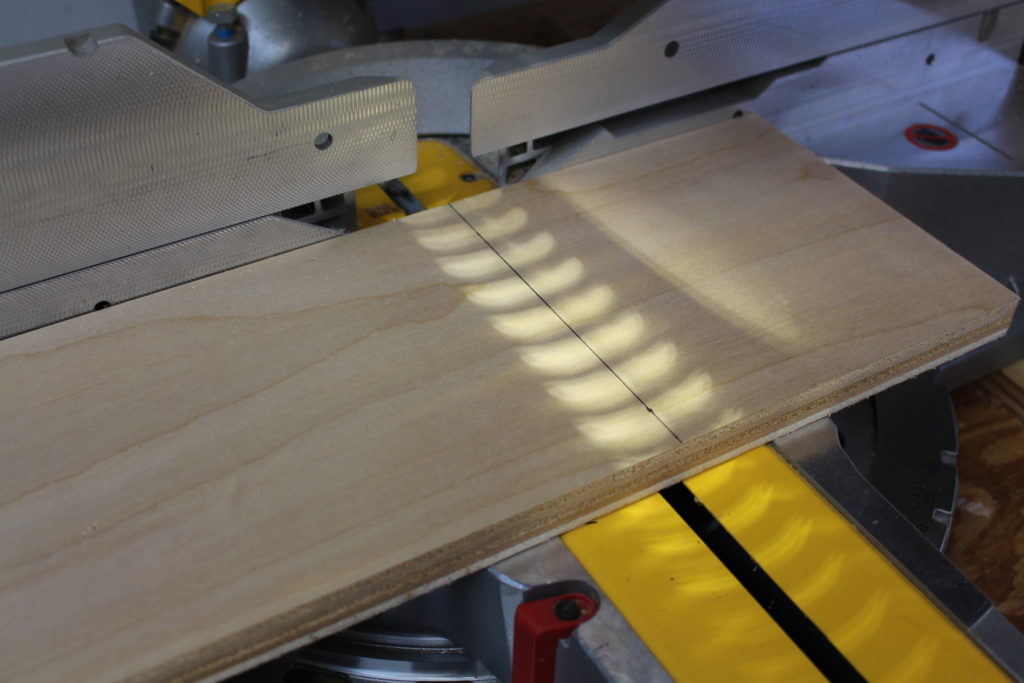
Next, I cut out the 2 plywood pieces for the top and bottom (Photo 9). These two pieces measure 6 inches by 6 inches.
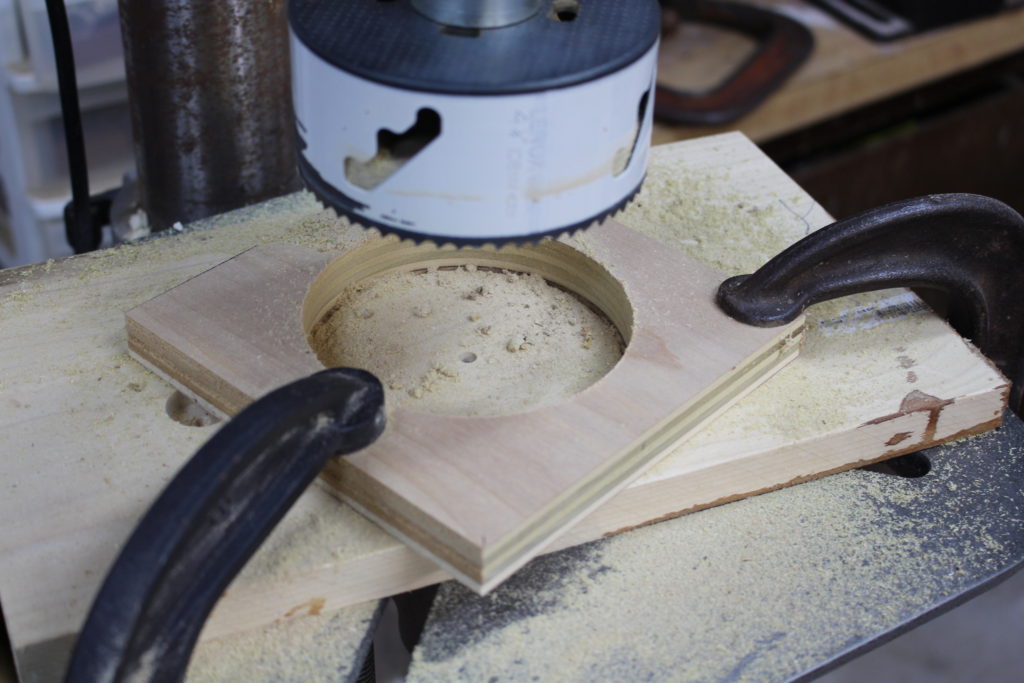
And finally, I used a 4 inch hole saw to cut a 4 inch hole in the top and bottom piece (photo 10). When using the hole saw, make sure you clamp down the workpiece. These hole saws can easily bind in the wood.
The 4 inch hole is just the right size for the the solar light. The bottom 4 inch hole is simply there so the solar light can project some of its light through to light up the ground. I plan to carry this lantern around and not use just for decoration.
Step 4 — Assemble the Frame of the Lantern
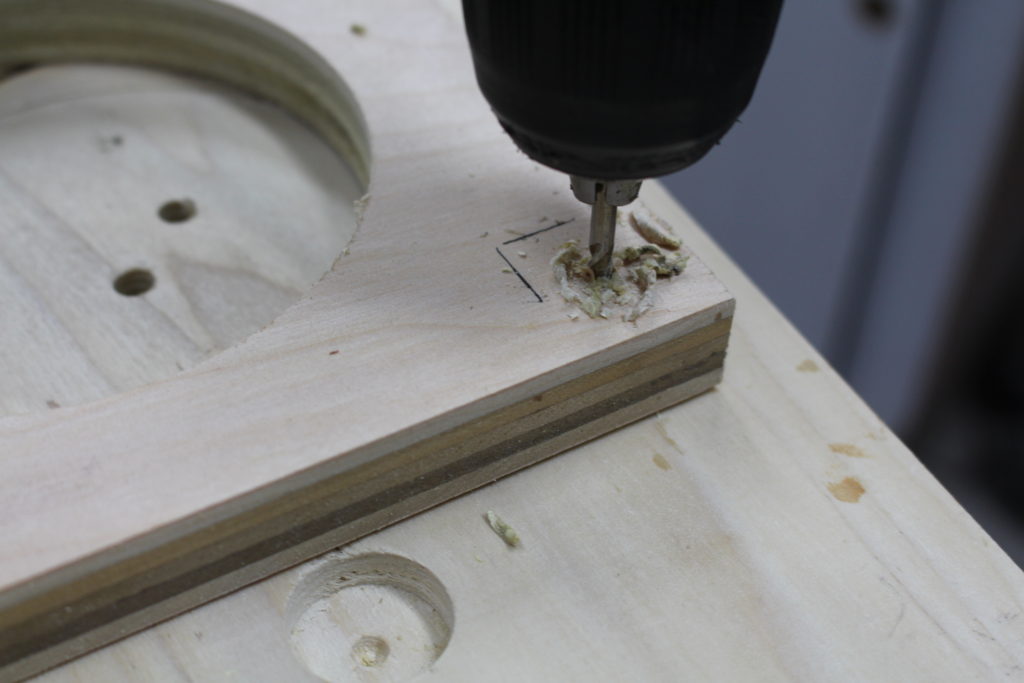
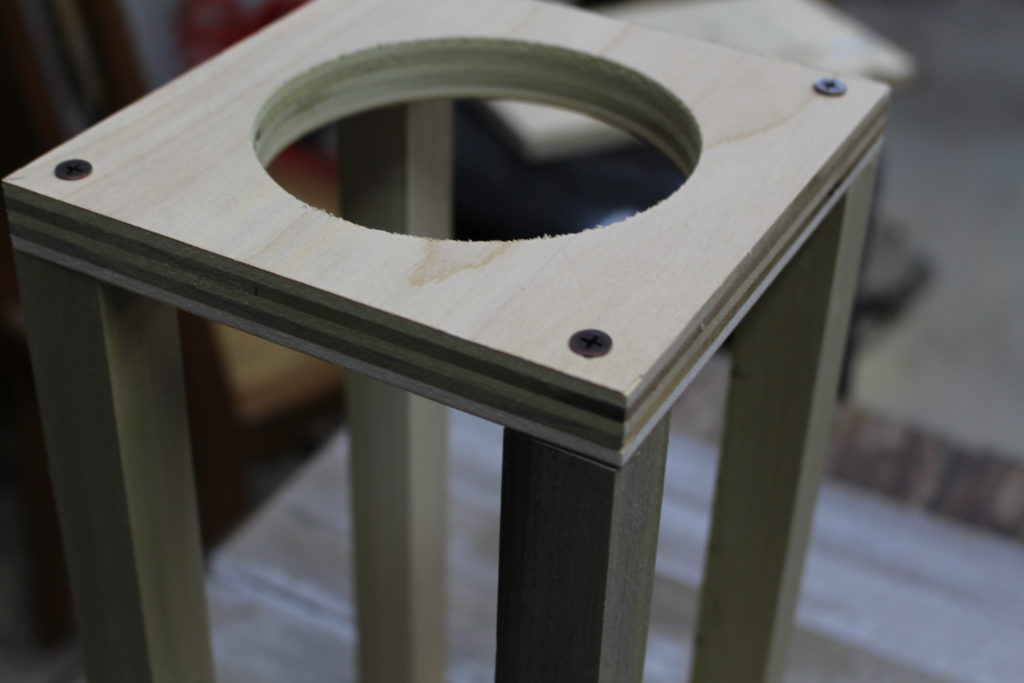
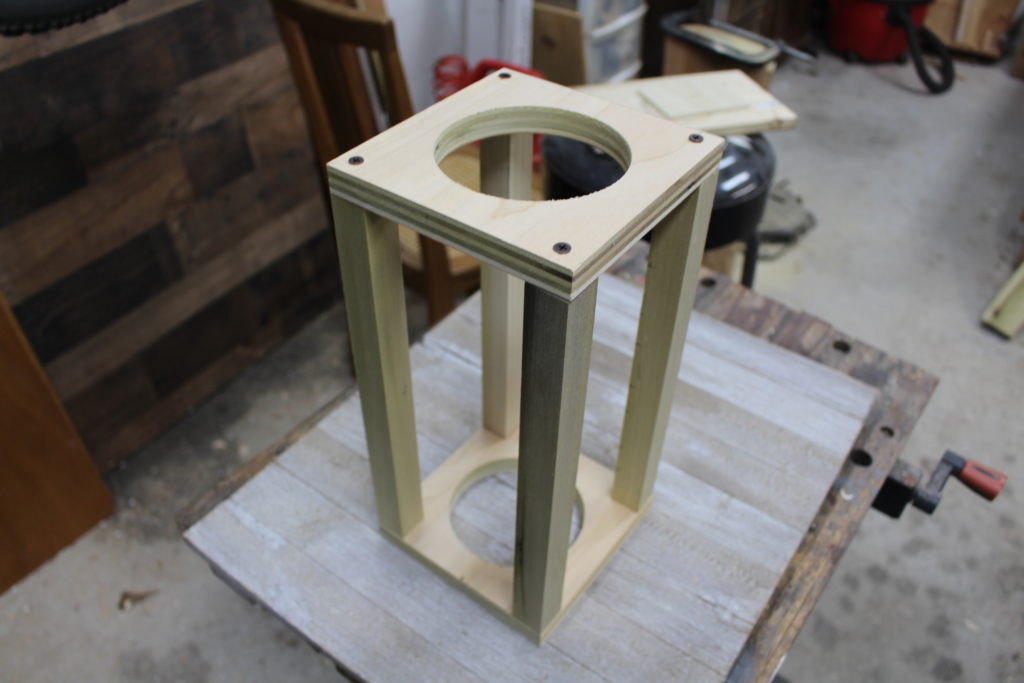
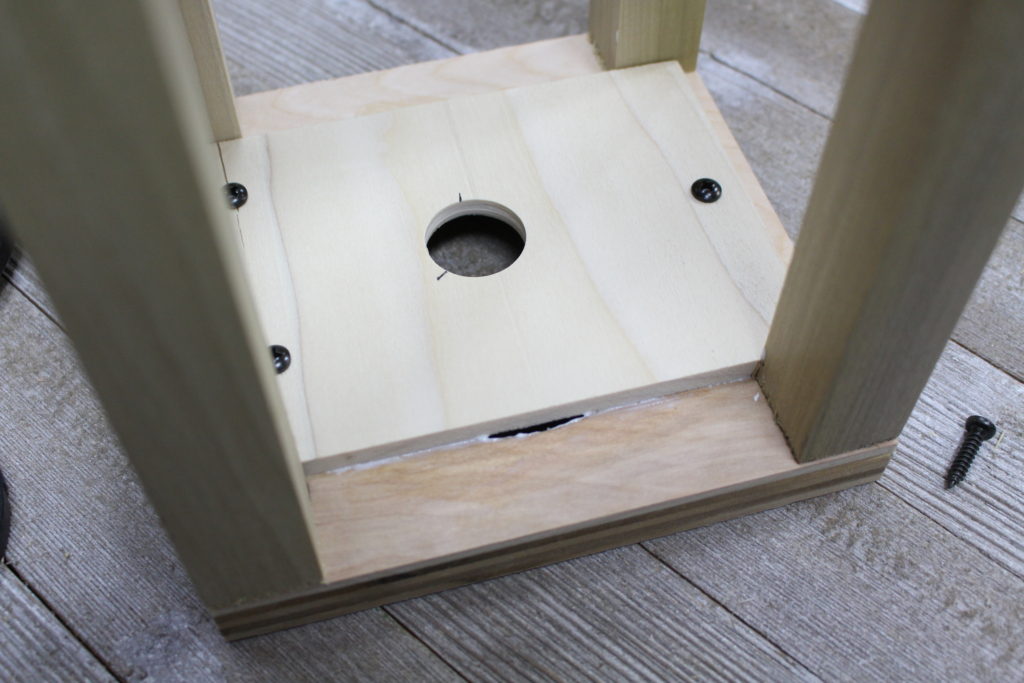
I predrilled holes (photo 11) and screwed the top and bottom plates to the poplar uprights (photo 12&13). Use a little wood glue when attaching the boards. This will take a total of 8 wood screws. I used # 8, 1.5 inch long wood screws.
Next, I added a small 1/4 inch thick board for the solar light to rest on (photo 14). Cut the board 4 inches wide by 4 inches long so you can just cover up that 4 inch hole. You can attach this thin board using about 3 to 4 small wood screws or just glue it in place. Make sure to pre-drill the holes if you use screws.
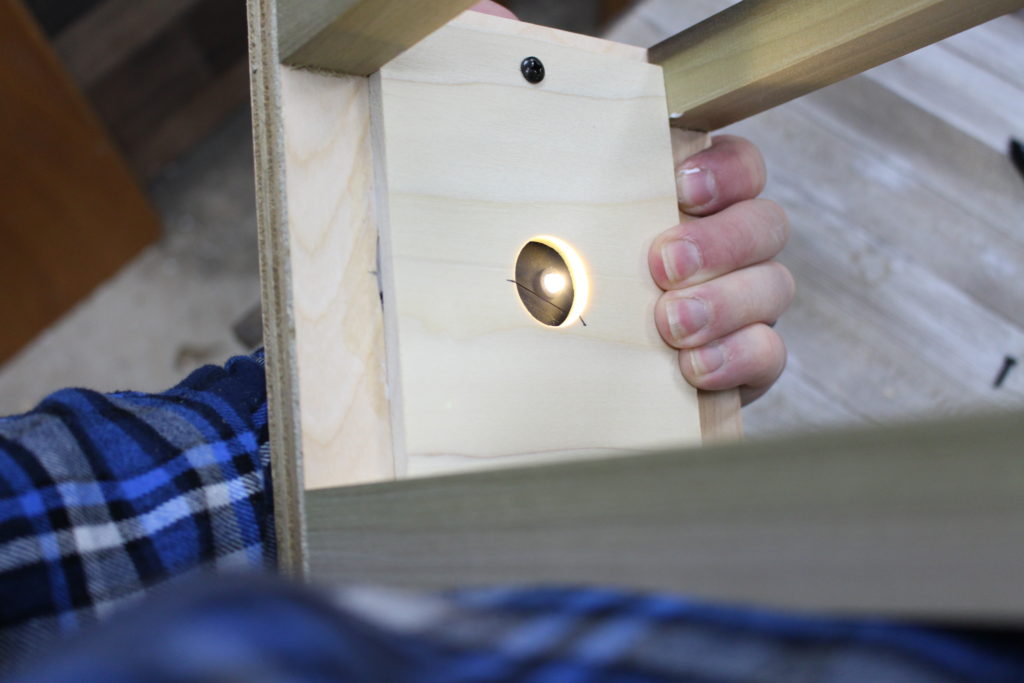
I used a Forstner bit and drilled a 1 inch hole in the middle of the thin board (photo 14) This hole allows the solar light bulb to project through and shine down into the lantern (photo 15).
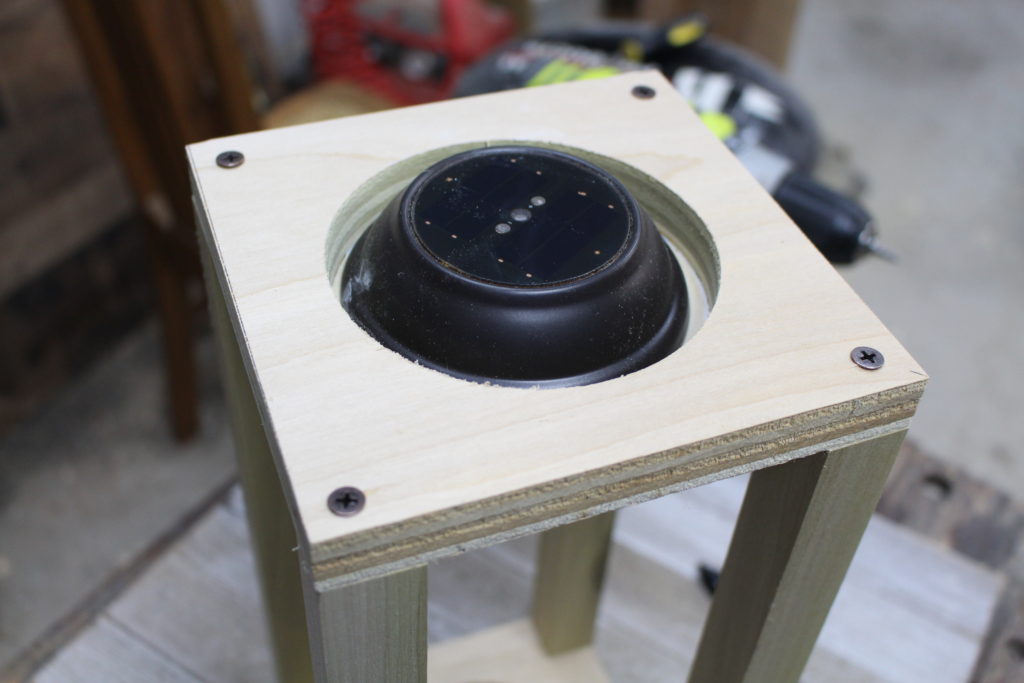
Also, this board gives us something for the light to rest on (photo 16). Since the light fits down in that previous 4 inch hole we cut, it won’t slide around or fall out. So there’s really no need to attach the light. And you’ll want to have access to the light in the future to change out the battery.
Now go ahead and take the light out as you complete the lantern.
Step 5 — Add the Mason Jar
This step is totally optional, but I think the mason jar gives the lantern a nice touch.
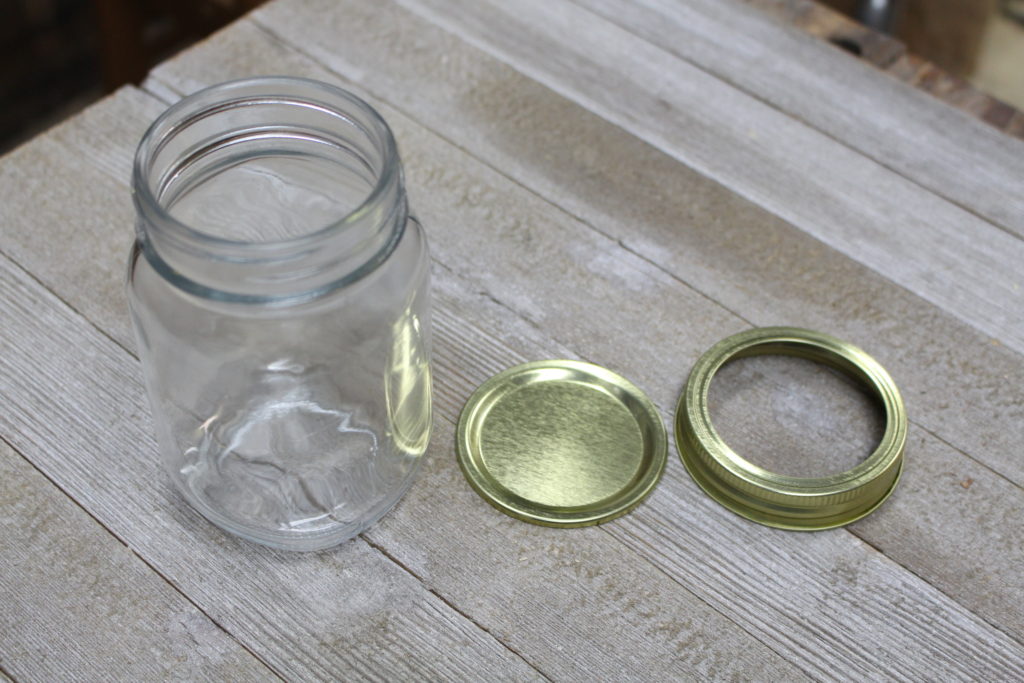
I elected to use a small mason jar. Make sure you get one like in photo 17 so you can detach the metal plate that’s normally part of the jar lid.
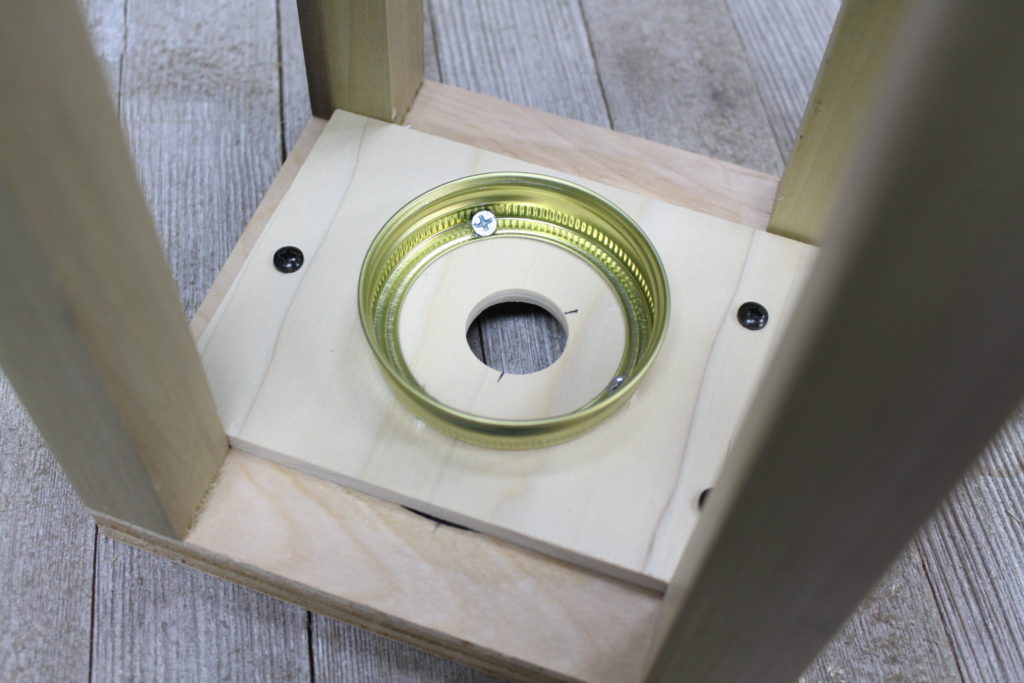
First, get the lid centered around that 1 inch hole we drilled in Step 4. Next, drill 3 small holes through the mason jar lid and attach it to the bottom of the top plate with 3 small and really short wood screws (photo 18).
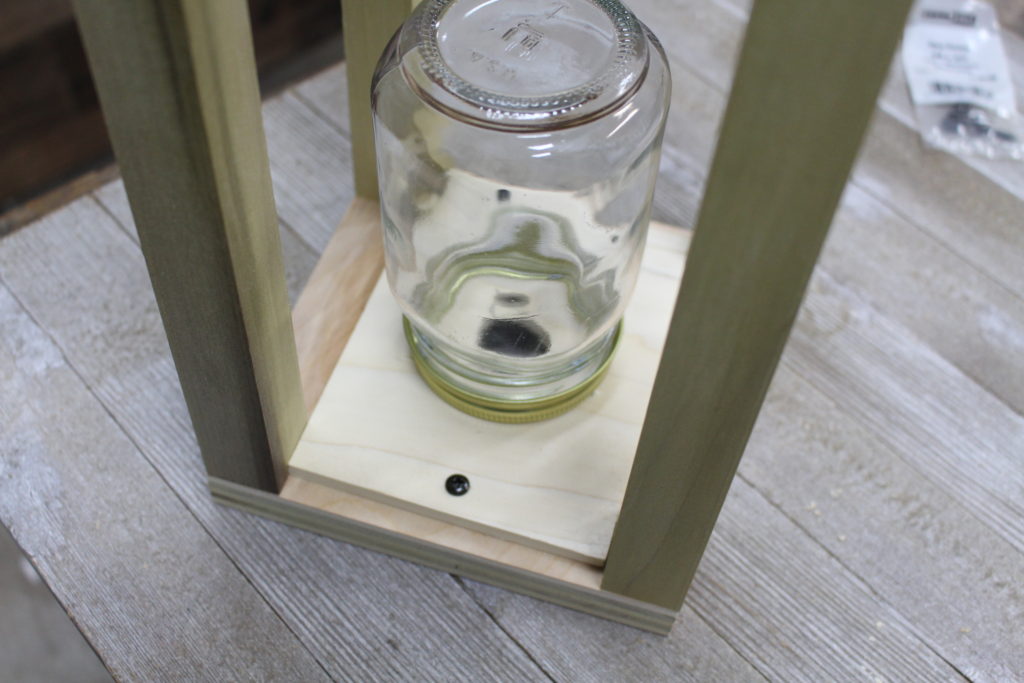
Once you’ve attached the lid to the wood, test it out by screwing the mason jar onto the lid (photo 19). It doesn’t have to fit super tight.
Now you can take the mason jar out to complete the lantern.
Step 6 — Stain the Lantern Frame
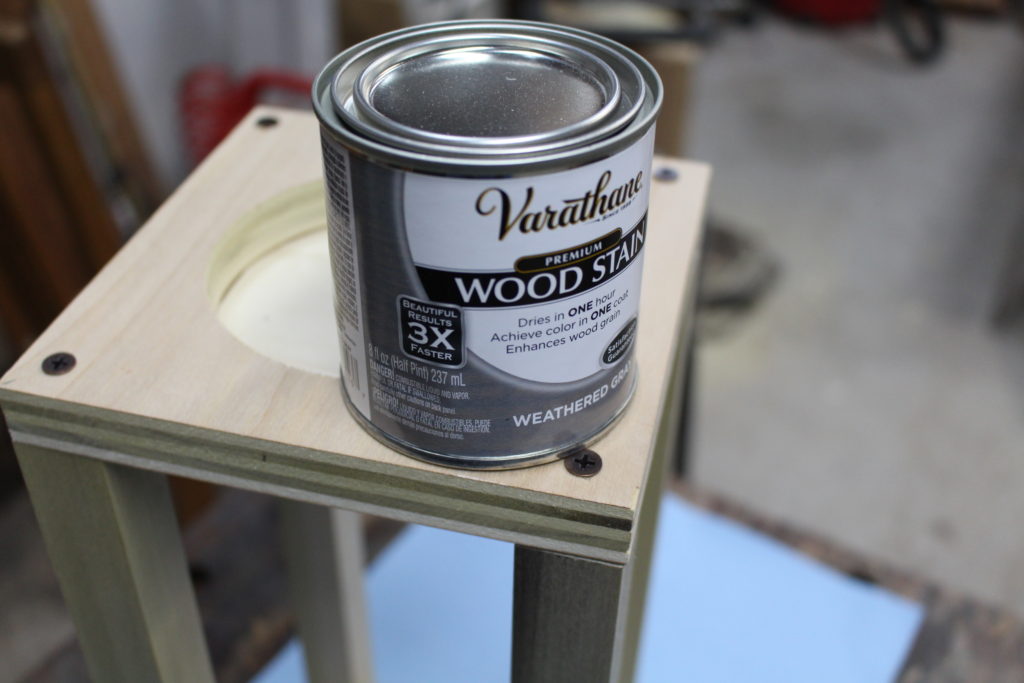
You can use a stain or finish of your choice. I like this Weathered Gray stain made by Varathane (photo 20). I added a couple coats and let it dry overnight.
Step 7 — Add the Slats
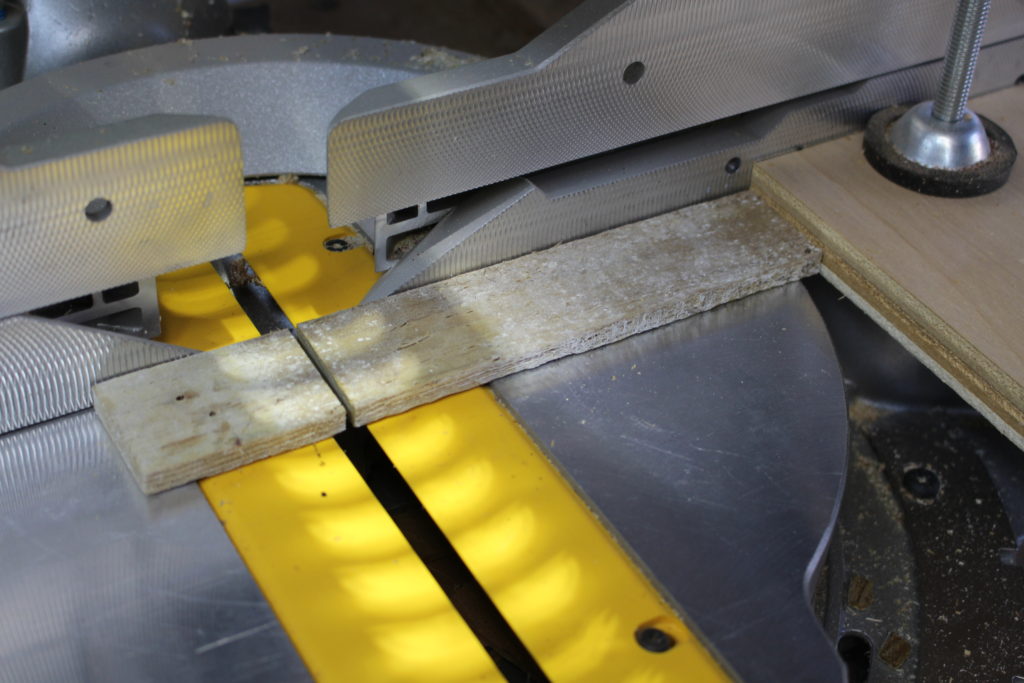
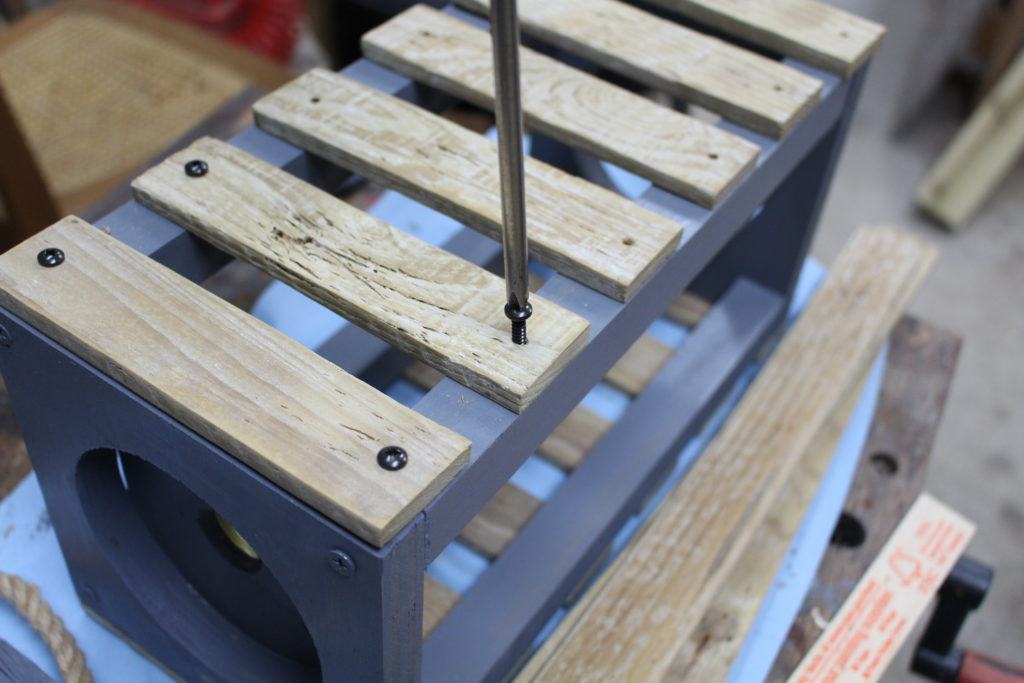
I carefully measured the wood slats and used a stop block on my chop saw to get identical lengths (photo 21). Each slat is about 1.5 inches wide and I spaced them out 1 inch. Your slats don’t have to match mine, but make SURE you space everything out BEFORE you attach them to the lantern frame.
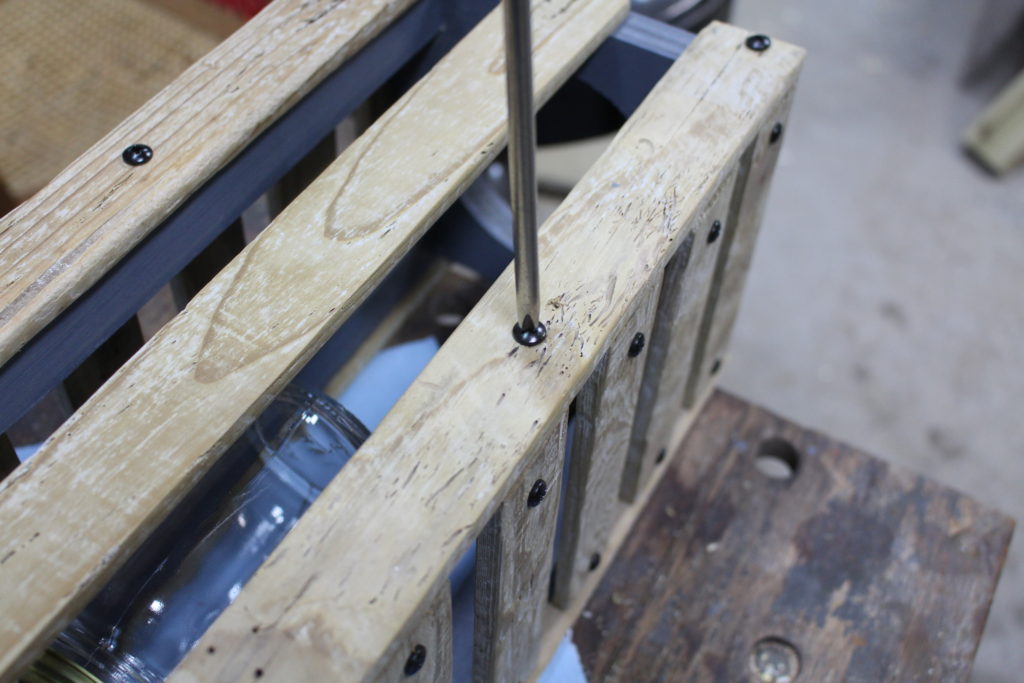
On two of the sides, I oriented the slats horizontally (photo 22). These slats were 6 inches long. On the other two sides I oriented them vertically (photo 23). These were about 14 inches long. Feel free to experiment here, using the materials you have. Just make sure everything looks proportional if your slats are different dimensions than mine. Doesn’t have to be perfect.
I used 40 — #8, 3/4 inch long black wood screws to attach the slats. I made sure to pre-drill the holes so the slats wouldn’t crack. The black pan head screws look nice. The pan head screws also help to cut down on cracking the wood.
Step 8 — Attach the Rope Handle
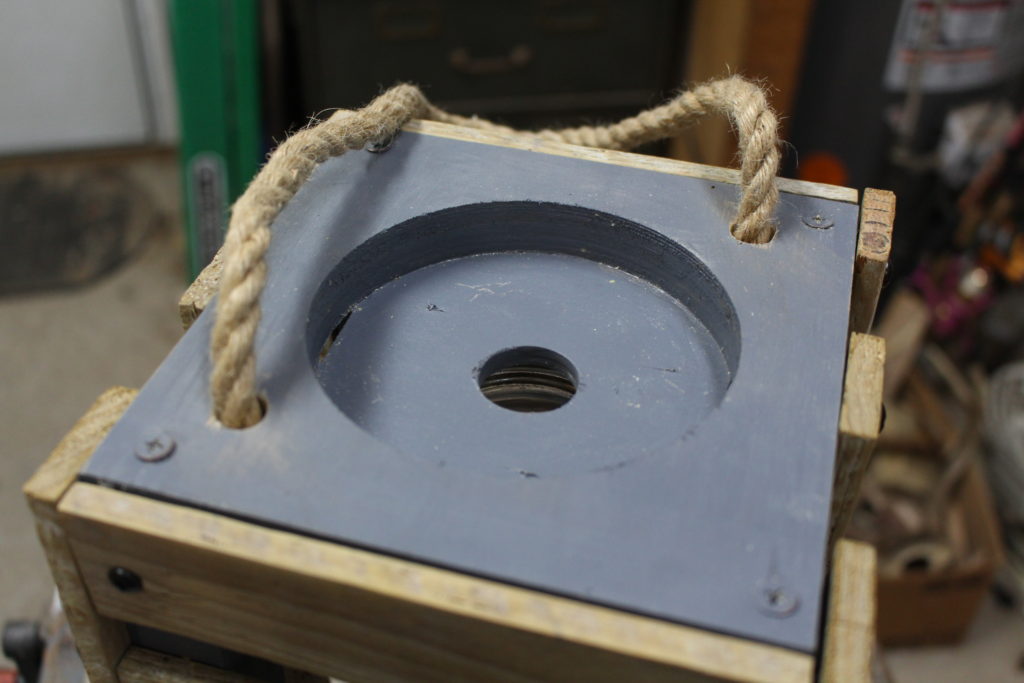
I used craft rope for my handle (photo 24) and you can find this in stores like Hobby Lobby or Michaels. The rope diameter is 3/8 inch.
I drilled two 3/8 inch holes in the top plate of the lantern. Be careful drilling these holes. Start with smaller bits and work up to a 3/8 inch bit.
Measure off a length of rope you want and then slide the rope through the holes and tie a simple overhand stop-knot on the opposite side to keep the rope from pulling through the hole.
Step 9 — Finish the Lantern with Spar Urethane
If you plan to keep the lantern outdoors, I highly recommend doing this step since it will protect the lantern from the elements (The solar light is already designed to be outside.)
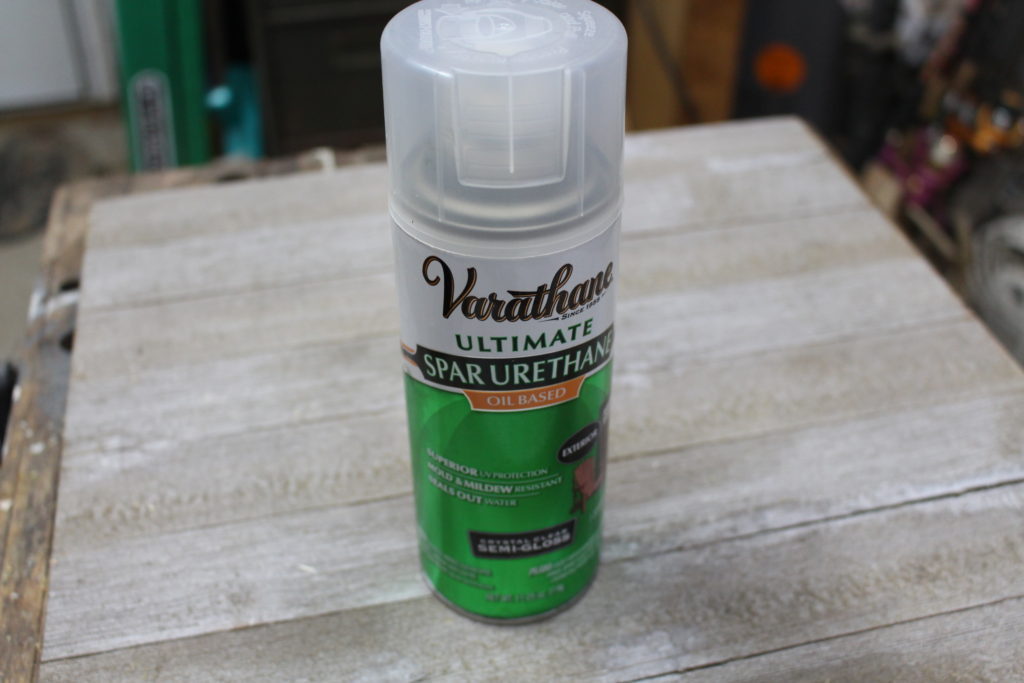
You can apply the spar urethane with the spray can (Photo 25) or use a brush. Two to three coats should be good. I took the rope handle off while applying the urethane.
However, if you plan to keep the lantern indoors, then maybe just apply a couple coats of lacquer. Or no finish at all.
Step 10 — Attach the Mason Jar
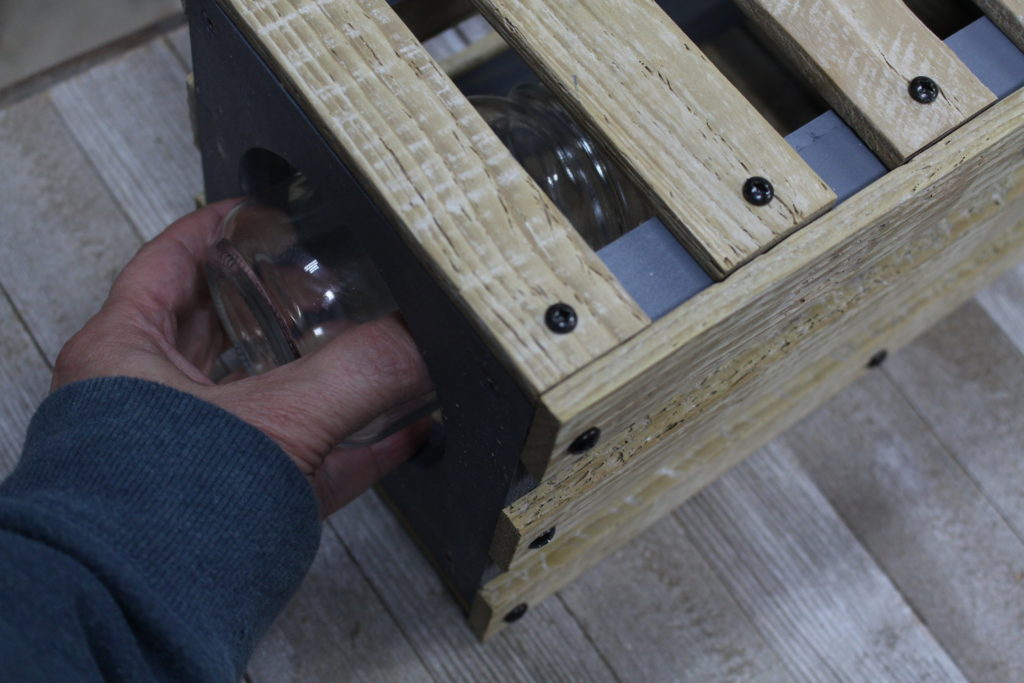
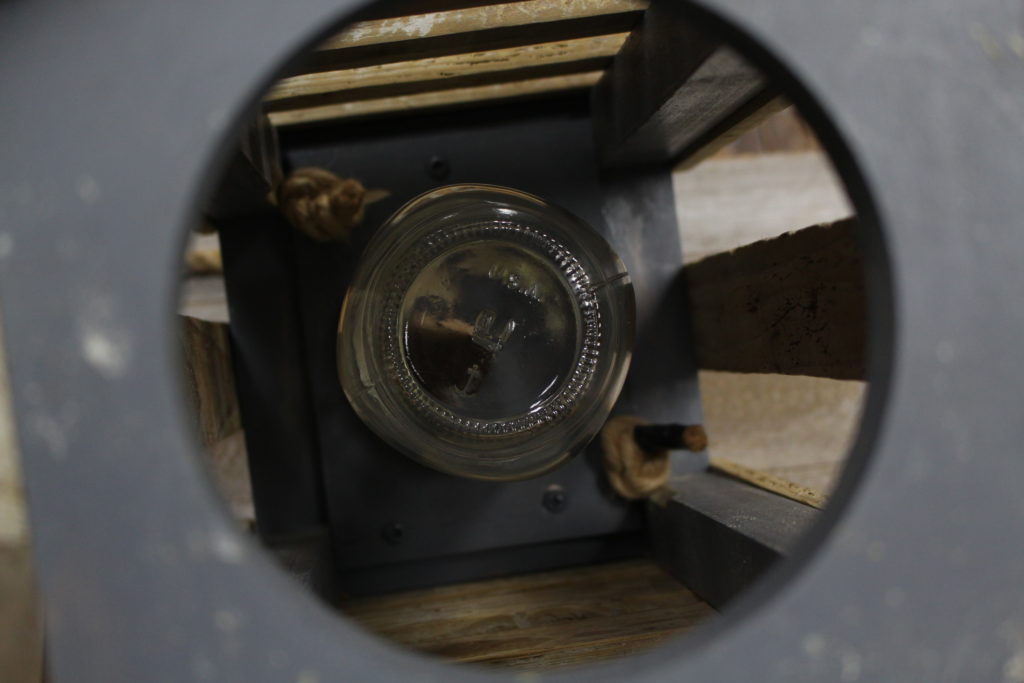
Now you can reattach the mason jar. Simply feed it back through that bottom hole and screw it on to the metal lid (Photo 26 & 27)
Step 11 — Place Solar Light in the Lantern
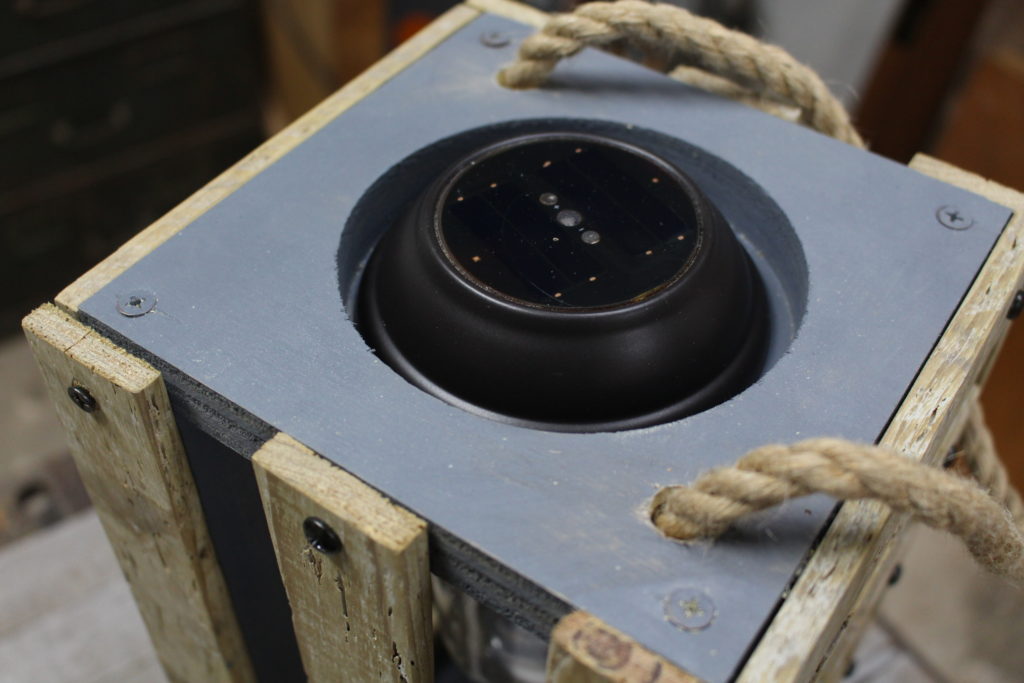
With the lantern finished, you can now place the solar light in that top recess of the lantern (Photo 28). Don’t worry about glueing or taping it in place. It stays in this recess area very well unless the whole lantern gets turned over. You want to be able to take the light out in the future if you need to change the battery or replace it.
Make sure you pull out the plastic tab so the battery will be able to charge. Mine comes with an on/off switch, so make sure it’s turned on. The sunlight hits the solar cell to charge the battery.
Place the lantern outdoors or near a window so it receives several hours of sunlight exposure. This will keep the battery charged so the light will work at night. As long as the battery is getting charged during the day, the lantern will stay lit for several hours at night.
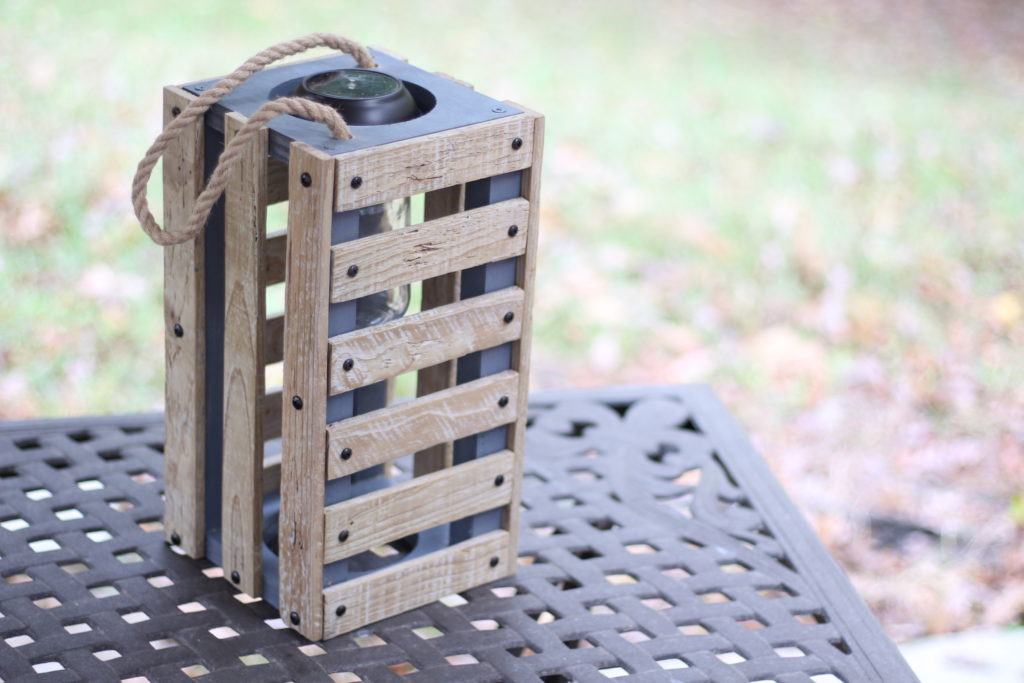
The Finished Solar Lantern


Related Tutorials:
I hope you enjoyed the solar lantern tutorial. If you decide to make a solar lantern, I’d love to see a photo. If you’d like to get more tutorials like this in your inbox, please SUBSCRIBE to my newsletter list. You can find a signup form below this tutorial or in the side bar.

Are you starting up a new shop? Want to work safer in your shop? To help you answer these questions I've put together a 2-part checklist -- Home Shop Safety & Tool Checklist.
I will also send you updates of my latest woodworking and DIY projects. You can get all this by subscribing to my free email newsletter.
